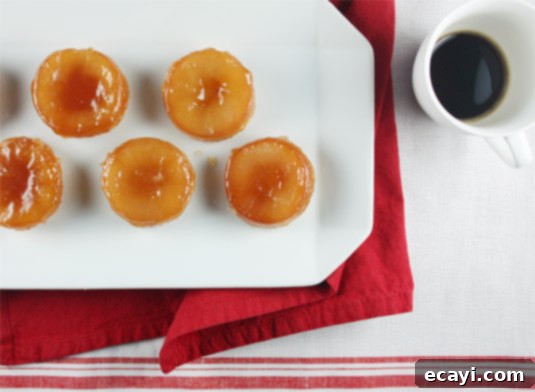
Irresistible Mini Apple Tatins: A Delightful Bite-Sized French Dessert
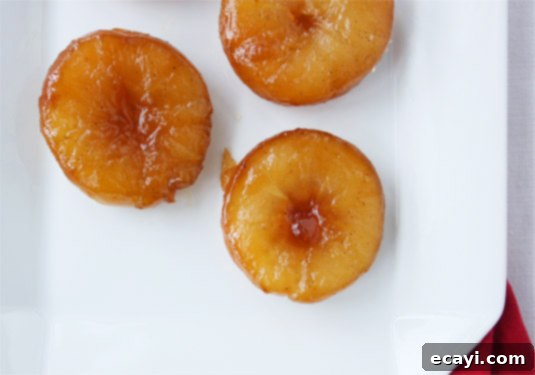
These adorable mini tatins deliver the delicious caramelized flavor of the classic French dessert in a bite-sized package, making them perfect for entertaining or a personal indulgence.
This post contains affiliate links. Full disclosure is at the bottom of the article.
There are certain culinary masterpieces that simply transcend time and trends, becoming eternal staples in the world of desserts. For me, alongside comforting pineapple upside-down cake and decadent Nanaimo bars, the illustrious Tarte Tatin holds a special place. This iconic French dessert, celebrated for its captivating simplicity and profound flavors, has enchanted palates for over a century. Imagine luscious fruits, most commonly apples, gently cooked until tender and golden in a rich caramel, then crowned with a crisp, buttery pastry and baked to perfection. The resulting tart, especially when fresh from the oven, boasts a refined yet rustic charm, its intoxicating aroma filling the air. It’s a testament to how humble ingredients can be transformed into something truly extraordinary with just a few careful steps.
The allure of the Tarte Tatin is not just in its taste, but also in its fascinating origin story, a delightful tale of culinary serendipity. As is often the case with many beloved dishes, this classic dessert was an accidental creation. While the exact details vary, most accounts attribute its invention to the Tatin sisters, Stéphanie and Caroline, who operated a hotel and restaurant in Lamotte-Beuvron, a charming commune nestled in the heart of France, during the late 19th century. The most popular version of the story recounts Stéphanie, overwhelmed and fatigued, in the midst of preparing an apple pie. Distracted, she inadvertently allowed the apples to cook in their butter and sugar for far too long, causing them to deeply caramelize and soften. Realizing her mistake and in a moment of inspired improvisation, she quickly covered the overly cooked apples with a sheet of pastry and placed the entire pan into the oven. To her astonishment, and to the delight of her guests, this “upside-down” tart was an instant sensation. The Tarte Tatin soon became the signature dish of their establishment, and its fame solidified in the 1920s when the prestigious Maxim’s restaurant in Paris began serving it, cementing its place in gastronomic history. The Tatin sisters’ accidental triumph became a culinary legend, inspiring countless home bakers and professional chefs alike.
Yes, the restaurant/hotel Tatin is still open! I’d be very curious to taste their tarte…

Photo (c) 2009 Croquant, via Wikipedia.
As the “year of the pie” draws to a close, I’ve reflected on my baking endeavors and realized that this year, my oven has seen surprisingly little action. However, with the festive holiday season rapidly approaching, I anticipate abundant opportunities to indulge my passion for baking. My personal preference, especially when entertaining, leans towards crafting a diverse array of bite-sized desserts – a “dessert bar” style spread – rather than presenting a single large cake or pie. This approach offers guests a delightful variety and allows for easier portion control. While searching through my extensive collection of cookbooks for fresh ideas, I serendipitously stumbled upon celebrity chef Donna Hay’s recipe for individual apple tartes Tatin. The images were utterly captivating, and I immediately knew these mini versions would be an absolute showstopper, delivering all the classic flavor in a charming, individual package.
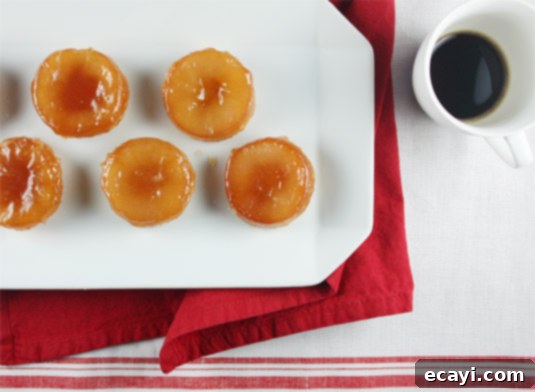
My initial attempts with Hay’s recipe encountered a few bumps, prompting me to experiment with a couple of variations to achieve perfection. In a traditional full-sized Tarte Tatin, the butter and sugar are typically melted together, and the apple slices are then gently simmered in this sweet mixture for a significant period before the pastry lid is added and the entire tart goes into the oven. This slow cooking allows the apples to soften beautifully and absorb the rich caramel flavors. However, when transitioning to miniature Tatins, the reduced cooking time in the oven necessitates a more immediate caramelization process. The magic must begin directly in the pan, ensuring that the apples are coated in a deeply flavored, golden caramel before baking.
Hay’s original recipe suggested melting the sugar and butter with a couple of tablespoons of water. Unfortunately, in my first trial, the water evaporated far too quickly, leaving behind a grainy, uncaramelized mixture that was not suitable for the tartlets. Convinced I had made a mistake, I discarded the batch. For my second attempt, I adjusted the technique by adding more water halfway through the caramelization process, which yielded a better, though still not ideal, result. This experience led me to believe that adopting a more traditional caramel-making method – starting with sugar and water until a rich syrup forms, then incorporating the butter – would produce a superior and more consistent caramel base for these delicate mini tarts. Furthermore, I decided to elevate the flavor profile by adding a touch of vanilla and a hint of liqueur, such as Cognac or Calvados. The outcome of these carefully considered modifications? Each bite-sized tartlet was a beautiful, perfectly caramelized gem, embodying all the rich, complex flavors of its larger counterpart, but in a more elegant and manageable form.
Mini Tatins: The Perfect Bite-Sized Apple Caramel Treat
Makes 12 delightful tartlets
For these exquisite Mini Tatins, selecting the right apples is key. You’ll want firm varieties that hold their shape well during cooking, such as Golden Delicious, Granny Smith, or Pink Lady. The tartness of Granny Smith can provide a lovely contrast to the sweet caramel, while Golden Delicious and Pink Lady offer a slightly sweeter, more floral note. The addition of a quality Cognac or Calvados truly enhances the depth of flavor in the caramel, but water is a perfectly fine substitute for an alcohol-free version.
Ingredients:
3 firm apples (such as Golden, Granny Smith or Pink Lady)
Juice of half a lemon (approx. 2 tbsp / 30 ml)
1/2 cup (100 g) granulated sugar
2 tbsp (30 ml) water
1 tbsp (15 ml) Cognac or Calvados (optional, substitute water if needed)
1/2 a vanilla pod, halved and scraped (optional)
1/4 cup (60 g) unsalted butter, cut into small cubes
Puff pastry, about 7 oz (200 g), chilled
Instructions:
1. Preheat your oven to 350°F [175°C]. Prepare a non-stick muffin pan with 12 x ½ cup capacity molds by lightly buttering each one. This helps prevent sticking and aids in easy removal later.
2. Begin by peeling the apples. Once peeled, cut each apple into 4 thick, even slices. Immediately dip each slice into the lemon juice, ensuring all surfaces are coated. This crucial step prevents the apples from browning and adds a subtle zesty note.
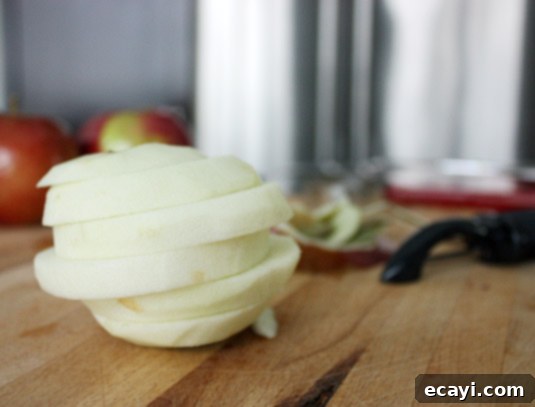
3. Using a round cookie cutter that is slightly larger than the bottom of your muffin molds, cut out neat apple rounds from your slices. Carefully remove the pits and core from each round, being gentle to keep the integrity of the apple shape. Rub a little more lemon juice into the cored center of each apple slice to further prevent discoloration. Set these prepared apple rounds aside.
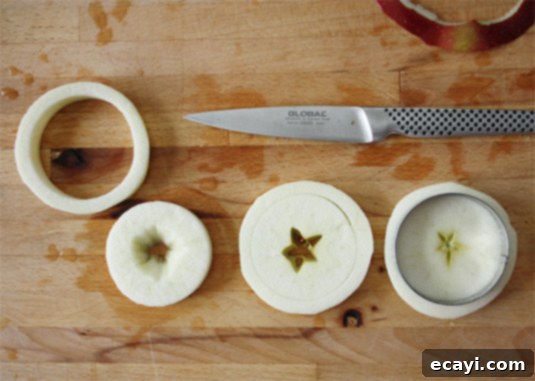
4. If you are using a vanilla bean, split it lengthwise down the middle and carefully scrape out the fragrant seeds. In a medium saucepan, combine the granulated sugar, water, optional Cognac (or Calvados), along with both the halved vanilla pod and the scraped seeds. Stir these ingredients together over medium heat. Allow the mixture to slowly come to a boil, then continue to cook for approximately 5 minutes, or until it transforms into a beautiful light golden color. This is the critical caramelization stage, so vigilance is key. Swirl the pan gently from time to time, or use a heat-resistant silicone spatula to stir the mixture, ensuring it caramelizes evenly and prevents hot spots. Exercise extreme caution when working with hot caramel, as it can cause severe burns.
Making caramel, first stage.
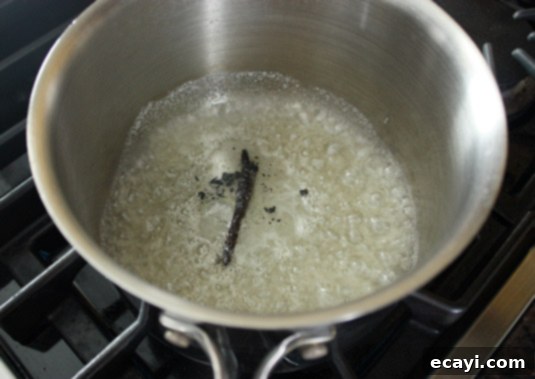
Mid-cooking: Observe the beautiful transformation as the sugar changes color.
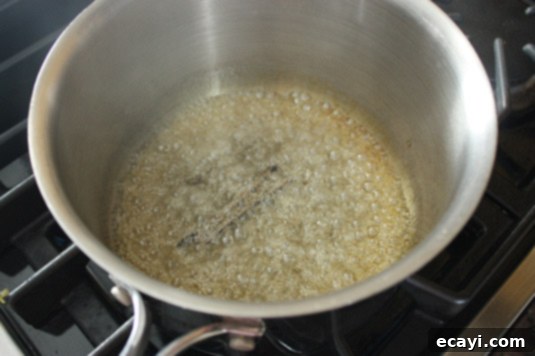
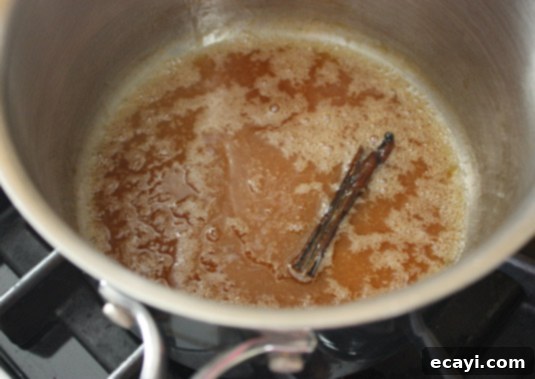
5. The moment your caramel reaches a light golden hue, immediately remove it from the heat. Remember that caramel continues to cook and darken due to residual heat, so it’s better to err on the side of slightly lighter rather than burnt. Stir in the pre-cut cubes of unsalted butter until fully melted and thoroughly combined, creating a smooth, rich caramel sauce.
Time to take the caramel off the heat: Aim for a rich amber.
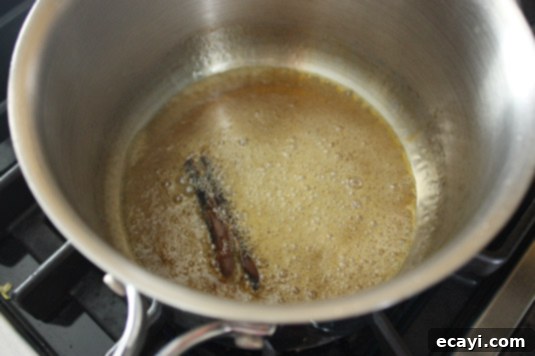
Stir in the butter for a luscious, smooth finish:
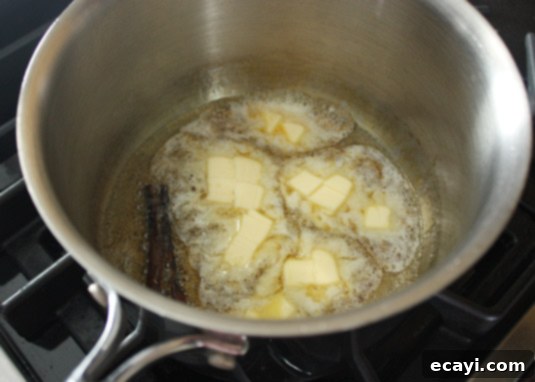
Voilà! Perfect, luscious caramel – the heart of your Mini Tatins.
6. Place a large skillet over medium heat. Pour the prepared caramel into this skillet. Don’t be concerned if the caramel has slightly hardened; it will melt and become fluid again as it reheats. Carefully scatter the reserved apple slices in a single layer across the skillet, ensuring they do not overlap. Cook the apples for about 5 minutes without moving them. During this time, use a spoon to gently pour some of the bubbling caramel mixture over the apple slices once or twice. This step helps soften the apples and infuse them with the rich caramel flavor, preparing them for their final bake.
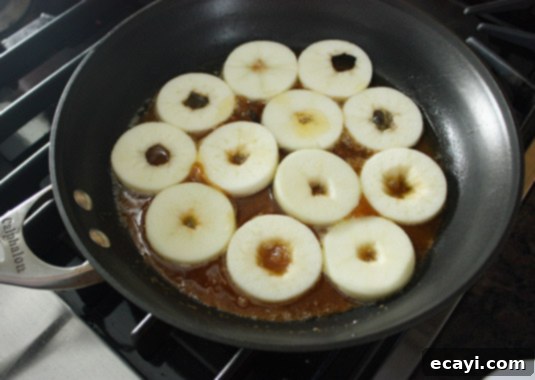
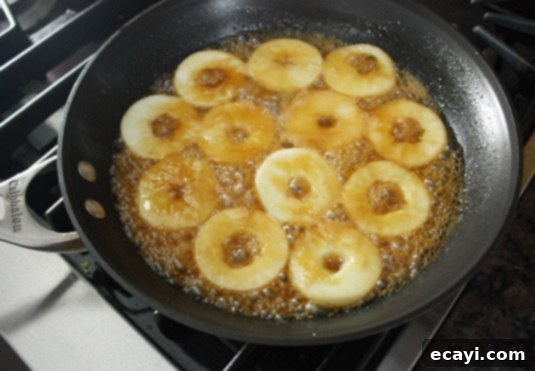
7. Carefully place one caramelized apple slice into the base of each buttered muffin mold. Follow this by spooning a generous amount of the warm caramel mixture over each apple. If you used a vanilla bean pod, discard it at this stage.
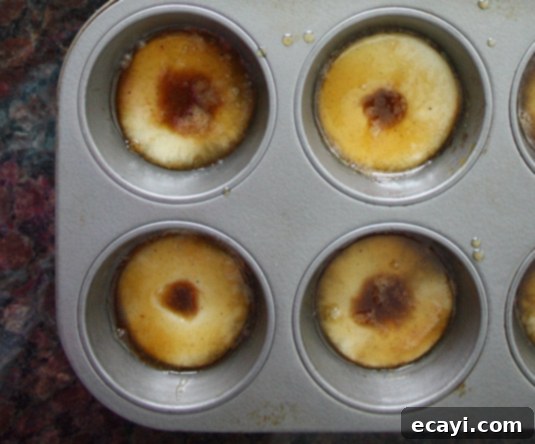
8. On a lightly floured surface, roll out your puff pastry until it is about 1/8-inch [3-mm] thick. Using a cookie cutter, cut out rounds of pastry that are slightly larger than the apples and the muffin mold openings. This slight overhang is intentional, as the pastry will shrink a bit during baking. Carefully place one pastry round over each apple and caramel-filled muffin mold, gently tucking the edges down if needed. Bake for about 15 minutes, or until the puff pastry is beautifully puffed up and has turned a lovely light golden brown. The aroma will be incredible!
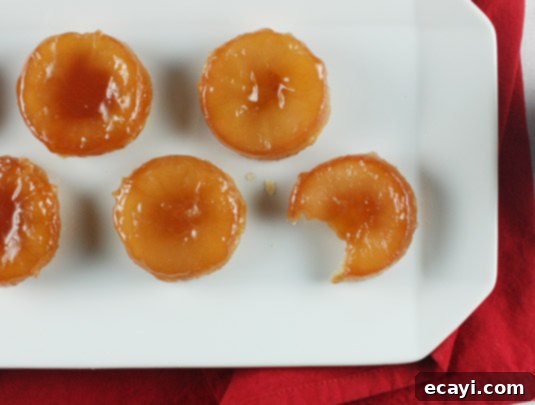
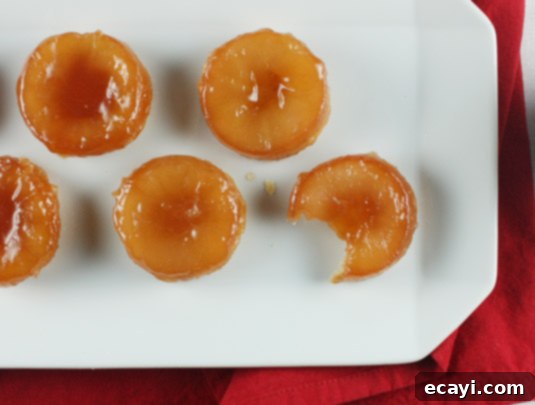
9. Once baked, remove the muffin pan from the oven and allow the Mini Tatins to stand and cool for 10-15 minutes. This crucial resting period allows the caramel to set slightly and prevents the delicate tartlets from breaking apart when removed. After resting, carefully lift each tartlet from its mold using a small offset spatula. If any caramel remains in the pan, spoon it over the warm tartlets for an extra layer of sweetness and shine. Serve your Mini Tatins warm for the most delightful experience, perhaps with a dollop of crème fraîche, a scoop of vanilla bean ice cream, or simply on their own. They are equally delicious served cool. These individual apple tarts keep surprisingly well; store any leftovers in an airtight container in the refrigerator for 3-4 days, though I doubt they’ll last that long!
Pin Recipe
Mini Tatins
Ingredients
- 3 firm apples such as Golden, Granny Smith or Pink Lady
- 2 tbsp freshly squeezed lemon juice about 1/2 a lemon
- 1/2 cup granulated sugar
- 2 tbsp water
- 1 tbsp Cognac or Calvados optional, substitute water if needed
- 1/2 vanilla pod halved, optional
- 1/4 cup unsalted butter
- 7 oz puff pastry
Instructions
-
Preheat the oven to 350°F (175°C). Lightly butter 12 x 1/2 cup capacity non-stick muffin pan.
-
Peel the apples, then cut each apple into 4 thick slices. Dip each slice in lemon juice and rub it all over to prevent browning.
-
Using a round cookie cutter slightly larger than the bottom of one of the muffin molds, cut out apple rounds, then carefully remove the pits and core, making sure not to break each round. Rub a little lemon juice in the cored center of each apple slice. Reserve.
-
If using, split the vanilla bean lengthwise, then scrape off the seeds. In a medium saucepan, stir the sugar, water, Cognac (or Calvados) as well as the halved vanilla pod and scraped seeds together over medium heat. Let it slowly come to a boil. Continue to cook for about 5 minutes, or until the mixture is a light golden color. Keep a close eye on it at all times and swirl the pan around once in a while, or use a silicone spatula to stir the mixture around, so it caramelizes evenly. Be very careful when stirring because caramel burns very badly.
-
Once your caramel is ready, take it off the heat. Make sure you do so when it had a light golden color, because it’ll keep on cooking a bit due to the residual heat. Stir in the cubes of butter and mix well.
-
Place a large skillet over medium heat, then pour the caramel into this skillet. Don’t worry if your caramel has hardened a bit, it’ll melt as it’s heated again. Scatter the apple slices in the skillet, making sure they don’t overlap. Cook for 5 minutes without moving the apples, using a spoon to pour some of the caramel over the slices once or twice over the cooking process.
-
Distribute one apple slice into the base of each muffin mold, then top with the caramel mixture. Discard the vanilla bean.
-
Roll out the pastry on a lightly floured surface until 1/8-inch (3-mm) thick. Cut out rounds of the pastry to fit inside the molds (it’s better to cut the pastry slightly larger than the apples, as it will shrink a bit while cooking). Bake for about 15 minutes, or until the pastry is puffed and lightly golden.
-
Let stand for 10-15 minutes before carefully lifting each tartlet using a small spatula. Spoon any remaining caramel over the tartlets and serve warm or cool. The tartlets keep surprisingly well, refrigerated for 3-4 days in an airtight container.
Did you make this?
Tell me how you liked it! Leave a comment or take a picture and tag it with @foodnouveau on Instagram.
Disclosure Notice: This site is a participant in the Amazon Associates Program, an affiliate advertising program designed to provide a means for the site to earn fees by linking to Amazon and affiliated sites.
If you click on an affiliate link, I may earn advertising or referral fees if you make a purchase through such links, at no extra cost to you. This helps me creating new content for the blog–so thank you! Learn more about advertising on this site by reading my Disclosure Policy.
