Delicious Low-Carb Zucchini Sliders: Your Ultimate Healthy Appetizer Guide
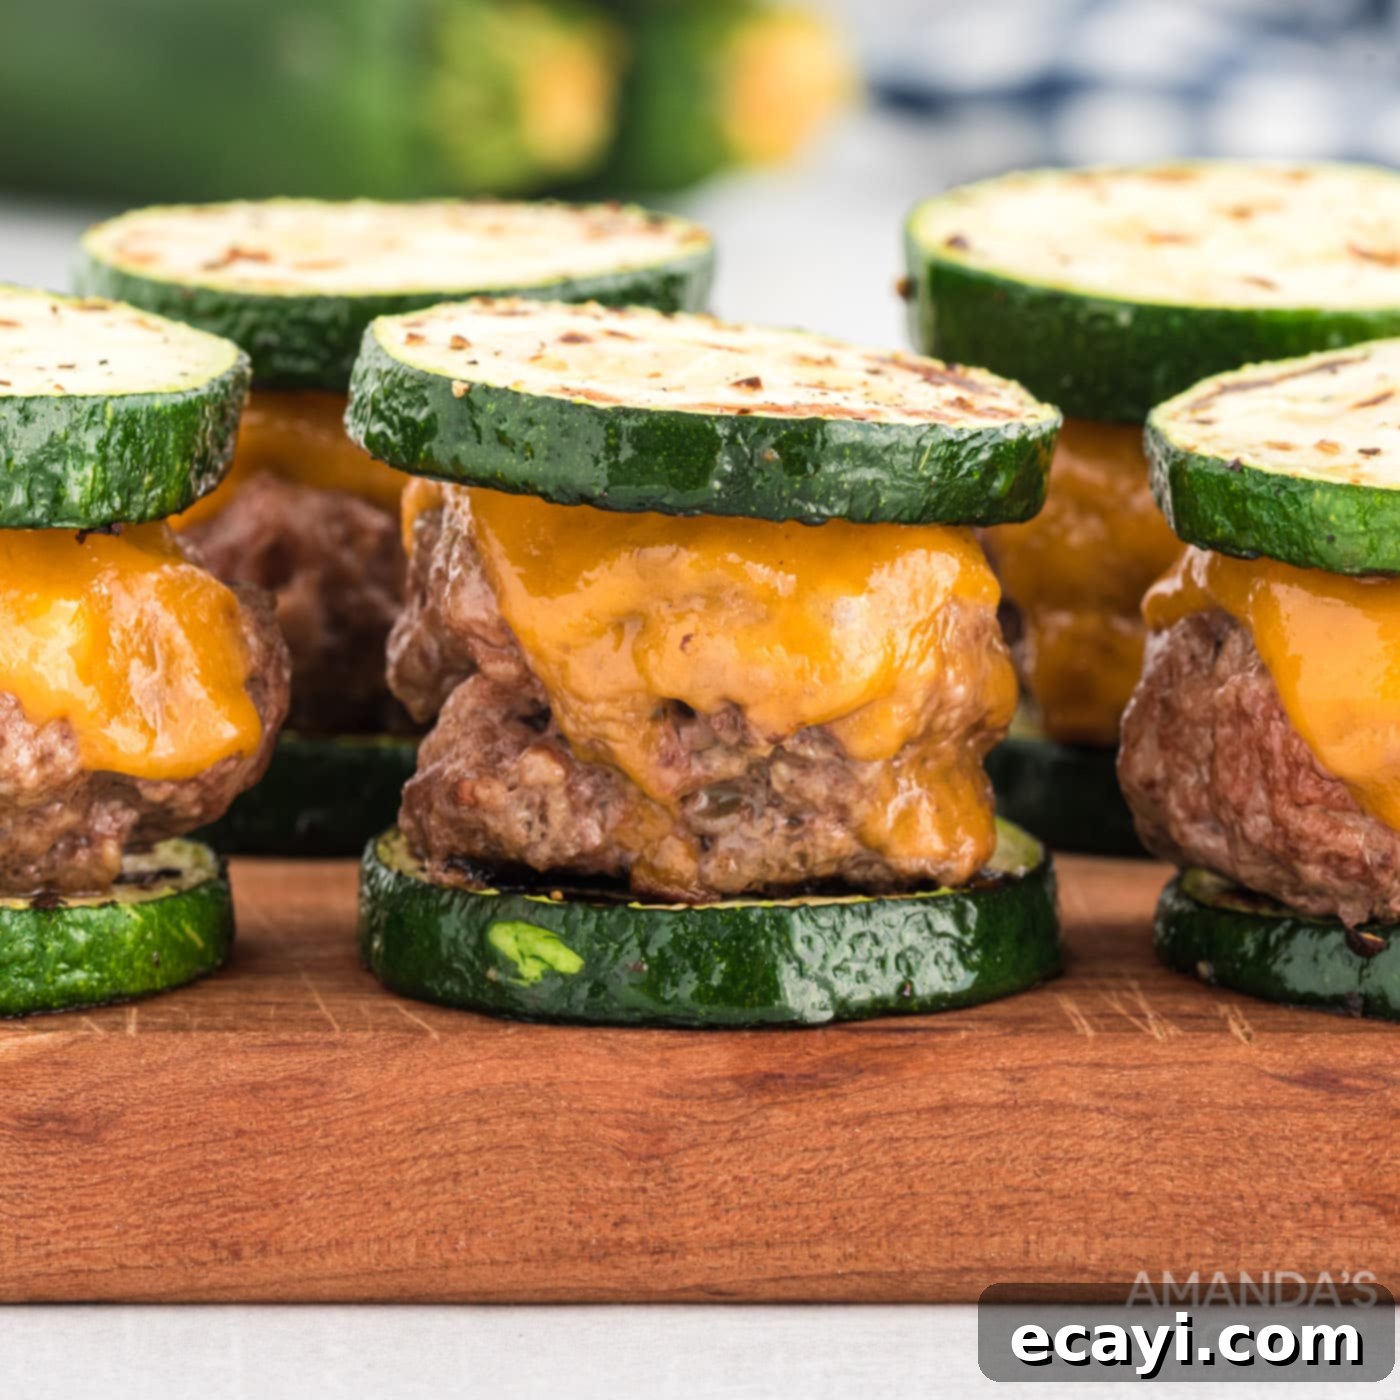
Discover the ultimate low-carb appetizer that promises a burst of flavor in every bite: Zucchini Sliders! These bite-sized wonders are perfect for any occasion, from lively football parties and relaxed backyard hangouts to a quick, satisfying midday snack. Crafted with fresh zucchini, lean ground beef, and savory melted cheese, they offer a healthy yet incredibly delicious alternative to traditional sliders, fitting seamlessly into keto-friendly and gluten-free diets.
Why These Zucchini Sliders Will Become Your New Favorite
We’re constantly on the lookout for innovative and delightful ways to incorporate nutrient-rich zucchini into our meals, and this recipe truly shines! Zucchini is a powerhouse of essential vitamins, minerals, and dietary fiber, making it a fantastic base for a healthy dish. For those who grow their own, zucchini is often in abundant supply, providing a fresh and readily available ingredient. While we’ve enjoyed exploring recipes like zucchini pizza bites and air fryer zucchini fries, it’s time for these low-carb zucchini sliders, featuring juicy lean ground beef and perfectly melted cheddar cheese, to take center stage. They’re not just easy to make; they’re a smart, flavorful choice for anyone seeking a healthier, gluten-free, or keto-friendly alternative to carb-heavy options.
What makes these sliders so special? Firstly, the fresh zucchini slices act as a natural, crisp “bun,” providing a satisfying crunch and a boost of hydration and nutrients without the added carbohydrates. This makes them an ideal choice for low-carb and keto diets. Secondly, the combination of lean ground beef and rich cheddar cheese ensures a savory and fulfilling experience that doesn’t compromise on taste. Finally, the simplicity of the preparation means you can whip up a batch quickly, making them perfect for impromptu gatherings or busy weeknights. They’re a versatile recipe that combines health, convenience, and irresistible flavor.
Key Ingredients for Flavorful Zucchini Sliders
For a complete list of all measurements, ingredients, and detailed instructions, please refer to the printable recipe card available at the conclusion of this post. Here, we’ll dive deeper into the core components that make these zucchini sliders so spectacular.
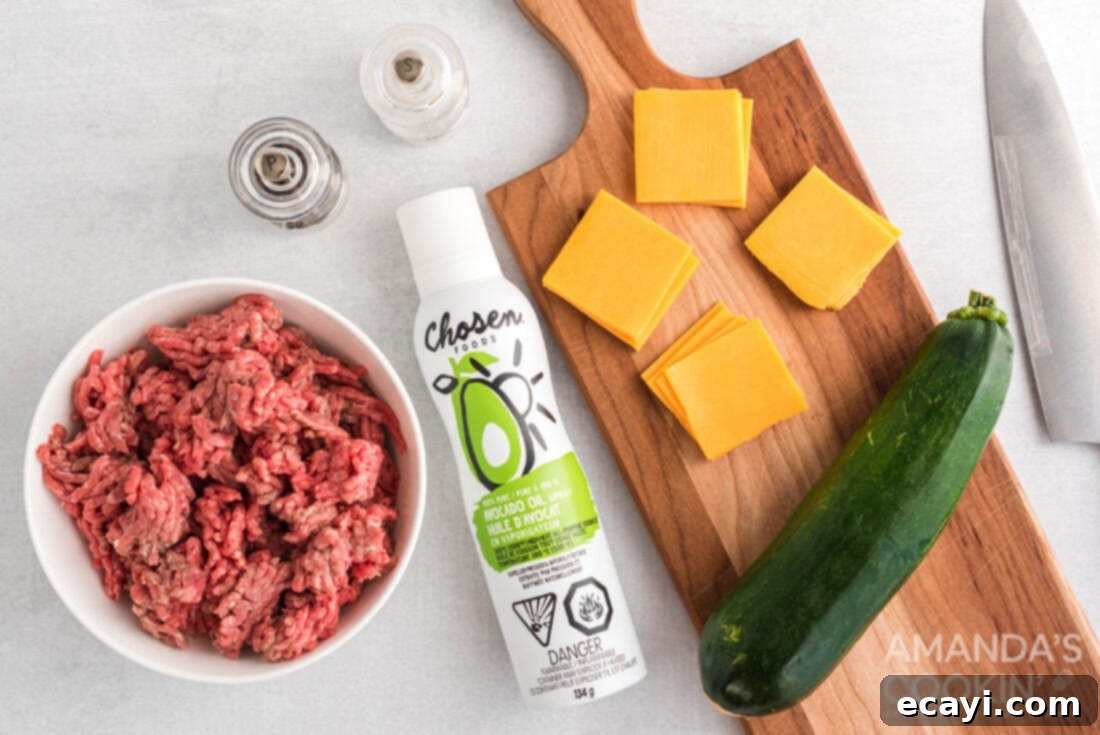
Ingredient Spotlight & Smart Substitutions
BURGER – For the juiciest and most flavorful patties, we highly recommend using lean ground beef, ideally around 90/10 (90% lean, 10% fat). This ratio provides enough fat for flavor without making the sliders greasy. However, if you prefer a leaner option, ground turkey or ground chicken make excellent substitutes, offering a lighter profile. Alternatively, an 80/20 ground beef ratio will yield richer, more succulent patties. Don’t forget to season your meat generously with salt, black pepper, or your favorite burger seasoning blend to enhance the overall taste. For an extra layer of flavor, consider adding a dash of garlic powder, onion powder, or a splash of Worcestershire sauce to your ground beef mixture before forming the patties.
For those exploring plant-based options, black bean burgers, mushroom patties, or other vegetarian/vegan burger alternatives can be used to create equally delicious and healthy zucchini sliders. Just ensure the patties are firm enough to hold their shape during cooking and assembly.
ZUCCHINI – The success of these sliders largely depends on the zucchini. You’ll need one extra-large zucchini to yield approximately 16 slices, each about 1/2 inch thick. It’s always a good idea to have an extra zucchini on hand, just in case. If an extra-large zucchini isn’t available, 2-3 medium-sized zucchinis will work just as well. When selecting your zucchini, look for ones that are firm to the touch, with smooth, vibrant green skin and no soft spots or blemishes. The 1/2-inch thickness is crucial; it ensures the zucchini rounds are sturdy enough to support the burger patties without being too thick or too thin, which could lead to sogginess or breakage. Gently patting the slices dry with a paper towel before seasoning helps to remove excess moisture, preventing a watery texture when cooked.
For those looking to experiment, consider using other firm vegetables as a base, such as large portobello mushroom caps (grilled or roasted), thick slices of bell peppers, or even grilled eggplant rounds, offering unique flavor profiles and textures.
CHEESE – Our preferred choice is pre-sliced cheddar cheese for its classic flavor and excellent melting properties. However, feel free to get creative with your cheese selection! Swiss, American, provolone, or pepper jack cheese are all fantastic alternatives that melt beautifully and add distinct flavors. You’ll need to cut or shape your cheese slices to match the size of your mini burger patties for a perfect fit. For an extra cheesy experience, you can mix a small amount of shredded cheese directly into the ground beef mixture before forming the patties. Dairy-free cheese slices are also a viable option for those with dietary restrictions, ensuring everyone can enjoy these delightful sliders.
Step-by-Step Guide: Crafting Your Zucchini Sliders
These step-by-step photos and detailed instructions are provided to help you visualize the process of making this incredibly simple recipe. For the printable version, complete with all measurements and instructions, simply Jump to Recipe at the bottom of this page.
- **Prepare the Zucchini:** Begin by carefully slicing your chosen zucchini into uniform rounds, each approximately 1/2 inch thick. This consistent thickness is key to ensuring they cook evenly and can support the burger patties without collapsing. If the zucchini rounds appear wet, gently pat them dry with a paper towel. Removing excess moisture is vital for achieving a nice sear and preventing soggy sliders.
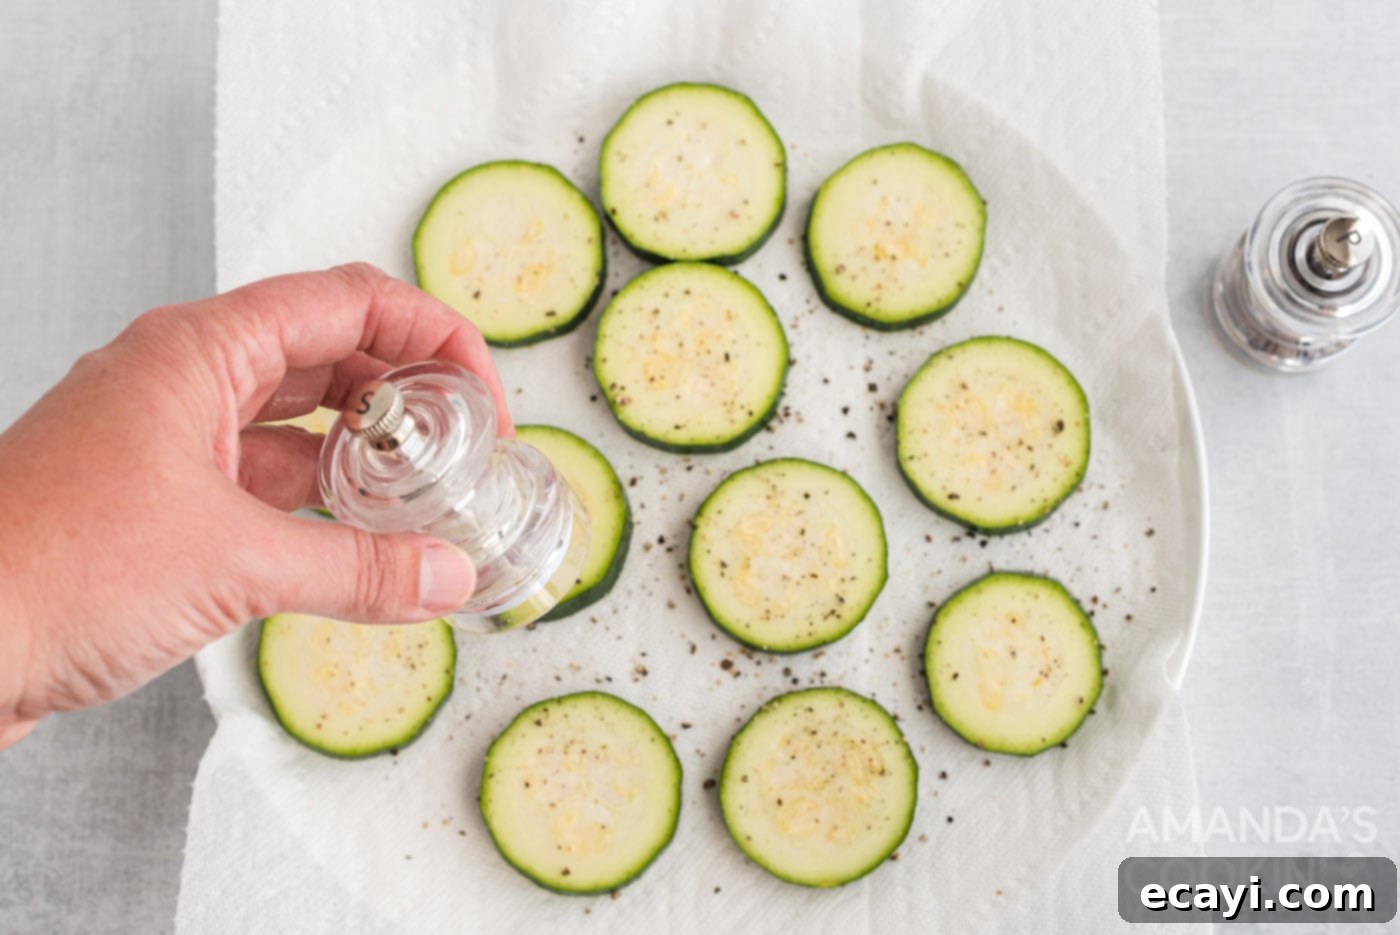
- **Season the Zucchini:** Arrange the zucchini rounds on a clean paper towel. Season both sides generously with salt and freshly ground black pepper to taste. Allow them to rest briefly; the salt will help draw out any remaining moisture, which you can then blot away before cooking.

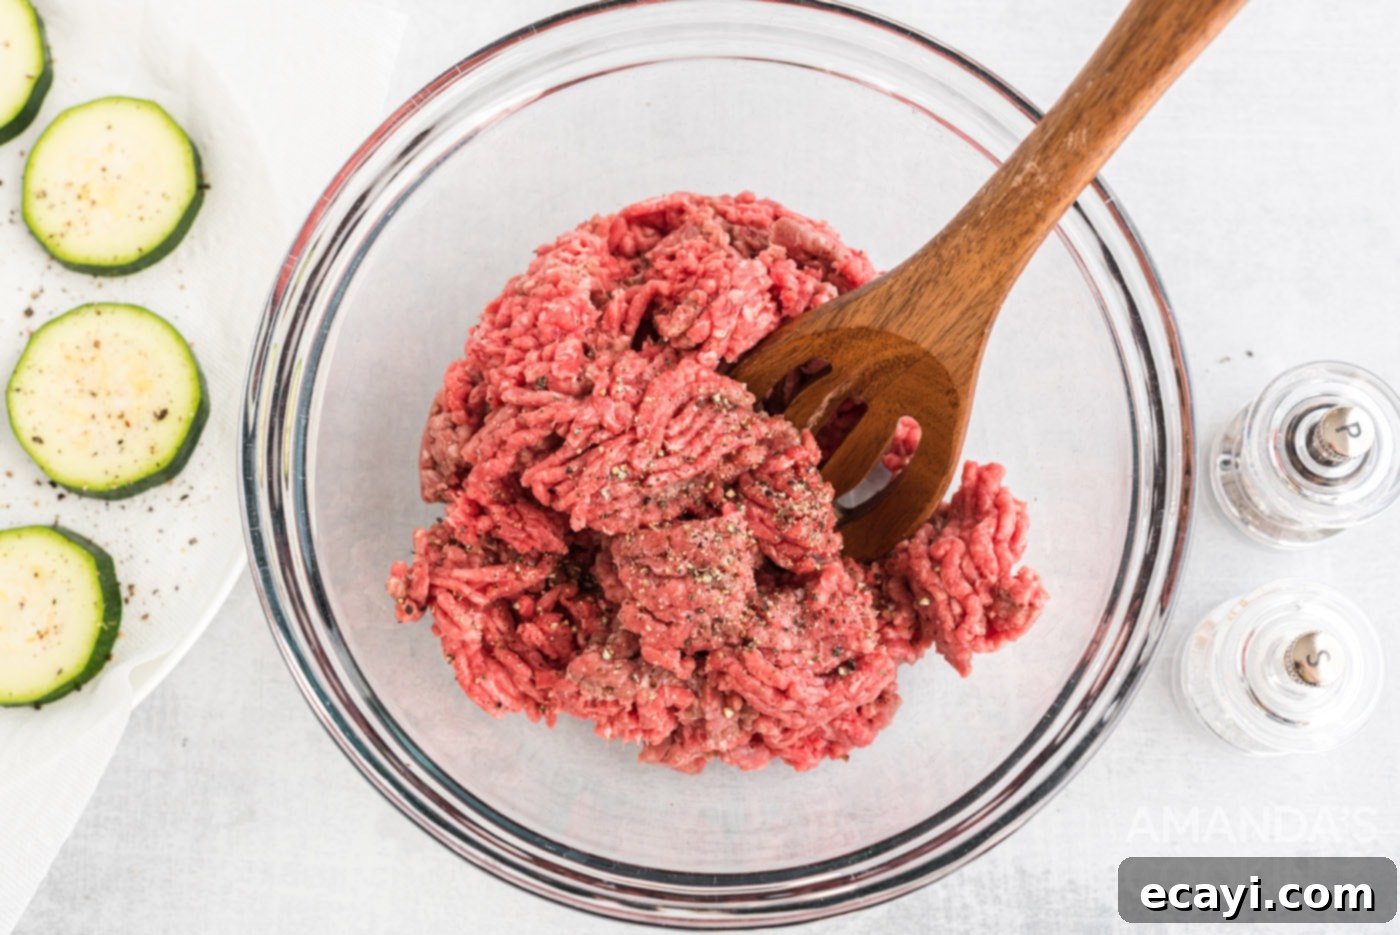
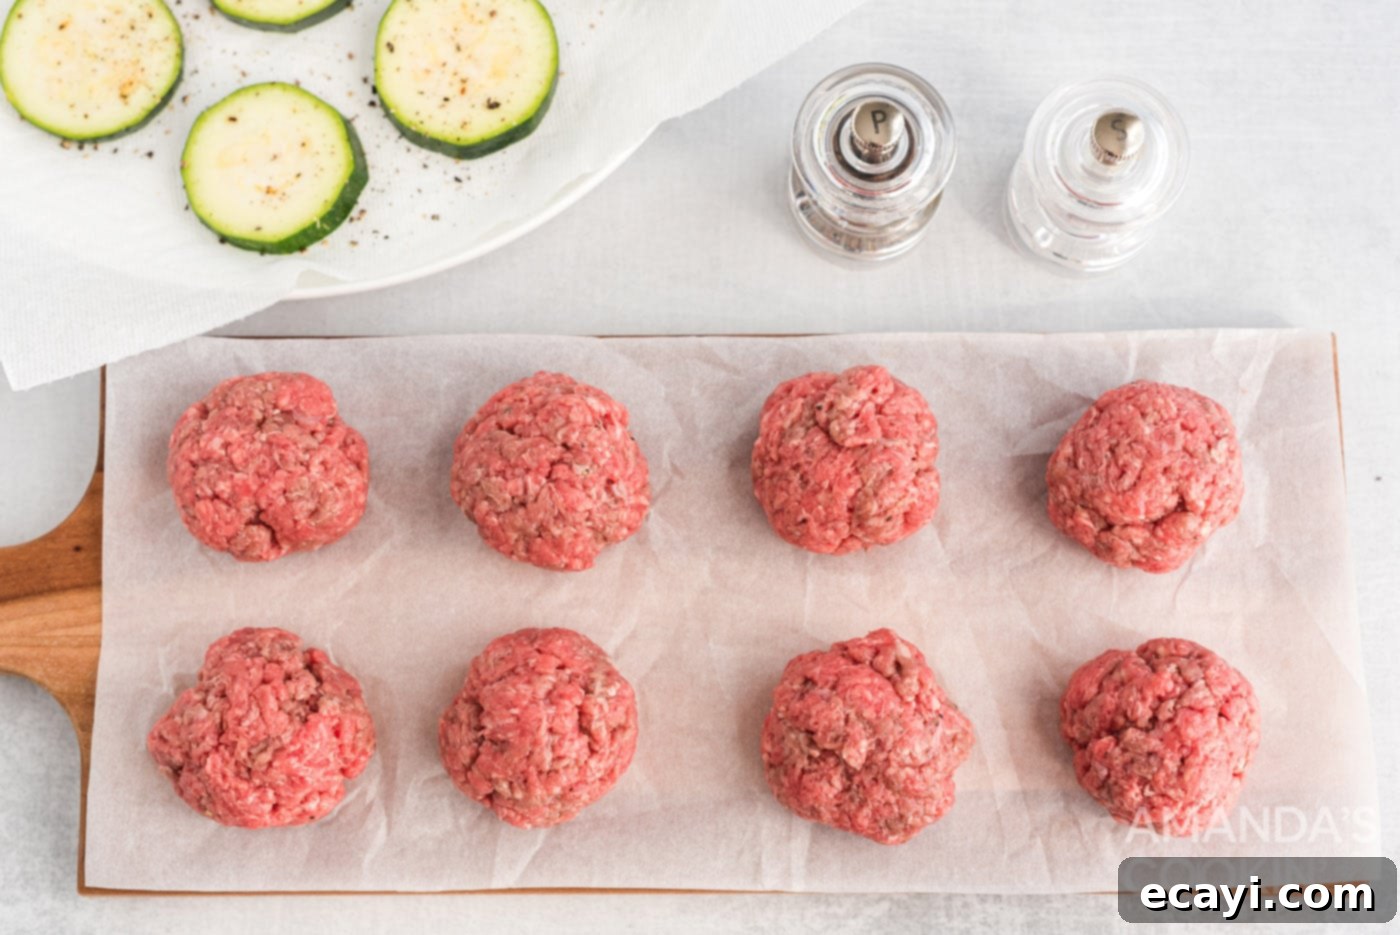
- **Prepare the Burger Patties:** In a medium mixing bowl, combine the lean ground beef. Season it with salt and pepper or your preferred burger seasoning blend. Mix gently until just combined; avoid overworking the meat, as this can lead to tough patties. Divide the mixture into 8 small, evenly sized burger patties, each about 1-2 inches in diameter. Aim for consistency in size for even cooking.


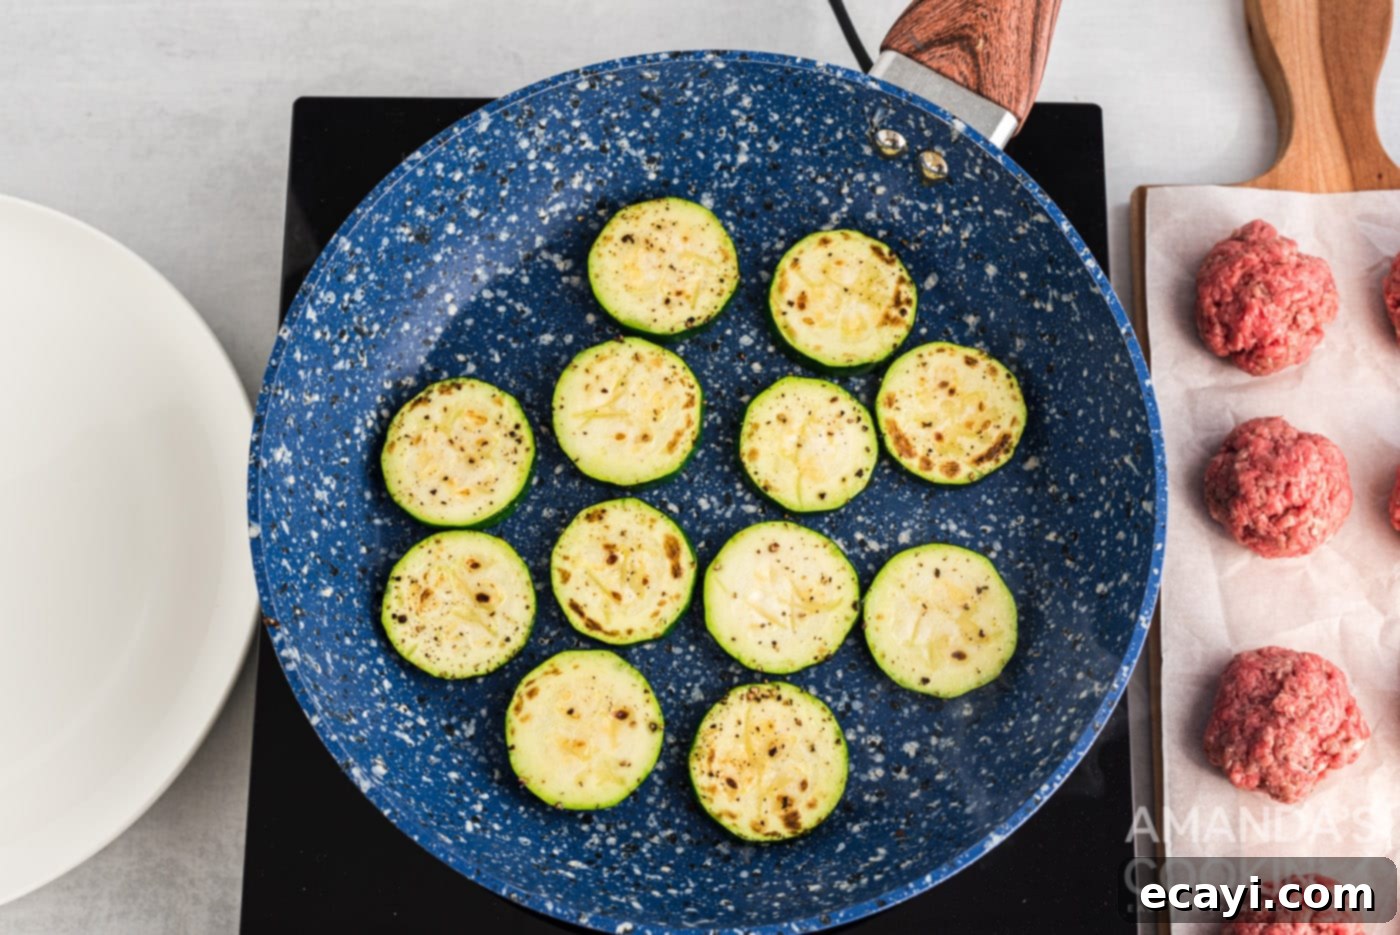
- **Cook the Zucchini:** Lightly grease a skillet with cooking spray and heat it over medium-high heat. Once hot, add the seasoned zucchini rounds in a single layer, being careful not to overcrowd the pan. Cook for 2-3 minutes per side, or until they are tender-crisp and beautifully browned with a light, golden crust. Remove the cooked zucchini from the skillet and set aside on a plate.

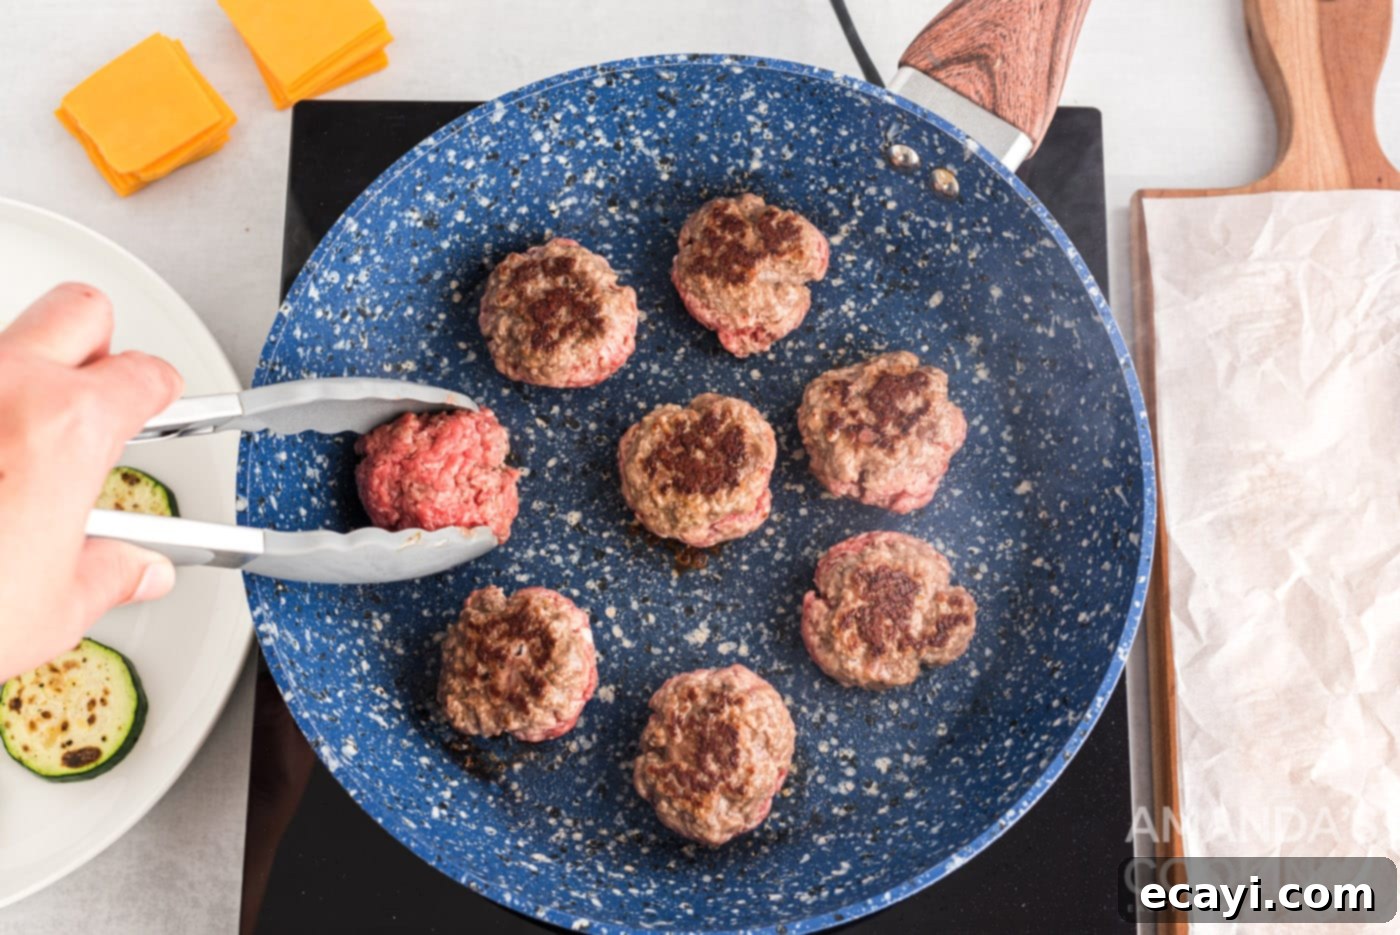
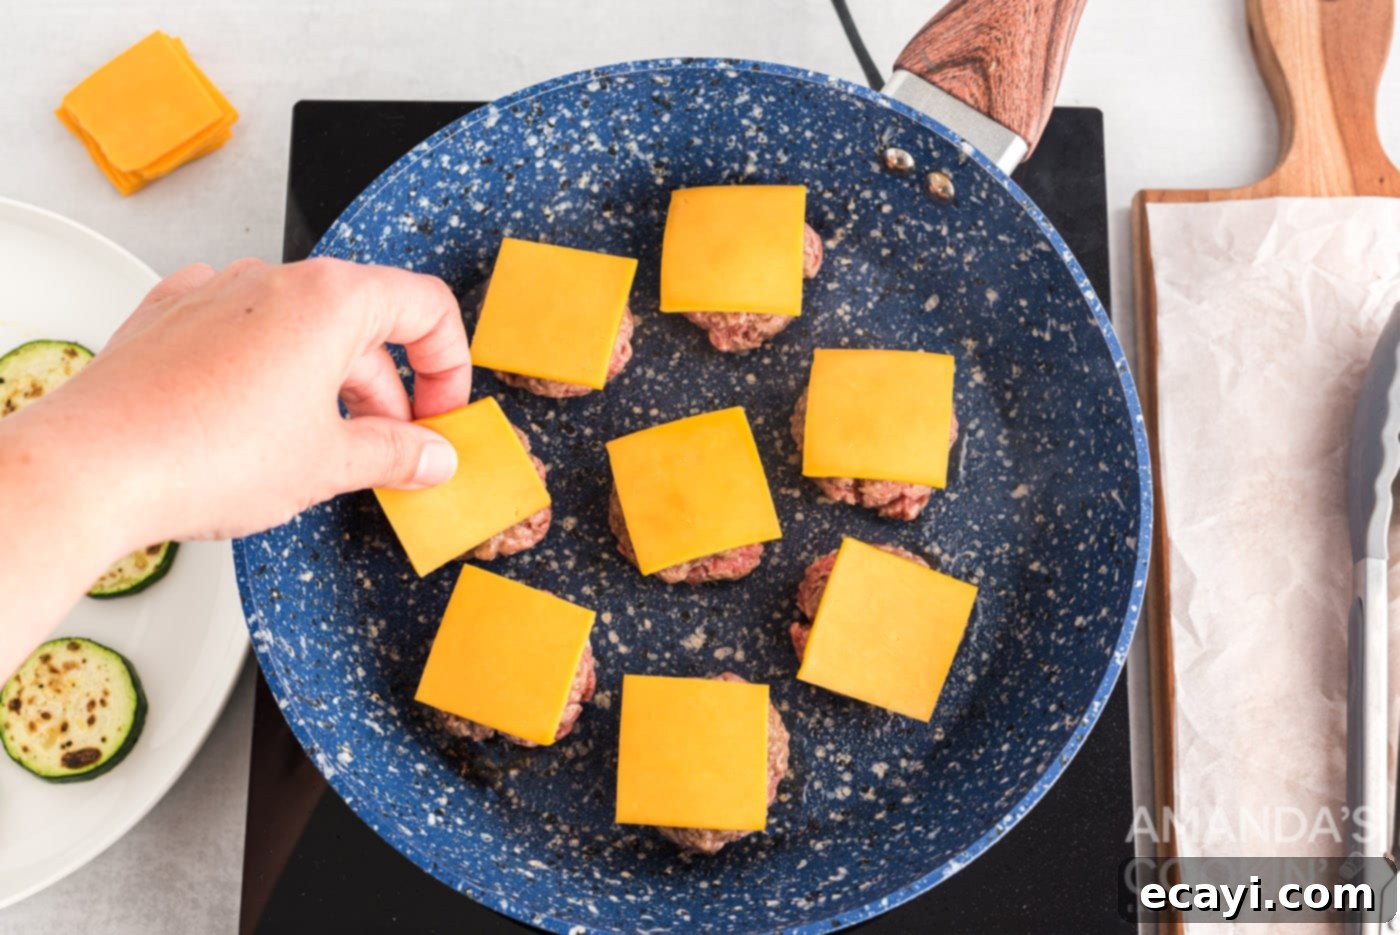
- **Cook the Burger Patties & Melt Cheese:** Using the same skillet (add a little more cooking spray if needed), place the mini burger patties. Brown them on both sides, typically 2-3 minutes per side for medium doneness, depending on their thickness. Once you flip them to cook the second side, immediately place your quartered cheese slices on top of each patty. Continue to cook until the patties reach your desired level of doneness and the cheese is beautifully melted and gooey.

EXPERT TIP: Resist the urge to press down on your burger patties while they are cooking. Doing so squeezes out their flavorful juices, resulting in dry and less tasty burgers. Let them cook undisturbed to lock in the moisture and flavor.

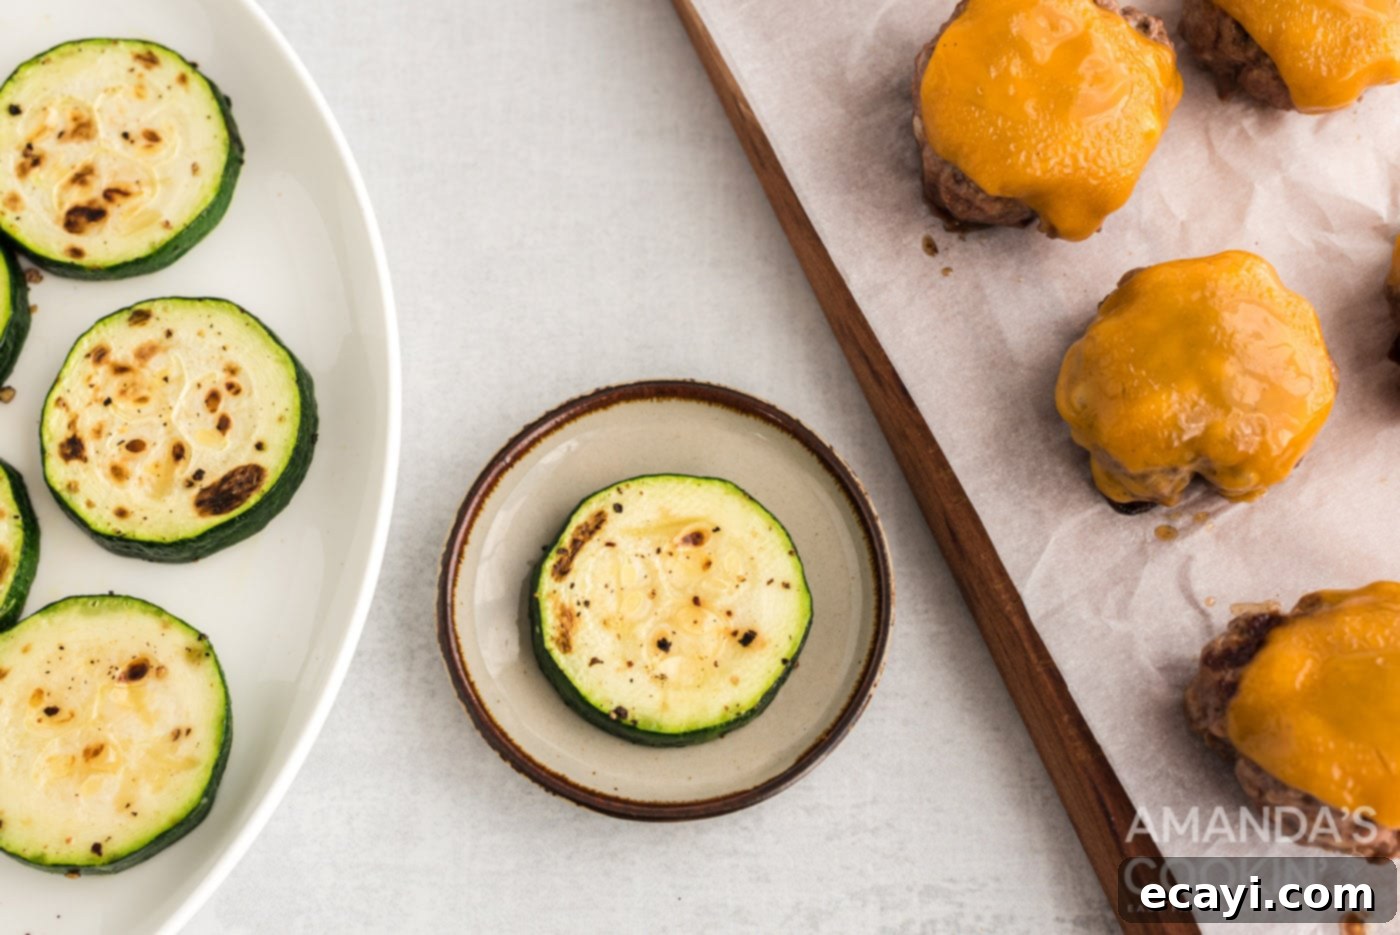
- **Rest the Patties:** Once cooked, remove the patties from the skillet and allow them to rest on a plate for 3-5 minutes. You can cover them loosely with foil or a paper towel. This resting period allows the juices to redistribute throughout the meat, ensuring a more tender and moist patty.
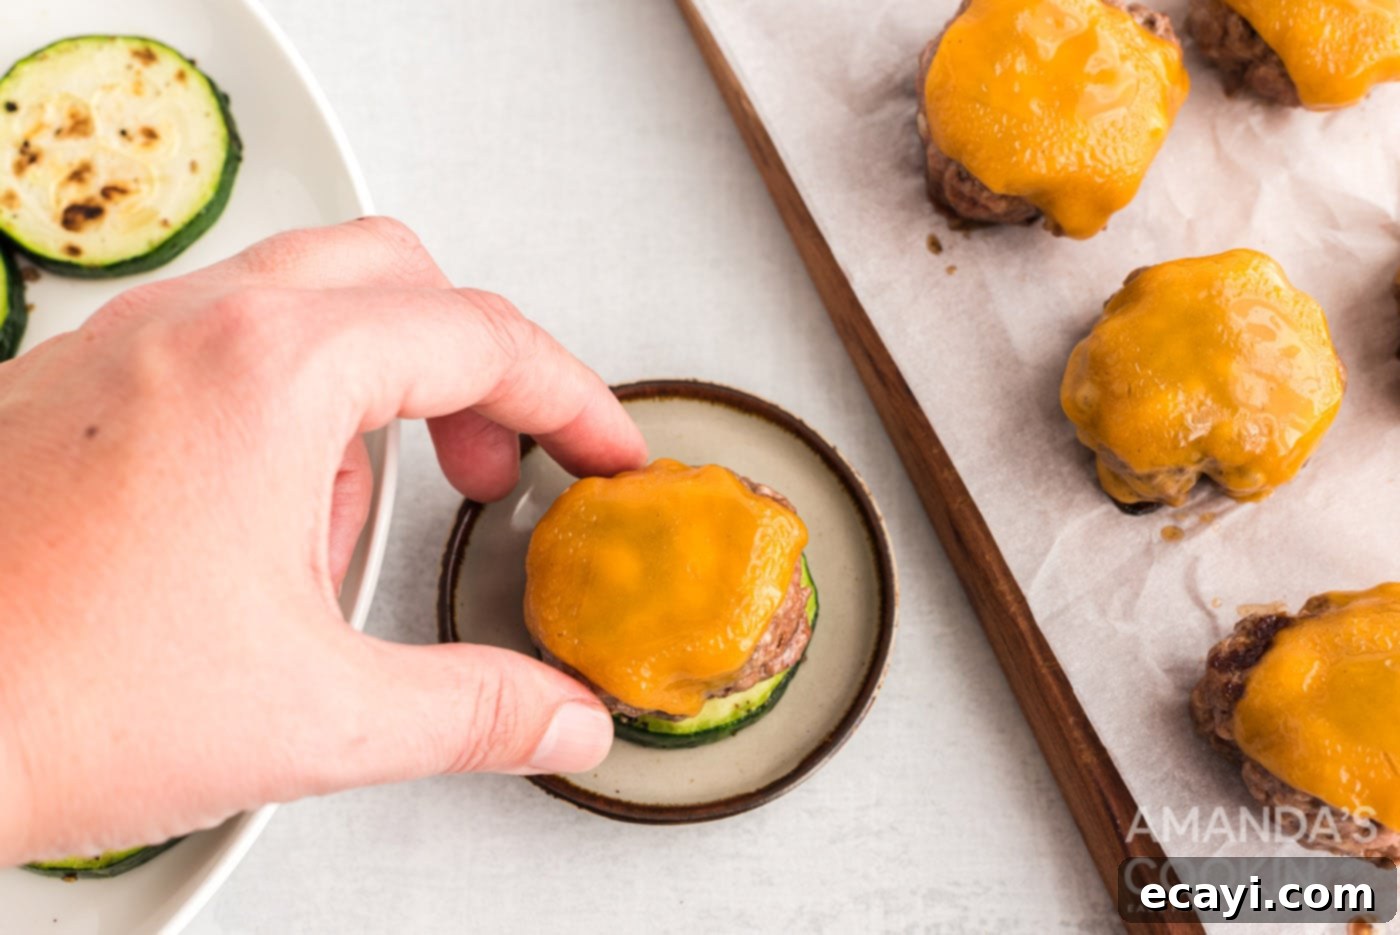
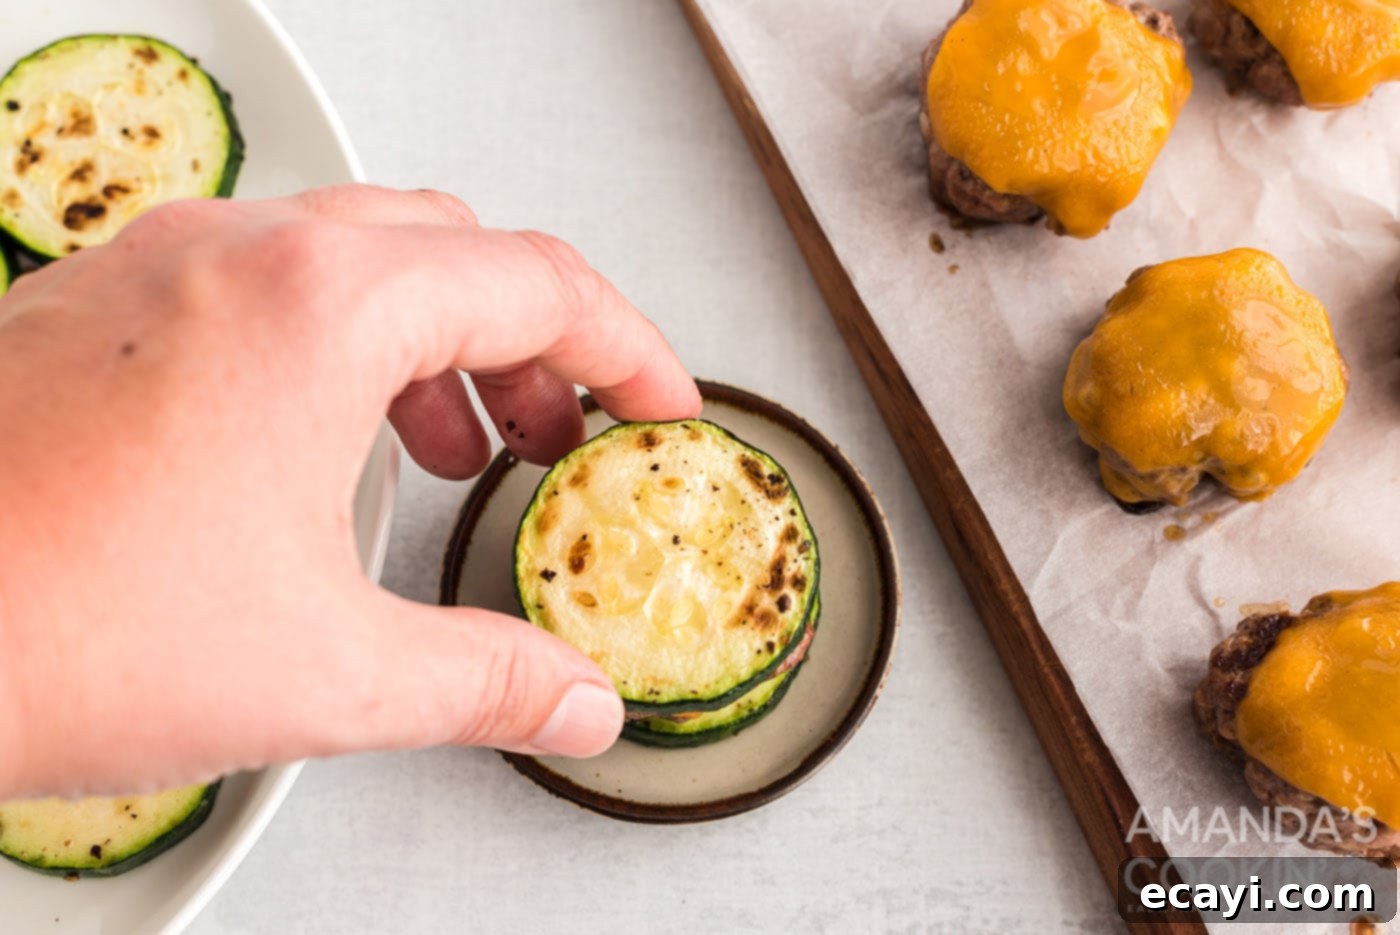
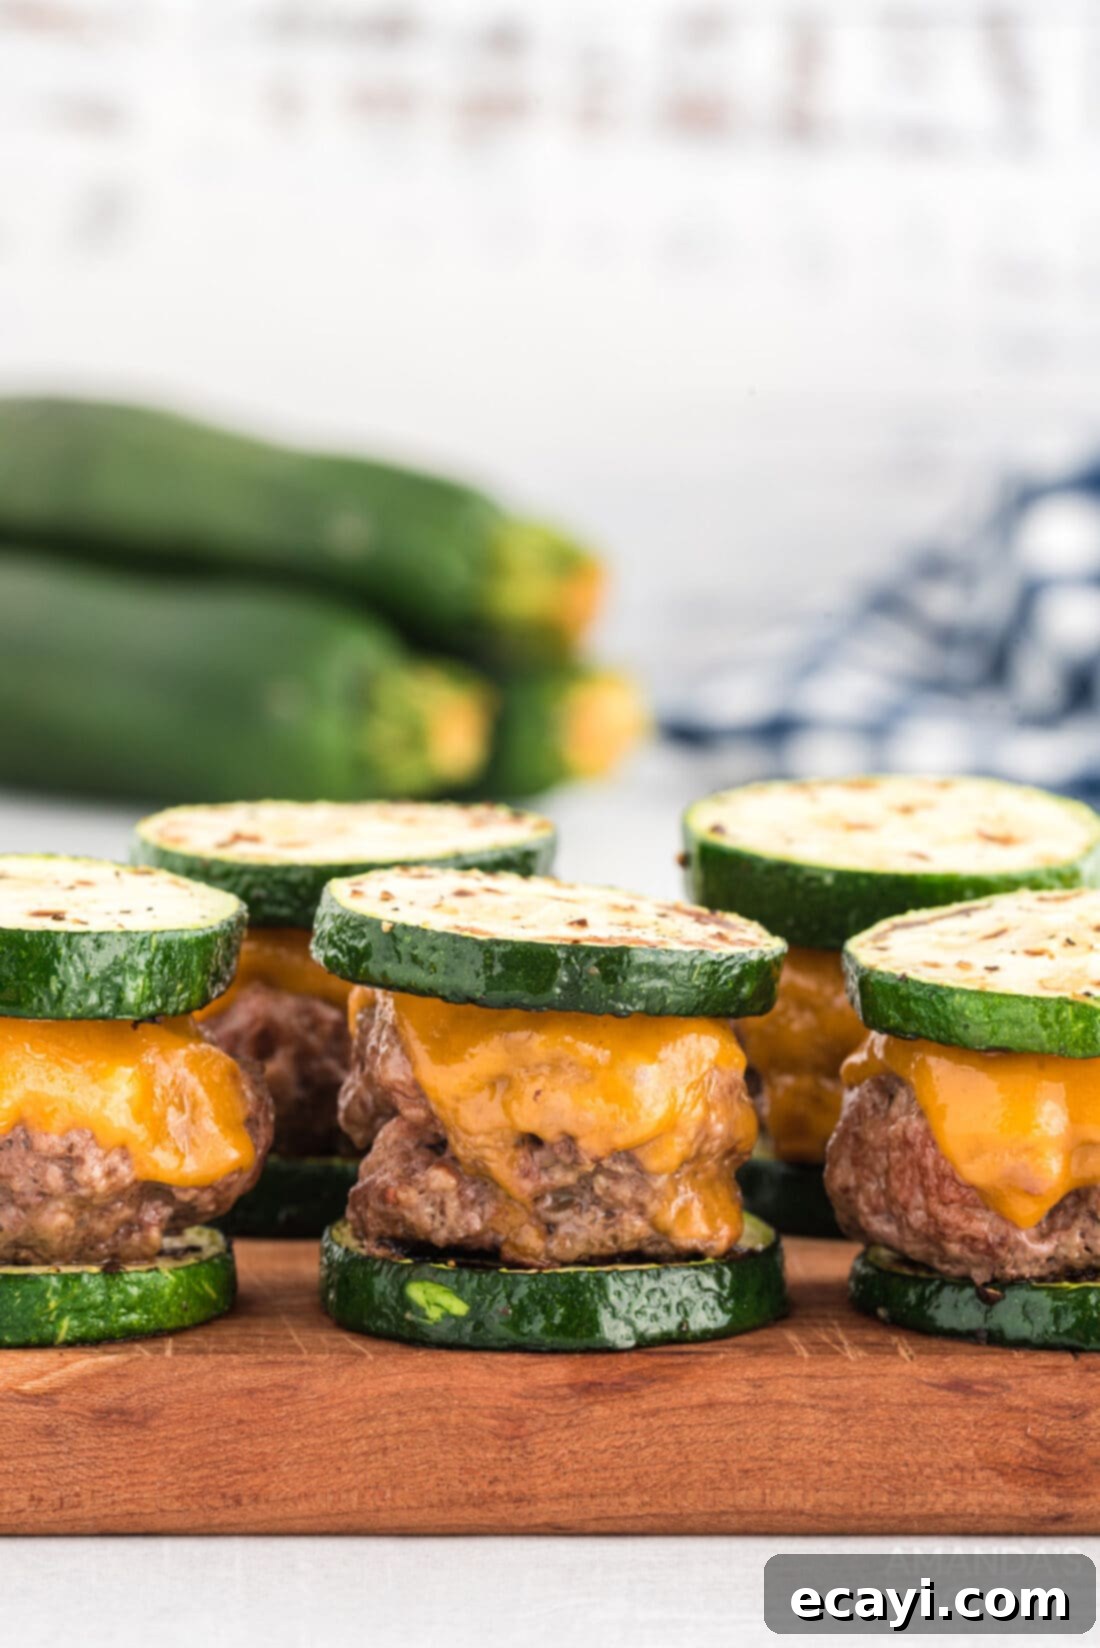
- **Assemble Your Zucchini Sliders:** Now for the fun part! Take one cooked zucchini round and place it on the bottom. Top it with a cheesy burger patty, and then cap it off with another zucchini round.


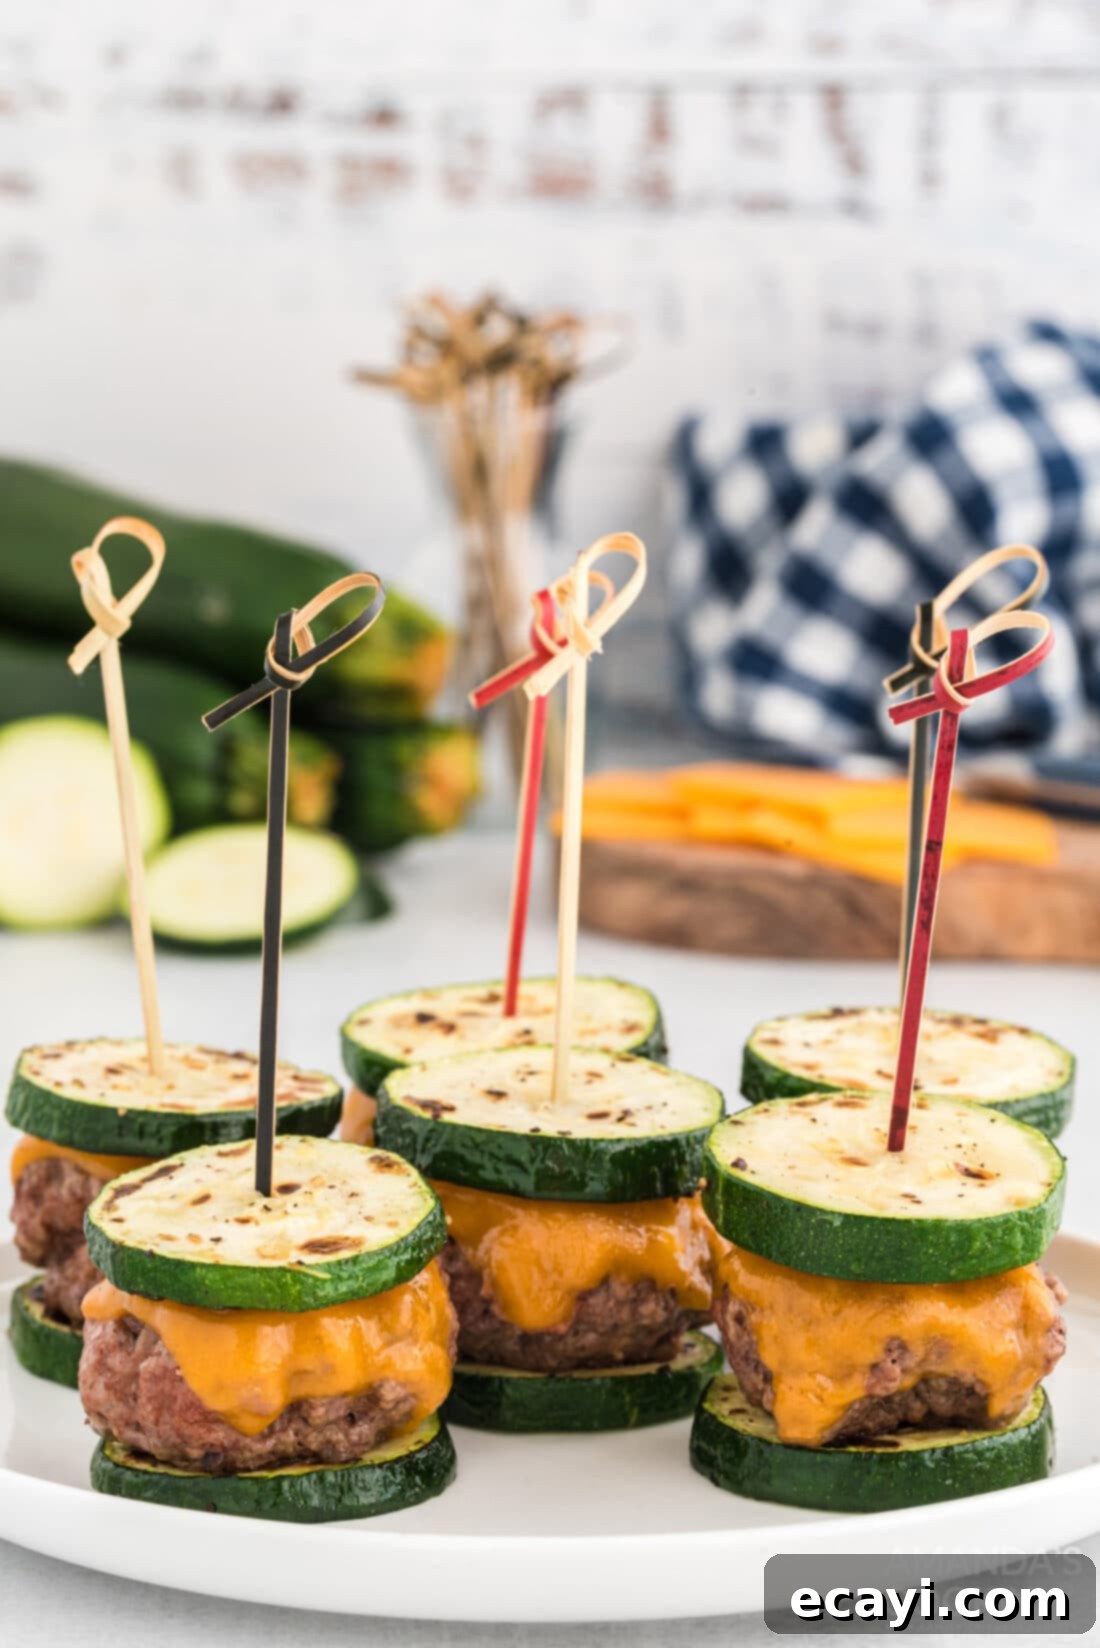
- **Secure and Serve:** For easy handling, especially if you’re adding extra toppings, optionally use a cocktail pick or a decorative toothpick to hold the zucchini sliders securely together. Serve immediately and enjoy these delicious low-carb bites!
Frequently Asked Questions & Expert Tips
Transform your zucchini sliders into gourmet mini-burgers without the bun! Get creative with condiments like classic burger sauce, tangy barbecue sauce, spicy sriracha mayo, ketchup, or mustard. For fresh toppings, add crisp lettuce leaves, thin slices of ripe tomato, crunchy pickle rounds, or even caramelized onions. A sprinkle of crumbled bacon or a fried quail egg can elevate them further. Don’t forget, if you plan on adding multiple toppings, cocktail picks are your best friend for keeping everything neatly together!
Absolutely! You can do some prep work in advance. Slice and season your zucchini rounds, then store them in an airtight container in the refrigerator for up to 24 hours. Prepare your ground beef patties and store them separately in the fridge. When you’re ready to serve, simply cook the zucchini and patties, assemble, and enjoy! This makes them a fantastic option for entertaining.
The key to crisp zucchini is properly preparing it. First, ensure your slices are not too thin; 1/2 inch is ideal. Second, gently pat the zucchini rounds dry with paper towels before seasoning. Salt helps draw out moisture, so after seasoning, let them sit for a few minutes, then blot again before cooking. High heat cooking in a skillet will give them a nice brown crust, sealing in flavor and preventing sogginess.
Yes, you can! For baking, arrange zucchini slices and patties on separate baking sheets. Bake zucchini at 400°F (200°C) for 10-15 minutes until tender-crisp. Bake patties until cooked through, adding cheese during the last few minutes. For grilling, lightly oil both the zucchini and patties. Grill zucchini over medium-high heat for a few minutes per side until grill marks appear and it’s tender. Grill patties until cooked to your liking, adding cheese at the end to melt.
Yes, these zucchini sliders are an excellent choice for a ketogenic diet! Zucchini is naturally very low in carbohydrates, and when paired with lean ground beef and cheese, it creates a satisfying meal that aligns perfectly with keto principles. Always double-check your specific ingredients, like any added seasonings or sauces, to ensure they are also low-carb.
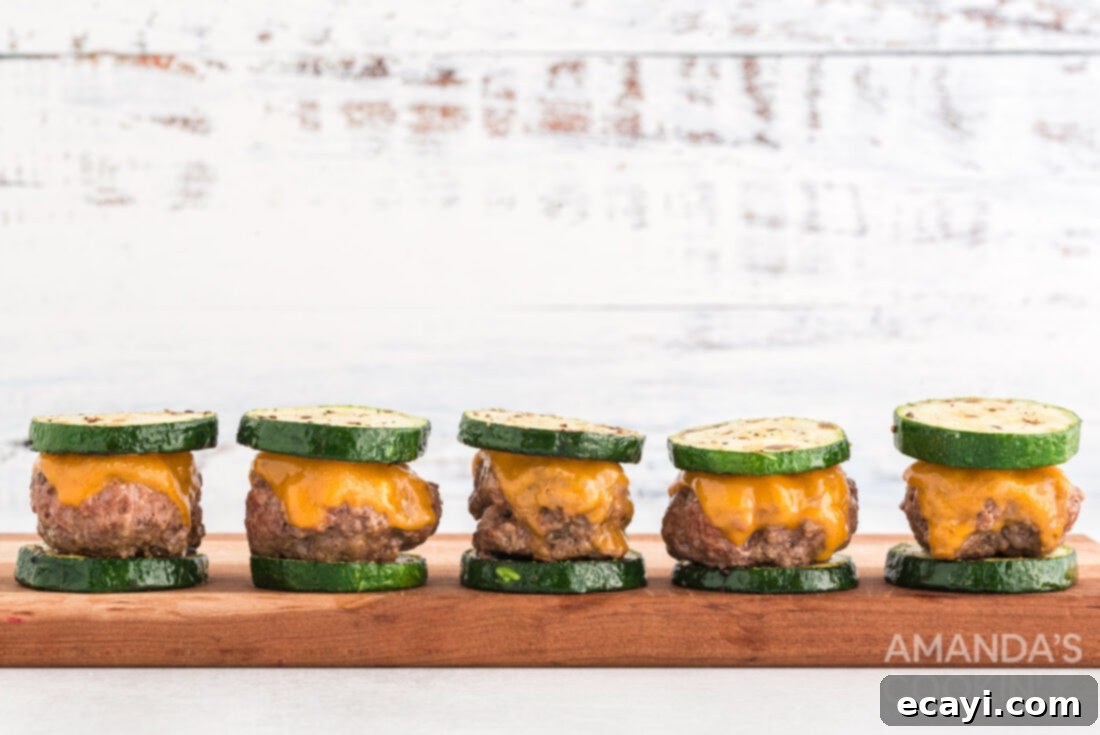
Creative Serving Ideas for Zucchini Sliders
These versatile zucchini sliders are a fantastic addition to almost any gathering! They shine brightly at football parties, game nights, casual backyard barbecues, or simply as a satisfying meal whenever the craving strikes. Elevate your sliders with a variety of optional toppings and condiments. Consider topping the patties with vibrant sliced cherry tomatoes, crisp lettuce, zesty pickle rounds, a dollop of your favorite burger sauce, or a spread of creamy avocado aioli. For an extra kick, a drizzle of sriracha mayo or a sprinkle of fresh herbs like cilantro or parsley can make a world of difference. To make them easier to handle, especially with multiple toppings, we highly recommend securing them with decorative cocktail picks.
Pair these delightful sliders with a fresh green salad, a side of roasted vegetables, or even a batch of cauliflower rice for a complete low-carb meal. They also complement other healthy appetizers beautifully, creating a diverse and enjoyable spread for your guests. Their adaptability makes them a crowd-pleaser for any occasion.
Explore More Low-Carb Recipe Ideas
- Fluffy Cloud Bread
- Flavorful Greek Chicken Kabobs
- Homemade Cauliflower Pizza Crust
- Crispy Keto Cheese Crackers
- Air Fryer Green Bean Fries
- How To Make Zucchini Noodles
I absolutely adore cooking and baking, and my greatest joy is sharing my culinary adventures and delicious recipes with all of you! Remembering to check back for new recipes every day can be tricky, which is why I offer a convenient newsletter delivered straight to your inbox every time a new recipe is posted. Simply subscribe here and start receiving your free daily recipes to inspire your next meal!
Zucchini Sliders
IMPORTANT – There are often Frequently Asked Questions within the blog post that you may find helpful. Simply scroll back up to read them!
Print It
Pin It
Rate It
Save ItSaved!
Ingredients
- 1 large zucchini cut into 16 1/2 inch thick slices
- salt and pepper to taste, for zucchini rounds and burger patties
- 1 lb lean ground beef
- 2 slices cheddar cheese quartered to get 8 slices
- avocado oil cooking spray
Things You’ll Need
-
Large skillet
-
Mixing bowls
Before You Begin
- You’ll need one extra-large zucchini, enough to make 16 1/2 inch thick slices. It’s always safe to have one extra zucchini just in case. You can also use 2-3 medium-sized zucchinis if you can’t find an extra-large one. Look for firm zucchini with vibrant green skin when choosing.
Instructions
-
Slice your zucchini into about 1/2 inch thick rounds. Gently pat dry with a paper towel if needed. You don’t want your zucchini rounds to be too thin, but just thick enough to hold the weight of the burger patties.
-
Season the rounds with salt and pepper to taste and set aside on a paper towel.
-
Add the ground beef to a mixing bowl and season with salt and pepper to taste, mixing until combined.
-
Take a small handful of ground beef and shape it into a patty, you should get 8 small burger patties at about 1-2 inches wide.
-
Grease a skillet with cooking spray. Cook the zucchini until browned with a light crust on top. Remove zucchini from the skillet and set aside.
-
To the same skillet, brown the burger patties on both sides. Once you flip the cook the other side, add your sliced cheese. Cook until patties are at your desired doneness. Do not press down on your patties while cooking, you’ll remove lots of flavorful juices.
-
Remove patties from the skillet and allow to rest on a plate covered with paper towel for 3-5 minutes.
-
Assemble the zucchini sliders by placing one zucchini round on the bottom, followed by a burger patty, and another zucchini round on top. Optionally use a cocktail pick to hold the sliders together. Enjoy
Nutrition
The recipes on this blog are tested with a conventional gas oven and gas stovetop. It’s important to note that some ovens, especially as they age, can cook and bake inconsistently. Using an inexpensive oven thermometer can assure you that your oven is truly heating to the proper temperature. If you use a toaster oven or countertop oven, please keep in mind that they may not distribute heat the same as a conventional full sized oven and you may need to adjust your cooking/baking times. In the case of recipes made with a pressure cooker, air fryer, slow cooker, or other appliance, a link to the appliances we use is listed within each respective recipe. For baking recipes where measurements are given by weight, please note that results may not be the same if cups are used instead, and we can’t guarantee success with that method.
