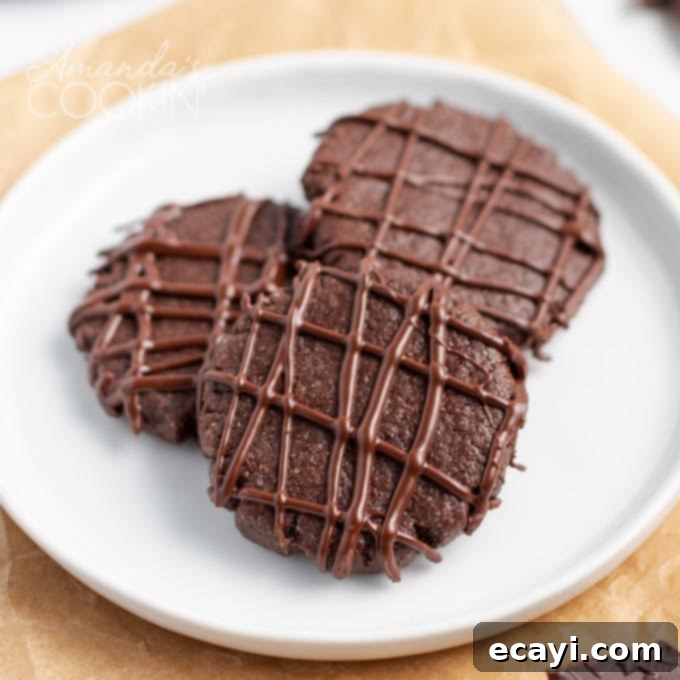
Decadent Chocolate Mint Cookies with Elegant Chocolate Drizzle
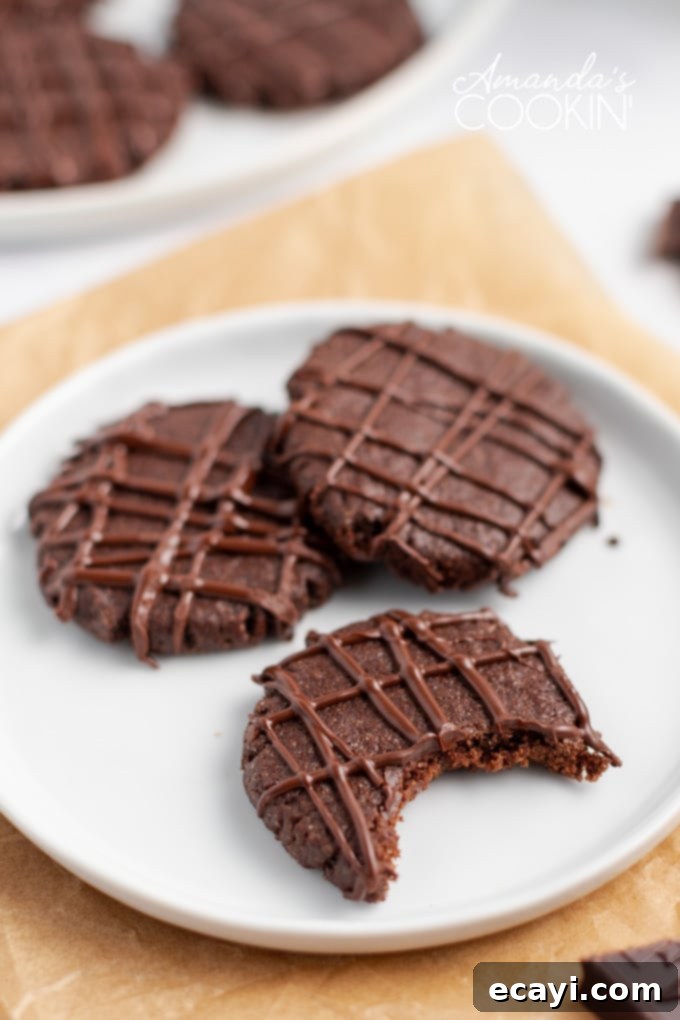
Indulge in the irresistible charm of these delightful chocolate mint cookies, adorned with beautiful chocolate drizzles. Perfect for any time of year, these cookies offer a harmonious blend of rich chocolate and refreshing mint that is simply captivating. They are remarkably easy to prepare, making them an excellent choice for festive occasions like Christmas cookie exchanges, family gatherings, or even a thoughtful homemade gift. Imagine bundling these soft, chewy, and intensely minty treats with other holiday favorites such as chocolate peanut butter cookies or some luscious mint cheesecake brownies for a truly impressive holiday assortment. These cookies are not just a dessert; they are a celebration in every bite, promising to bring joy and a refreshing burst of flavor to anyone who tries them.
The Magic of Chocolate Mint Cookies: A Flavorful Journey
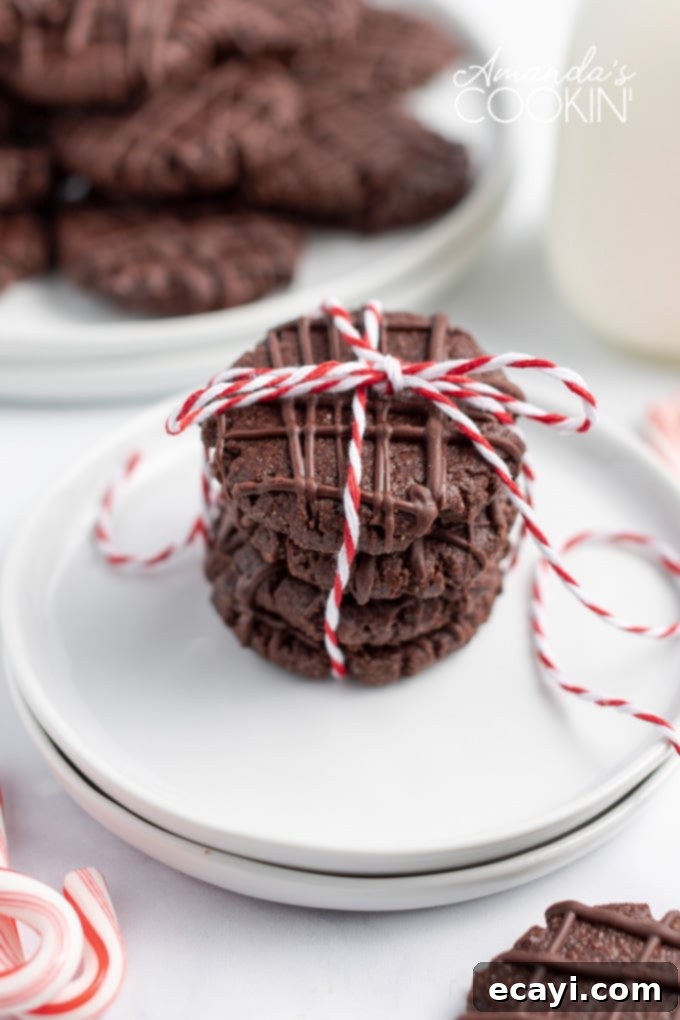
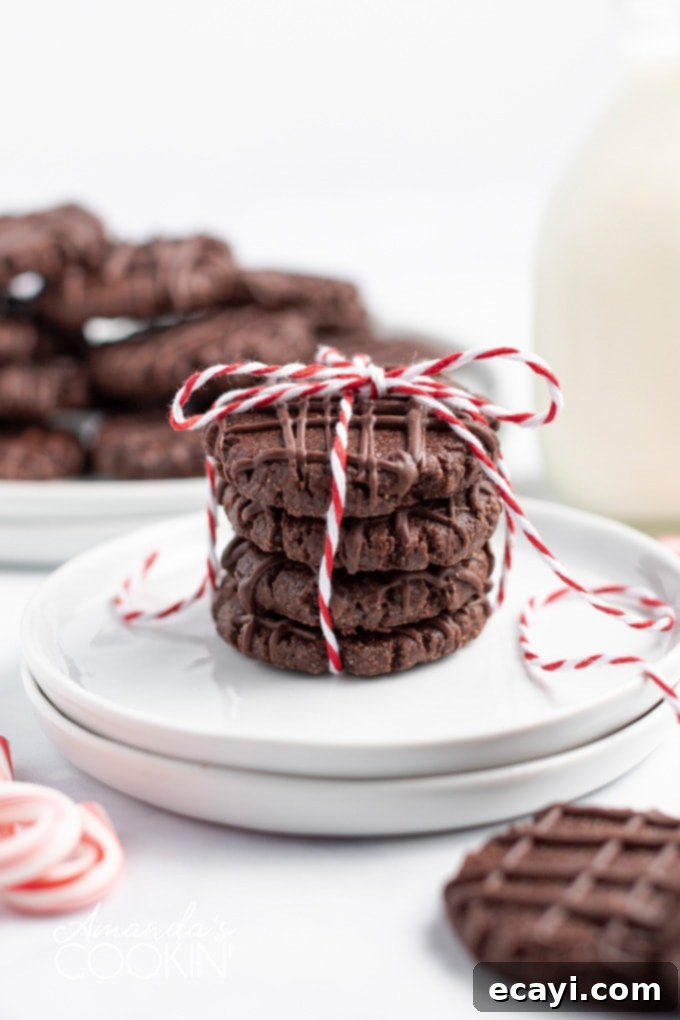
The combination of chocolate and mint is a classic for a reason, creating a balance of deep, comforting richness and a cool, invigorating freshness. These cookies perfectly capture that magic, delivering a soft, chewy texture that melts in your mouth. The addition of a delicate chocolate drizzle not only enhances their visual appeal, making them holiday-ready and Instagram-worthy, but also adds another layer of decadent chocolate flavor. Once the elegant drizzle has dried, these cookies can be neatly stacked and tied with baker’s twine, transforming them into a charming and delicious edible gift that’s sure to impress. Beyond Christmas, these versatile cookies are also a fantastic addition to your St. Patrick’s Day celebrations, bringing a touch of green-inspired freshness to the occasion.
Why You’ll Love This Chocolate Mint Cookie Recipe
There are countless reasons why these chocolate mint cookies will quickly become a cherished recipe in your baking repertoire. Their alluring flavor profile, combining the depth of cocoa with the crisp coolness of peppermint, makes them uniquely satisfying. The texture is key: perfectly soft and chewy, never dry or crumbly. This recipe is designed to be straightforward, even for novice bakers, ensuring a successful batch every time. The beautiful chocolate drizzle adds a touch of elegance, making these cookies suitable for both casual snacking and formal dessert tables. Whether you’re looking for a crowd-pleasing dessert, a festive treat for a cookie exchange, or simply a comforting snack, these chocolate mint cookies deliver on all fronts. They offer a delightful sensory experience, from the vibrant aroma of mint and chocolate filling your kitchen to the satisfying bite of a perfectly baked cookie.
Expert Baking Tips for Perfect Chocolate Mint Cookies
Achieving bakery-quality cookies at home is simpler than you might think, especially with a few key baking insights. These tips are designed to help you create the most delicious and beautifully structured chocolate mint cookies:
- Understanding Softened Butter: The term “softened butter” is crucial. It means butter that is pliable enough to leave an indentation when pressed, but not melted or greasy. Melted butter will change the cookie’s texture, leading to a flatter, crispier result, rather than the desired soft chewiness. To achieve this, simply take your unsalted butter out of the refrigerator approximately 20-30 minutes before you begin your recipe, depending on your room temperature.
- Room Temperature Eggs: Just like butter, eggs at room temperature incorporate more evenly into the dough, creating a smoother, more cohesive batter. This helps with emulsification and contributes to a more uniform texture in your baked cookies. It’s a simple step that makes a noticeable difference. Take your eggs out at the same time as the butter for convenience.
- Quality Chocolate for Drizzling: When it comes to the chocolate drizzle, the quality of your chocolate matters. Higher-quality chocolate, such as Ghirardelli or another premium brand, contains more cocoa butter, which allows it to melt more smoothly and consistently. This results in a shinier, more professional-looking drizzle that hardens beautifully and tastes richer. Avoid using chocolate chips for melting if possible, as they contain stabilizers that prevent them from melting as fluidly as baking chocolate bars or wafers.
- Accurate Flour Measurement: For consistent results, always measure your flour correctly. The most accurate method is to use a kitchen scale to measure by weight. If you’re using measuring cups, spoon the flour into the cup and then level it off with the back of a knife. Scooping flour directly from the bag can pack it down, leading to too much flour and a dry, dense cookie.
- Don’t Overmix the Dough: Once the dry ingredients are added to the wet ingredients, mix only until just combined. Overmixing develops the gluten in the flour, which can lead to tough, dense cookies. A few streaks of flour remaining are perfectly fine; they will disappear during baking.
- Know Your Oven: Ovens can vary widely in temperature, even if they’re set to the same degree. Using an inexpensive oven thermometer can help you ensure your oven is truly heating to the proper temperature. This can prevent under-baked or over-baked cookies.
Essential Ingredients for Your Chocolate Mint Masterpiece
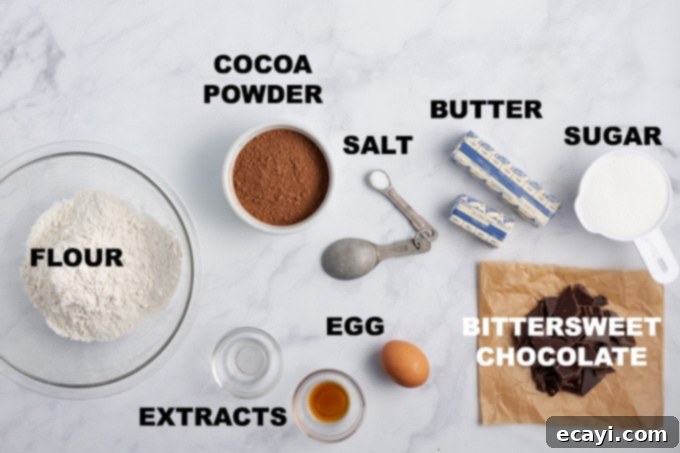
Crafting the perfect chocolate mint cookie starts with a selection of quality ingredients. Each component plays a vital role in achieving that rich flavor and ideal texture:
- Dry Ingredients:
- All-purpose flour: Provides the structure for the cookies. Ensure it’s spooned and leveled for accurate measurement.
- Unsweetened cocoa powder: This is where the deep, intense chocolate flavor comes from. Using unsweetened cocoa allows you to control the sugar content and prevents the cookies from being overly sweet. Dutch-processed cocoa powder can also be used for an even darker, milder chocolate flavor.
- Salt: A crucial ingredient that balances the sweetness and enhances all the other flavors, especially the chocolate.
- Wet Ingredients:
- Unsalted butter: The foundation of most delicious cookies, providing richness and tenderness. Using unsalted butter allows you to control the total salt content in the recipe. Remember, softened, not melted!
- Peppermint extract: The star of the show for that invigorating mint flavor. Be mindful of the quantity, as a little goes a long way. Ensure you are using peppermint extract, not spearmint, for the classic flavor.
- Vanilla extract: A common flavor enhancer in baking that complements the chocolate and mint, adding a warm, aromatic note.
- Granulated sugar: Sweetens the cookies and helps with moisture and tenderness.
- Egg: Acts as a binder, adding moisture and richness, and helping the cookies achieve their soft, chewy texture.
- Garnish/Decoration:
- Bittersweet chocolate (for drizzling): This provides the perfect contrast to the sweetness of the cookie and the refreshing mint. Bittersweet chocolate melts beautifully and hardens with a satisfying snap, creating an elegant finish. As mentioned, use a high-quality brand for best results.
Recommended Baking Tools
Having the right tools can make your baking experience smoother and more enjoyable, leading to better results. For these chocolate mint cookies, consider these helpful items:
- Cookie scoop: Ensures uniform cookie sizes for even baking and a professional appearance.
- Insulated baking sheets: Helps prevent the bottoms of your cookies from browning too quickly, resulting in a more evenly baked cookie.
- Silicone baking mats: A reusable, non-stick surface that promotes even baking and easy release of cookies, eliminating the need for parchment paper.
- Wire cooling rack: Essential for allowing air to circulate around the cookies, cooling them evenly and preventing them from becoming soggy.
Step-by-Step Guide to Making Delicious Chocolate Mint Cookies
Follow these detailed instructions to create your batch of irresistible chocolate mint cookies. Precision and attention to detail will ensure a perfect outcome.
- Prepare Your Workspace: Begin by preheating your oven to 350 degrees F (175 degrees C). This ensures the oven is at the correct temperature when your cookies are ready to bake. Next, prepare two insulated baking sheets by lining them with parchment paper or silicone baking mats. This non-stick surface helps prevent sticking and promotes even baking.
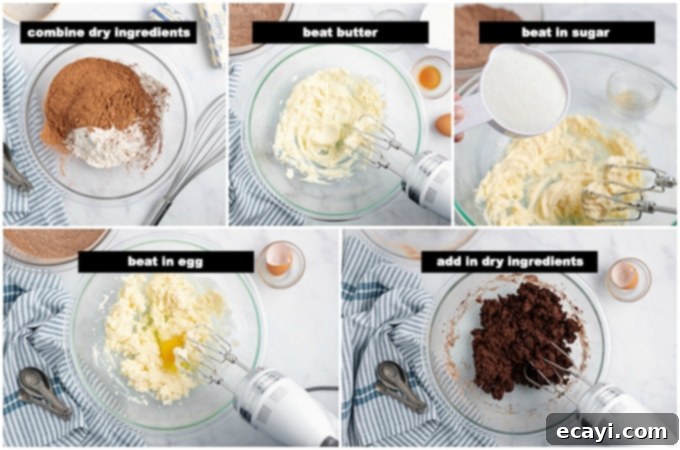
- Combine Dry Ingredients: In a medium-sized mixing bowl, whisk together the all-purpose flour, unsweetened cocoa powder, and salt. Whisking ensures these dry ingredients are thoroughly combined and evenly distributed, which is crucial for uniform flavor and texture throughout the cookies. Set this bowl aside.
- Cream Wet Ingredients: In a large mixing bowl, using an electric mixer (either a stand mixer with a paddle attachment or a hand mixer), beat the softened unsalted butter until it is smooth and creamy. This typically takes about 1-2 minutes. Then, beat in the peppermint extract and vanilla extract, ensuring they are well incorporated. Gradually add the granulated sugar to the butter mixture, beating on medium-high speed until the mixture becomes light and fluffy, usually 2-3 minutes. This process, known as creaming, incorporates air into the butter and sugar, which contributes to the cookies’ light and chewy texture. Finally, add the large egg and beat until it is fully blended into the mixture.
- Combine Wet and Dry: With the mixer on low speed, gradually add the whisked dry ingredients to the wet ingredients. Beat just until the ingredients are blended. It’s important not to overmix the dough at this stage, as overmixing can lead to tough cookies. A few streaks of flour are acceptable; they will disappear during baking.
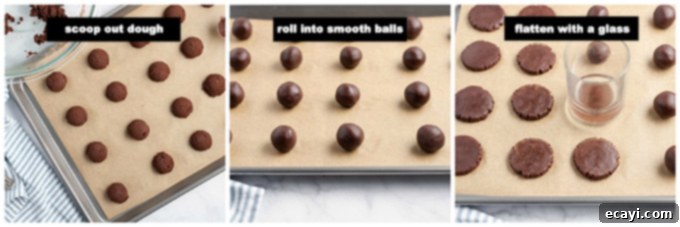
- Shape the Cookies: Use a cookie scoop to portion out uniform balls of dough. This not only makes the process quicker but also ensures all cookies are roughly the same size, promoting even baking. Place the dough rounds on your prepared baking sheets, spacing them about 1 inch apart. These cookies don’t spread excessively, so you can fit a good number on each sheet without overcrowding.
- Flatten and Smooth: Gently roll each dough ball between your palms to smooth out any rough edges. Then, flatten each ball slightly using the bottom of a drinking glass that has been dipped in water. Dipping the glass in water prevents the dough from sticking to the glass, ensuring a clean, even flatten.
- Bake to Perfection: Bake the cookies in your preheated oven for approximately 13 minutes, or until the tops and edges appear dry to the touch. The cookies will be soft when they come out of the oven. Avoid overbaking, as this can lead to dry, hard cookies.
- Cool the Cookies: Once baked, carefully transfer the baking sheets with the cookies to wire cooling racks. Allow them to cool completely on the racks. Cooling on a wire rack ensures air circulation, preventing the bottoms from becoming soggy and allowing them to firm up properly before drizzling.
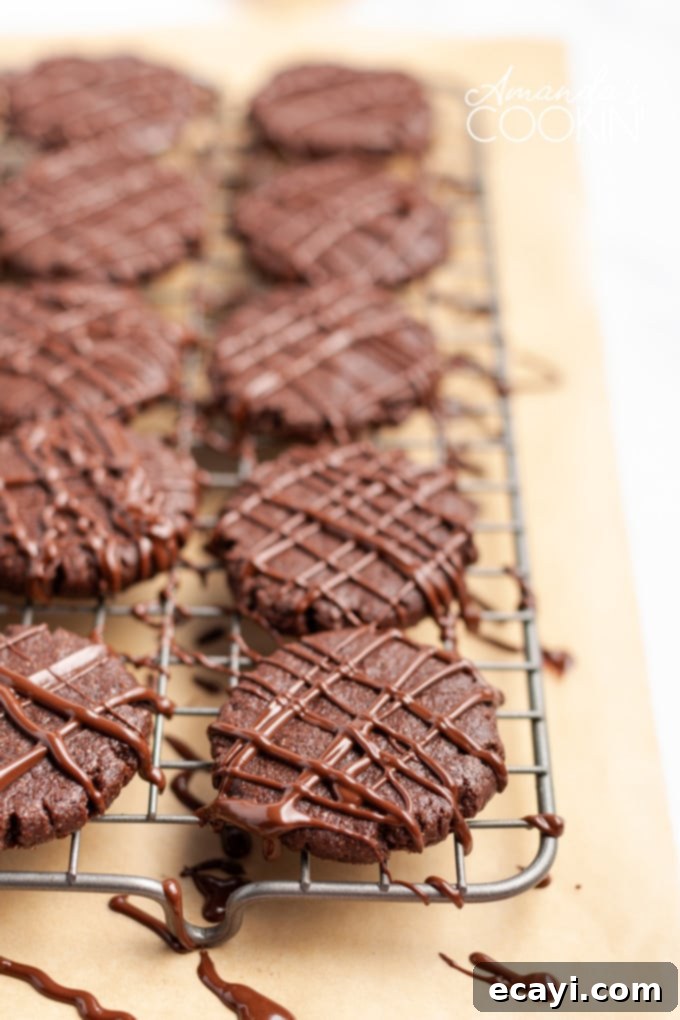
- Prepare for Drizzling: To make the drizzling process neat, gently scoot the cooled cookies together on the wire rack so they are lined up and lightly touching. Place a piece of waxed paper or parchment paper underneath the cooling rack. This will catch any excess chocolate drips, making cleanup much easier.
- Melt the Chocolate: Line a small jar or drinking glass with a zipper sandwich bag. Place the chopped bittersweet chocolate into the bag. Melt the chocolate in the microwave in short intervals (15-20 seconds), stirring well after each interval, until it is completely smooth and fluid. Be careful not to overheat the chocolate, as this can cause it to seize.
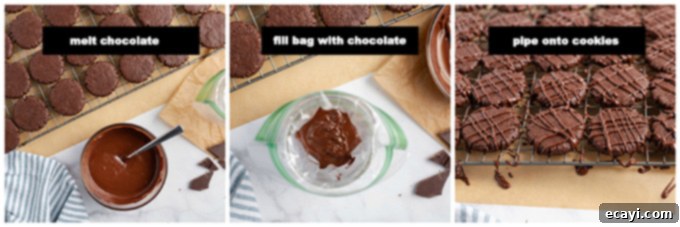
- Drizzle with Precision: Once the chocolate is melted and smooth within the bag, remove the bag from the jar. Squeeze out any excess air from the bag and then snip a tiny corner off with scissors. This creates a makeshift piping bag.
- Create Your Design: Use your piping bag to elegantly drizzle chocolate back and forth over all the cookies in one direction. For a visually appealing criss-cross effect, rotate the cooling rack and repeat the drizzling motion in the other direction. Let the chocolate harden completely. To speed up this process, you can carefully place the cookies in the refrigerator for 10-15 minutes.
Serving Suggestions and Storage
These chocolate mint cookies are delightful on their own, but here are some ideas to elevate your enjoyment:
- Classic Pairing: Serve them with a tall glass of cold milk, a steaming mug of coffee, or a refreshing cup of hot mint tea.
- Dessert Enhancement: Crumble them over a scoop of vanilla or mint chocolate chip ice cream for an added layer of texture and flavor. They also make a fantastic garnish for cheesecakes or brownies.
- Gift Giving: As mentioned, stack them elegantly and tie with baker’s twine or place them in a decorative tin for a homemade gift.
Storage: Once the chocolate drizzle has fully hardened, store the cookies in an airtight container at room temperature for up to 3-5 days. For longer storage, you can freeze the baked cookies without the drizzle for up to 3 months. Thaw them at room temperature, then add the fresh chocolate drizzle before serving for the best presentation and taste. However, in our experience, these cookies disappear so quickly that storage is rarely a concern!
Creative Variations to Try
While the classic chocolate mint cookie is perfect as is, you can always experiment with these variations:
- Chocolate Chip Boost: Fold in 1/2 cup of mini chocolate chips into the dough before baking for an extra chocolatey bite.
- White Chocolate Drizzle: Instead of bittersweet chocolate, use melted white chocolate for a striking visual contrast and a different flavor profile. You can even tint the white chocolate with green food coloring for St. Patrick’s Day!
- Intensify the Mint: If you’re a true mint lover, you can slightly increase the peppermint extract to 1 teaspoon, but be careful not to overpower the chocolate.
- Add Sprinkles: While the chocolate drizzle is still wet, sprinkle with green or festive sprinkles for extra holiday cheer.
- Mint Chocolate Chunks: Replace some of the cocoa powder with finely chopped mint chocolate candy bars for a more complex mint chocolate experience.
I genuinely hope you and your loved ones cherish these chocolate mint cookies as much as we do. It’s often a challenge to keep a batch in the house for more than a day or two, so don’t even ask me how long they will keep for! They are truly a crowd-pleaser and a delightful indulgence.
CHOCOLATE CHIP COOKIES COOKBOOK!
Chocolate Chip Cookies are a favorite in just about every household. But there’s more than one way to make these delicious hand-held treats. Get 20 different recipes! See ALL my cookbooks here!
20 yummy chocolate chip cookie recipes plus tips for baking your best batch! ONLY $9.97!!
Other Mint-Flavored Recipe Ideas You’ll Love
If you’re a fan of the classic chocolate and mint combination, be sure to explore these other delicious recipes:
- Mint Chocolate Lasagna: Layers of creamy, dreamy mint and chocolate goodness.
- Homemade Mint Chocolate Chip Ice Cream: A refreshing classic, made fresh at home.
- Mint Shamrock Shake: A fun, naturally green beverage perfect for St. Patrick’s Day or any day.
- Chocolate Mint Brownies: Fudgy brownies topped with a vibrant mint frosting.
- Grasshopper Pie: A light, airy, and creamy mint pie that’s simply irresistible.

Chocolate Mint Cookies
IMPORTANT – There are often Frequently Asked Questions within the blog post that you may find helpful. Simply scroll back up to read them!
Print It
Rate It
Save ItSaved!
Ingredients
- 1 ½ cups all purpose flour
- ¾ cup unsweetened cocoa powder about 2.8 ounces
- ¼ teaspoon salt
- ¾ cup unsalted butter softened
- ¾ teaspoon peppermint extract
- ½ teaspoon vanilla extract
- 1 cup sugar
- 1 large egg
- 6 ounces bittersweet chocolate chopped
Things You’ll Need
-
Cookie scoop
-
Insulated baking sheets
-
Silicone baking mat
-
Wire cooling racks
Before You Begin
- Remember that softened butter doesn’t mean melted. Take your butter from the refrigerator 20 minutes before starting your recipe.
- For best results, take your eggs out at the same time as the butter.
- I prefer to use a higher quality chocolate like Ghirardelli for the drizzles as it melts better.
Instructions
-
Preheat oven to 350°F (175°C). Line 2 baking sheets with parchment paper or silicone mats.
-
In a medium bowl, whisk together flour, cocoa powder, and salt. Set aside. In a large bowl, using an electric mixer, beat butter until smooth. Beat in peppermint and vanilla extracts. Gradually beat in sugar. Add egg and beat until just blended. Add dry ingredients and beat until just combined.
-
Using a cookie scoop, form uniform balls of dough. Place them on the prepared baking sheets, about 1 inch apart.
-
Roll balls to smooth, then flatten each with a flat-bottomed drinking glass dipped in water.
-
Bake for about 13 minutes, or until tops and edges are dry to the touch. Transfer baking sheets with cookies to wire racks to cool completely.
-
Once cooled, scoot cookies together on the cooling rack to line them up, placing waxed paper underneath to catch chocolate drips.
-
Line a jar or drinking glass with a zipper sandwich bag. Add chopped bittersweet chocolate to the bag and melt in the microwave in short intervals, stirring until smooth.
-
Remove the bag from the jar, squeeze out all air, and snip a small corner off the bag with scissors.
-
Drizzle chocolate back and forth over the cookies in one direction. Rotate and repeat in the other direction for a criss-cross effect. Let chocolate harden, or place cookies in the refrigerator to speed up the process.
Nutrition
The recipes on this blog are tested with a conventional gas oven and gas stovetop. It’s important to note that some ovens, especially as they age, can cook and bake inconsistently. Using an inexpensive oven thermometer can assure you that your oven is truly heating to the proper temperature. If you use a toaster oven or countertop oven, please keep in mind that they may not distribute heat the same as a conventional full sized oven and you may need to adjust your cooking/baking times. In the case of recipes made with a pressure cooker, air fryer, slow cooker, or other appliance, a link to the appliances we use is listed within each respective recipe. For baking recipes where measurements are given by weight, please note that results may not be the same if cups are used instead, and we can’t guarantee success with that method.
This post originally appeared here on Sep 12, 2011.
