The Timeless Wacky Cake: An Effortless Eggless and Dairy-Free Chocolate Dessert
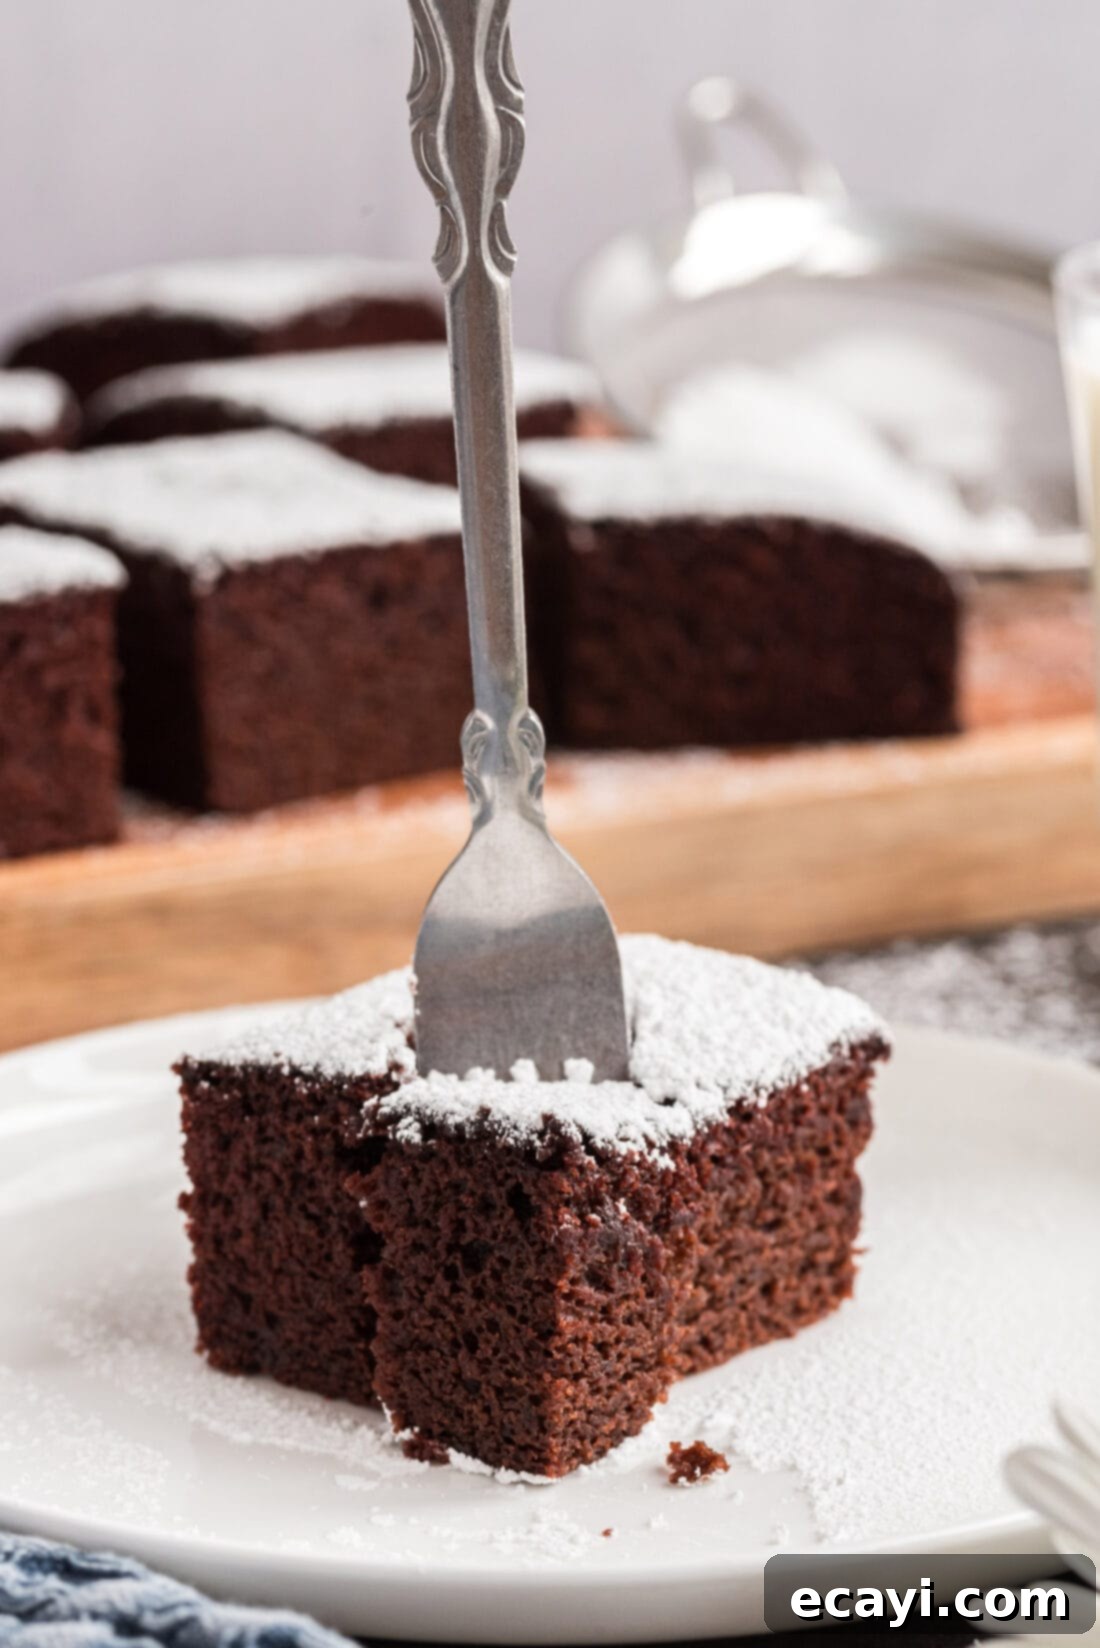
The Wacky Cake, a legendary chocolate dessert born out of the resourceful spirit of the Great Depression, stands as a testament to ingenuity in the kitchen. This beloved vintage recipe requires no eggs, no butter, and no milk – relying instead on common pantry items to create a surprisingly moist and decadent treat. Its enduring popularity stems not only from its simple ingredients but also from its foolproof preparation, making it an ideal choice for bakers of all skill levels, especially those seeking delicious egg-free or dairy-free options.
The Enduring Appeal of Wacky Cake: A Recipe Born from Ingenuity
Known by various endearing names such as Crazy Cake, Depression Cake, or simply Crazy Wacky Cake, this recipe earned its moniker because it boldly defies conventional baking wisdom by omitting essential ingredients like eggs and butter. During periods of hardship, particularly the Great Depression and World War II, rationing was a stark reality. Many ingredients we consider staples today – eggs, butter, sugar, and milk – were in critically short supply or prohibitively expensive.
This challenging environment spurred home bakers to innovate, leading to the creation of recipes that utilized readily available, budget-friendly pantry items. The Wacky Cake emerged as a brilliant solution, allowing families to enjoy a comforting dessert even when traditional ingredients were scarce. It’s a remarkable example of culinary resilience and creativity in the face of adversity. Beyond its historical significance, Wacky Cake holds modern relevance as a naturally vegan and allergy-friendly option, perfect for those with egg or dairy sensitivities.
The Science Behind the “Crazy” Rise
The true genius of Wacky Cake lies in its simple yet effective leavening method. The secret is the precise, last-minute combination of vinegar and baking soda. When these two ingredients meet, they create a chemical reaction that produces carbon dioxide gas. This gas forms bubbles within the batter, causing the cake to rise and become light and airy, much like the classic baking soda volcano experiment you might remember from science class. This reaction eliminates the need for eggs to bind and leaven, and for butter or milk to provide richness, making the cake incredibly accessible and versatile. Vintage recipes often tell fascinating stories, and the ingenuity behind Wacky Cake is truly wonderful!
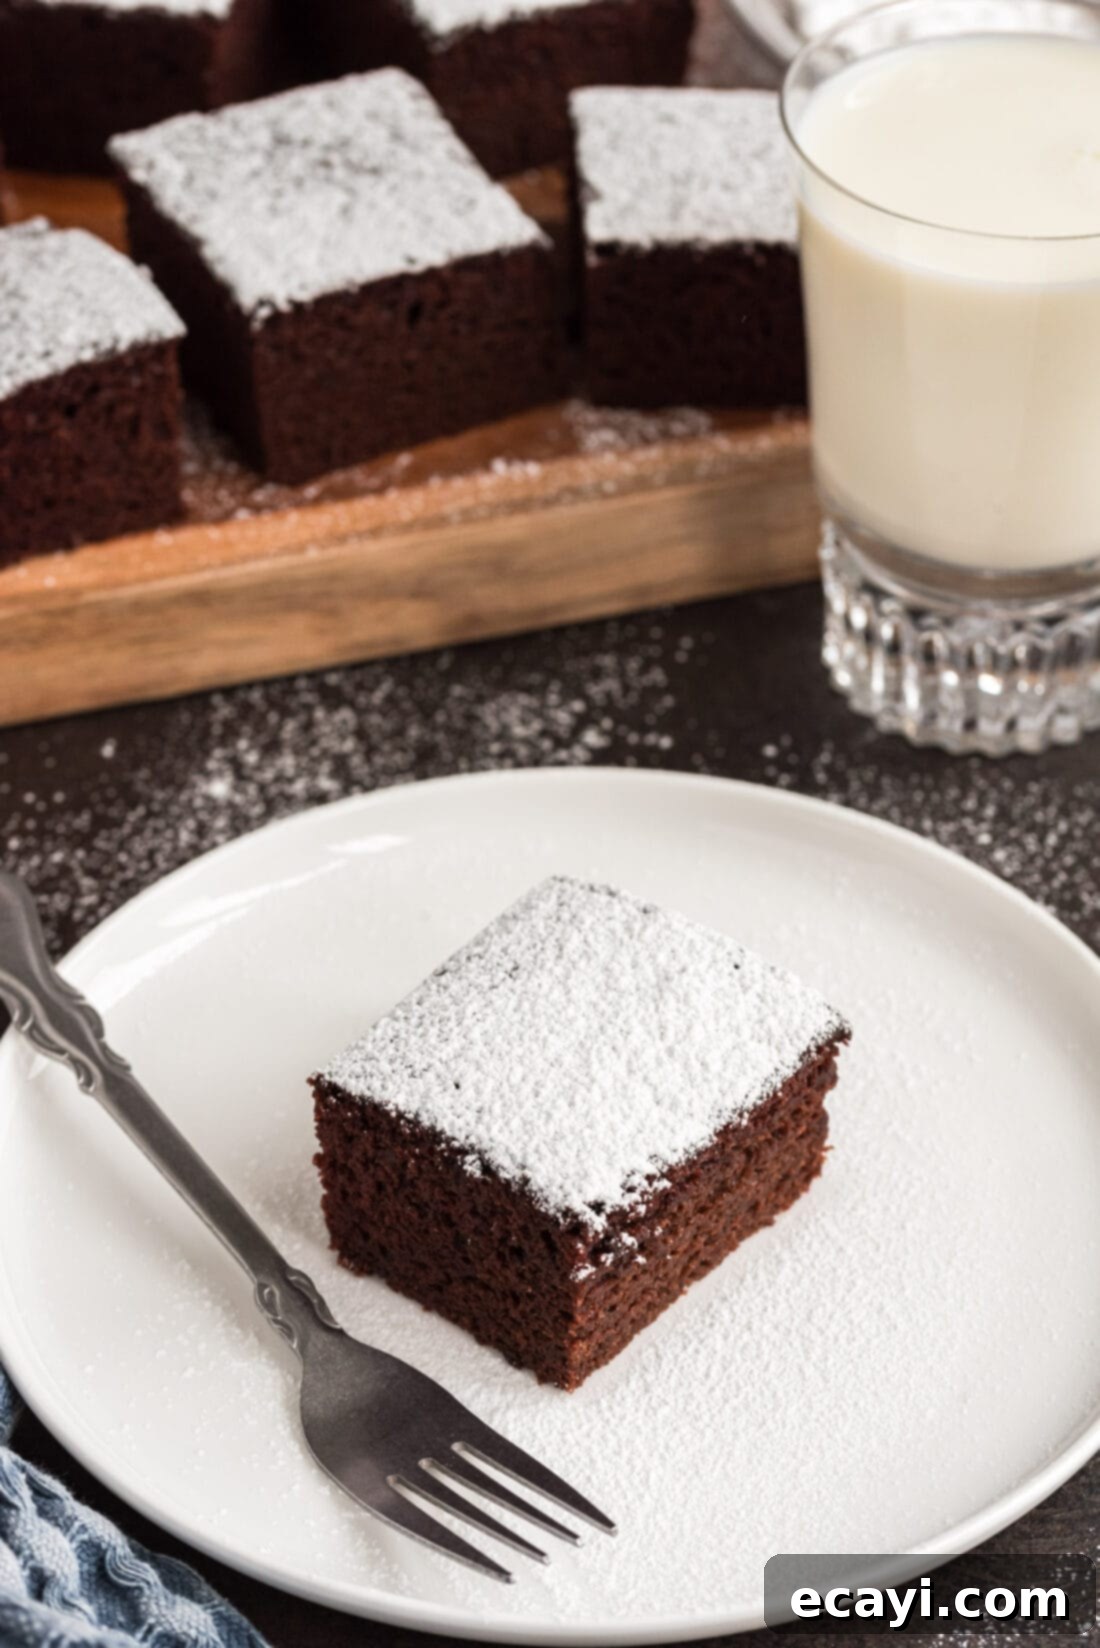
Simple Ingredients, Incredible Flavor
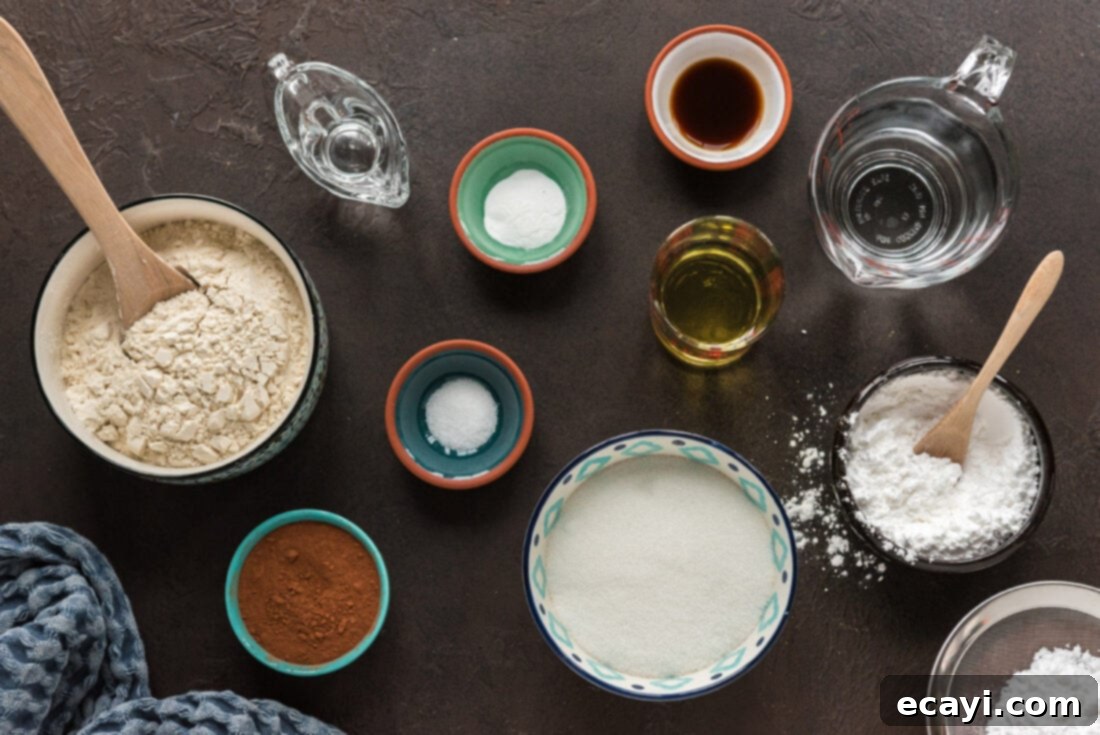
One of the most appealing aspects of Wacky Cake is its reliance on basic ingredients you likely already have in your pantry. Despite the minimal list, the result is a rich, moist, and satisfying chocolate cake that belies its humble origins. For precise measurements and step-by-step instructions, refer to the printable recipe card at the end of this article.
Essential Dry Ingredients
- All-Purpose Flour: The primary structural component of the cake. Standard all-purpose flour works perfectly for this recipe, creating a tender crumb. While not tested, gluten-free all-purpose flour blends (containing xanthan gum) might work as a substitute, but results may vary.
- Granulated White Sugar: Provides sweetness and helps with browning and moisture retention. You can experiment with slightly less sugar if you prefer a less sweet cake, or use a blend of granulated and brown sugar for a subtle caramel note, though white granulated sugar is traditional.
- Unsweetened Cocoa Powder: This is where the rich chocolate flavor comes from. Using good quality unsweetened cocoa powder is key. Dutch-processed cocoa will yield a darker cake with a milder chocolate flavor, while natural unsweetened cocoa powder (which is acidic) will enhance the reaction with baking soda, potentially leading to a slightly higher rise and a more intense chocolate flavor. Either works well.
- Baking Soda: This alkaline ingredient is crucial for the leavening process. It reacts with the acidic vinegar to produce carbon dioxide, creating the cake’s light texture. Ensure your baking soda is fresh for optimal results.
- Salt: A pinch of salt is essential to balance the sweetness and enhance all the flavors in the cake, particularly the chocolate. Don’t skip it!
Liquid Essentials & Leavening Agents
- Oil: Using a neutral-flavored oil like canola oil, vegetable oil, or grapeseed oil provides the necessary fat and moisture without introducing dairy. It contributes to the cake’s tender crumb and keeps it moist for days. You could also try coconut oil (melted), but its flavor might be noticeable. I personally use canola oil and haven’t extensively experimented with other types, so if you do, please share your results!
- White Vinegar: The acidic counterpart to baking soda, vital for the “wacky” leavening reaction. White vinegar is preferred for its neutral flavor, ensuring it doesn’t impart any unwanted taste to your chocolate cake. Apple cider vinegar could be used in a pinch, but its flavor might subtly alter the final taste.
- Vanilla Extract: A classic flavor enhancer that deepens the chocolate notes and adds a layer of complexity to the cake. Good quality pure vanilla extract will make a noticeable difference.
- Cold Water: Hydrates the dry ingredients and helps facilitate the chemical reaction between the baking soda and vinegar. The cold temperature is often specified in vintage recipes, and while warm water might also work, sticking to the original instruction ensures the intended reaction rate.
- Powdered Sugar (for dusting): Used as a simple, elegant topping after the cake has cooled. This is optional but adds a lovely finish.
How to Bake Your Own Wacky Cake: A Step-by-Step Guide
These step-by-step photos and detailed instructions are provided to help you visualize each stage of making this delightful cake. For a printable version of this recipe, complete with precise measurements and comprehensive instructions, please Jump to the Recipe at the bottom of this post.
- First, preheat your oven to 350 degrees F (175 degrees C). This ensures the oven is at the correct temperature when the cake goes in, which is important for even baking and proper rise.
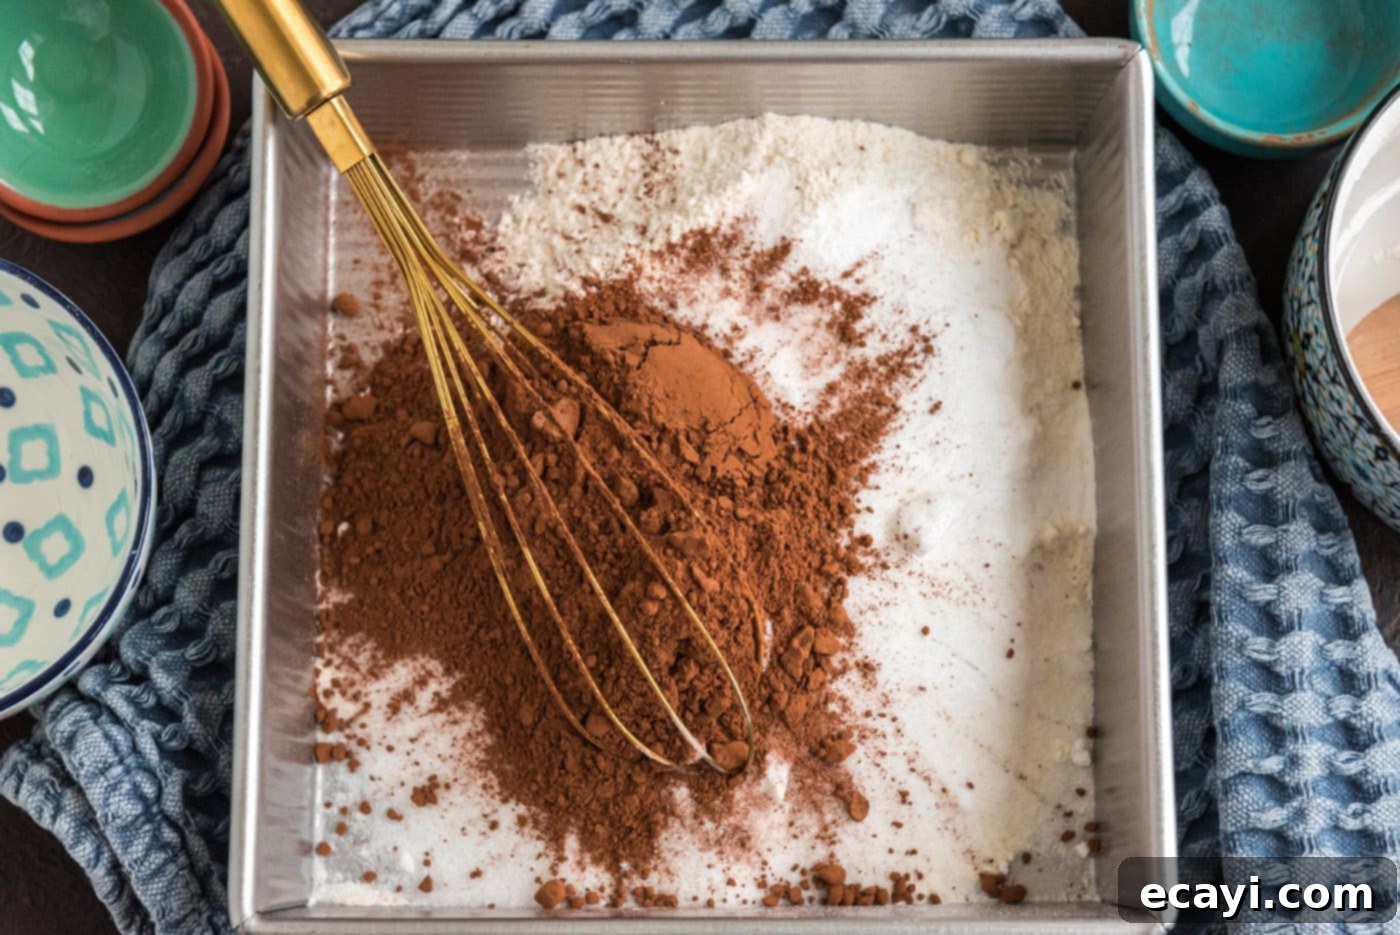
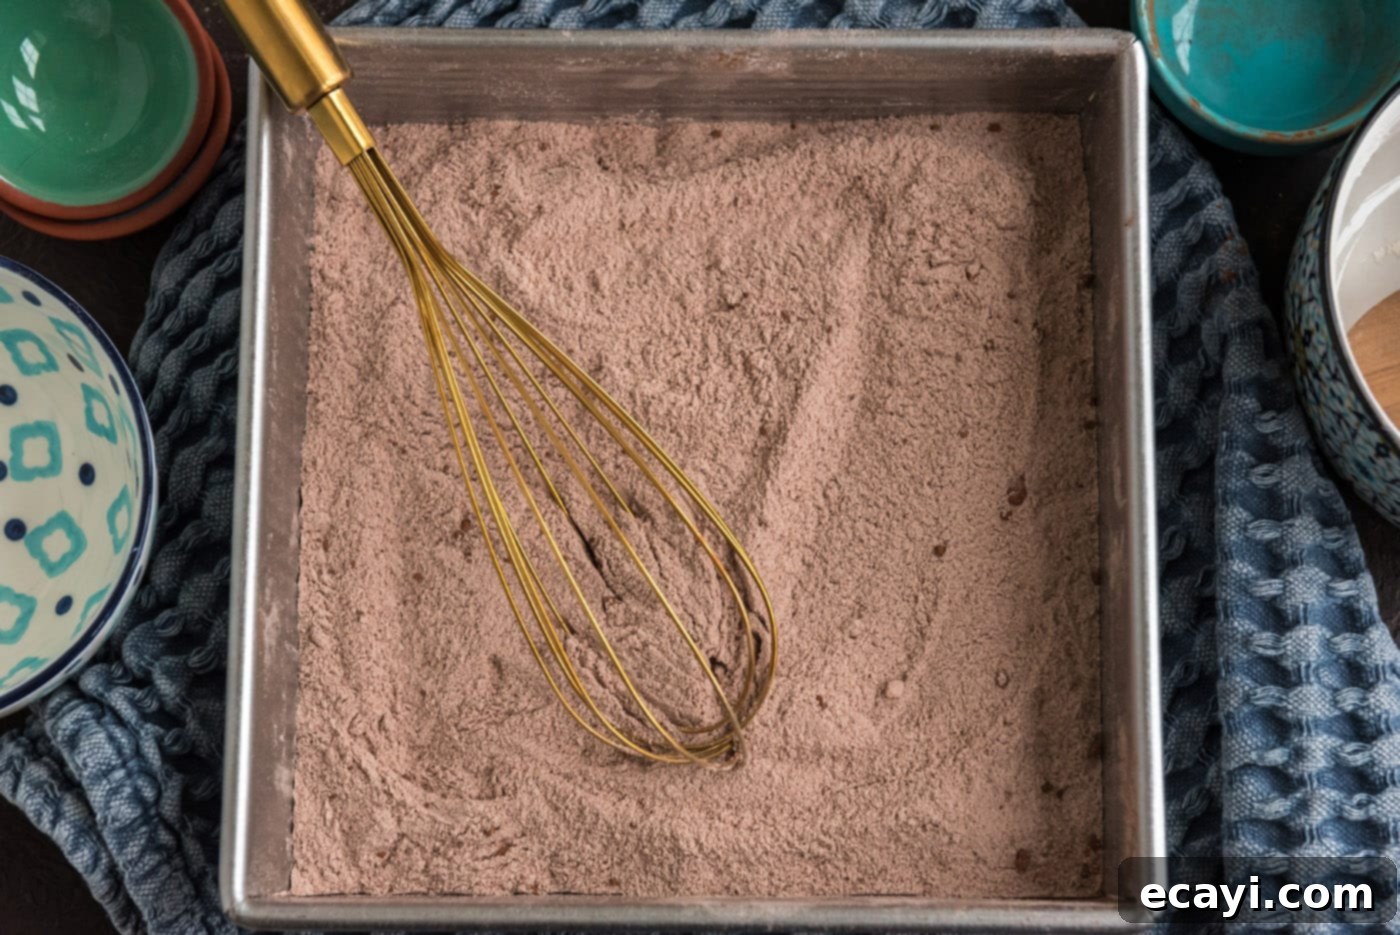
- In an 8-inch square baking pan, combine all the dry ingredients: flour, granulated sugar, salt, baking soda, and unsweetened cocoa powder. Whisk them thoroughly with a fork or whisk until they are well combined and there are no lumps of cocoa or baking soda. This direct mixing in the pan simplifies cleanup and is a signature of this “wacky” method.


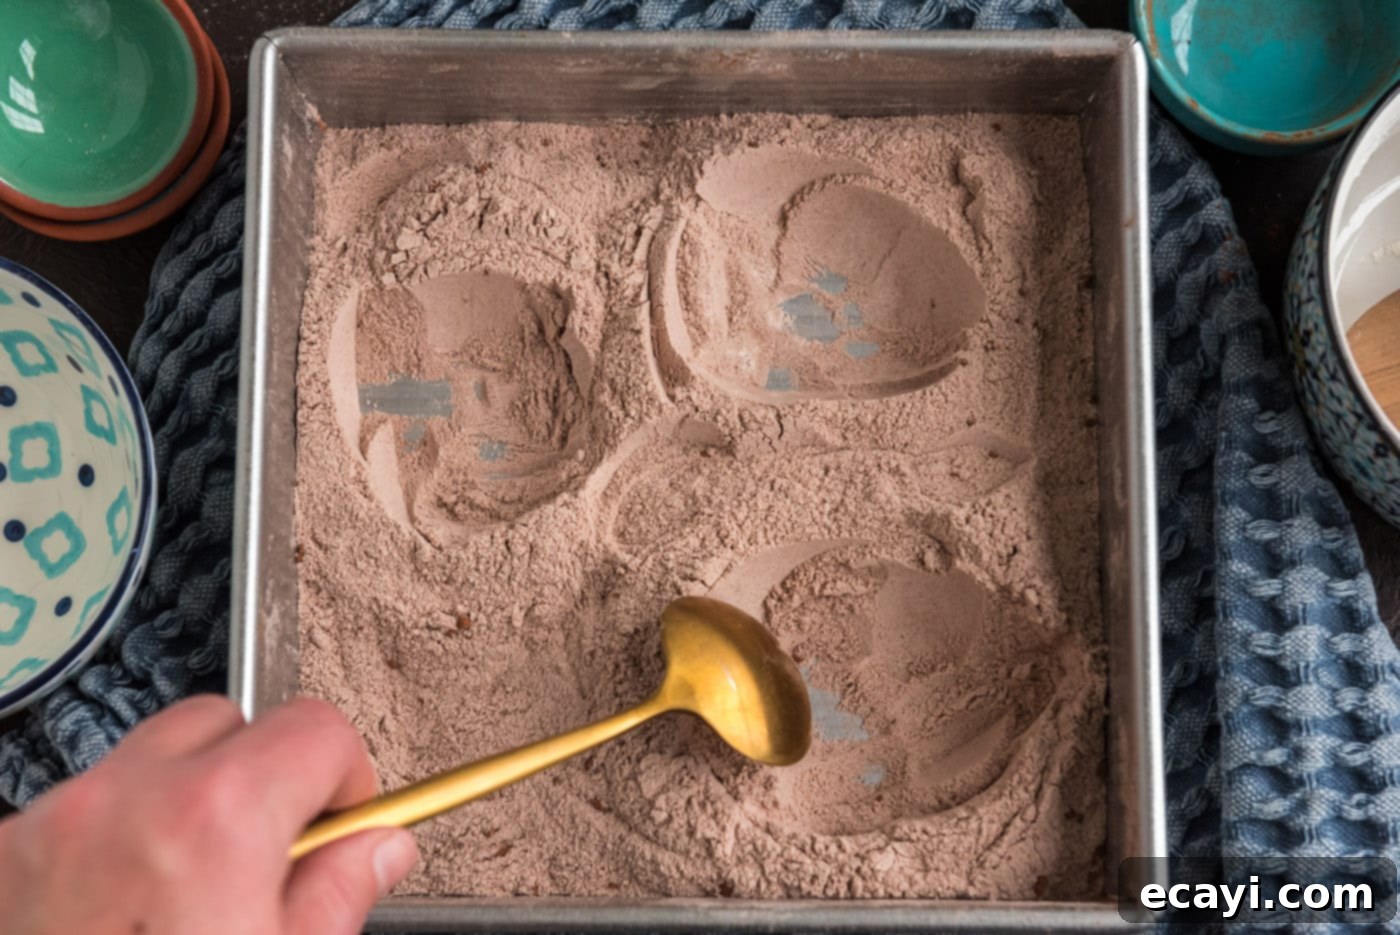
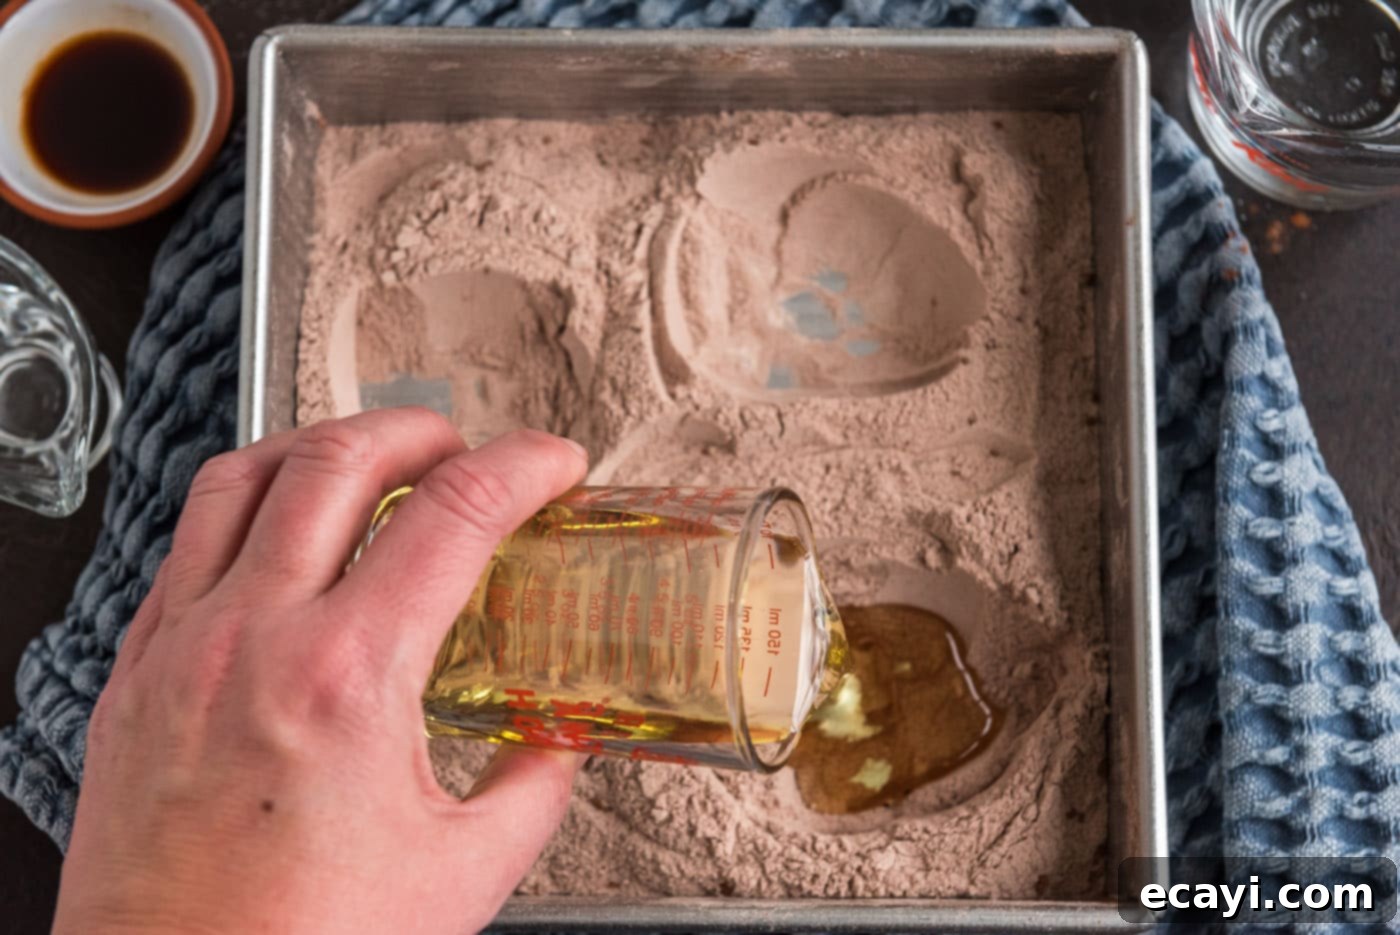
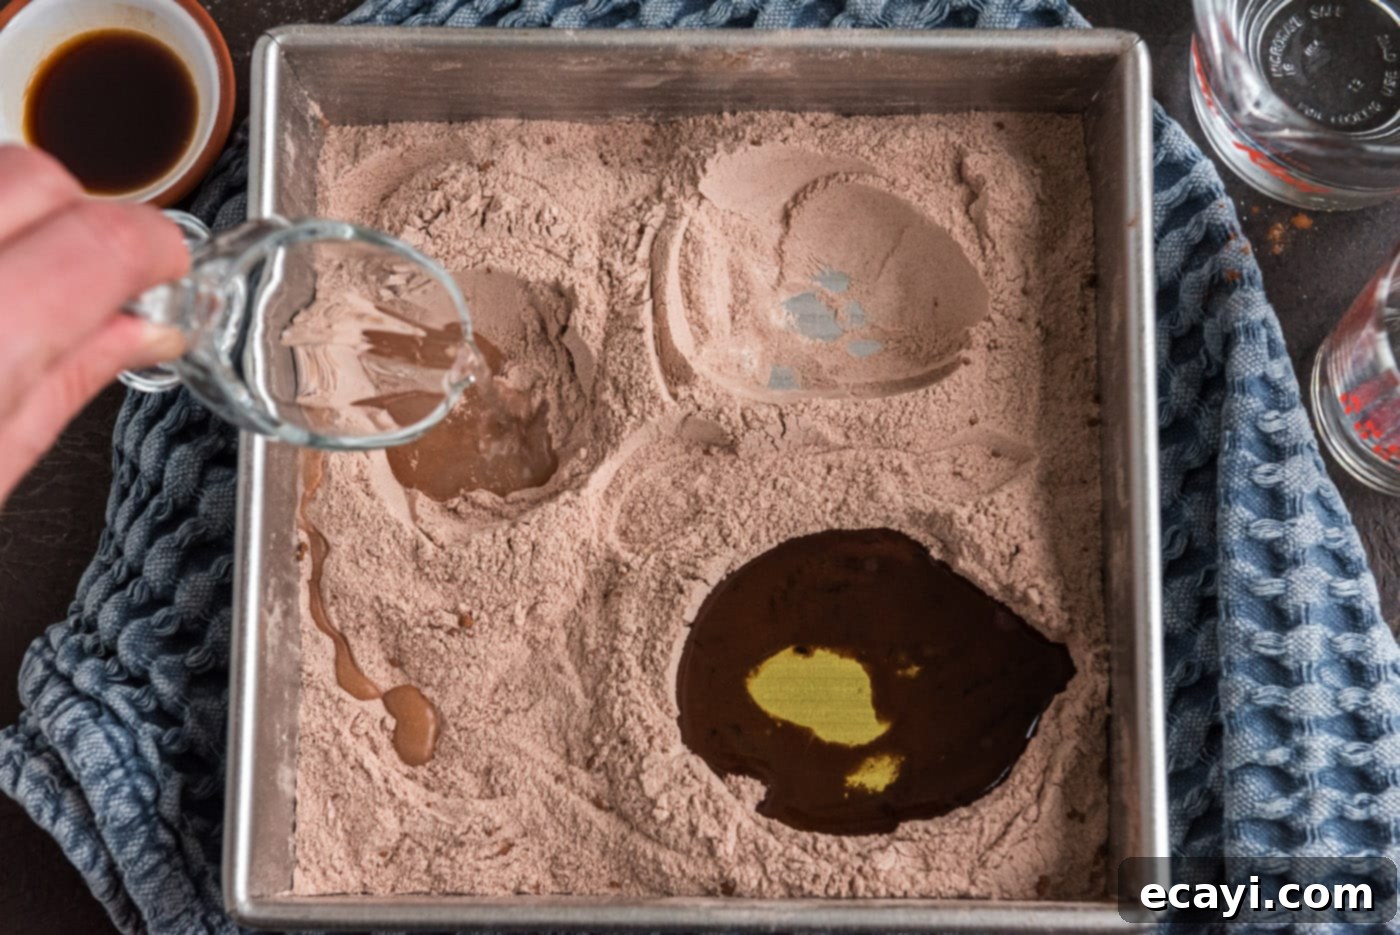
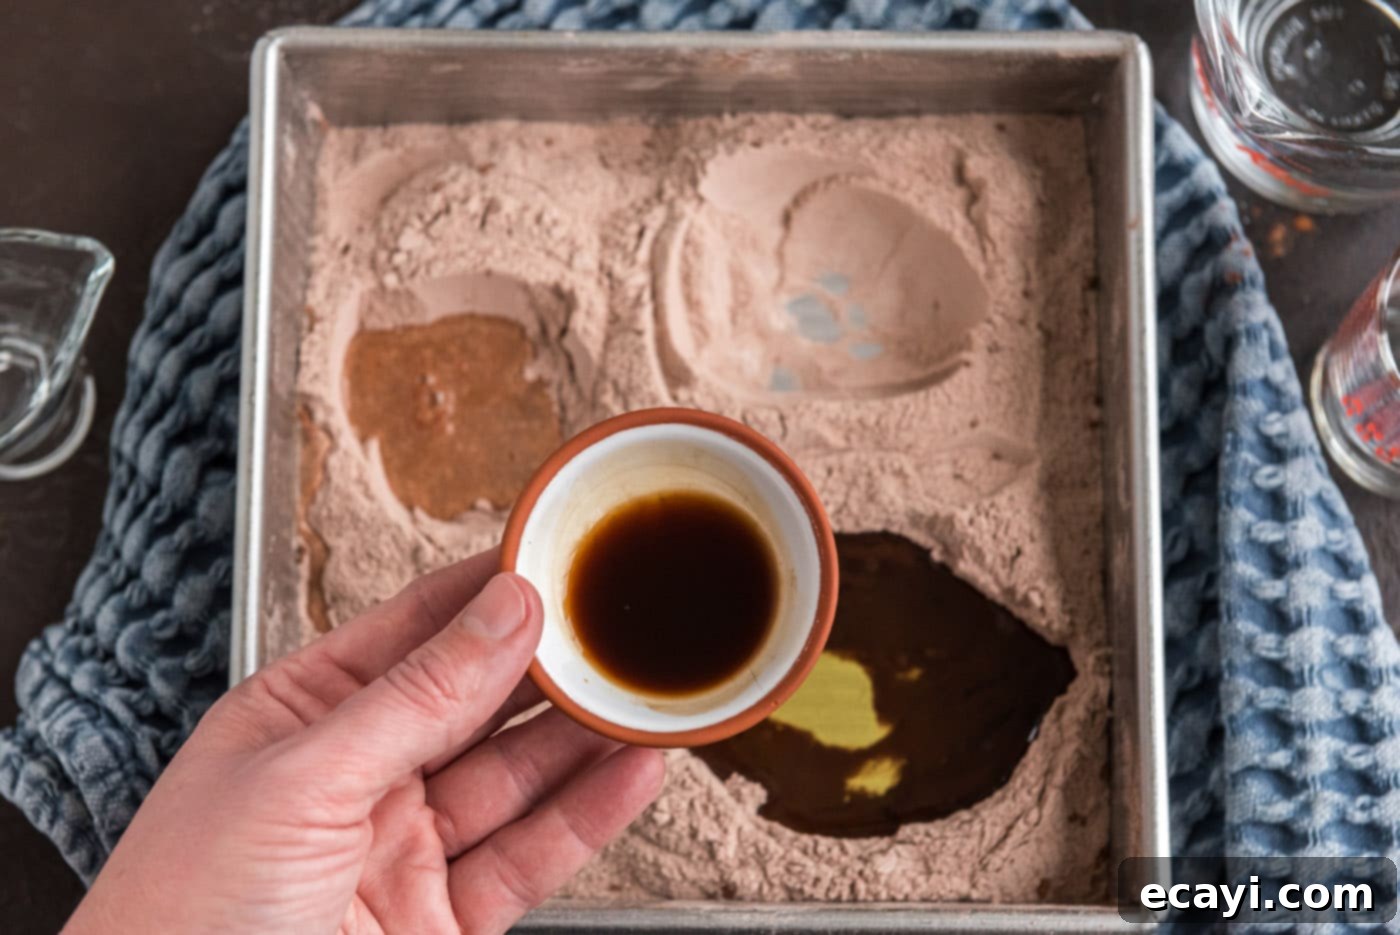
- Using the back of a spoon, create three distinct indentations, or “wells,” in the dry mixture. Make one larger well for the oil and two smaller wells for the vinegar and vanilla extract. Carefully pour the oil into the largest well, the white vinegar into one of the smaller wells, and the vanilla extract into the final small well. It’s crucial not to mix these liquids into the dry ingredients just yet; they need to be added separately before the water.


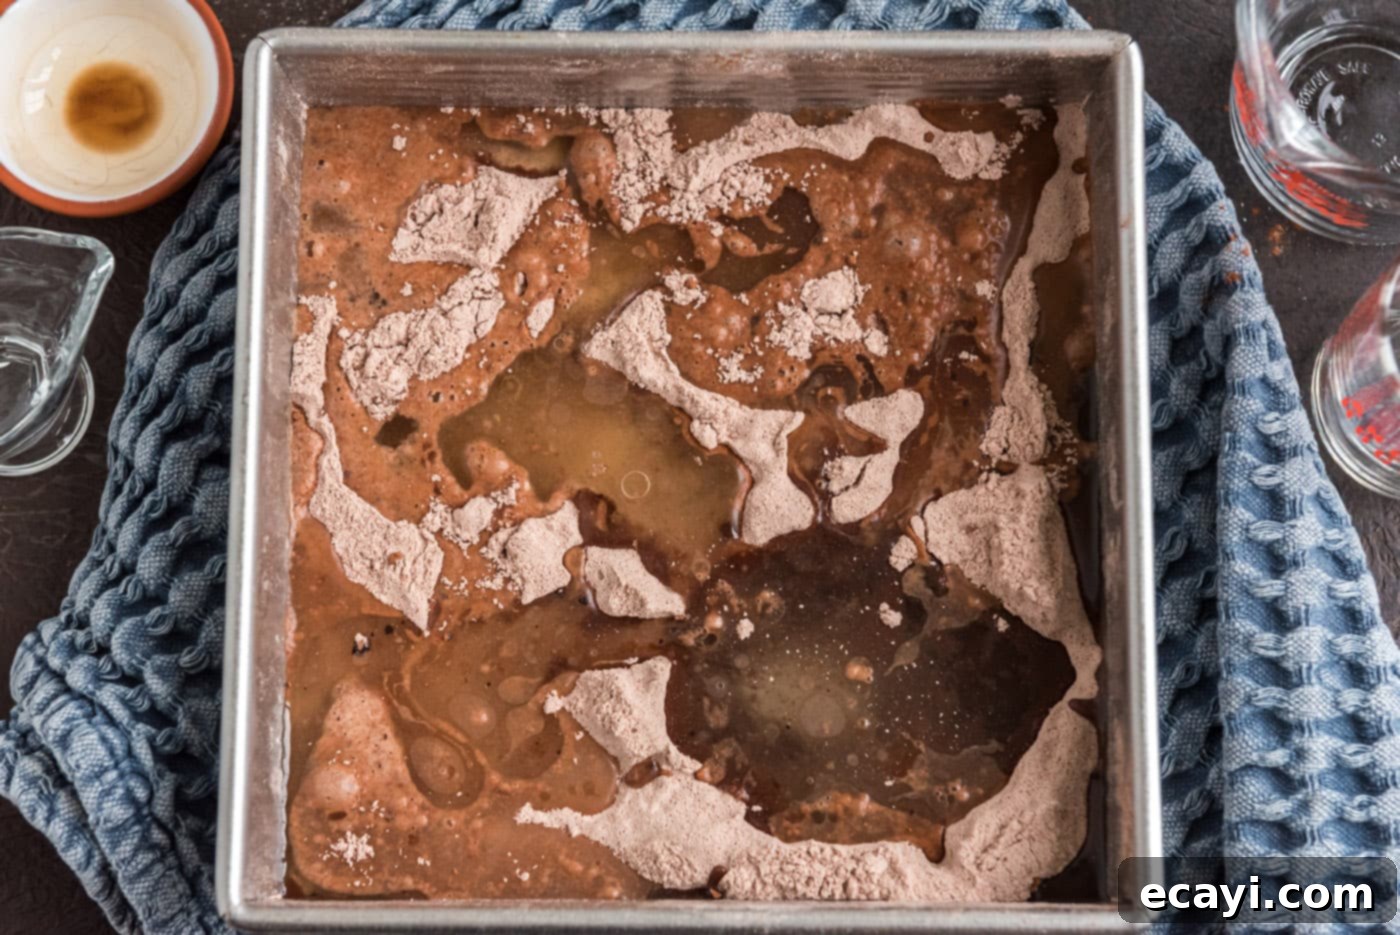
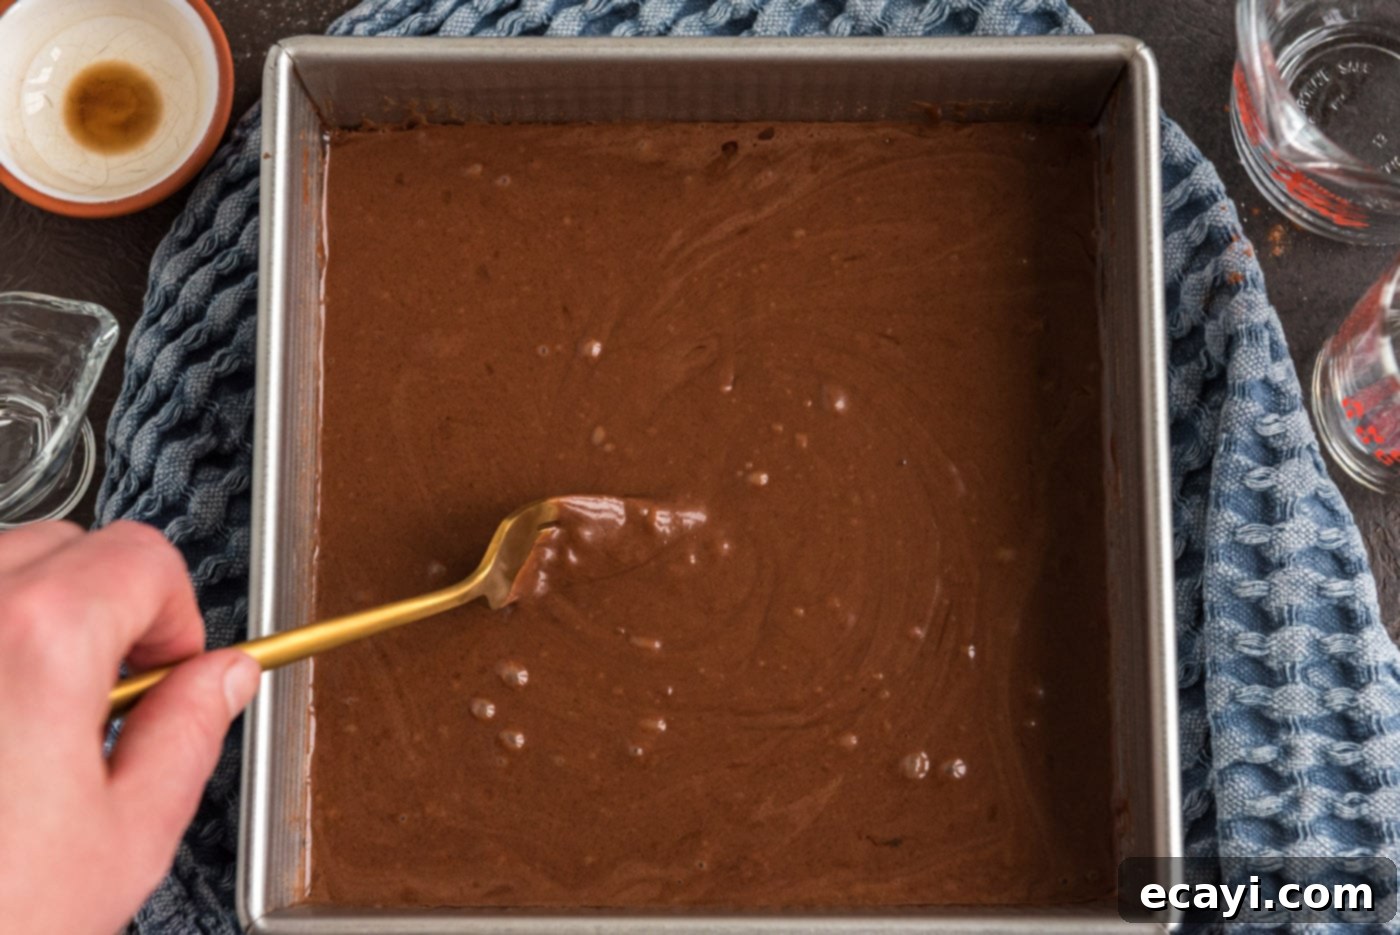
- Pour the cold water evenly over the entire surface of the dry ingredients and the liquid wells. Immediately after adding the water, use a fork to thoroughly mix all the ingredients together, stirring until just combined and smooth. Be careful not to overmix. The reaction between the baking soda and vinegar will begin quickly, so speed is key here.


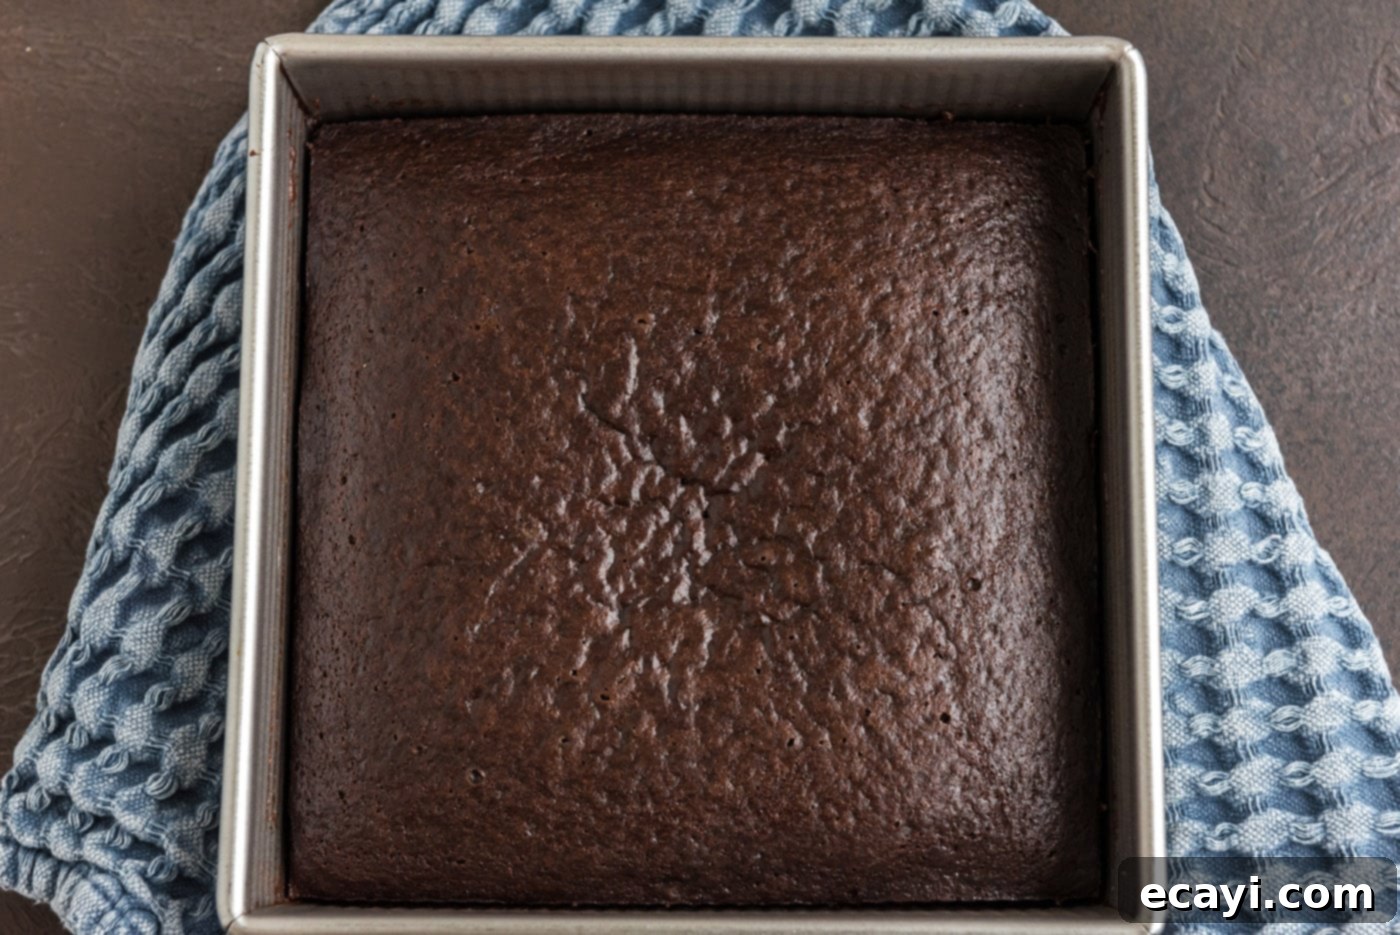
- As soon as the batter is mixed, transfer the baking pan directly to your preheated oven. Bake for approximately 30 to 35 minutes, or until a wooden skewer or toothpick inserted into the center of the cake comes out clean. The quick transfer to the hot oven is crucial to capitalize on the leavening action.

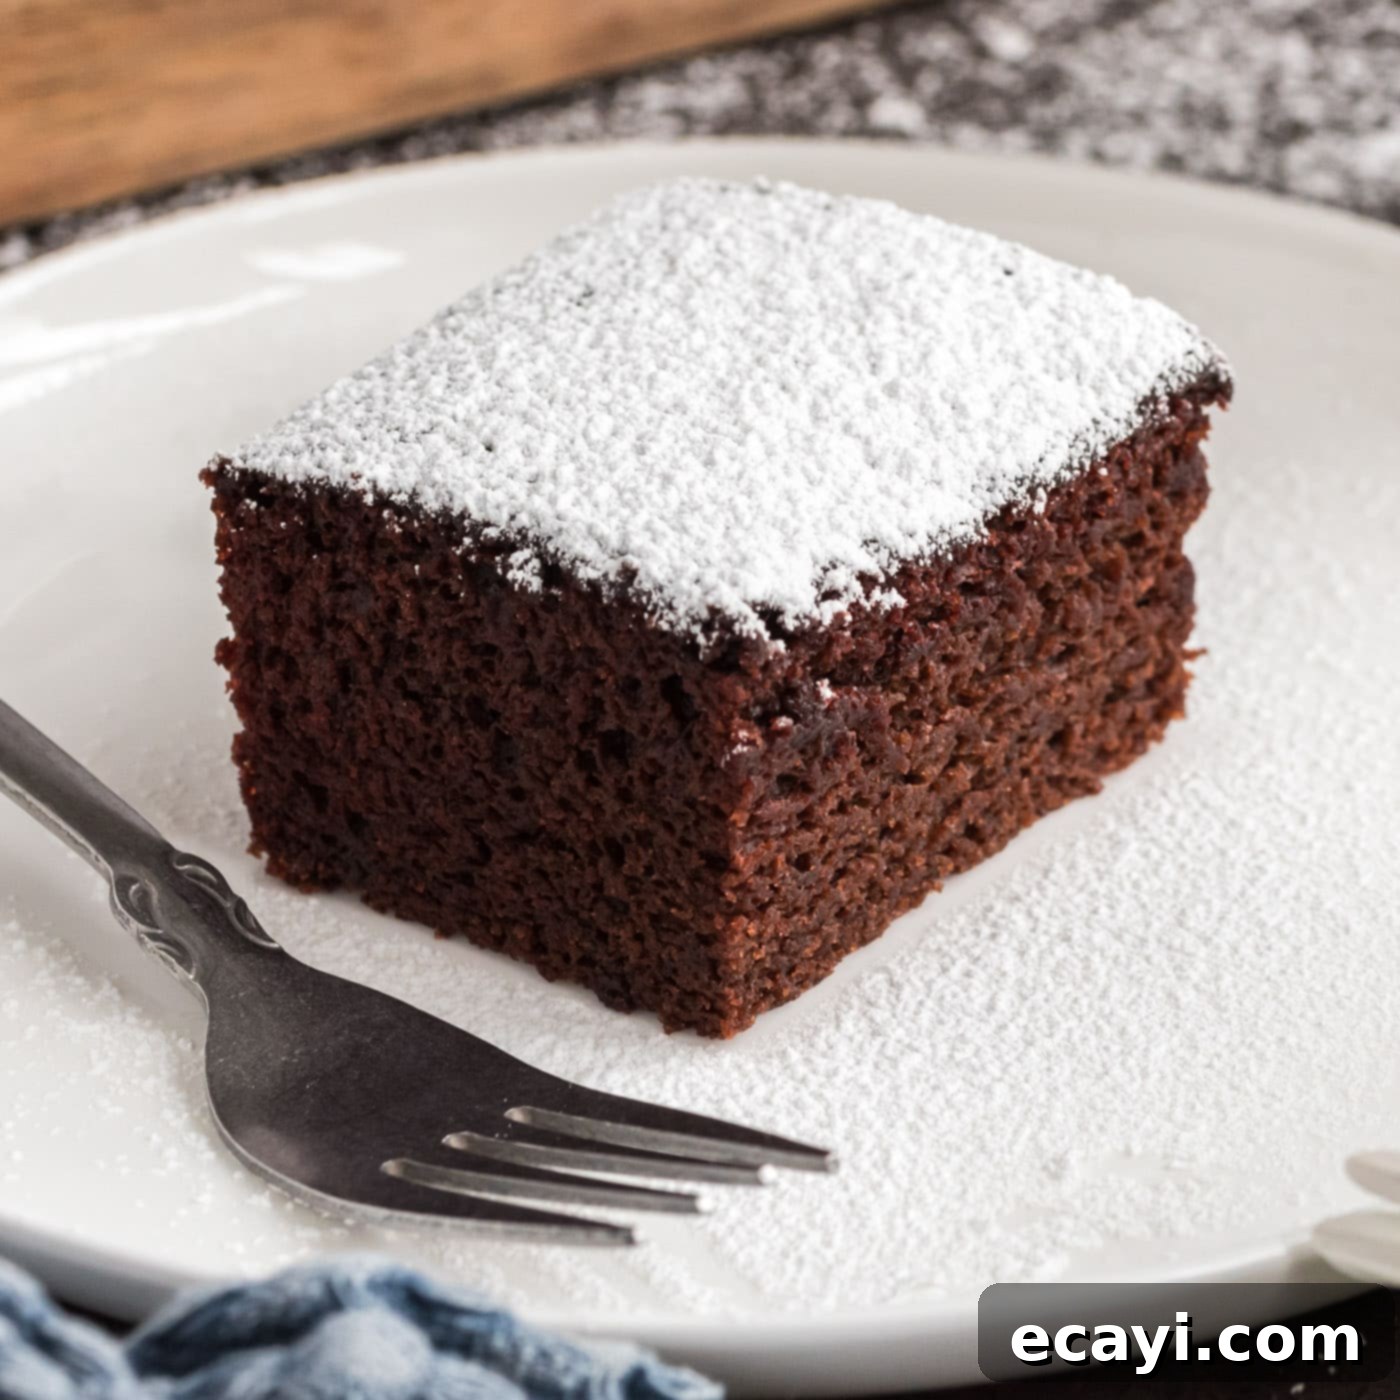
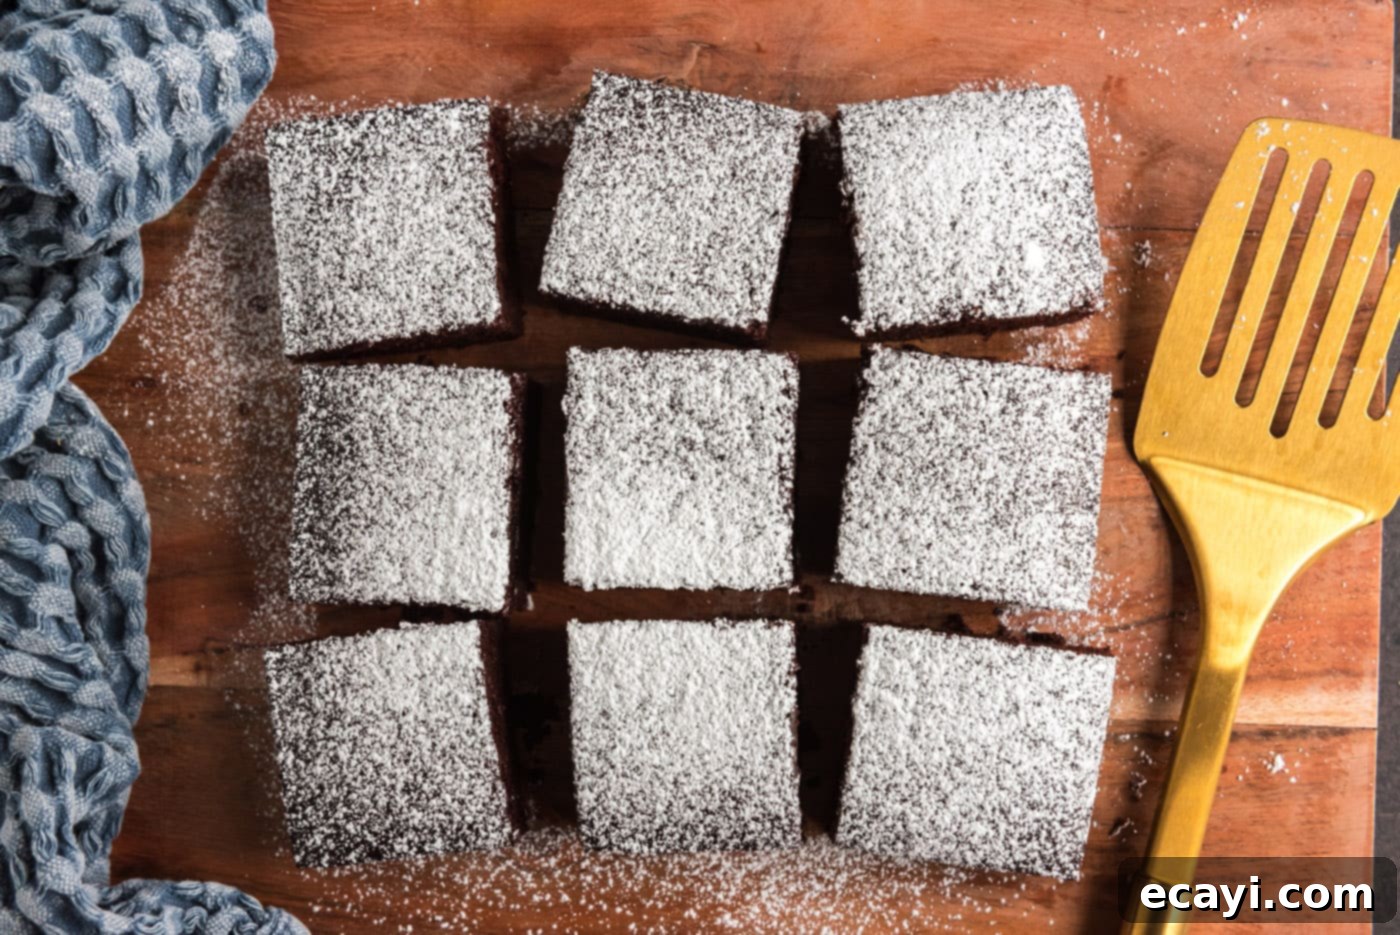
- Once baked, remove the cake from the oven and place the pan on a wire rack to cool completely. Allowing it to cool in the pan helps it set properly. When it has fully cooled, cut the cake into desired squares. For a classic finish, sift a generous dusting of powdered sugar over the top before serving.

Expert Tips & Frequently Asked Questions (FAQs)
Baking for Success
- Follow the Wells Method: The specific instruction to create wells for the liquid ingredients before adding water is not merely a quirk; it’s part of ensuring the baking soda and vinegar react optimally once hydrated. Deviating from this might affect the cake’s rise and texture.
- Bake Immediately: The leavening reaction from the baking soda and vinegar starts as soon as they mix. For the best rise, get the cake into the preheated oven as quickly as possible after mixing. Don’t let the batter sit!
- Don’t Overmix: Stir the batter until just combined. Overmixing can develop the gluten in the flour too much, leading to a tougher, less tender cake.
- Check Oven Temperature: Oven temperatures can vary, especially in older appliances. An inexpensive oven thermometer can confirm your oven is heating accurately, which is critical for consistent baking results.
Common Questions Answered
The cake is called “wacky” because it’s made without traditional dairy and egg products. It uses an unusual method of creating wells for liquids in the dry ingredients, followed by a quick mix and immediate baking, relying on the chemical reaction between baking soda and vinegar for its rise.
Absolutely! This cake is wonderfully versatile. Feel free to fold in chocolate chips, chopped nuts (like walnuts or pecans), or even shredded coconut into the batter just before baking. You can also experiment with different extracts, such as almond extract, peppermint extract, or orange extract, to complement the chocolate flavor.
Yes, you can. If using a 9×13-inch pan, the cake will be thinner and might bake faster, so start checking for doneness around 25-30 minutes. For cupcakes, fill liners about two-thirds full and bake for 18-22 minutes. Adjust baking times accordingly, always checking with a toothpick.
Yes, Wacky Cake is naturally vegan as it contains no animal products like eggs, butter, or milk. This makes it an excellent choice for those following a vegan diet or managing dietary restrictions.
The best way to check for doneness is to insert a wooden skewer or toothpick into the center of the cake. If it comes out clean or with a few moist crumbs attached, the cake is ready. If it’s still wet, continue baking for a few more minutes and check again.
Several factors could contribute to this. Ensure your baking soda is fresh, as old baking soda loses its leavening power. Also, make sure to transfer the cake to the oven immediately after mixing the wet and dry ingredients, as the leavening reaction starts quickly and you want it to happen in the oven. Overmixing the batter can also lead to a dense cake.
Storage and Freezing
Store Wacky Cake in an airtight container at room temperature for 3-4 days. You can also cover it tightly with plastic wrap to maintain its freshness and moisture.
Yes, this cake freezes exceptionally well. To freeze, wrap the ungarnished (without powdered sugar or frosting) cooled cake in a few layers of plastic wrap, followed by a layer of aluminum foil. This double layer helps prevent freezer burn. It can be frozen for up to 3 months. Thaw the cake in the refrigerator overnight or at room temperature, then garnish with powdered sugar or your desired frosting before serving.
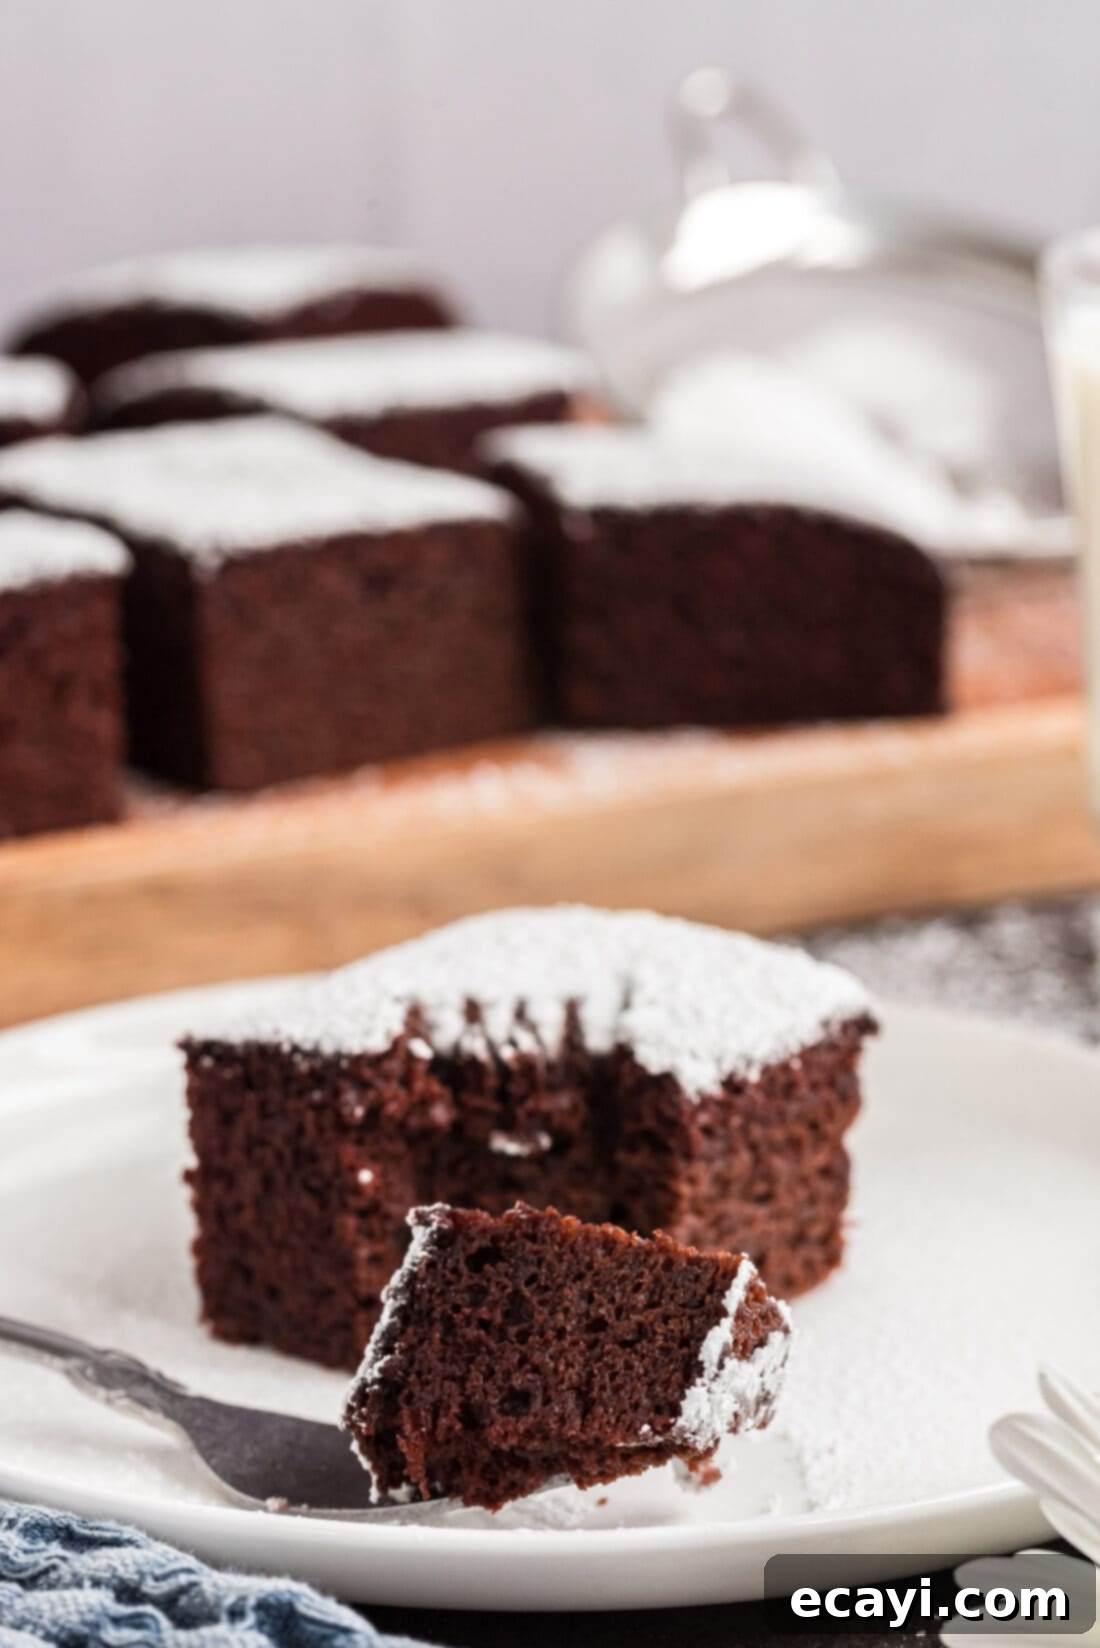
Serving Suggestions for Your Delicious Wacky Cake
While Wacky Cake is most famously and traditionally served with a simple dusting of powdered sugar, its versatile chocolate flavor pairs beautifully with a variety of toppings. Don’t limit yourself! Here are some delightful serving suggestions:
- Classic Powdered Sugar: The easiest and most traditional topping, it provides a subtle sweetness and elegant presentation.
- Chocolate Fudge Frosting: For an extra dose of chocolate, a rich chocolate fudge frosting is a perfect pairing. Be sure to use a recipe that is also dairy-free and uses oil or a plant-based butter alternative to keep it consistent with the cake’s nature.
- Simple Glazes: A quick glaze made from powdered sugar and a splash of plant-based milk or water, perhaps with a hint of vanilla or coffee extract, can add a lovely sheen and extra sweetness.
- Fresh Fruit: Berries like raspberries or strawberries, or sliced bananas, offer a fresh, contrasting flavor and vibrant color.
- Dairy-Free Whipped Topping: A dollop of coconut whipped cream or another plant-based whipped topping adds a light and creamy element.
- A La Mode: Serve a warm slice with a scoop of your favorite dairy-free vanilla ice cream for a truly indulgent experience.
- Sprinkles: For a festive touch, especially for birthdays or celebrations, add some colorful sprinkles!
Discover More Vintage Delights
If you’ve enjoyed the charm and simplicity of this Wacky Cake, you might love exploring other classic recipes that have stood the test of time. These vintage recipes often carry rich histories and unique flavors that evoke a sense of nostalgia.
- Ambrosia Salad
- Watergate Salad
- Lazy Daisy Cake
- Mayonnaise Cake
I love to bake and cook and share my kitchen experience with all of you! Remembering to come back each day can be tough, that’s why I offer a convenient newsletter every time a new recipe posts. Simply subscribe and start receiving your free daily recipes!
Wacky Cake
This vintage recipe, also known as Depression Cake or Crazy Cake, was born out of the ingredient shortages during wartime. Bakers had to be resourceful with what was available, and this delicious eggless and dairy-free cake is a testament to that ingenuity and has delighted generations.
Pin It
Ingredients
- 1 ½ cup all-purpose flour
- 1 cup granulated white sugar
- ½ teaspoon salt
- 1 teaspoon baking soda
- ¼ cup unsweetened cocoa powder
- 6 tablespoons canola oil
- 1 tablespoon white vinegar
- 1 teaspoon vanilla extract
- 1 cup cold water
- powdered sugar for dusting
Things You’ll Need
-
8×8 baking pan
-
Whisk
Instructions
- Preheat oven to 350 degrees F (175 C).
- In an 8-inch square baking pan, whisk together the flour, sugar, salt, baking soda, and cocoa until well combined.
- Use a spoon to make three wells in the dry ingredients (one large, two smaller). Pour the oil into the largest well, the vinegar into one smaller well, and the vanilla into the last well.
- Pour the cold water over everything and immediately stir it all together with a fork until just combined.
- Immediately transfer the pan to the preheated oven and bake for 30 to 35 minutes, or until a toothpick inserted into the center comes out clean.
- Remove the cake to a wire rack to cool completely. Once cooled, cut into squares and sift powdered sugar over the top before serving.
Notes
- For best results, follow the “wells” method for liquids and bake immediately to maximize leavening.
- Store in an airtight container at room temperature for 3-4 days or freeze for up to 3 months.
- Customize with chocolate chips, nuts, or your favorite dairy-free frosting.
Nutrition
Tried this Recipe? Pin it for Later!
Follow on Pinterest @AmandasCookin or tag #AmandasCookin!
The recipes on this blog are tested with a conventional gas oven and gas stovetop. It’s important to note that some ovens, especially as they age, can cook and bake inconsistently. Using an inexpensive oven thermometer can assure you that your oven is truly heating to the proper temperature. If you use a toaster oven or countertop oven, please keep in mind that they may not distribute heat the same as a conventional full sized oven and you may need to adjust your cooking/baking times. In the case of recipes made with a pressure cooker, air fryer, slow cooker, or other appliance, a link to the appliances we use is listed within each respective recipe. For baking recipes where measurements are given by weight, please note that results may not be the same if cups are used instead, and we can’t guarantee success with that method.
This post originally appeared here on May 3rd, 2014 and has since been updated to include new photos, expanded content, and expert tips.
