Decadent Chocolate Chip Caramel Skillet Cookie: The Ultimate Recipe
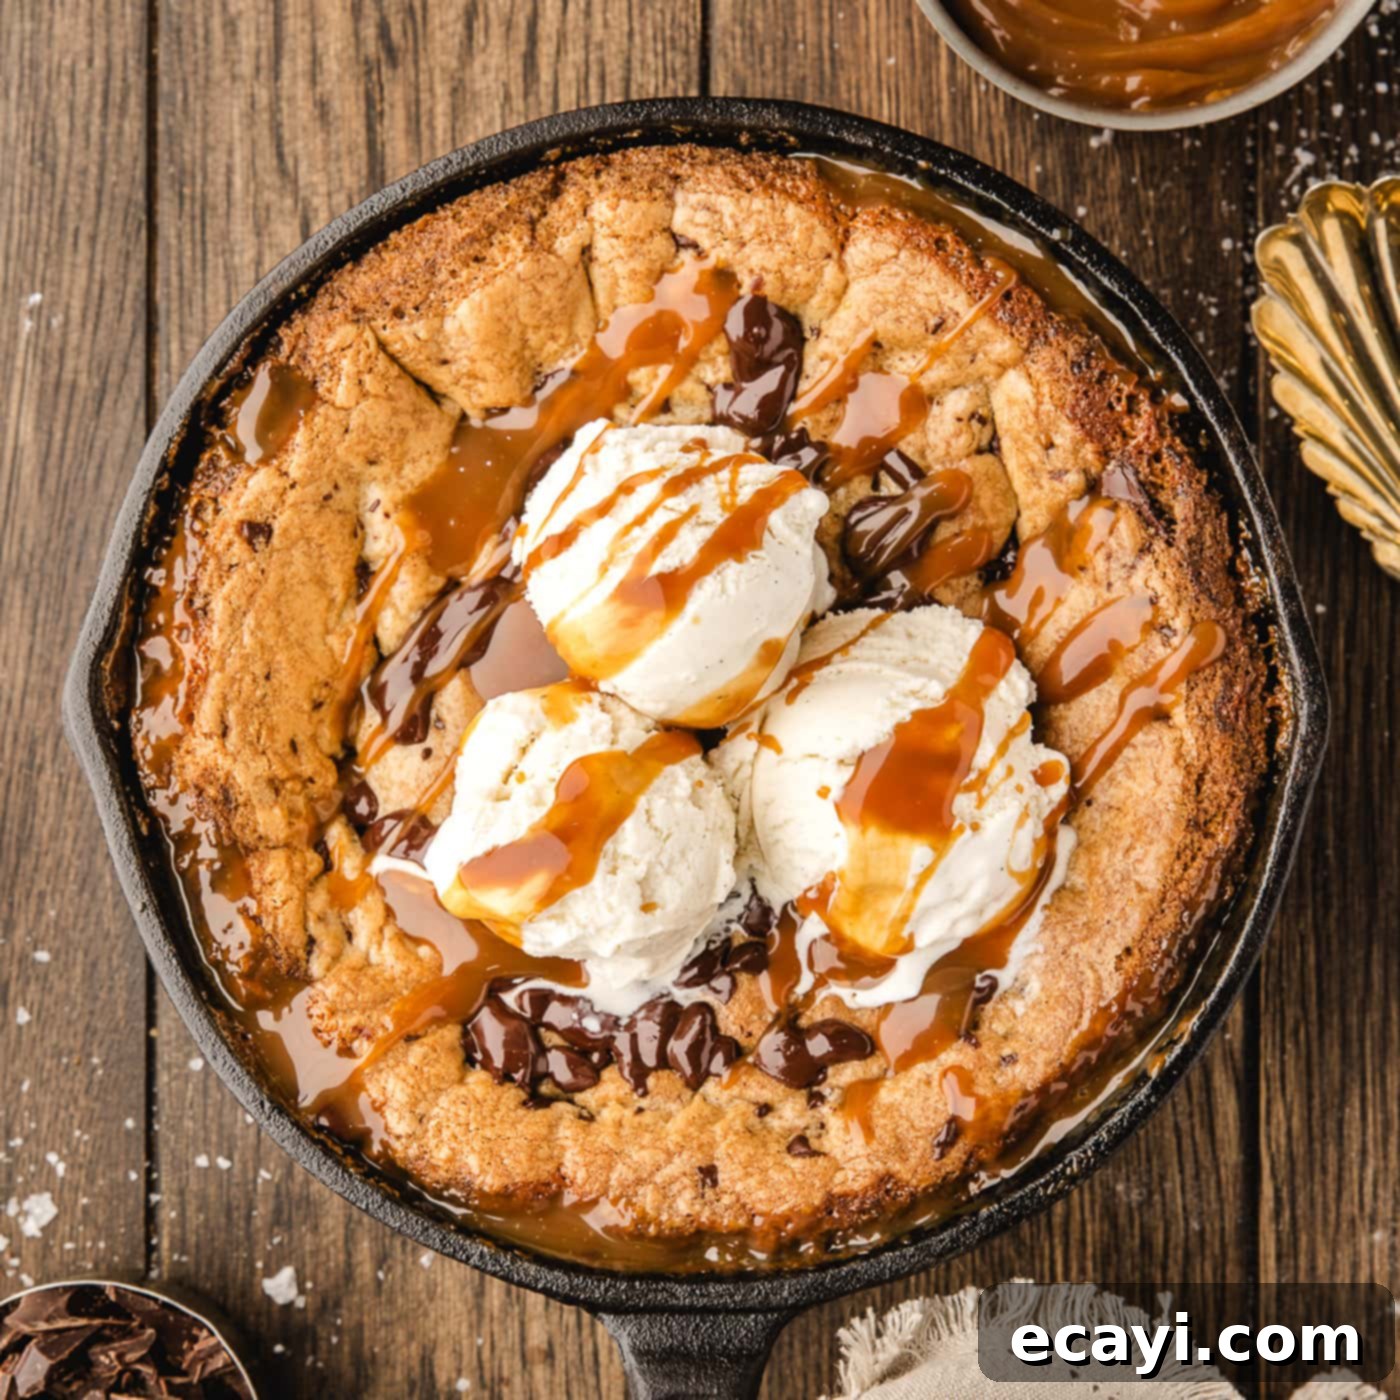
Prepare yourself for a truly unforgettable dessert experience: this chocolate chip caramel skillet cookie is baked to golden brown perfection in a sturdy cast iron skillet. The result is a magnificent, large cookie with irresistibly lightly crisped edges that perfectly give way to a luxuriously soft and chewy center. Within this delightful core, you’ll discover generous layers of warm, rich salted caramel harmoniously mingled with an abundance of luscious, melty chocolate chunks. This isn’t just a cookie; it’s a comforting, shareable masterpiece that promises a symphony of flavors and textures in every single bite.
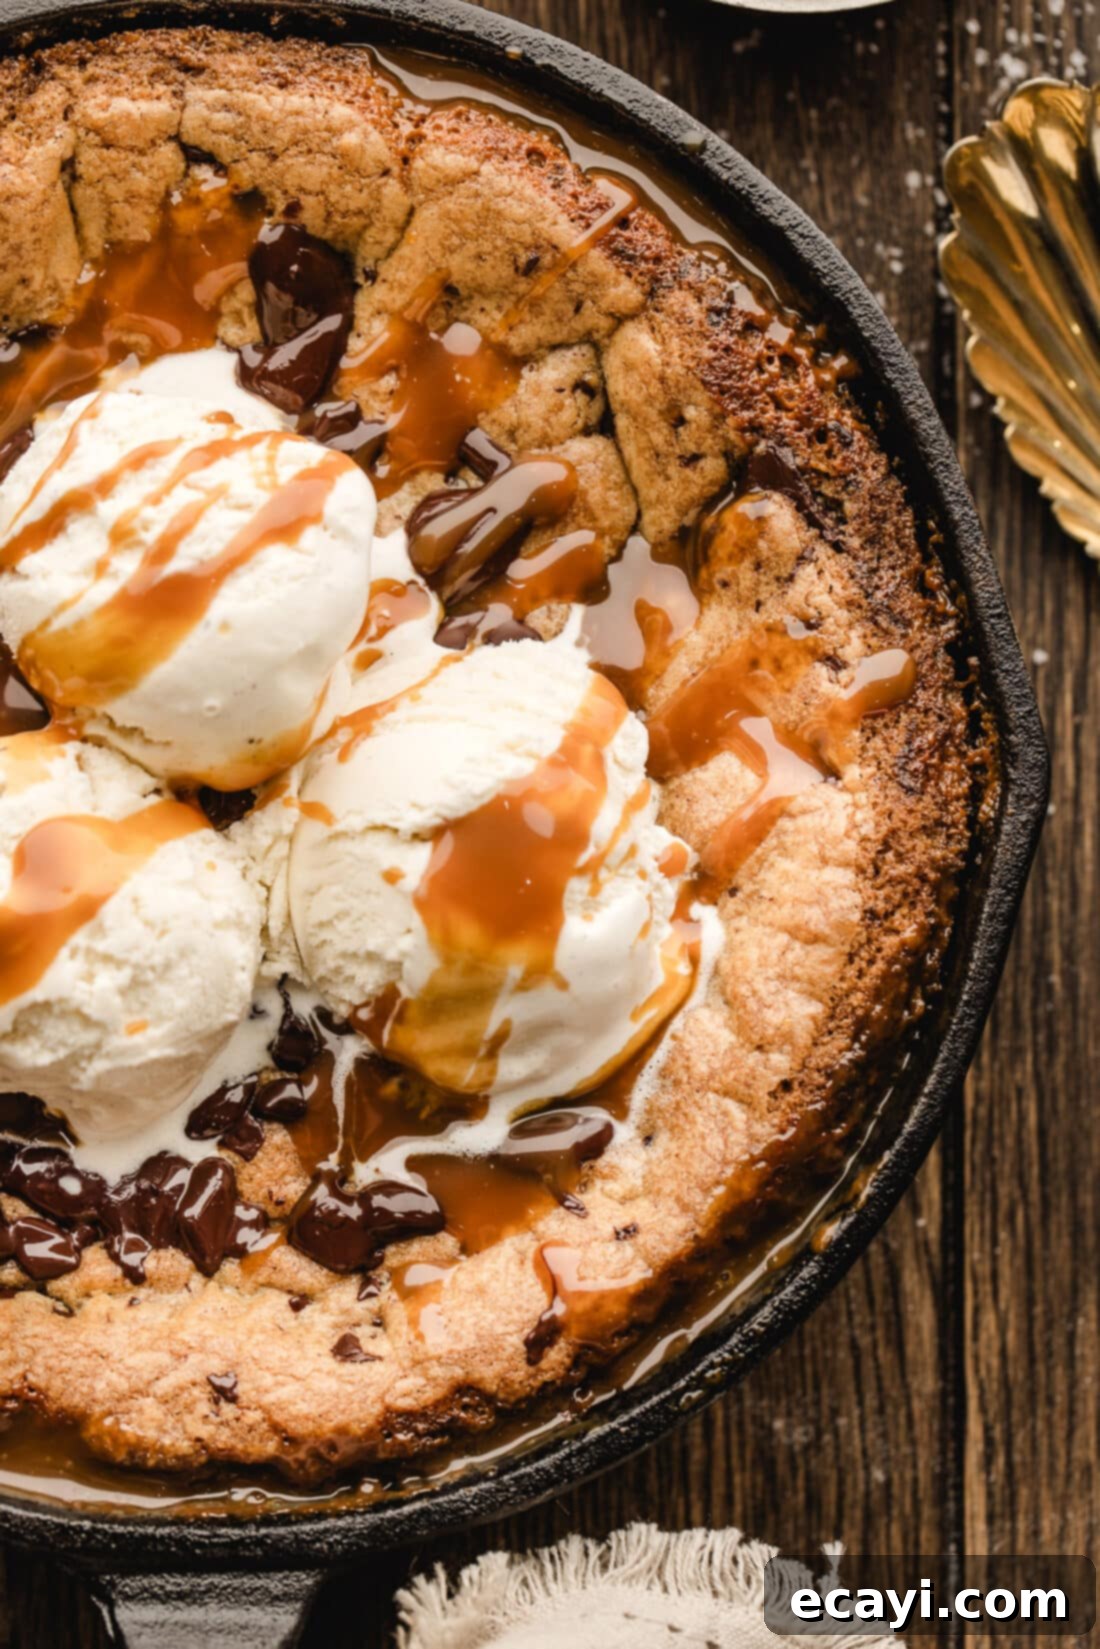
Why This Decadent Skillet Cookie Recipe Works So Well
There’s a reason why skillet cookies have soared in popularity, and this particular chocolate chip caramel version takes it to an entirely new level of deliciousness. This recipe marries the beloved classic of a large skillet chocolate chip cookie with the sophisticated allure of salted caramel, creating an undeniably irresistible dessert. The true magic lies in the decadent salted caramel sauce, which is ingeniously layered between two portions of our perfect chocolate chip cookie dough. This innovative layering technique ensures that every forkful delivers that sought-after gooey center, where warm, sweet cookie meets luscious, slightly salty caramel and pools of melted chocolate.
Baking in a cast iron skillet is key to the success and unique appeal of this dessert. The skillet’s superior heat retention and distribution properties contribute to those wonderfully crisp, golden-brown edges while simultaneously ensuring the interior remains incredibly soft, moist, and delightfully chewy. It’s a textural paradise that can’t quite be replicated in a standard cookie sheet. Furthermore, the convenience of baking and serving this insanely delicious dessert all in one skillet makes it ideal for impromptu gatherings or cozy evenings at home. To truly elevate this treat to an extra dreamy, creamy combination, we highly recommend serving it warm with a generous scoop of cold vanilla ice cream. The contrast of temperatures and the melting ice cream mingling with the warm cookie and caramel is pure bliss, creating a dessert experience that is both comforting and exhilarating.
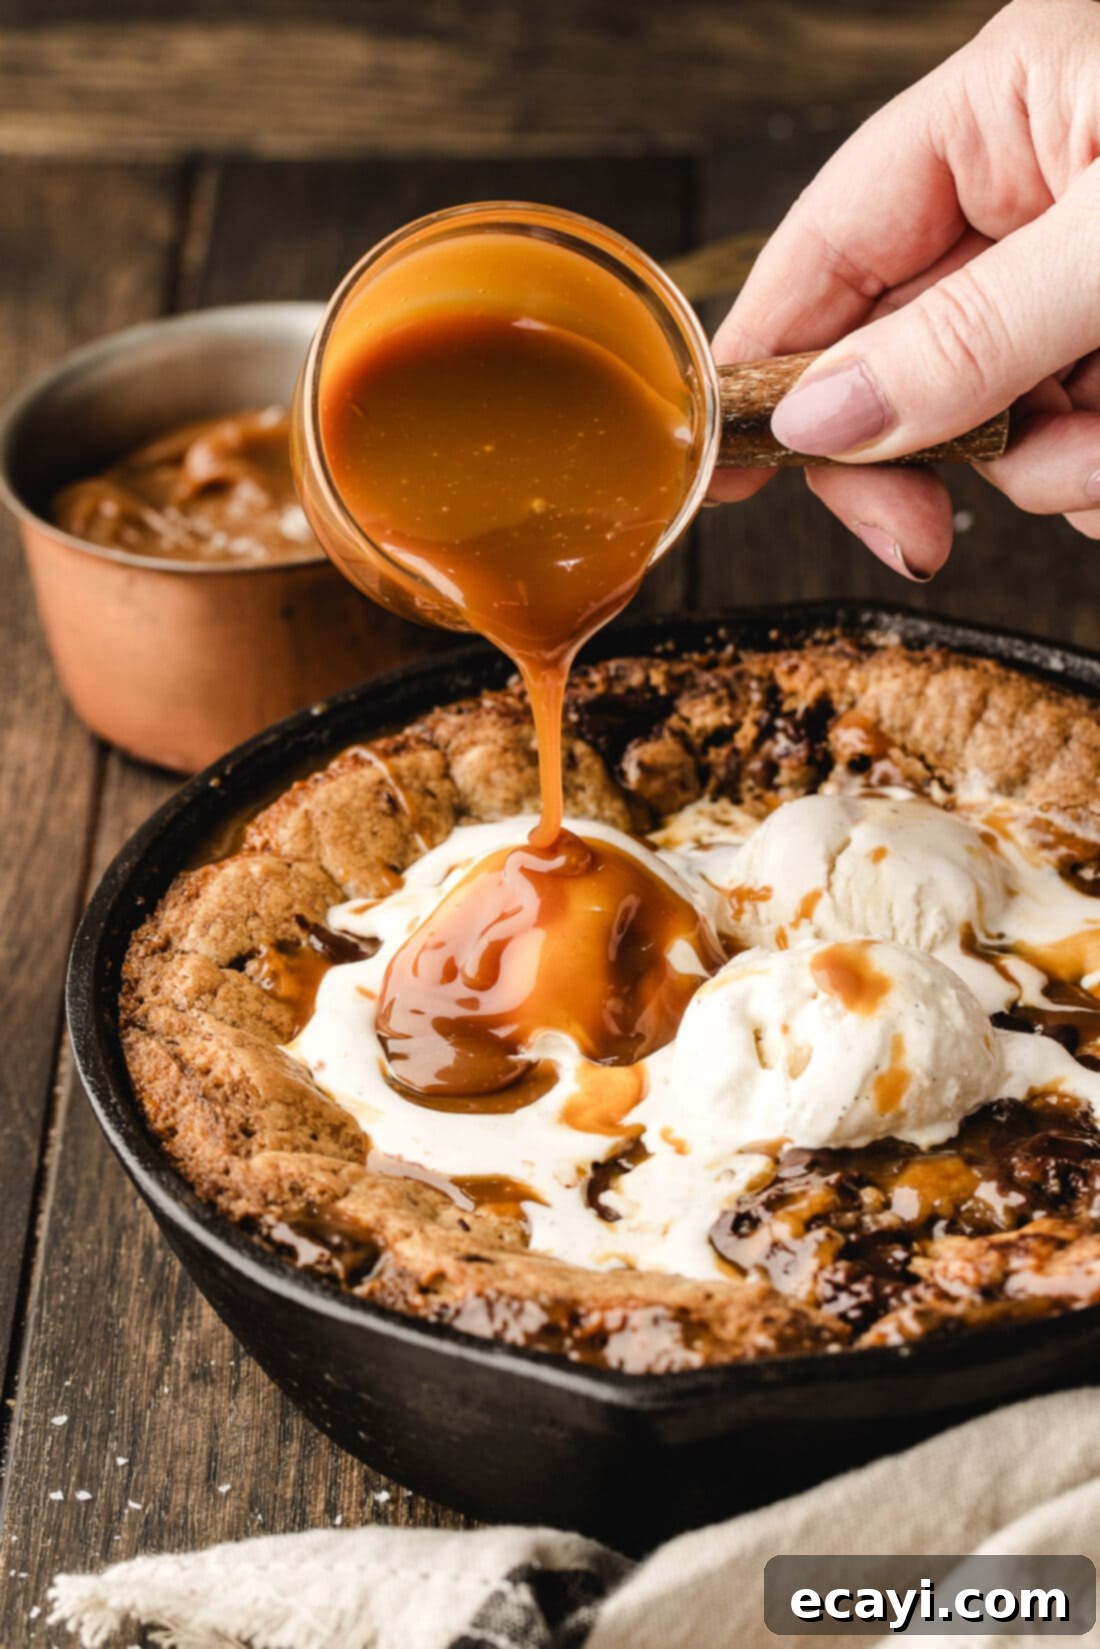
Essential Ingredients for Your Skillet Cookie Masterpiece
Crafting this incredible chocolate chip caramel skillet cookie requires a careful selection of common baking ingredients, most of which you likely already have in your pantry. Using high-quality ingredients will always yield the best results, so don’t hesitate to opt for your favorite brands. For precise measurements, ingredient lists, and detailed instructions, refer to the printable recipe card available at the conclusion of this comprehensive guide. Here’s a brief overview of what you’ll need to create this show-stopping dessert, along with insights into their roles in the recipe:
- All-Purpose Flour: The foundational structure of our cookie, ensuring a tender yet firm crumb.
- Baking Soda: A leavening agent that helps the cookie spread and contributes to its soft texture.
- Salt: Essential for balancing sweetness and enhancing all the other flavors, particularly important with the caramel.
- Cornstarch: A secret ingredient for extra chewiness and a slightly softer crumb, preventing the cookie from becoming too cake-like.
- Unsalted Butter (Melted): Provides richness and moisture. Using unsalted butter allows you to control the exact amount of salt in the recipe. Melting it contributes to the chewy texture.
- Granulated Sugar & Light Brown Sugar: A combination of sugars is key. Granulated sugar provides crispness and sweetness, while light brown sugar adds moisture, depth of flavor (molasses), and a wonderfully chewy texture.
- Large Egg: Binds the ingredients together, adds richness, and contributes to the cookie’s structure and rise.
- Vanilla Extract: A crucial flavor enhancer that complements both chocolate and caramel beautifully. Use good quality vanilla for the best aroma and taste.
- Bittersweet Chocolate (Roughly Chopped): While chocolate chips are an option, using a chopped bittersweet chocolate bar creates magnificent pools of melted chocolate throughout the cookie, offering a more luxurious experience and a sophisticated flavor balance against the sweet caramel.
- Salted Caramel Sauce: The star of the show! Whether store-bought for convenience or homemade for an extra touch of gourmet, this layer provides that irresistible salty-sweet gooiness.
- Vanilla Ice Cream (Optional, for Serving): Highly recommended! The cold, creamy ice cream perfectly contrasts with the warm, rich cookie.
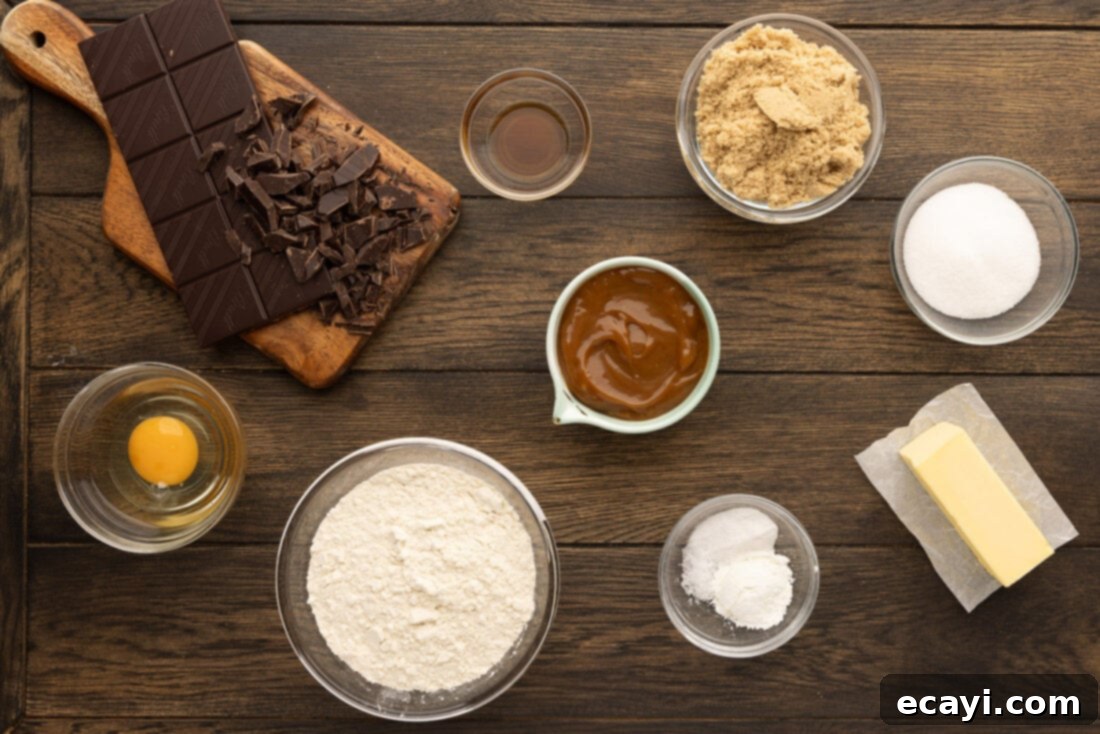
Ingredient Insights & Clever Substitutions
Understanding the role of each ingredient and exploring potential substitutions can empower you to customize this chocolate chip caramel skillet cookie to your taste or dietary needs. Here’s a deeper dive into some key components:
CHOCOLATE: Our recipe champions the use of a bittersweet chocolate bar, roughly chopped, over standard chocolate chips. This deliberate choice results in large, irregular pockets of intensely melted chocolate that ooze deliciously with every scoop. The bittersweet notes provide a delightful contrast to the sweetness of the caramel and cookie dough, creating a more complex flavor profile. If you prefer a milder chocolate flavor or a more uniform distribution, semi-sweet or milk chocolate chips can absolutely be used instead. For an extra touch of decadence, consider using a mix of different chocolate types – perhaps a combination of dark chocolate for depth and milk chocolate for creamy sweetness. White chocolate chips could also offer a unique twist, though the overall flavor profile would shift considerably. Don’t be afraid to experiment with your favorite chocolate varieties!
CARAMEL: The salted caramel sauce is truly what sets this skillet cookie apart. While we found store-bought salted caramel sauce to be a convenient and delicious option, the homemade route is always a fantastic choice if you have the time and inclination. Making your own caramel sauce allows for complete control over the flavor and consistency, ensuring a truly fresh and personalized touch. If you’re not a fan of the salty aspect, or simply prefer classic caramel, feel free to use regular store-bought or homemade caramel sauce without the added salt. You could even swirl in a touch of a different flavor extract to your caramel, such as a hint of almond or rum, for an elevated experience. For those looking for a quick alternative, dulce de leche could also be used, offering a slightly different but equally rich and creamy caramel experience.
BUTTER: We specify unsalted butter for a reason – it gives you total control over the sodium content, especially important when using salted caramel. If you only have salted butter on hand, you can still use it, but consider reducing the added salt in the dry ingredients by half a teaspoon to maintain balance. The melted butter ensures a chewy, dense cookie texture, different from a cookie made with creamed softened butter which tends to result in a cakier cookie.
SUGAR: The combination of granulated sugar and brown sugar is crucial for achieving the perfect cookie texture. Granulated sugar contributes to the crisp edges, while brown sugar adds moisture, chewiness, and a subtle molasses flavor. Using only one type of sugar will alter the final texture and flavor profile. For instance, using only granulated sugar would result in a crisper, less chewy cookie, while using only brown sugar might make it too soft and prone to crumbling.
LEAVENING AGENTS: Baking soda and cornstarch work together to create the desired rise and texture. Baking soda reacts with acidic ingredients (like brown sugar) to produce carbon dioxide, giving the cookie lift. Cornstarch, often overlooked, is a fantastic addition for creating a supremely soft and chewy cookie, preventing it from drying out or becoming overly dense.
Step-by-Step: Crafting Your Chocolate Chip Caramel Skillet Cookie
Embark on a delightful baking journey with these easy-to-follow, step-by-step photos and instructions. They are designed to help you visualize each stage of making this delectable recipe, ensuring your skillet cookie turns out perfectly. For the full, printable version of this recipe, complete with precise measurements and comprehensive instructions, simply Jump to Recipe at the very bottom of this post.
- **Prepare Your Oven and Skillet:** Begin by preheating your oven to 350°F (175°C). While the oven is heating, generously grease your cast iron skillet with butter. We recommend a 9-inch skillet for this recipe to achieve the ideal cookie thickness and crust-to-gooey-center ratio. A well-greased pan ensures easy serving and those perfectly crisp edges.
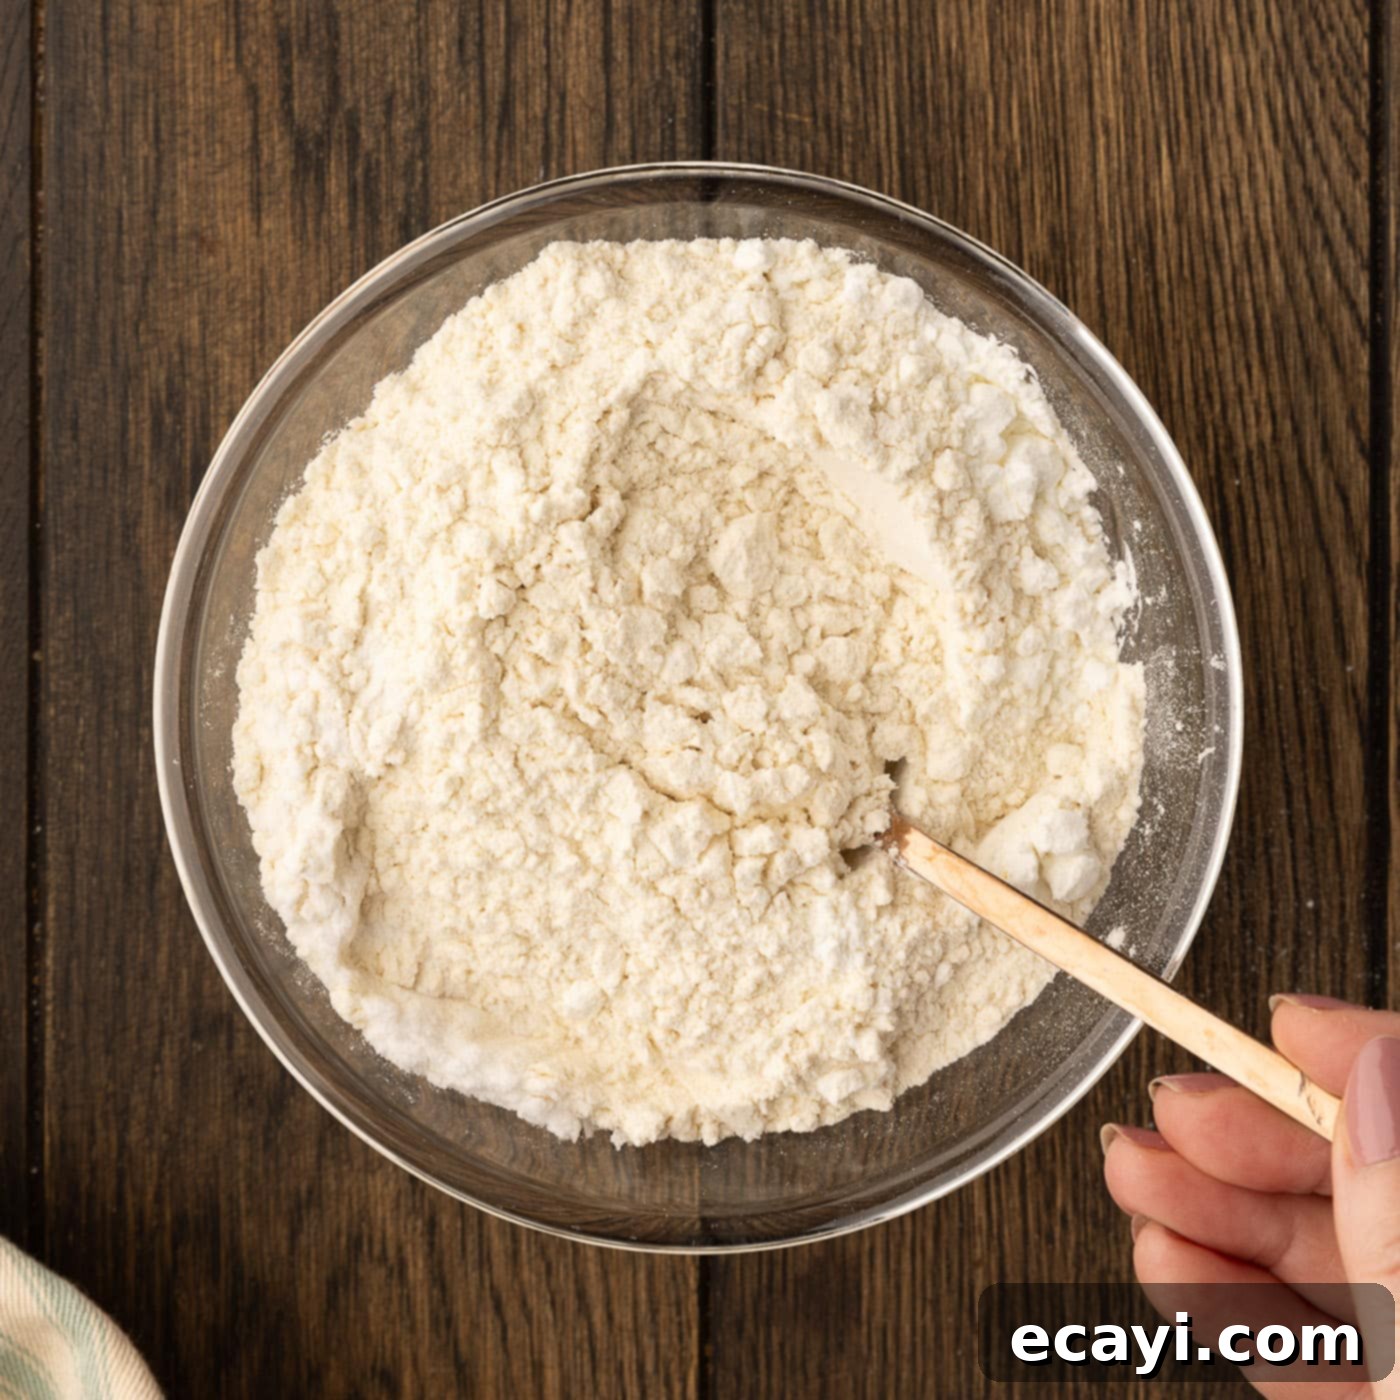
- **Combine Dry Ingredients:** In a small mixing bowl, whisk together the all-purpose flour, baking soda, salt, and cornstarch. Ensure these ingredients are thoroughly combined to guarantee an even distribution throughout your cookie dough. This step is crucial for consistent texture and flavor. Set this dry mixture aside.

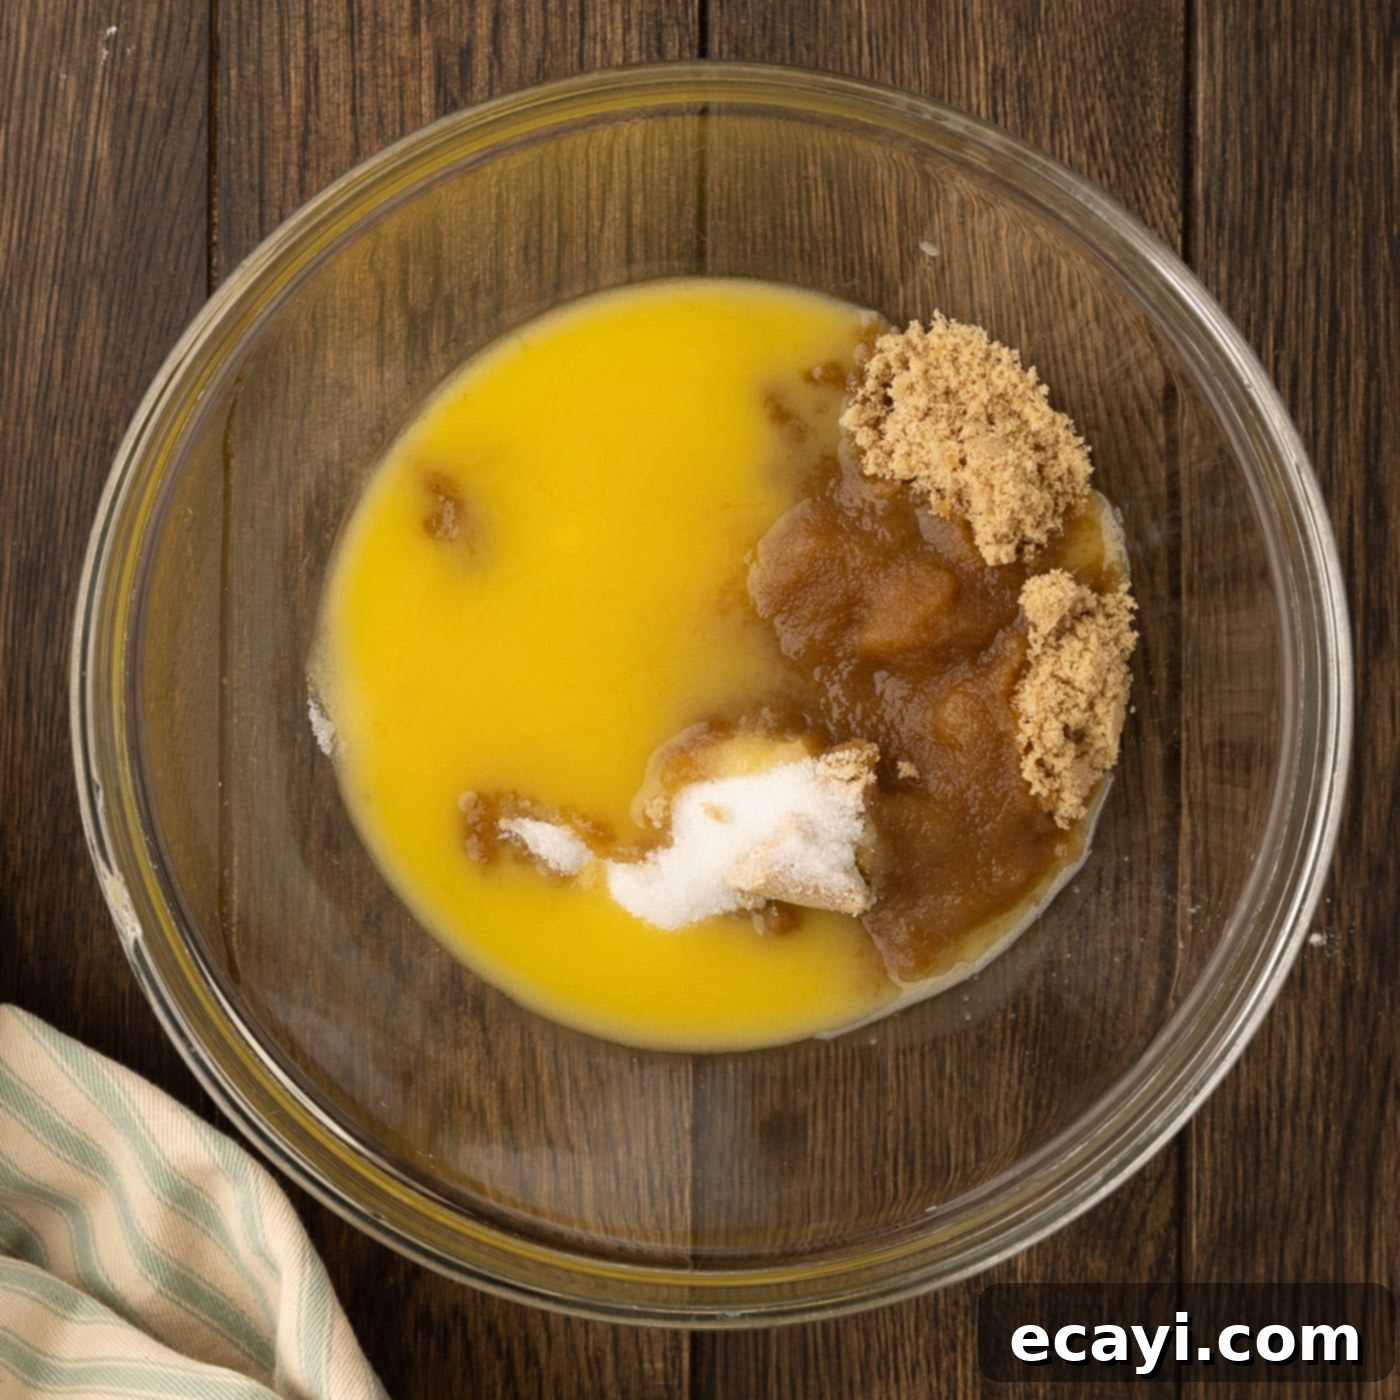
- **Cream Wet Ingredients (Butter & Sugars):** In a large mixing bowl, combine the melted unsalted butter, granulated white sugar, and light brown sugar. Using a handheld electric mixer, beat these ingredients together until the mixture becomes wonderfully creamy and light in color, which typically takes about 2 minutes. This creaming process incorporates air, contributing to the cookie’s texture.


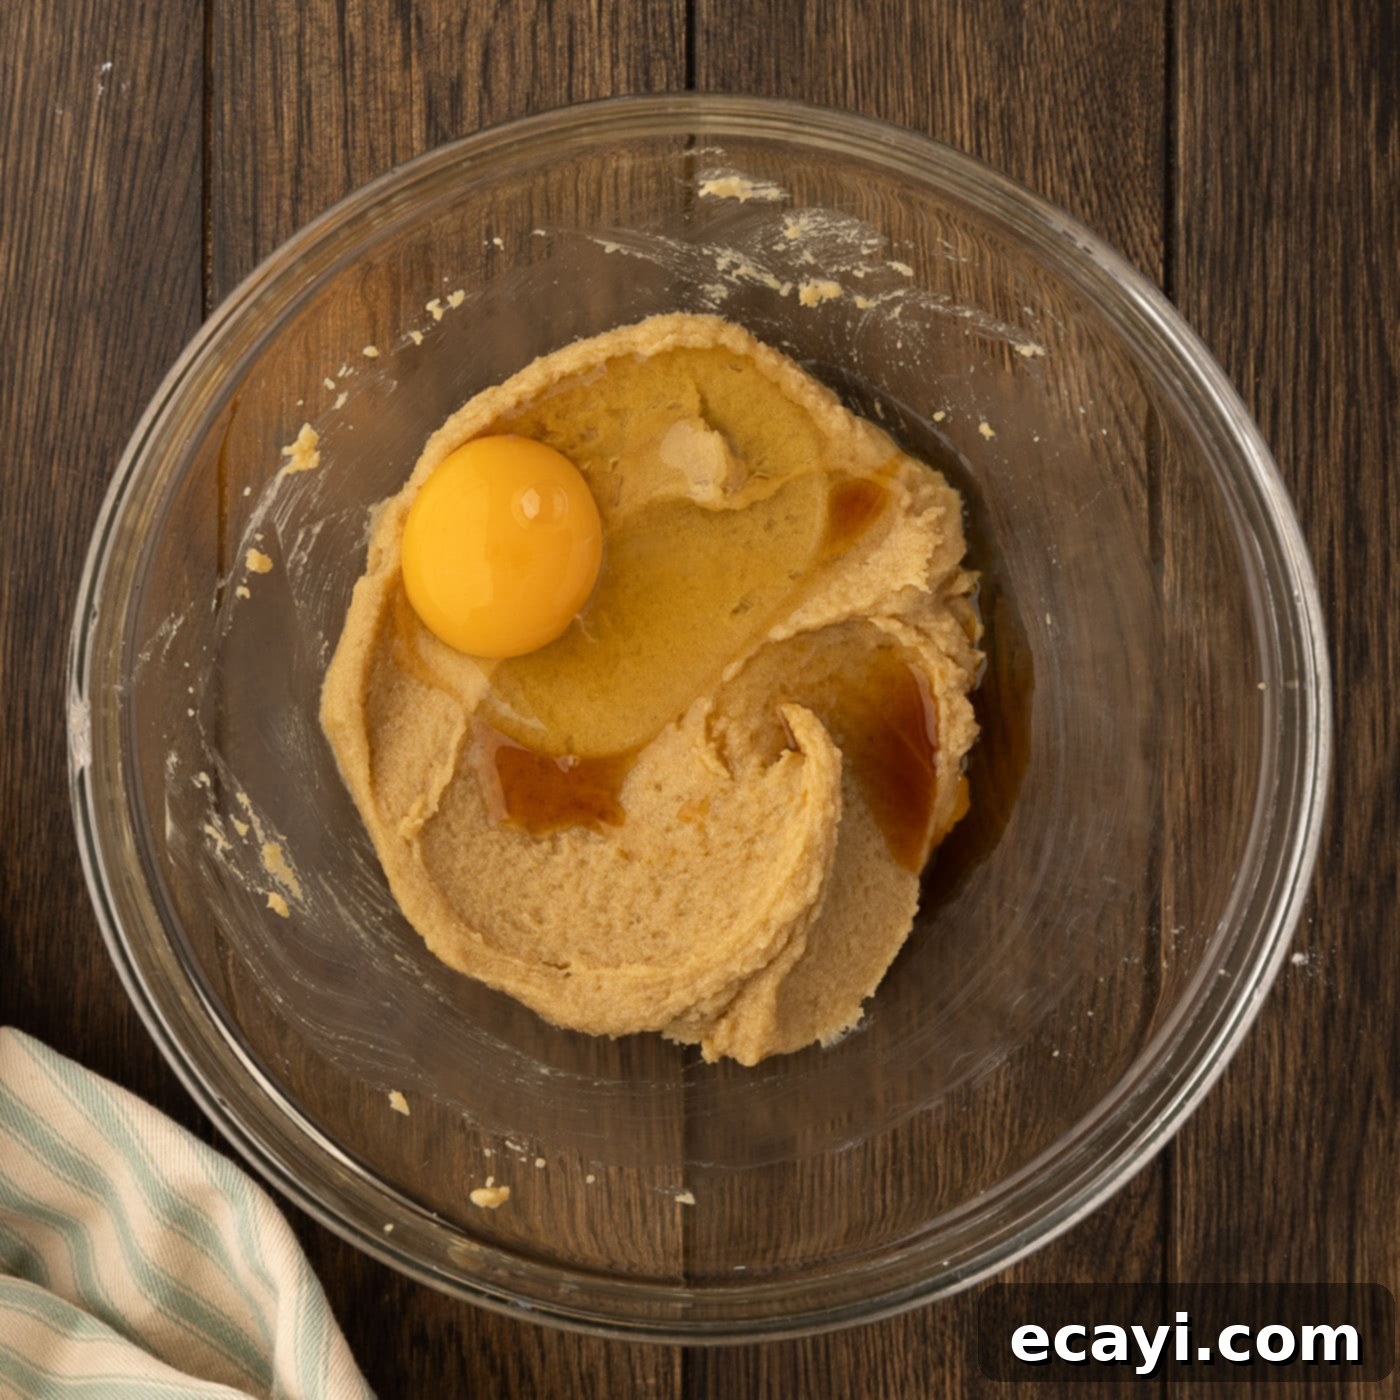
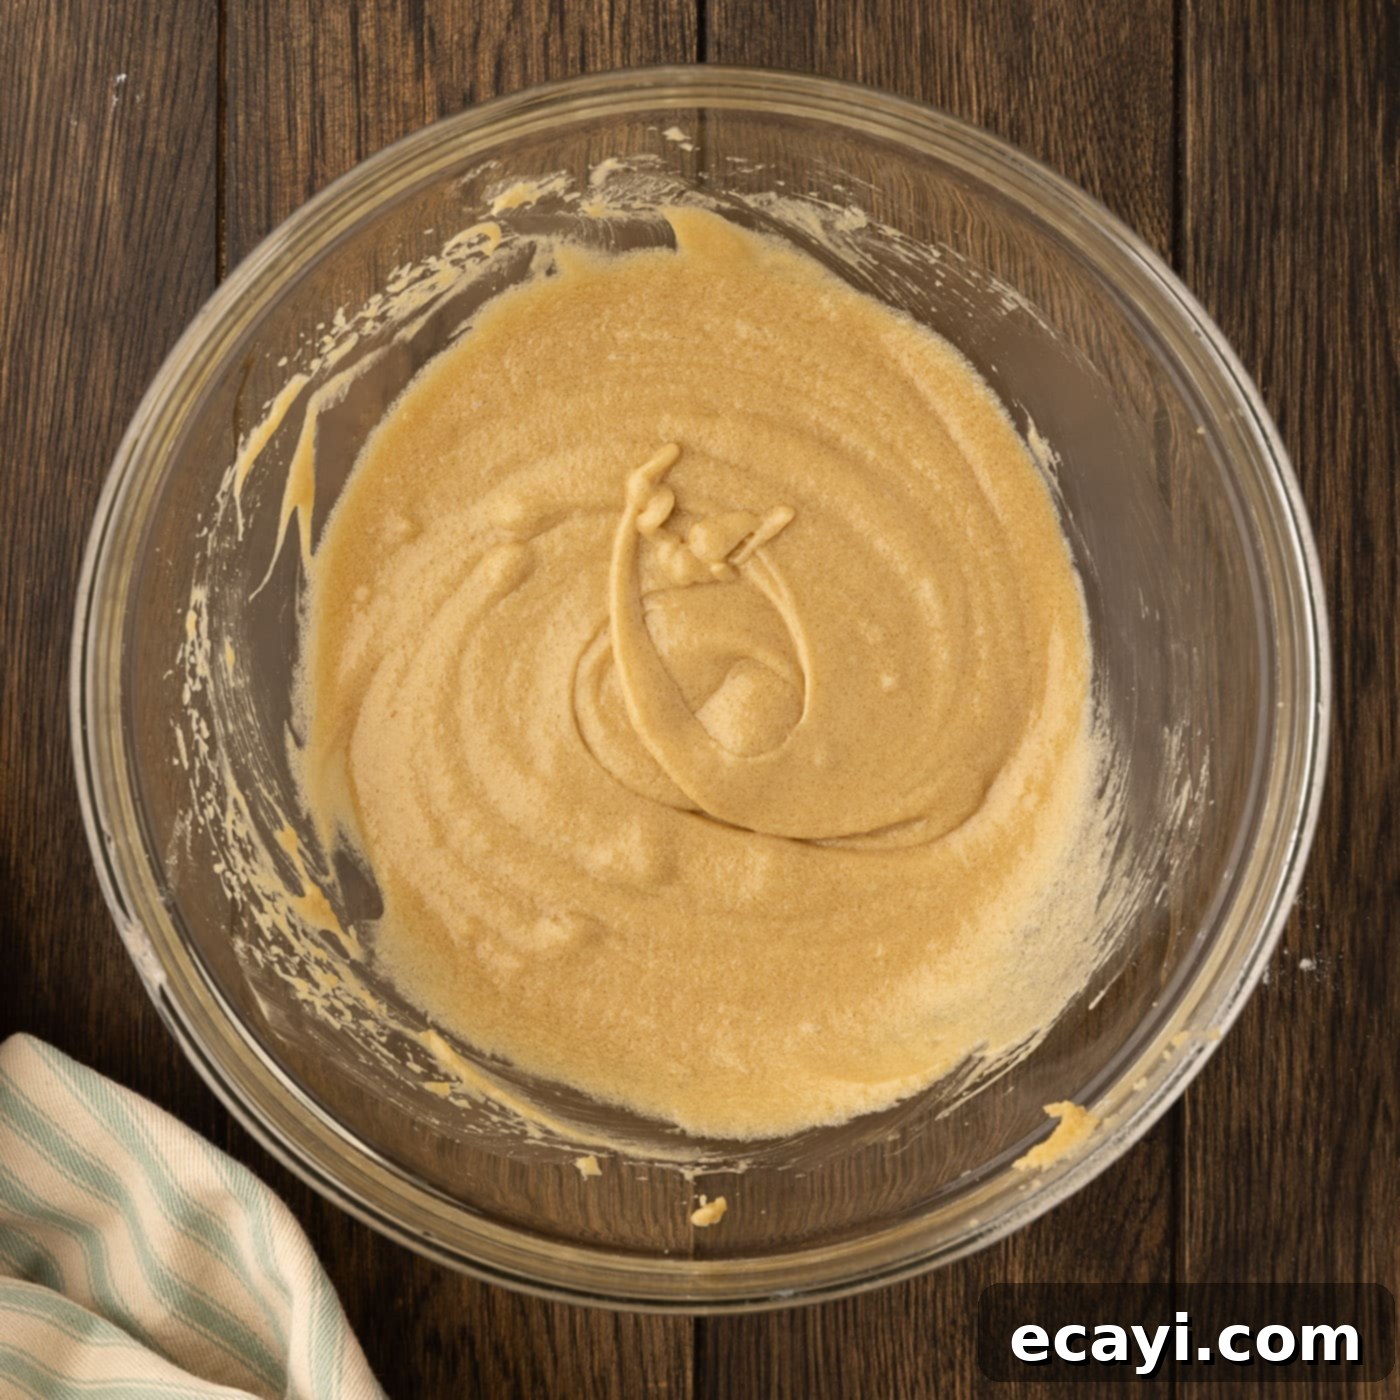
- **Incorporate Egg and Vanilla:** Add the large egg and vanilla extract to the creamy butter and sugar mixture. Continue to beat vigorously with the electric mixer until all ingredients are thoroughly combined and the mixture is smooth and cohesive. Don’t overmix, but ensure everything is fully incorporated.


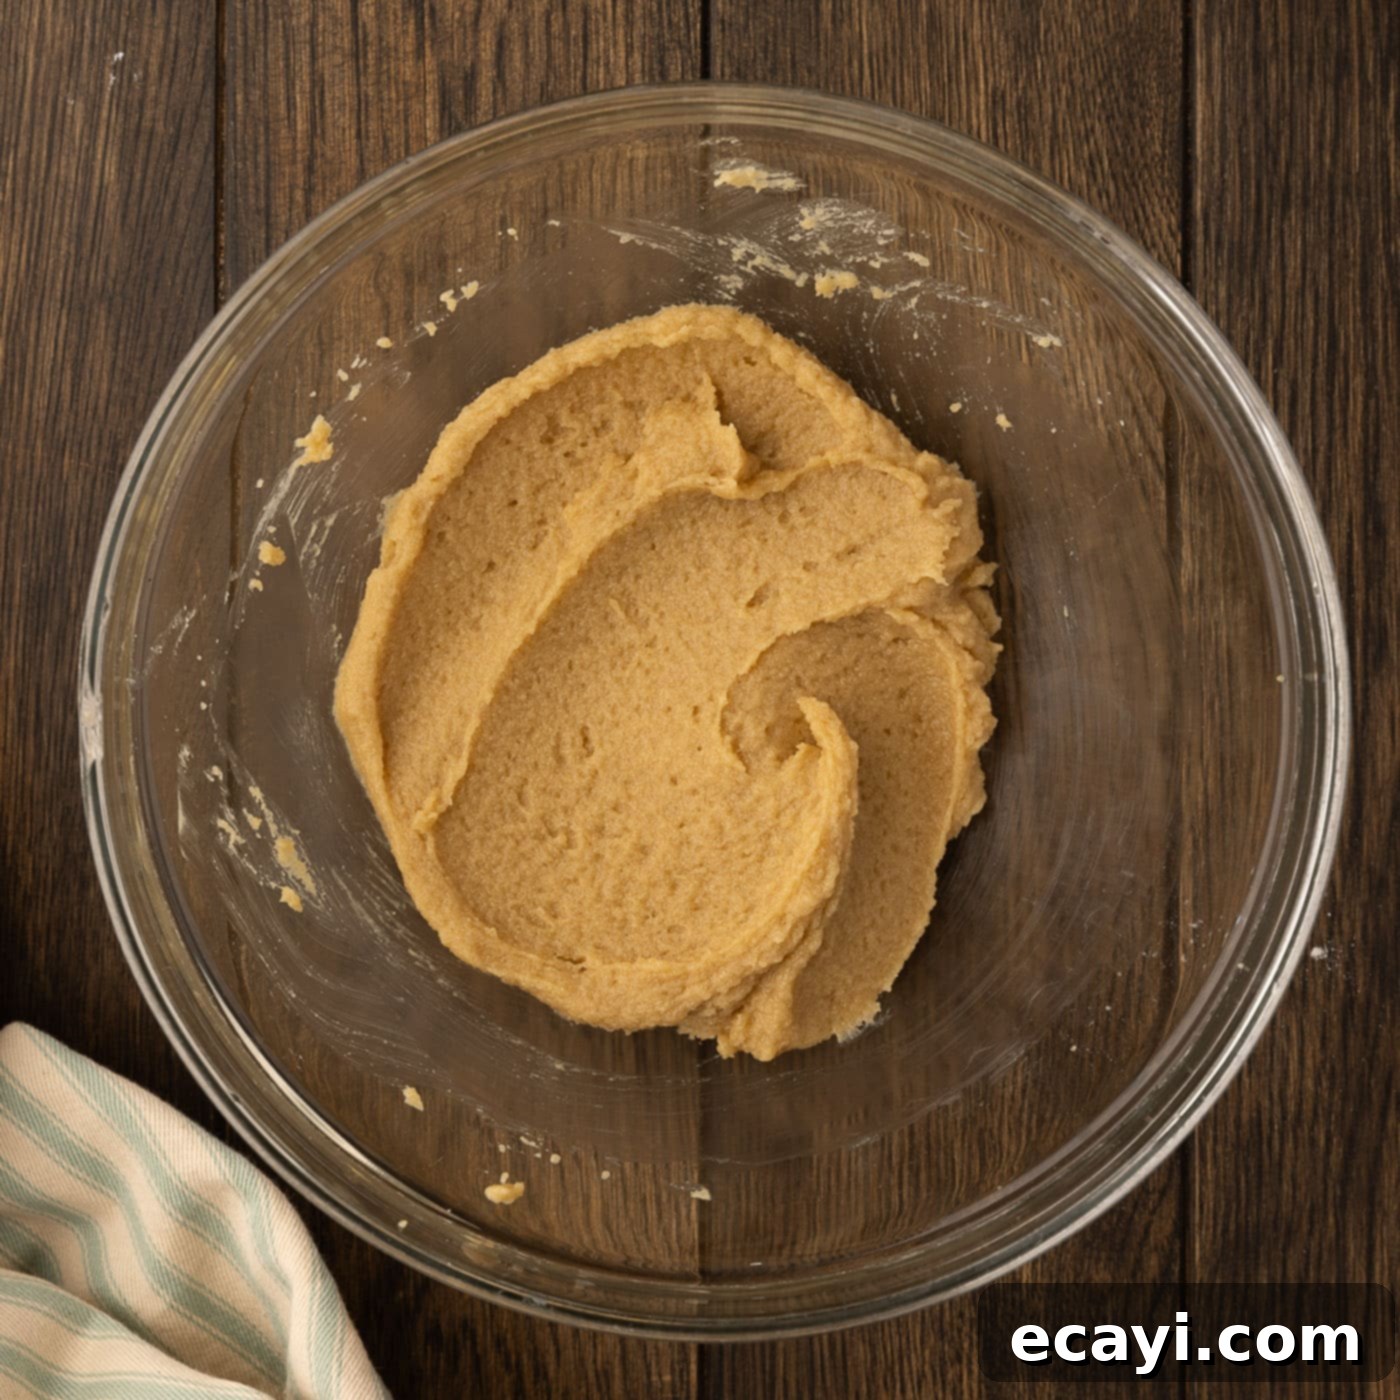
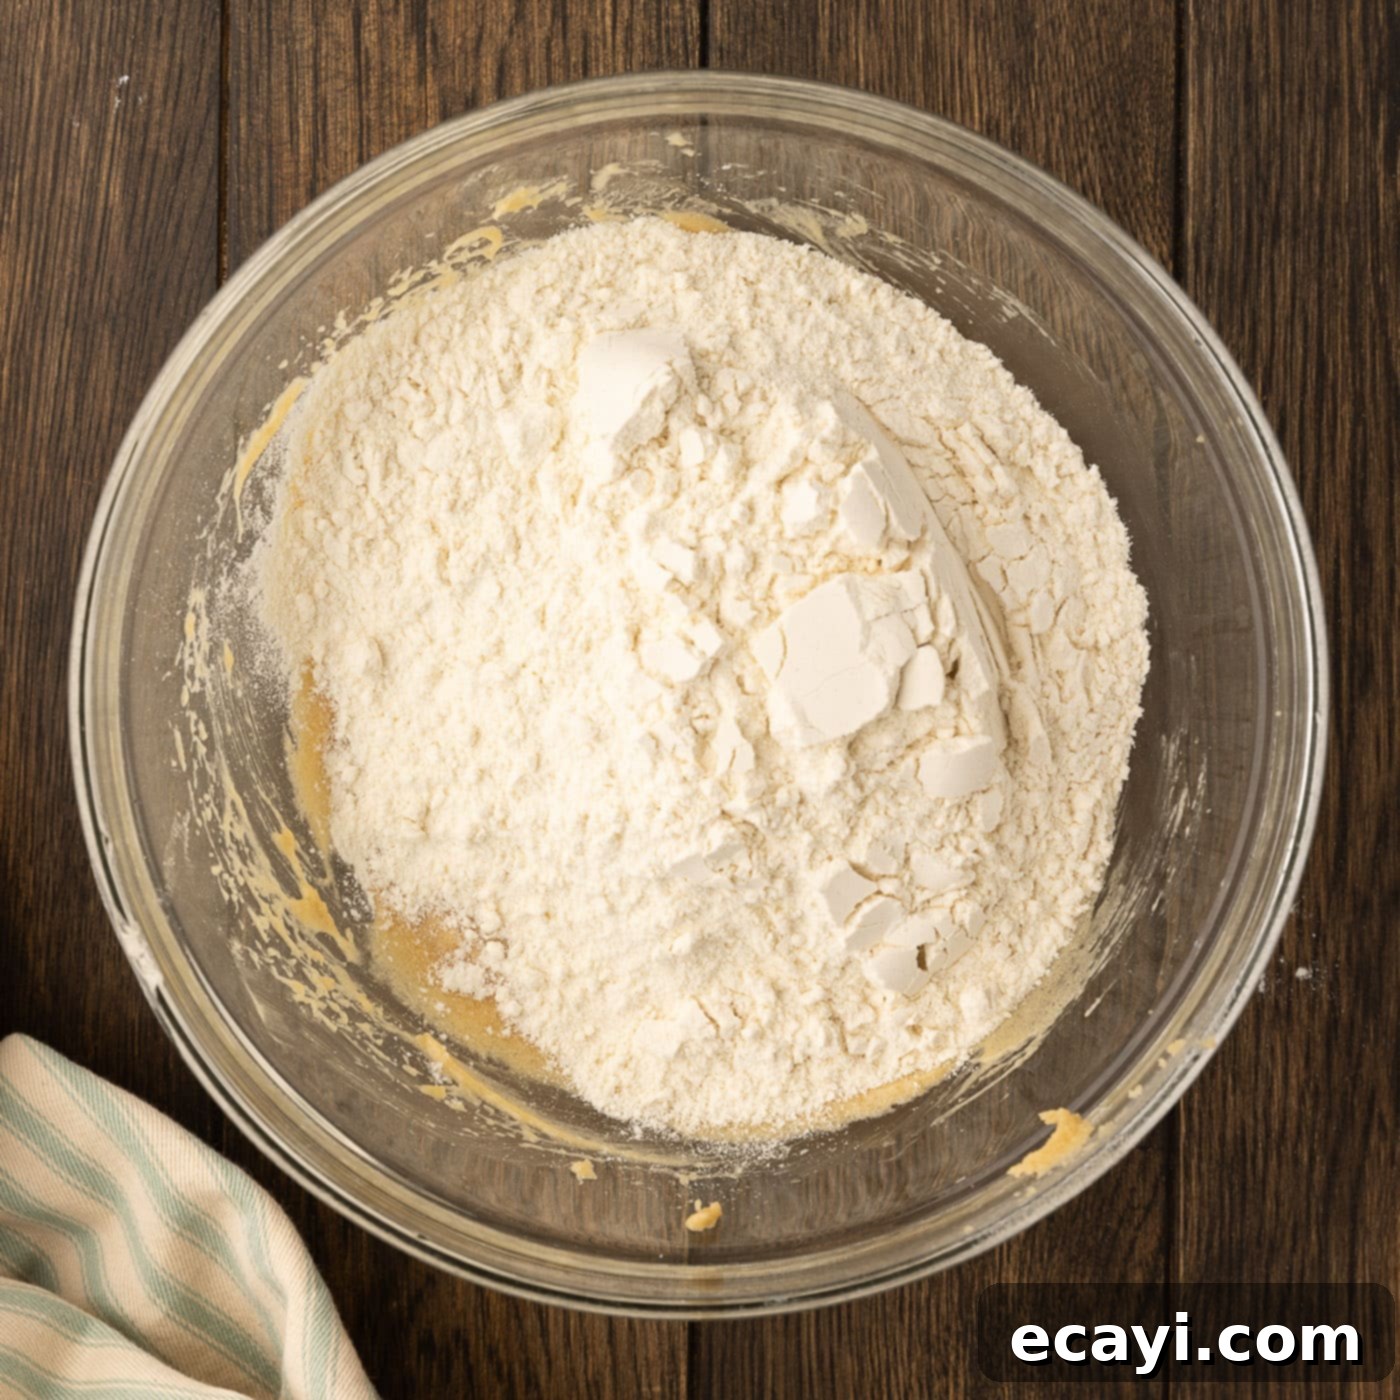
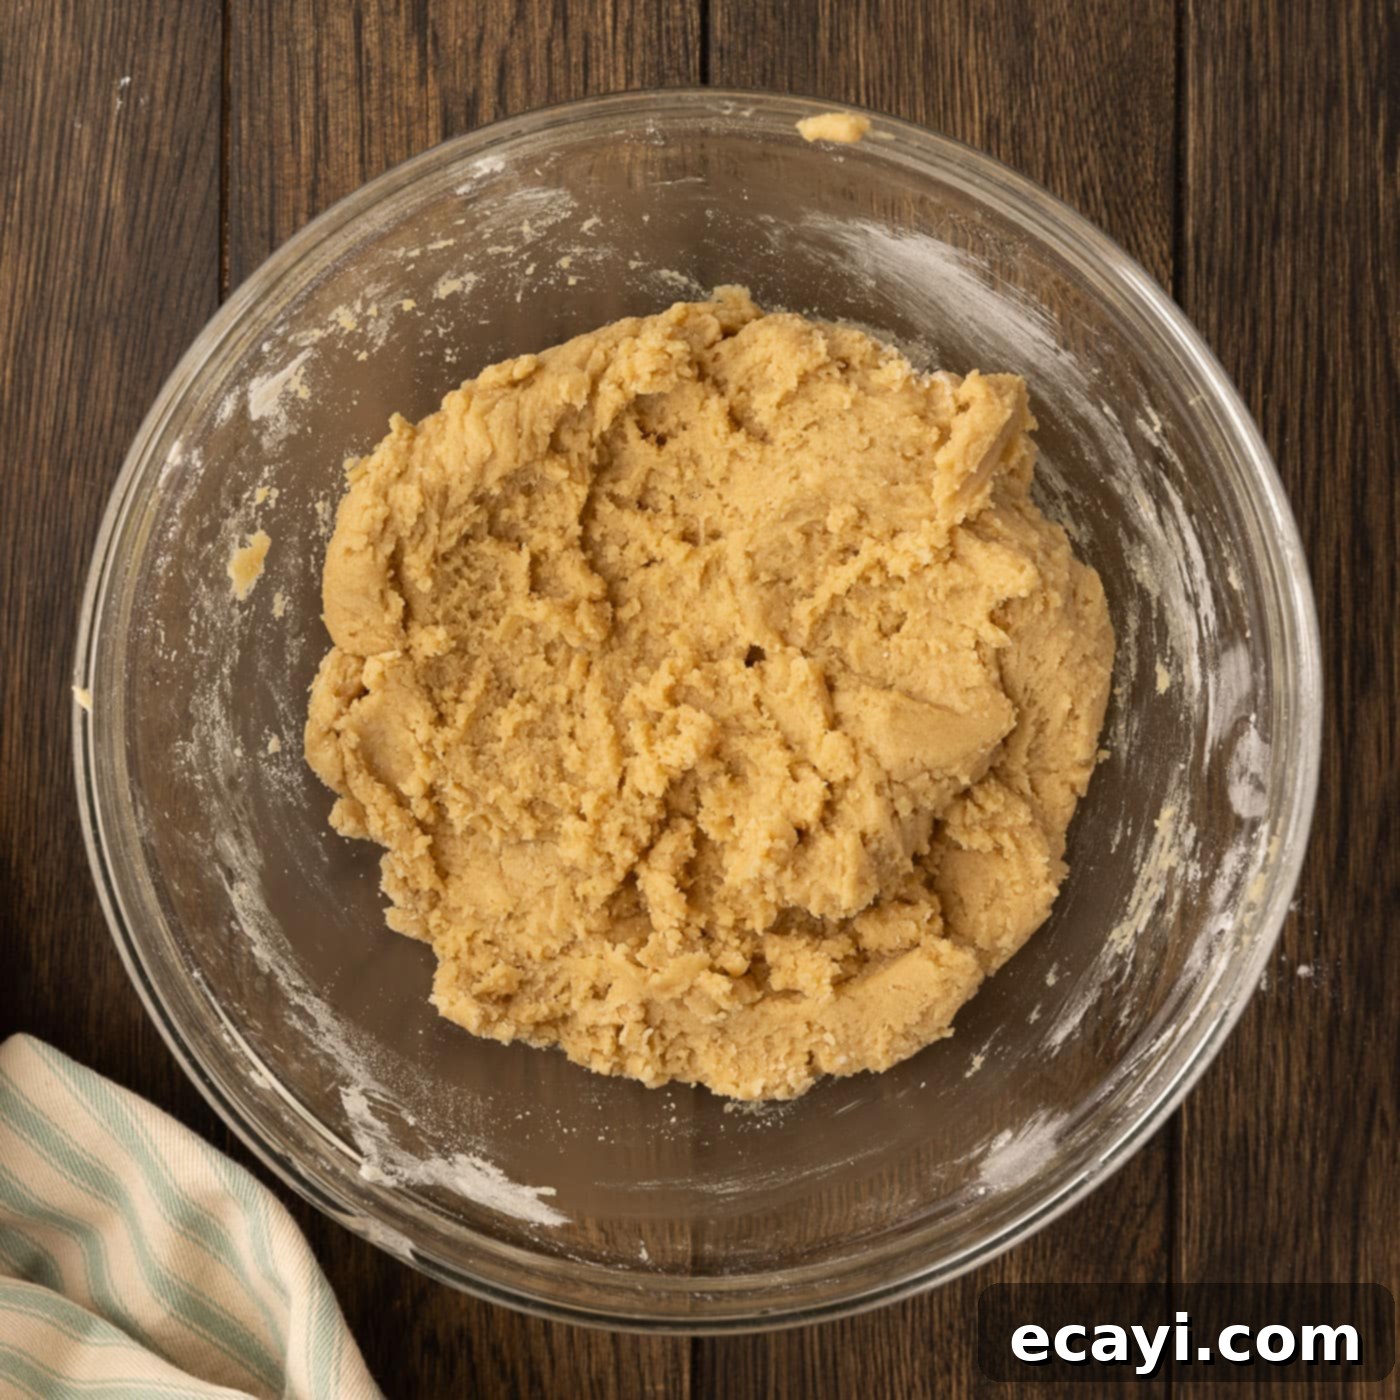
- **Add Dry to Wet Ingredients:** Gently tip the reserved dry ingredients into the large bowl containing the wet mixture. Mix using your mixer on low speed, or a sturdy spoon, until a thick, uniform cookie dough forms. Be careful not to overmix, as this can develop the gluten too much and result in a tough cookie. Mix just until no streaks of flour remain.


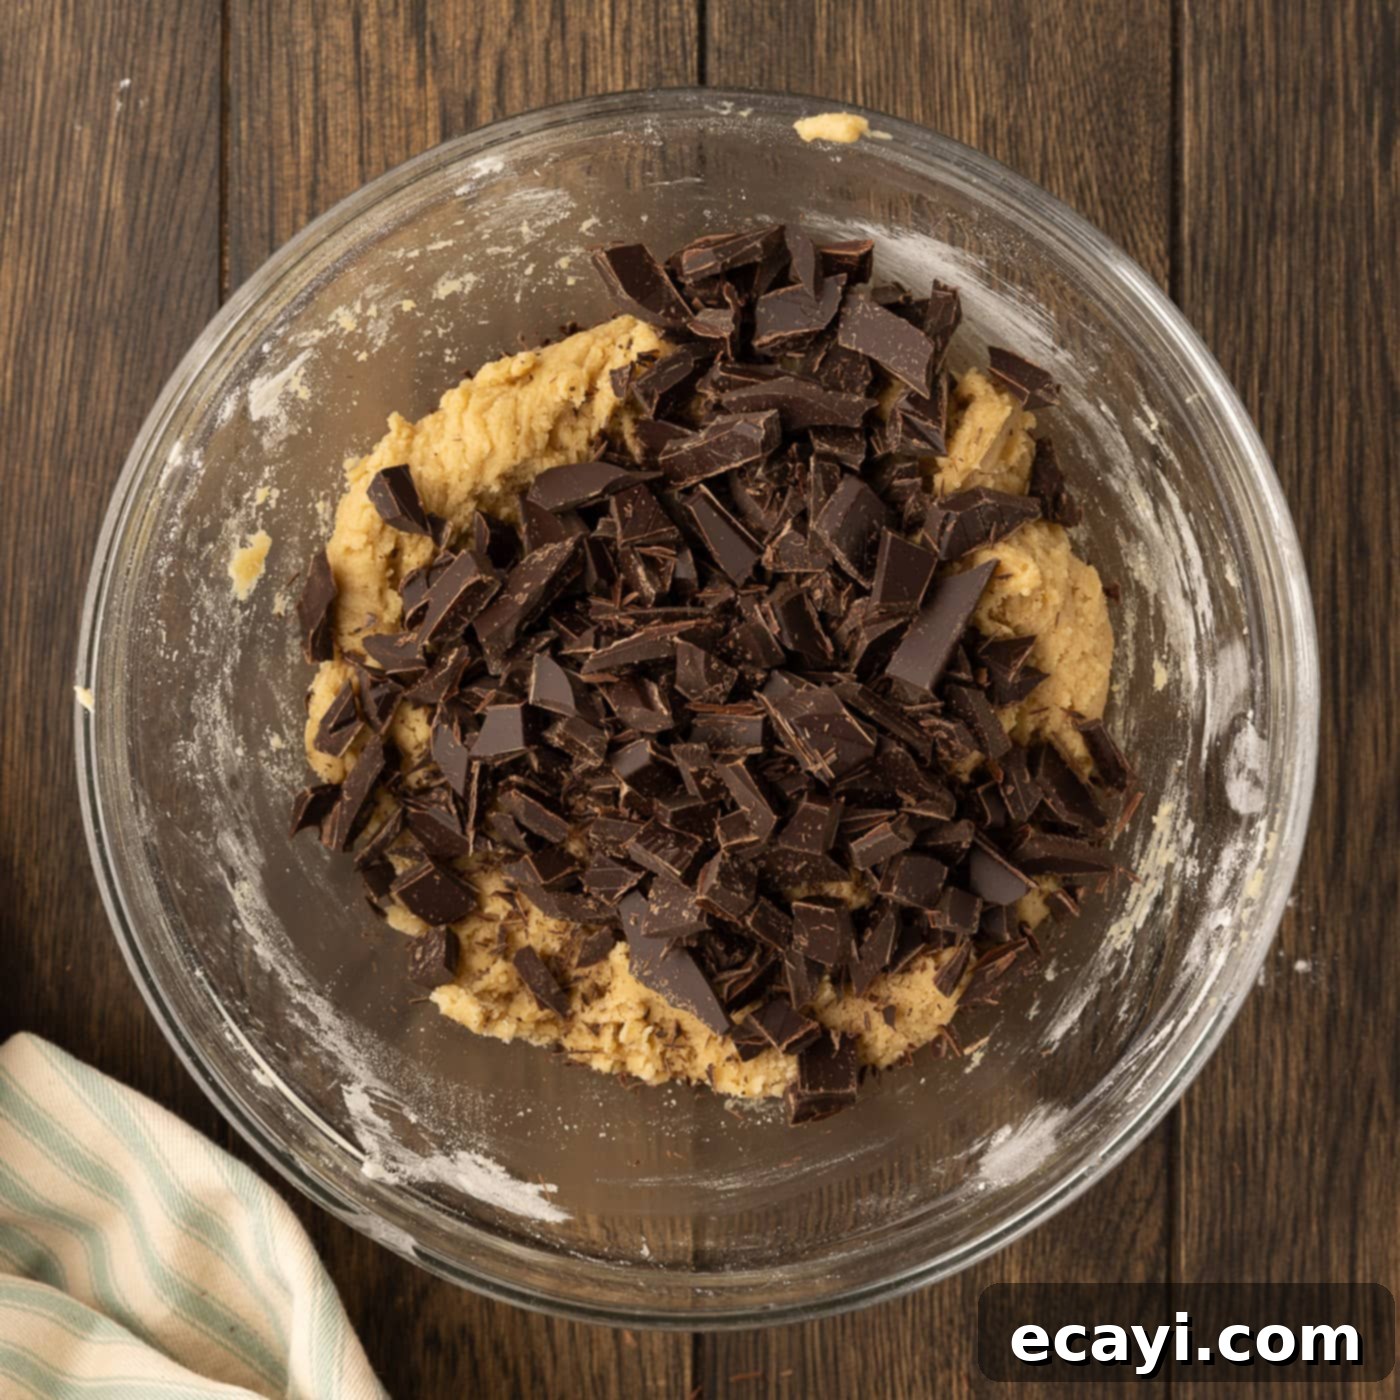
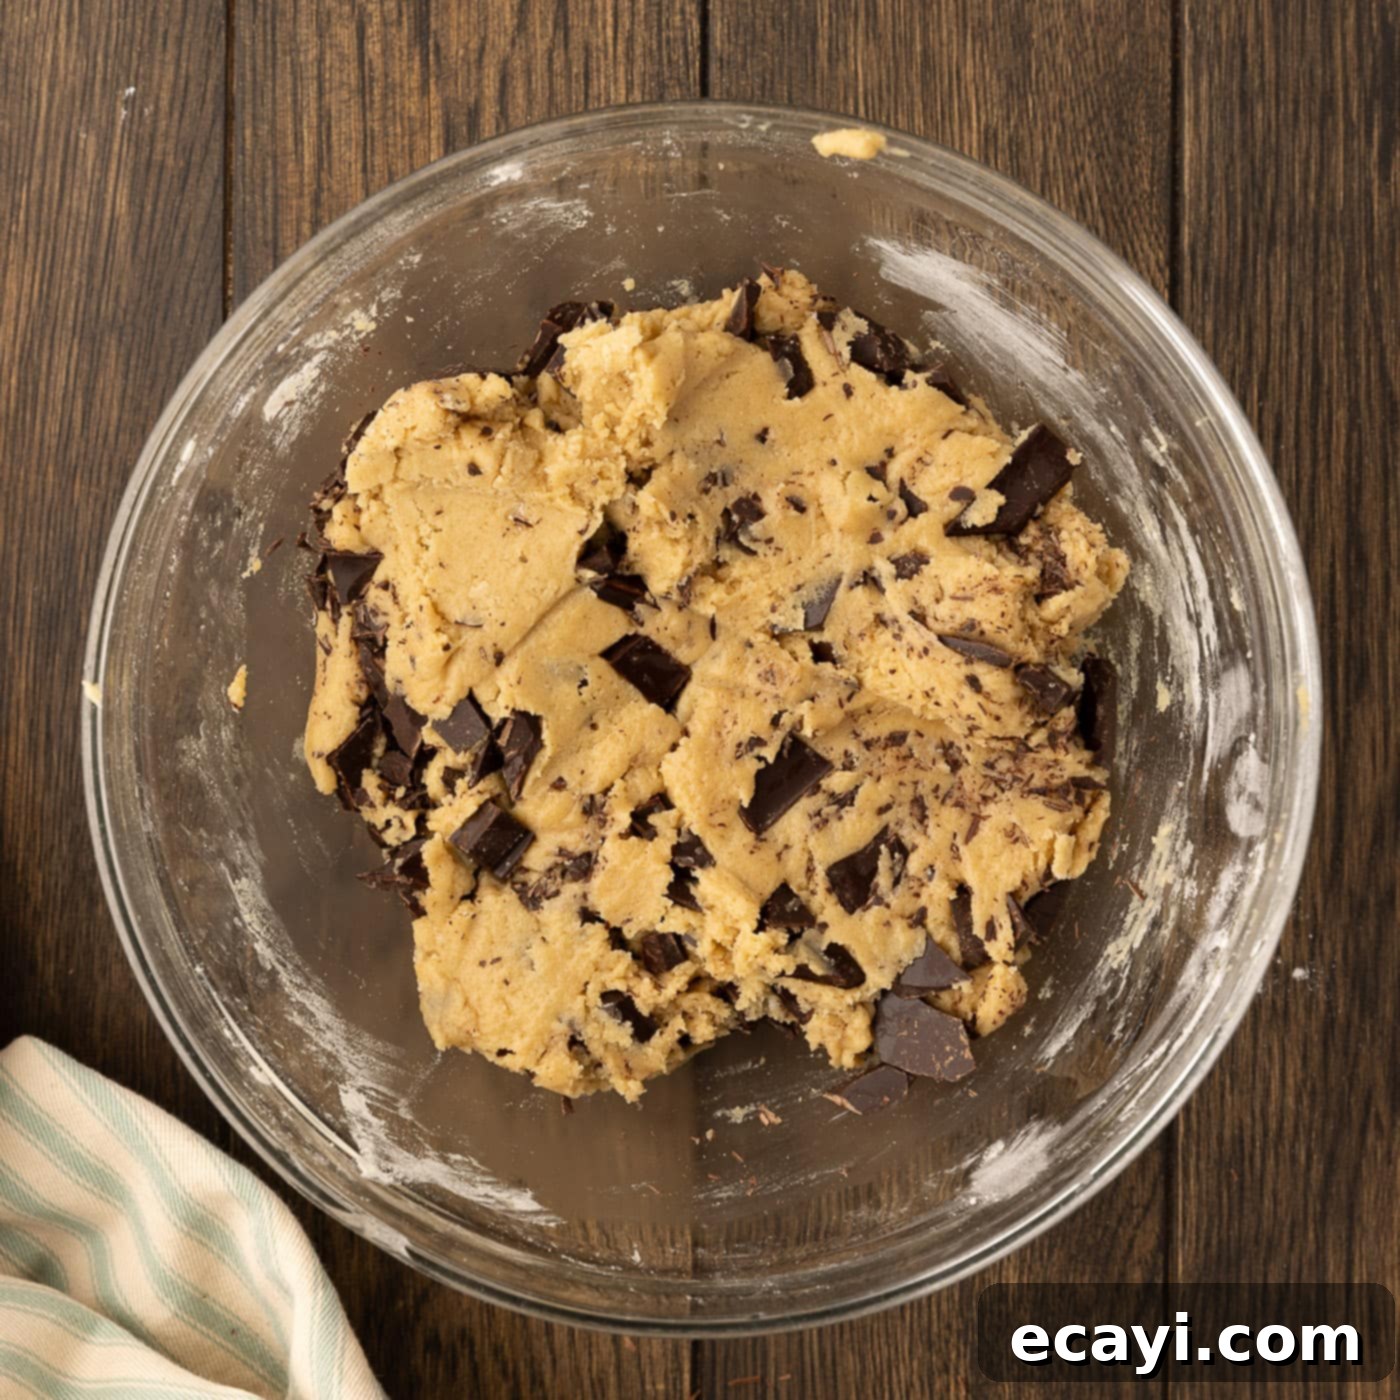
- **Fold in the Chocolate:** Add most of your roughly chopped bittersweet chocolate to the dough, ensuring you reserve a small handful for sprinkling on top later. Gently fold the chocolate into the dough using a spatula or spoon until it is evenly dispersed. This ensures delicious pockets of melted chocolate in every bite.


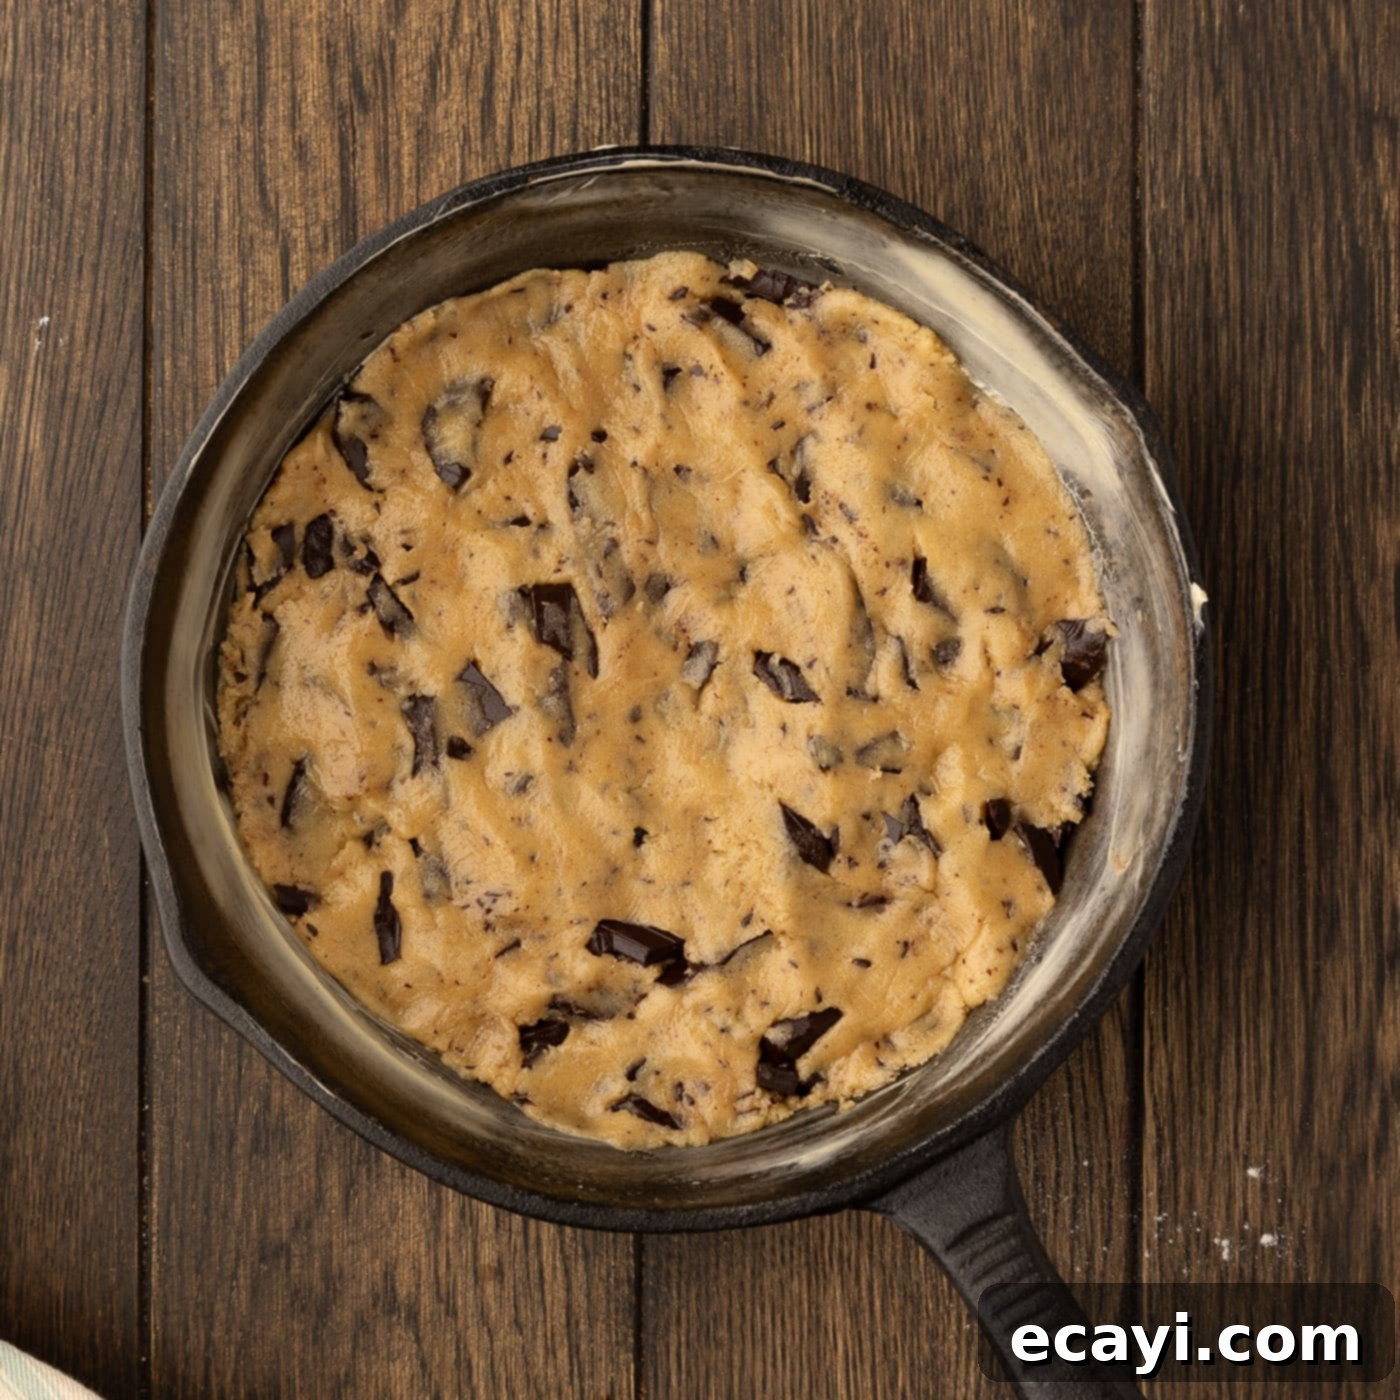
- **First Dough Layer:** Take half of the prepared cookie dough and carefully transfer it into the greased skillet. Using your hands, gently press the dough down evenly across the bottom of the skillet, creating a uniform base layer.

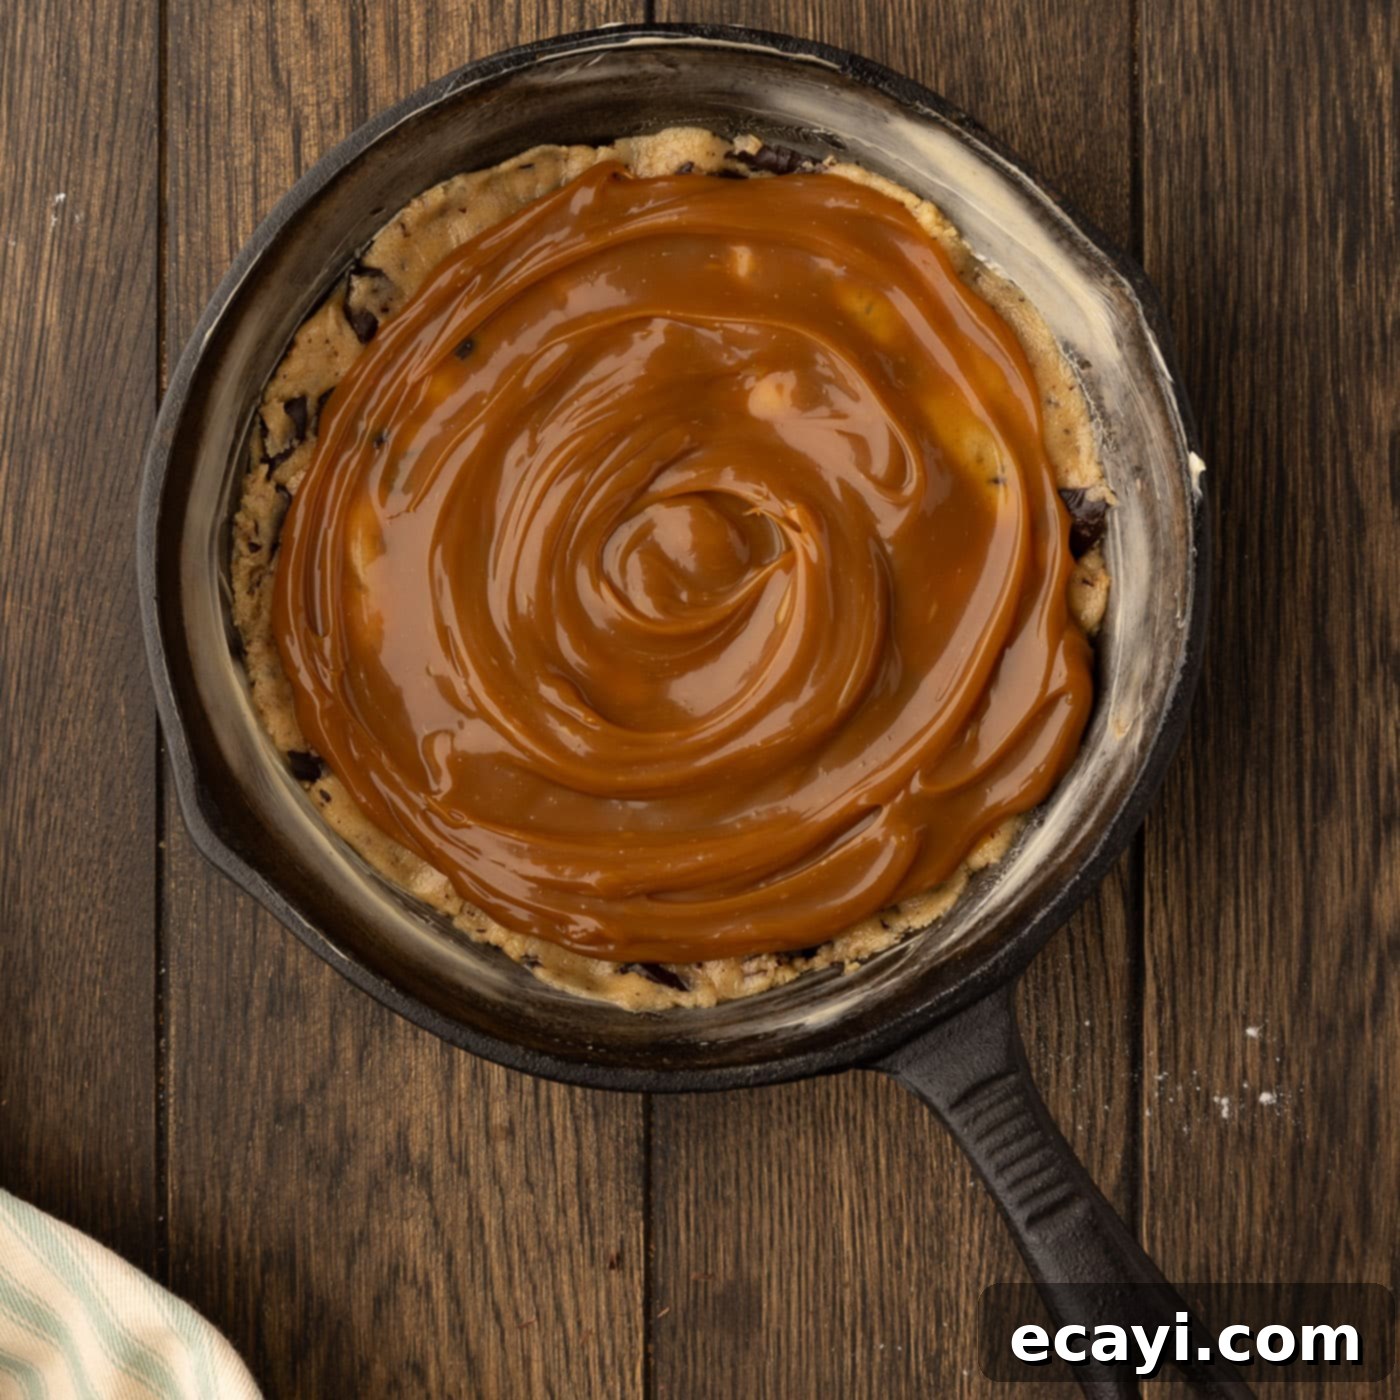
- **Caramel Layer:** Generously spread about 3/4 of the salted caramel sauce over the top of the first cookie dough layer. Ensure an even coating, but leave a small border around the edges to prevent excessive bubbling over during baking.

- **Second Dough Layer:** Carefully add the remaining cookie dough on top of the caramel sauce. The easiest method is to pat the dough into a disc roughly the same size as the skillet with your hands before gently placing it over the caramel. Then, use your fingers to delicately spread and press it to the edges, sealing in that delicious caramel layer. Don’t worry if it’s not perfectly smooth; a rustic look adds to the charm!
- **Bake to Perfection:** Place the skillet in the center of your preheated oven. Bake for approximately 20-25 minutes, or until the edges of the cookie are beautifully golden brown and the center appears set but still slightly soft (it will continue to cook slightly from residual heat once removed). Keep an eye on it to prevent over-baking.
- **Add Reserved Chocolate:** Once removed from the oven, immediately sprinkle the reserved chopped chocolate over the hot skillet cookie. The residual heat will gently melt the chocolate, creating inviting pools on top.
- **Serve Warm and Enjoy:** Allow the skillet cookie to cool for a few minutes to set slightly, then serve warm. This is when it’s at its absolute best! For an unparalleled dessert experience, scoop generous amounts of vanilla ice cream on top and drizzle with any remaining caramel sauce. Prepare for sighs of pure delight!
Frequently Asked Questions & Expert Tips for Skillet Cookie Success
This recipe was specifically designed and tested in a 9-inch cast iron skillet, which is highly recommended for its excellent heat retention and ability to produce those signature crispy edges and gooey center. However, the ingredient quantities are flexible enough to work well with an 8-inch or 10-inch skillet too. Keep in mind that the size of your skillet will impact the thickness of your cookie: an 8-inch skillet will yield a thicker cookie, requiring a slightly longer baking time, while a 10-inch skillet will result in a thinner cookie that bakes more quickly. If you don’t own a cast iron skillet, don’t despair! This versatile recipe can also be baked successfully in a standard round cake pan of a similar size (8, 9, or 10 inches). Just be aware that the texture might be slightly different without the specific heat distribution properties of cast iron.
Leftover chocolate chip caramel skillet cookie, if there is any, can be stored at room temperature in an airtight container for up to 2 days, or in the refrigerator for up to 4 days. If refrigerating, allow it to come to room temperature or gently reheat individual portions in the microwave for 15-30 seconds to restore that warm, gooey texture before serving. Cover the skillet tightly with plastic wrap or aluminum foil if you plan to keep it in the pan, or transfer individual slices to an airtight container.
Absolutely! The best way to enjoy leftover skillet cookie is to gently reheat it. For the entire skillet, cover it loosely with foil and warm in an oven preheated to 300°F (150°C) for about 10-15 minutes, or until warmed through and gooey again. For individual slices, a quick zap in the microwave for 15-30 seconds (depending on your microwave’s power) will bring it back to that delicious fresh-baked state. This is especially good if you plan to add more ice cream!
Yes, you can! If you want to prepare ahead, you can freeze portions of the unbaked cookie dough. Form the dough into discs or log shapes, wrap them tightly in plastic wrap, and then place them in an airtight freezer-safe bag or container. The dough can be frozen for up to 3 months. When ready to bake, thaw the dough in the refrigerator overnight, then proceed with the recipe as directed. You might need to add a few extra minutes to the baking time if baking from a slightly chilled state.
While this recipe is written with traditional ingredients, you can explore modifications. For a dairy-free version, substitute unsalted butter with a high-quality dairy-free butter alternative (like Earth Balance sticks) and ensure your chocolate and caramel sauce are also dairy-free. For a gluten-free skillet cookie, you can try using a 1:1 gluten-free all-purpose flour blend. Always check the labels of your chosen blend, as some may require additional binders or slight adjustments to liquid content. Results may vary slightly in texture with these substitutions, but many bakers have found success.
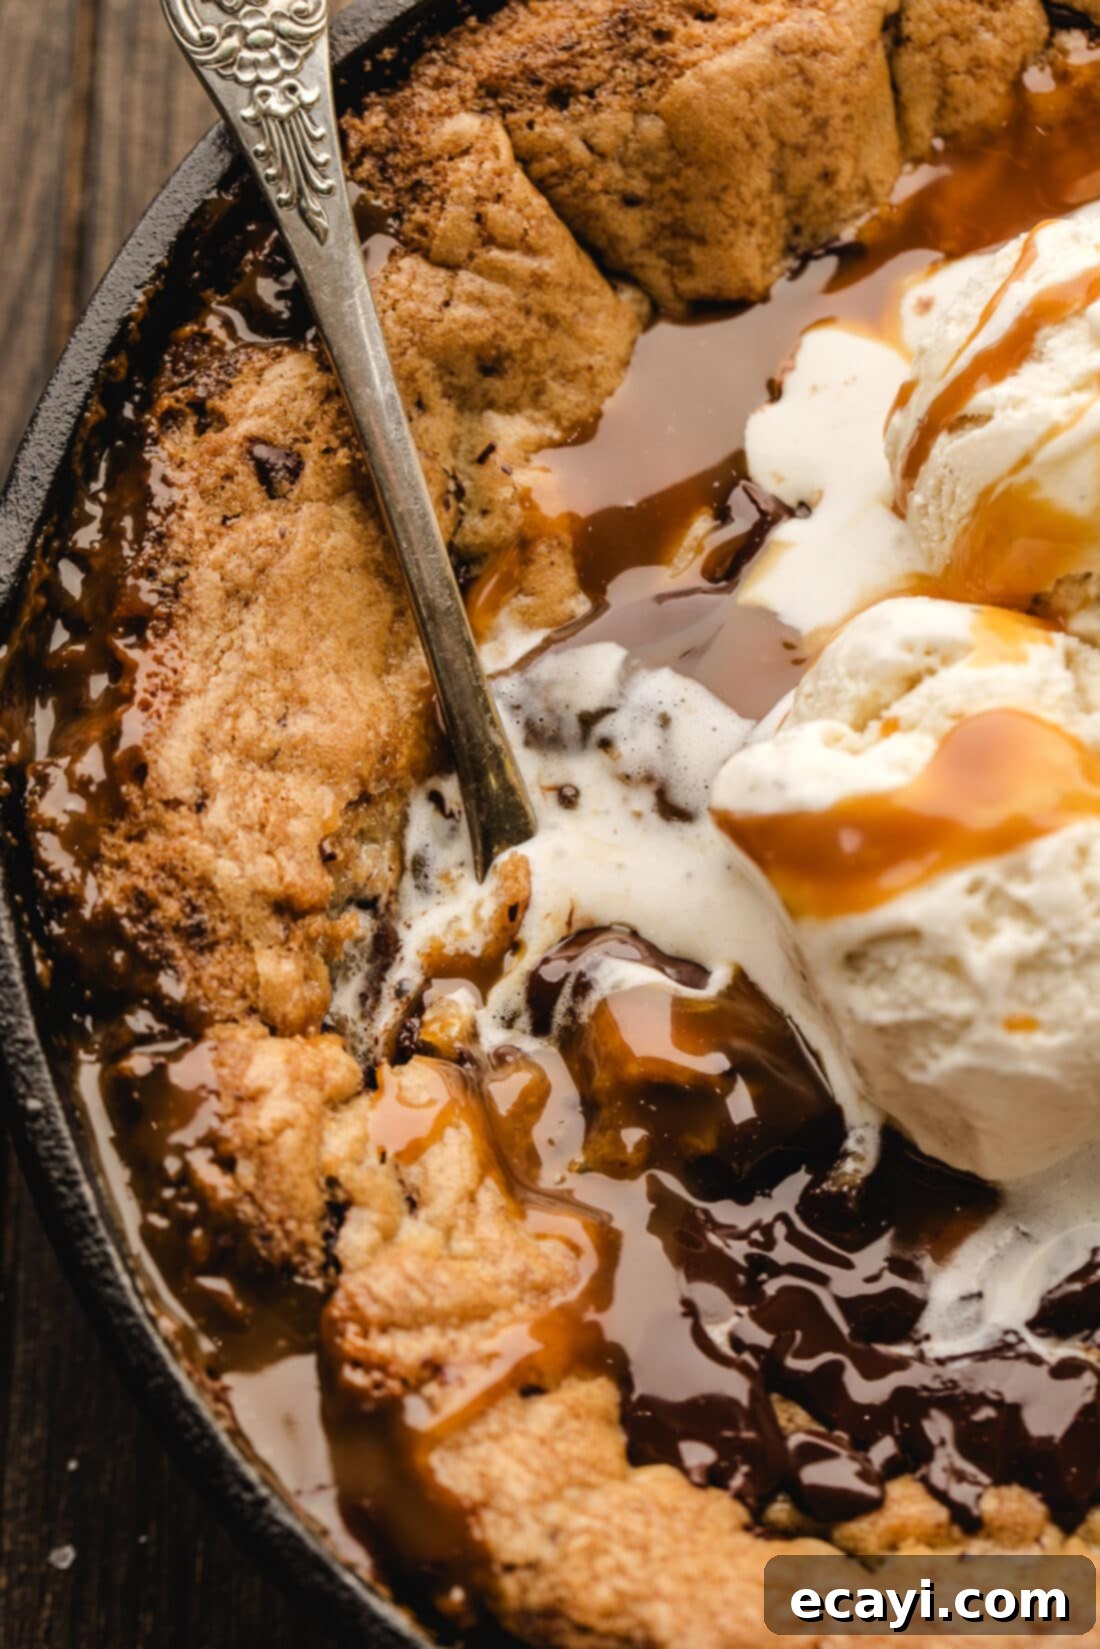
Delightful Serving Suggestions & Pairings
The beauty of this chocolate chip caramel skillet cookie is that it’s a showstopper all on its own, but its versatility truly shines when paired with complementary toppings and accompaniments. The ultimate classic serving suggestion, which we highly recommend, is to present your warm skillet cookie with a generous, heaping scoop of creamy vanilla ice cream. The contrast between the warm, gooey cookie and the cold, melting ice cream creates an extraordinary sensory experience that is simply irresistible.
But why stop there? Elevate your dessert by drizzling additional salted caramel sauce over the top, letting it cascade over the melting ice cream and warm cookie. For an extra chocolatey kick, a swirl of warm chocolate fudge sauce would also be a magnificent addition. Consider a light dusting of sea salt to further enhance the caramel’s flavor, or a sprinkle of toasted chopped nuts like pecans or walnuts for added texture and a nutty depth. A dollop of fresh whipped cream, perhaps with a touch of espresso powder, could also add a luxurious touch. This skillet cookie is perfect for sharing right out of the pan with multiple spoons, making it an ideal dessert for family gatherings, cozy movie nights, or any occasion where comfort and decadence are desired. It’s also surprisingly versatile for holiday tables or casual weeknight treats. Serve it warm to experience its full, melty, gooey potential!
Discover More Irresistible Dessert Recipes
If you’ve fallen in love with the ease and deliciousness of this skillet cookie, you’ll be thrilled to explore other related recipes that bring similar comfort and joy to your kitchen. From more skillet creations to other quick and decadent treats, here are some hand-picked favorites that you might enjoy next:
- S’mores Dip: Experience the campfire classic in an easy-to-share, gooey dip, perfect for parties or a fun family night.
- Classic Skillet Chocolate Chip Cookie: If you adore the skillet method, our foundational chocolate chip skillet cookie recipe is a must-try. It’s a timeless favorite that never disappoints.
- Single Serve Bananas Foster: For a sophisticated yet simple dessert, this individual portion of caramelized bananas with a hint of rum is pure bliss.
- Homemade Caramel Sauce: Master the art of making your own rich, buttery caramel sauce from scratch. Perfect for drizzling over this skillet cookie and countless other desserts!
I love to bake and cook and share my kitchen experience with all of you! Remembering to come back each day can be tough, that’s why I offer a convenient newsletter every time a new recipe posts. Simply subscribe and start receiving your free daily recipes, straight to your inbox. Join our community of home bakers and never miss out on a delicious new creation!

Decadent Chocolate Chip Caramel Skillet Cookie
IMPORTANT – There are often Frequently Asked Questions within the blog post that you may find helpful. Simply scroll back up to read them!
Print It
Pin It
Rate It
Save ItSaved!
Ingredients
- 1 ½ cups all purpose flour
- 1 teaspoon baking soda
- ½ teaspoon salt
- 1 Tablespoon cornstarch
- ½ cup unsalted butter melted
- ¼ cup granulated sugar
- ¾ cup light brown sugar
- 1 large egg
- 1 teaspoon vanilla extract
- 5 ounces bittersweet chocolate roughly chopped
- 1 cup salted caramel sauce
- vanilla ice cream optional, for serving
Things You’ll Need
-
9 inch skillet
-
Hand mixer
-
Mixing bowl
Before You Begin & Recipe Notes
- Instead of standard chocolate chips, we highly recommend using a bittersweet chocolate bar and roughly chopping it. This technique creates incredible, large pockets of intensely melted chocolate that distribute beautifully throughout the cookie, offering a more luxurious and complex flavor profile. However, feel free to use your preferred chocolate chips (semi-sweet or milk) if that’s what you have on hand or prefer.
- The salted caramel sauce is a star in this recipe. While we utilized a high-quality store-bought sauce for convenience, you are absolutely encouraged to make and use your own homemade caramel sauce for an even richer, more personalized flavor. If salted caramel isn’t your preference, this recipe works just as well with a regular, non-salted store-bought or homemade caramel sauce.
- This recipe was perfected in a 9-inch cast iron skillet, which is key to its fantastic texture – crispy edges and a soft, gooey center. The given ingredient quantities are versatile and will also work in an 8-inch or 10-inch skillet. Just note that an 8-inch skillet will yield a thicker cookie requiring slightly longer baking, while a 10-inch skillet will produce a thinner cookie that bakes faster. If you don’t have a cast iron skillet, a standard round cake pan of similar size can be used as a substitute, though the textural nuances may differ slightly.
- Storage Tip: Any delicious leftovers can be stored in an airtight container or tightly covered with plastic wrap in the refrigerator for up to 4 days. For best enjoyment, gently reheat individual portions in the microwave until warm and gooey before serving.
Instructions
-
Preheat your oven to 350°F (175°C) and prepare your skillet by generously greasing a 9-inch cast iron skillet with butter. This ensures a non-stick surface and helps achieve those desirable crispy edges.
-
In a small bowl, thoroughly whisk together the all-purpose flour, baking soda, salt, and cornstarch until well combined. Set this dry mixture aside.
-
In a large mixing bowl, combine the melted unsalted butter, granulated sugar, and light brown sugar. Beat with a handheld electric mixer on medium speed for about 2 minutes, until the mixture is light, creamy, and well-emulsified.
-
Add the large egg and vanilla extract to the wet ingredients. Continue to beat until fully incorporated, ensuring the mixture is smooth and evenly blended.
-
Gradually add the dry ingredients to the wet ingredients. Mix on low speed or by hand with a spatula until a thick, cohesive cookie dough forms and no dry streaks of flour are visible. Be careful not to overmix.
-
Gently fold in most of the roughly chopped bittersweet chocolate into the dough, reserving a small handful for garnishing after baking. Mix until the chocolate pieces are evenly distributed throughout the dough.
-
Press half of the cookie dough evenly into the bottom of the prepared skillet, using your hands to create a smooth, compact layer.
-
Carefully spread 3/4 of the salted caramel sauce over the first layer of cookie dough, ensuring an even coating while leaving a small margin around the edges.
-
Add the remaining cookie dough on top of the caramel layer. The easiest way to do this is to flatten the dough into a disc roughly the size of the skillet with your hands before placing it over the caramel, then gently pressing and spreading it to the edges. This encases the caramel beautifully.
-
Bake in the preheated oven for 20-25 minutes. The cookie is ready when its edges are golden brown and the center looks set but remains delightfully soft and gooey. Baking time may vary slightly with oven and skillet size.
-
Immediately upon removing the skillet from the oven, sprinkle the reserved chopped chocolate over the hot cookie. The residual heat will melt it into luscious pools.
-
Allow the cookie to cool for a few minutes in the skillet before serving warm. For the ultimate treat, serve with a scoop (or two!) of vanilla ice cream and an extra drizzle of the remaining caramel sauce. Enjoy!
Expert Tips & FAQs
- Storage & Reheating: Leftovers can be stored in an air-tight container or covered with plastic wrap in the refrigerator for up to 4 days. For the best experience, gently reheat individual portions in the microwave for 15-30 seconds to bring back that warm, gooey center.
- Skillet Size Matters: While a 9-inch skillet is ideal for this recipe, an 8-inch skillet will yield a thicker cookie (requiring a slightly longer bake), and a 10-inch will result in a thinner cookie (baking faster). Adjust baking times accordingly and watch for golden edges.
- Achieving Gooeyness: Don’t overbake! The center of your skillet cookie should still look a little soft and underdone when you pull it out of the oven. It will continue to cook and set as it cools, resulting in that perfect gooey texture.
- Chocolate Choice: Chopping a quality bittersweet chocolate bar instead of using chips creates larger, more satisfying pockets of melted chocolate. The bitter notes also perfectly cut through the sweetness of the caramel.
- Homemade vs. Store-Bought Caramel: Either works wonderfully! If using store-bought, opt for a good quality brand. If making your own (see our linked recipe!), you have full control over the saltiness and consistency.
- Serving Temperature: This cookie is truly best served warm, ideally right out of the oven after a few minutes of cooling. The warm, melty chocolate and caramel are divine!
Nutrition Information
The recipes on this blog are tested with a conventional gas oven and gas stovetop. It’s important to note that some ovens, especially as they age, can cook and bake inconsistently. Using an inexpensive oven thermometer can assure you that your oven is truly heating to the proper temperature. If you use a toaster oven or countertop oven, please keep in mind that they may not distribute heat the same as a conventional full sized oven and you may need to adjust your cooking/baking times. In the case of recipes made with a pressure cooker, air fryer, slow cooker, or other appliance, a link to the appliances we use is listed within each respective recipe. For baking recipes where measurements are given by weight, please note that results may not be the same if cups are used instead, and we can’t guarantee success with that method.
