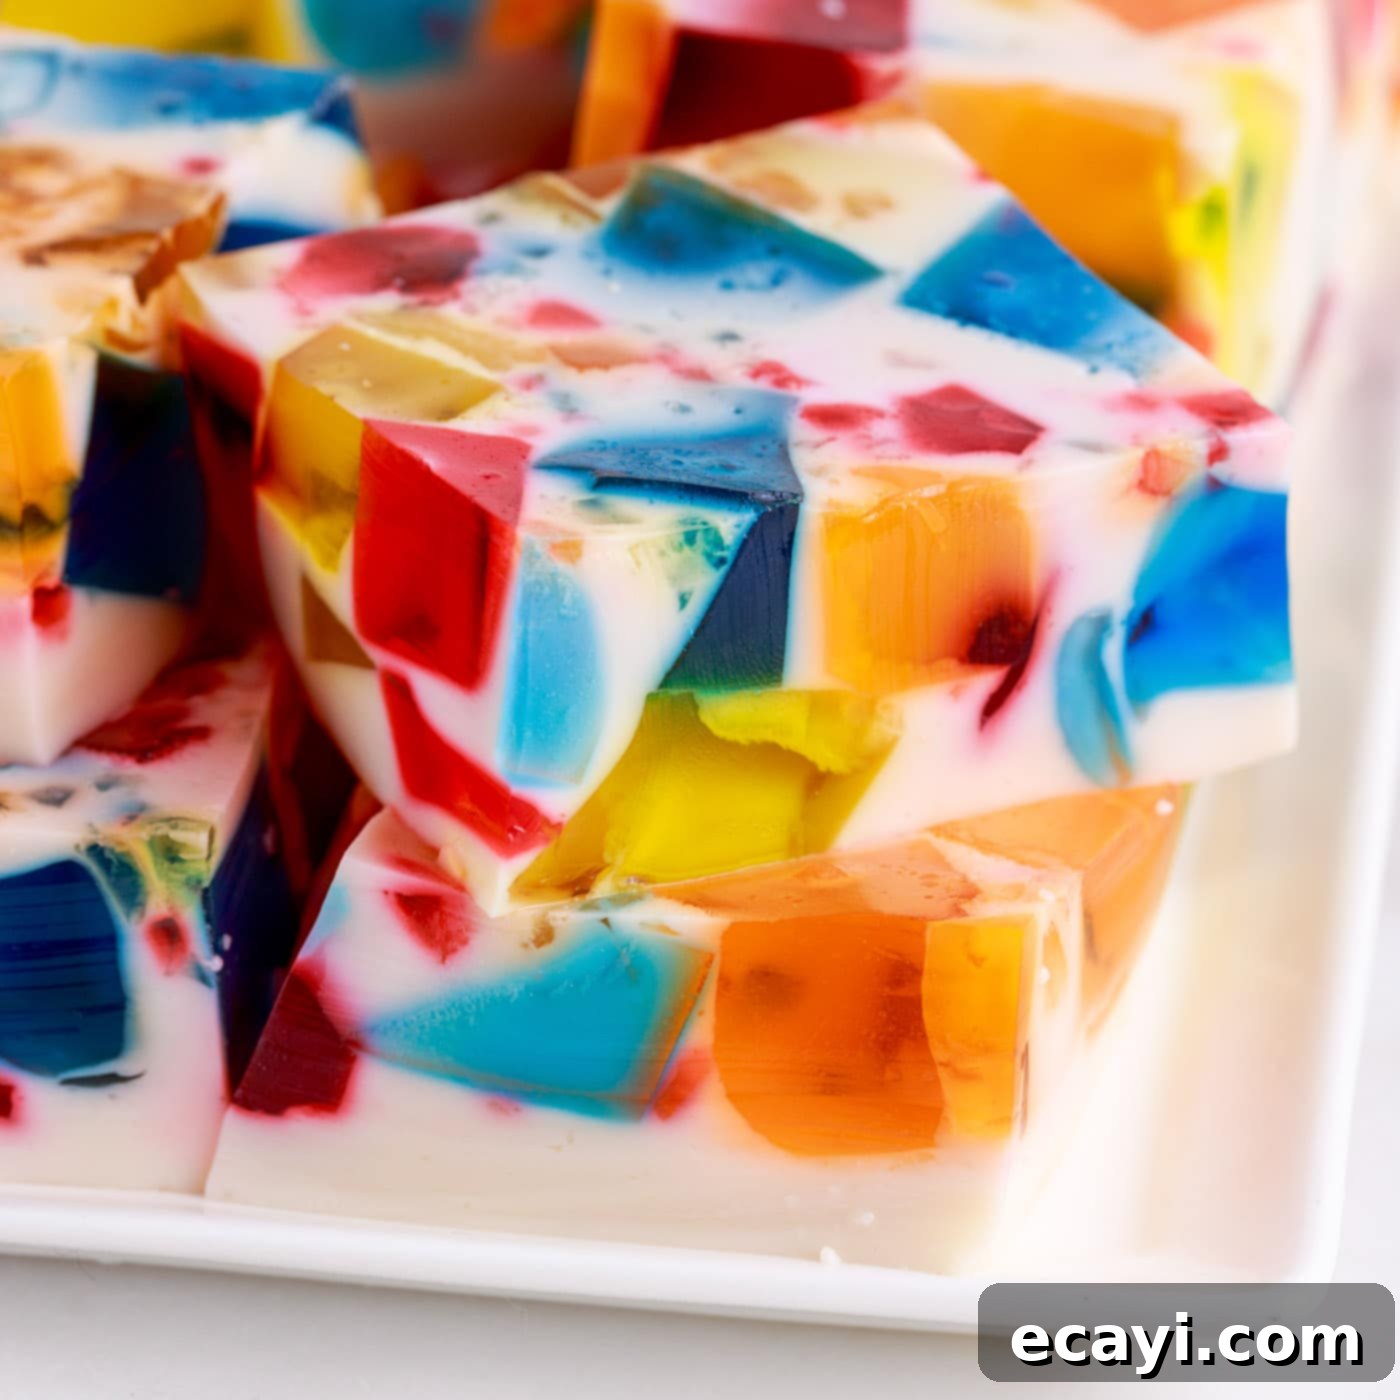
Easy & Vibrant Broken Glass Jello: A Stained Glass Dessert Masterpiece
Dive into a world of vibrant colors and creamy textures with our stunning Broken Glass Jello recipe. This eye-catching dessert, also affectionately known as Stained Glass Jello, transforms simple gelatin into a dazzling mosaic of edible ‘shards.’ Imagine brilliantly colored Jello cubes suspended in a sweet, milky base, creating a visual spectacle that’s as delightful to look at as it is to eat. Perfect for any celebration, holiday gathering, or just a fun family treat, this recipe is surprisingly easy to make and guaranteed to impress your guests with its unique charm.
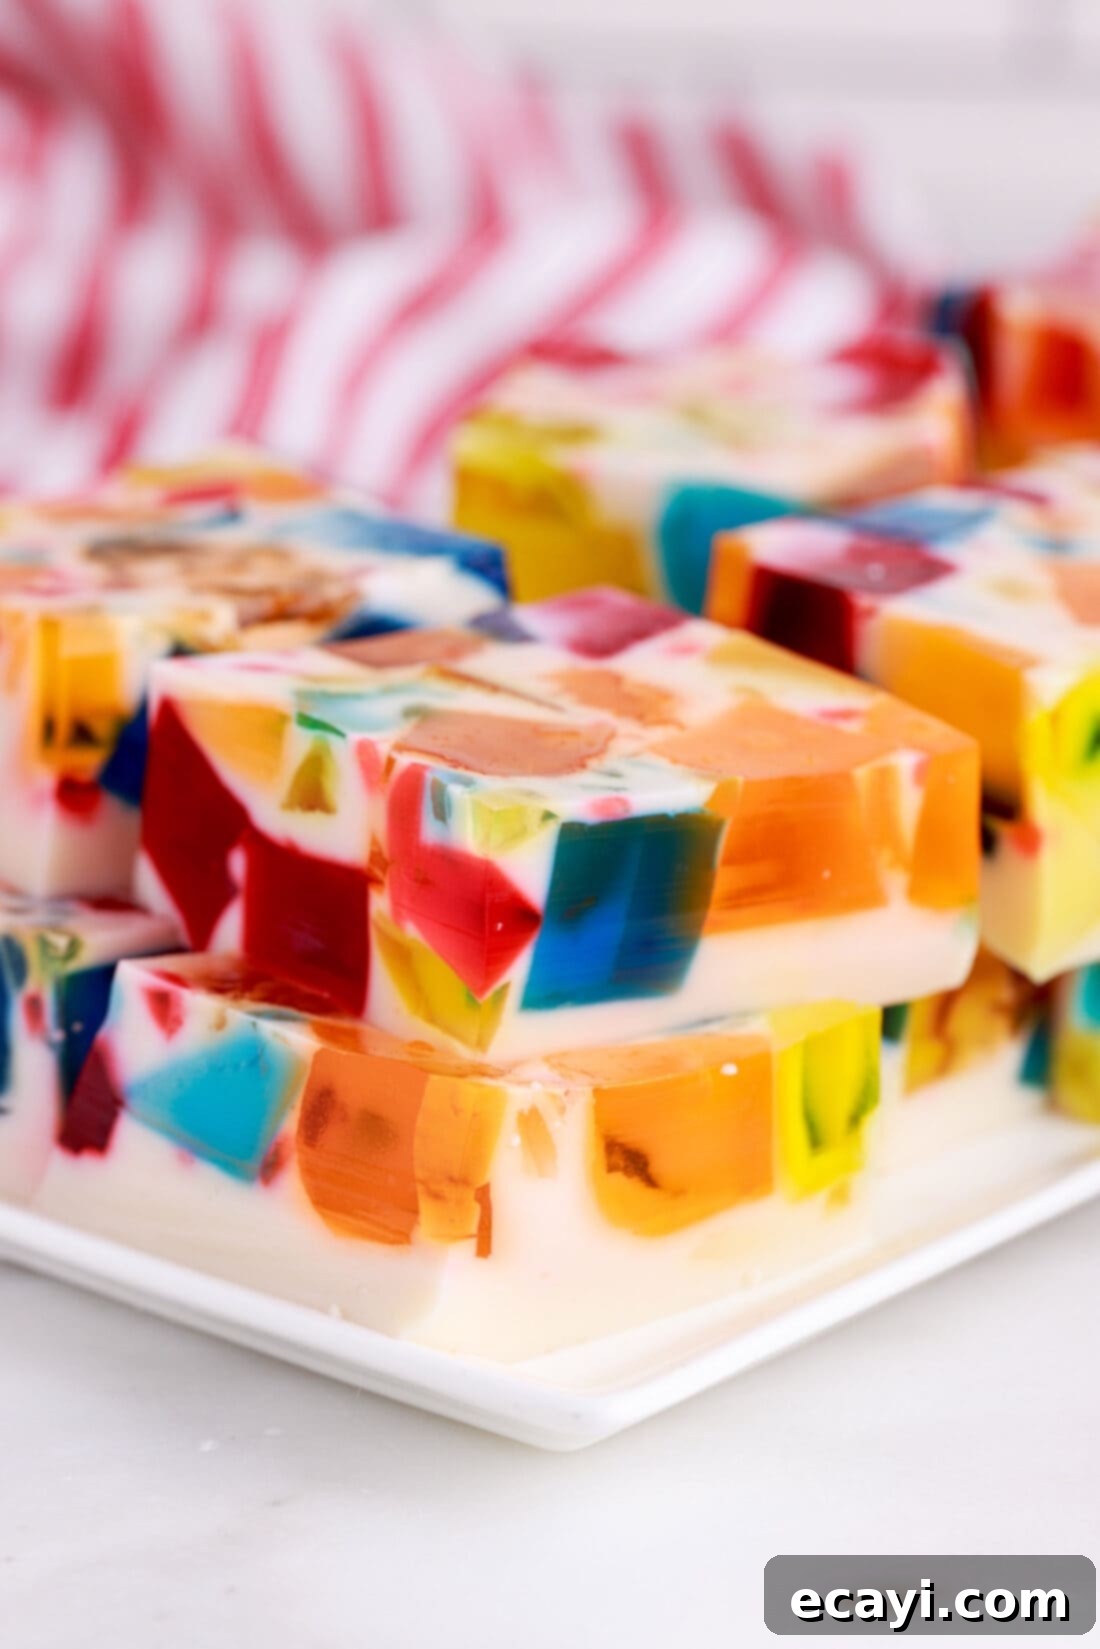
Why This Recipe Works: The Magic Behind Stained Glass Jello
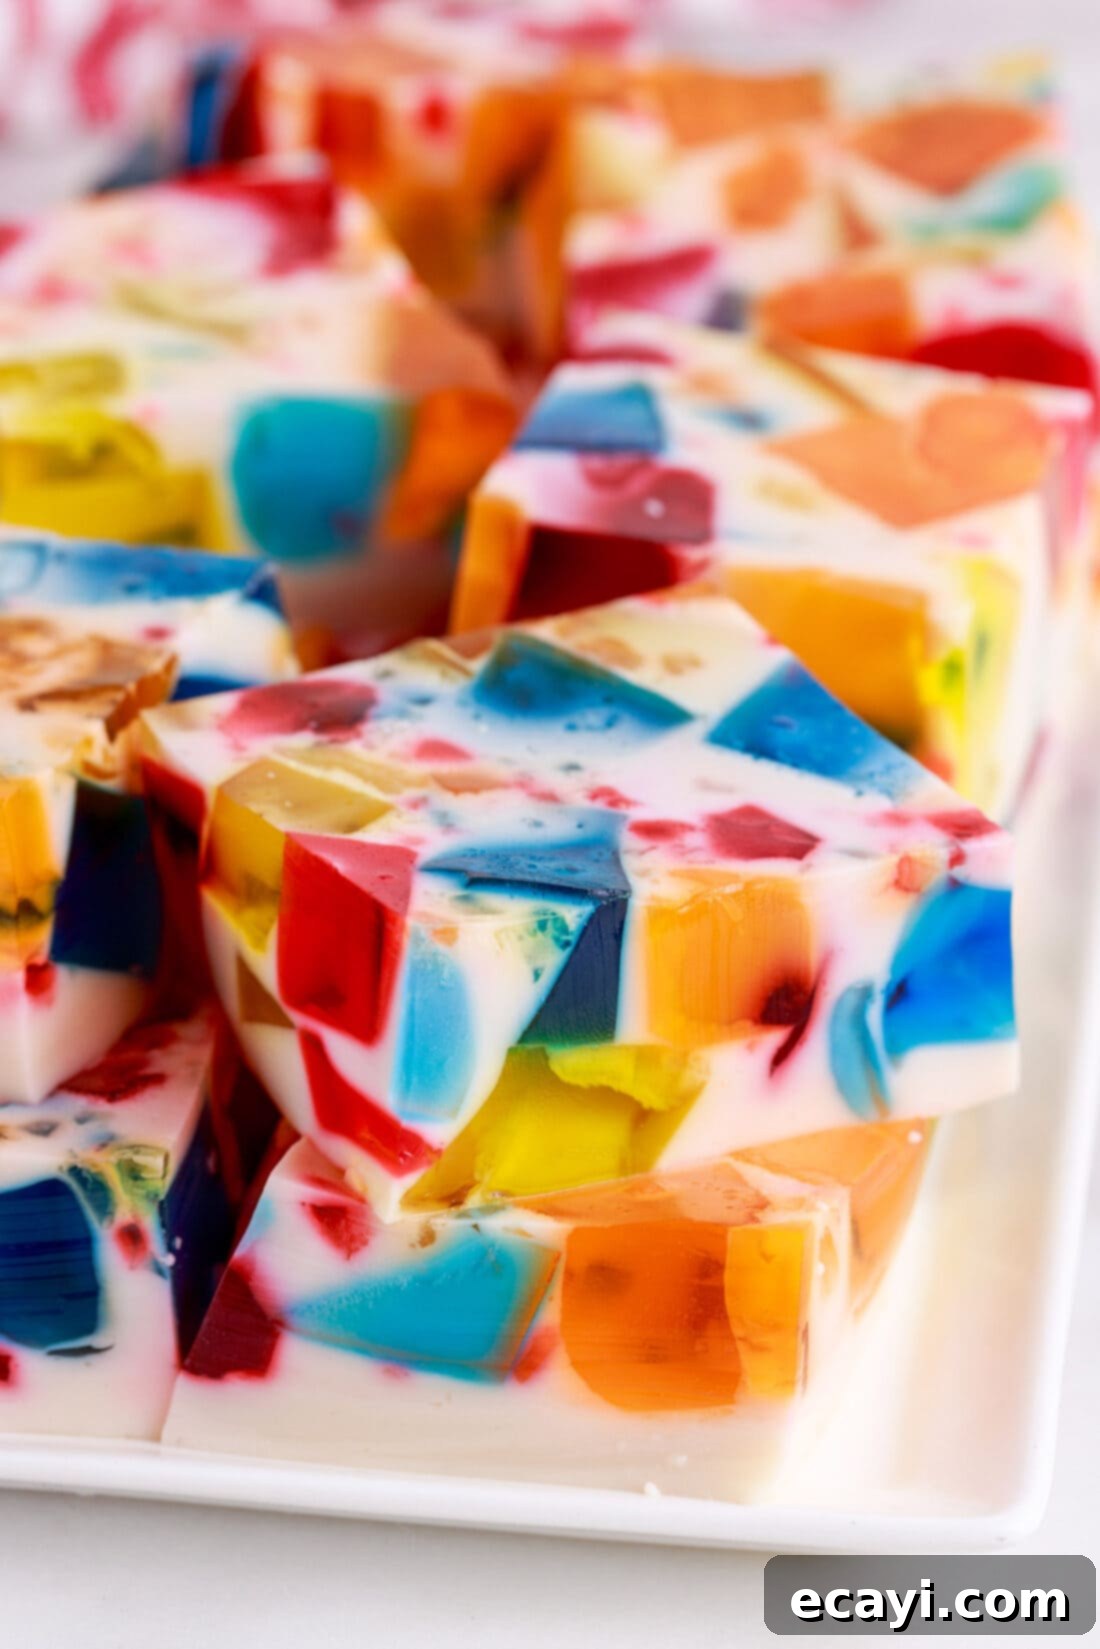
What makes this Broken Glass Jello recipe truly special and a must-try for any dessert enthusiast? Firstly, its mesmerizing visual appeal is unmatched. The combination of different colored Jello cubes creates an almost kaleidoscopic effect, reminiscent of beautiful stained glass windows. This makes it a fantastic centerpiece for any party table, easily customizable to match specific holiday themes like red and green for Christmas, pastels for Easter, or patriotic colors for the Fourth of July.
Beyond its striking looks, this dessert boasts an irresistibly creamy texture thanks to the sweetened condensed milk mixture that binds the colorful cubes. Unlike traditional Jello, which can be purely jiggly, the milky base adds a comforting richness that beautifully complements the fruity flavors. It’s a delightful contrast of firm, fruity cubes and a smooth, sweet background.
Furthermore, this recipe is remarkably simple to prepare, belying its intricate appearance. Even novice home cooks or children can actively participate in the process, from choosing their favorite Jello flavors to carefully arranging the vibrant cubes. It’s a wonderful activity to enjoy together in the kitchen, leading to a rewarding and delicious outcome. The steps are straightforward, primarily involving dissolving, chilling, cubing, and combining – making it far less intimidating than it looks.
Finally, while many Jello desserts like poke cakes, parfaits, and Jello salads offer delightful variations, this Broken Glass Jello stands out with its truly unique presentation and satisfying dual texture. It’s a classic that never fails to bring smiles and compliments, adding a touch of playful elegance to any occasion.
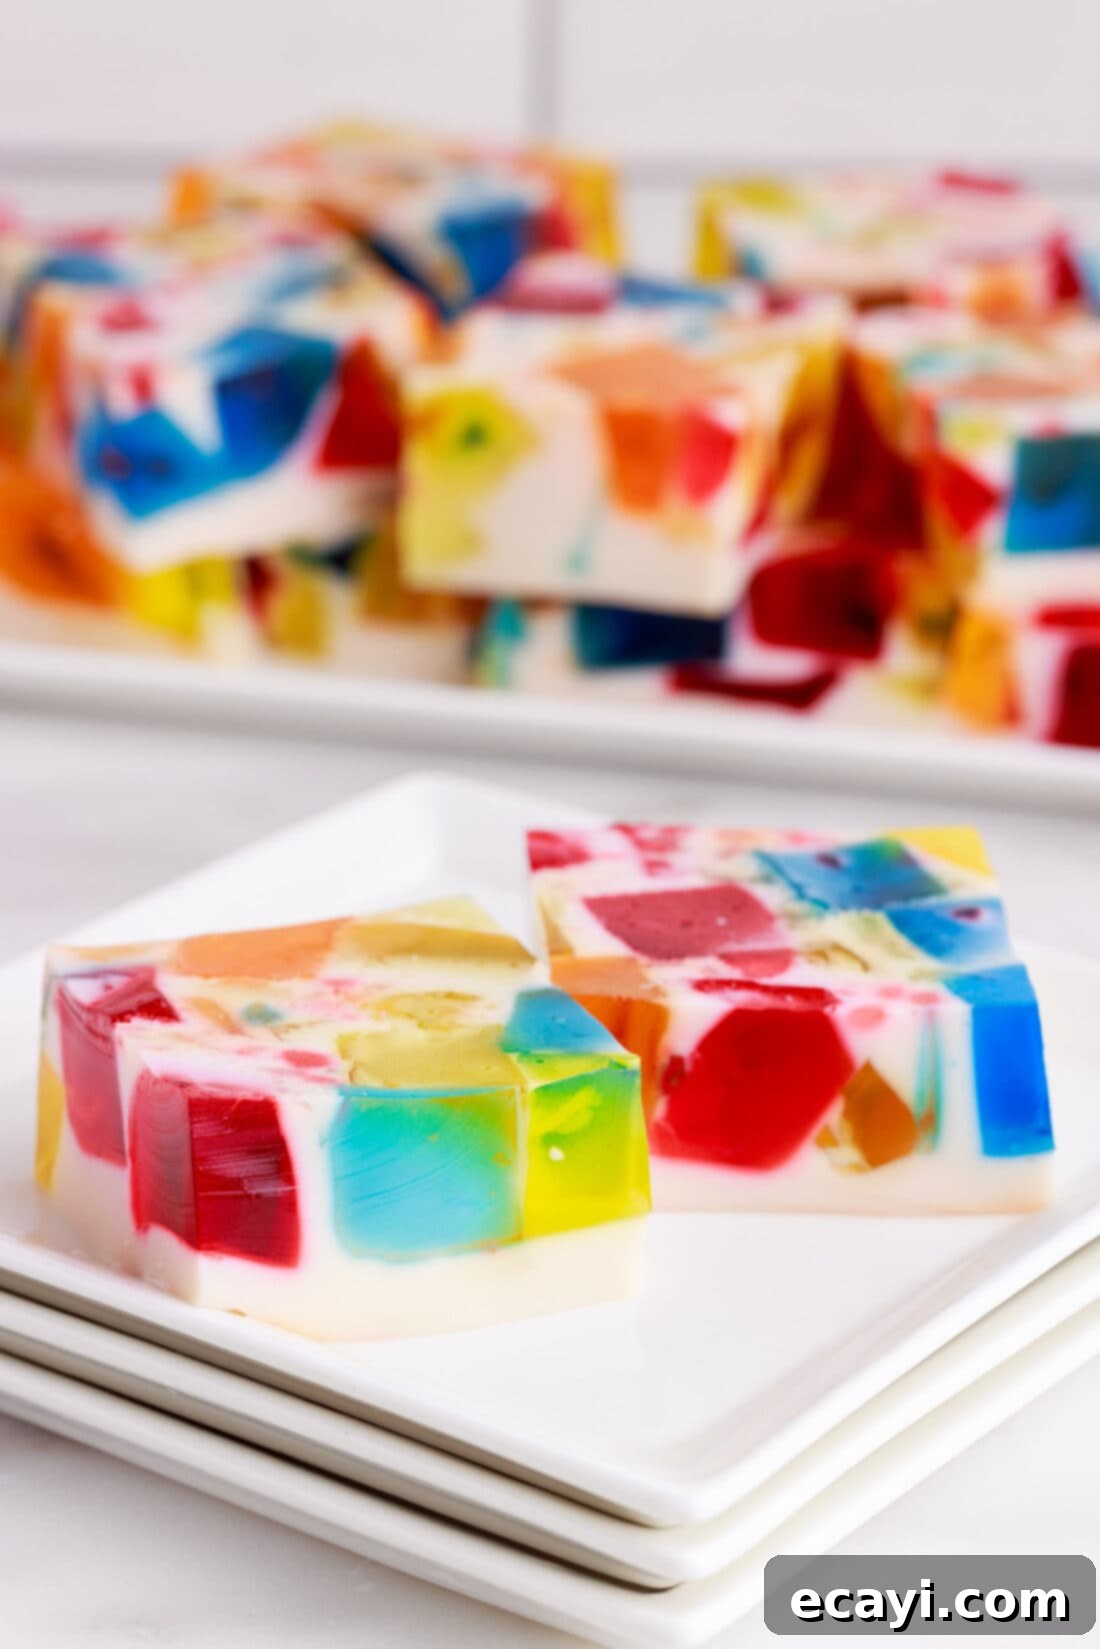
Essential Ingredients & Smart Substitutions for Broken Glass Jello
Crafting this beautiful Broken Glass Jello requires just a few key ingredients, most of which are pantry staples or easily found at any grocery store. The beauty of this recipe lies in its flexibility, allowing you to personalize flavors and colors to your heart’s content.
Before you begin, gather these simple components:
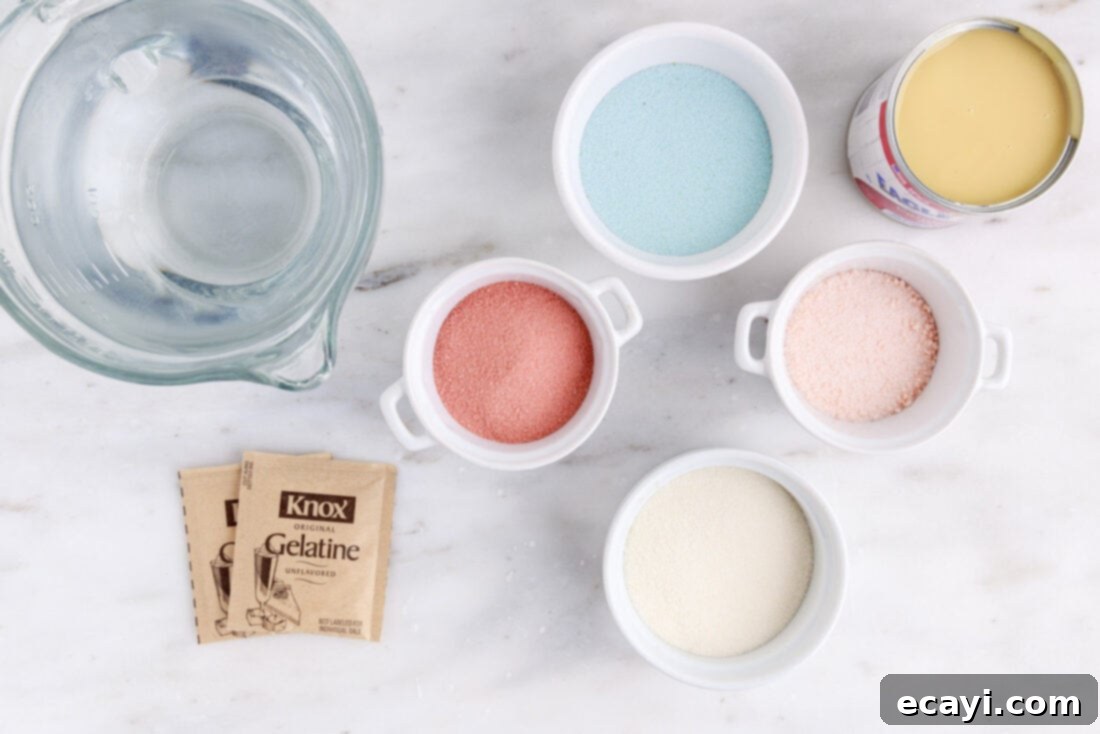
Colorful Flavored Jello Mixes: This is where the magic truly begins! You’ll need four (3 oz) boxes of flavored gelatin. The goal is to choose vibrant colors that contrast well and evoke the ‘stained glass’ effect. For a classic, appealing combination, we highly recommend using **cherry, orange, lemon, and blue raspberry** for their distinct and vibrant hues. Cherry provides a deep red, orange a sunny hue, lemon a bright yellow, and blue raspberry a striking blue. These primary and secondary colors create a fantastic visual spectrum. Feel free to experiment with other favorites like lime (green), grape (purple), or strawberry. For those looking to reduce sugar intake, **sugar-free Jello mixes** are a fantastic substitution and will work perfectly in this recipe without compromising the setting ability or the vibrant colors. Just ensure you select distinct colors for the best visual impact.
Unflavored Gelatin: This crucial ingredient forms the clear or creamy base that holds your colorful Jello cubes together. You’ll need two (0.25 oz) packets of unflavored gelatin. It’s important to use unflavored gelatin so it doesn’t compete with or dilute the vibrant fruit flavors of your chosen Jello mixes. It acts as the structural foundation, ensuring your dessert sets firmly and holds its shape beautifully.
Sweetened Condensed Milk: This is the secret to the irresistibly sweet and creamy texture of the white gelatin layer. One (14 oz) can of sweetened condensed milk is folded into the unflavored gelatin mixture, transforming it from a simple clear binder into a lush, opaque, and delightful component. It provides a lovely contrast to the fruity Jello cubes, adding a comforting richness that makes this dessert truly unique. Do not confuse this with evaporated milk; sweetened condensed milk is thick and already sweetened, which is essential for both flavor and consistency.
Boiling Water: Essential for dissolving both the flavored and unflavored gelatin powders. Precise measurements are important here to ensure proper setting. You’ll need 6 cups in total, divided for the different stages of preparation.
Non-Stick Cooking Spray: A simple yet vital tool to ensure your Jello creations release easily from their containers, making the cubing and serving process smooth and hassle-free.
Remember, the quality of your ingredients can subtly influence the final taste and presentation, so opt for reputable brands where possible. Always check the expiration dates on your gelatin mixes to ensure they will set properly.
Step-by-Step Guide: Crafting Your Broken Glass Jello
Creating this captivating Broken Glass Jello is a process broken down into two main phases: preparing the colorful Jello cubes and then encasing them in the creamy white gelatin mixture. Follow these detailed steps to ensure a picture-perfect and delicious outcome. While these instructions are comprehensive, feel free to Jump to the Recipe Card at the bottom for a concise, printable version.
- Spray four small square or rectangular containers with non-stick cooking spray. This crucial step ensures that your set Jello will release cleanly without sticking, making the cubing process much easier. Glass, flat-bottomed food storage containers, approximately 6 inches square, work wonderfully for this.
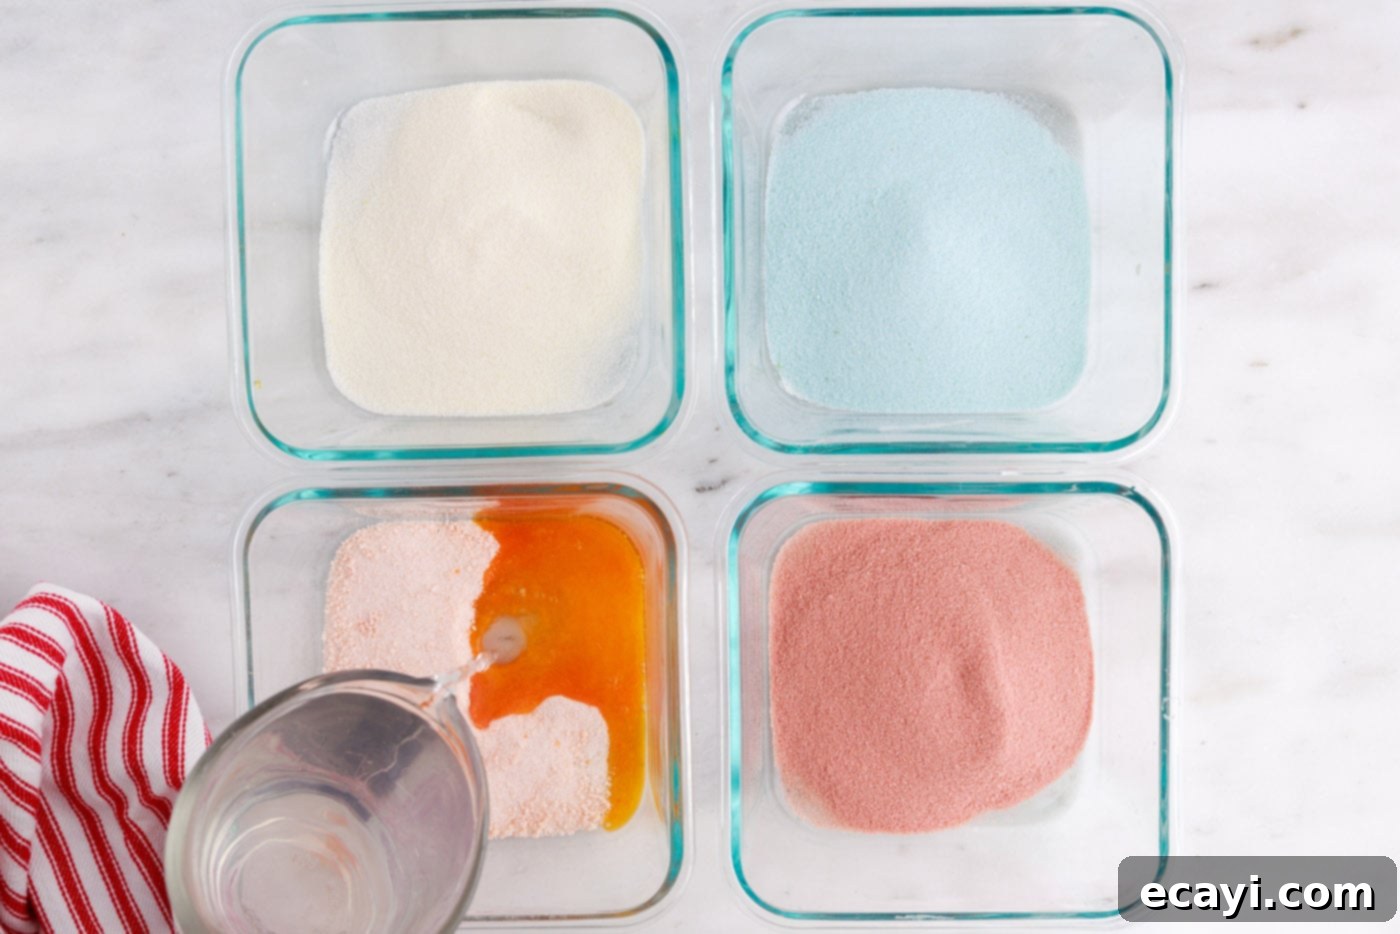
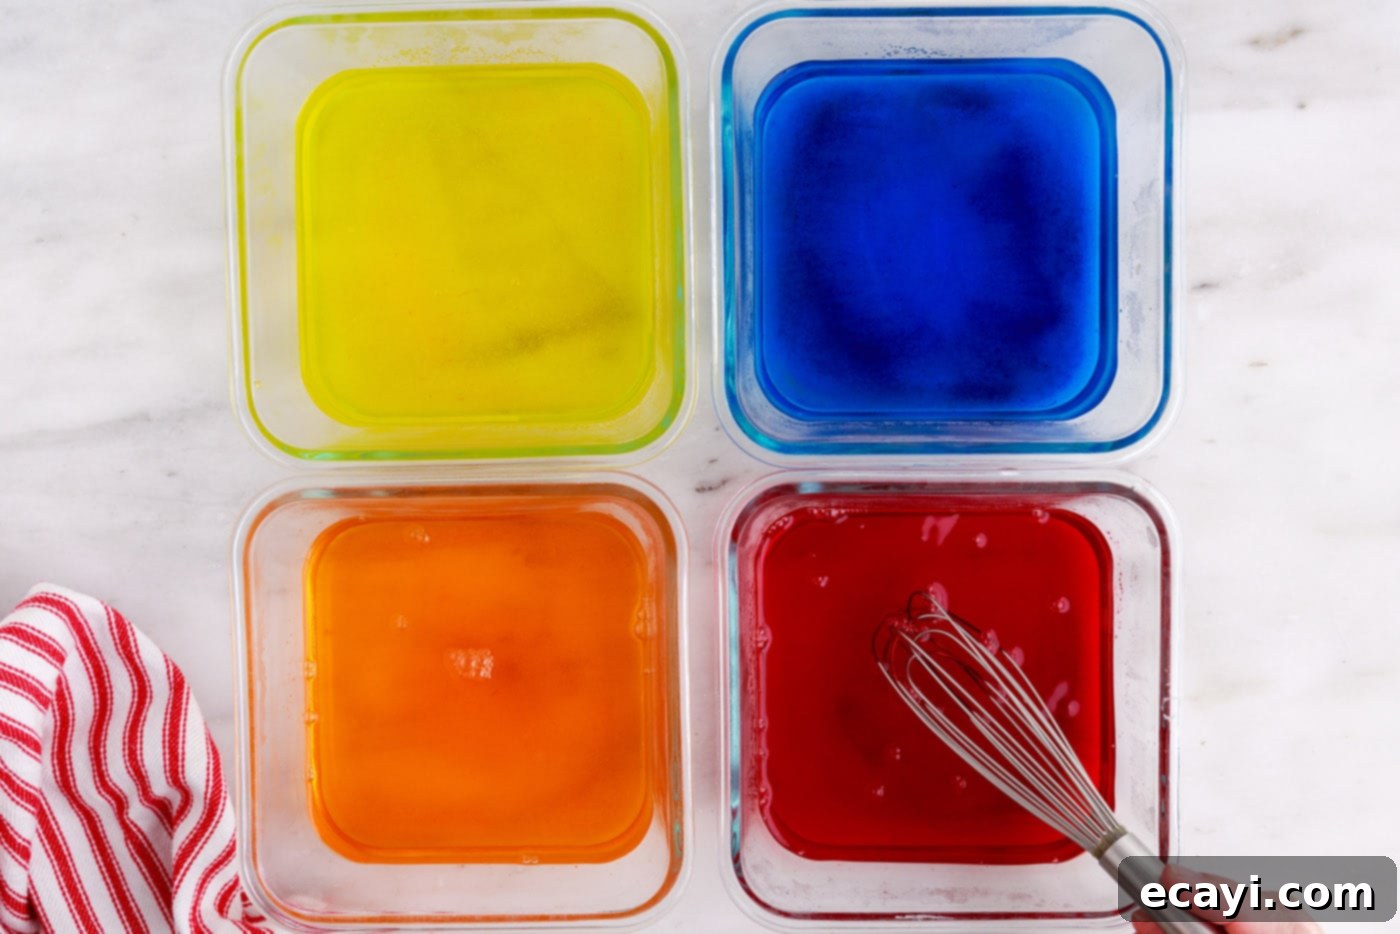
- Add 1 packet of jello and 1 cup of boiling water to each container. Carefully pour one cup of boiling water into each container. Using a whisk, stir each mixture thoroughly until the Jello powder is completely dissolved. Ensure there are no granules remaining at the bottom, as this can affect the setting and consistency. The water must be boiling hot for proper dissolution.
- Place lids on the containers, if available, or cover them with plastic wrap. Transfer them to the refrigerator and allow them to set completely for at least two hours, or until firm. Properly set Jello is essential for clean cubes.
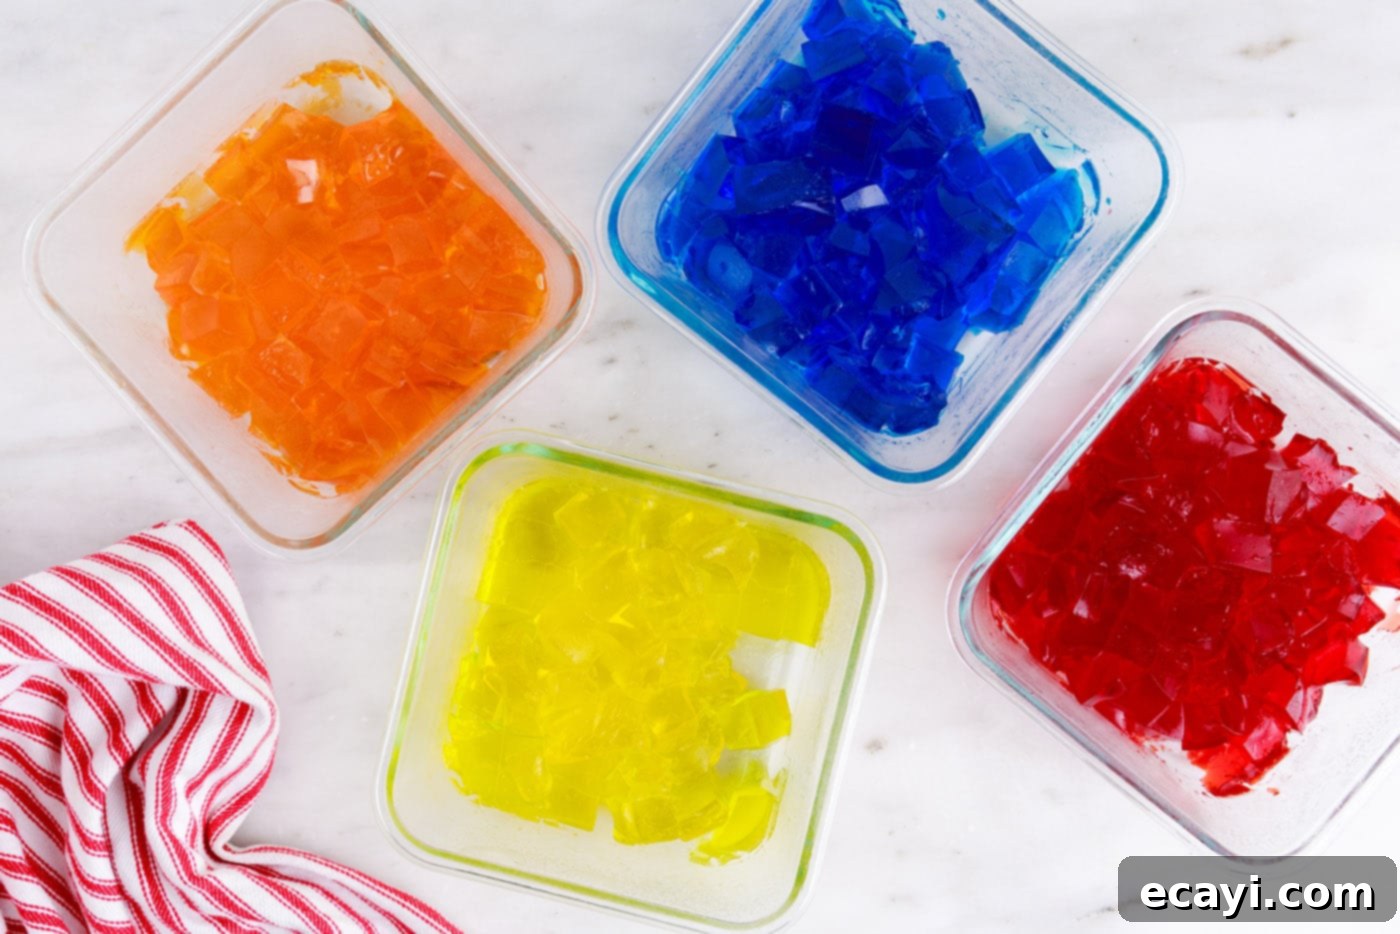
- When the jello is set, slice into small cubes. After the individual Jello layers are fully set, remove them from the refrigerator. Using a sharp knife, slice each block of colored Jello into small, uniform cubes. Aim for cubes roughly 1/2 to 1 inch in size – this will create the beautiful ‘broken glass’ effect.
- Spray the bottom and sides of a 9×13 glass baking dish with non-stick cooking spray. This step is critical for easy removal and serving of the final dessert.
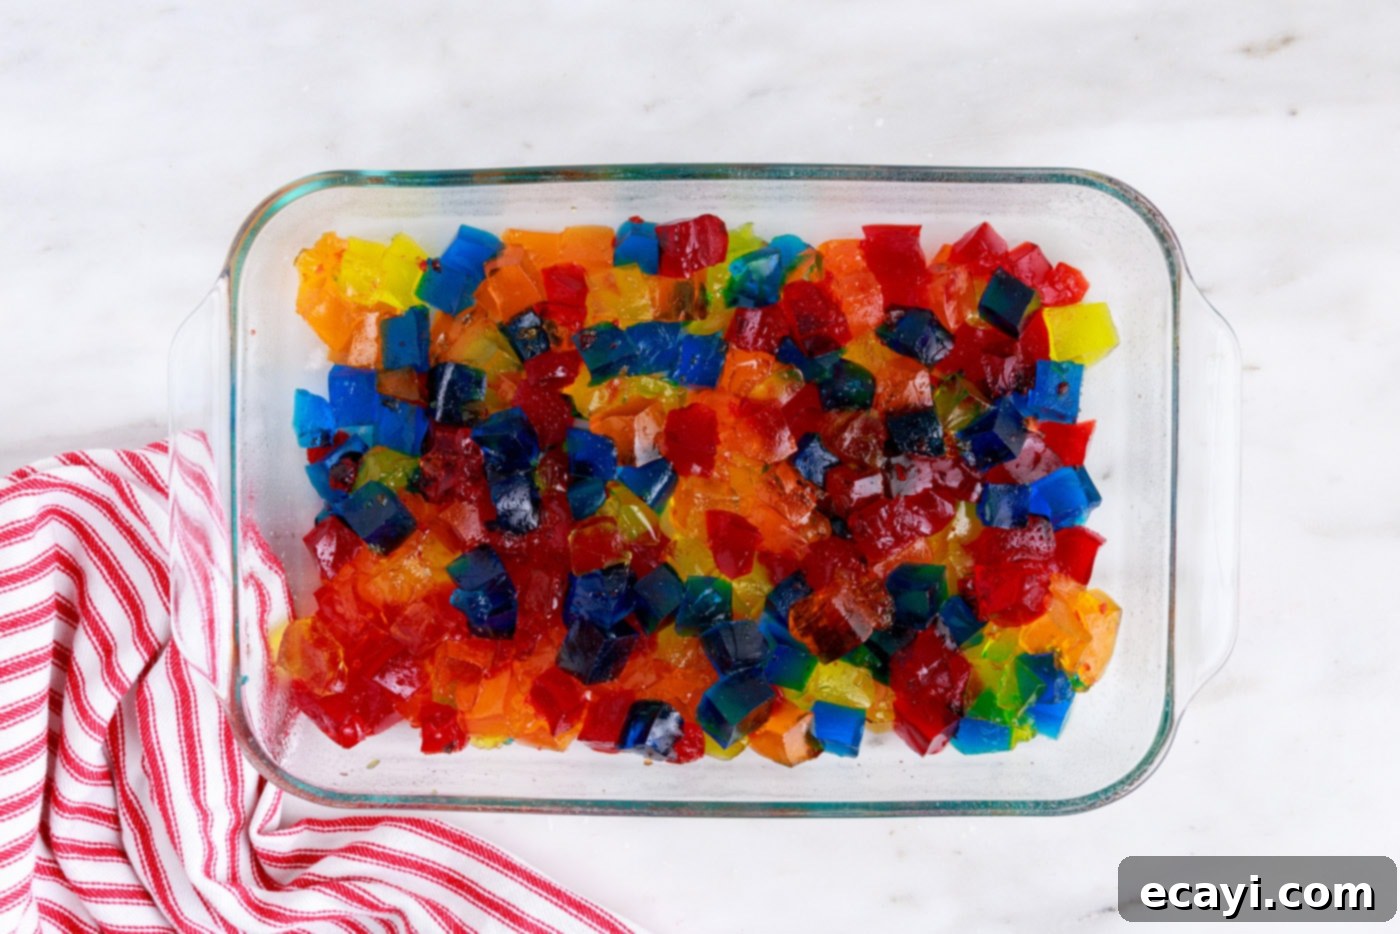
- Transfer the cubes of colored jello into the 9×13 dish and toss gently to distribute the colors evenly throughout the dish. Very carefully toss them to distribute the different colors evenly throughout the dish. Avoid being too rough, as the cubes can tear. The goal is a scattered, mosaic-like appearance.
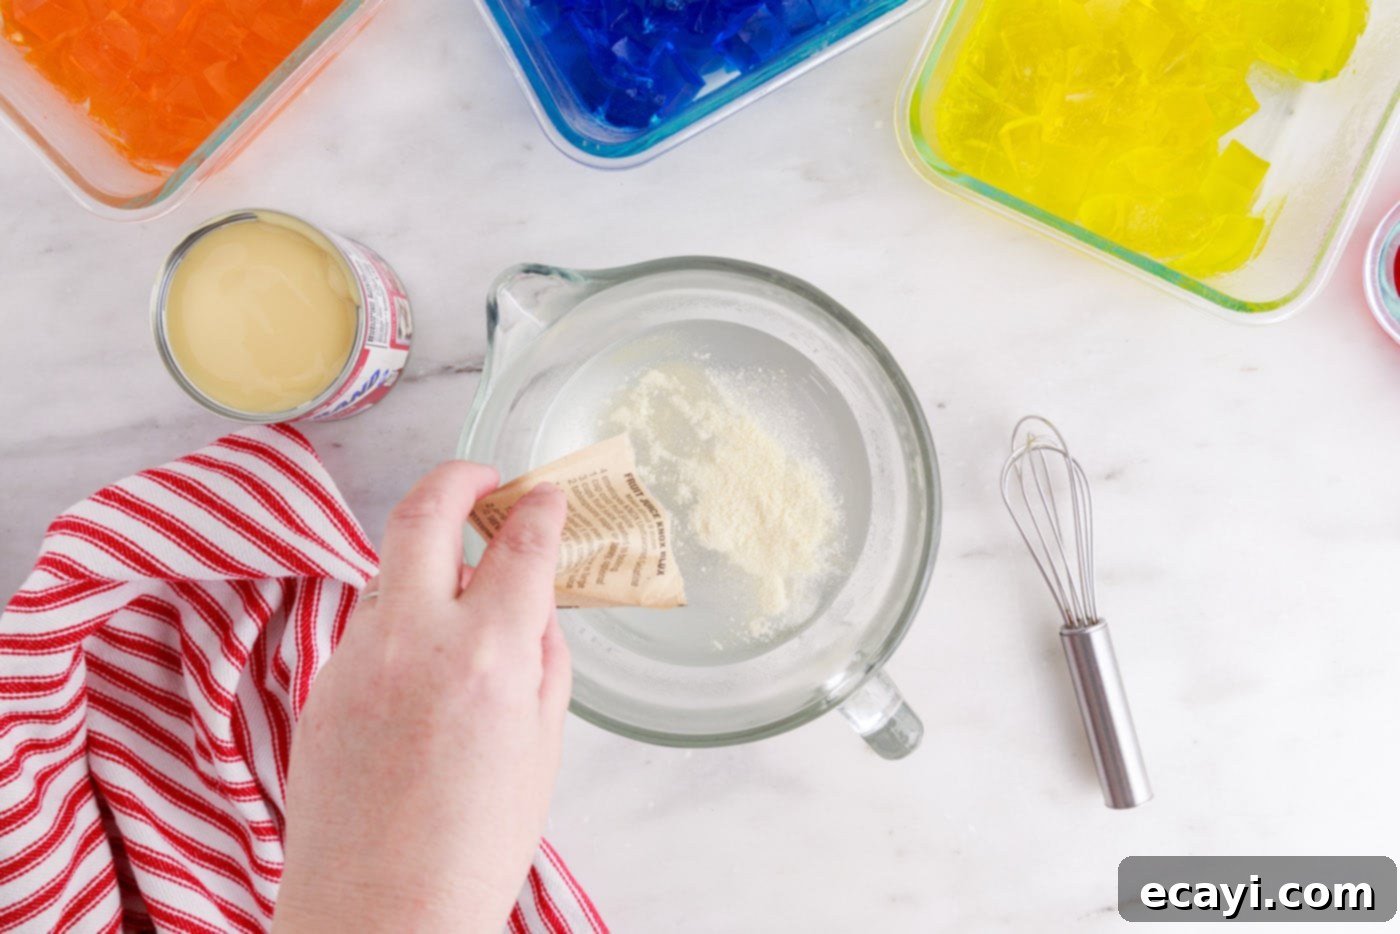
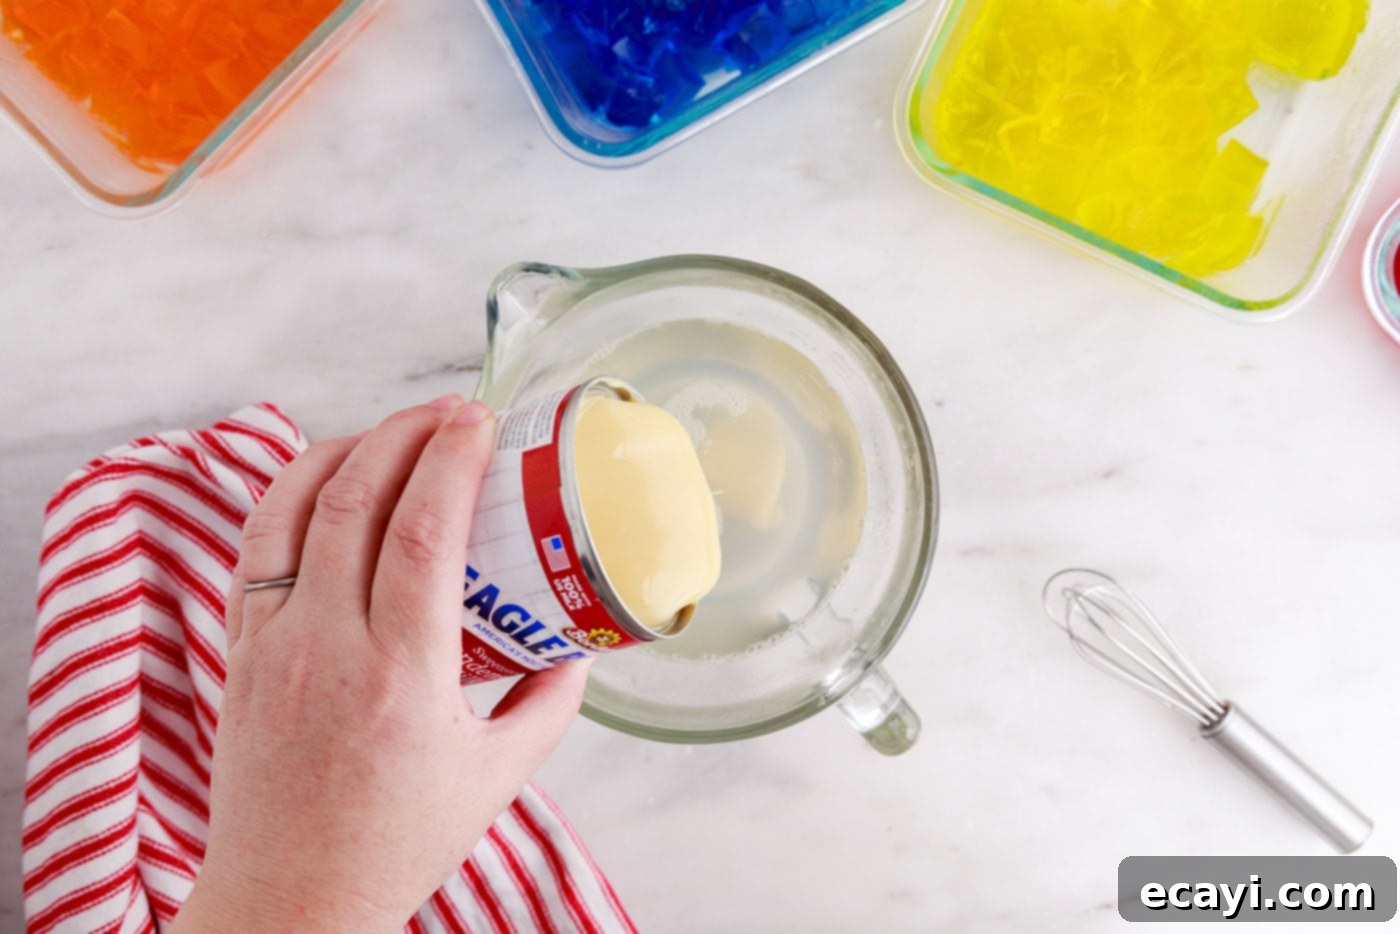
- In a separate bowl, dissolve the two packets of unflavored gelatin in the remaining 2 cups of boiling water. Stir continuously until the gelatin is completely dissolved and no lumps remain. Once dissolved, whisk in the entire can of sweetened condensed milk until the mixture is smooth and evenly combined. This is your creamy “cement” that will hold the Jello cubes.
- **Crucial Cooling Step:** It is absolutely essential to allow the white gelatin mixture to cool to room temperature before proceeding. Pouring a warm mixture over the colored Jello cubes will cause them to melt, ruining the beautiful ‘broken glass’ effect. This cooling step can take 20-30 minutes, so be patient!
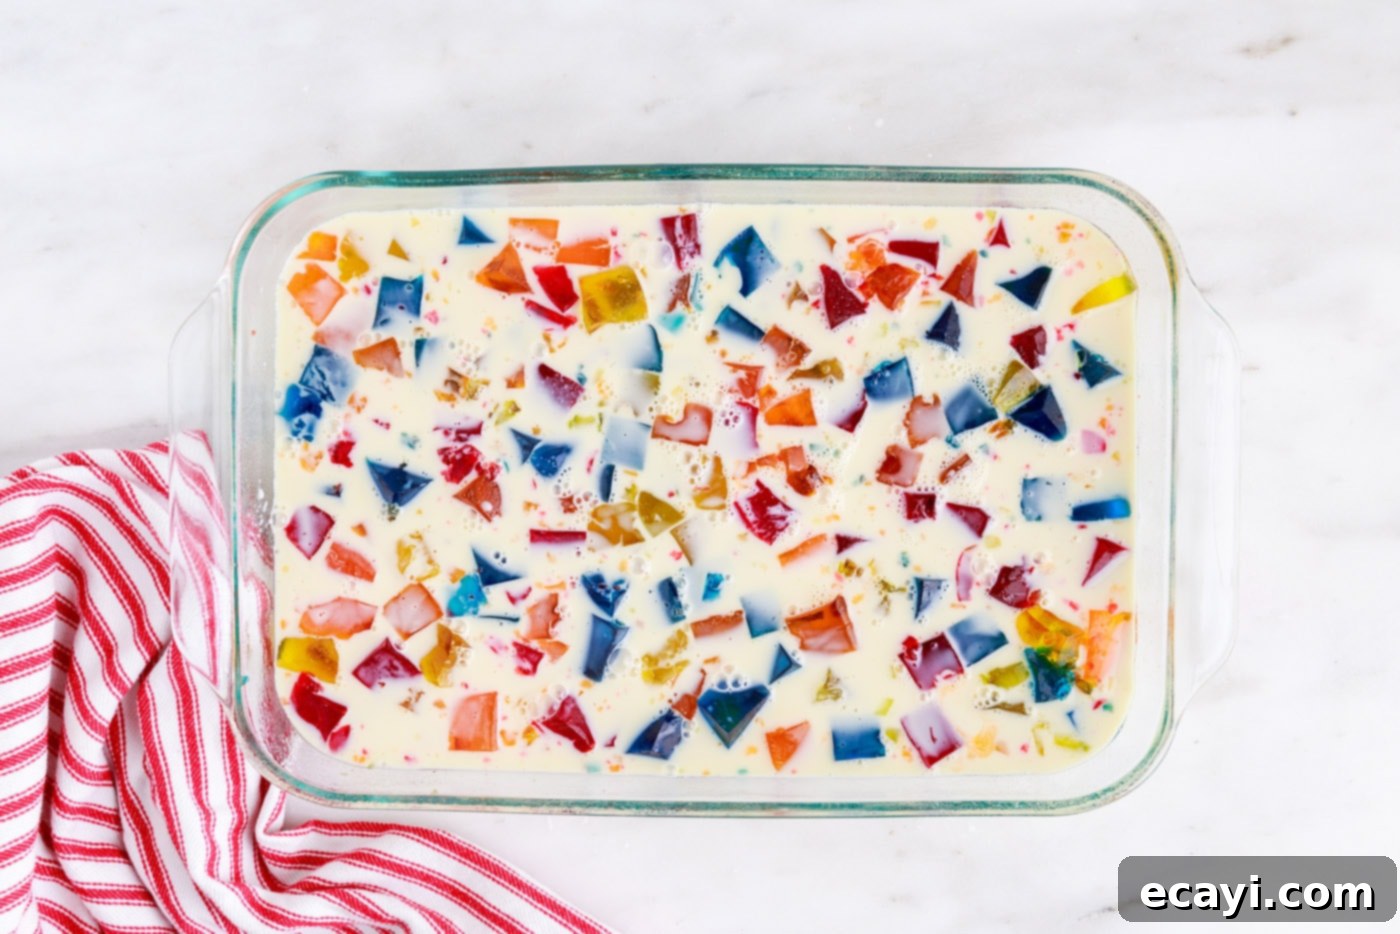
- Pour the white gelatin mixture over the colored cubes in the 9×13 dish. Ensure the mixture covers all the cubes evenly. Gently tap the dish a few times to release any trapped air bubbles. Refrigerate until set completely (3-4 hours).
- **Final Chill:** Transfer the baking dish back to the refrigerator. Allow the Broken Glass Jello to set completely for a minimum of 3-4 hours, or ideally overnight, to achieve the firmest, most stable consistency.
- Slice jello into squares and serve.
Frequently Asked Questions & Expert Tips for Jello Success
To help you achieve the best possible Broken Glass Jello and answer any common queries, here are some frequently asked questions and invaluable expert tips:
Proper storage is key to keeping your Jello fresh and firm. Always cover the Broken Glass Jello tightly with plastic wrap or transfer it to an airtight container. Store it in the refrigerator for up to 3 days. Beyond this, the texture may start to degrade slightly, though it usually remains safe to eat for a bit longer.
Absolutely! Sugar-free Jello works perfectly in this recipe. The setting properties are similar to regular Jello, allowing you to create a lighter version of this delightful dessert without sacrificing color or flavor. Just ensure you select distinct colors for the most striking visual effect.
The most common reason for melting Jello cubes is pouring the creamy white gelatin mixture over them while it’s still warm. It’s crucial that the white gelatin mixture cools to room temperature before it comes into contact with the colorful cubes. Patience during this cooling step is vital for preserving the distinct shapes of your ‘stained glass’ pieces.
Jello or gelatin not setting can happen for a few reasons. Ensure your water is boiling when dissolving the powder to fully activate the gelatin. Also, make sure you’re using the correct water-to-powder ratio as specified. Some fresh fruits like pineapple, kiwi, and papaya contain enzymes that break down gelatin and prevent it from setting. Avoid adding these fresh fruits directly to your Jello. Canned versions of these fruits, however, are fine as the enzymes are destroyed during processing.
Expert Tips for a Perfect Broken Glass Jello:
- Patience is Key: This dessert requires several chilling times. Don’t rush the setting process for the individual Jello colors or the final dessert. Allow ample time for each layer to firm up properly for the best results.
- Even Cubes for Visual Impact: While not strictly necessary, uniform cubes of colored Jello contribute greatly to the aesthetic appeal. Take a moment to slice them as evenly as possible.
- Gently Combine: When mixing the colored Jello cubes into the baking dish, use a light hand. Over-tossing can cause the cubes to break apart, diminishing the crisp ‘broken glass’ look.
- Room Temperature is Non-Negotiable: Reiterate the importance of cooling the white gelatin mixture to room temperature. This is the single most critical step to prevent your beautiful colored cubes from melting.
- Experiment with Colors: Don’t feel limited to the traditional colors! Think about upcoming holidays or party themes. Red and green for Christmas, blue and white for Hanukkah, pastels for Easter, or even school colors for graduation parties. The possibilities are endless for creating a truly custom dessert.
Creative Serving Suggestions for Your Stained Glass Jello
This stunning Broken Glass Jello is a showstopper on its own, but with a few creative touches, you can elevate its presentation and tailor it even further for any occasion. Here are some ideas to inspire you:
- Elegant Bundt Cake Style: For a truly impressive presentation, consider preparing your Broken Glass Jello in a Bundt pan instead of a traditional 9×13 dish. Follow the same directions, ensuring you lightly grease the Bundt pan with non-stick spray before adding the Jello cubes and creamy mixture. Once set, invert the Jello onto a serving platter for a spectacular ring-shaped dessert that slices beautifully, much like a colorful cake. This method adds an extra layer of elegance, perfect for formal gatherings or special celebrations.
- Individual Portions: For easy serving at parties or picnics, you can prepare the Broken Glass Jello in individual clear cups or small dessert bowls. Layer the colored cubes and pour the white mixture over them in each vessel. This makes for a convenient grab-and-go treat and highlights the beautiful layers.
- Holiday and Theme Customization: As mentioned, this dessert is incredibly versatile for customization. For Christmas, use red and green Jello. For Halloween, try orange and purple. Patriotic holidays call for red, white, and blue. Baby showers can feature pink and blue, or even gender-neutral yellow and green. The possibilities are truly endless, allowing you to match any party theme effortlessly.
- Garnish for Extra Flair: A simple garnish can go a long way. Consider topping individual servings with a dollop of whipped cream, a few fresh berries (like raspberries or blueberries), or a sprig of mint for a fresh accent. A light dusting of powdered sugar can also add a touch of sophistication if serving the Bundt cake style.
- Dessert Bar Addition: Include Broken Glass Jello as part of a larger dessert bar. Its unique texture and vibrant appearance will stand out amongst other treats, offering a refreshing and visually appealing option for guests.
Discover More Delightful Jello Recipes
If you’re a fan of Jello’s versatility and fun flavors, you’ll love exploring these other creative and delicious Jello-based desserts from our kitchen:
- Jello Trifle
- Jello Roll Ups
- Strawberry Lasagna
- Watermelon Jello Shots
- Strawberry Pretzel Salad
- Whipped Jello Mandarin Orange Mousse
- Creamy Raspberry Jell-O Parfaits
- Jello Cookies
- Layered Jello Pie
I love to bake and cook and share my kitchen experience with all of you! Remembering to come back each day can be tough, that’s why I offer a convenient newsletter every time a new recipe posts. Simply subscribe and start receiving your free daily recipes!
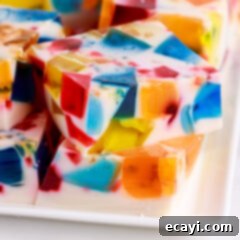
Broken Glass Jello
IMPORTANT – There are often Frequently Asked Questions within the blog post that you may find helpful. Simply scroll back up to read them!
Print It
Pin It
Rate It
Save ItSaved!
Ingredients
- 12 oz jello 4 – 3 oz boxes of jello. any four colors/flavors – we used cherry, orange, lemon, and blue raspberry
- 6 cups boiling water divided
- .50 oz clear gelatin 2 – .25 oz packets of clear gelatin
- 14 oz sweetened condensed milk 1 can
- non-stick cooking spray
Things You’ll Need
-
13×9 baking dish
Before You Begin
- *The white jello mixture needs to be cooled before pouring it into the dish or it will melt the colored cubes of jello.
- Be sure the jello is fully set before cutting it into pieces. Spread the pieces carefully throughout the baking dish – they can tear easily.
- Cover with plastic wrap or store in an airtight container in the refrigerator for up to 3 days.
Instructions
-
Spray four small square or rectangular containers with non-stick cooking spray. We used glass, flat-bottomed food storage containers, about 6” square.
-
Add 1 packet of jello and 1 cup of boiling water to each container. Whisk the mixtures until jello is fully dissolved in the boiling water.
-
Place lids on the containers, if available, and place in the refrigerator to set – about 2 hours.
-
When the jello is set, slice into small cubes.
-
Spray the bottom and sides of a 9×13 glass baking dish with non-stick cooking spray.
-
Transfer the cubes of colored jello into the 9×13 dish and toss gently to distribute the colors evenly throughout the dish.
-
In a separate bowl, dissolve the two packets of unflavored gelatin in the remaining 2 cups of boiling water. Once dissolved, whisk in the can of sweetened, condensed milk. Cool until mixture is room temperature.
-
Pour the white gelatin mixture over the colored cubes in the 9×13 dish. Refrigerate until set completely (3-4 hours).
-
Slice jello into squares and serve.
Nutrition
The recipes on this blog are tested with a conventional gas oven and gas stovetop. It’s important to note that some ovens, especially as they age, can cook and bake inconsistently. Using an inexpensive oven thermometer can assure you that your oven is truly heating to the proper temperature. If you use a toaster oven or countertop oven, please keep in mind that they may not distribute heat the same as a conventional full sized oven and you may need to adjust your cooking/baking times. In the case of recipes made with a pressure cooker, air fryer, slow cooker, or other appliance, a link to the appliances we use is listed within each respective recipe. For baking recipes where measurements are given by weight, please note that results may not be the same if cups are used instead, and we can’t guarantee success with that method.
