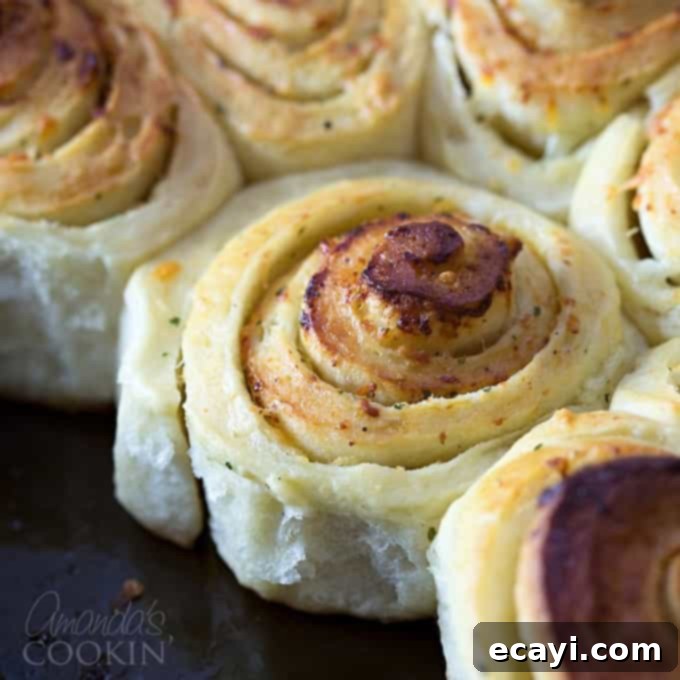
Irresistible Homemade Parmesan Garlic Rolls: Your New Favorite Dinner Roll Recipe
There are some recipes that become instant classics in your kitchen, foundational dishes you return to again and again. For me, it’s my go-to dough recipe for homemade rolls. This versatile base has served as the foundation for countless batches of fluffy easy dinner rolls and the incredibly popular pull-apart dinner rolls that are a non-negotiable highlight at every holiday gathering in my home. It’s truly a testament to a perfect dough, yielding soft, tender, and utterly delicious results every time.
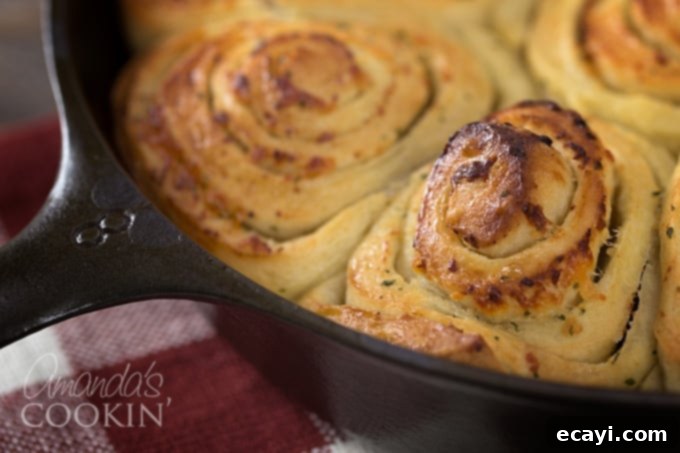
Because this dough is so consistently excellent, I find myself always adapting it whenever a new idea for a roll-based creation sparks my interest. Why mess with perfection when you have such a reliable starting point? This philosophy recently led to the creation of what I now proudly call my Parmesan Garlic Rolls, and they have quickly soared to the top of our family’s favorite bread list. These savory rolls are a delightful twist, infusing the classic softness with an explosion of rich garlic and sharp Parmesan cheese – a combination that’s simply irresistible.
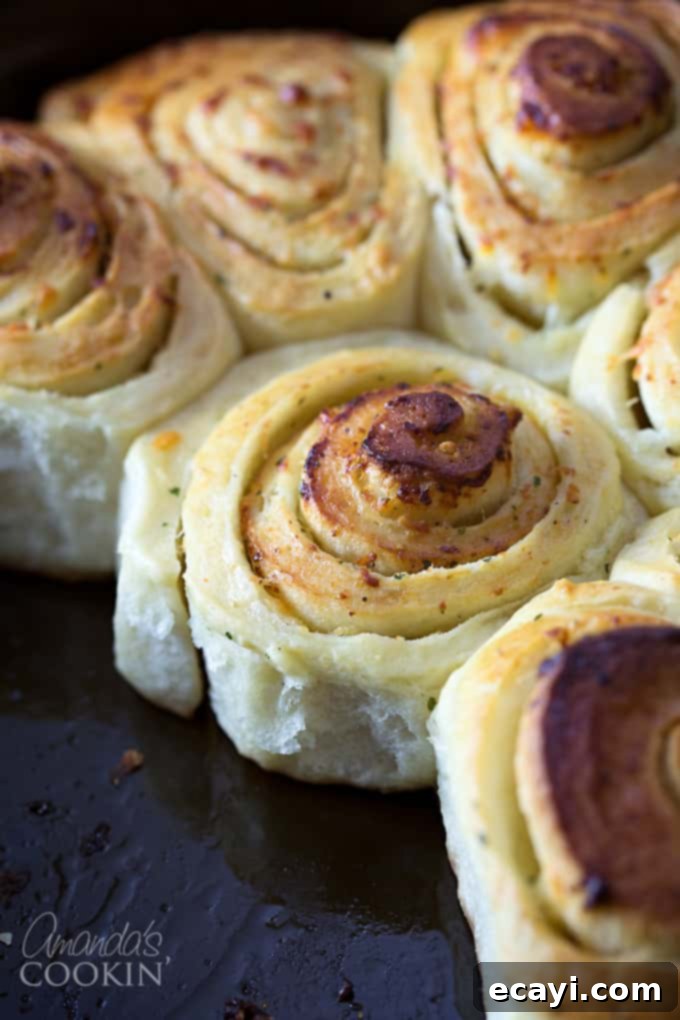
Crafting the Ultimate Parmesan Garlic Rolls: A Culinary Journey
The inspiration for these magnificent rolls actually dates back to 2011. I stumbled upon a intriguing recipe for “garlic cheese rolls” on a blog called Raptor Toe. While that blog has since disappeared into the digital ether, taking its original recipe with it, the concept had already taken root in my culinary memory. The name itself lingered in my bookmarks for quite some time, until one day, it truly captivated my attention. I decided then and there to resurrect the idea, but with my own signature touch: adapting it to my beloved, proven roll dough and developing my very own homemade garlic butter blend. This blend, along with a few other minor adjustments, gave birth to the Parmesan Garlic Rolls you see today – a truly inspired creation built on a foundation of tried-and-true techniques.
The beauty of these rolls lies in their simplicity and the incredible depth of flavor they offer. They strike the perfect balance between comfort food and gourmet delight, making them suitable for everyday dinners or special occasions. The preparation is straightforward, and the aroma filling your kitchen as they bake is nothing short of heavenly. It’s a culinary experience from start to finish.
The Secret to Exceptional Flavor: Homemade Garlic Butter
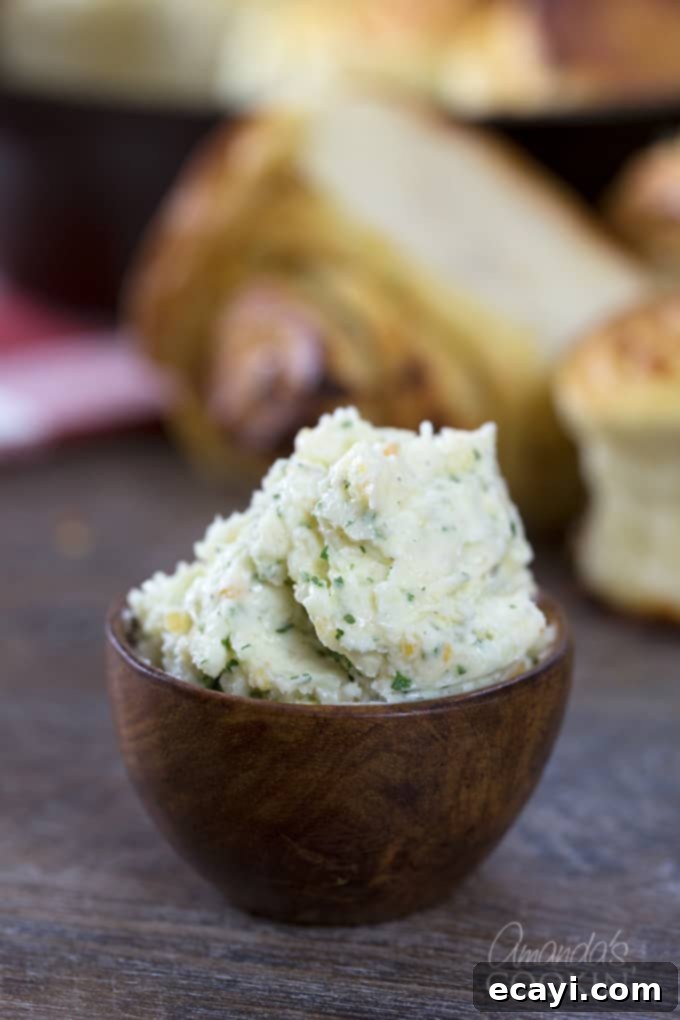
While your expertly prepared dough is undergoing its first miraculous rise, this is the perfect opportunity to whip up the star of the show: the rich, aromatic garlic butter. This isn’t just any garlic butter; it’s a carefully crafted blend designed to elevate these rolls from delicious to truly unforgettable. Once prepared, set it aside. Allowing the butter to rest gives the minced garlic, fresh Parmesan, and fragrant herbs ample time to meld and deepen their flavors, creating a more potent and delightful spread.
A word of caution: this garlic butter is so incredibly delicious, it’s practically a dish on its own! Keep it out of reach of eager little hands (or even big ones) unless you want it mysteriously disappearing before it even makes it onto the rolls. Trust me, the wait is worth it for these warm, savory Parmesan Garlic Rolls fresh from the oven.
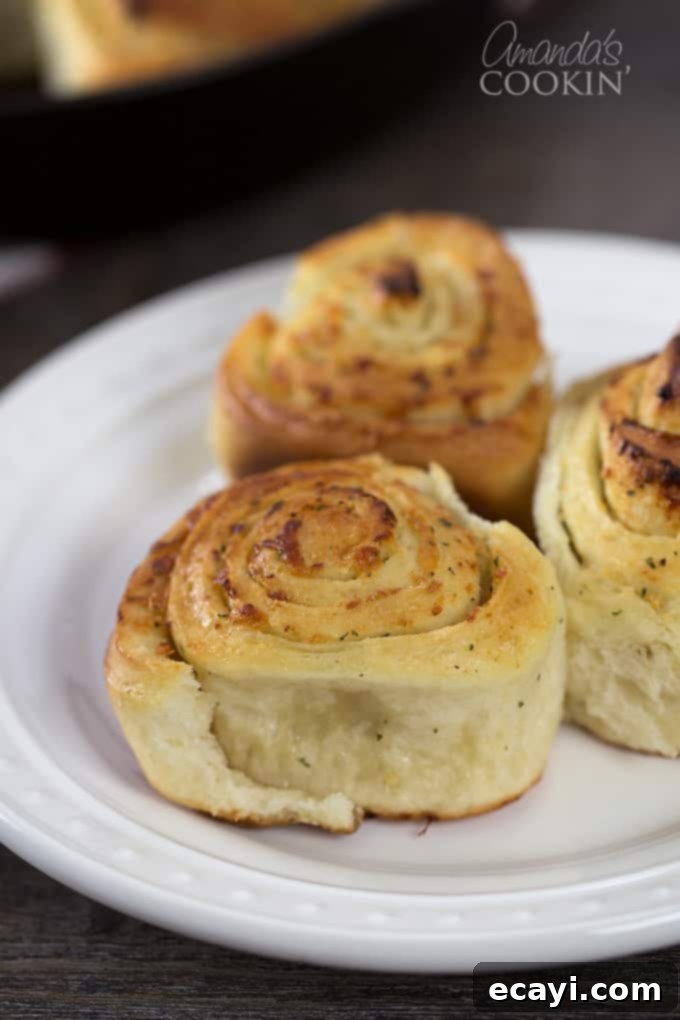
Perfect Pairings: Enjoying Your Savory Rolls
My Parmesan Garlic Rolls are incredibly versatile, making them a fantastic accompaniment to a wide array of meals. They shine brightly when served alongside a generous bowl of steaming pasta, soaking up every last bit of delicious sauce. Imagine twirling spaghetti aglio e olio, then taking a bite of these warm, cheesy rolls – pure bliss! They are equally magnificent as a comforting companion to a hot bowl of hearty soup or a chunky, slow-cooked stew, providing that much-needed texture and flavor contrast. They add a touch of home-baked luxury to any meal, transforming an ordinary dinner into something truly special.
One thing you’ll quickly discover is that these rolls rarely, if ever, leave leftovers. They’re simply too good to resist, disappearing almost as quickly as they emerge from the oven. Be prepared to bake a double batch if you’re feeding a crowd or simply want to ensure a few extra for a late-night snack!
There are affiliate links in this post. That means if you buy something from that link, I will earn a small commission, but it won’t cost you anything additional.
Ingredients you will need:
For the dough
- 1 package quick-acting active dry yeast (or 2 1/4 tsp bulk quick acting yeast, I use SAF instant)
- 1 tablespoon sugar
- 1 1/3 cup milk (105 to 115F degrees)
- 3 to 3 1/2 cups flour or whole wheat flour
- 3 tablespoons extra virgin olive oil
- 1 teaspoon salt
For the garlic butter
- 1 cup butter, softened
- 1 tablespoon minced garlic
- 2 tablespoons plus 1/4 cup freshly grated Parmesan cheese
- 1 teaspoon garlic salt
- 1 teaspoon dried parsley
- 1/2 teaspoon ground black pepper
- 1/4 cup shredded Mozzarella
Kitchen tools that are helpful:
- 2 cast iron skillets or 13×9 baking dish
- stand mixer
- cotton kitchen towel
- cheese grater
The Journey to Perfectly Fluffy Rolls: Step-by-Step Guidance
As I’ve mentioned before, the foundation of these incredible Parmesan Garlic Rolls is my all-time favorite bread dough for homemade rolls. It’s a recipe that has consistently delivered outstanding results, and I sincerely hope you and your family come to adore it just as much as we do. The key to its success lies in careful attention to detail, especially during the mixing and rising phases. Let’s delve into the process.
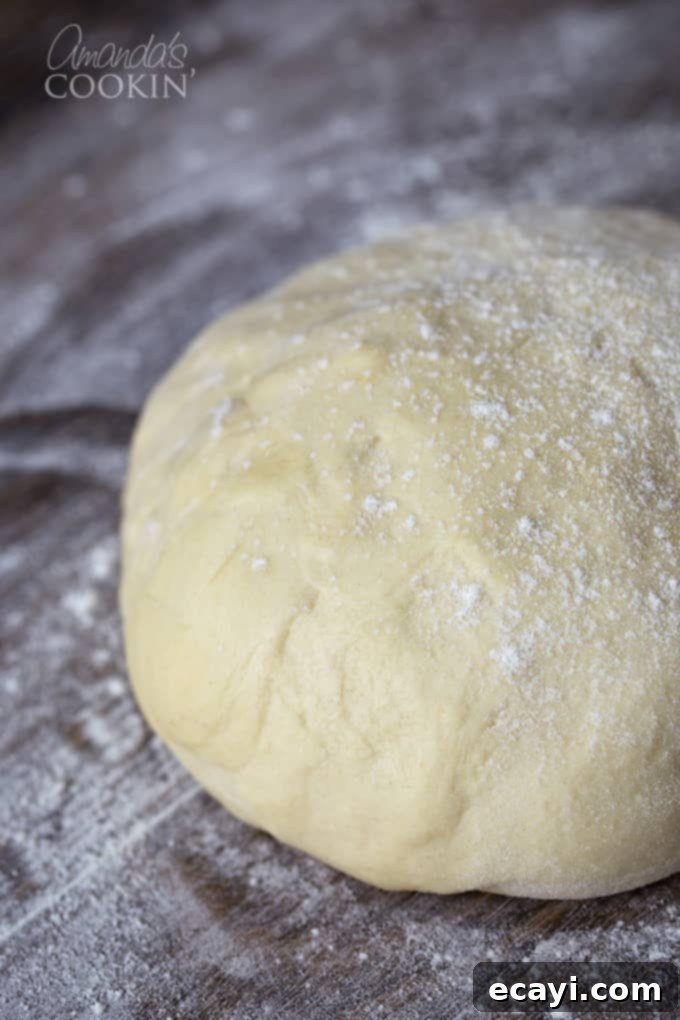
Once your dough has majestically risen, nearly doubling in size and showcasing its airy texture, it’s time for the next crucial step. Gently “punch” it down in the center to release the accumulated gases, then carefully transfer it to a clean work surface that has been lightly dusted with flour. Don’t forget to lightly dust the top of the dough with a little more flour as well; this prevents sticking and makes handling much easier.
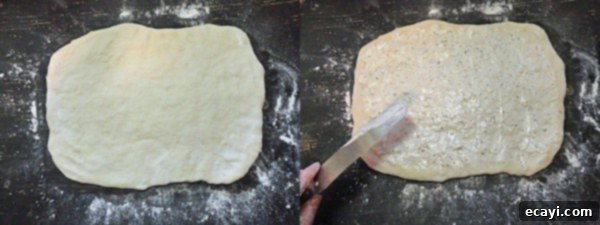
Now, with your dough lightly floured, use your hands to gently flatten and shape it into a neat 14×10-inch rectangle. This requires a delicate touch to avoid overworking the dough, which could make your rolls tough. Once you have your perfectly sized rectangle, it’s time to generously spread it with that incredible garlic butter you prepared earlier. Remember, you will NOT use all of the garlic butter in this step. The goal is to apply a rich, even, and ample layer across the entire surface of the dough, ensuring every bite of your finished roll bursts with flavor. The remaining butter will be used later.
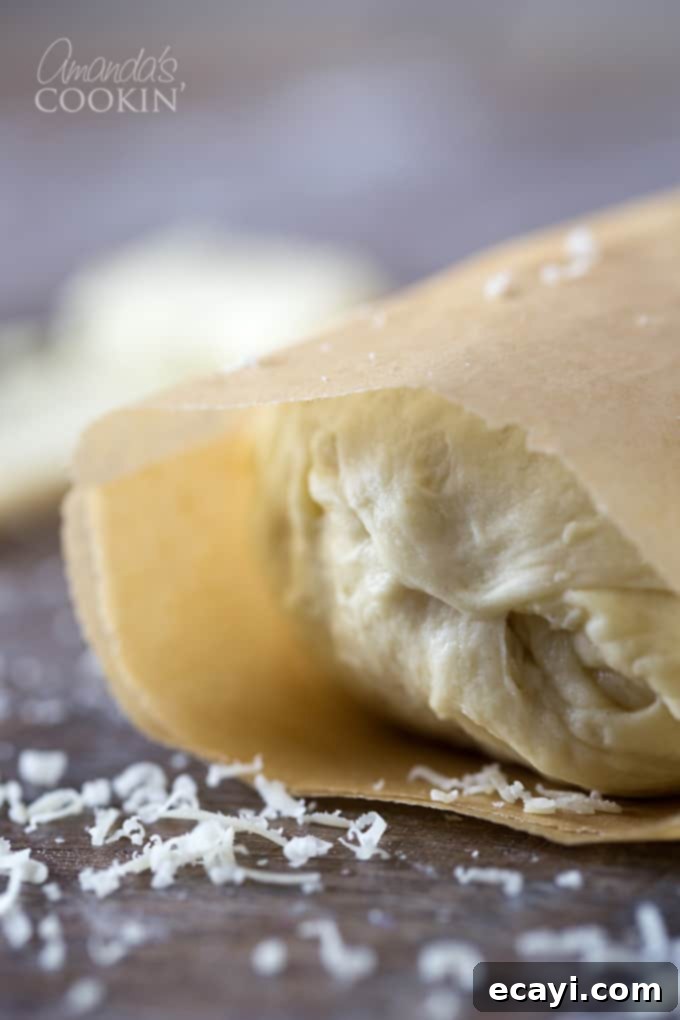
Carefully roll up the rectangle of dough, starting from one of the longer sides, creating a tight log. This step is similar to how you would prepare cinnamon rolls, ensuring those layers of garlic butter and cheese are beautifully swirled within. Once rolled, wrap the dough log snugly in parchment paper. Then, pop it into the freezer for about 15 minutes to chill. This brief chilling period is essential; it firms up the butter and the dough, making it much easier to slice clean, even discs without squishing them. While your dough is chilling, take a moment to mix together the remaining Parmesan cheese with the chopped parsley – this will be your beautiful topping!
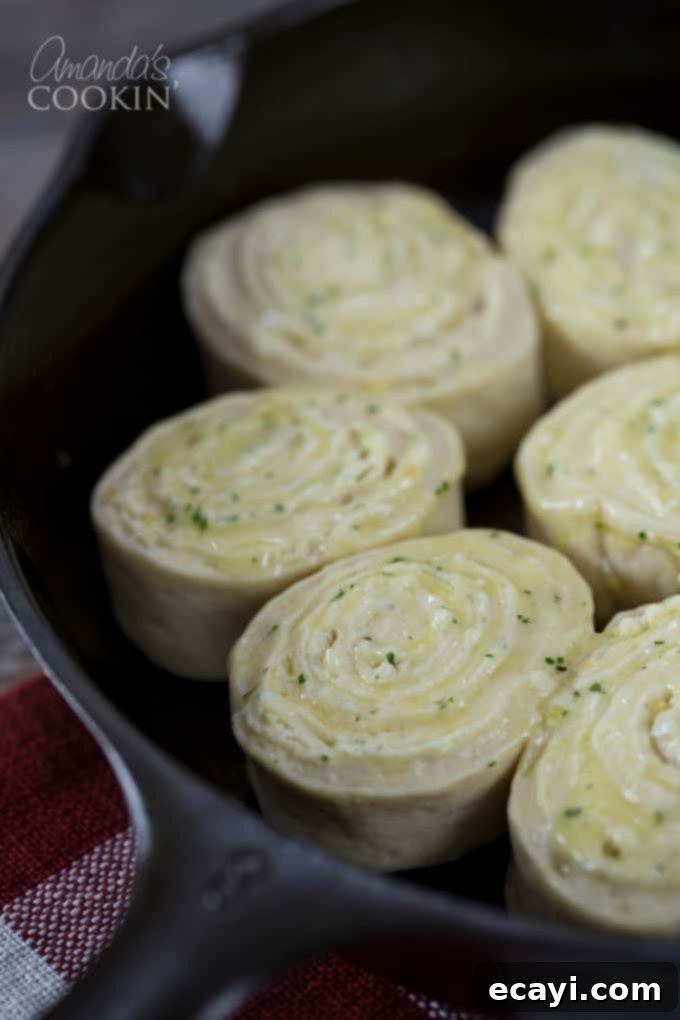
Once the dough is adequately chilled, retrieve it from the freezer. Using a sharp knife or even unflavored dental floss, slice the rolled dough into individual discs, typically about 1 to 1.5 inches thick – much like you would for classic cinnamon rolls. Arrange these beautiful discs in your chosen baking pans. I often opt for two cast iron skillets for even baking and a lovely crust, but a 13×9 stoneware pan works just as well. Before their final rise, brush the tops of each roll with a bit of that melted garlic butter you saved, then generously sprinkle them with your fragrant Parmesan and parsley mixture. This topping not only adds incredible flavor but also creates a gorgeous golden finish.
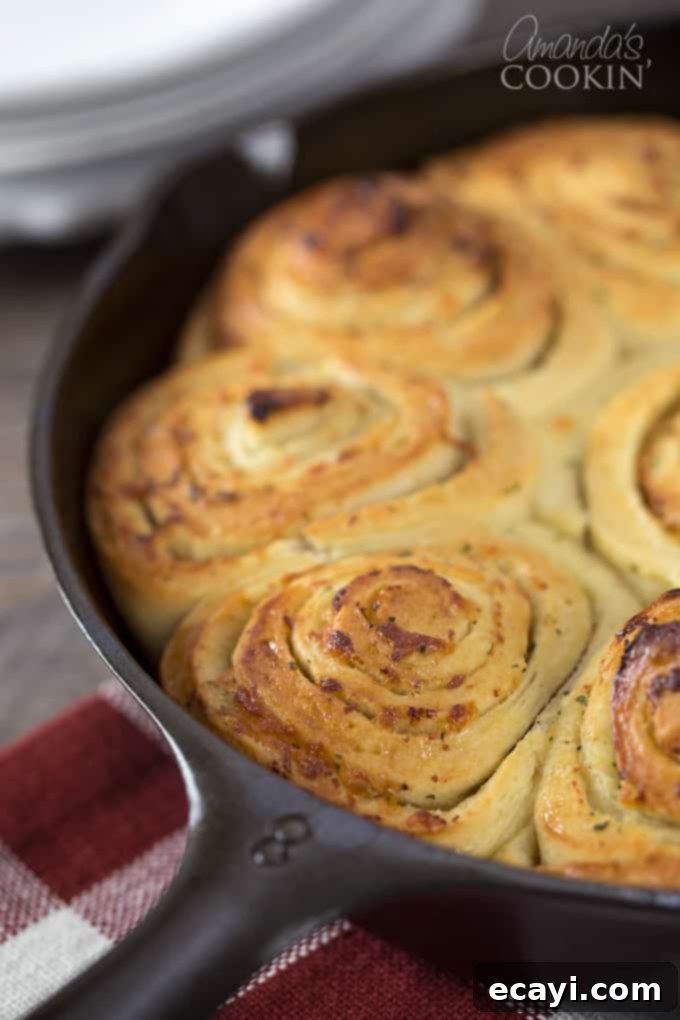
Cover the pans with a clean kitchen towel and allow the rolls to rise for another 20 minutes in a warm spot. This final proofing ensures they become light and airy during baking. Preheat your oven as directed in the recipe instructions, then bake them until they are gloriously golden brown and cooked through. The aroma that will fill your home during baking is absolutely intoxicating! Once baked, let them cool slightly before tearing into them. I promise, the wait will be excruciating but utterly rewarding. Please do let me know if you try them and what you thought. Enjoy every single savory bite!
More Bread and Rolls Recipes to Delight Your Palate
If you’ve fallen in love with the art of making homemade bread and rolls, here are some other fantastic recipes from my kitchen you might enjoy exploring:
- Fluffy Southern-Style Homemade Biscuits
- Irresistible Garlic Knots: Perfect with Pasta
- Sweet & Soft Homemade Hawaiian Rolls
- Classic Homemade Pull Apart Dinner Rolls
- Quick Air Fryer Garlic Parmesan Twists
Parmesan Garlic Rolls
IMPORTANT – There are often Frequently Asked Questions within the blog post that you may find helpful. Simply scroll back up to read them!
Print It
Pin It
Rate It
Save ItSaved!
Ingredients
For the dough
- 1 package quick-acting active dry yeast or 2 1/4 tsp bulk quick acting yeast, I use SAF instant
- 1 tablespoon sugar
- 1 ⅓ cup milk 105 to 115F degrees
- 3 to 3 ½ cups flour or whole wheat flour
- 3 tablespoons extra virgin olive oil
- 1 teaspoon salt
For the garlic butter
- 1 cup butter softened
- 1 tablespoon minced garlic
- 2 tablespoons plus 1/4 cup freshly grated Parmesan cheese
- 1 teaspoon garlic salt
- 1 teaspoon dried parsley
- ½ teaspoon ground black pepper
- ¼ cup shredded Mozzarella
Instructions
Make the dough
-
Begin by dissolving the yeast in warm milk (ensure the temperature is between 105 to 115°F to properly activate the yeast) along with the sugar in the bowl of your electric mixer. Once dissolved, stir in 1 cup of flour, the olive oil, and the salt. Beat this mixture until it becomes smooth, ensuring all ingredients are well combined. Gradually incorporate enough of the remaining flour, scraping down the sides of the bowl as needed, until a soft, pliable dough forms. (In my experience, I usually use all the flour, but your climate and flour type may require slight adjustments.) Cover the bowl with a clean cotton kitchen towel and let it rise in a warm, draft-free place until it has roughly doubled in size, which typically takes about 45 minutes.
Make the garlic butter
-
While your dough is rising, prepare the fragrant garlic butter. In your mixer, beat the softened butter until it is light and creamy. Add the minced garlic, the specified amount of freshly grated Parmesan cheese, garlic salt, dried parsley, ground black pepper, and shredded Mozzarella. Beat until all ingredients are thoroughly combined and evenly distributed. Transfer this flavorful butter mixture to a small bowl and allow it to sit at room temperature. This crucial step lets the flavors truly meld together, intensifying the taste before it’s spread onto the rolls. Remember, you will NOT use all of this butter in one go; you just need enough to create a generous layer on the dough, so portion it thoughtfully.
Make the rolls
-
Preheat your oven to 400 degrees F (200 degrees C). Ensure it’s fully preheated before your rolls are ready to go in.
-
Once the dough has completed its initial rise, gently punch it down in the center to release the gas and fold it over a few times. Prepare your baking vessels by lightly coating two cast iron skillets or stoneware bakers, or a single 13×9 inch baking dish, with non-stick cooking spray to prevent sticking.
-
Lightly flour your clean work surface and place the dough onto it. Dust the top of the dough lightly with flour as well. Using your hands, gently press and shape the dough, turning it as you go, until you achieve a rectangle approximately 14 inches by 10 inches. Spread a generous layer of the prepared garlic butter evenly across the entire surface of the dough. (You will indeed have garlic butter left over after this step; only use enough to form a visible, rich layer.) Sprinkle a good amount of freshly grated Parmesan cheese over the butter, followed by a light scattering of shredded Mozzarella cheese. Carefully roll up the dough tightly from one of the longer sides, creating a log. Wrap this dough log snugly in parchment paper and place it in the freezer for 15 minutes to chill, which helps firm up the butter and makes slicing easier.
-
While the dough is chilling, take the remaining garlic butter and store it for another recipe (it’s fantastic on toast or veggies!). Leave about a tablespoon of the garlic butter in the original mixing bowl. Microwave this small amount of butter until it is just melted, typically around 20 seconds. This melted butter will be used for brushing the tops of your rolls later.
-
Finely chop about a tablespoon of fresh parsley. Combine this chopped parsley with 2 additional tablespoons of freshly grated Parmesan cheese in a small bowl. Toss them together to create a flavorful and colorful topping mixture.
-
Remove the chilled dough log from the freezer and unwrap it. Using a sharp knife or a piece of unflavored dental floss, slice the log into individual discs approximately 1 1/2 inches thick. Carefully place these sliced rolls into your prepared baking pans, arranging them slightly apart to allow for expansion. Brush the tops of each roll with the melted garlic butter you prepared earlier, then generously sprinkle them with the Parmesan/parsley mixture. Cover the pans with a clean towel and allow the rolls to rise for a final 20 minutes in a warm place. Transfer the pans to your preheated oven and bake for 15-20 minutes, or until the rolls are golden brown and cooked through. Serve warm and enjoy!
Nutrition
The recipes on this blog are tested with a conventional gas oven and gas stovetop. It’s important to note that some ovens, especially as they age, can cook and bake inconsistently. Using an inexpensive oven thermometer can assure you that your oven is truly heating to the proper temperature. If you use a toaster oven or countertop oven, please keep in mind that they may not distribute heat the same as a conventional full sized oven and you may need to adjust your cooking/baking times. In the case of recipes made with a pressure cooker, air fryer, slow cooker, or other appliance, a link to the appliances we use is listed within each respective recipe. For baking recipes where measurements are given by weight, please note that results may not be the same if cups are used instead, and we can’t guarantee success with that method.
Frequently Asked Questions About Parmesan Garlic Rolls
- Can I make the dough ahead of time? Yes, you can prepare the dough up to the first rise, then punch it down, cover tightly, and refrigerate for up to 24 hours. Let it come to room temperature for about 30-60 minutes before proceeding with spreading the butter and rolling.
- What if I don’t have a stand mixer? While a stand mixer makes the kneading process much easier, you can absolutely knead the dough by hand. It will require about 10-15 minutes of vigorous kneading on a floured surface until the dough is smooth and elastic.
- Can I use pre-minced garlic? Freshly minced garlic provides the best flavor, but in a pinch, you can use jarred minced garlic. Just be aware that the flavor might be slightly less potent.
- How do I store leftover Parmesan Garlic Rolls? Store any leftover rolls in an airtight container at room temperature for up to 2-3 days, or in the refrigerator for up to 5 days.
- How do I reheat them? For best results, reheat rolls in a preheated oven at 300°F (150°C) for about 5-10 minutes, or until warmed through. You can also briefly microwave them, but this may make them a bit chewier.
- Can I freeze these rolls? Yes! Once baked and completely cooled, you can freeze the rolls in an airtight freezer bag for up to 2-3 months. Thaw at room temperature and reheat as desired.
This blog post was originally published here on November 18, 2011

