Quick & Easy 30-Minute Creamy Shrimp Curry: Your Go-To Stovetop Recipe for Flavorful Weeknight Dinners
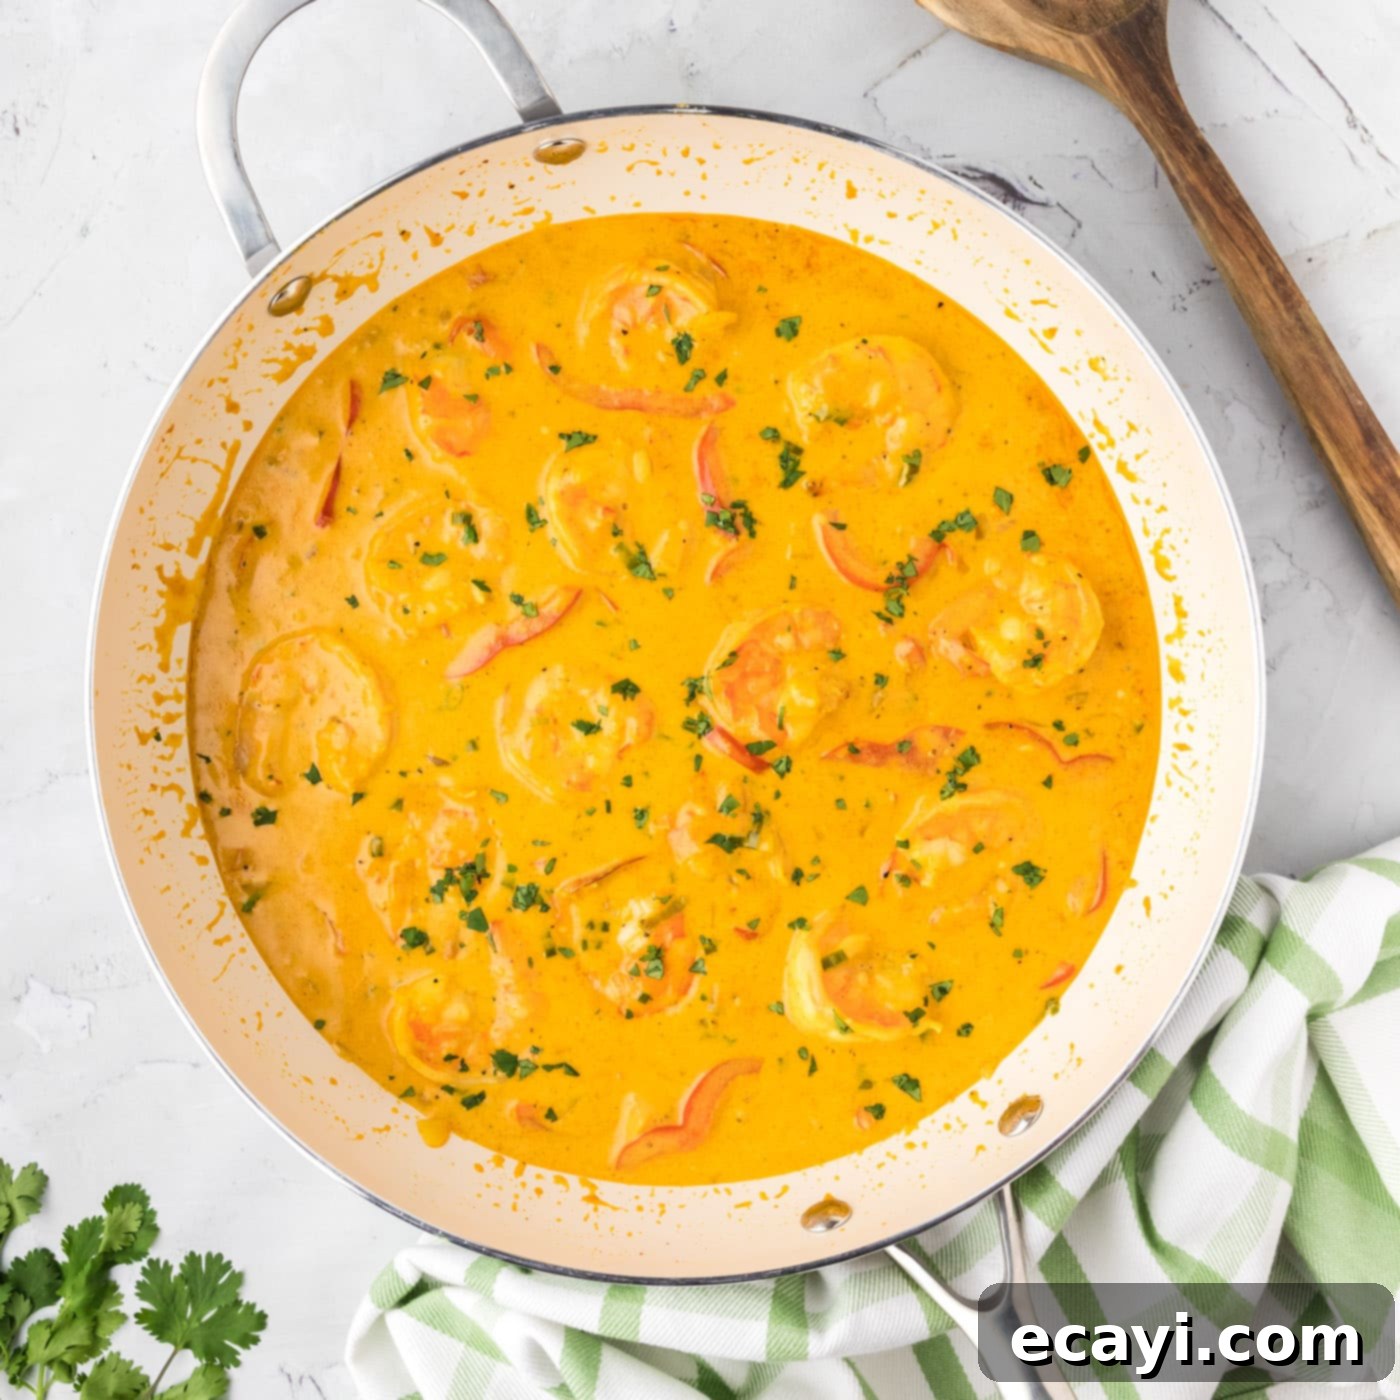
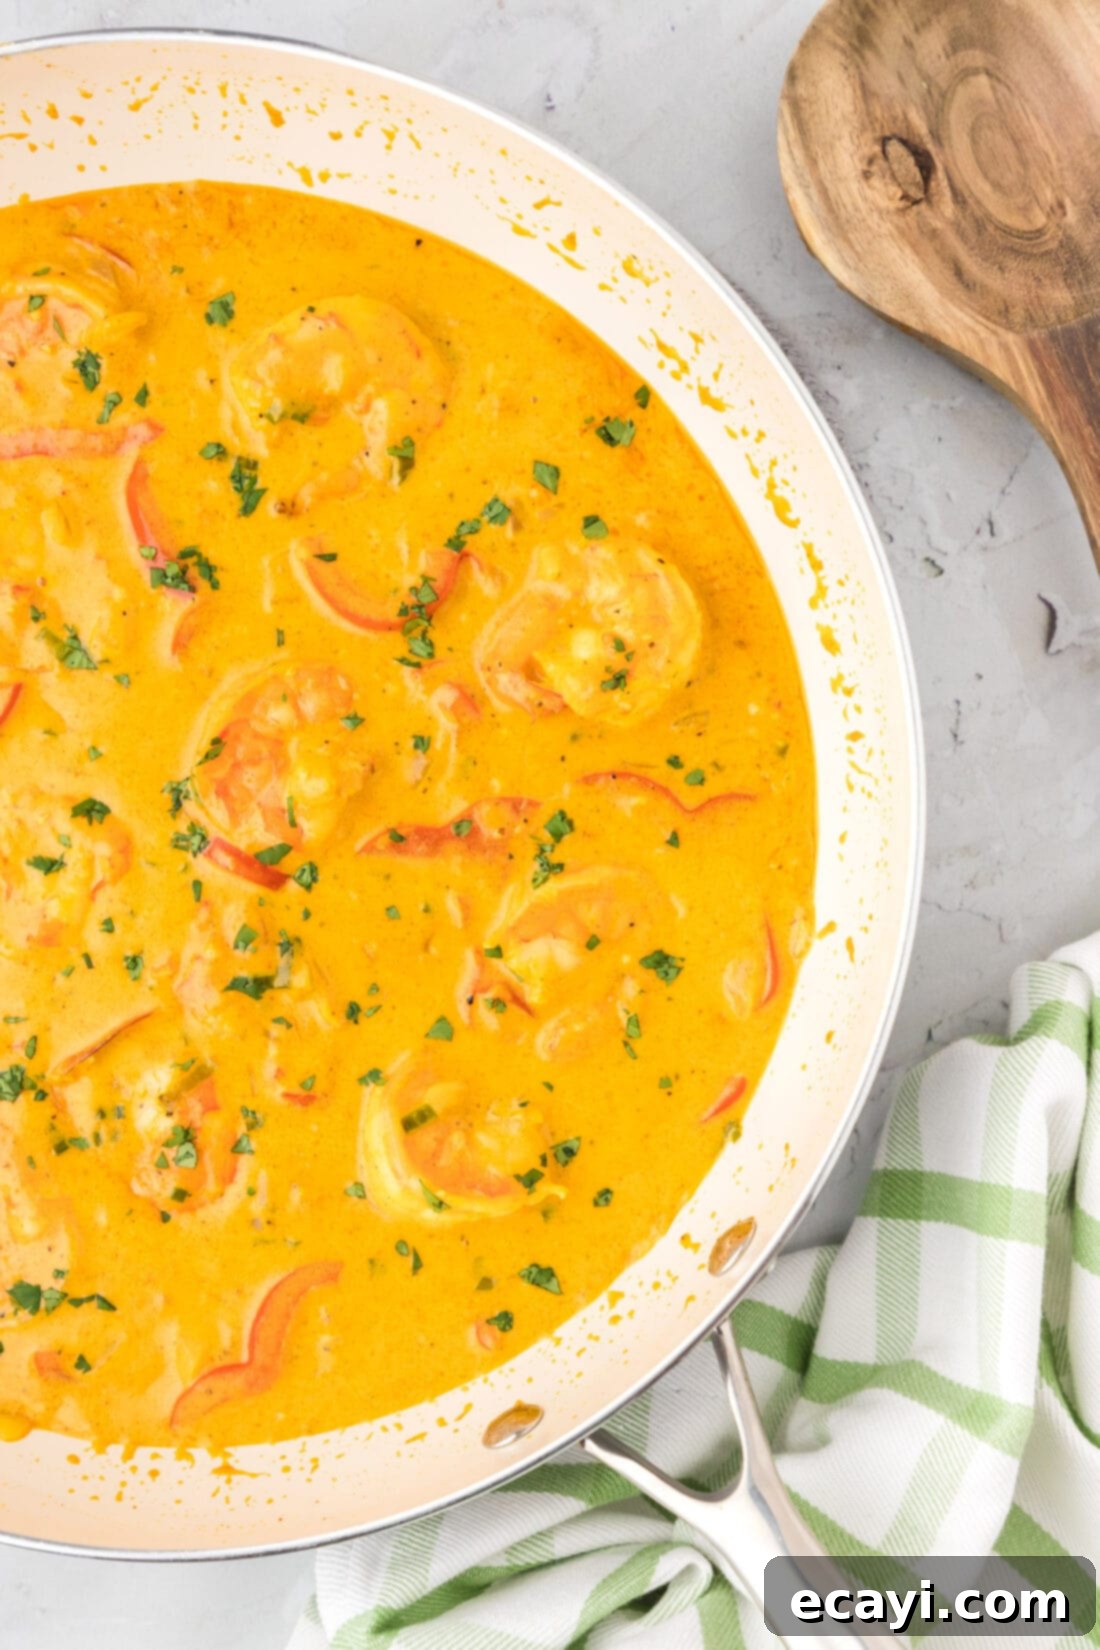
Indulge in the vibrant flavors of a rich and creamy shrimp curry, prepared effortlessly in under 30 minutes right on your stovetop. This delightful recipe features succulent shrimp, tender bell peppers, and sweet onions, all simmered together in an intensely aromatic gravy that promises an explosion of taste with every bite. Perfect for a busy weeknight or a cozy weekend meal, this easy-to-follow dish brings the exotic appeal of curry into your home without any fuss.

Why This Shrimp Curry Recipe is a Must-Try
This shrimp curry recipe stands out for its incredible simplicity and speed, allowing you to whip up a gourmet-tasting meal in a single skillet. Gone are the days of needing multiple pots and pans to create a complex curry. Our recipe leverages the power of your spice cupboard, combining readily available ingredients into a harmonious blend of flavors that is both comforting and exciting. While the world of curries boasts a vast array of variations—from the rich and spicy chicken tikka masala to the bright and herbaceous green curries, and the warming red and yellow varieties—this particular recipe focuses on accessibility and speed. We’ve streamlined the process to ensure that you can enjoy a deeply flavorful, aromatic curry on your table in less than thirty minutes, from the initial prep to the final serving. This makes it an ideal choice for anyone seeking a quick, delicious, and satisfying meal without compromising on taste or quality. The combination of fresh vegetables, plump shrimp, and a perfectly balanced creamy gravy makes this dish an instant favorite for seafood lovers and curry enthusiasts alike.
Essential Ingredients for Your Creamy Shrimp Curry
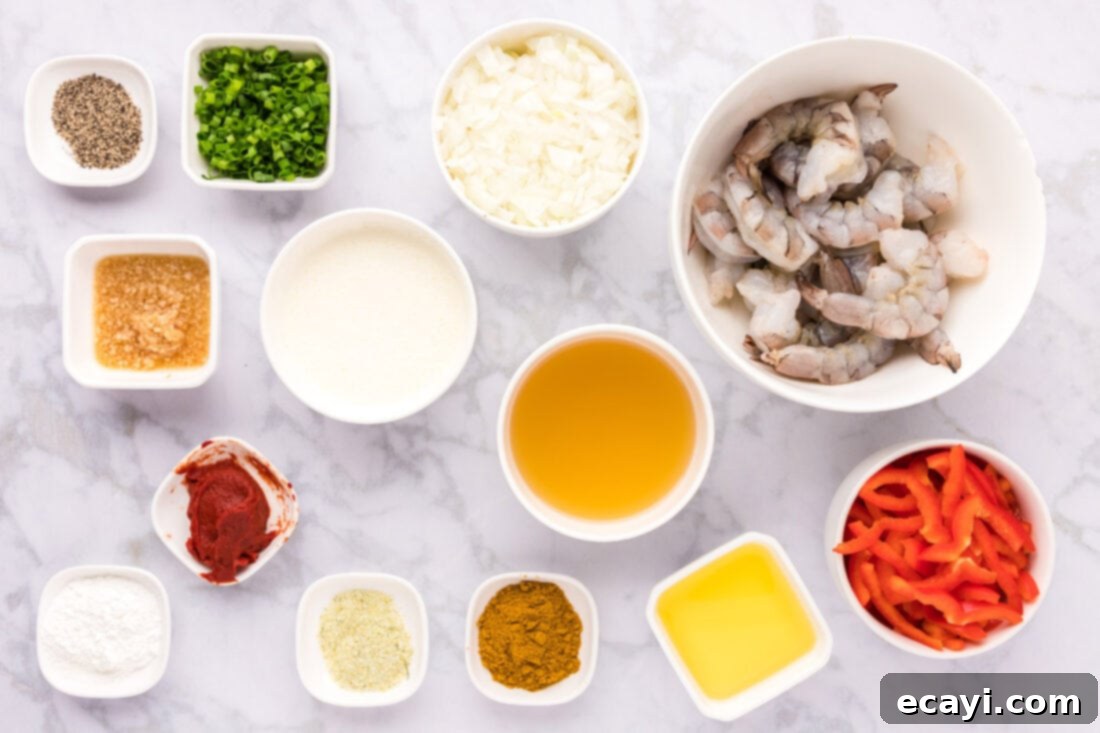
To create this sensational shrimp curry, you’ll need a selection of fresh produce, quality shrimp, and a handful of aromatic spices. All precise measurements, a complete list of ingredients, and detailed instructions are available in the printable recipe card located at the conclusion of this article. Gather your ingredients, and let’s get ready to cook!
Ingredient Spotlight: Tips for Optimal Flavor and Substitutions
Understanding your ingredients and knowing when to make smart substitutions can elevate your cooking experience and ensure a delicious result every time.
SHRIMP – For this recipe, we highly recommend using high-quality raw shrimp. “Grilling shrimp” is often preferred due to its generous size, which maintains a lovely, succulent texture once cooked without becoming overdone or rubbery. You can often find these in the fresh meat or seafood section of your grocery store. Alternatively, extra-large bagged shrimp, already peeled and deveined, are an excellent time-saving option. Just ensure they are fully thawed before you begin cooking to prevent a watery sauce and uneven cooking. Fresh shrimp will always yield the best flavor and texture, so opt for those if available.
CURRY AND AROMATICS – The heart of any curry lies in its spice blend. Using a good quality curry powder is a fantastic shortcut that delivers complex flavors without needing to measure individual spices. Our recipe combines this with fresh minced garlic, robust black pepper, and savory garlic salt to build a rich aromatic base. A touch of tomato paste adds depth and a subtle sweetness, balancing the spices beautifully. To create the luscious gravy, chicken stock provides a savory foundation, while heavy cream contributes to the luxurious, smooth texture. For those who prefer a dairy-free option or a different flavor profile, you can easily substitute the heavy cream with full-fat canned coconut milk. This transforms the dish into a delectable coconut shrimp curry, offering a creamier, slightly sweeter, and tropical twist. Don’t be afraid to adjust the amount of curry powder to your preferred spice level – a little more can add extra warmth and intensity.
VEGETABLES – We use a combination of chopped onion and julienned red bell pepper, which add both sweetness and a slight crunch to the curry. These vegetables cook down beautifully, absorbing the flavors of the sauce. Feel free to experiment with other vegetables like snap peas, carrots, or even spinach for added nutrients and color. Fresh green onions are added towards the end to provide a fresh, pungent finish. Always aim for fresh, crisp vegetables for the best results.
Crafting Your Delicious Stovetop Shrimp Curry: A Step-by-Step Guide
These step-by-step photos and detailed instructions are provided to help you visualize each stage of making this incredibly flavorful shrimp curry. For a convenient printable version of this recipe, complete with precise measurements and comprehensive instructions, simply Jump to Recipe at the bottom of this post.
- Begin by heating olive oil in a large skillet over medium-high heat. Wait until the oil shimmers slightly, indicating it’s hot enough to begin sautéing without burning. This initial step is crucial for building the flavor base.
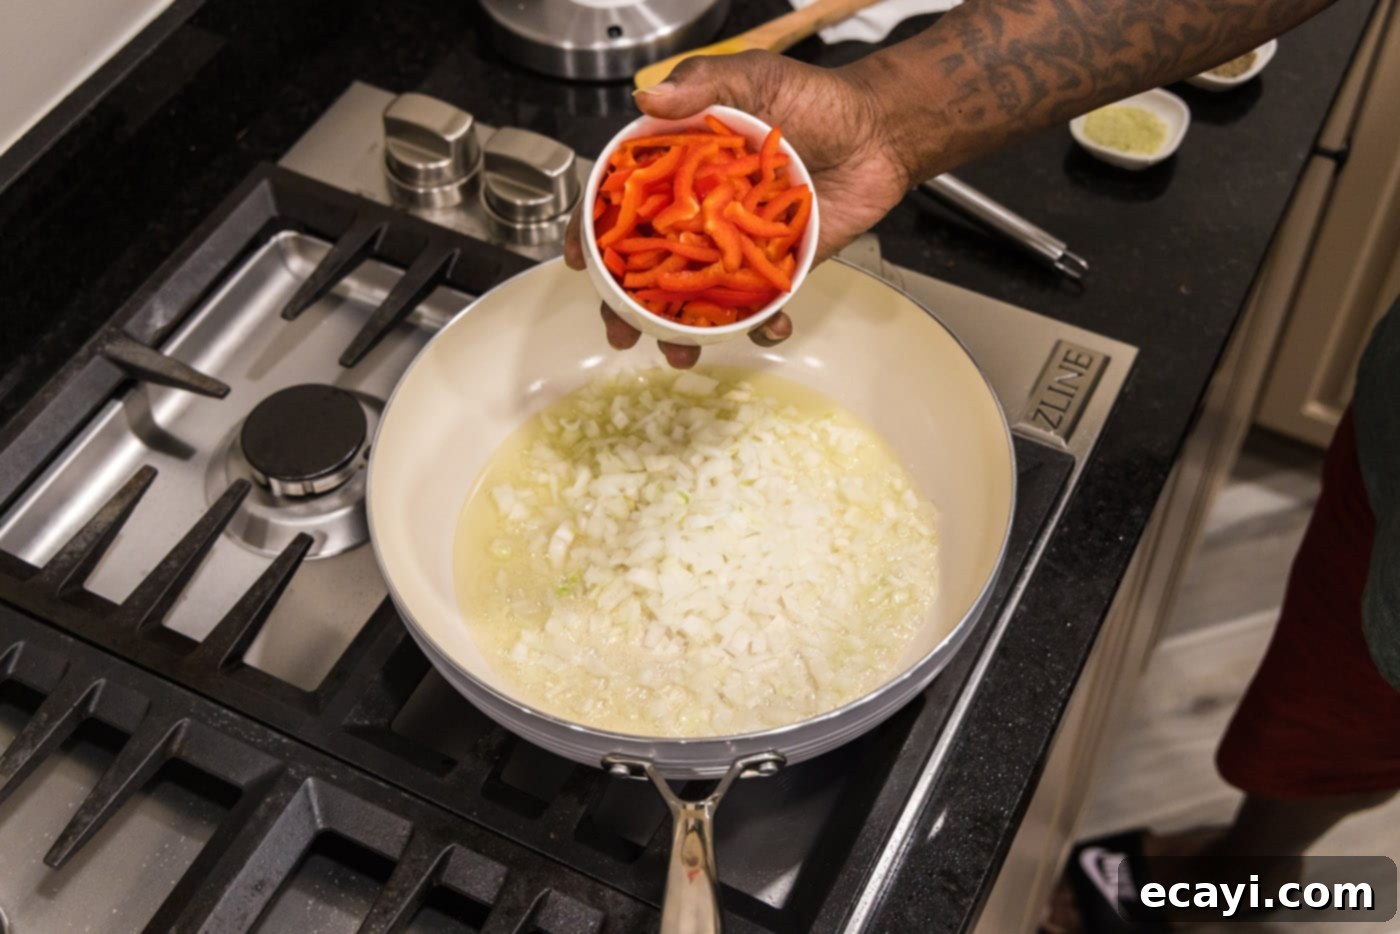
- Add the chopped onion and julienned red bell pepper to the heated skillet. Sauté for 2-3 minutes, stirring occasionally, until the onions become translucent and the bell peppers begin to soften. Avoid overcooking them at this stage, as they will continue to cook with the sauce.

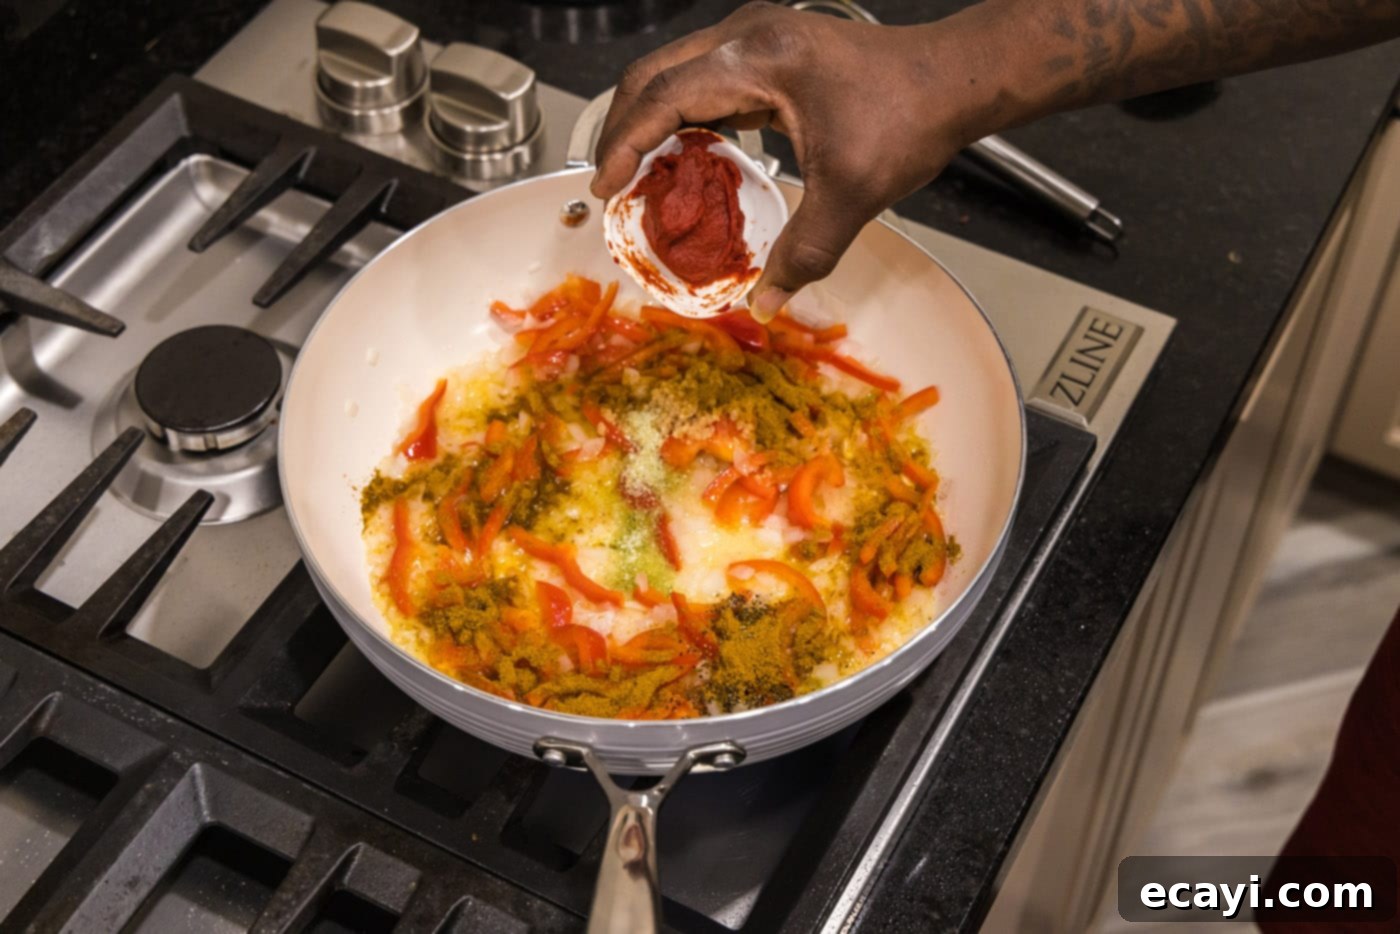
- Introduce the minced garlic, black pepper, garlic salt, curry powder, and tomato paste to the skillet. Stir these ingredients thoroughly to combine them with the sautéed vegetables. Cook for an additional 1-2 minutes, allowing the spices to toast and become fragrant. The tomato paste will darken slightly, intensifying its flavor. Be careful not to burn the garlic.

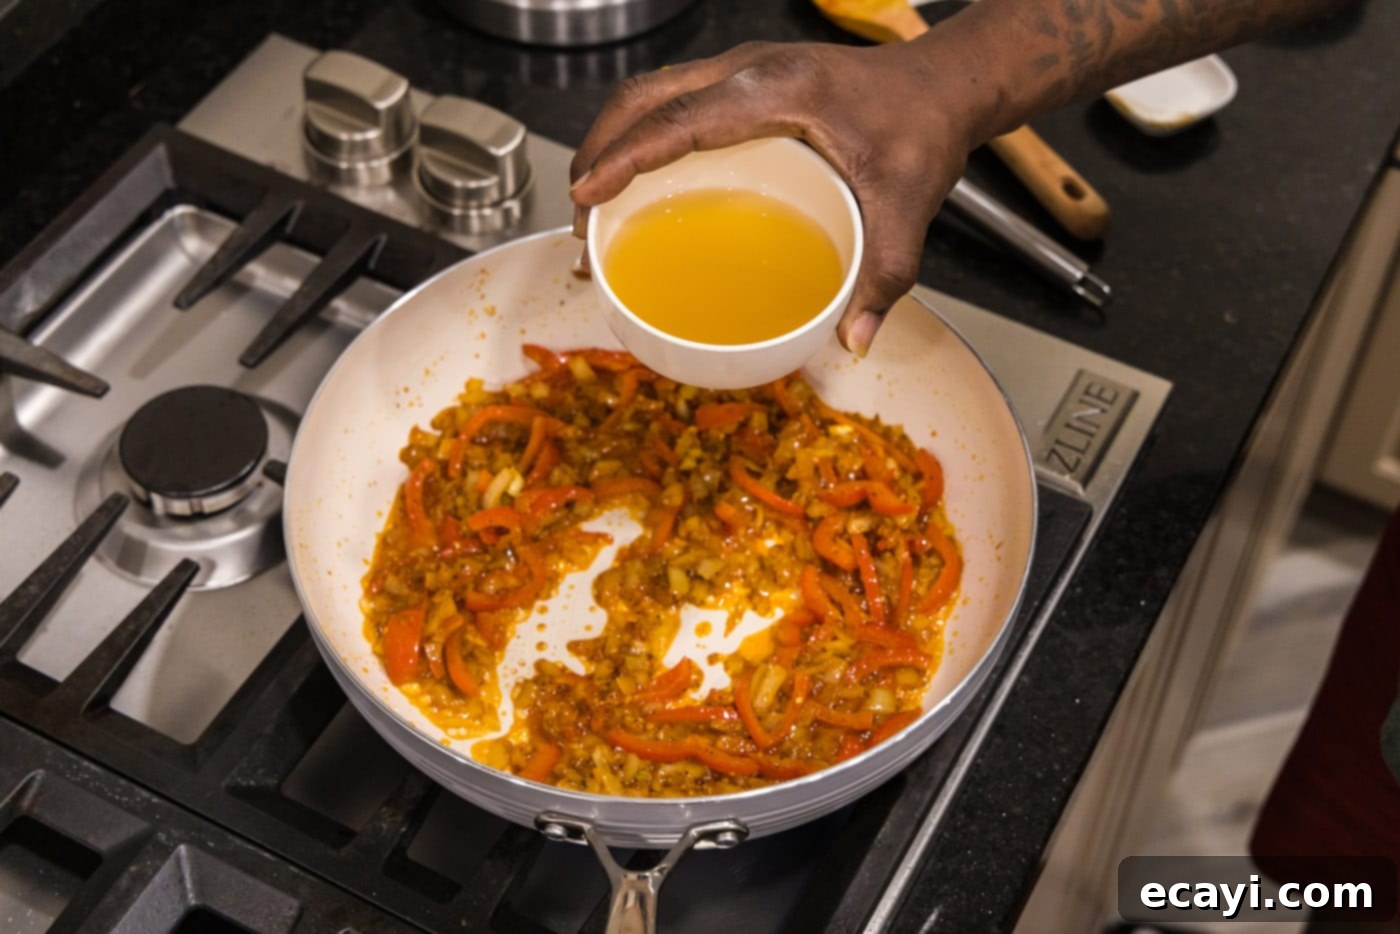
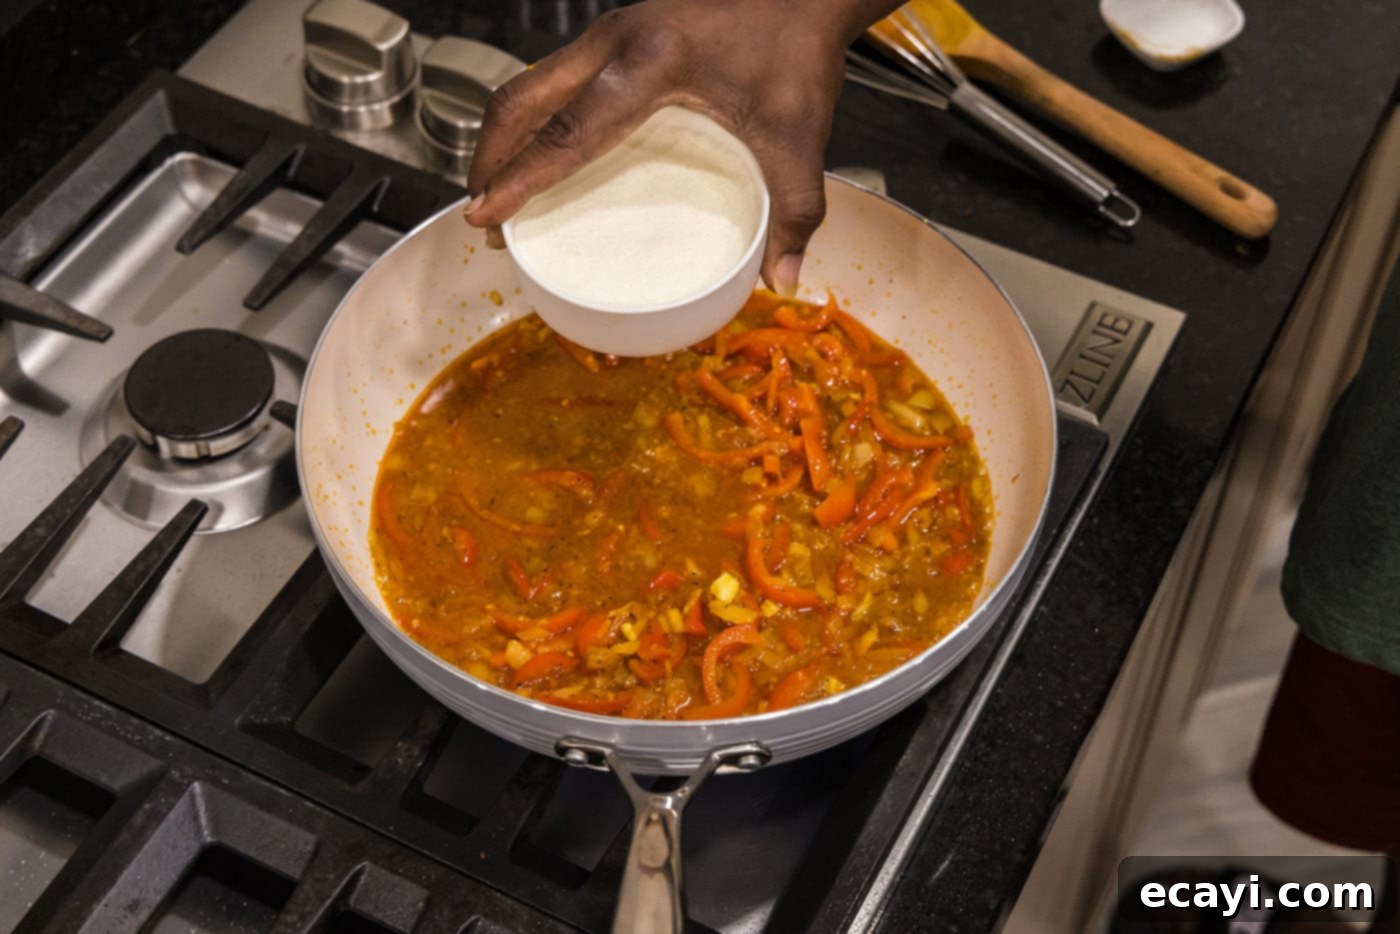
- Pour in the chicken stock and heavy cream. Stir well to ensure all the spices and vegetables are fully incorporated into the liquid, forming the base of your rich curry gravy. Bring the mixture to a gentle simmer.


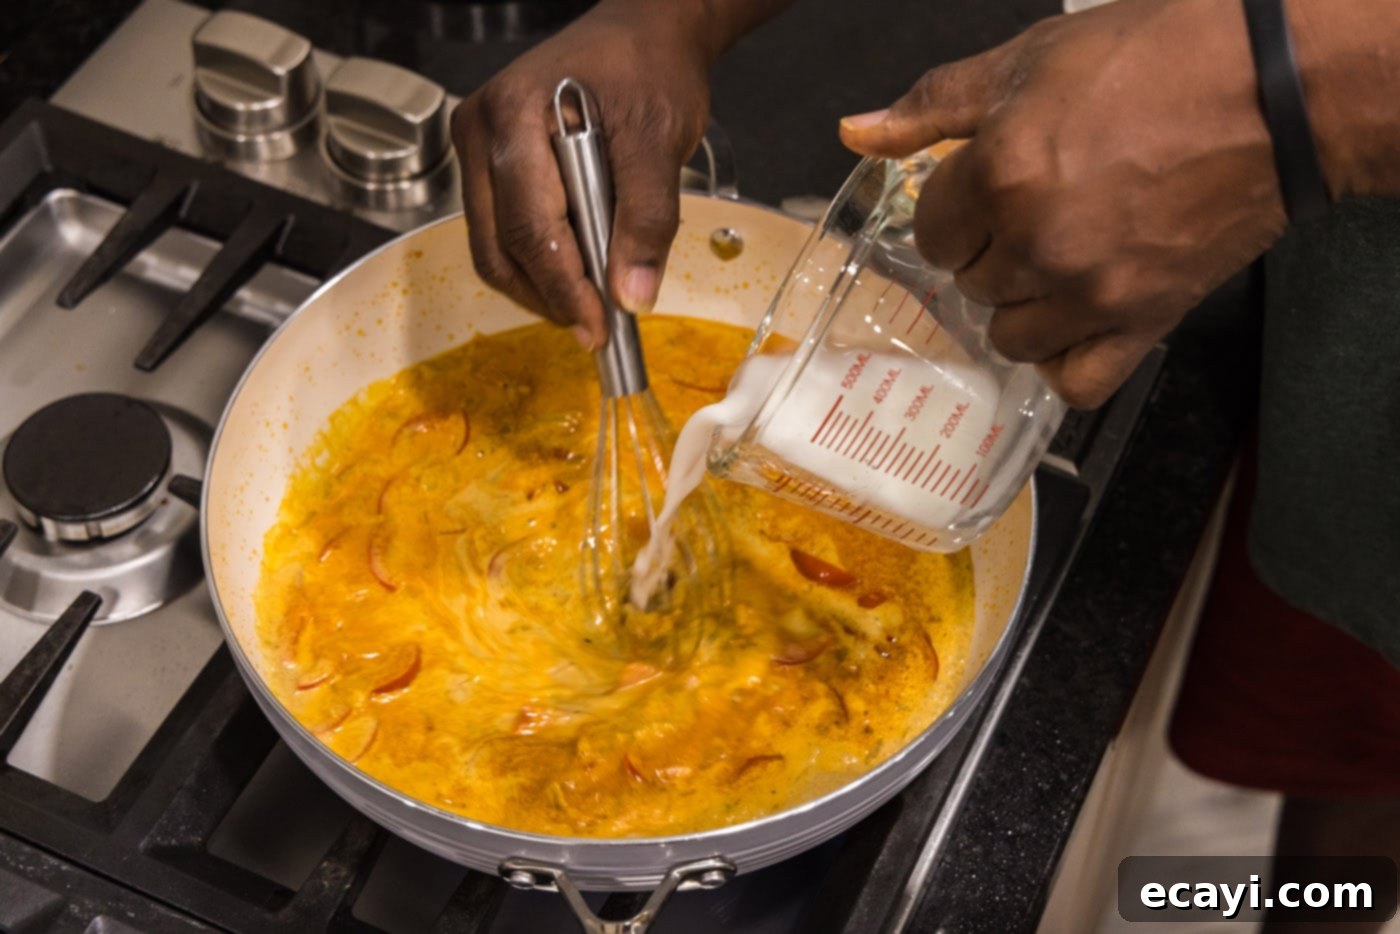
- In a separate small bowl, whisk together cornstarch and water to create a smooth slurry. Gradually whisk this slurry into the simmering curry in the skillet. The slurry acts as a thickening agent, giving the gravy its desirable creamy consistency. Continue stirring until the sauce thickens to your liking.

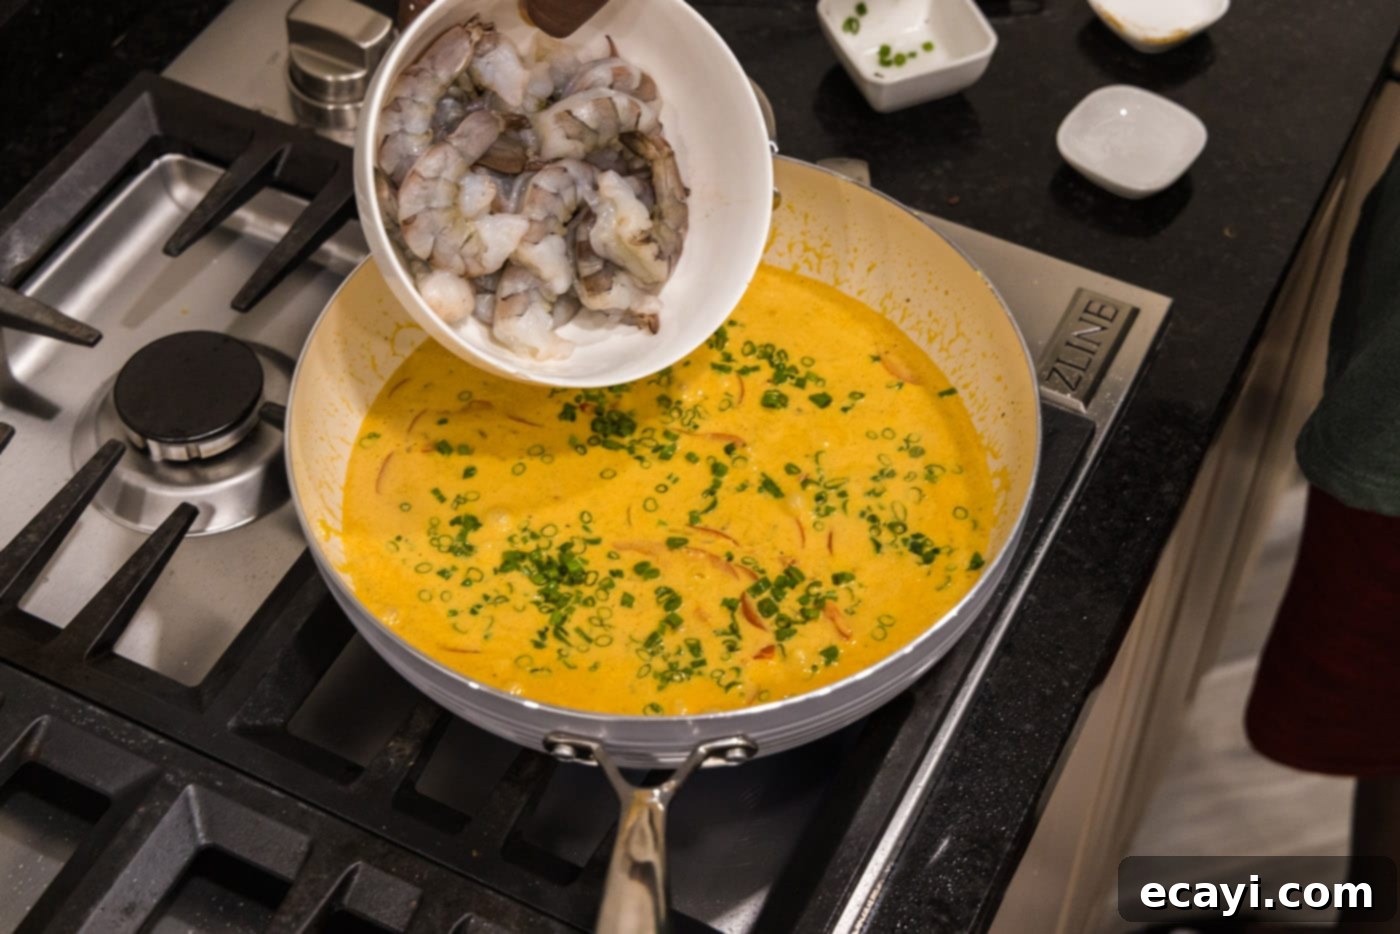
- Add the chopped green onions and the raw, deveined shrimp to the skillet. Stir gently to combine, making sure all the shrimp are submerged in the luscious sauce. This ensures even cooking and allows the shrimp to absorb all the wonderful curry flavors.

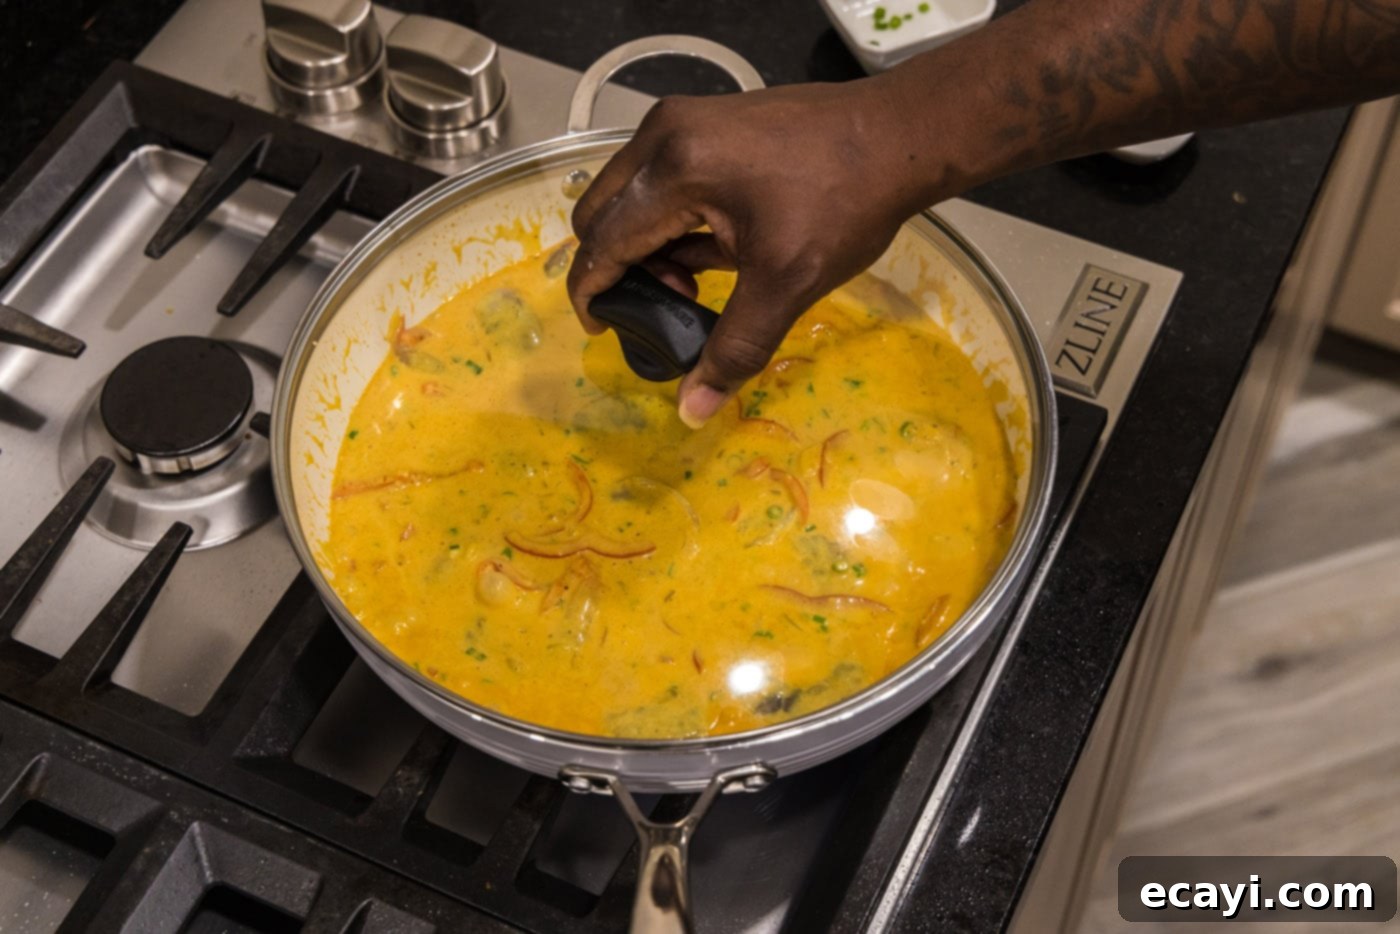
- Reduce the heat to medium, cover the skillet, and allow the shrimp curry to cook for 5-6 minutes. During this time, the shrimp will begin to turn pink and opaque. Cooking with the lid on helps to steam the shrimp and lock in moisture and flavor.

- Remove the cover, give the curry a gentle stir, and continue to cook for another 2-3 minutes, or until the shrimp are completely cooked through. They will shrink slightly and turn a beautiful light pink color. Be vigilant not to overcook the shrimp, as they can quickly become rubbery. Once cooked, remove the skillet from the heat immediately to preserve their tender texture. Serve hot and enjoy!
Frequently Asked Questions & Expert Tips for Perfect Shrimp Curry
Transforming this dish into a delightful Coconut Shrimp Curry is incredibly simple and adds a lovely tropical dimension to the flavor profile. To do this, merely substitute the heavy cream with an equal amount of full-fat canned coconut milk. The rich, creamy texture will remain, but you’ll gain a subtle sweetness and a distinct coconut aroma that pairs wonderfully with the curry spices and shrimp. Ensure you use full-fat coconut milk for the best richness and consistency.
Absolutely, using frozen shrimp is a convenient option for this recipe, provided you handle them correctly. The most crucial step is to thaw the shrimp completely before you begin cooking. Cooking frozen shrimp directly can release excess water, diluting your sauce and affecting the texture of the shrimp. You can thaw shrimp quickly by placing them in a bowl of cold water for about 15-20 minutes. Change the water once or twice for faster thawing. Once thawed, pat them dry thoroughly with paper towels. We do not recommend using pre-cooked frozen shrimp here, as they tend to become tough and rubbery when reheated in the curry.
To maintain its delicious flavor and texture, store any leftover shrimp curry in an airtight container in the refrigerator for up to 3 days. When reheating, it’s best to do so on the stovetop over medium heat. Gently warm the curry through, stirring occasionally, until it reaches your desired temperature. A crucial tip for reheating shrimp curry is to consider removing the shrimp from the gravy before reheating. The gravy typically takes longer to warm up completely, and leaving the shrimp in for the entire reheating duration can lead to them becoming overcooked and rubbery. Reheat the gravy separately, and then add the shrimp back in for just the last minute or two to warm them through. This method ensures your shrimp remain tender and juicy.
Yes, absolutely! The beauty of homemade curry is that you can tailor the spice level to your personal preference. If you enjoy a milder curry, you can reduce the amount of curry powder used. For those who love a bit more heat, feel free to add an extra half or full tablespoon of curry powder. You could also introduce a pinch of cayenne pepper or a small amount of finely minced fresh chili (like a serrano or jalapeño) along with the garlic and other spices to boost the warmth. Always taste as you go and adjust accordingly to create your perfect balance of flavor and spice.
Delicious Serving Suggestions for Your Shrimp Curry
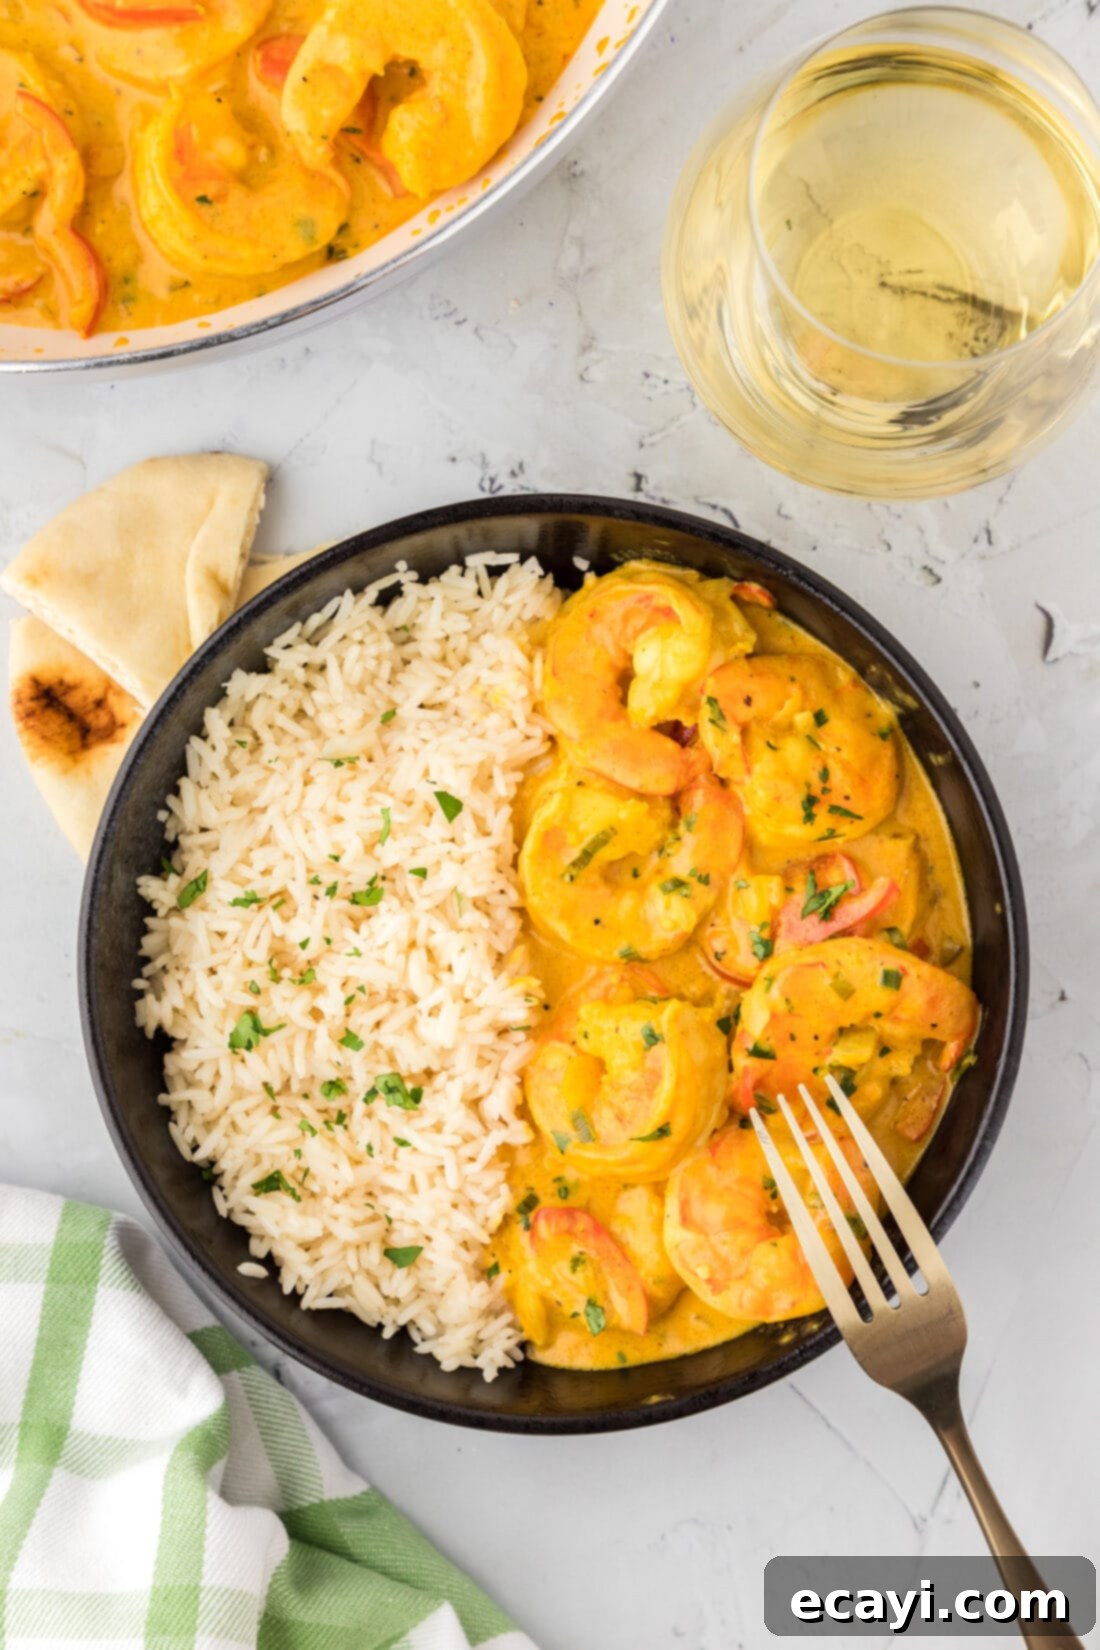
This creamy shrimp curry is incredibly versatile and pairs wonderfully with several side dishes. The most traditional and satisfying way to enjoy it is spooned generously over or alongside a bed of fluffy white rice, such as basmati or jasmine rice. The rice perfectly absorbs the rich, flavorful gravy, making every bite a delight. To complete the experience, consider serving it with warm flatbreads like Naan bread or Roti. These are excellent for soaking up every last drop of the delectable gravy. For an extra touch of freshness, a sprinkle of fresh cilantro or additional chopped green onions can be added just before serving. You can also offer a simple side salad or some steamed green beans for a well-rounded meal.
Explore More Seafood & Curry Inspired Recipes
If you’re a fan of the flavors in this shrimp curry, we invite you to explore more of our related recipes. From other delightful shrimp dishes to flavorful curry-inspired meals, there’s something to tantalize every palate:
- Crispy Fried Shrimp
- Irresistible Coconut Shrimp
- Savory Garlic Butter Shrimp
- Sweet and Tangy Honey Walnut Shrimp
- Authentic Chicken Tikka Masala
I love to bake and cook and share my kitchen experience with all of you! Remembering to come back each day can be tough, that’s why I offer a convenient newsletter every time a new recipe posts. Simply subscribe and start receiving your free daily recipes!

Shrimp Curry
IMPORTANT – There are often Frequently Asked Questions within the blog post that you may find helpful. Simply scroll back up to read them!
Print It
Pin It
Rate It
Save ItSaved!
Ingredients
- 3 Tablespoons olive oil
- ½ cup chopped onion
- ½ cup red bell pepper julienned
- 2 Tablespoons minced garlic
- 1 teaspoon garlic salt
- 1 teaspoon black pepper
- 1 ½ Tablespoons curry powder
- 1 ½ Tablespoons tomato paste
- ¼ cup chicken stock
- ½ cup heavy whipping cream
- 1 Tablespoon cornstarch
- 2 Tablespoons water
- 3 Tablespoons green onions chopped
- 1 pound raw grilling shrimp deveined and shells removed
Things You’ll Need
-
Large skillet
-
Vinyl gloves
Before You Begin
- To make Coconut Shrimp Curry, simply replace the heavy cream with canned coconut milk.
- Store leftovers in an air-tight container kept in the refrigerator for up to 3 days. Reheat on the stovetop over medium heat until warmed through. You may want to remove the shrimp from the gravy when reheating as the gravy will likely need longer to warm up (and you don’t want to overcook the shrimp).
Instructions
-
Add olive oil to a large skillet over medium-high heat until shimmering.
-
Add onion and red bell pepper and saute for 2-3 minutes.
-
Add minced garlic, black pepper, garlic salt, curry powder, and tomato paste. Stir to combine and cook for 1-2 minutes.
-
Add chicken stock and heavy cream, stir to combine.
-
Make a slurry from cornstarch and water and whisk the slurry into the skillet.
-
Add chopped green onion and the raw shrimp to the skillet. Stir to combine ensuring all the shrimp are submerged in the sauce.
-
Reduce heat to medium and cover, allow to cook for 5-6 minutes.
-
Remove cover, stir and allow to cook for 2-3 minutes more. The shrimp will shrink and become a light pink color when done.
Shrimp do not take long to cook so be sure to remove dish from the heat as soon as your are done to avoid them becoming rubbery and overcooked.
Nutrition
The recipes on this blog are tested with a conventional gas oven and gas stovetop. It’s important to note that some ovens, especially as they age, can cook and bake inconsistently. Using an inexpensive oven thermometer can assure you that your oven is truly heating to the proper temperature. If you use a toaster oven or countertop oven, please keep in mind that they may not distribute heat the same as a conventional full sized oven and you may need to adjust your cooking/baking times. In the case of recipes made with a pressure cooker, air fryer, slow cooker, or other appliance, a link to the appliances we use is listed within each respective recipe. For baking recipes where measurements are given by weight, please note that results may not be the same if cups are used instead, and we can’t guarantee success with that method.
