Spooktacular Mini Mummy Pizzas: The Ultimate Easy Halloween Treat for Kids and Parties!
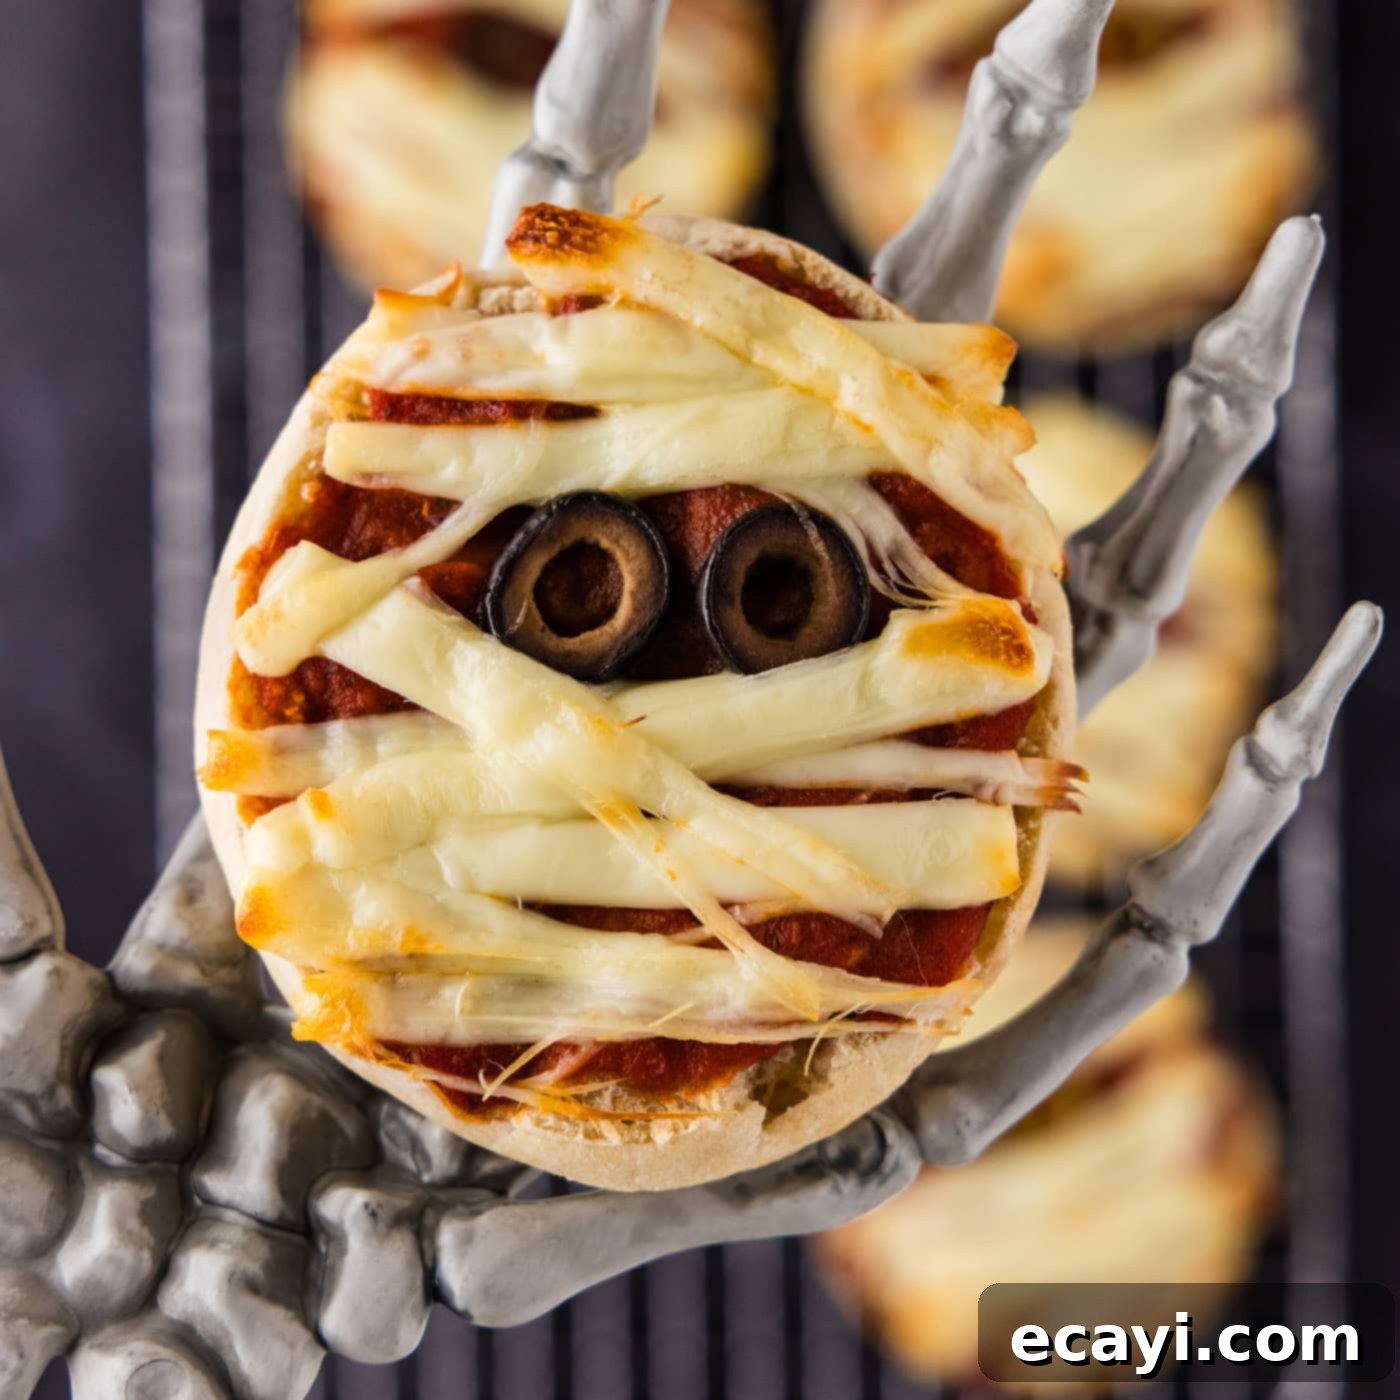
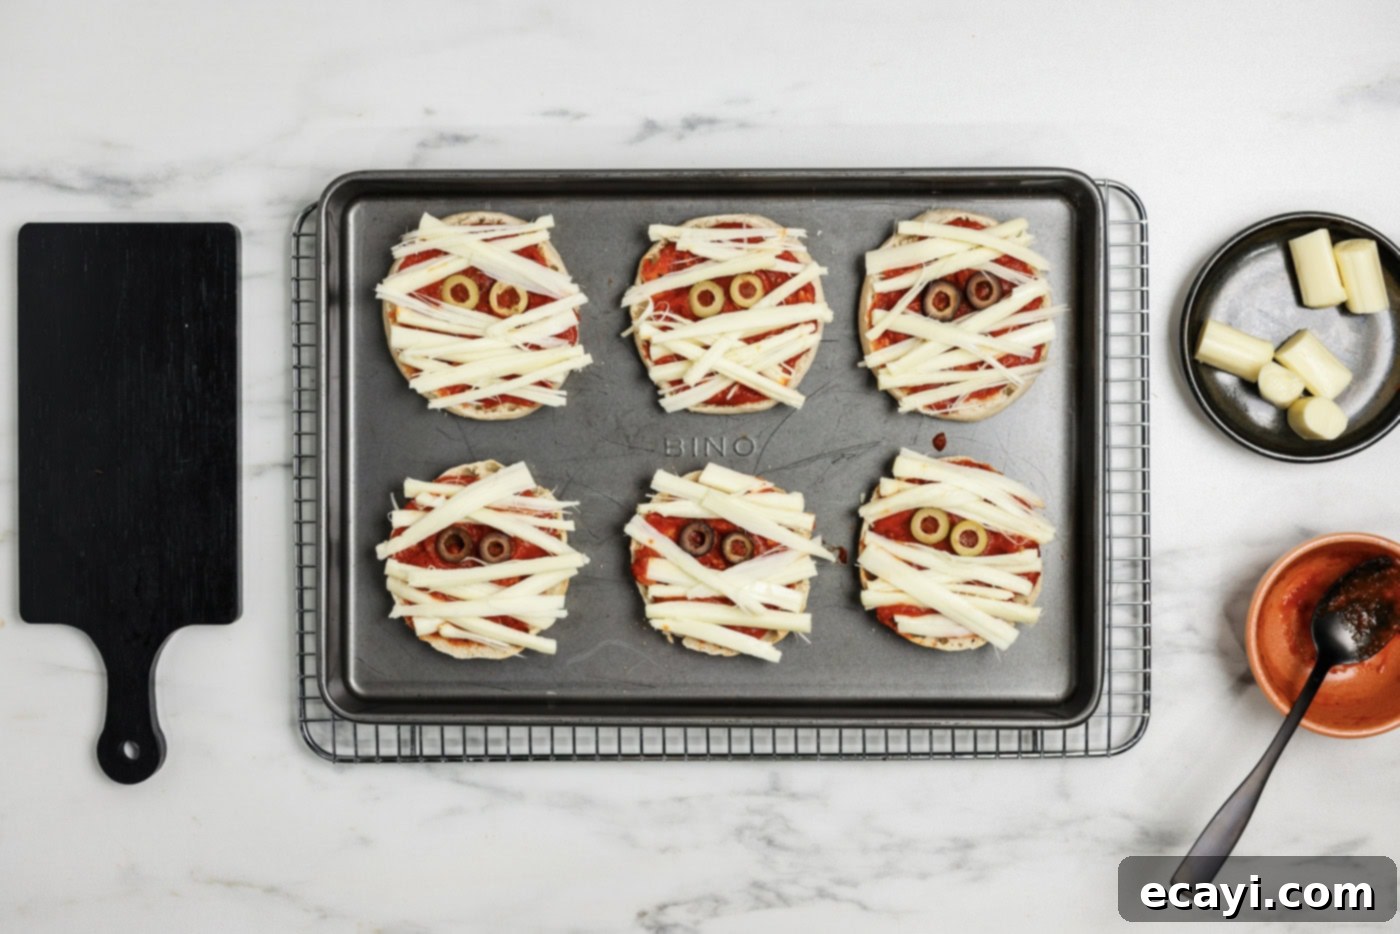
Get ready for some hauntingly good fun in the kitchen with these adorable and incredibly easy-to-make Mini Mummy Pizzas! This Halloween, transform simple English muffins and classic pizza ingredients into a ghoulishly delightful snack that’s perfect for parties, after-school treats, or a fun family dinner. Each English muffin half is generously topped with savory pizza sauce, then cleverly wrapped in melted, stringy cheese “bandages,” and finished with eerie black olive “eyes” that peek out from beneath. It’s a creative and delicious way to celebrate the spooky season that will have both kids and adults reaching for more!
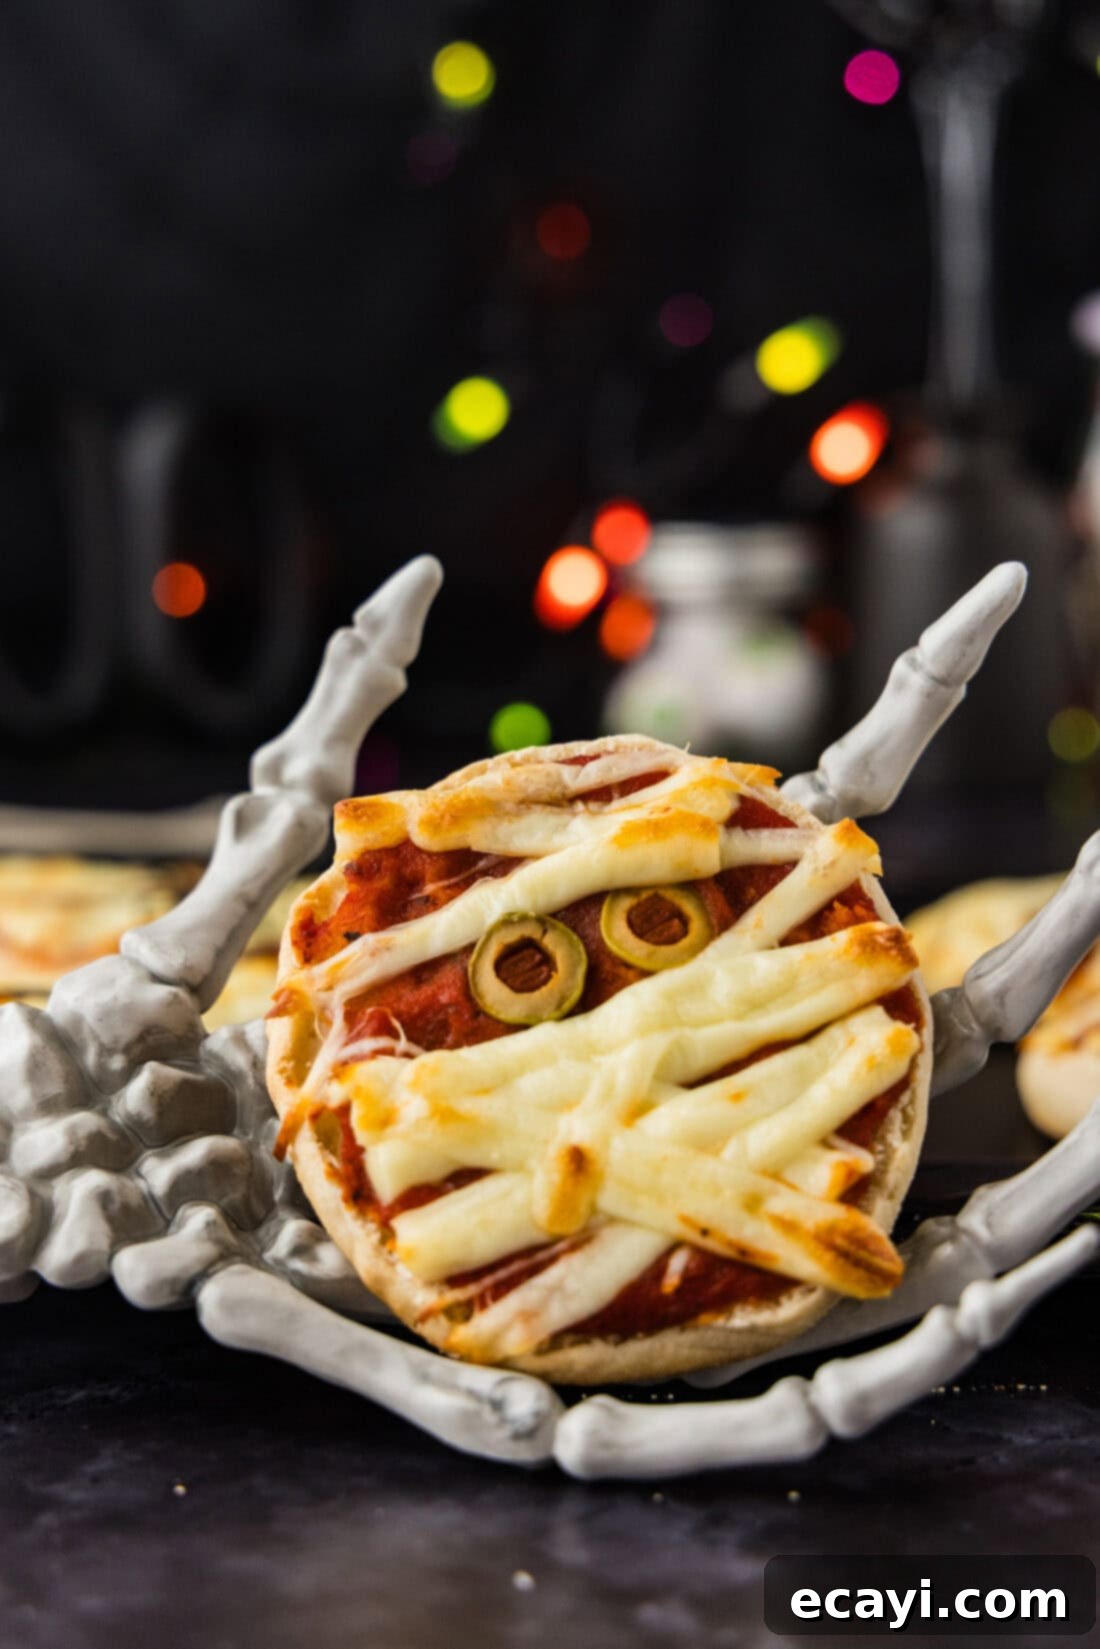
Why These Easy Mini Mummy Pizzas Are a Halloween Must-Make
There’s something truly magical about turning everyday food into a festive, themed creation, and these mini mummy pizzas hit all the right notes for Halloween. They’re not just cute; they’re incredibly practical and fun, making them a standout for several reasons:
- Unbeatably Easy: With only a handful of ingredients and straightforward steps, this recipe is designed for maximum fun with minimal effort. You don’t need to be a gourmet chef to create these spooky masterpieces!
- Kid-Friendly Fun: This is more than just a recipe; it’s an edible craft project! Kids will absolutely love helping to assemble their own mummy pizzas, arranging the cheese strips, and carefully placing the olive eyes. It encourages creativity in the kitchen and makes for wonderful family memories.
- Perfect for Parties: Whether you’re hosting a big Halloween bash or a small get-together, these mini pizzas are the ideal appetizer or snack. They’re portion-controlled, easy to grab, and always a crowd-pleaser. You can even set up a “Mummy Pizza Bar” with various toppings for guests to customize their creations.
- Quick to Prepare: From start to finish, these spooky treats can be on your table in under 30 minutes. This makes them perfect for busy weeknights, last-minute party contributions, or when sudden Halloween cravings strike.
- Deliciously Customizable: While the basic recipe is fantastic, it’s also a blank canvas for customization. Add your favorite pizza toppings to make each mummy unique (see our tips below!).
The joy of seeing melted strips of cheese forming eerie bandages, with olive slices peeking out as spooky little eyes, is truly heartwarming. I recently made these with my stepdaughter and her friend, and their excited giggles and chatter as they built their own pizzas truly brightened my day. It’s an activity that brings smiles and delicious results!
Key Ingredients for Your Mini Mummy Pizzas
Crafting these adorable Halloween snacks requires just a few simple ingredients that are likely already in your pantry or easily found at any grocery store. For exact measurements and a printable version of the full recipe, scroll down to the end of this post!
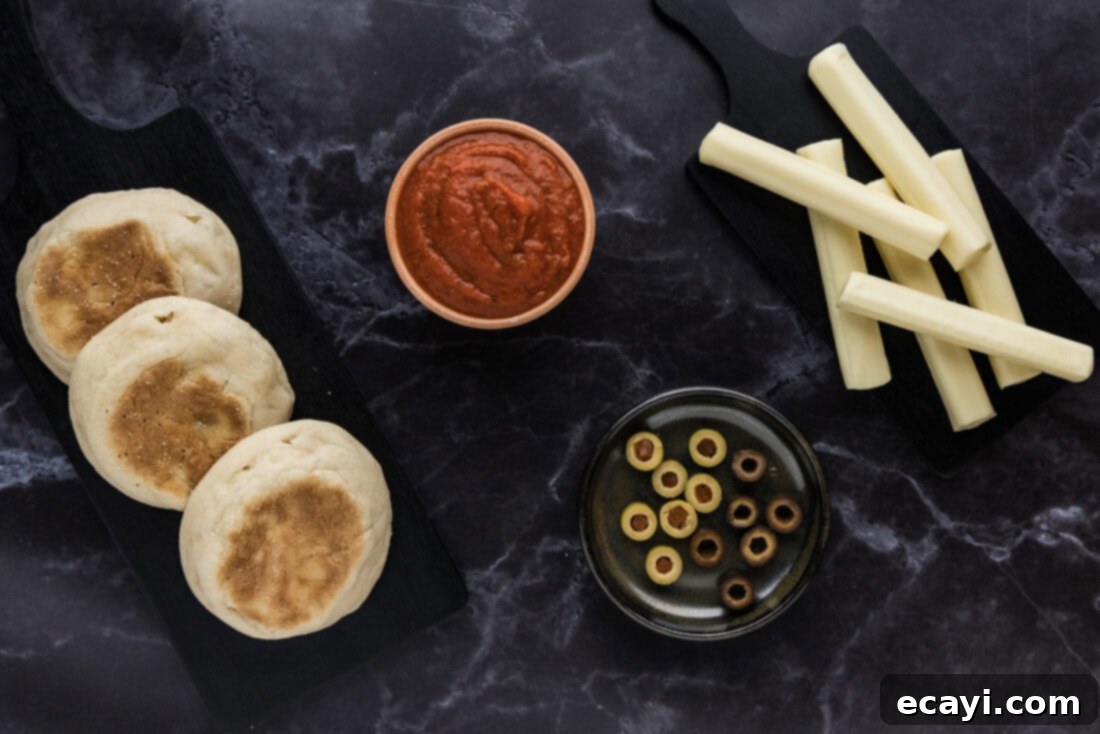
Ingredient Breakdown & Creative Substitutions
Let’s dive deeper into each component and explore some clever ways to customize your mini mummy pizzas:
CRUST: English Muffins for the Win!
The foundation of these festive pizzas is the humble English muffin. Their pre-portioned size, sturdy yet soft texture, and nooks and crannies for holding sauce make them an ideal canvas. When lightly toasted, they provide the perfect crisp base that stands up to toppings without becoming soggy. If English muffins aren’t available or you prefer an alternative, consider these options:
- Biscuits: Canned biscuits, flattened slightly, can offer a fluffier, breadier crust. Adjust baking time as needed.
- Small Naan Bread or Pita Pockets: These make excellent personal pizza bases and can offer a chewier texture.
- Pizza Dough: For a truly homemade feel, use store-bought or homemade pizza dough, rolled thin and cut into small circles. Be mindful that this will increase preparation and baking time.
- Bread Slices: For an even quicker snack, cut bread slices into circles using a cookie cutter and toast them.
SAUCE: The Heart of the Pizza Flavor
Classic pizza sauce provides that signature taste. Feel free to use your favorite jarred variety for convenience. However, if you’re out of pizza sauce, don’t fret!
- Spaghetti or Marinara Sauce: These work just as wonderfully as a base. Just ensure it’s not too watery; a thicker sauce prevents sogginess.
- Pesto: For a gourmet twist, a vibrant green pesto could be a unique and flavorful base.
- White Sauce: A creamy Alfredo-style sauce could offer a different flavor profile, though it might make the mummy bandages less visually striking against a lighter background.
CHEESE: Crafting Those Spooky Bandages
String cheese is the secret weapon for creating those iconic mummy bandages. Its ability to be easily pulled into strips makes the process incredibly simple and fun for kids. It melts beautifully, creating that authentic cheesy texture. If you don’t have string cheese:
- Block Mozzarella: Grab a block of mozzarella cheese and use a vegetable peeler to create thin, wide strips. Then, slice these wider strips into narrower “bandages” with a knife or pizza cutter.
- Provolone or White Cheddar Slices: These can also be cut into strips, though they may not have the same stretchiness as mozzarella.
EYES: Giving Your Mummies Their Personality
The olive slices are what truly bring these mummies to life – or rather, to an eerie after-life! They provide the contrasting dark “eyes” against the white cheese. You have options here:
- Black or Green Olives: Both work perfectly. Black olives offer a starker contrast for a truly spooky look, while green olives can add a slightly different visual appeal.
- Pimento-Stuffed Olives: When sliced, these olives reveal a red center, making them look even more “eye-like” and adding a pop of color.
- Edible Candy Eyeballs: For ultimate cuteness (especially for younger children), you can purchase edible candy eyeballs. However, remember these are sweet and may not be everyone’s preference for a savory snack. If using, add them *after* baking to prevent melting.
- Other Small Round Foods: Tiny circles cut from bell pepper, small capers, or even a dot of balsamic glaze can also work in a pinch for the “eyes.”
Step-by-Step: Crafting Your Mini Mummy Pizzas
These step-by-step photos and instructions are here to help you visualize how to make this recipe. You can Jump to Recipe to get the printable version of this recipe, complete with measurements and instructions at the bottom.
- Prepare Your Oven: Begin by preheating your oven to 425°F (220°C). This ensures your English muffins will toast quickly and evenly, providing a perfect base for your pizzas.
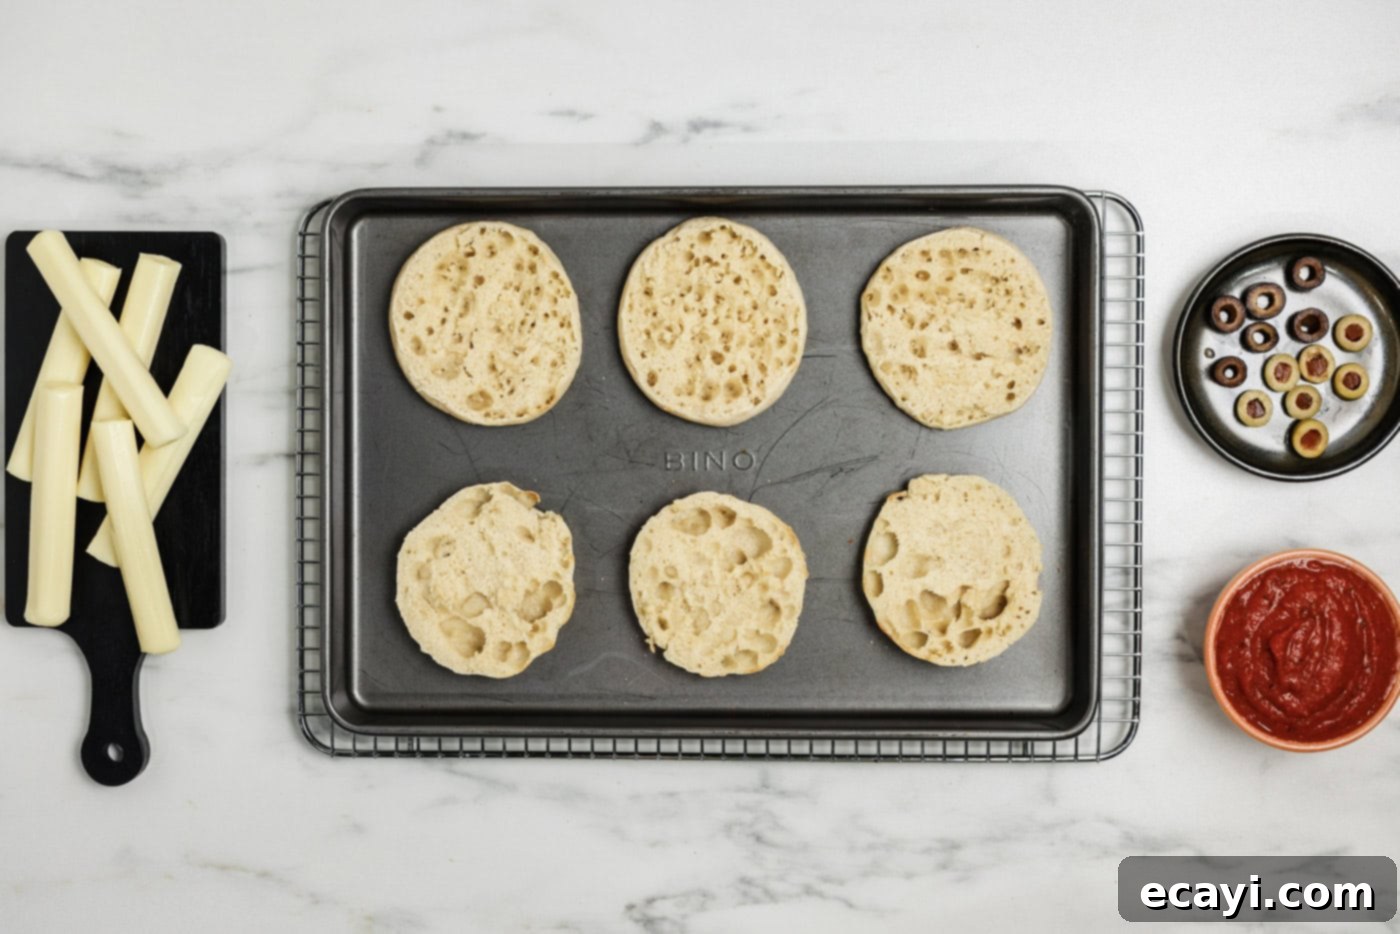
- Toast the English Muffins: Carefully cut each English muffin in half horizontally. Place these halves, cut side up, on a baking sheet. Pop them into the preheated oven for 5 minutes. After toasting, remove them to a cooling rack.
PRO TIP: The Power of Toasting! This initial toasting step is crucial. It gives the English muffins a sturdy structure, preventing them from becoming soggy once the sauce is added. This ensures your mini pizzas are easy to pick up and enjoy without flopping. If you prefer, you can also lightly toast them in a conventional toaster. The goal is a light crispness, not a deep brown.

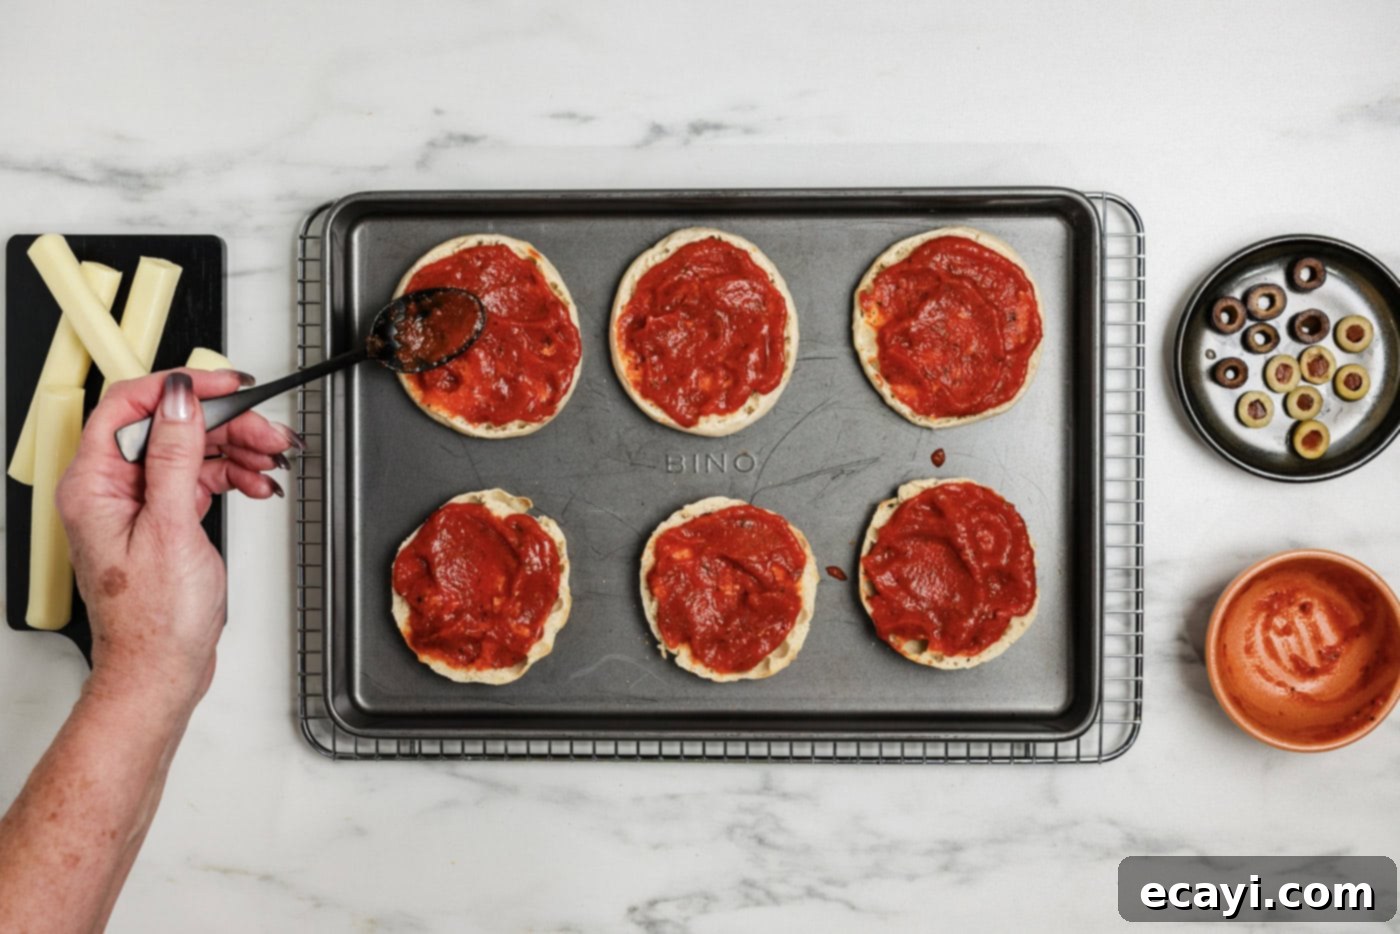
- Sauce It Up: Spoon about 2 tablespoons of pizza sauce onto each toasted English muffin half. Using the back of the spoon, spread the sauce evenly all the way to the edges. For an extra layer of flavor, consider sprinkling a pinch of Italian seasoning or garlic salt over the sauce at this stage.

- Place the Spooky Eyes: Take two sliced olives and place them in the upper third of each sauced muffin. These will be your mummy’s eyes, so position them carefully to create that haunting gaze!

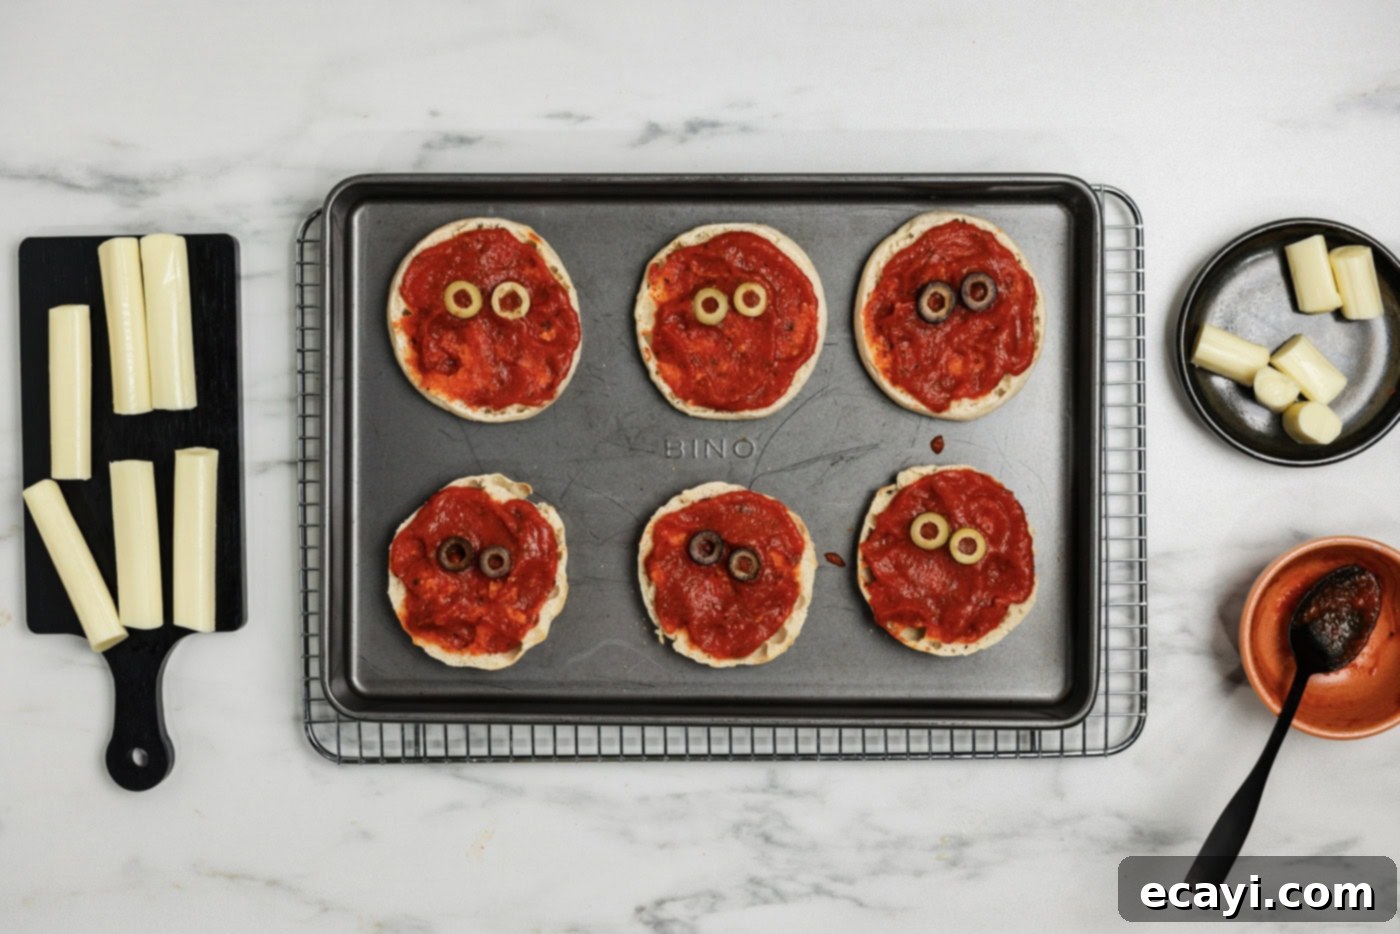
- Wrap with Cheesy Bandages: Unwrap your string cheese sticks. Cut each stick into pieces that are slightly longer than the width of an English muffin; this ensures the cheese doesn’t hang excessively over the edge when it melts. Now, gently pull sections of cheese from the stick and lay them in a criss-crossing, irregular pattern across the sauced muffin, mimicking mummy bandages. Remember to leave the olive “eyes” clearly visible!
EXPERT HINT: Maximizing Your Cheese! Don’t waste those extra cheese bits you trim off. You can use smaller pieces to fill in any sparse areas on your mummy’s face, or simply enjoy them as a chef’s snack! For a more “aged” mummy look, you can leave some small gaps between the cheese strips to let a bit of the red sauce peek through.

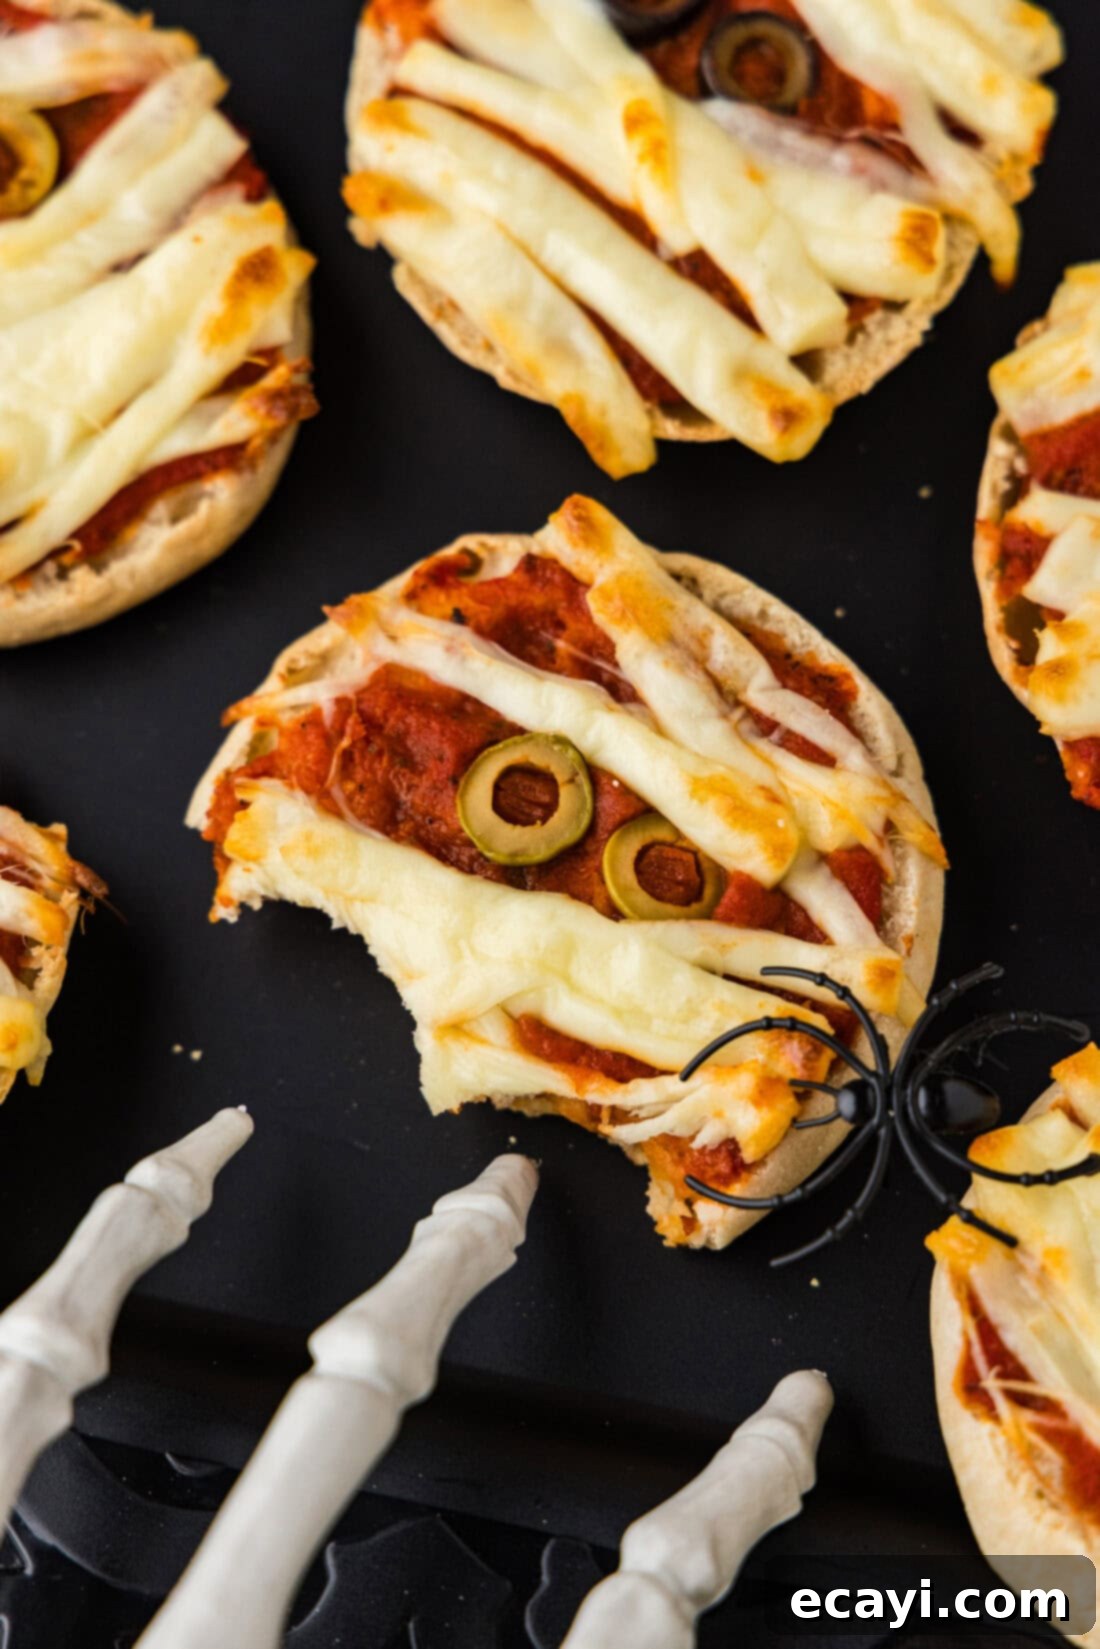
- Bake to Perfection: Return the assembled mummy pizzas to the oven. Bake for 8-10 minutes, or until the cheese is beautifully melted, bubbly, and just beginning to turn a light golden brown at the edges. Keep an eye on them, as oven temperatures can vary.
- Cool and Devour: Once baked, carefully remove the pizzas from the oven. Let them cool slightly on the baking sheet or a wire rack for a few minutes before serving. This brief cooling period helps the cheese set a bit and prevents accidental burns from molten cheese. Then, it’s time to devour your delicious and spooky creations!
Frequently Asked Questions & Expert Tips for Mummy Pizza Success
Absolutely! While we kept our mini mummy pizzas simple for classic appeal and ease, they are incredibly versatile. You can certainly add other favorite pizza toppings. We recommend layering them *after* the sauce and *before* the cheese bandages. This way, the cheese strips still create that recognizable mummy effect over your chosen toppings. Great options include finely diced pepperoni, cooked and crumbled sausage, finely chopped bell peppers, mushrooms, or even a sprinkle of oregano. Just be sure to dice any veggies finely so they cook quickly and don’t overwhelm the mini size.
For the best flavor and texture, these mini mummy pizzas are truly best when enjoyed fresh from the oven. However, you can definitely do some prep work in advance! Slice all your olives, unwrap and cut your string cheese into strips, and store these prepared ingredients in separate airtight containers in the refrigerator. When you’re ready to assemble, it will be a quick process. We don’t recommend assembling and baking them too far in advance, as the English muffins can soak up the pizza sauce, leading to a soggy crust. If you need to assemble them a couple of hours before a party, you could lightly toast the English muffins for slightly longer, then assemble and keep them refrigerated until baking. Just expect a slightly less crisp base.
Any leftover mini mummy pizzas can be stored in an airtight container in the refrigerator for up to 3 days. To reheat them for optimal taste and texture, we recommend using a toaster oven, air fryer, or a regular oven set to 350°F (175°C) until they are warmed through and the cheese is bubbly again. This will help restore some crispness to the crust. While you can microwave them for speed, they may lose their crisp texture and become a bit softer.
These pizzas are incredibly kid-friendly for assembly! Younger children can help spoon on the sauce and place the olive eyes (with supervision). Older kids can take on the task of pulling and arranging the string cheese strips. This hands-on activity makes the process even more fun and exciting, giving them a sense of accomplishment when they see their spooky creations come to life!
Absolutely! This is a fantastic idea for a party. Simply pre-toast your English muffin halves and arrange them on a large platter. Then, set out bowls of pizza sauce, sliced olives, prepared string cheese strips, and any other optional toppings you desire (mini pepperoni, cooked ground beef, diced bell peppers, etc.). Let your guests become their own pizza artists, assembling their unique mummy creations. Once assembled, pop them into the oven in batches, and serve them warm.
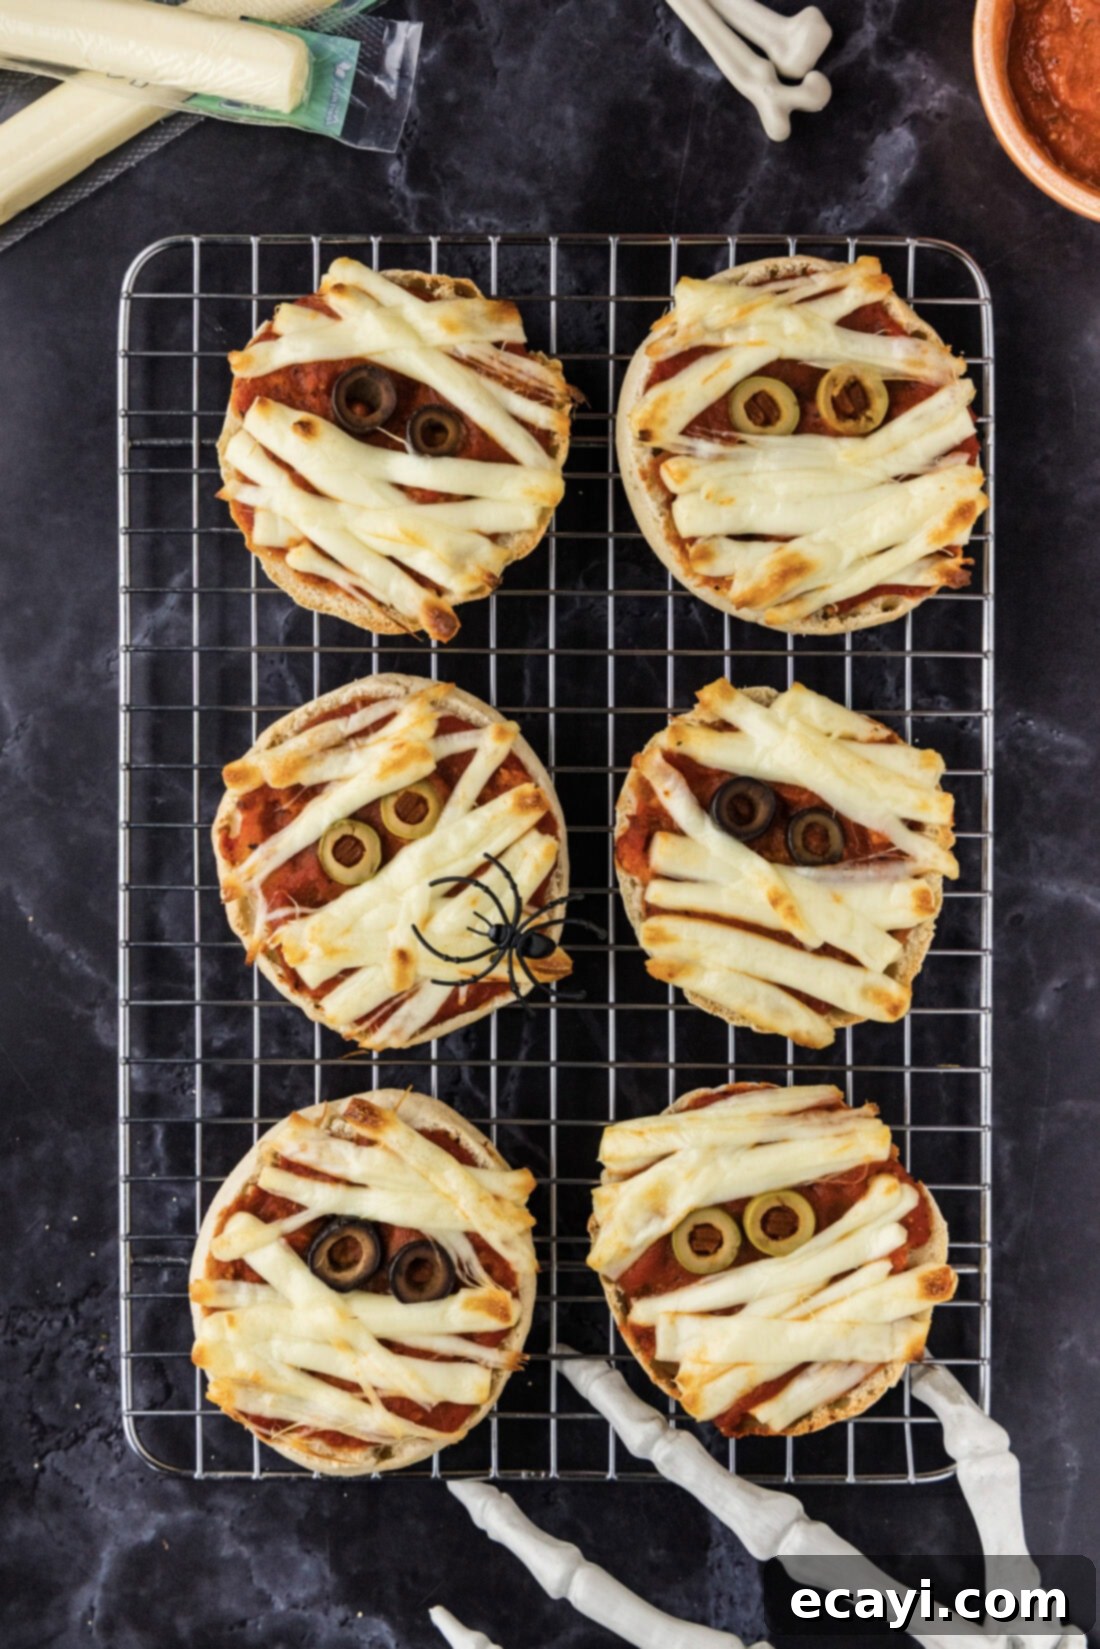
Serving Your Spooky Mini Mummy Pizzas
Serve your mini mummy pizzas warm from the oven, when the cheese is perfectly melted and the crust is lightly toasted. They are delightful on their own as a savory Halloween party food or a festive lunch. For a complete Halloween meal or party spread, consider pairing them with:
- A “Witches’ Brew” punch (a green, spooky drink).
- A simple green salad with a “spider web” of ranch dressing.
- “Finger foods” like veggie sticks and a spooky dip.
- Other Halloween-themed snacks and desserts.
These mini pizzas are not only delicious but also a fantastic conversation starter and a visual treat for any Halloween gathering. Enjoy the smiles and excitement they bring!
More Hauntingly Good Halloween Recipes
- Mummy Meatloaf
- Spider Web Taco Dip
- Jalapeno Popper Mummies
- Cheese and Pretzel Broomsticks
I love to bake and cook and share my kitchen experience with all of you! Remembering to come back each day can be tough, that’s why I offer a convenient newsletter every time a new recipe posts. Simply subscribe and start receiving your free daily recipes!
Mini Mummy Pizzas
IMPORTANT – There are often Frequently Asked Questions within the blog post that you may find helpful. Simply scroll back up to read them!
Print It
Pin It
Rate It
Save ItSaved!
Ingredients
- 6 English muffins halved
- 1.5 cups pizza sauce
- black or green olives sliced (for eyes)
- 12 string cheese sticks unwrapped (for bandages)
Optional Additions
- Italian seasoning
- garlic salt
- mini pepperoni or cooked sausage
Things You’ll Need
-
Baking sheet
-
Wire cooling rack
Before You Begin
- For a classic mummy look, we made our pizzas with the simplest of toppings. However, feel free to get creative! You can certainly add other things like mini pepperoni, cooked and crumbled sausage, or finely diced veggies such as bell peppers or mushrooms. If you do, layer these on after the sauce and before the cheese, ensuring the cheese bandages are still the star!
- Black or green olives work equally well for the “eyes.” For an extra realistic touch, pimento stuffed olives, when sliced, create a more “eye-like” appearance with their red center.
- No pizza sauce on hand? No problem! A good quality spaghetti or marinara sauce works just as well. For a quick and flavorful homemade option, try our homemade pizza sauce!
- To ensure your English muffins provide a sturdy base for your pizzas and don’t get soggy, we recommend pre-toasting them for about 5 minutes before adding toppings.
Instructions
-
Preheat oven to 425 F (220 C).
-
Cut English muffins in half and place on a baking sheet, cut side up. Place in preheated oven for 5 minutes to lightly toast. Remove to a cooling rack.
Toasting the muffins before adding toppings provides structure, making the pizzas sturdy and easy to pick up without being too crunchy. You can also lightly toast them in a toaster.
6 English muffins -
Spoon 2 tablespoons of pizza sauce onto each muffin half. Spread the sauce evenly to the edges.1.5 cups pizza sauce
-
Place 2 sliced olives in the sauce in the upper third of each muffin half to create the mummy’s eyes.black or green olives
-
Cut the string cheese sticks to be slightly longer than the width of the English muffins. Pull sections of cheese from the sticks and lay them in a criss-crossing, irregular pattern across the sauce, ensuring the olive eyes remain visible.
Use extra cheese pieces to fill gaps or enjoy as a snack!
12 string cheese sticks -
Place the assembled pizzas back into the oven and bake for 8-10 minutes, or until the cheese is fully melted and begins to lightly brown.
-
Remove from the oven and let cool slightly for a few minutes before devouring your spooky snacks!
Expert Tips & FAQs
- Store any leftover mini mummy pizzas in an airtight container in the refrigerator for up to 3 days. Reheat them in a toaster oven, air fryer, or a conventional oven for best results, until warmed through and the cheese is bubbly.
- For a truly interactive experience at a Halloween party, consider setting up a “Mummy Pizza Bar” where guests can assemble their own pizzas with various toppings.
- Supervise younger children when they are helping in the kitchen, especially with hot ovens or sharp knives. This recipe is fantastic for involving kids in a safe and fun way.
Nutrition
The recipes on this blog are tested with a conventional gas oven and gas stovetop. It’s important to note that some ovens, especially as they age, can cook and bake inconsistently. Using an inexpensive oven thermometer can assure you that your oven is truly heating to the proper temperature. If you use a toaster oven or countertop oven, please keep in mind that they may not distribute heat the same as a conventional full sized oven and you may need to adjust your cooking/baking times. In the case of recipes made with a pressure cooker, air fryer, slow cooker, or other appliance, a link to the appliances we use is listed within each respective recipe. For baking recipes where measurements are given by weight, please note that results may not be the same if cups are used instead, and we can’t guarantee success with that method.
