The Ultimate Guide to Nashville Hot Chicken: A Fiery Culinary Journey
Nashville hot chicken is more than just a meal; it’s a culinary phenomenon that delivers an exhilarating, fiery punch with every crispy bite. From its perfectly seasoned breading to its cayenne pepper-loaded signature sauce, this iconic dish has captivated taste buds and earned a coveted spot on “all-time favorite” food lists around the globe. The magic lies in a meticulously crafted blend of smoked paprika, potent hot sauce, and generous amounts of cayenne pepper, which combine to create a deeply flavorful, irresistibly crunchy, and intensely spicy chicken experience.
Why This Recipe Works: The Science of Spice and Crunch
The secret to exceptional Nashville hot chicken begins with an impeccably prepared fried chicken base. This recipe ensures a fantastic foundation by utilizing a breading mixture that includes flour, eggs, rich cream, zesty hot sauce, pungent black pepper, and savory garlic salt. This unique combination not only creates a robust flavor profile but also plays a crucial role in achieving that sought-after crispy texture. The cream adds a tenderizing element to the chicken and helps the breading adhere beautifully, while the hot sauce in the dredge primes your palate for the fiery coating to come.
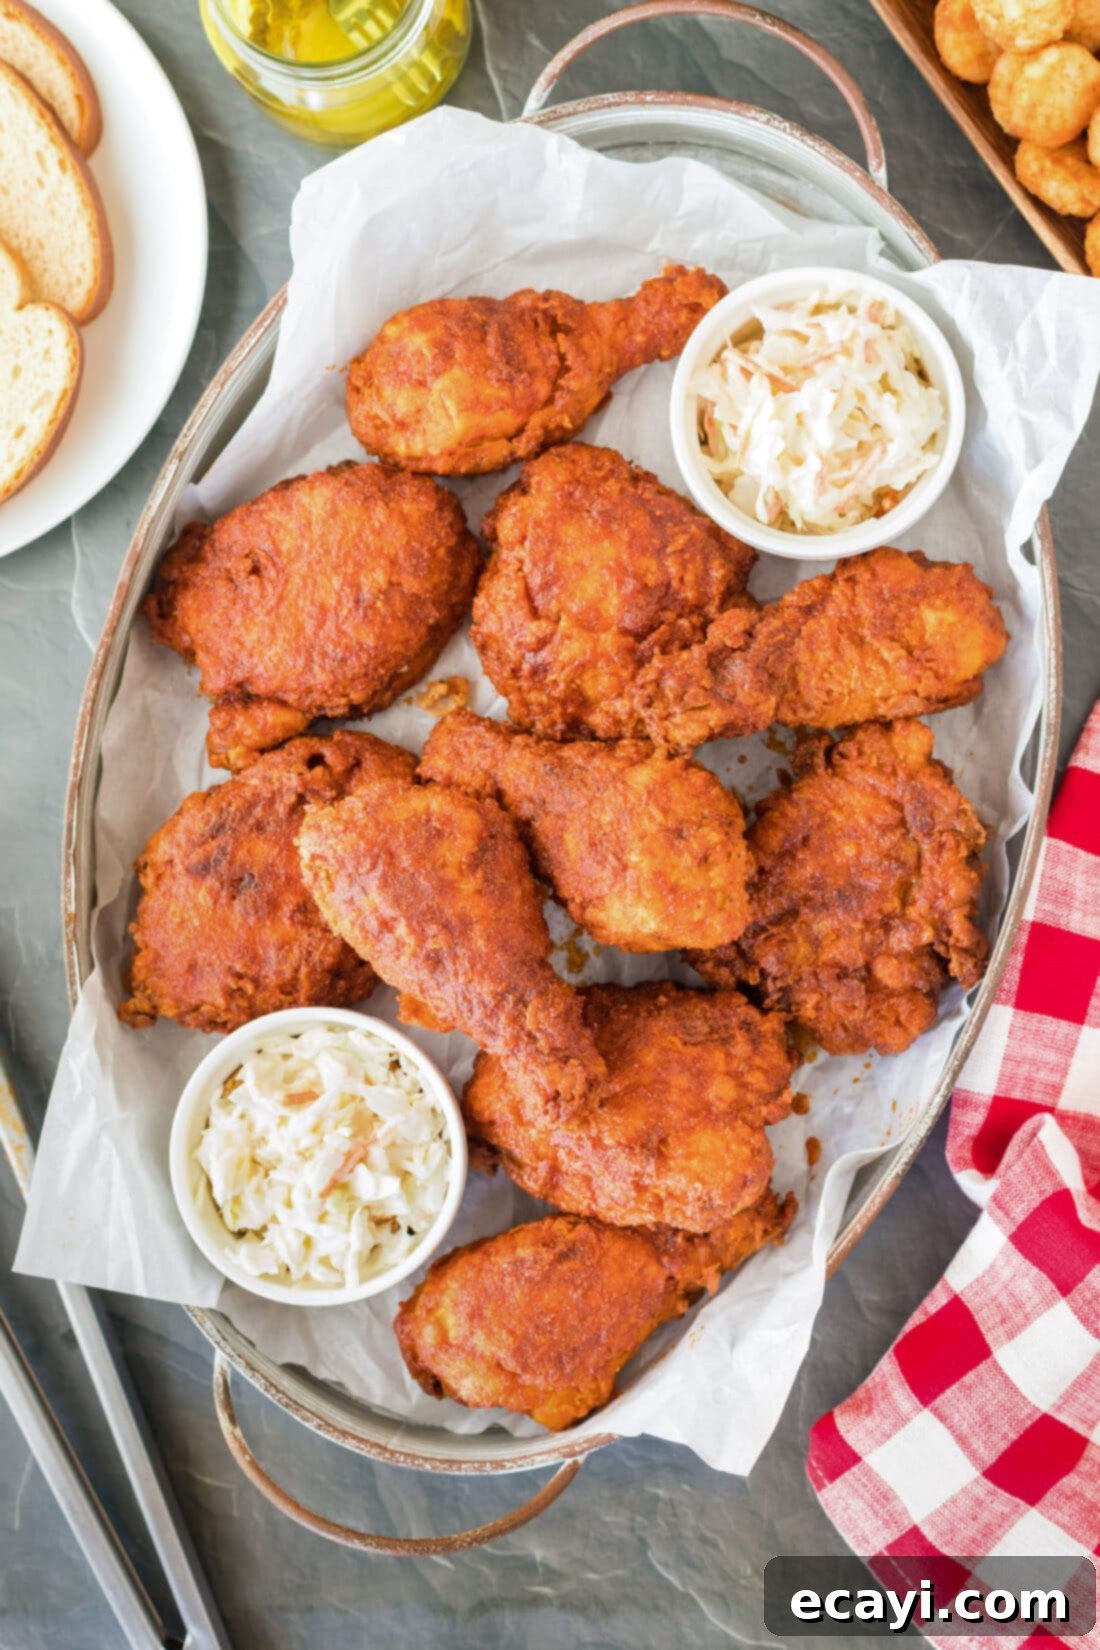
Once expertly dredged, the chicken pieces are transferred to a hot skillet filled with oil, where they bubble and transform into glorious, finger-licking fried chicken. This initial frying step is critical for developing the golden-brown crust and locking in the chicken’s juices. But what truly elevates it to “Nashville Hot” status is the post-fry toss: a homemade, vibrant, and potent sauce generously blasted with cayenne pepper and smoked paprika. The hot oil from the frying process is incorporated into this spice blend, creating a rich, deeply flavored, and intensely spicy coating that adheres perfectly to the crispy chicken, delivering an ultimate, unforgettable kick.
The Storied Origin of Nashville Hot Chicken
Nashville hot chicken’s legendary status can be traced back to its birthplace, Nashville, Tennessee. The credit for popularizing this iconic dish goes to Andre Prince Jeffries, the owner of Prince’s Hot Chicken Shack. According to local lore, the dish originated as a revenge plot by a scorned lover who attempted to punish Andre’s great-uncle, Thornton Prince, with an extra-spicy plate of fried chicken. However, the plan backfired when Thornton loved the fiery concoction so much that he decided to perfect it and sell it. From its humble beginnings, Prince’s Hot Chicken Shack grew into a beloved institution, and its unique, literal mouth-watering taste has since taken not just Nashville but the entire country and beyond by storm.
While numerous variations of this crazed hot chicken recipe exist today, each offering a unique twist, the undeniable signature ingredient remains cayenne pepper. It’s the core component responsible for the characteristic heat and contributes significantly to the dish’s irresistible allure. Understanding this history adds a layer of appreciation to every spicy bite, connecting you to a rich culinary tradition.
Essential Ingredients for Your Nashville Hot Chicken
To embark on your own Nashville hot chicken adventure, gather the following ingredients. For precise measurements and step-by-step instructions, refer to the printable recipe card available at the end of this post.
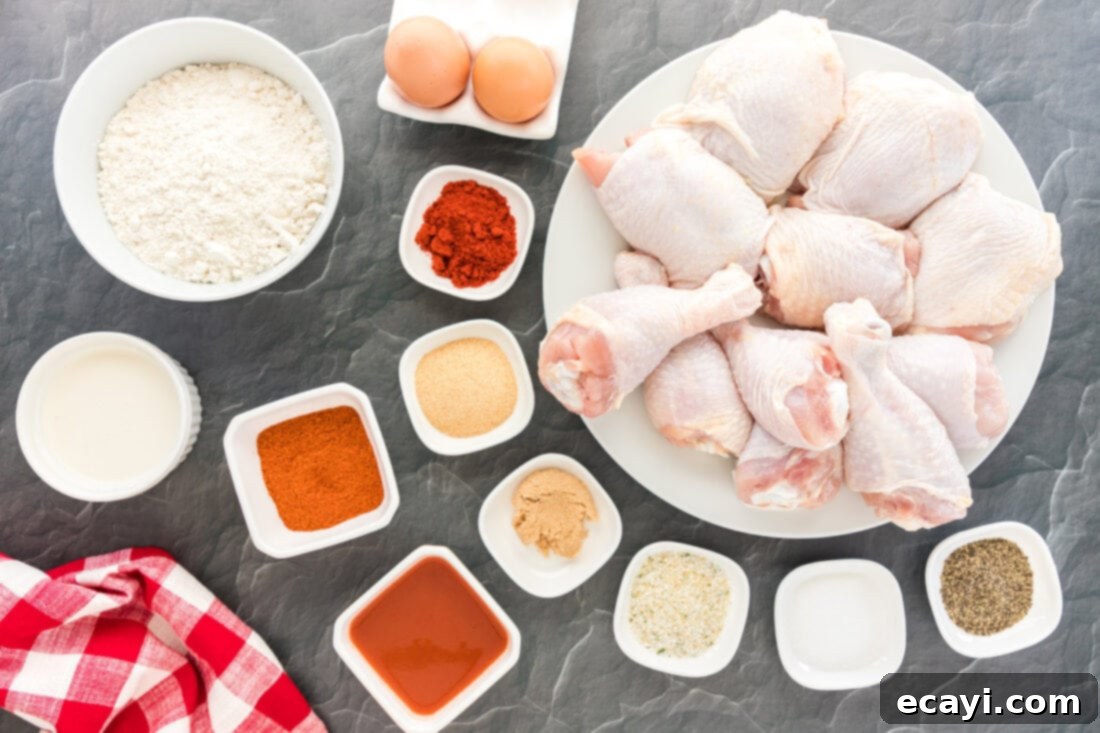
Ingredient Spotlight: Tips for Perfecting Your Hot Chicken
Crafting the perfect Nashville hot chicken involves understanding your ingredients and knowing how to adapt them to your preference. Here’s a deeper dive into the key components:
HEAT Level Customization – This recipe is designed to deliver a satisfying kick, but the beauty of homemade hot chicken is the ability to tailor the spice to your personal tolerance. If you’re a true heat seeker, consider adding another ½ to 1 tablespoon of cayenne pepper to the sauce mixture; this small adjustment can significantly amp up the spice. For those who enjoy a more nuanced heat, a touch more vinegar-based hot sauce can also boost the fiery flavor without compromising consistency. However, exercise caution: adding too much liquid hot sauce can make your final coating runny, preventing it from adhering properly and achieving that desirable glaze. For an even more intense heat, you could experiment with a pinch of ghost pepper powder or habanero flakes, but start small and taste as you go!
Choosing Your HOT SAUCE – We highly recommend Frank’s RedHot for its classic flavor and ideal vinegar base, which is crucial for achieving the authentic Nashville hot chicken taste. However, any quality vinegar-based hot sauce will work wonderfully. Other excellent options include Texas Pete’s, Louisiana Brand Hot Sauce, or Tabasco. The vinegar content in these sauces not only contributes to the tangy counterpoint against the intense spice but also helps to emulsify the sauce and carry the flavors through the coating. Avoid thicker, tomato-based hot sauces as they won’t provide the right consistency or flavor profile.
Selecting Your CHICKEN – Chicken legs and thighs are traditionally favored for Nashville hot chicken due to their bone-in, skin-on nature, which yields incredibly juicy meat and a crispy exterior. The dark meat also stands up well to the intense heat and frying process. If you prefer to use boneless, skinless chicken breasts, feel free to do so! However, bear in mind that the cooking time will vary significantly for larger or smaller cuts. To ensure your chicken is perfectly cooked and safe to eat, always use an instant-read thermometer. The internal temperature should reach 165°F (74°C) in the thickest part of the meat. For chicken breasts, consider butterflying them or pounding them to an even thickness to promote uniform cooking and prevent drying out.
How to Master Nashville Hot Chicken: A Step-by-Step Guide
These step-by-step photos and detailed instructions are provided to help you visualize each stage of this delicious recipe. For a convenient printable version, complete with all measurements and instructions, you can Jump to Recipe at the bottom of this page.
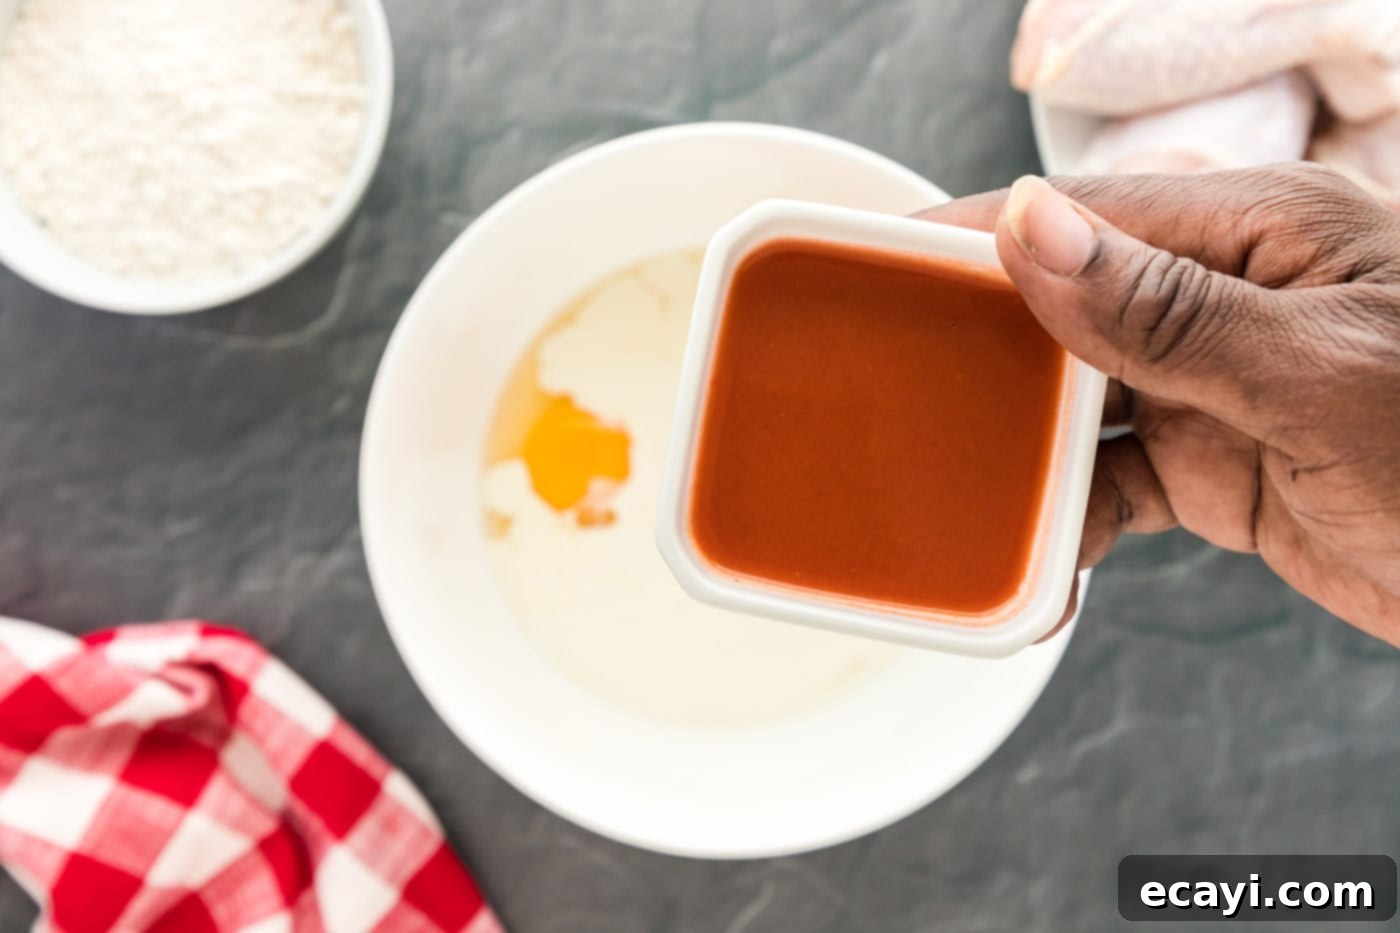
- Begin by preparing your wet dredge. In a medium bowl, thoroughly whisk together the eggs, heavy cream, hot sauce, black pepper, and garlic salt until well combined and smooth. This mixture is vital for both flavor and creating a perfect binding layer for your dry breading.

- Set up your dry breading stations. Using two separate shallow plates or dishes, place one cup of all-purpose flour on each. This dual flour setup helps maintain a clean and efficient dredging process.
- For a seamless coating assembly line, arrange your stations in this order: first, a plate of flour; second, the egg mixture bowl; and third, the second plate of flour. This “flour-egg-flour” method ensures maximum crispiness.
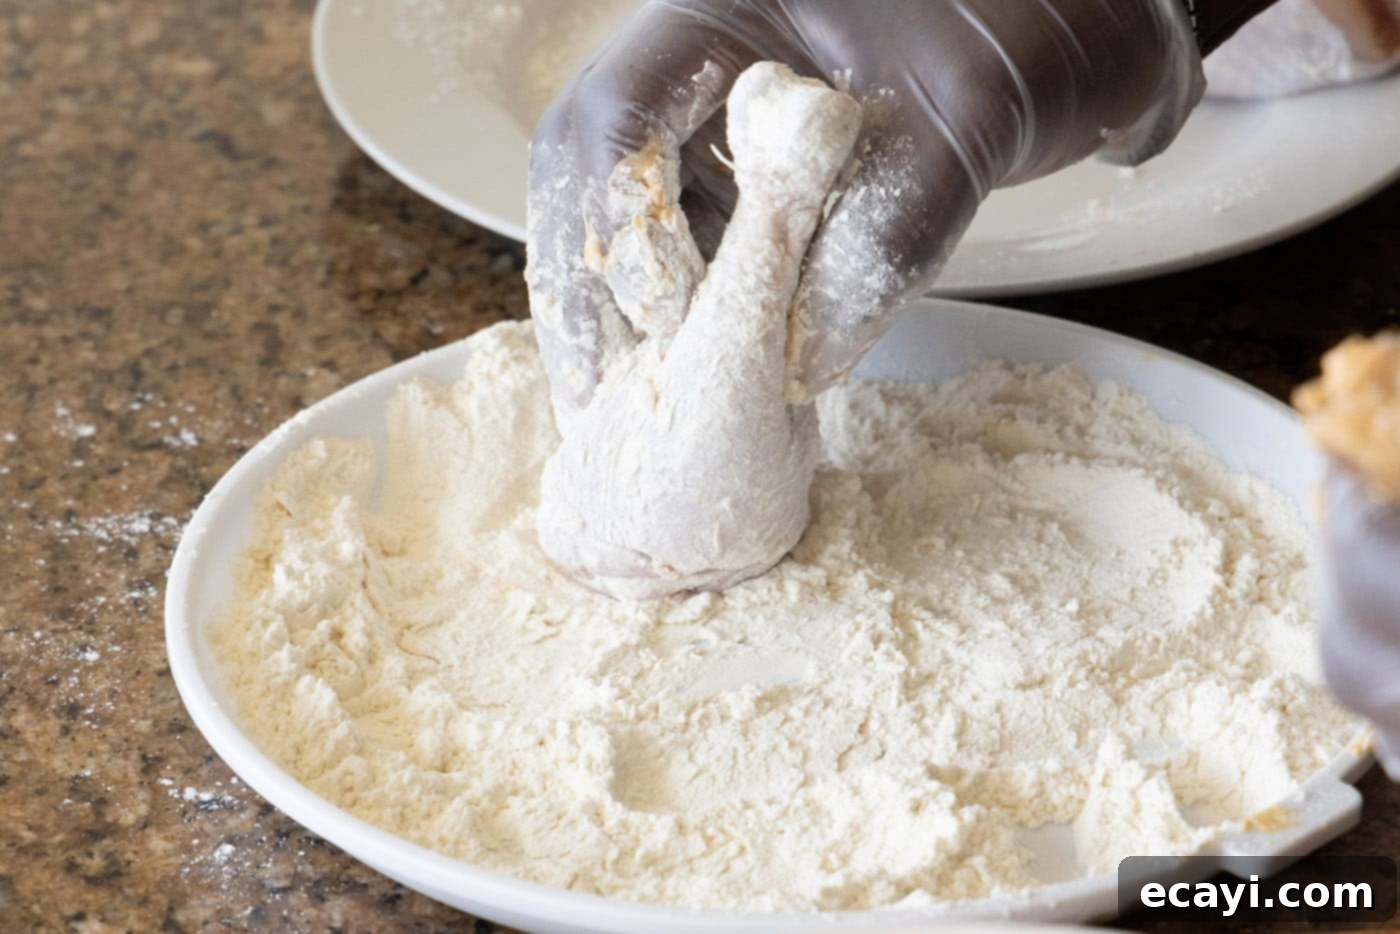
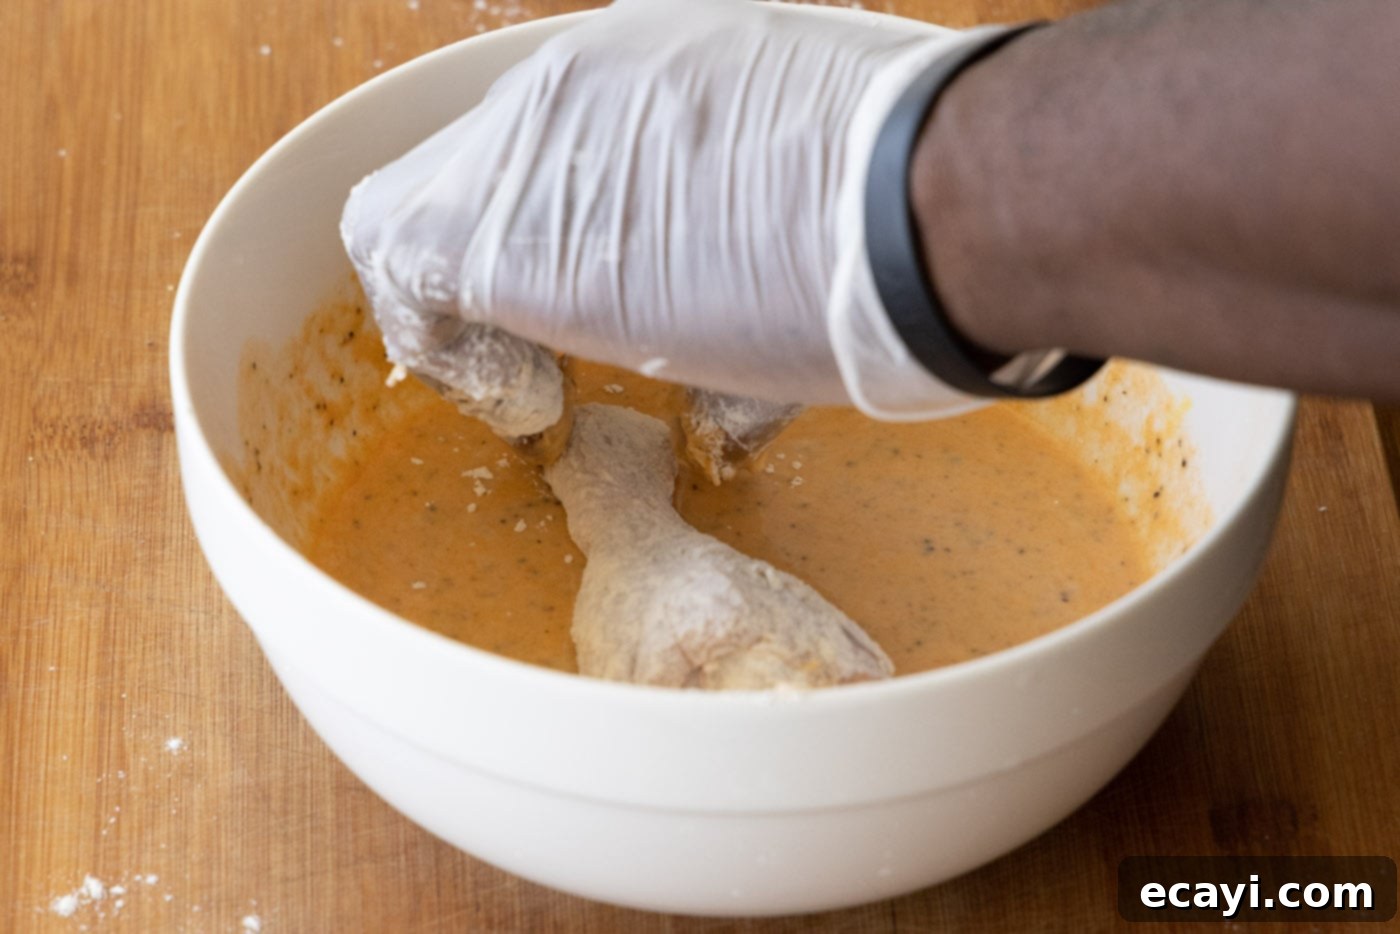
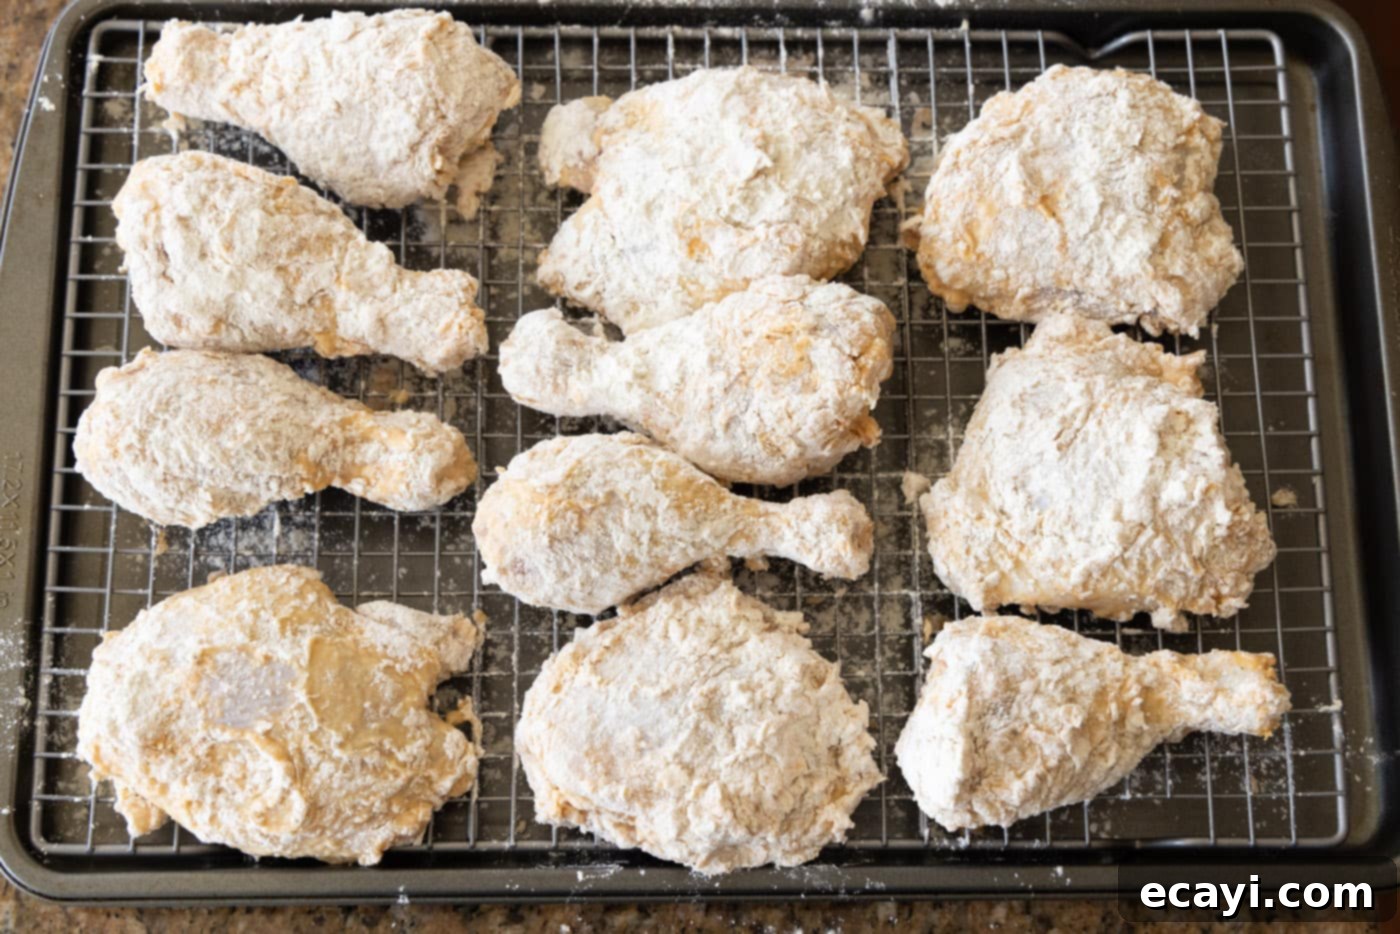
- Prepare your chicken. Rinse all chicken pieces under cold water and pat them thoroughly dry with paper towels. Excess moisture is the enemy of crispy fried chicken. Now, dredge each chicken piece in the first plate of flour, ensuring it’s fully coated and shaking off any excess. Dip it into the egg mixture to coat completely, allowing any excess to drip off. Finally, dredge it in the second plate of flour, pressing gently to ensure a thick, even coating. Place the breaded chicken on a wire rack set over a baking sheet. Repeat this meticulous process for all chicken pieces. This double dredging creates a wonderfully thick and craggy crust.


- Prepare your frying oil. Add enough vegetable oil to a large heavy-bottomed skillet so that it comes about 1-inch up the side of the pan. Heat the oil over medium-high heat until it shimmers and reaches approximately 350-375°F (175-190°C). Using a thermometer to monitor the oil temperature is highly recommended for consistent results.
- Carefully add the breaded chicken pieces to the hot pan, making sure not to overcrowd it. Fry the chicken for about 4-5 minutes per side, or until the coating achieves a beautiful golden-brown color and a satisfying crispness. Crucially, the internal temperature of the thickest part of the chicken should reach 165°F (74°C) to ensure it is fully cooked. Cook in batches if necessary to maintain oil temperature and avoid steaming the chicken.
- Once cooked, remove the crispy fried chicken pieces from the skillet and place them back on the wire rack to drain any excess oil. This also helps to maintain their crispiness while you prepare the sauce.
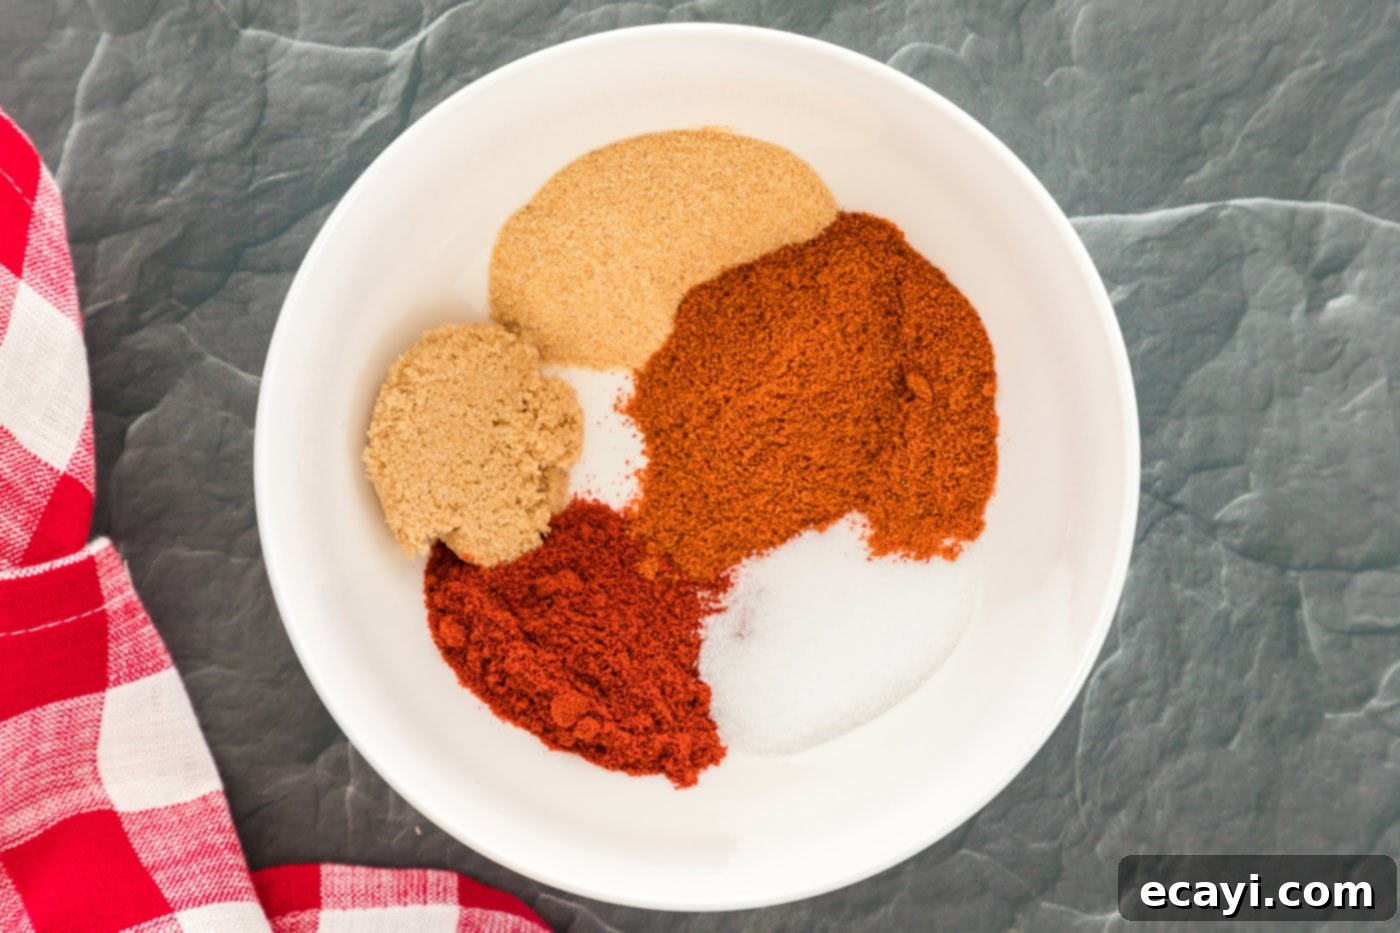
- Now, for the signature hot sauce! In a separate medium bowl, combine the brown sugar, salt, garlic powder, cayenne pepper, and smoked paprika. This dry blend forms the flavor base of your fiery coating.

- Carefully remove about ¼ cup of the hot frying oil from the skillet. Whisk this hot oil directly into the dry spice mixture in the bowl. The hot oil will “bloom” the spices, intensifying their flavors and creating a rich, potent, and gloriously red sauce that will coat your chicken perfectly.
- Finally, the moment of truth! Using a pastry brush, generously brush the fiery sauce onto both sides of each cooked chicken piece. Ensure every nook and cranny is coated for maximum flavor and heat. Serve immediately and prepare for an explosion of flavor!
Frequently Asked Questions & Expert Tips for Nashville Hot Chicken Success
To preserve the deliciousness of your Nashville hot chicken, store any leftovers in an airtight container in the refrigerator for up to 3-4 days. For reheating, the key is to bring it back to a crispy state. First, remove the chicken from the refrigerator and let it sit at room temperature for about 30 minutes. This allows for more even reheating. Place the chicken on a baking sheet lined with a wire rack; the rack is essential as it allows air to circulate around all sides, preventing a soggy bottom. Preheat your oven to 400°F (200°C) and reheat for approximately 15 minutes, or until the chicken is thoroughly warmed through and the coating has crisped up again. Alternatively, an air fryer is an excellent tool for reheating; place chicken in a single layer and air fry at 375°F (190°C) for 5-8 minutes, checking for crispness and temperature.
Absolutely, you can definitely use chicken breasts if they are your preferred cut. However, because chicken breasts are typically thicker and leaner, their cooking time will differ from legs and thighs. To ensure they cook through without drying out, consider pounding them to an even thickness (about ¾-inch) before breading. Always use an instant-read thermometer to check for doneness, aiming for an internal temperature of 165°F (74°C). Keep in mind that boneless, skinless breasts may not retain as much moisture as bone-in, skin-on cuts, but they will still be incredibly flavorful with the spicy coating.
For deep frying, it’s crucial to use an oil with a high smoke point and a neutral flavor. Vegetable oil, canola oil, peanut oil, or corn oil are all excellent choices. These oils can withstand the high temperatures required for frying without breaking down or imparting undesirable flavors to your chicken. Avoid olive oil or butter, as they have lower smoke points and will burn at the necessary frying temperatures.
Achieving maximum crispiness involves a few key steps: 1) Thoroughly patting the chicken dry before dredging. Any residual moisture will create steam and prevent crisping. 2) The double-dredging method (flour-egg-flour) creates a thick, craggy coating that fries up extra crunchy. 3) Maintaining the correct oil temperature (350-375°F or 175-190°C) is vital. If the oil is too cool, the chicken will absorb too much grease and become soggy; if it’s too hot, the exterior will burn before the interior cooks. 4) Don’t overcrowd the pan; fry in batches to keep the oil temperature consistent. 5) Resting the fried chicken on a wire rack after cooking allows air circulation and prevents condensation, which can lead to sogginess.
Serving Suggestions: Completing the Nashville Hot Chicken Experience
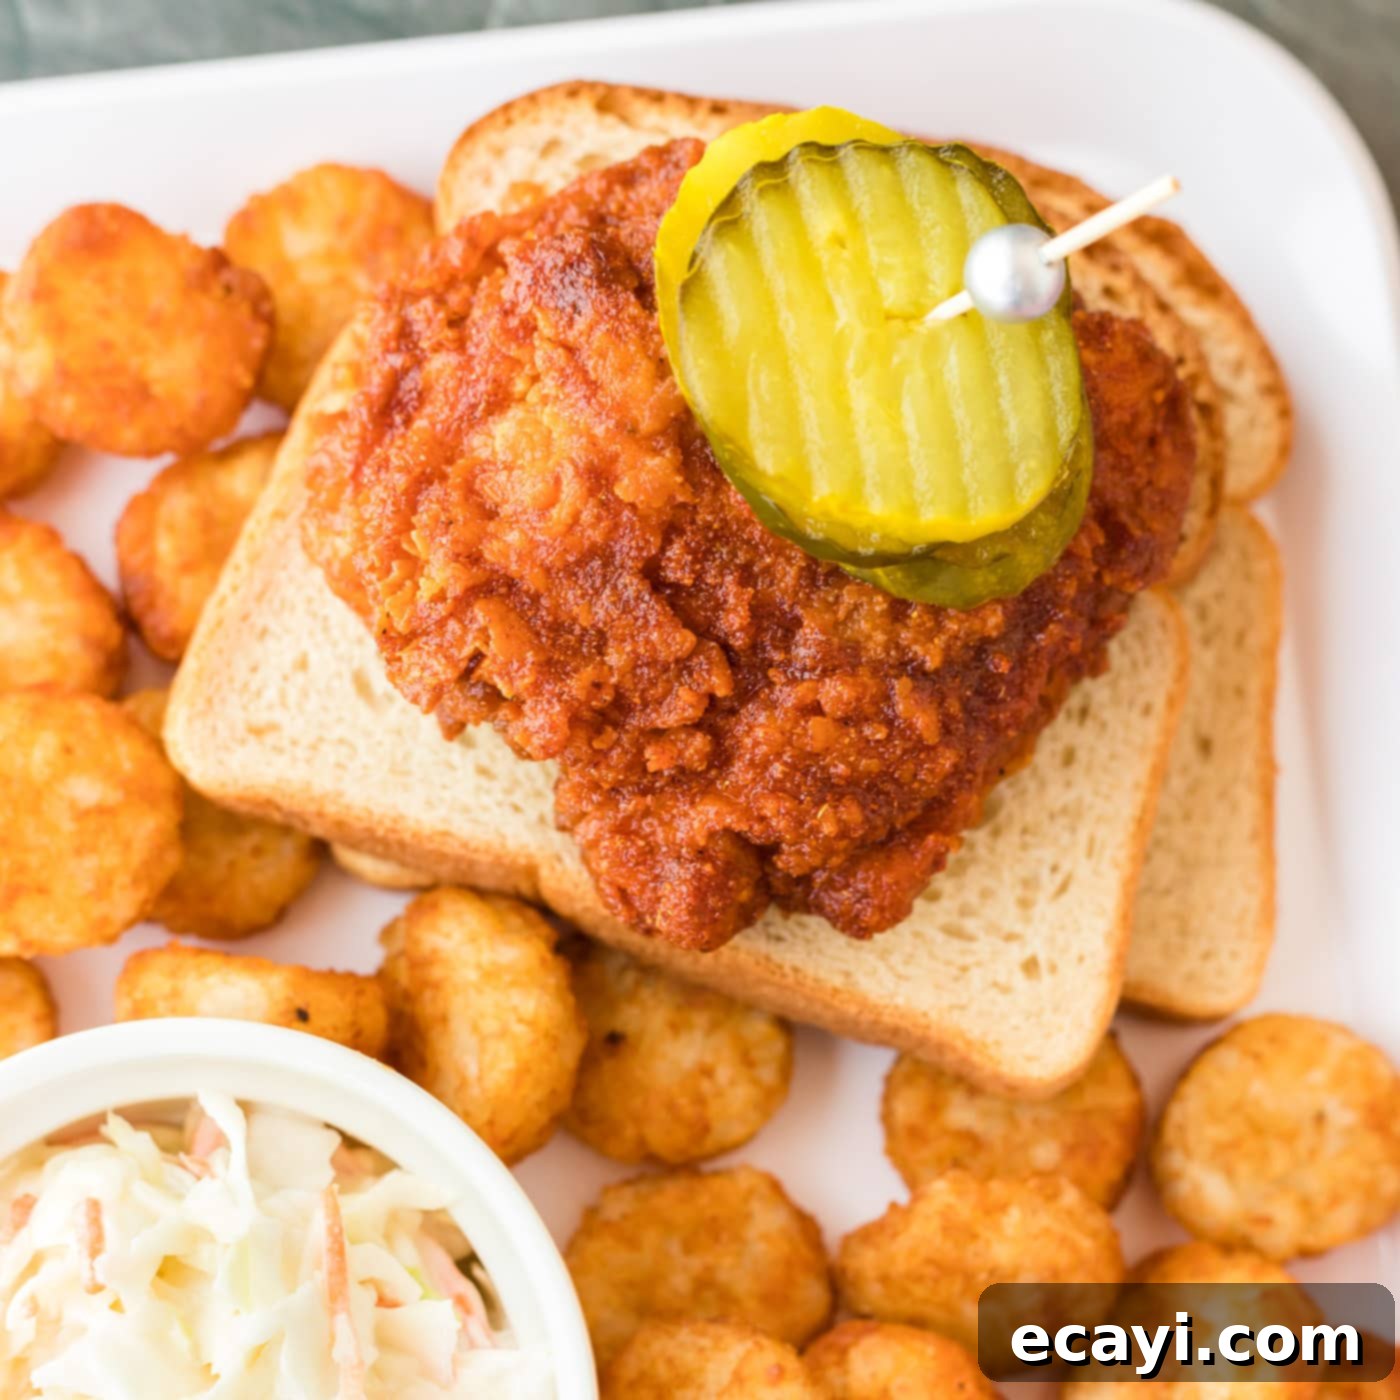
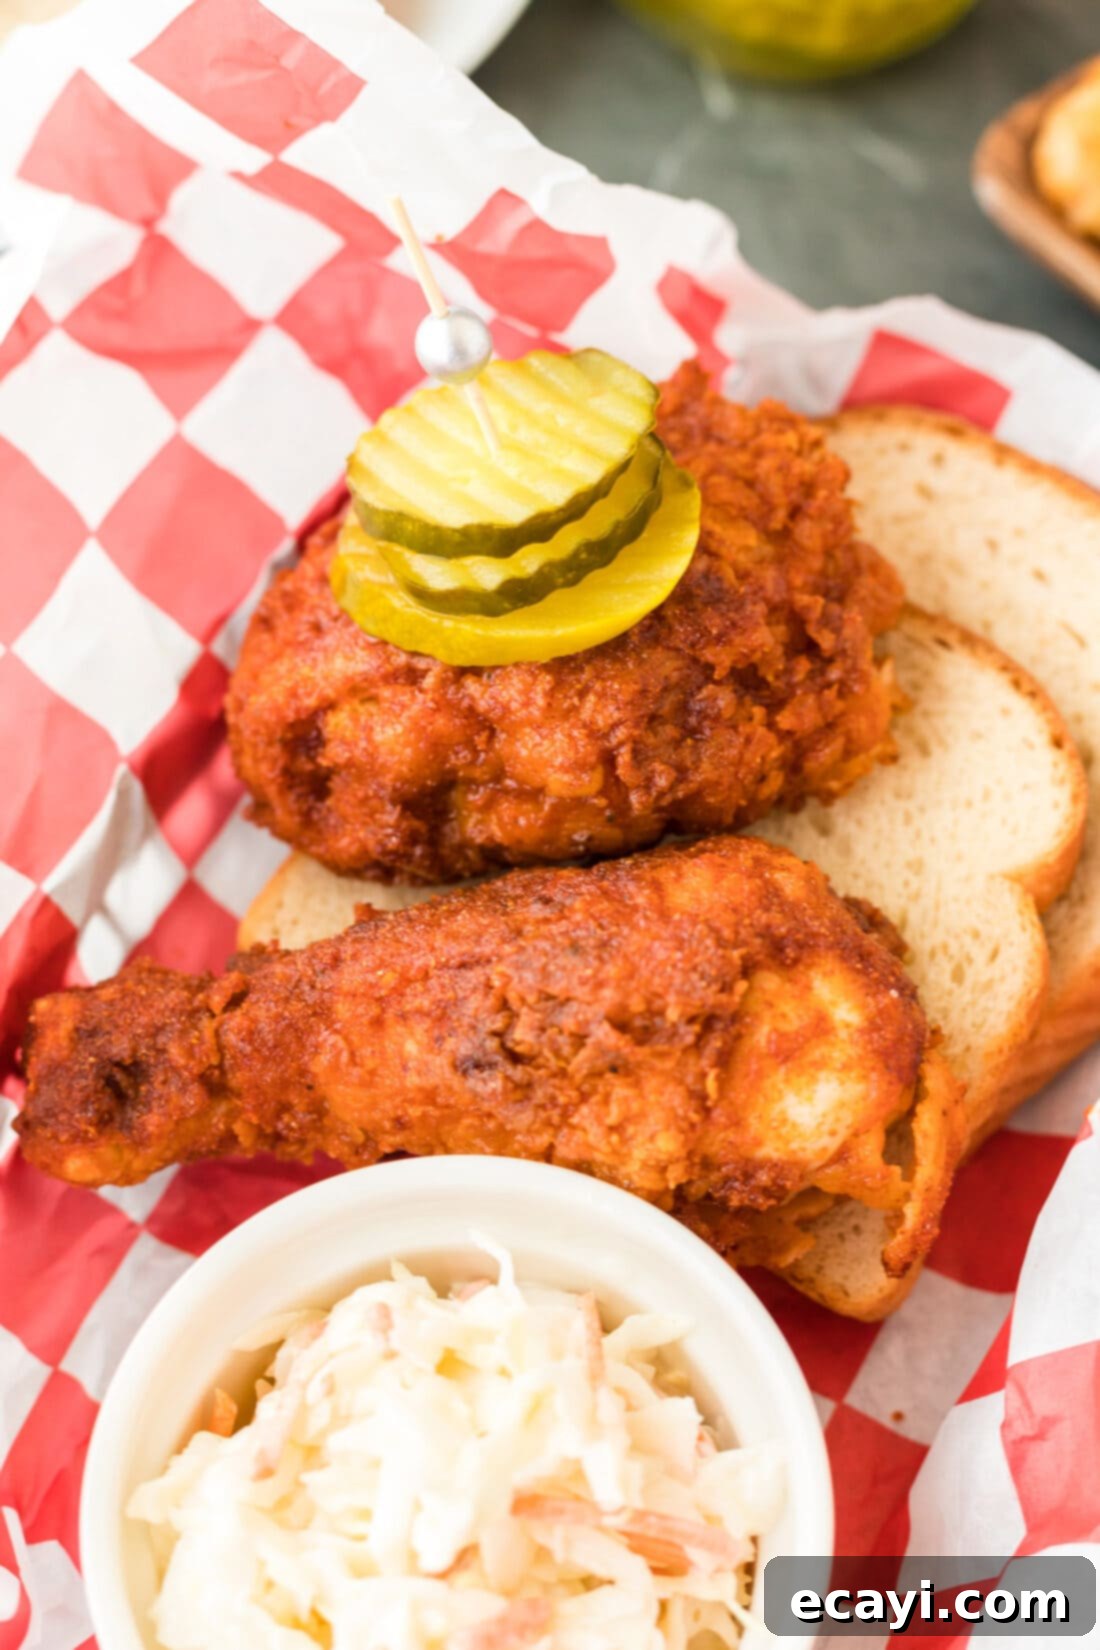
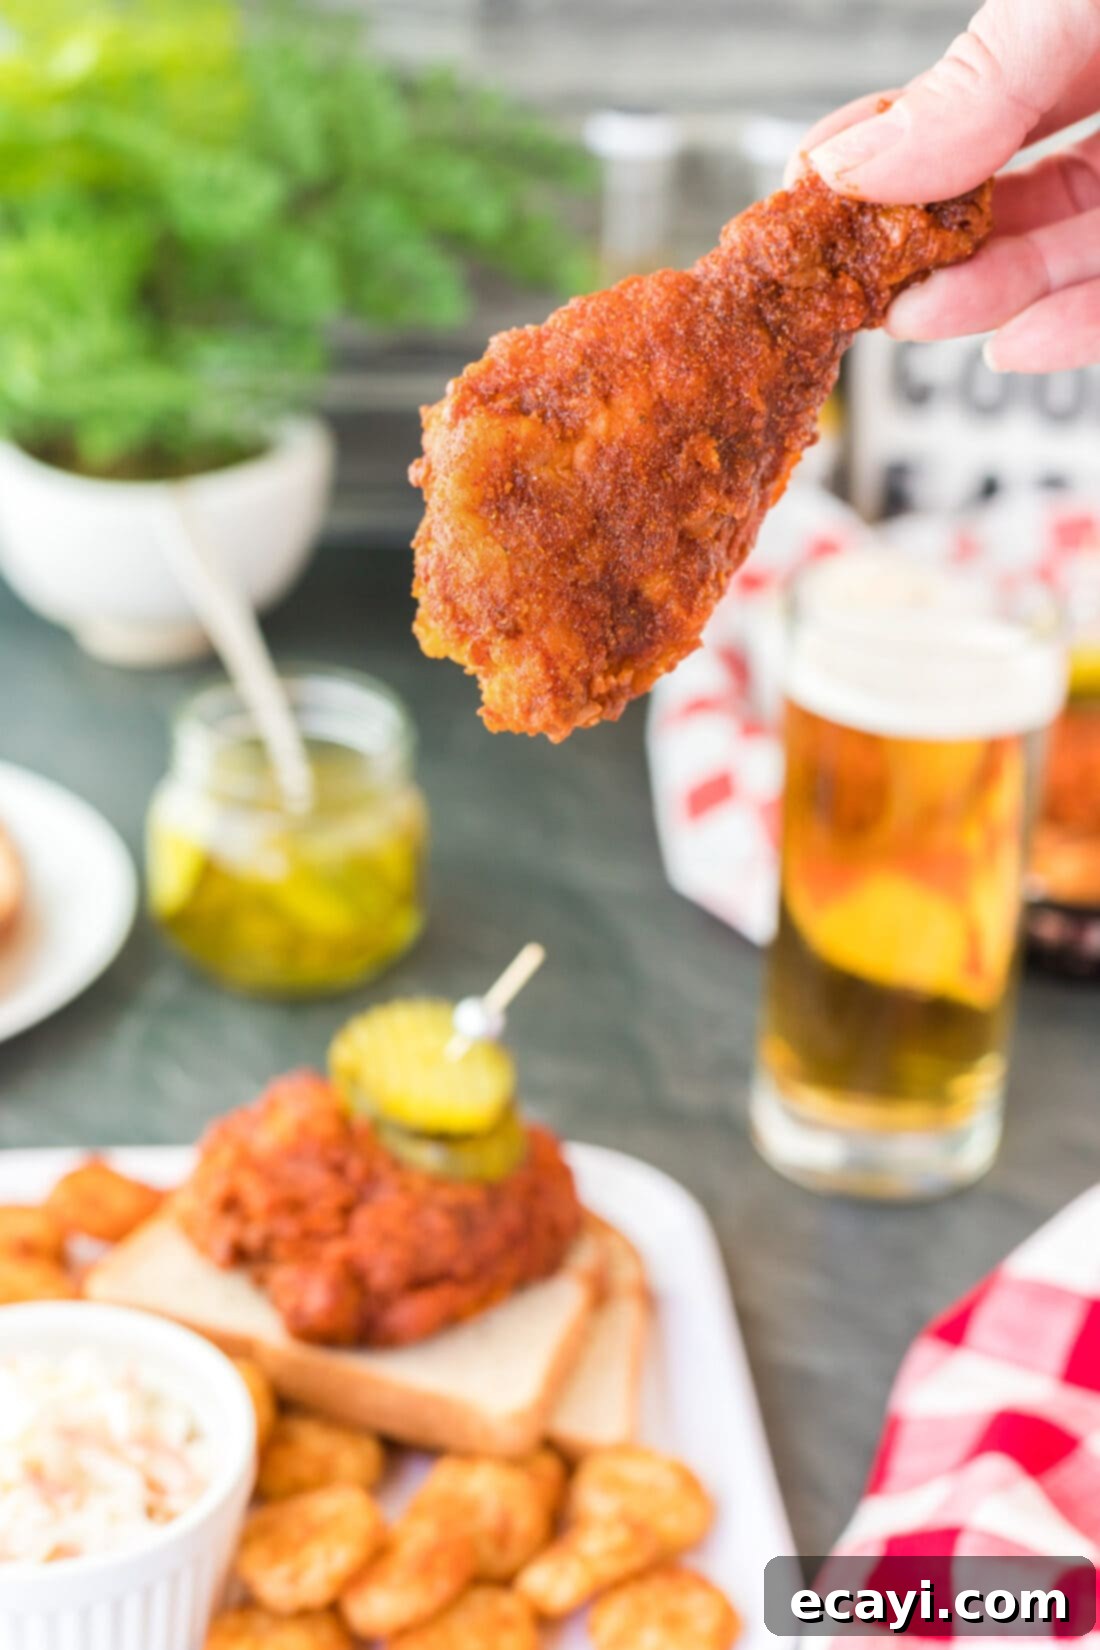
To truly embrace the authentic Nashville hot chicken experience, serve your freshly sauced chicken on slices of soft white bread. The bread isn’t just a garnish; it’s a crucial component that absorbs some of the fiery oil and provides a simple, comforting contrast to the intense spice. Don’t forget a generous garnish of cool, tangy pickle chips – their acidity and crunch offer a delightful counterpoint to the rich, spicy chicken, cutting through the heat and refreshing the palate.
Beyond the basics, a variety of classic Southern sides perfectly complement this dish. Creamy coleslaw provides a cool, crisp relief from the heat, while sweet and savory baked beans add a hearty, robust element. Decadent macaroni and cheese offers a comforting, cheesy richness, and crispy french fries are always a welcome addition. For those who might need a little extra cooling power, a side of blue cheese or ranch dressing offers a creamy, tangy respite from the intense spice. Pair your meal with a cold sweet tea or a crisp lager for the ultimate Southern feast.
More Fiery & Fried Delights to Explore
- Irresistibly Spicy Wings
- Delicious Fried Crab Legs
- Flavorful Cajun Chicken Pasta
- Crispy Korean Fried Chicken
- Healthier Air Fryer Fried Chicken
I absolutely adore sharing my passion for baking and cooking, and love bringing my kitchen experiences directly to you! Keeping up with new recipes can be tricky, which is why I offer a convenient newsletter delivered straight to your inbox every time a fresh recipe is posted. Simply subscribe here and start receiving your free daily recipes – never miss a delicious update!

Nashville Hot Chicken
IMPORTANT – There are often Frequently Asked Questions within the blog post that you may find helpful. Simply scroll back up to read them!
Print It
Pin It
Rate It
Save ItSaved!
Ingredients
- 1 ½ pounds skin-on chicken legs
- 2 pounds skin-on bone-in chicken thighs
- 2 large eggs
- ½ cup heavy whipping cream
- 2 Tablespoons Frank’s hot sauce
- 1 ½ teaspoons black pepper
- 1 Tablespoon garlic salt
- 1 Tablespoon garlic powder
- 1 ½ Tablespoons cayenne pepper
- ½ Tablespoon brown sugar
- 2 teaspoons salt
- 1 Tablespoon smoked paprika
- vegetable oil enough to come 1-inch up the side of your pan
Things You’ll Need
-
Large heavy bottomed skillet
-
Vinyl gloves
-
Instant read thermometer
Before You Begin
- This recipe definitely has a good kick, but depending on your heat tolerance you can certainly adjust the amount of cayenne pepper to suit your taste. Adding another 1/2 – 1 tablespoon of cayenne will up the spice level even further. You can also add a bit more hot sauce to the mix for a spicier sauce, just don’t go overboard or your sauce will be too runny.
- We used Frank’s hot sauce, but any vinegar-based hot sauce will work well. Texas Pete’s, Louisianna Brand Hot Sauce, and Tabasco are other great options.
- Chicken legs and chicken thighs work great, but if you’d like to give this recipe a go with chicken breasts, be our guest! Do note that the cook time will vary if you use a larger cut of chicken. Cook until the internal temperature reads 165F on an instant-read thermometer.
- Store leftovers in an air-tight container kept in the refrigerator for 3-4 days. To reheat, remove the chicken from the refrigerator and allow it to sit at room temperature for around 30 minutes. Place the chicken on a baking sheet lined with a wire rack. Preheat oven to 400F and reheat for around 15 minutes or until warmed through. This should keep the chicken crisp and crunchy while allowing the air to circulate all around it. You can also reheat it in the air fryer.
Instructions
-
In a medium bowl, whisk together eggs, cream, hot sauce, black pepper, and garlic salt.
-
Using two plates, place one cup of flour on each plate.
-
For your coating station, you will need flour, egg mixture, and flour.
-
Rinse and pat dry chicken pieces. Dredge chicken in flour, dip in egg mixture to coat, then dredge in flour again. Place on a wire rack. Repeat this process for all chicken pieces.
-
Add enough oil to a large heavy bottomed skillet to come about 1-inch up the side of the pan. Heat over medium-high until shimmering.
-
Add chicken pieces, without crowding, to the pan. Cook about 4-5 minutes per side. The coating will get golden brown. The internal temperature should be 165 F.
-
Remove cooked chicken to a wire rack.
-
To create the sauce, in a medium bowl combine, brown sugar, salt, garlic powder, cayenne, and paprika.
-
Remove about 1/4 cup of the oil from the pan and whisk it into the sauce mixture.
-
Brush sauce generously onto both sides of the cooked chicken pieces.
Nutrition
The recipes on this blog are tested with a conventional gas oven and gas stovetop. It’s important to note that some ovens, especially as they age, can cook and bake inconsistently. Using an inexpensive oven thermometer can assure you that your oven is truly heating to the proper temperature. If you use a toaster oven or countertop oven, please keep in mind that they may not distribute heat the same as a conventional full sized oven and you may need to adjust your cooking/baking times. In the case of recipes made with a pressure cooker, air fryer, slow cooker, or other appliance, a link to the appliances we use is listed within each respective recipe. For baking recipes where measurements are given by weight, please note that results may not be the same if cups are used instead, and we can’t guarantee success with that method.
