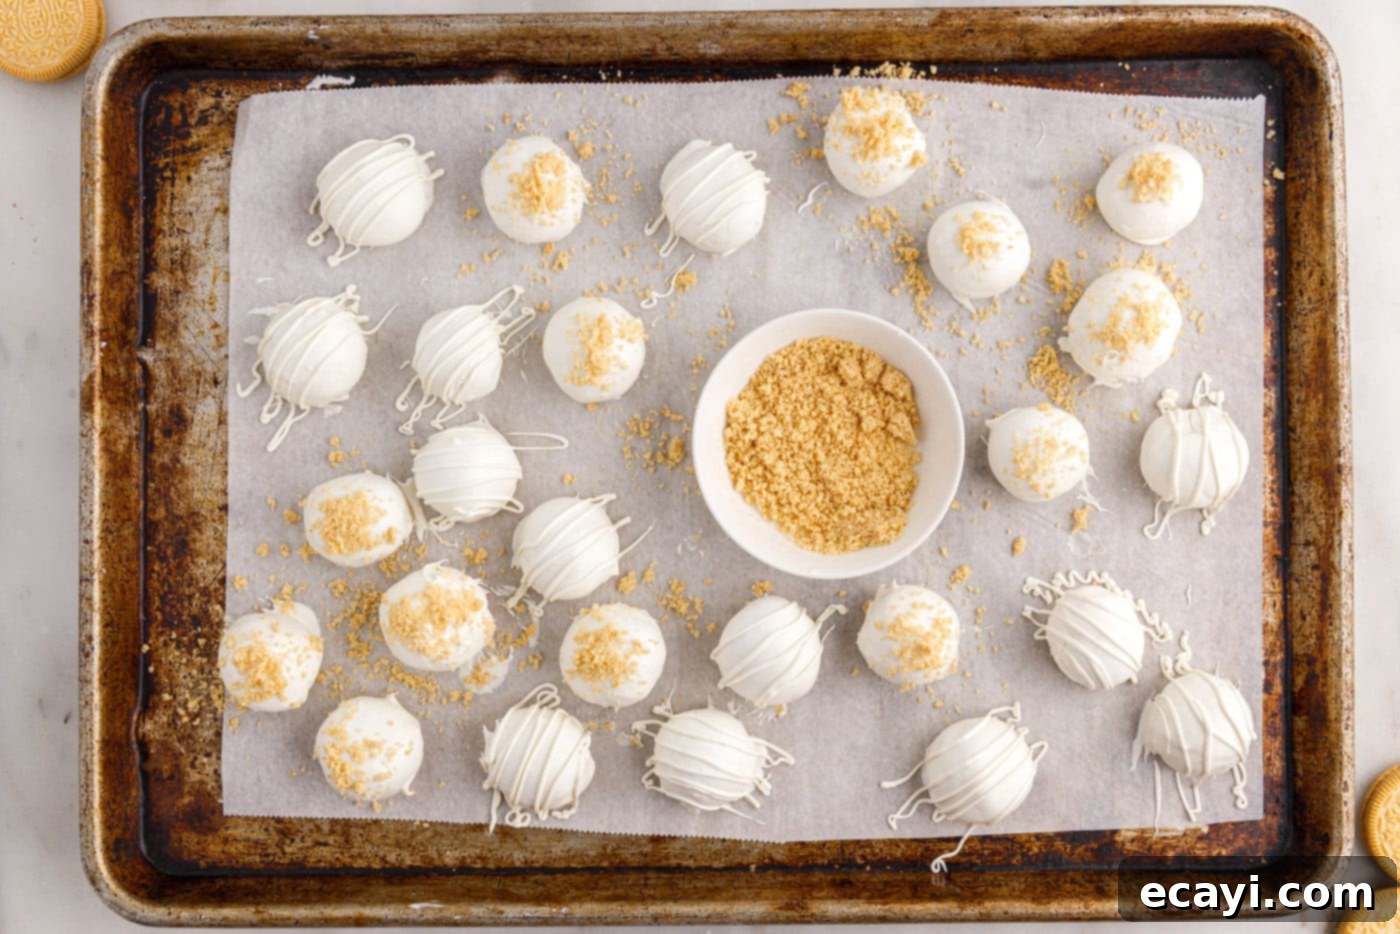
Irresistible Golden Oreo Truffles: The Easiest No-Bake Dessert Recipe
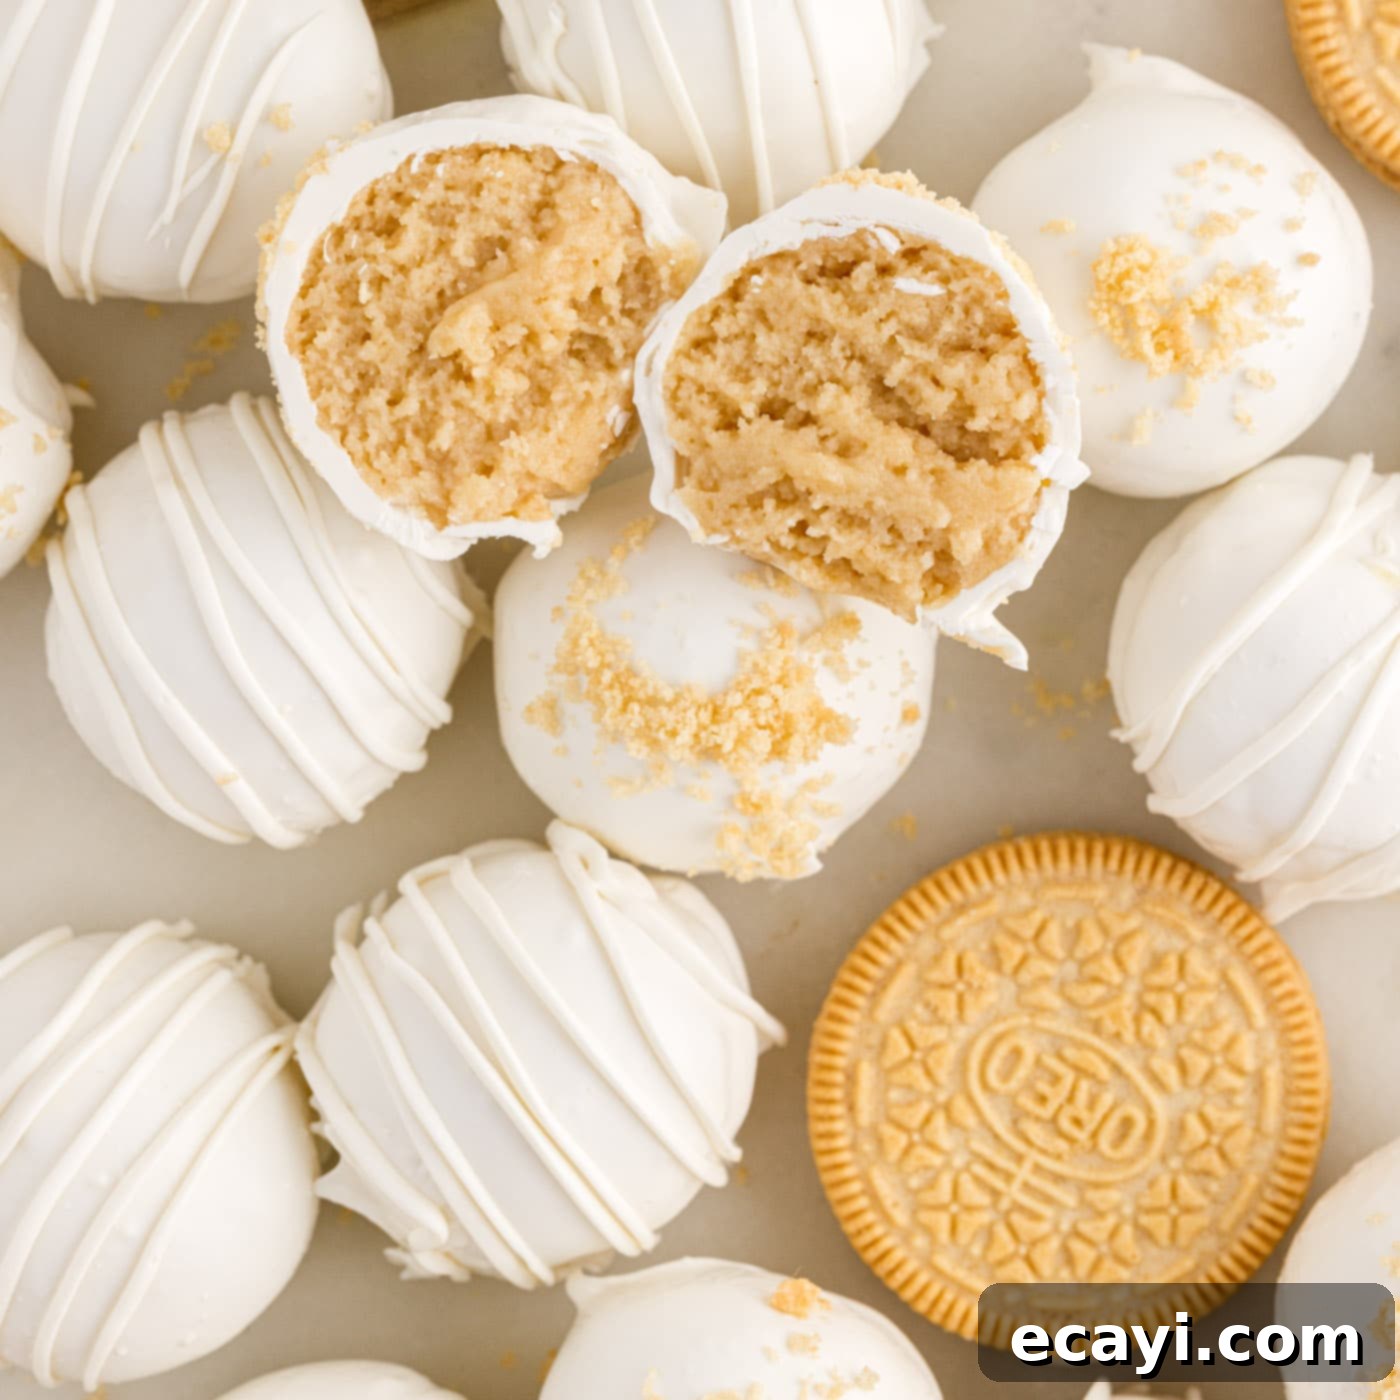
Prepare to delight your taste buds with these exquisite Golden Oreo Truffles! Requiring only three simple ingredients – Golden Oreo cookies, luscious white chocolate wafers, and rich cream cheese – these decadent little bites are a true testament to effortless indulgence. Each golden morsel offers a burst of sweet vanilla flavor in one perfectly poppable bite, making them an ideal treat for any celebration, a thoughtful homemade gift, or simply a delightful everyday indulgence.
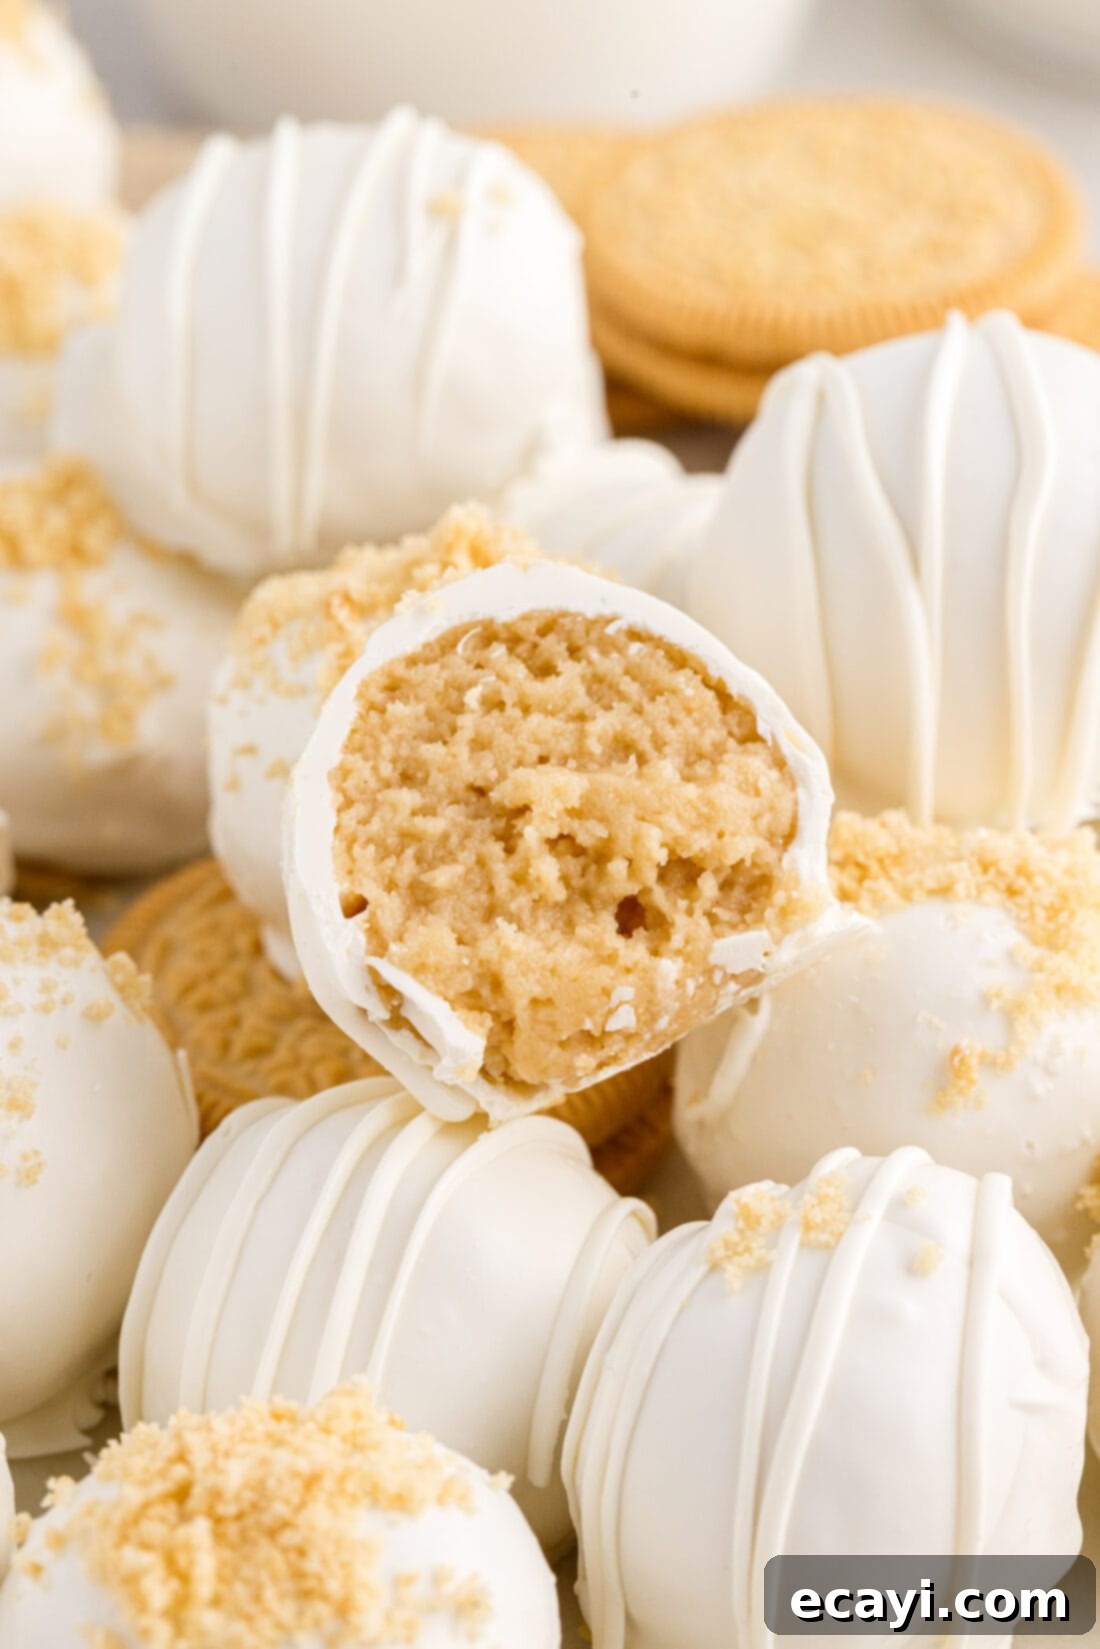
Why This Golden Oreo Truffle Recipe Works So Well
This Golden Oreo truffle recipe stands out for its incredible simplicity and undeniable deliciousness. The process involves just three core steps: blitzing, rolling, and dipping. The foundation of these truffles is a soft, sweet, and wonderfully creamy filling crafted from crushed vanilla Oreo cookies perfectly blended with softened cream cheese. This creates a pliable “dough” that’s easy to shape into perfect bite-sized balls. Once formed, these golden spheres are then coated in a smooth, elegant white chocolate shell, creating a beautiful contrast in both texture and appearance.
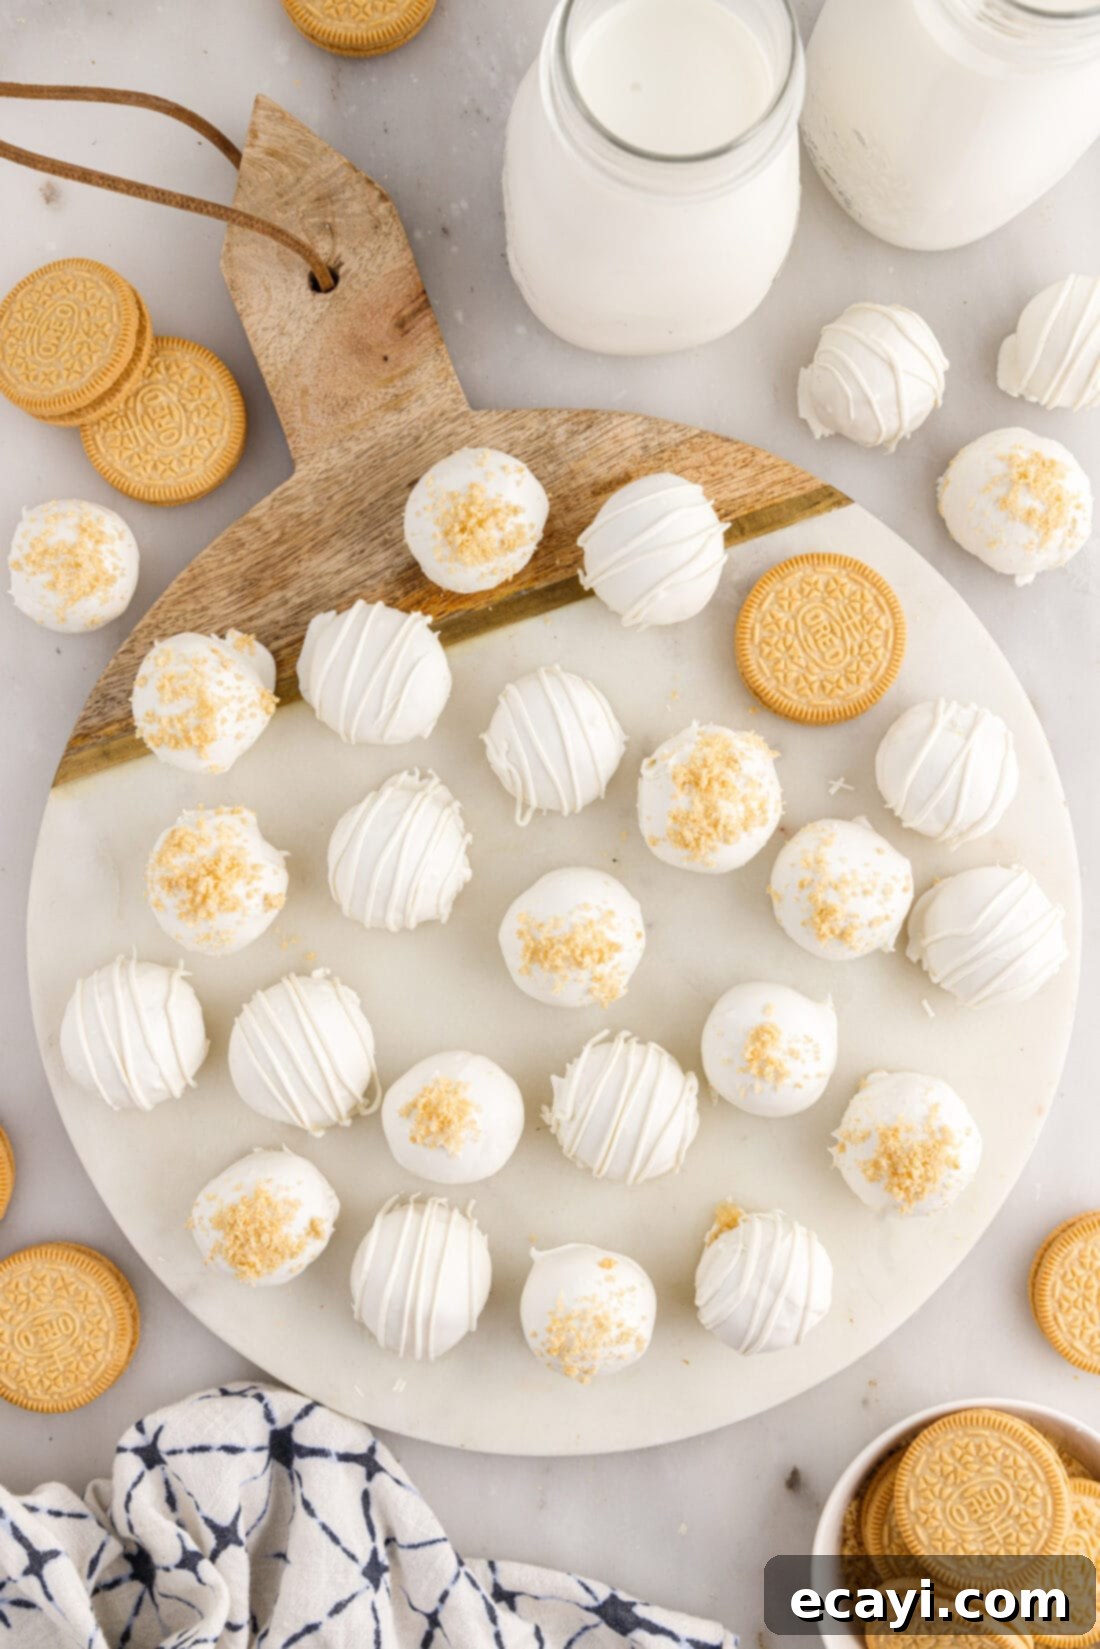
Beyond their delightful flavor and texture, these Golden Oreo truffles are incredibly practical. They are exceptionally easy to make, require absolutely no baking (a huge plus, especially during warmer months or busy holidays!), and can be prepared ahead of time, saving you precious moments when entertaining. This makes them a fantastic option for parties, potlucks, or even just a sweet treat to have on hand.
One of the most enjoyable aspects of making Oreo truffles is the endless scope for customization. You can easily adapt the colors and decorations to suit any theme or occasion. Imagine using colorful sprinkles for a birthday party, pastel drizzles for a baby shower, or festive holiday colors for Christmas. We’ve previously created red, white, and blue Oreo truffles for patriotic celebrations like the 4th of July, and adorable heart-shaped Oreo truffles for Valentine’s Day. The versatility ensures these truffles are always a hit, allowing your creativity to shine!
Key Ingredients for Golden Oreo Truffles
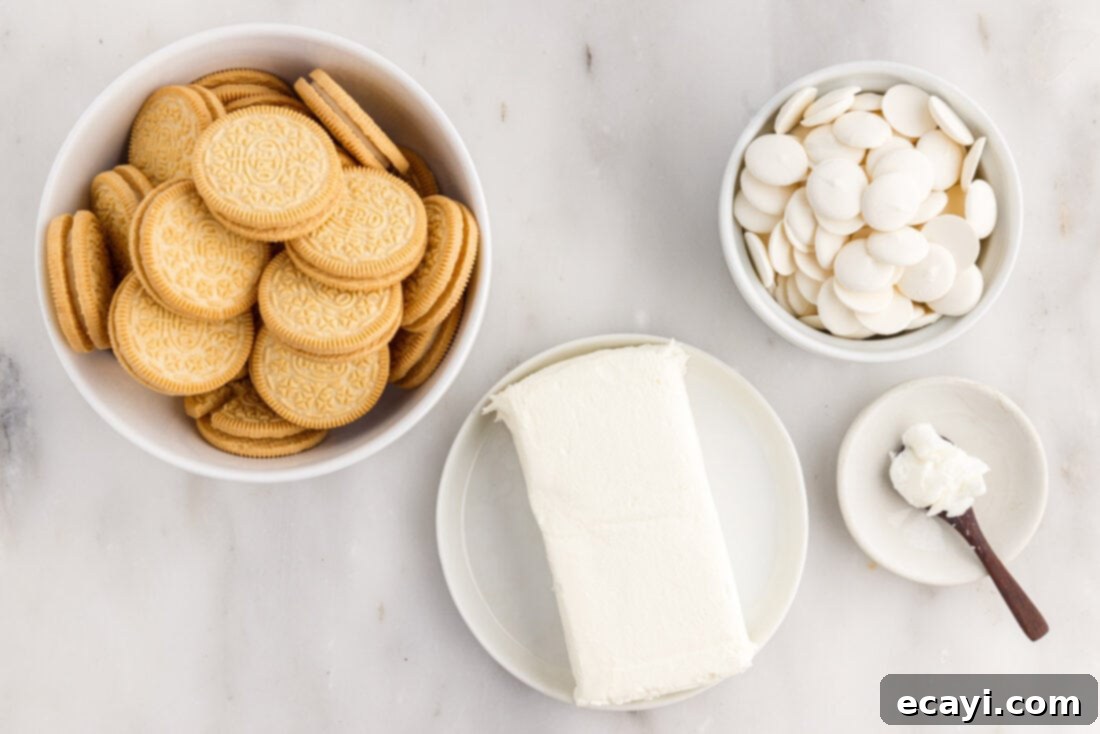
Making these delightful Golden Oreo truffles requires just a handful of readily available ingredients. Simplicity is key to this recipe’s charm, ensuring that even novice bakers can achieve spectacular results. You’ll find a detailed list of all measurements and instructions in the printable recipe card located at the very end of this blog post.
Ingredient Info and Helpful Substitution Suggestions
Understanding each ingredient and its role is crucial for perfect truffles every time. Here’s a little more detail and some helpful substitution tips:
GOLDEN OREO COOKIES – This recipe specifically calls for whole Golden Oreo cookies. Unlike classic Oreos, these vanilla sandwich cookies lend a brighter, more buttery vanilla flavor to the truffles, creating their signature “golden” taste. There’s absolutely no need to separate the cookie wafers from their creamy filling; the filling is essential as it contributes significant moisture and a delightful vanilla flavor to the truffle base. This moisture helps bind the crumbs with the cream cheese, creating that perfect “dough” consistency. If Golden Oreos are unavailable, any vanilla-flavored sandwich cookie (like Nilla Wafers crushed with a bit of sugar) could work, but the classic Golden Oreo flavor is highly recommended for authenticity.
CREAM CHEESE – For the best texture and rich flavor, always opt for full-fat cream cheese. It provides the necessary richness and creaminess that makes the truffle filling so decadent. Ensure your cream cheese is softened to room temperature before blending. This is incredibly important for achieving a smooth, lump-free mixture with the cookie crumbs. Cold cream cheese will result in a clumpy, difficult-to-mix dough. Simply leave it out on the counter for about 30-60 minutes before you start the recipe.
WHITE CHOCOLATE – Candy melting wafers are our go-to choice for coating these Oreo truffles, and for good reason! They are specifically designed to melt smoothly and set quickly, providing a professional-looking, crisp, and delicious shell without the need for intricate tempering techniques. However, if you don’t have melting wafers, you have a couple of alternatives. Vanilla almond bark is an excellent substitute, offering a similar smooth melt and quick set. Alternatively, you can use a high-quality bar of white baking chocolate or white chocolate chips. When using white chocolate chips, it’s highly recommended to add a small amount of shortening or coconut oil (about 1 teaspoon per 12 ounces of chocolate). This shortening helps the chocolate melt more smoothly, thins it out slightly for easier dipping, and prevents it from seizing. You can certainly skip the shortening if you’re using melting wafers or almond bark, or if you don’t have it available when using other white chocolate; just be aware the coating might be a bit thicker and harder to work with.
How to Make Easy Golden Oreo Truffles
These step-by-step photos and detailed instructions are provided to help you visualize each stage of making this delicious recipe. For a quick jump to the printable version of this recipe, complete with precise measurements and instructions, simply Jump to Recipe at the bottom of the page.
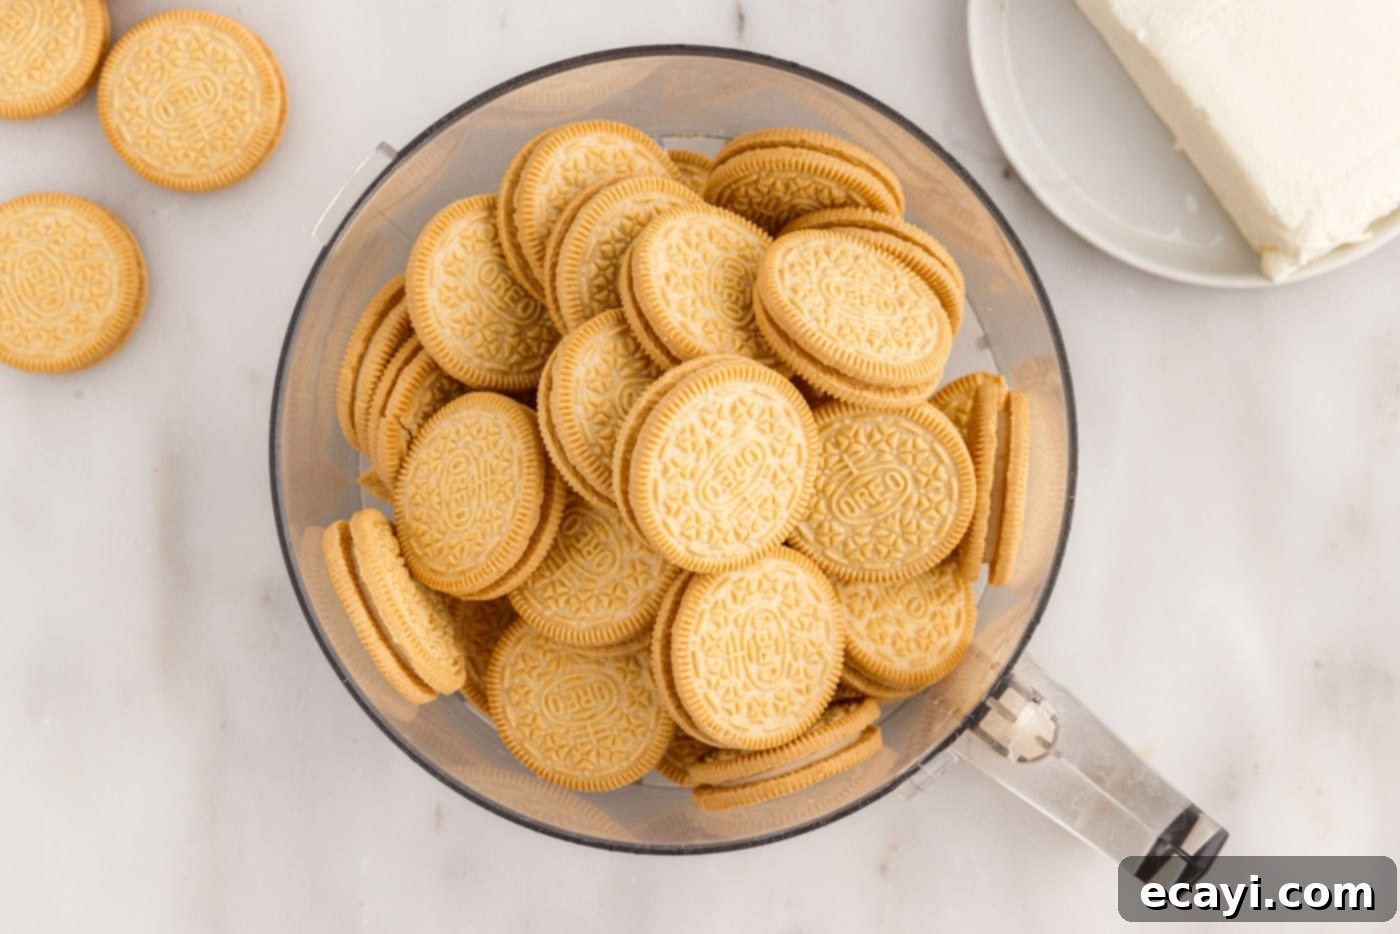
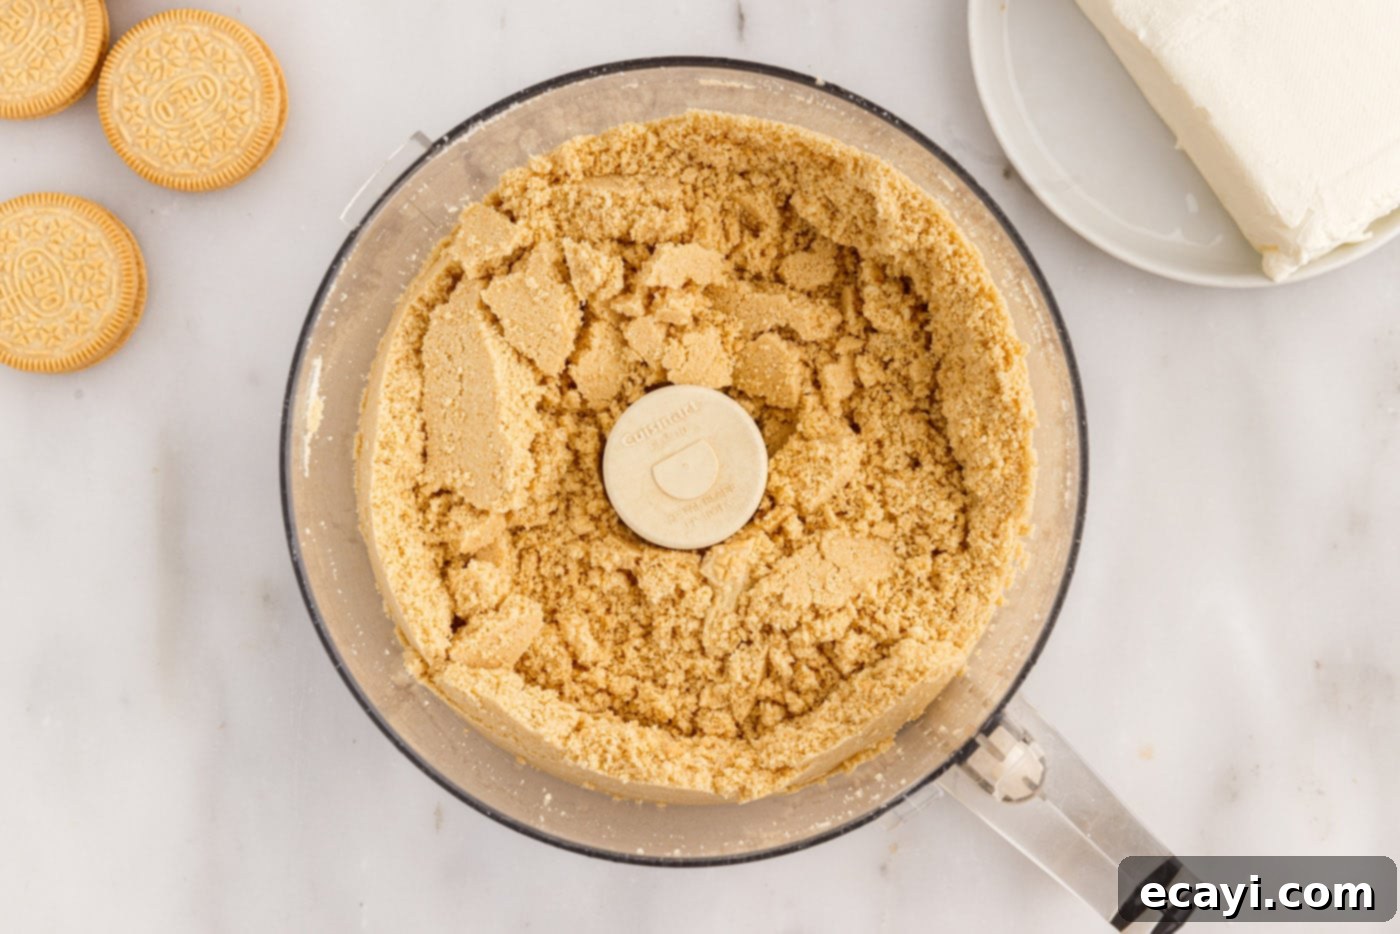
- Place the entire package of Golden Oreo cookies into the bowl of a food processor. Pulse the cookies until they are pulverized into very fine, uniform crumbs. This fine texture is key to a smooth truffle filling.


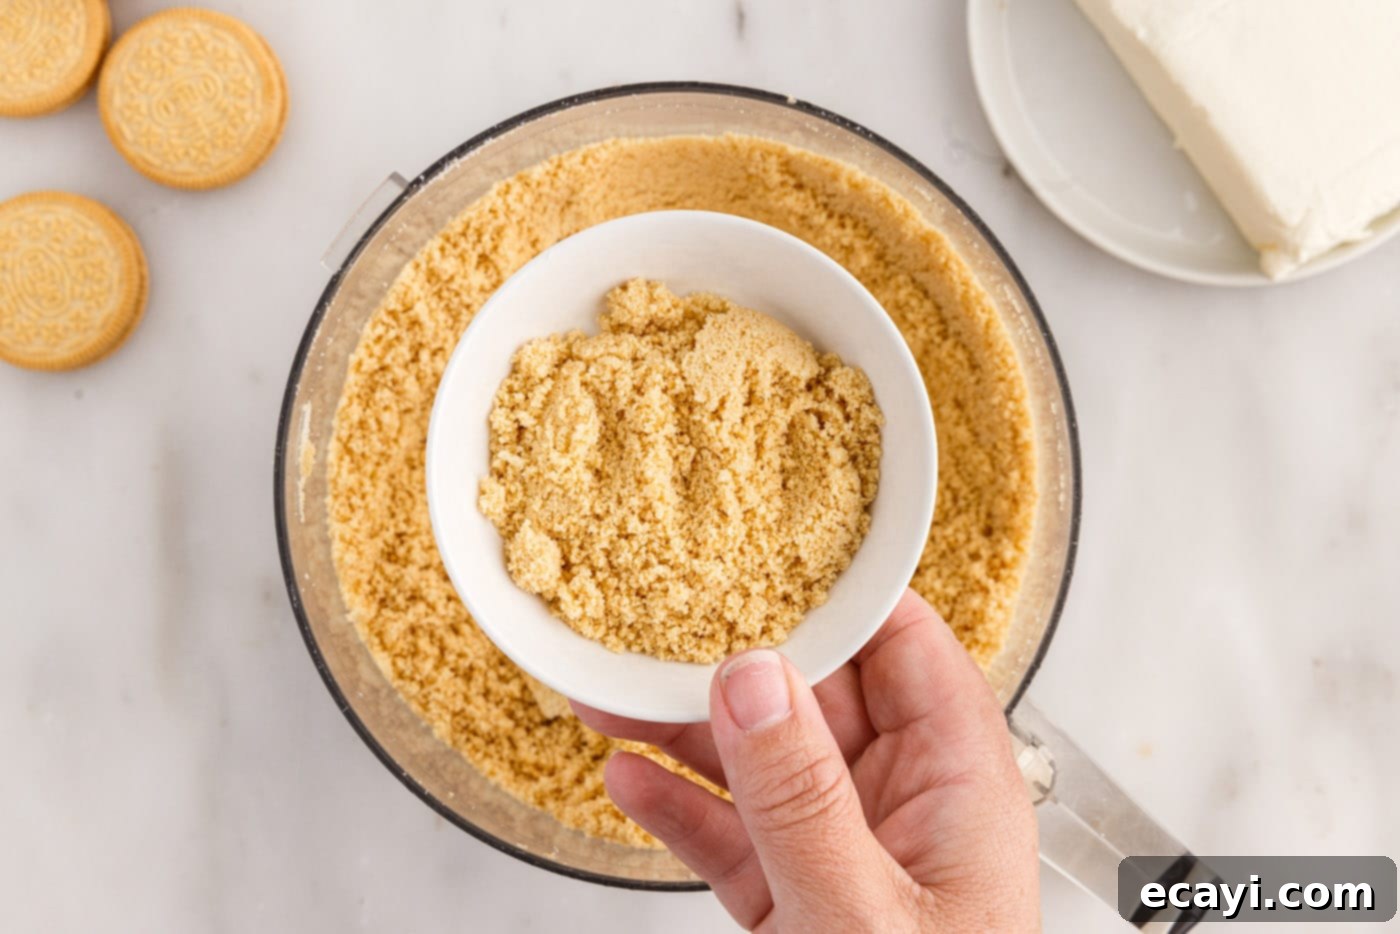
- If you wish to garnish your truffles with extra cookie crumbs, remove about 2 tablespoons of the finely crushed cookie crumbs and set them aside in a small bowl. This will be used to sprinkle over the tops of the dipped truffles for an extra touch of flavor and visual appeal.

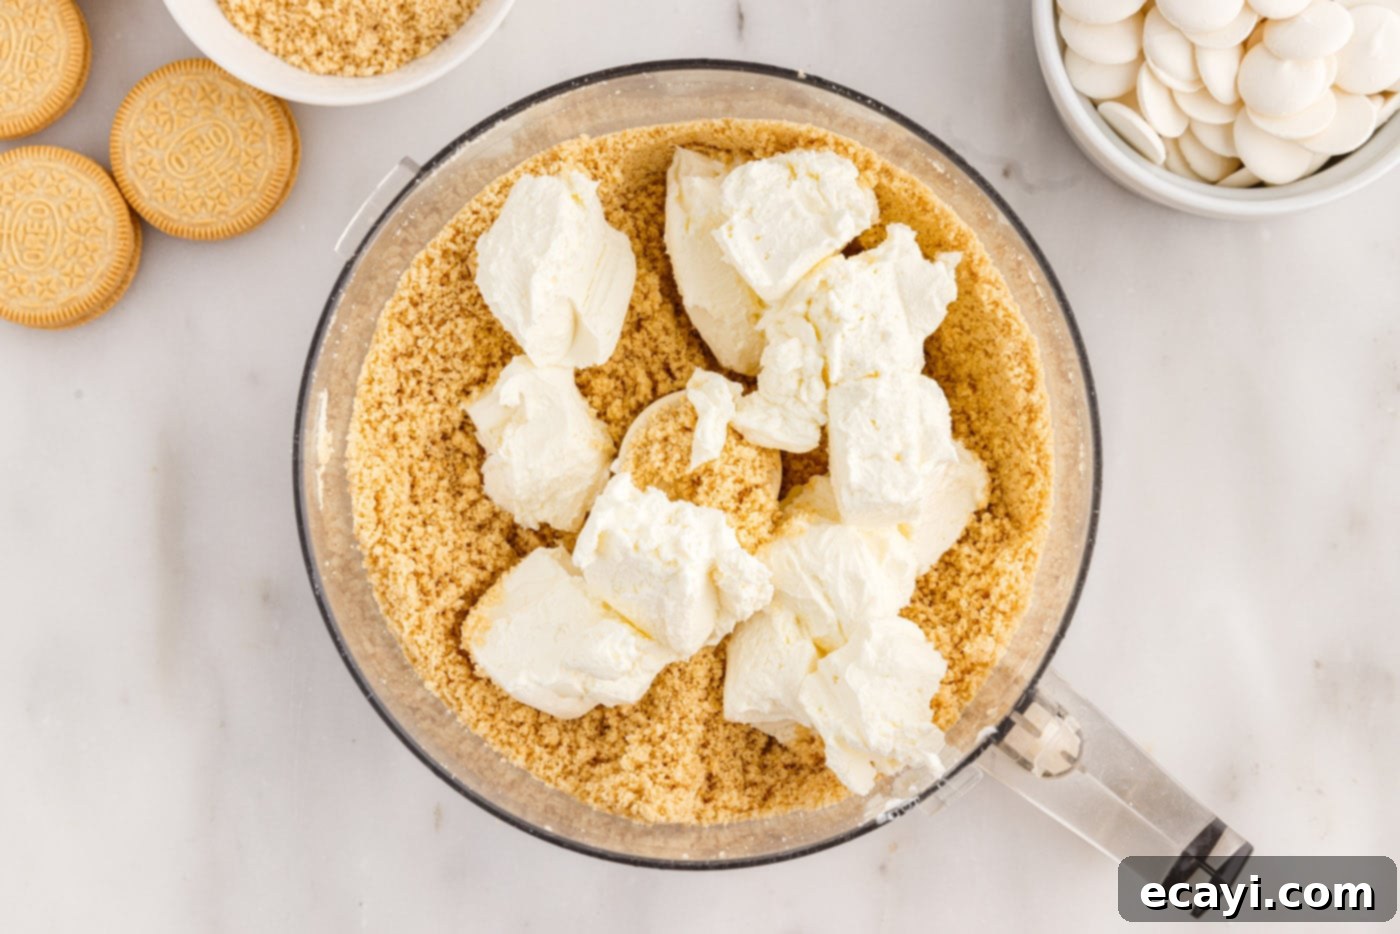
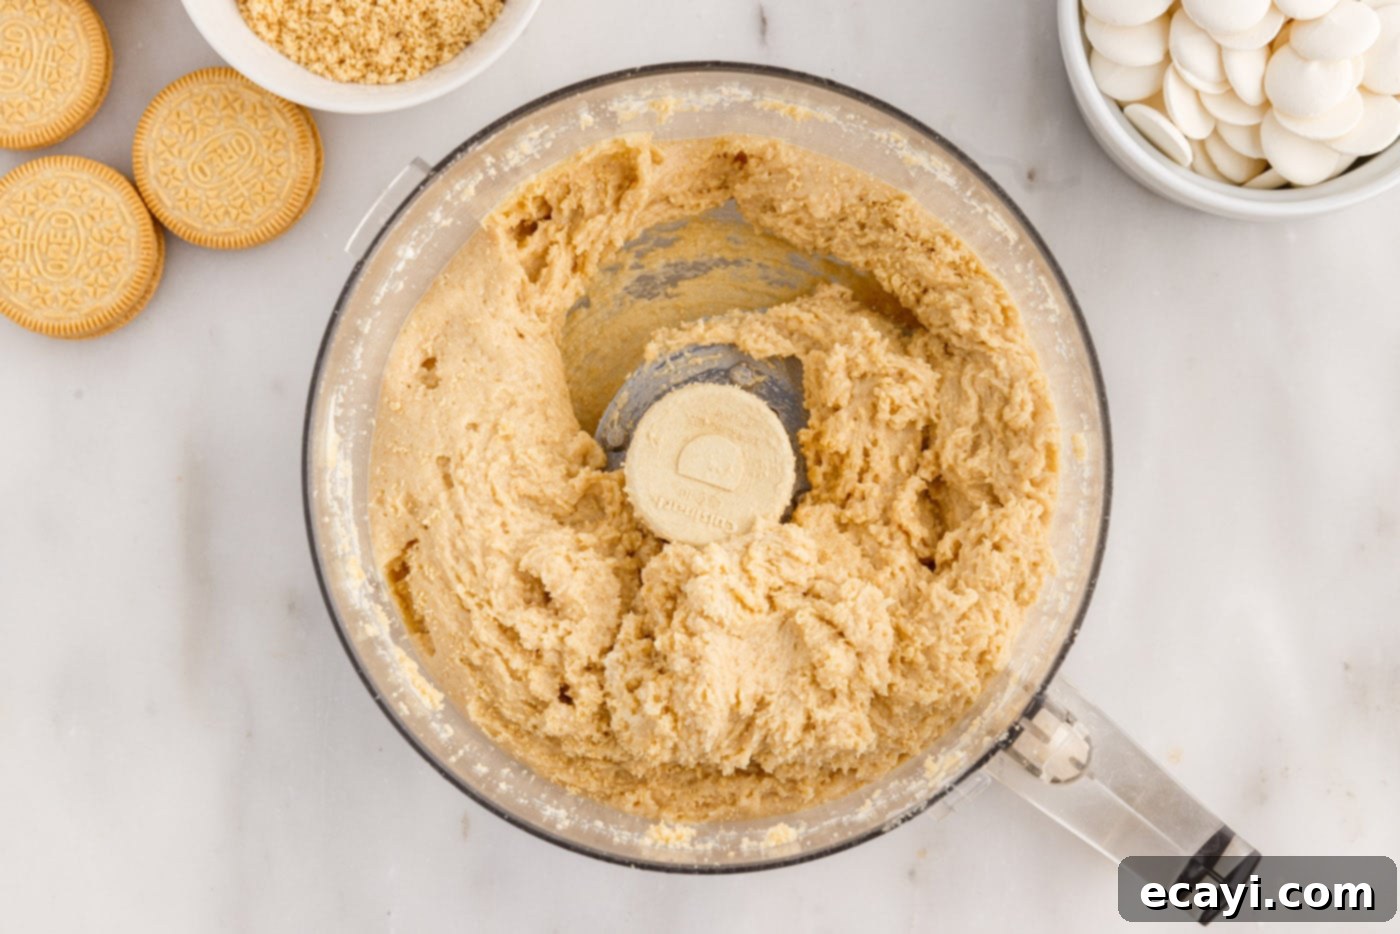
- Add the softened cream cheese pieces directly into the food processor with the remaining cookie crumbs. Process the mixture again until all ingredients are fully combined. Continue processing until the mixture comes together, forming a thick, cohesive “dough” that pulls away from the sides of the bowl.


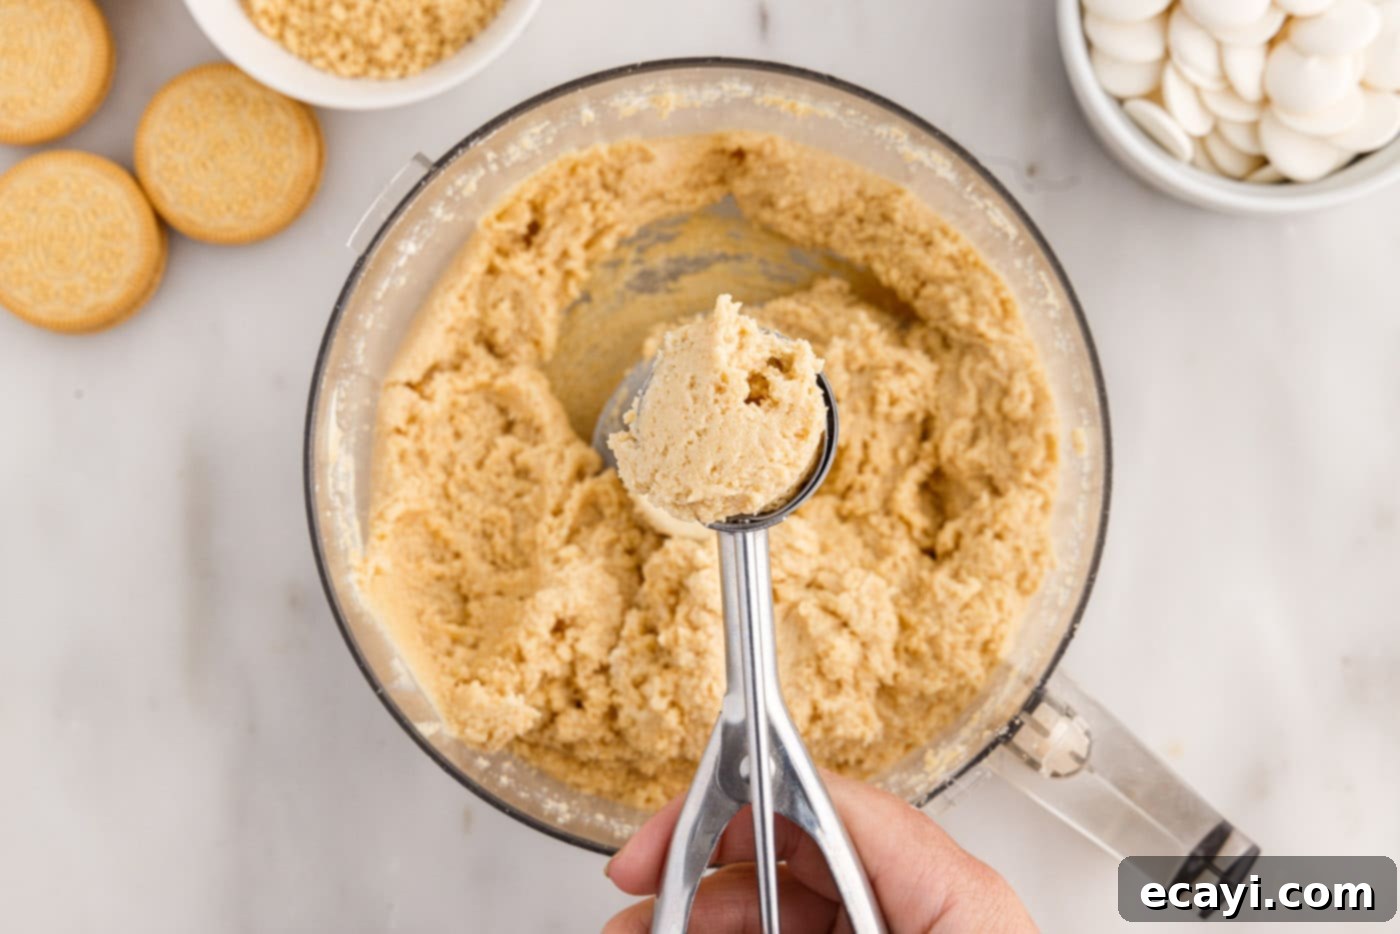
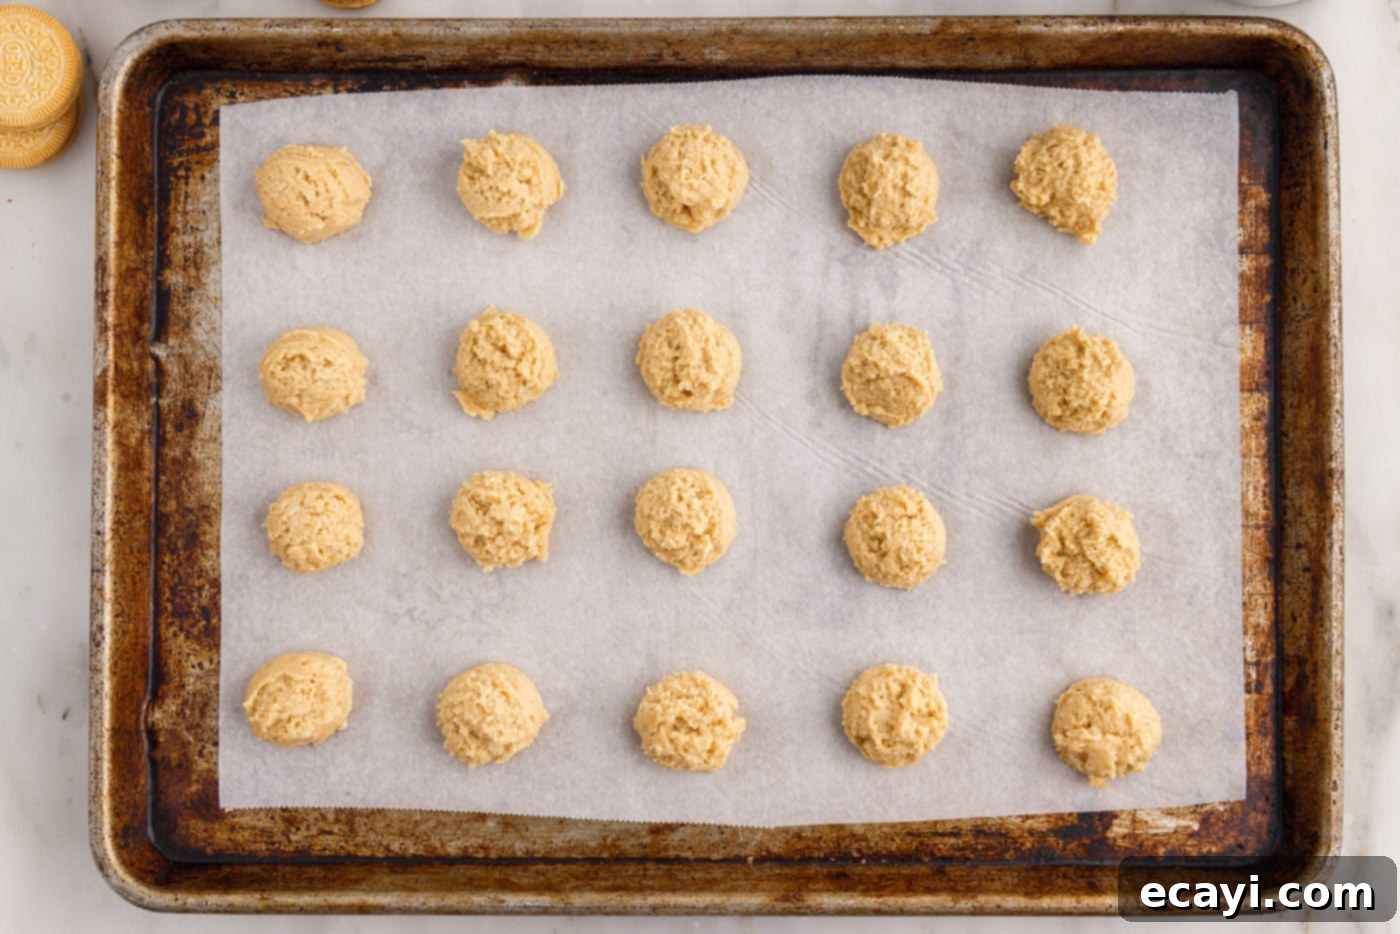
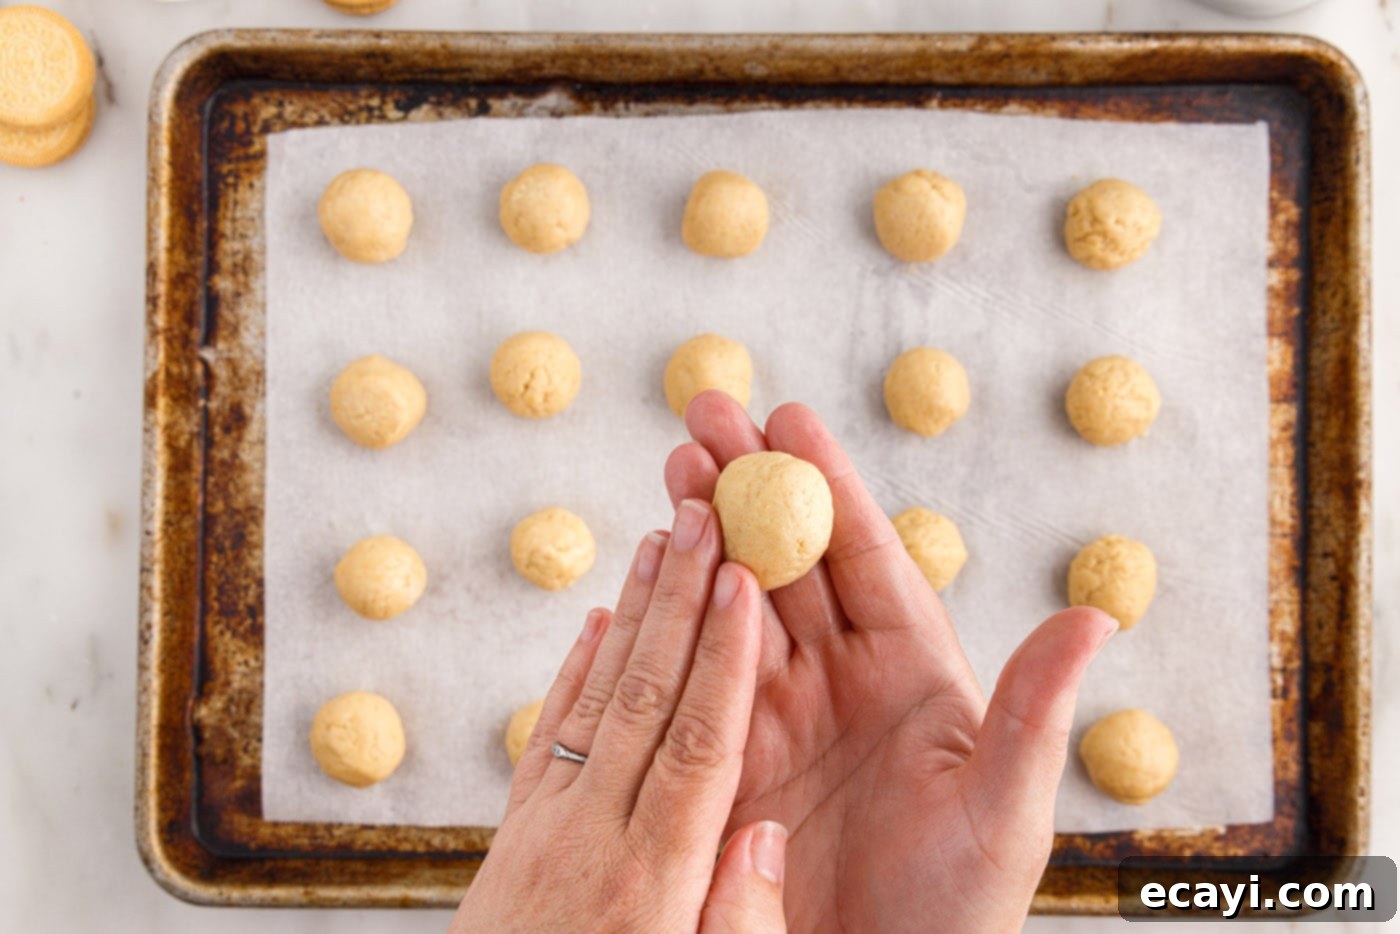
- Using a tablespoon measure or a small cookie dough scoop for consistent sizing, scoop out portions of the truffle mixture. Roll each portion between your palms to form a ball. Place each ball onto a baking sheet that has been lined with parchment paper. This prevents sticking and makes transfer easy.


- Once all balls are formed and on the baking sheet, transfer the tray to the freezer. Chill for about 5-10 minutes. This brief chill helps the dough firm up slightly, making it easier to handle and roll into perfectly smooth spheres.
- After the initial chill, remove the tray from the freezer. Roll each ball again between the palms of your hands to ensure a perfectly smooth, round shape. This step helps eliminate any rough edges. Return the tray to the freezer for an additional 10-15 minutes. This second chill is crucial to make the truffles firm enough for dipping without becoming overly cold, which can cause the chocolate coating to crack.

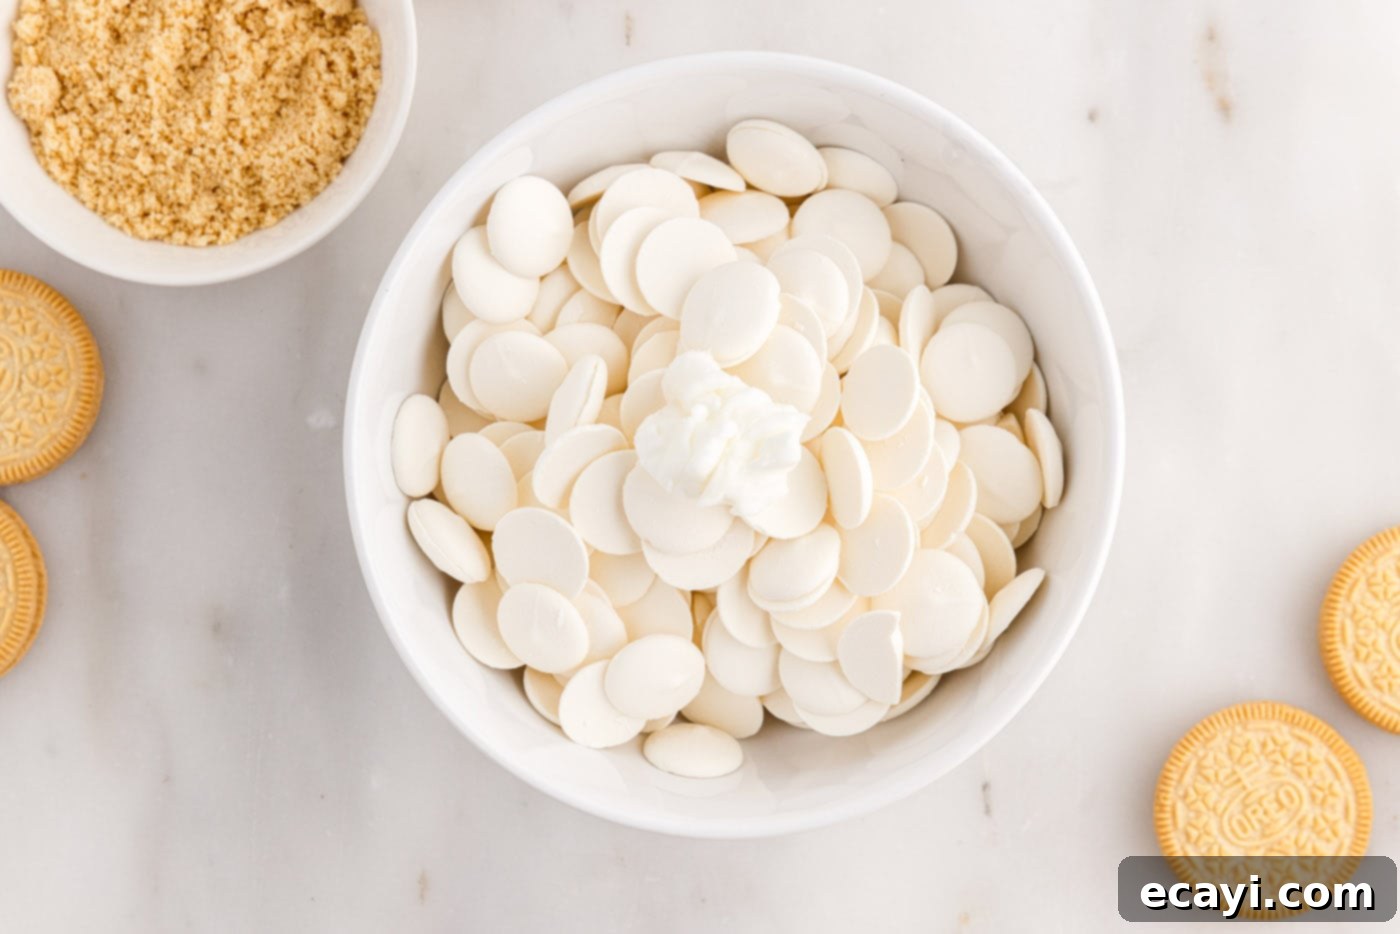
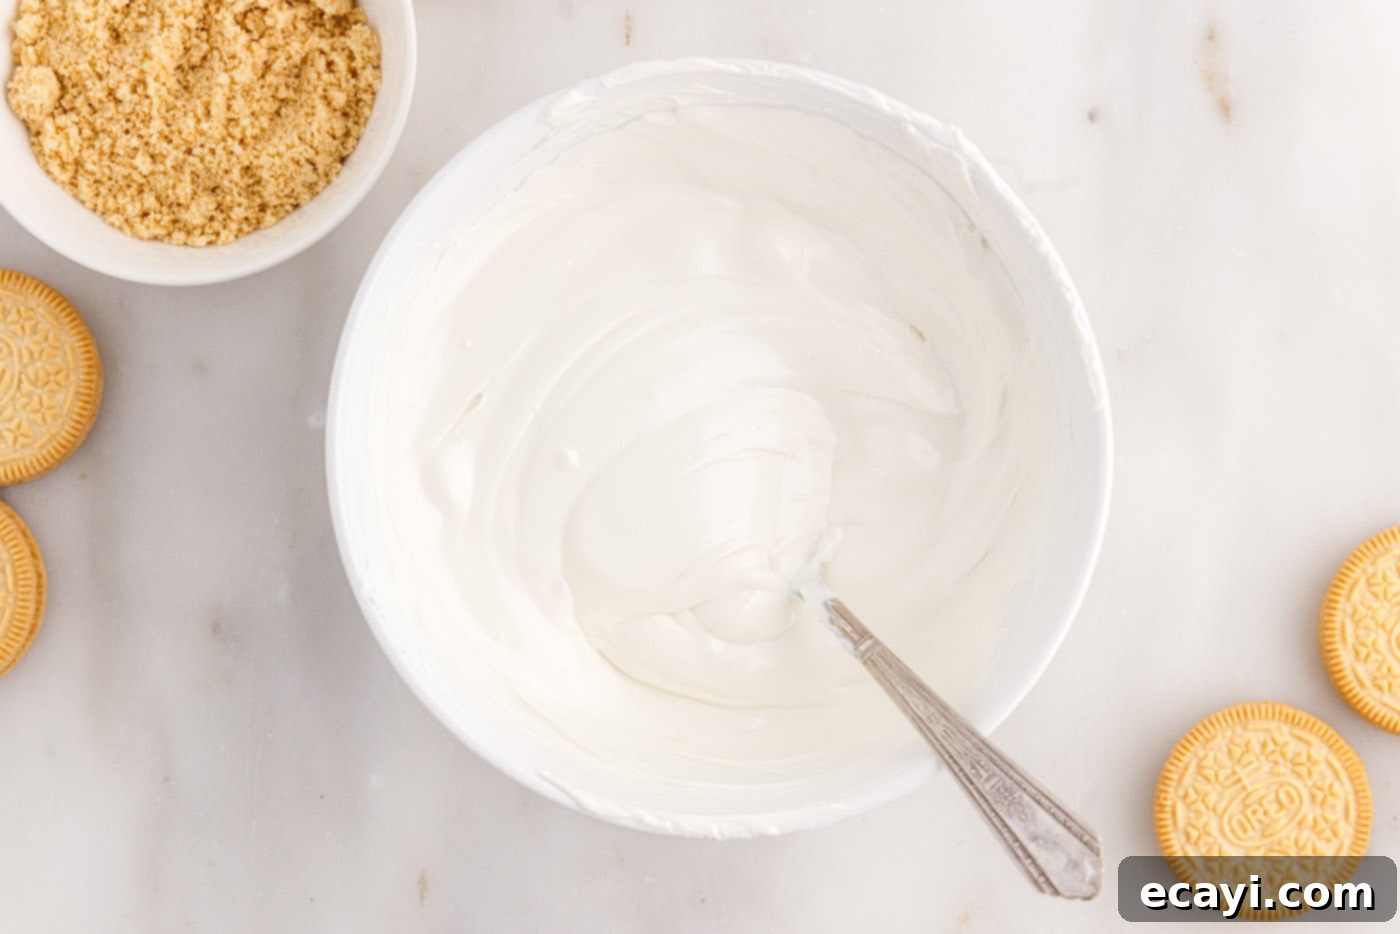
- While the truffles are chilling for the second time, prepare your white chocolate coating. Place the white chocolate melting wafers and the optional shortening into a microwave-safe bowl. Heat in the microwave in 30-second intervals, stirring thoroughly after each interval. Continue this process until the wafers are completely melted and the chocolate is smooth, glossy, and free of lumps.


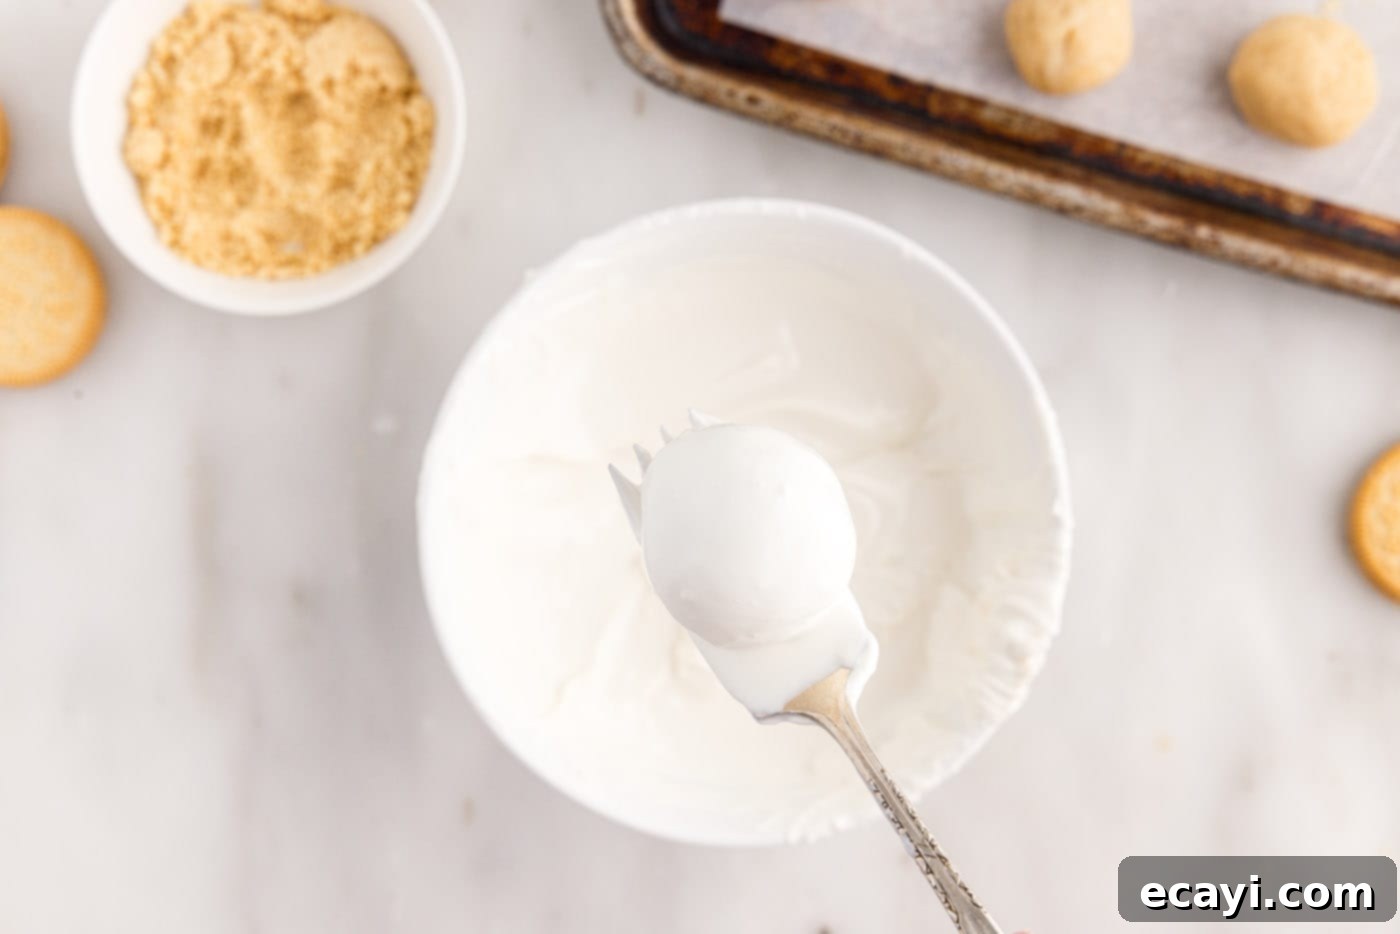
- Now it’s time for dipping! Working with one chilled truffle ball at a time, gently drop it into the melted white chocolate. Use a fork or a specialized dipping tool to fully submerge and toss the ball, ensuring it’s completely coated. Carefully lift the truffle from the chocolate, tapping the fork or tool against the edge of the bowl to allow any excess chocolate to drip off. This helps achieve a thin, even coating. Place the dipped truffle onto a clean sheet of parchment paper. A toothpick can be helpful here to gently push the truffle off the fork without smudging.

- If you wish to use the reserved cookie crumbs for garnish, sprinkle a small pinch over the top of each dipped truffle immediately after placing it on the parchment paper. It’s important to do this before the chocolate coating begins to set and harden, ensuring the crumbs adhere properly.

- Continue this dipping and garnishing process until all of the Golden Oreo truffles are coated.
- For an extra decorative touch, gather any remaining melted white chocolate. Spoon it into a small plastic bag (like a Ziploc bag). Snip a tiny corner off the bag to create a piping tool. Drizzle a decorative pattern over the tops of the truffles.
- Allow the chocolate coating to fully set and harden at room temperature or in the refrigerator. Once set, your beautiful and delicious Golden Oreo truffles are ready to be enjoyed!
Frequently Asked Questions & Expert Tips for Golden Oreo Truffles
Here are some common questions and expert tips to ensure your Golden Oreo truffles turn out perfectly every time.
Due to the cream cheese in the filling, Golden Oreo truffles must be stored in the refrigerator. Place them in an airtight container, preferably layered between pieces of parchment paper to prevent sticking. They will keep well in the refrigerator for up to 2 weeks, maintaining their fresh taste and perfect texture. It’s worth noting that when you remove them from the fridge, they might develop a slight condensation on the chocolate coating. This is completely normal and won’t affect the quality or taste of the truffles themselves; they will still be delicious!
Absolutely, Golden Oreo truffles freeze beautifully, making them an excellent make-ahead dessert! You have two flexible options for freezing. Option 1: Freeze the balls without the chocolate coating. Arrange the truffle balls on a baking sheet and flash-freeze them until they are solid. This prevents them from sticking together. Once solid, transfer them to a large zip-top freezer bag or an airtight container and freeze for up to 3 months. When ready to use, thaw them slightly in the refrigerator before dipping in chocolate. Option 2: Freeze them with the chocolate coating. Ensure the chocolate coating is completely set and hardened before freezing. Then, transfer the finished truffles to a large zip-top freezer bag or an airtight container. They can be frozen for up to 3 months. Thaw them in the refrigerator before serving. Both methods work wonderfully to preserve their deliciousness.
Yes, absolutely! Golden Oreo truffles are an ideal dessert for preparing in advance. You can easily make them a day or two ahead of time. Once dipped and decorated, simply store them in an airtight container in the refrigerator until you are ready to serve. This makes them a perfect stress-free option for parties or when you anticipate a busy schedule.
Chocolate cracking is usually due to a significant temperature difference between the truffle ball and the melted chocolate, or if the truffle is too cold. While chilling is essential for firming the dough, don’t over-freeze the balls. Aim for about 15-20 minutes in the freezer, just enough to make them firm. If they are rock solid, the sudden warmth of the melted chocolate can cause the coating to contract and crack. Also, ensure your melted chocolate isn’t too hot, as extreme temperatures can contribute to cracking. If it starts to crack, try letting the truffles sit at room temperature for a few minutes before dipping, or gently reheat your chocolate to a slightly lower temperature.
While this recipe highlights the delightful flavor of Golden Oreos, the base technique works beautifully with other Oreo varieties! You can experiment with classic chocolate Oreos for a rich, dark truffle, Mint Oreos for a refreshing twist, Peanut Butter Oreos for a nutty flavor, or even seasonal flavors. Just be aware that the flavor profile and color of your truffles will change accordingly. Adjust toppings and drizzles to complement your chosen Oreo flavor!
Creative Serving & Decoration Suggestions
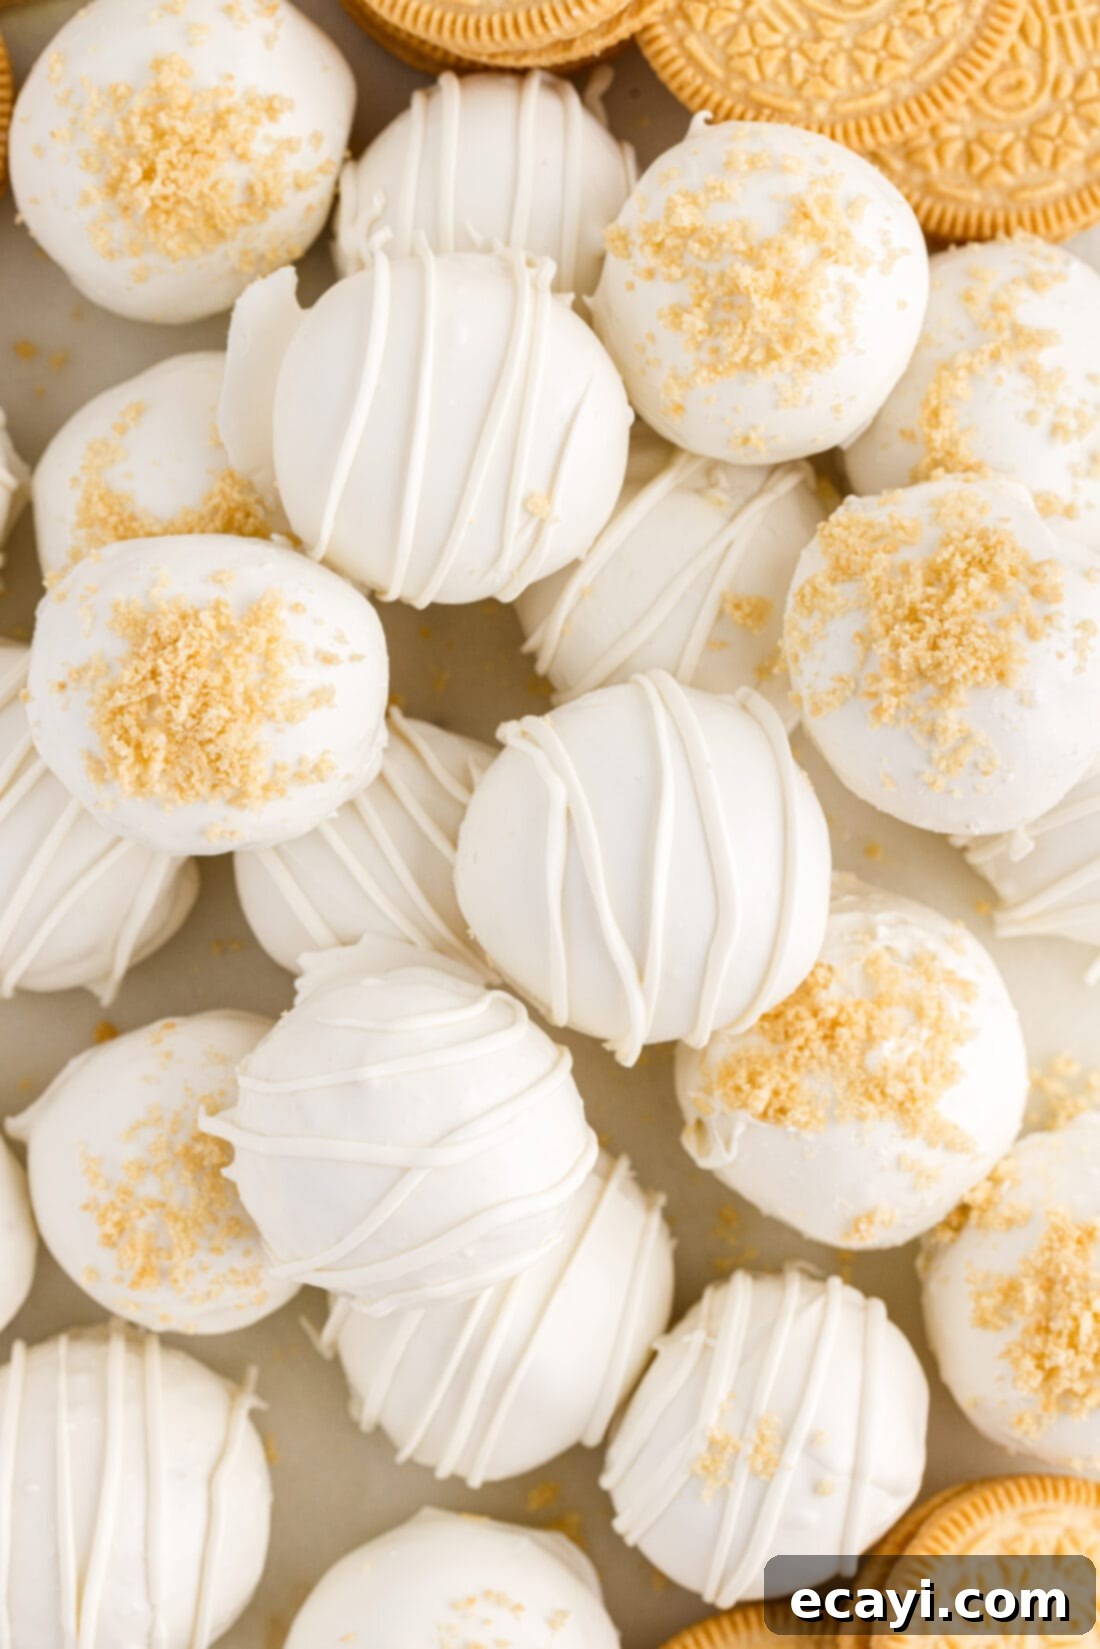
These Golden Oreo truffles are already showstoppers, but a little extra flair can make them truly unforgettable. A simple drizzle of extra white chocolate and a delicate sprinkle of the reserved crushed Oreos creates an elegant and appealing presentation. However, don’t stop there! Consider decorating them with vibrant sugar sprinkles to match a party theme, or use edible glitter for a touch of sparkle. You can also mix and match colors of chocolate drizzles – perhaps a contrasting milk or dark chocolate drizzle for visual impact, or even tinted white chocolate for a pop of color. For added texture and flavor, finely chopped nuts (like pecans or almonds) can be sprinkled on top, or a light dusting of cocoa powder for a sophisticated finish. Arrange them on a decorative platter, place them in mini cupcake liners, or package them in small gift boxes tied with a ribbon for a thoughtful homemade present. They also pair wonderfully with a cup of coffee or a glass of cold milk, making them a versatile treat for any time of day.
More Decadent Oreo-Inspired Recipes to Try
If you’re a fan of the iconic Oreo cookie, you’ll love exploring more ways to incorporate its classic flavor into delicious desserts. From fried delights to creamy cakes, there’s an Oreo recipe for every craving:
- Crispy & Sweet Fried Oreos
- Delightful Oreo Cupcakes
- Easy No-Bake Oreo Icebox Cake
- Festive Red White and Blue Oreo Truffles
I absolutely adore spending time in the kitchen, crafting delicious recipes, and sharing my culinary experiences with all of you! Remembering to visit daily for new inspiration can sometimes be a challenge, which is why I offer a convenient newsletter delivered straight to your inbox every time a new recipe is published. Simply subscribe today and start receiving your free daily recipes, ensuring you never miss out on a tasty creation!
Golden Oreo Truffles
IMPORTANT – There are often Frequently Asked Questions within the blog post that you may find helpful. Simply scroll back up to read them!
Print It
Pin It
Rate It
Save ItSaved!
Ingredients
- 36 whole golden Oreo cookies
- 8 ounces cream cheese cut into pieces and softened at room temperature
- 12 ounces white chocolate melting wafers
- 1 teaspoon shortening optional
Things You’ll Need
-
Food processor
-
Baking sheet
-
Parchment paper
Before You Begin
- If the chocolate starts to harden or become too thick while dipping, place it back into the microwave in 15 second increments and stir until smooth.
- The shortening added to the chocolate just helps it melt a little more smoothly and thins it out a tiny bit. You can skip the shortening if you don’t have it available.
- Consider setting your cookie crumbs to the side with the tray of truffles in the middle and the melted chocolate to the other side so that when you sprinkle the top of a finished truffle, you don’t end up dripping cookie crumbs into the nice, smooth chocolate.
- Freezing the dough balls for a short period of the time is really helpful to get them firm enough to hold their shape for dipping, but if they are overly cold, the white chocolate coating may crack. About 15 minutes in the freezer should be a good balance between cold enough and not too cold. If you have them out of the freezer for a long time after the initial 5ish minutes while you roll them into smooth balls, you may need to freeze a bit longer to compensate.
- Keep a paper towel nearby to wipe off fork and/or toothpick while dipping. I like to use a fork to lift the truffle and tap off excess chocolate and then use a toothpick to help scooch the truffle from the fork on to the parchment paper.
Instructions
-
Place cookies in the bowl of a food processor and pulverize into small crumbs.
-
Remove 2 tablespoons of the cookie crumbs to decorate the top of the truffles, if desired.
-
Add the cream cheese into the food processor and process until the mixture is fully combined and clumps into a “dough.”
-
Use a tablespoon or a cookie dough scoop to make balls of the mixture and place each ball on a baking sheet lined with parchment paper.
-
Chill in the freezer for 5-10 minutes to firm the dough a bit.
-
Roll each ball between the palms of your hands to form a smooth ball. Place the tray back into the freezer for an additional 10-15 minutes.
-
Place the melting wafers and shortening (if using) in a microwave-safe bowl and heat in 30 second increments, stirring between each interval, until the wafers are melted through and are smooth.
-
Working on one ball at a time, dip the solid ball into the melted chocolate, tossing it to coat completely. Lift from the chocolate using a fork or dipping tool. Tap off excess chocolate and place the ball on a clean sheet of parchment paper.
-
If desired, sprinkle a pinch of reserved cookie crumbs over the top of the truffle before the chocolate sets and hardens.
-
Continue dipping all of the truffles.
-
Place the remaining melted chocolate in a small plastic bag and snip off the corner. Drizzle a bit over the top of the truffles for decoration.
-
Once the chocolate has set, the truffles are ready to eat!
Nutrition
The recipes on this blog are tested with a conventional gas oven and gas stovetop. It’s important to note that some ovens, especially as they age, can cook and bake inconsistently. Using an inexpensive oven thermometer can assure you that your oven is truly heating to the proper temperature. If you use a toaster oven or countertop oven, please keep in mind that they may not distribute heat the same as a conventional full sized oven and you may need to adjust your cooking/baking times. In the case of recipes made with a pressure cooker, air fryer, slow cooker, or other appliance, a link to the appliances we use is listed within each respective recipe. For baking recipes where measurements are given by weight, please note that results may not be the same if cups are used instead, and we can’t guarantee success with that method.
