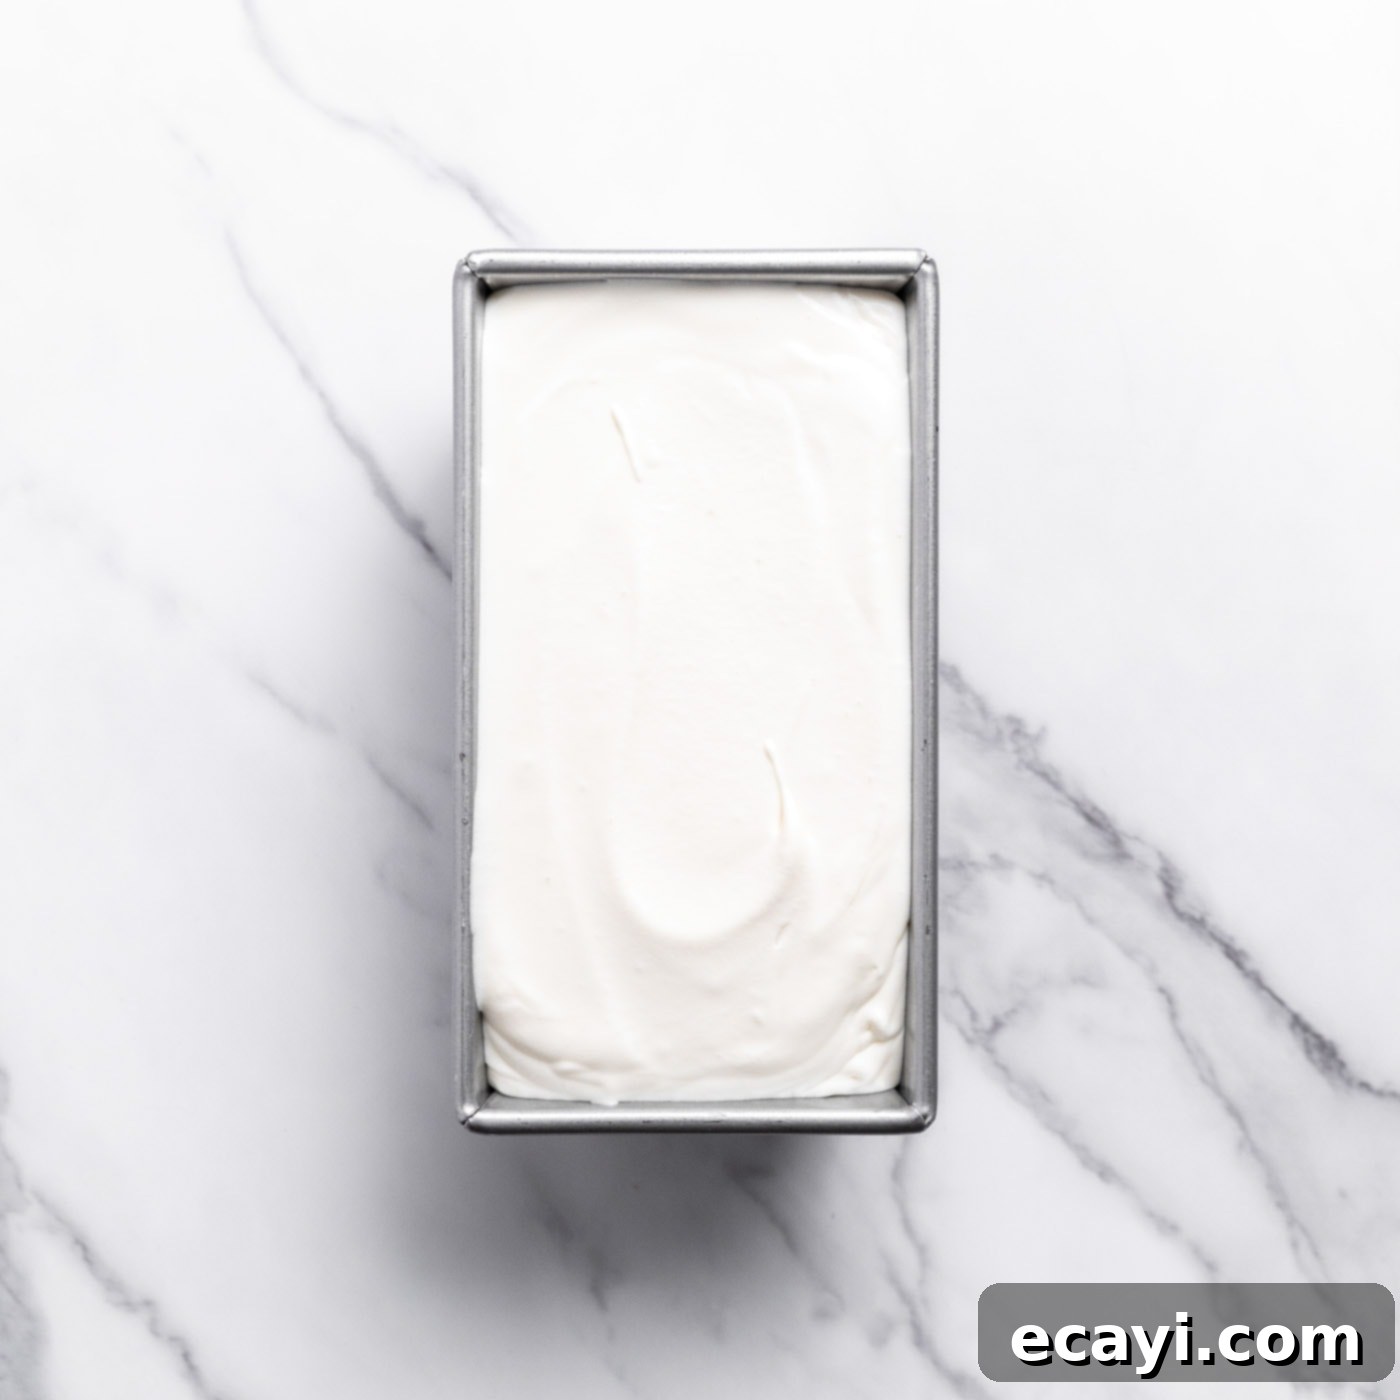
Master the Art of No-Churn Ice Cream: Creamy Homemade Goodness Without a Machine
Dreaming of deliciously smooth, homemade ice cream but don’t own a bulky ice cream maker? You’ve landed in the perfect spot! This guide will show you how to effortlessly whip up rich, creamy vanilla no-churn ice cream using just a few basic kitchen tools like a pan, some mixing bowls, and a hand mixer. Say goodbye to complicated steps and special equipment, and hello to a frozen dessert experience that’s surprisingly simple and utterly delightful.
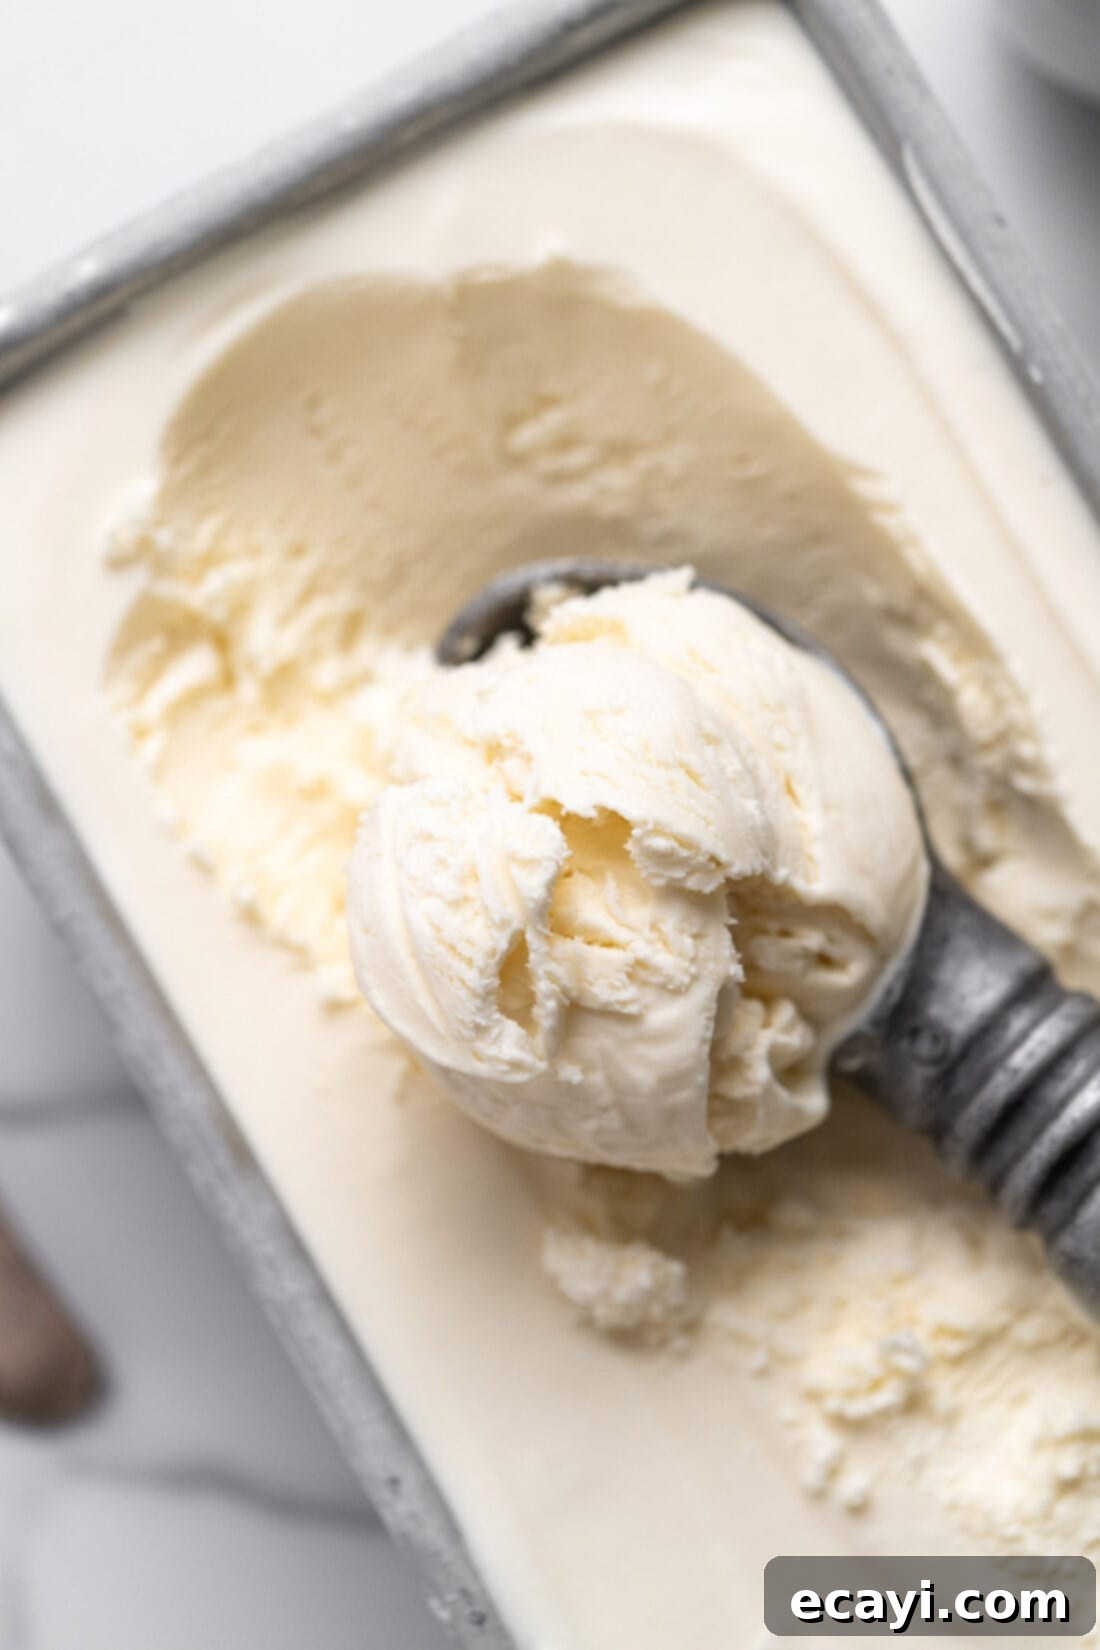
The Magic Behind No-Churn: Why This Recipe Works So Well
The beauty of no-churn ice cream lies in its simplicity and ingenious method of achieving that coveted creamy texture without mechanical churning. You only need three core ingredients for this classic vanilla base: heavy whipping cream, vanilla extract, and sweetened condensed milk. Here’s how this magical combination transforms into a frozen treat:
- Whipping the Heavy Cream: The secret ingredient to light and airy no-churn ice cream is whipped heavy cream. When you beat heavy cream, you incorporate air, creating a stable foam with stiff peaks. This aerated cream provides the volume and light texture that an ice cream maker typically achieves through churning. The high fat content in heavy cream also contributes significantly to the ice cream’s smooth, rich mouthfeel, preventing it from becoming icy.
- Sweetened Condensed Milk: This isn’t just for sweetness; it’s a crucial component for texture. Sweetened condensed milk is a thick, syrupy product made by removing water from milk and adding a high concentration of sugar. The sugar acts as an antifreeze, lowering the freezing point of the mixture and inhibiting the formation of large, crunchy ice crystals. This results in an incredibly smooth and pliable ice cream, even after being fully frozen.
- Folding, Not Churning: Instead of churning, you gently fold the whipped cream into the sweetened condensed milk and vanilla mixture. This careful folding technique preserves the air pockets you worked so hard to create in the cream, ensuring your ice cream remains light and airy. The vanilla extract, of course, infuses the entire dessert with its beloved, warm flavor.
In essence, this no-churn method bypasses the traditional churning process by pre-aerating the cream and using sweetened condensed milk to manage ice crystal formation, proving that incredibly creamy and smooth ice cream is entirely possible without any specialized equipment!
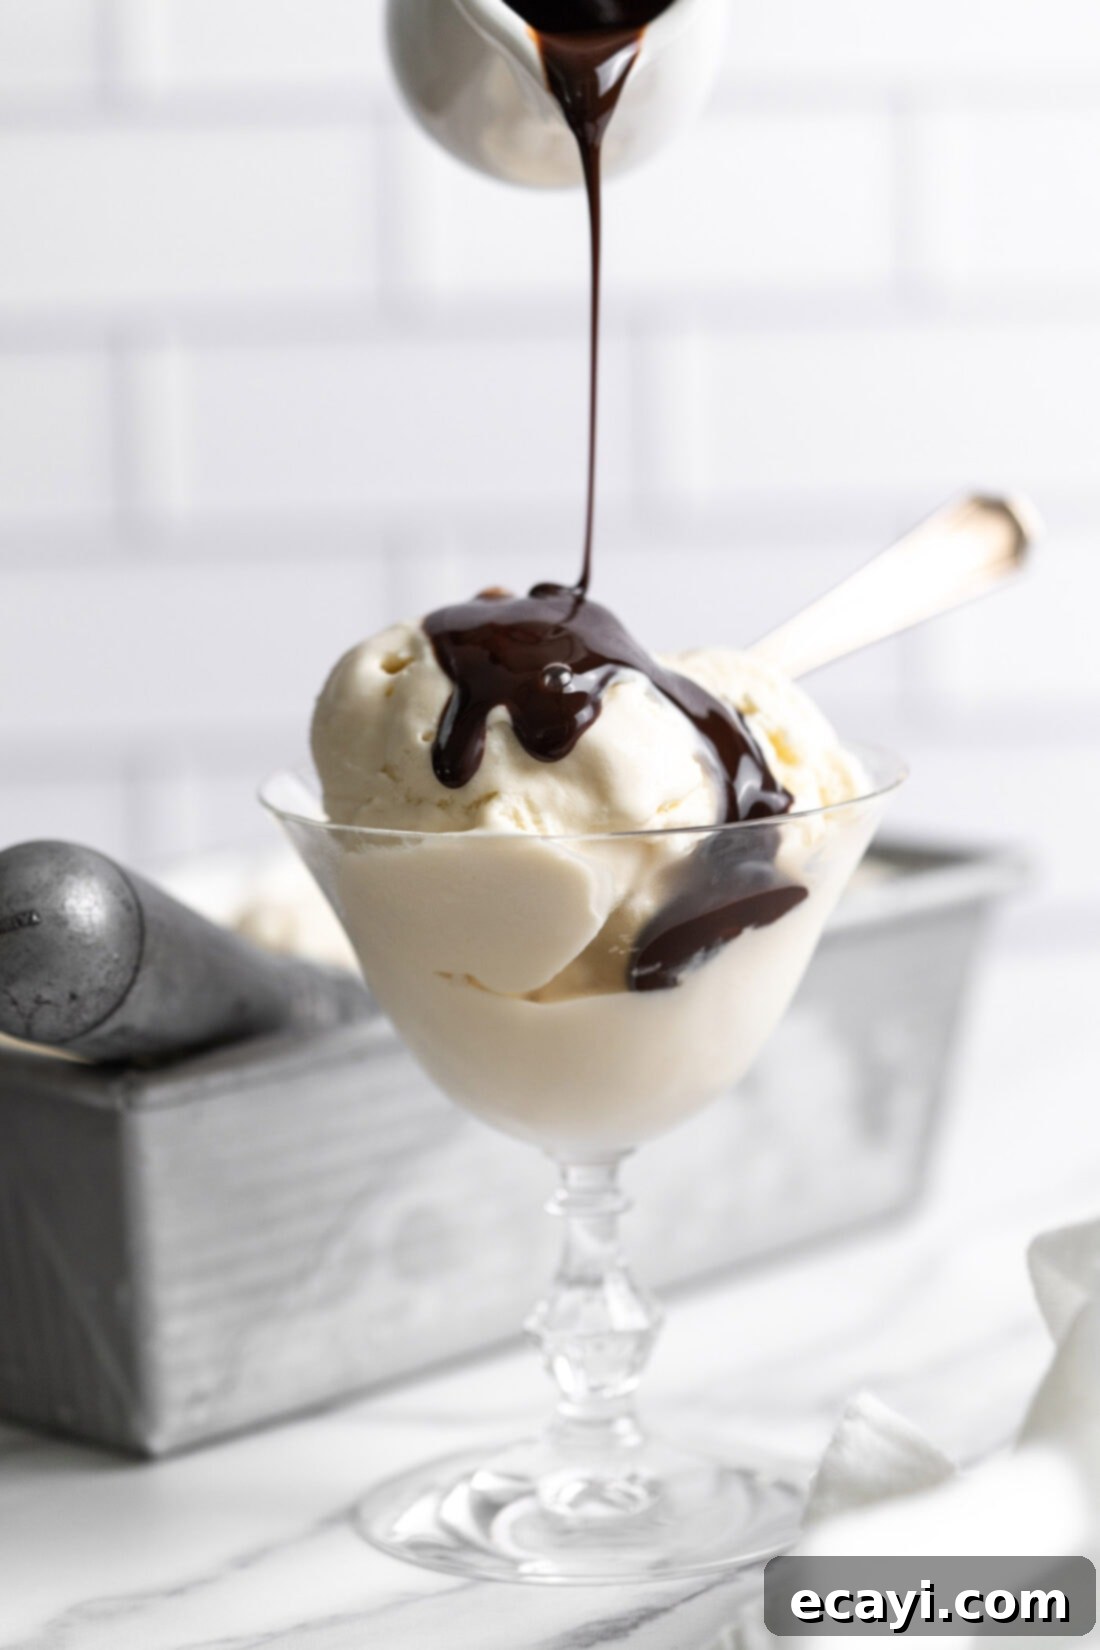
Essential Ingredients for Your No-Churn Masterpiece
Before you dive into making this delightful dessert, let’s gather your simple ingredients. You’ll find all precise measurements, ingredients, and detailed instructions in the printable recipe card towards the end of this comprehensive post.

Ingredient Spotlight & Creative Substitutions
Understanding each ingredient’s role is key to mastering no-churn ice cream and confidently experimenting with variations.
HEAVY CREAM: This is the backbone of your no-churn ice cream. For the absolute best results and a supremely creamy texture, I highly recommend using heavy whipping cream. It boasts a high fat content (typically 36-40%), which is vital for achieving those stiff peaks when whipped, and for ensuring your final product is smooth, rich, and free of large ice crystals. While you *can* experiment with cutting down the fat by using half-and-half, be aware that this will result in a less rich and potentially icier ice cream. Full-fat heavy cream truly delivers the premium texture you’re looking for.
SWEETENED CONDENSED MILK: Beyond just providing sweetness, this ingredient plays a dual role. Its thick consistency and high sugar content help to prevent the formation of large ice crystals during freezing, contributing significantly to the smooth, scoopable texture of your no-churn ice cream. There are no direct substitutions for sweetened condensed milk in this recipe without drastically altering the outcome.
VANILLA EXTRACT: Pure vanilla extract provides that classic, comforting flavor. For a more intense vanilla experience and beautiful speckled appearance, consider using 1 tablespoon of vanilla bean paste instead of extract. This will elevate the flavor profile and add an elegant touch to your homemade ice cream.
Unleash Your Creativity: Exciting Additions and Mix-in Ideas
The base recipe is fantastic on its own, but it also serves as a perfect canvas for endless flavor combinations! If you plan to incorporate mix-ins like chopped candy, nuts, or fruit, it’s best to let the ice cream chill until it’s semi-frozen, usually about 1 to 2 hours, before folding them in. This prevents heavier additions from sinking to the bottom. The possibilities are truly boundless:
- Classic Crunch: Chopped chocolate chips, crushed Oreos, M&M’s, butterscotch chips, or Heath bar bits.
- Nutty Indulgence: Chopped peanuts, pecans, walnuts, or even a swirl of peanut butter (try our peanut butter chocolate chip ice cream recipe for inspiration!).
- Fruity Fun: Fresh berries (chopped or lightly crushed), a swirl of raspberry or strawberry puree, diced peaches, or dried cranberries.
- Sweet Swirls: Ripple in caramel sauce, chocolate fudge, or a fruit jam for an extra layer of flavor and visual appeal.
- Cereal Craze: Cereal pieces like Cap’n Crunch, Cinnamon Toast Crunch, or Fruity Pebbles for a nostalgic crunch.
- Gourmet Touches: Chopped Reese’s peanut butter cups, crushed cookies, pretzel pieces for a sweet and salty kick, or even a hint of espresso powder for a coffee-flavored treat.
Experiment with your favorite candies, cookies, and sauces to create your signature no-churn ice cream flavor!
Step-by-Step: Crafting Your No-Churn Ice Cream
These step-by-step photos and instructions are designed to help you visualize each stage of making this delicious recipe. For a convenient printable version, complete with precise measurements and detailed instructions, simply Jump to Recipe at the bottom of this post.
- Prepare Your Pan: Begin by placing a 9 by 5-inch loaf pan (or another freezer-safe container of similar size) into the freezer to chill thoroughly. A cold pan helps the ice cream freeze more evenly and quickly, which is crucial for preventing ice crystals.
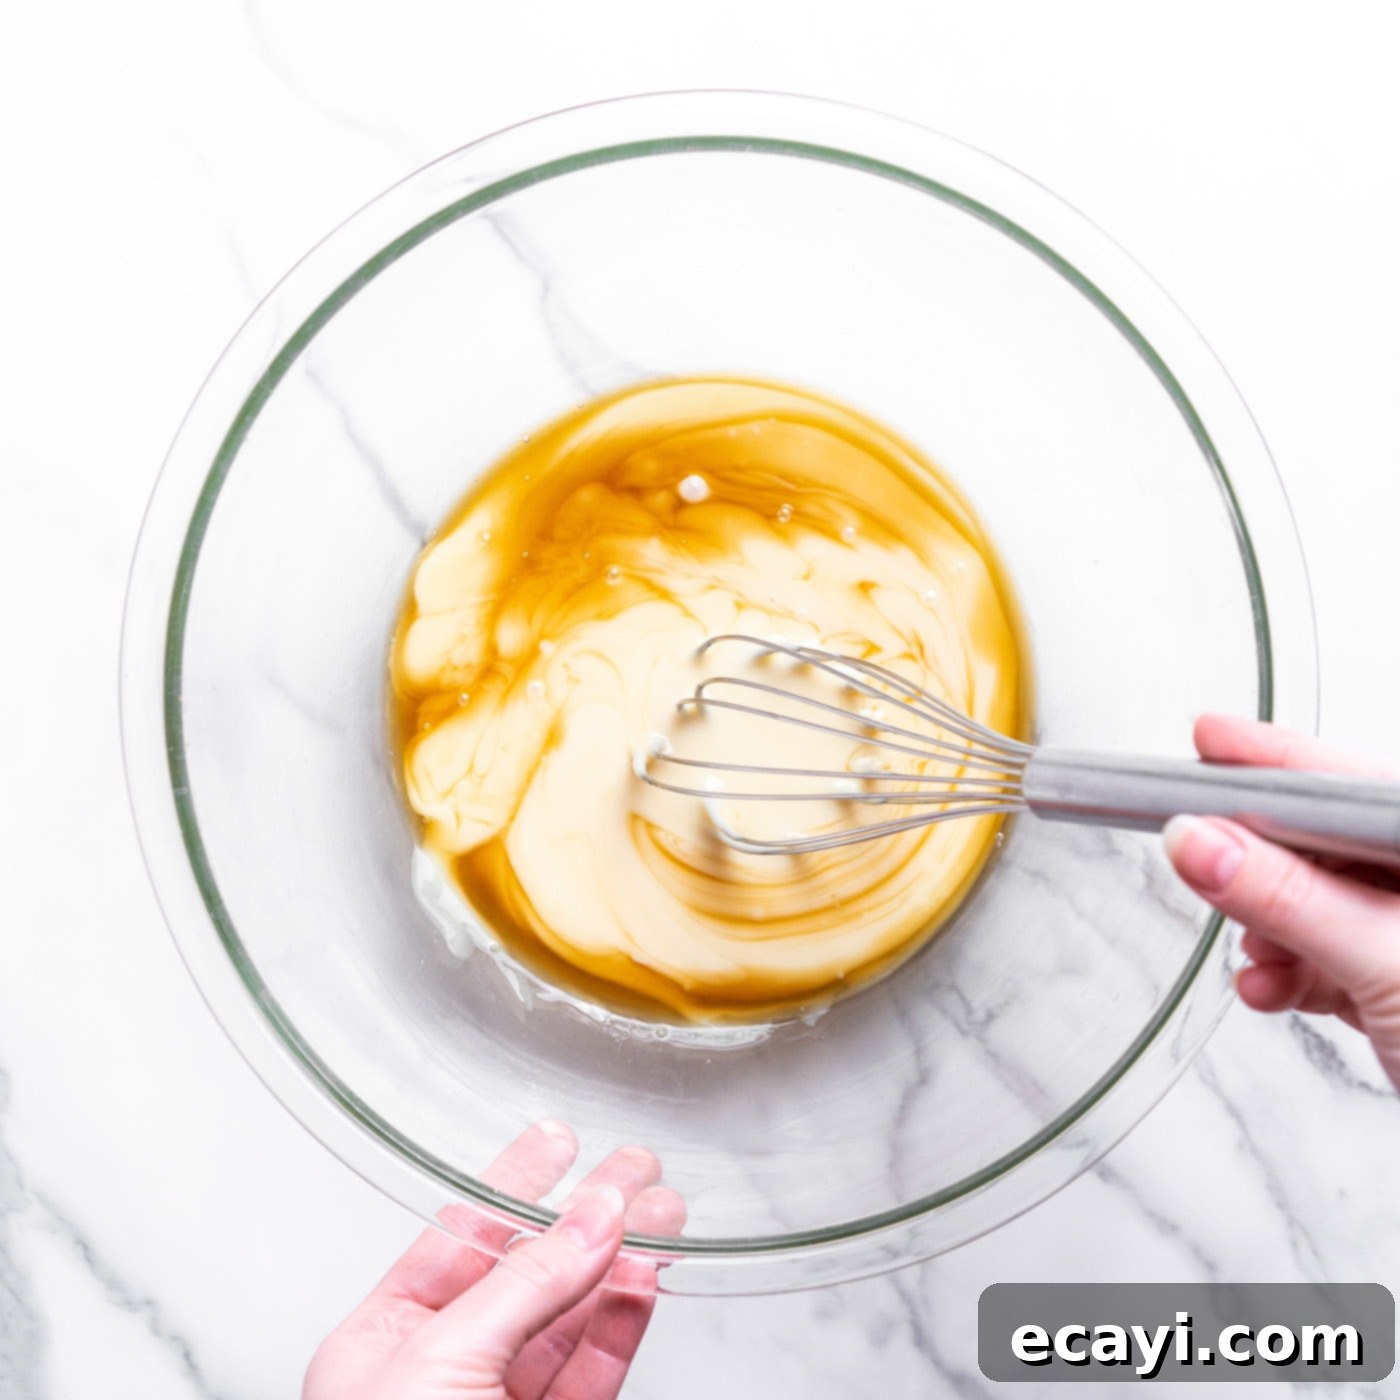
- Combine Sweetened Condensed Milk and Vanilla: In a large mixing bowl, pour in the sweetened condensed milk and add the vanilla extract (or vanilla bean paste). Whisk these two ingredients together until they are smoothly combined. This mixture will form the sweet, creamy base of your ice cream.

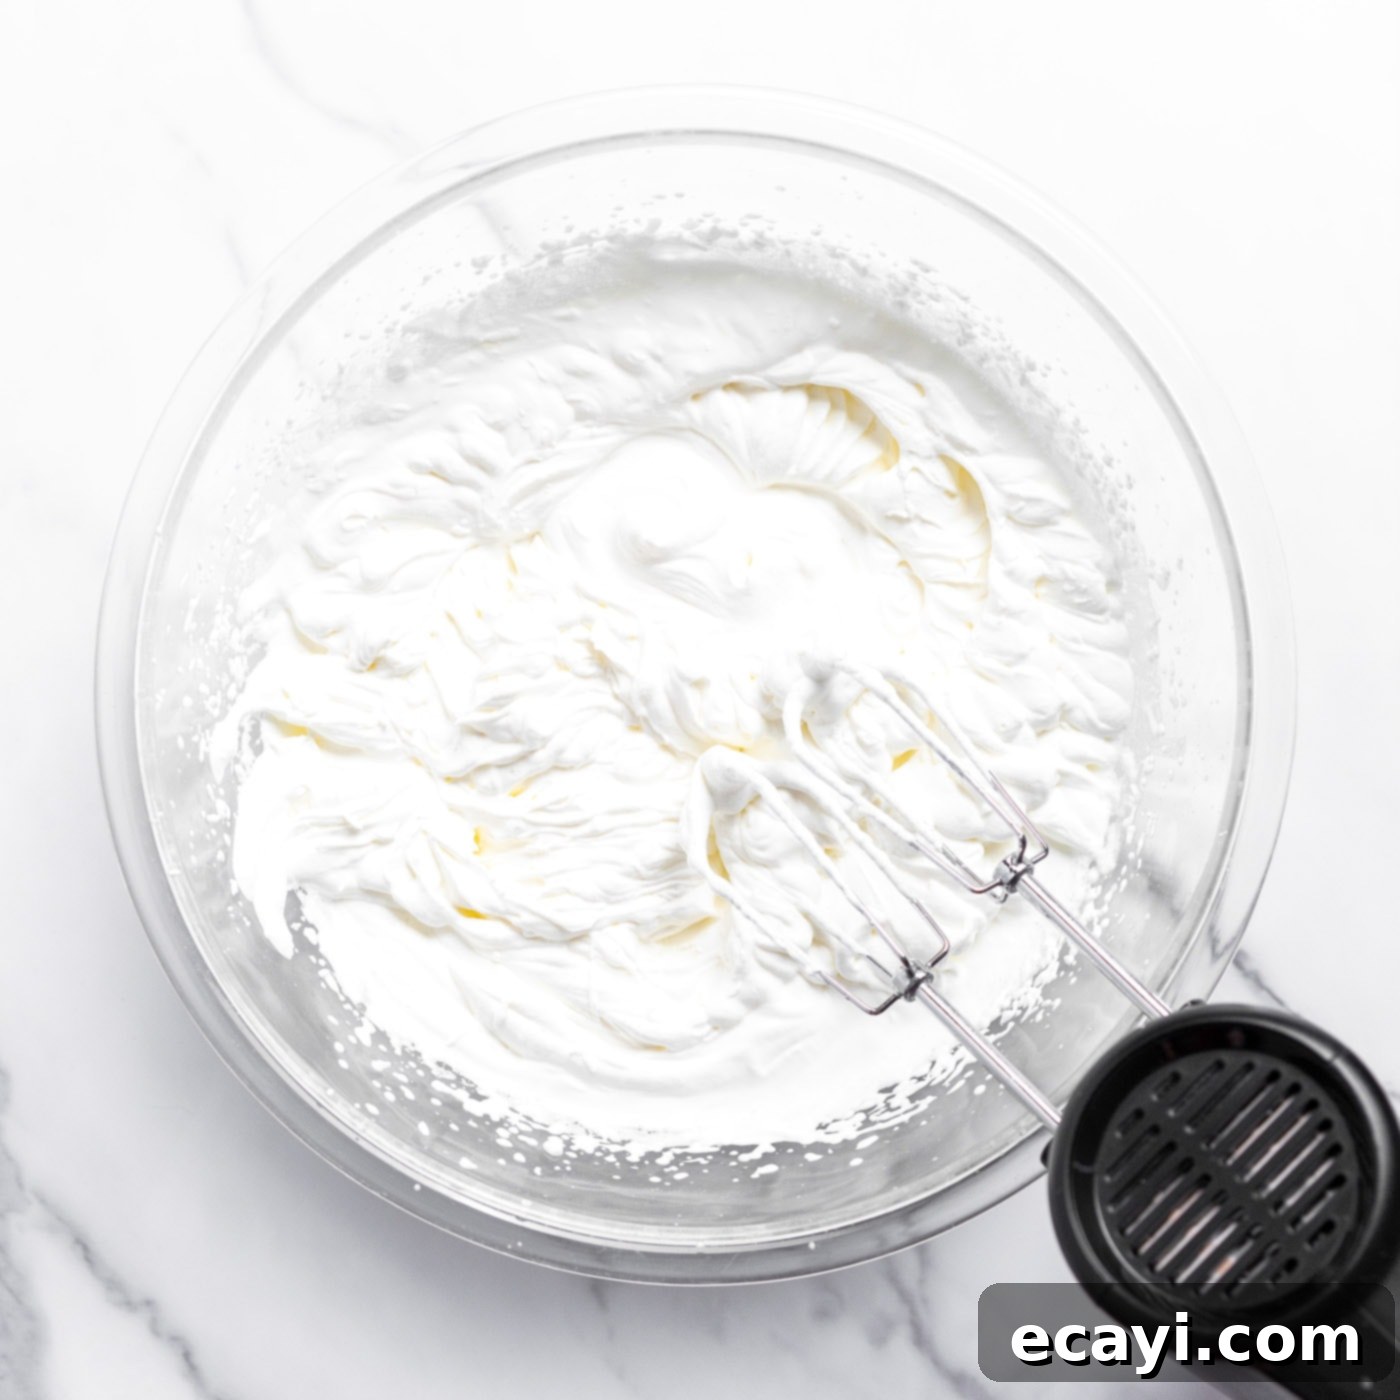
- Whip the Heavy Cream: In a separate, very clean and dry large bowl, pour the cold heavy whipping cream. Using a handheld electric beater (or a stand mixer with a whisk attachment), beat the cream on medium-high speed until it forms stiff peaks. This means that when you lift the beater, the peaks stand up firmly without collapsing. This step is vital for incorporating air and creating the light, voluminous texture of your ice cream. Be careful not to overbeat, as it can turn into butter.

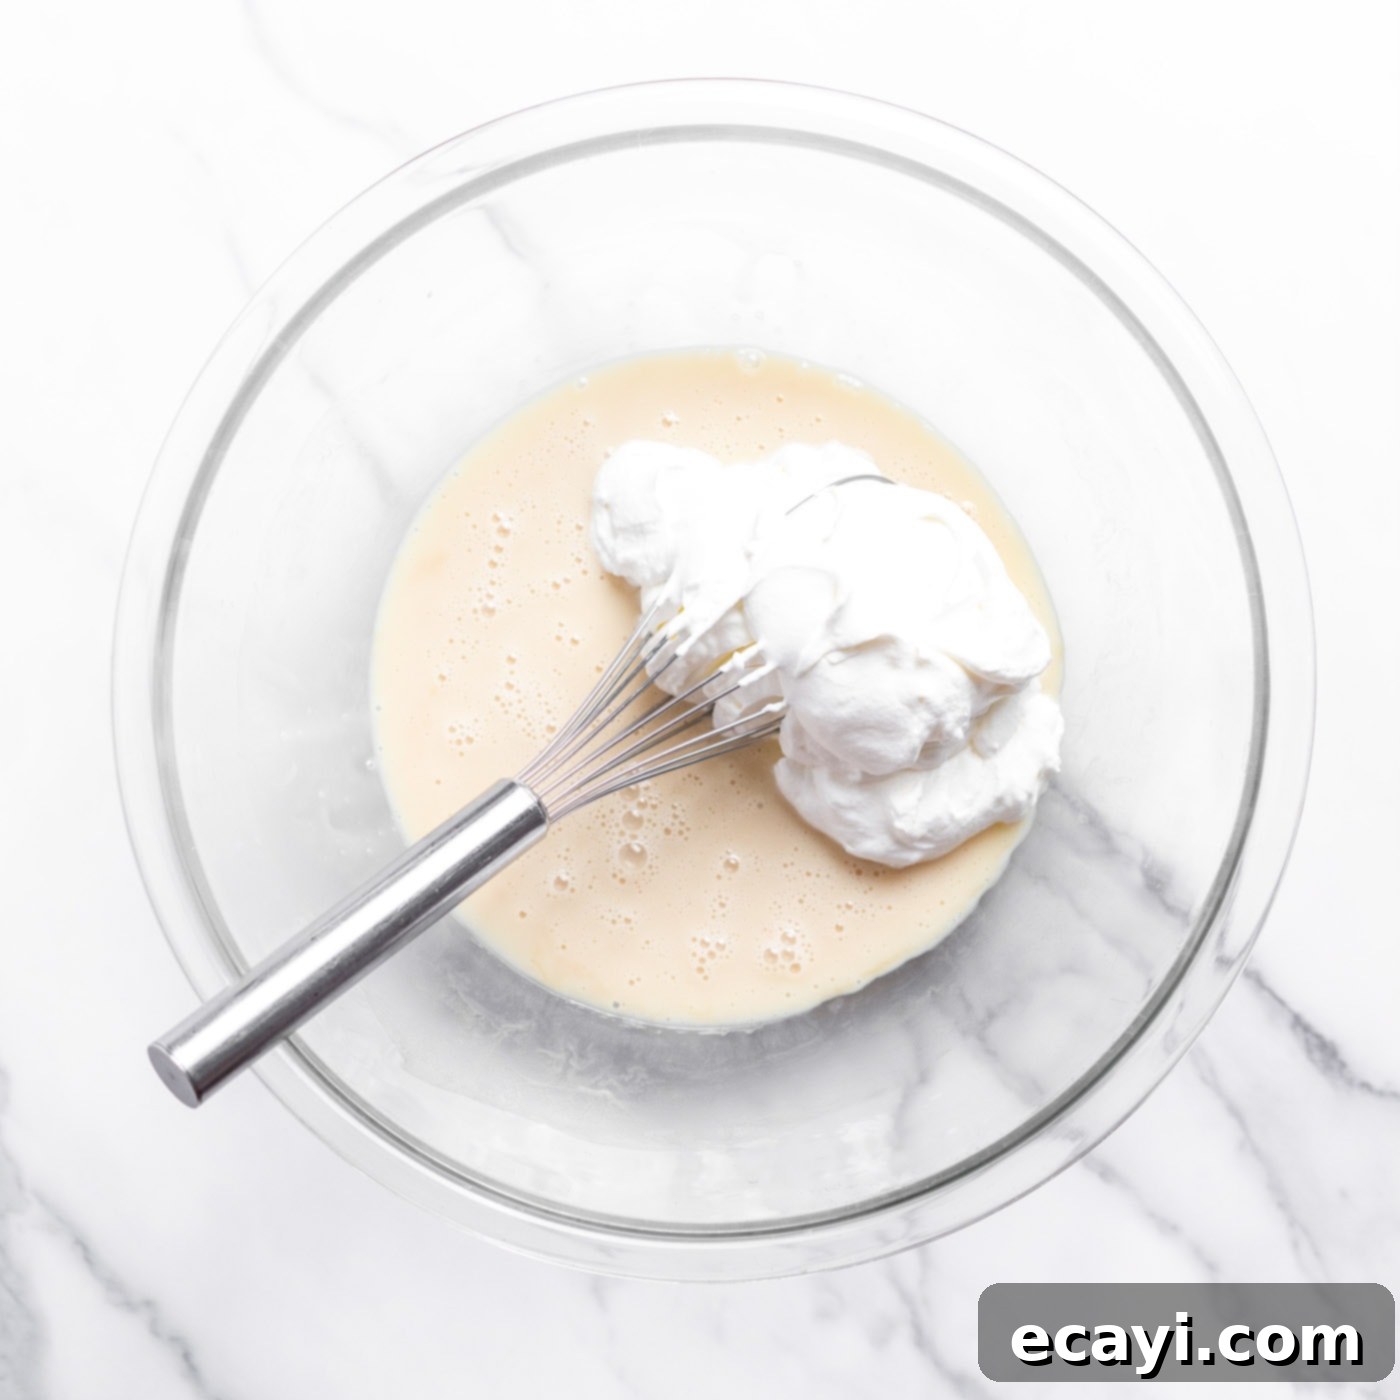
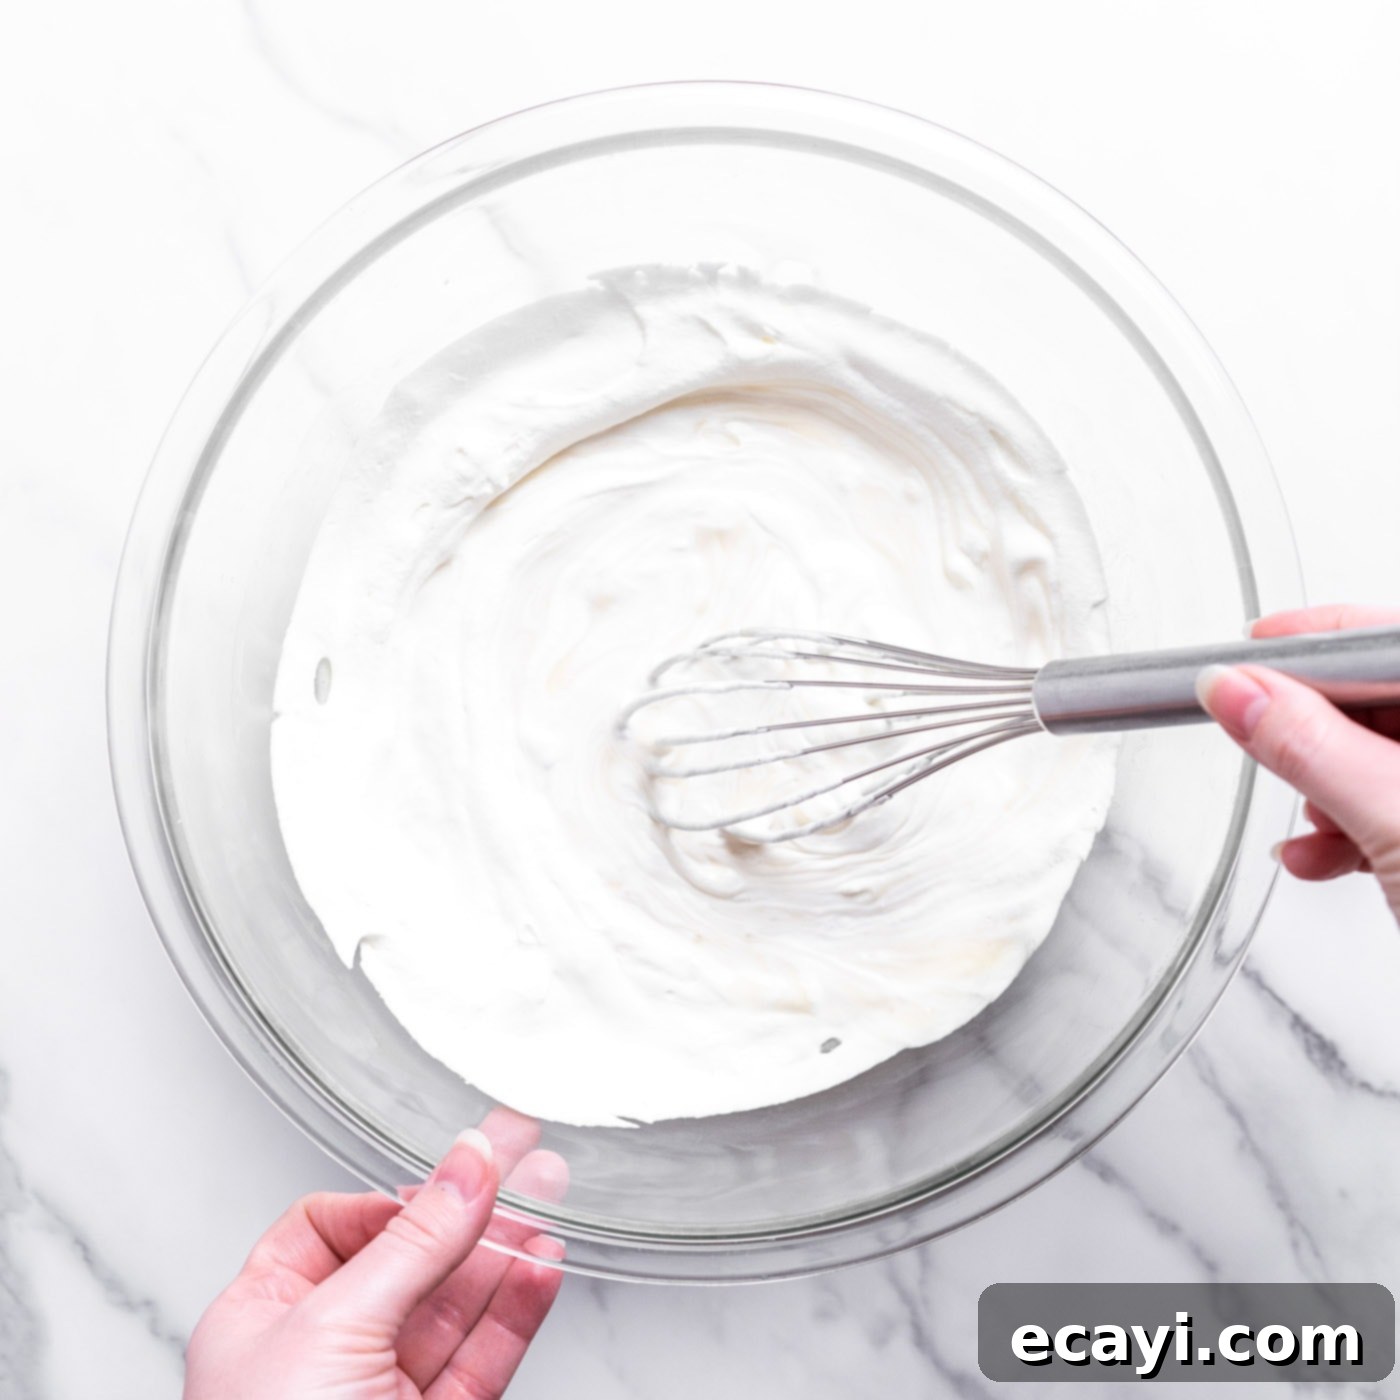
- Gently Combine Mixtures: Take about one-quarter of the whipped cream and gently whisk it into the sweetened condensed milk and vanilla mixture. This helps to lighten the condensed milk base, making it easier to fold in the remaining whipped cream without deflating it.


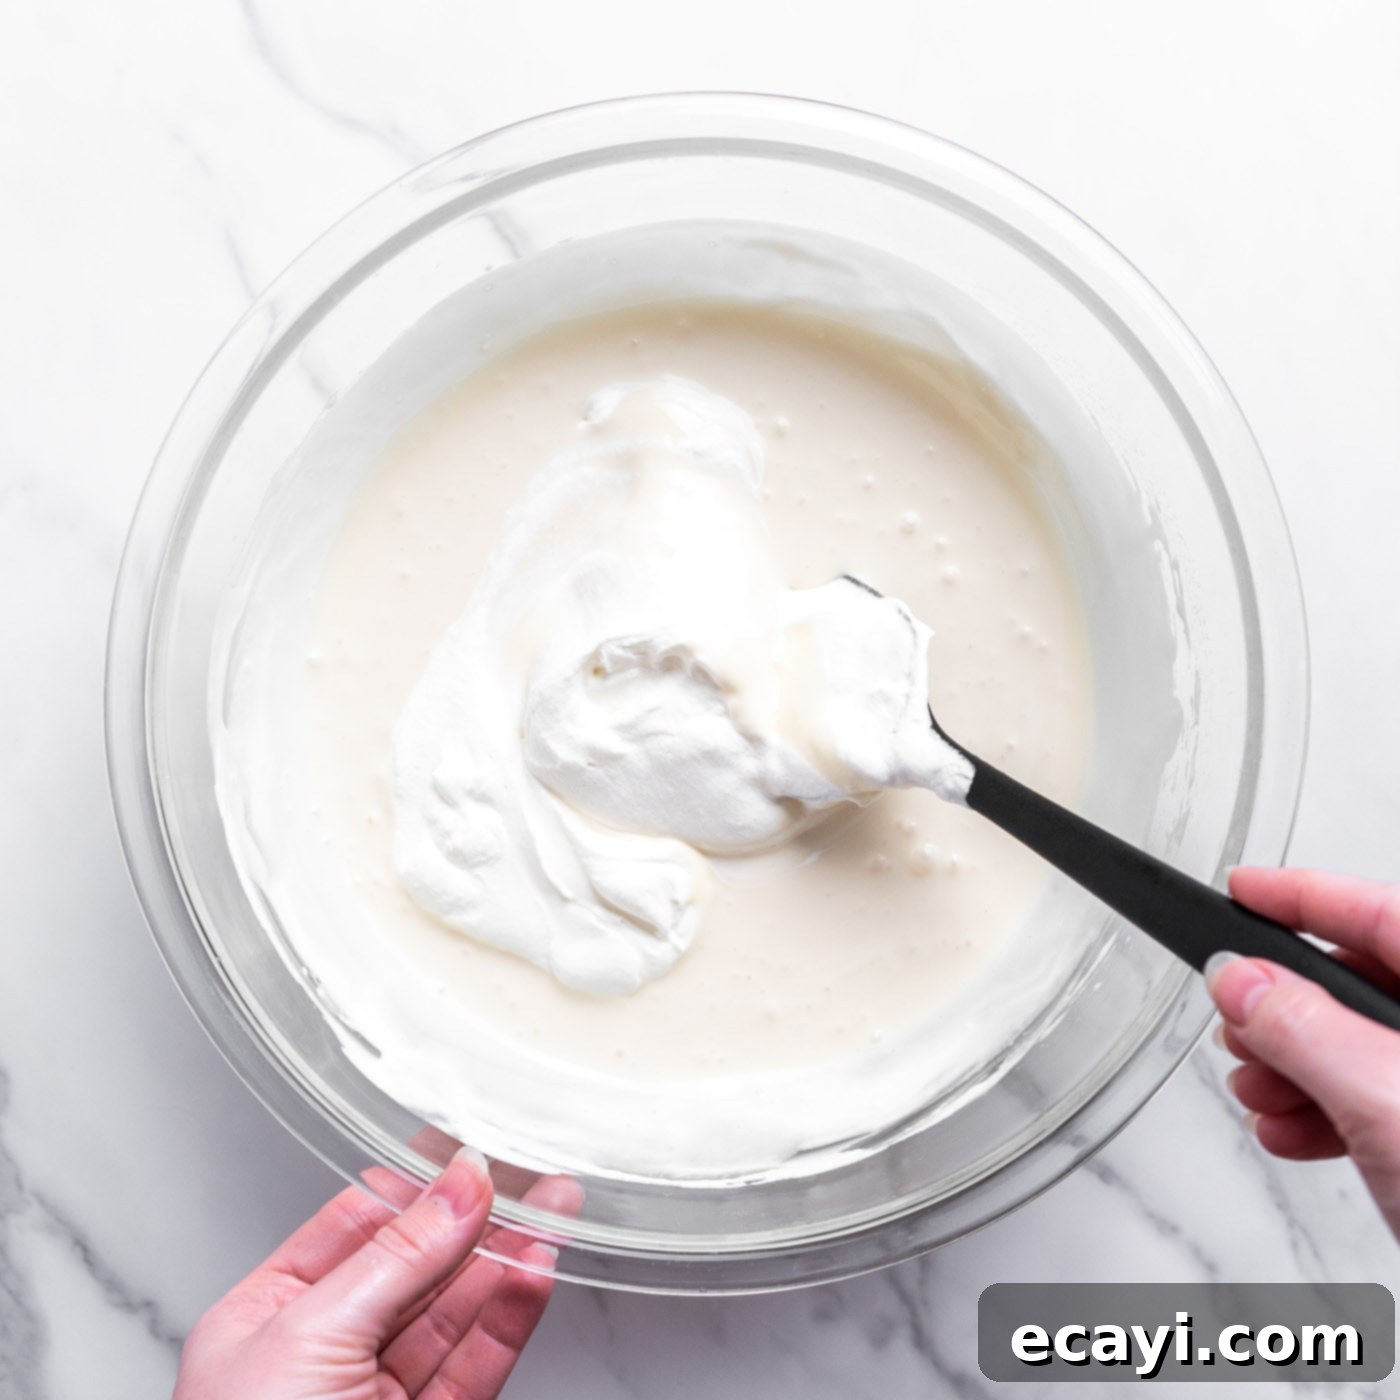
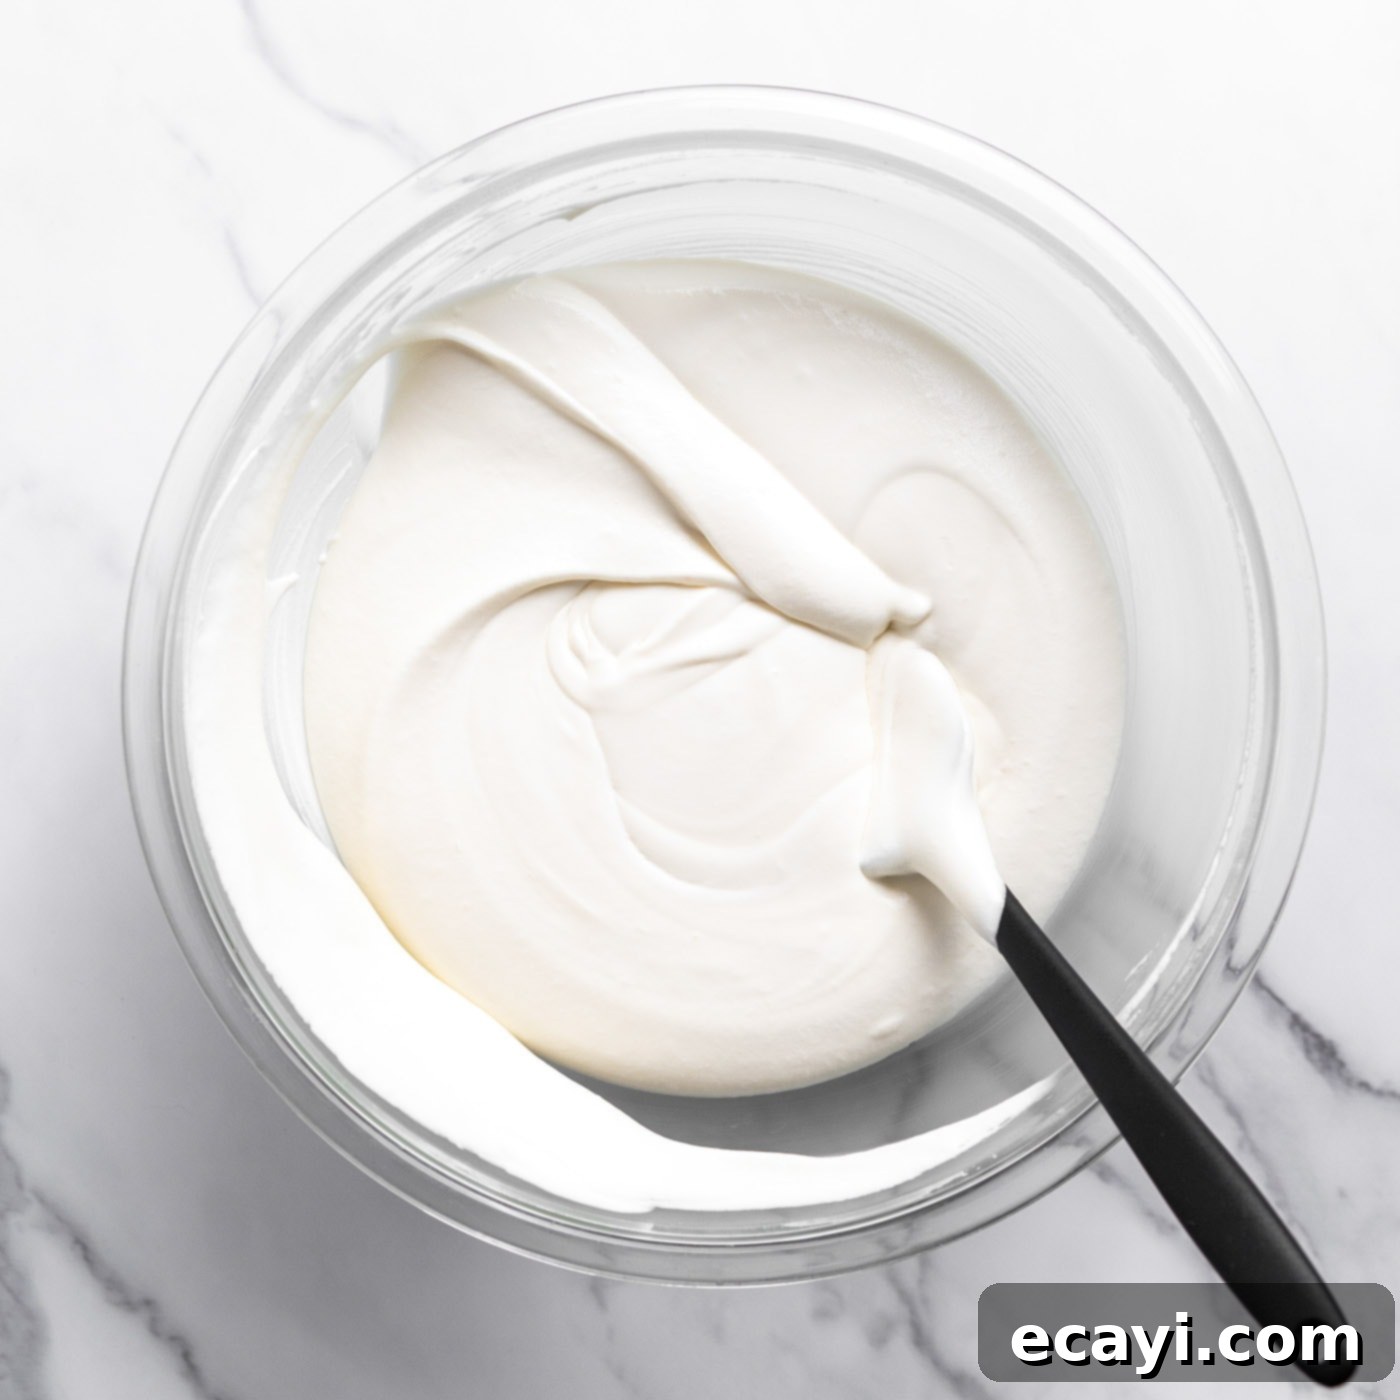
- Fold in Remaining Whipped Cream: With a rubber spatula, carefully fold in the remaining three-quarters of the whipped cream, adding it in small batches (about one-quarter at a time). The key here is to be gentle, using an upward motion from the bottom of the bowl, trying to maintain as much of the air in the whipped cream as possible. Continue until no streaks of condensed milk remain and the mixture is uniform and airy.


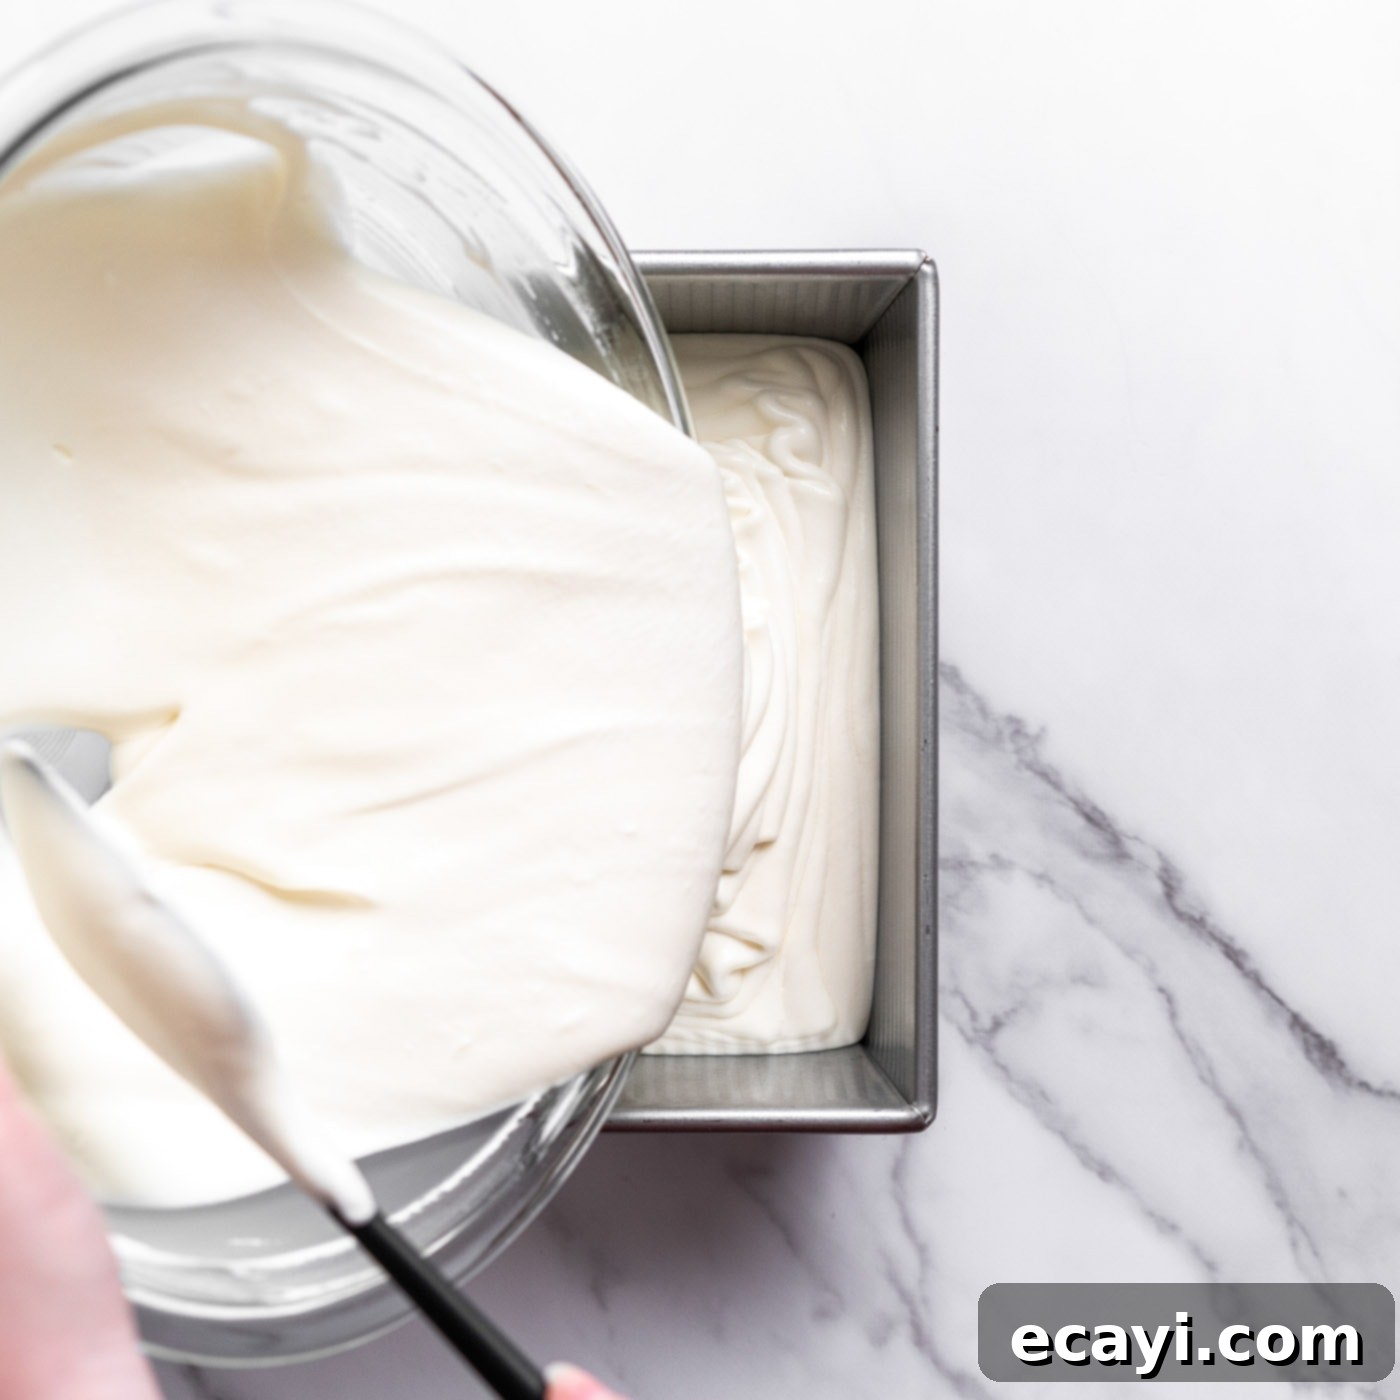
- Transfer and Freeze: Pour the beautifully light mixture into your pre-chilled loaf pan. Gently smooth out the top with your spatula to create an even surface. Cover the pan tightly with plastic wrap, pressing it directly onto the surface of the ice cream to prevent ice crystals from forming on top.


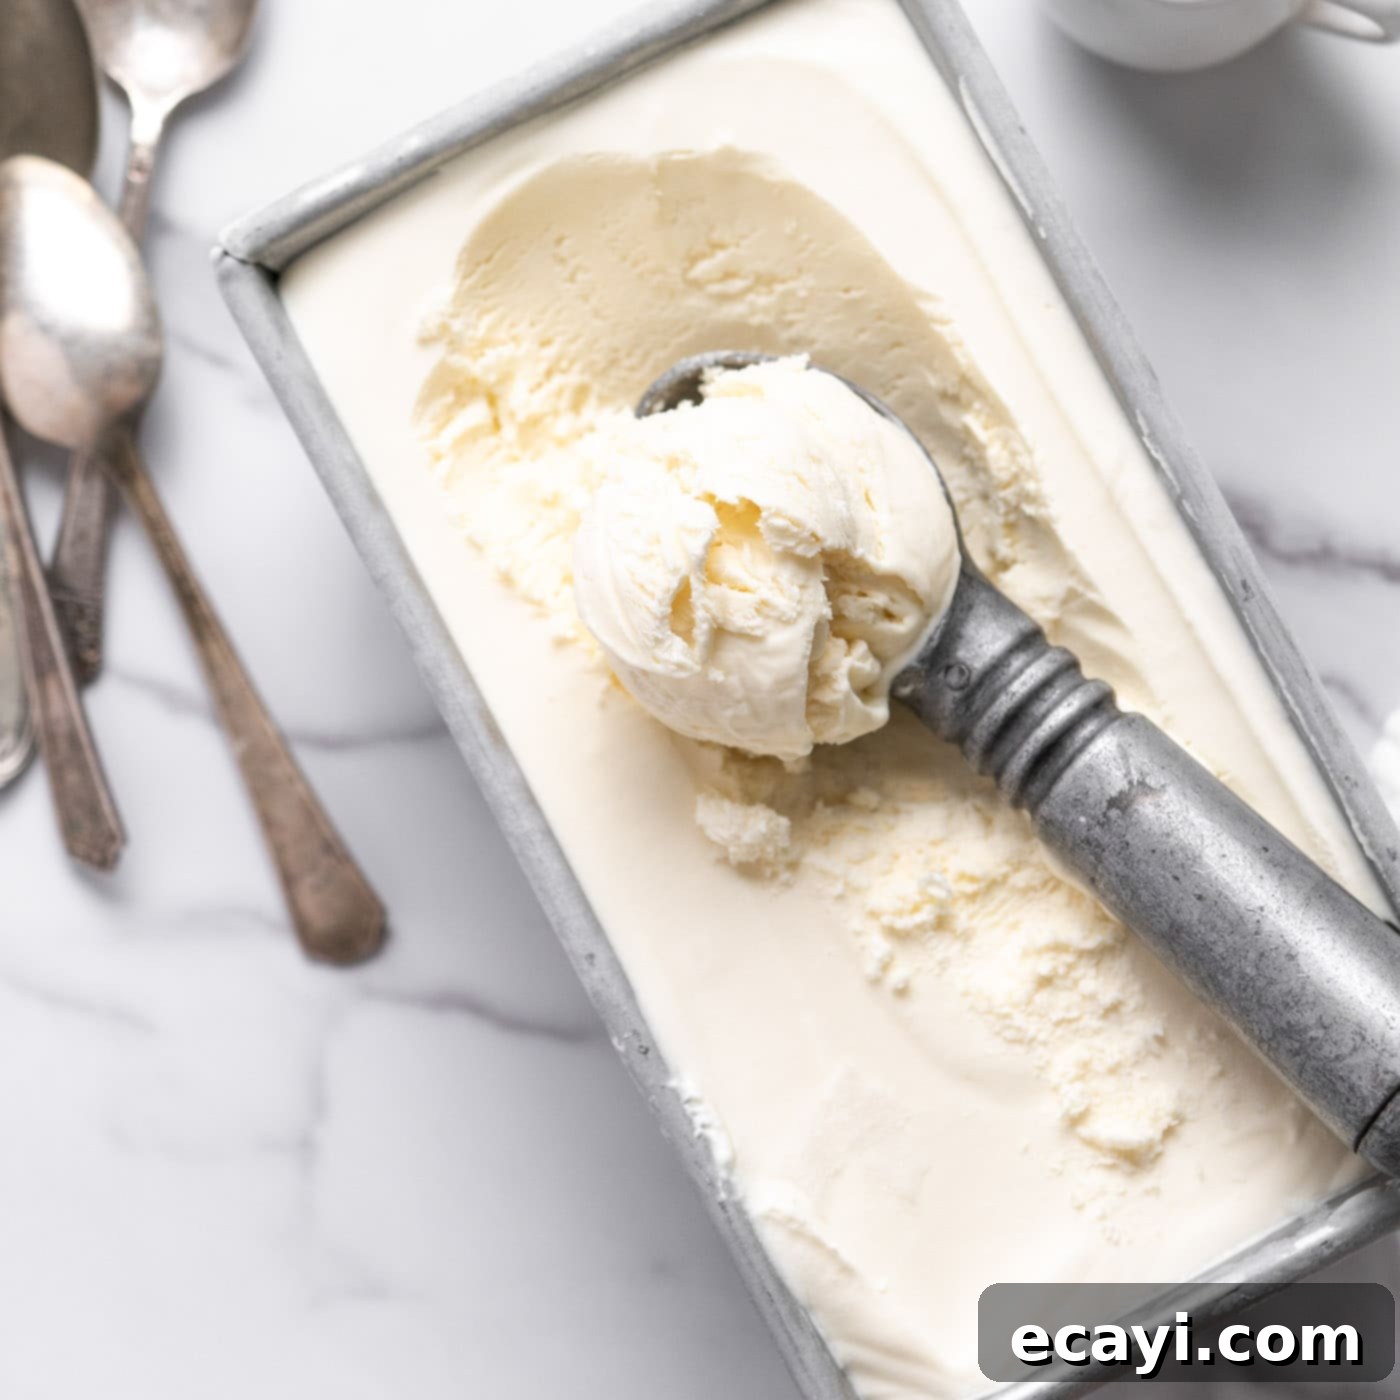
- Chill and Serve: Place the covered pan back into the freezer and allow it to freeze until solid. This typically takes about 6 to 8 hours, though it can vary based on your freezer’s temperature. Once firm, it’s ready to scoop and enjoy!
Frequently Asked Questions & Expert Tips for Perfection
While you can’t convert *any* traditional ice cream recipe to a no-churn method directly, many flavors can be adapted using this base no-churn recipe. The critical step is always to beat the heavy whipping cream to stiff peaks. This creates the stable, airy structure needed. Then, you gently fold this into your desired flavorings (like the sweetened condensed milk and vanilla here, or chocolate, fruit purees, etc.) and freeze in a chilled loaf pan. Avoid recipes that rely heavily on a custard base without the whipped cream component, as they may become too icy.
To transform this into a rich chocolate ice cream, you’ll want to add unsweetened cocoa powder to the sweetened condensed milk mixture. For precise measurements and step-by-step instructions, head over to our dedicated no-churn chocolate ice cream recipe. It’s just as simple and incredibly delicious!
Several factors can affect whipped cream. Ensure your heavy cream is very cold (straight from the fridge). Also, make sure your mixing bowl and beaters are impeccably clean and completely dry, as even a tiny bit of grease or water can prevent the cream from whipping properly. For best results, you can even chill your bowl and beaters in the freezer for 10-15 minutes before whipping.
Icy ice cream usually points to one of two issues: either the heavy cream wasn’t whipped to stiff enough peaks (meaning not enough air was incorporated), or the quality of the heavy cream used had a lower fat content. Always use high-quality heavy whipping cream (with at least 36% fat) and ensure it reaches stiff peaks before folding.
For the best quality and texture, no-churn ice cream is best enjoyed within 1-2 weeks. Beyond that, it might start to develop ice crystals and lose some of its optimal creaminess. Always store it in an airtight container to prevent freezer burn and absorb freezer odors.
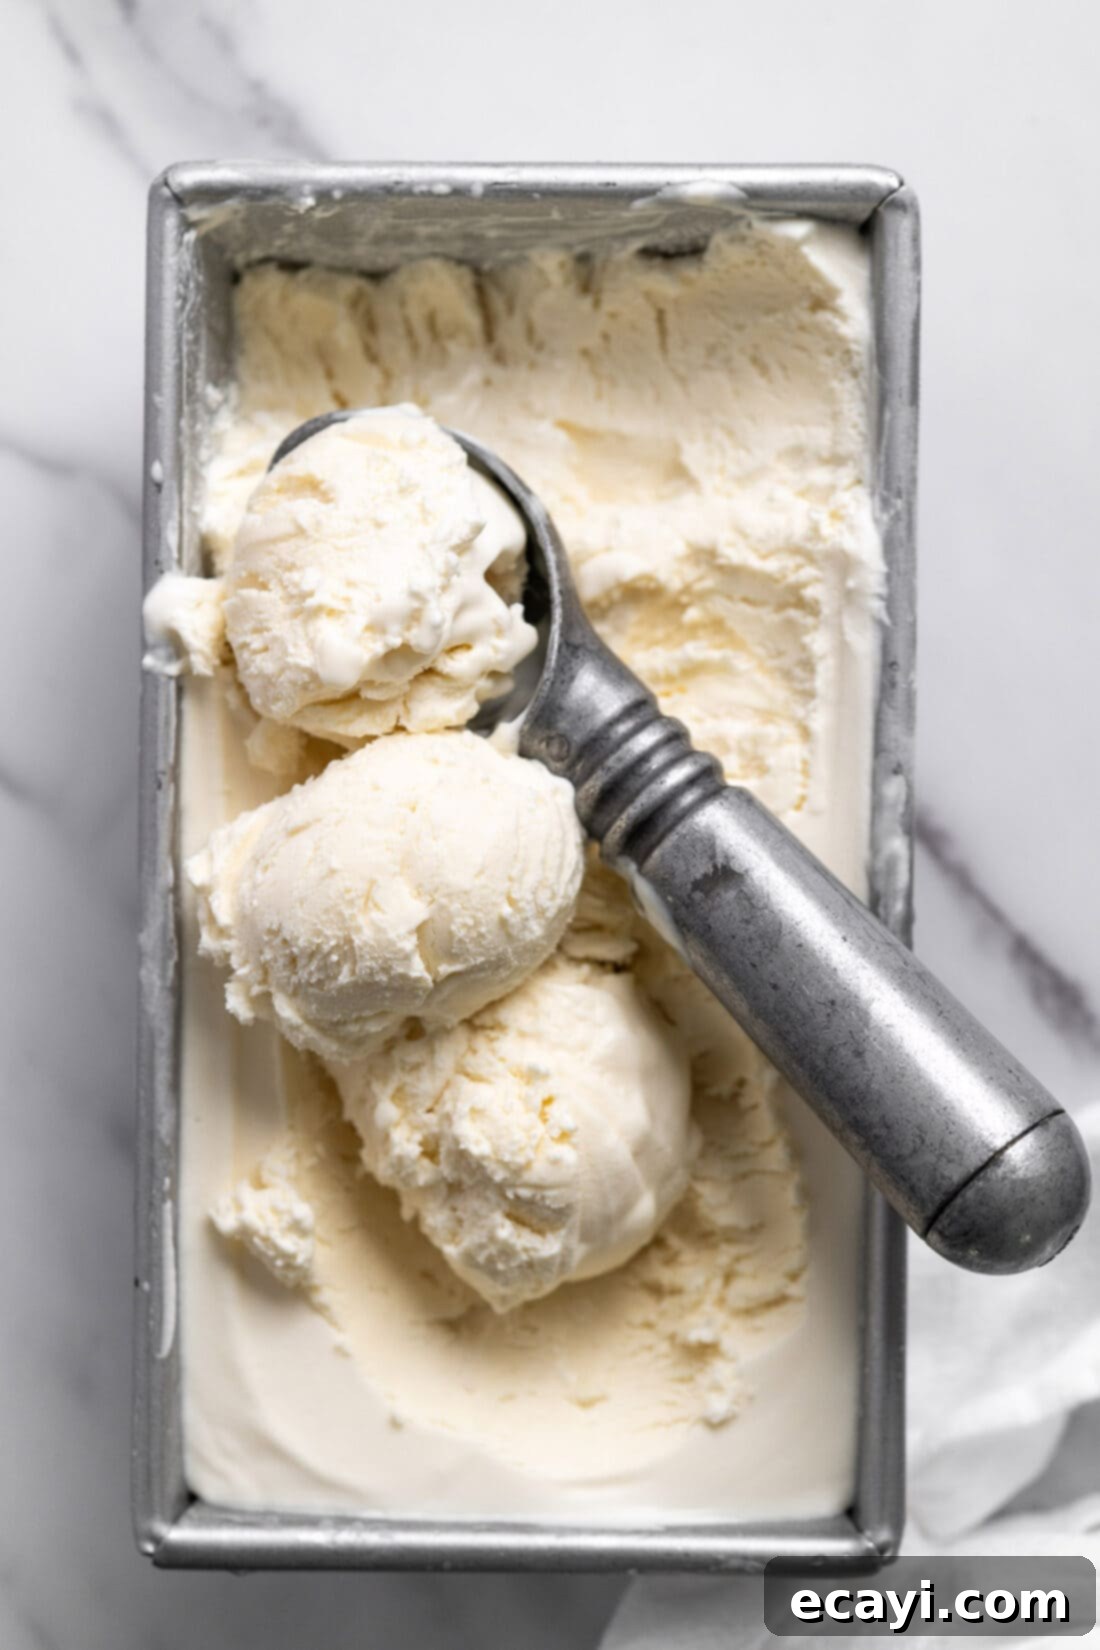
Creative Ways to Serve Your Homemade No-Churn Ice Cream
Once your creamy no-churn ice cream is perfectly frozen, the fun really begins! How will you enjoy your homemade treat? The classic scoop into a bowl, cup, or cone is always a winner. But why stop there? Elevate your ice cream experience with these delightful serving suggestions:
- Topping Extravaganza: Go wild with toppings! Drizzle with warm chocolate syrup, luscious caramel, or a vibrant berry compote. Sprinkle with colorful sprinkles, crunchy chopped nuts, crushed cookies, mini chocolate chips, or a dollop of whipped cream.
- Dessert Pairings: No-churn ice cream is the ultimate companion to a variety of warm desserts. Serve a generous scoop over fudgy brownies, warm apple cobblers, or a classic skillet chocolate chip cookie for an irresistible hot-and-cold sensation.
- Float & Shake Fun: Create nostalgic floats with your favorite soda or turn it into a thick, creamy milkshake. You can also use it to make delightful homemade slushie floats.
- Parfait Perfection: Layer scoops of ice cream with fresh fruit, granola, or crumbled cake for a beautiful and delicious parfait.
- Cake & Pie A La Mode: A scoop of this vanilla ice cream is the ideal accompaniment to almost any cake, pie, or tart.
Expert Tip for Scooping: If your ice cream is very solid directly from the freezer, let it sit at room temperature for about 5-10 minutes before scooping. This allows it to soften slightly, making it much easier to get those perfect, creamy scoops.
Explore More Irresistible Ice Cream Recipes
If you’ve fallen in love with the ease and deliciousness of no-churn ice cream, you’ll be thrilled to discover more exciting variations and frozen delights. Expand your repertoire with these fantastic recipes:
- No Churn Chocolate Ice Cream
- Mocha Chocolate Chip Ice Cream
- Rolled Ice Cream (a different, fun technique!)
- Nutella Swirl Cheesecake Ice Cream
- Peanut Butter Chocolate Chip Ice Cream
- Homemade Mint Chocolate Chip Ice Cream
- Rocky Road Ice Cream
I love to bake and cook and share my kitchen experience with all of you! Remembering to come back each day can be tough, that’s why I offer a convenient newsletter every time a new recipe posts. Simply subscribe and start receiving your free daily recipes!
No Churn Ice Cream
IMPORTANT – There are often Frequently Asked Questions within the blog post that you may find helpful. Simply scroll back up to read them!
Print It
Pin It
Rate It
Save ItSaved!
Ingredients
- 14 oz sweetened condensed milk
- 1 Tbsp vanilla extract
- 2 cups heavy whipping cream
Things You’ll Need
-
9×5 loaf pan
-
Hand mixer
-
Mixing bowls
-
Rubber spatula
Before You Begin
- For pretty flecks of vanilla, use 1 tablespoon of vanilla bean paste instead of vanilla extract.
- If you want to add mix-ins to this ice cream such as chopped candy or nuts, let the ice cream chill until semi-frozen, about 1 to 2 hours, before adding them.
- If your ice cream is very solid, let it sit at room temperature for 10 minutes before scooping.
Instructions
-
Place a 9 by 5-inch loaf pan in the freezer to chill.
-
In a large bowl, whisk together the sweetened condensed milk and vanilla.
-
In a separate large bowl, use a handheld electric beater to whip the cream until it forms stiff peaks.
-
Whisk 1/4 of the whipped cream into the sweetened condensed milk/vanilla mixture until well-combined. Use a rubber spatula to fold in the remaining 3/4 of the whipped cream 1/4 at a time.
-
Pour the mixture into the chilled loaf pan. Smooth out the top and cover with plastic wrap.
-
Freeze until solid, about 6 to 8 hours. Serve.
Nutrition
The recipes on this blog are tested with a conventional gas oven and gas stovetop. It’s important to note that some ovens, especially as they age, can cook and bake inconsistently. Using an inexpensive oven thermometer can assure you that your oven is truly heating to the proper temperature. If you use a toaster oven or countertop oven, please keep in mind that they may not distribute heat the same as a conventional full sized oven and you may need to adjust your cooking/baking times. In the case of recipes made with a pressure cooker, air fryer, slow cooker, or other appliance, a link to the appliances we use is listed within each respective recipe. For baking recipes where measurements are given by weight, please note that results may not be the same if cups are used instead, and we can’t guarantee success with that method.
