Indulge in Irresistible Homemade Peanut Butter and Jelly Donuts: Your Ultimate Guide
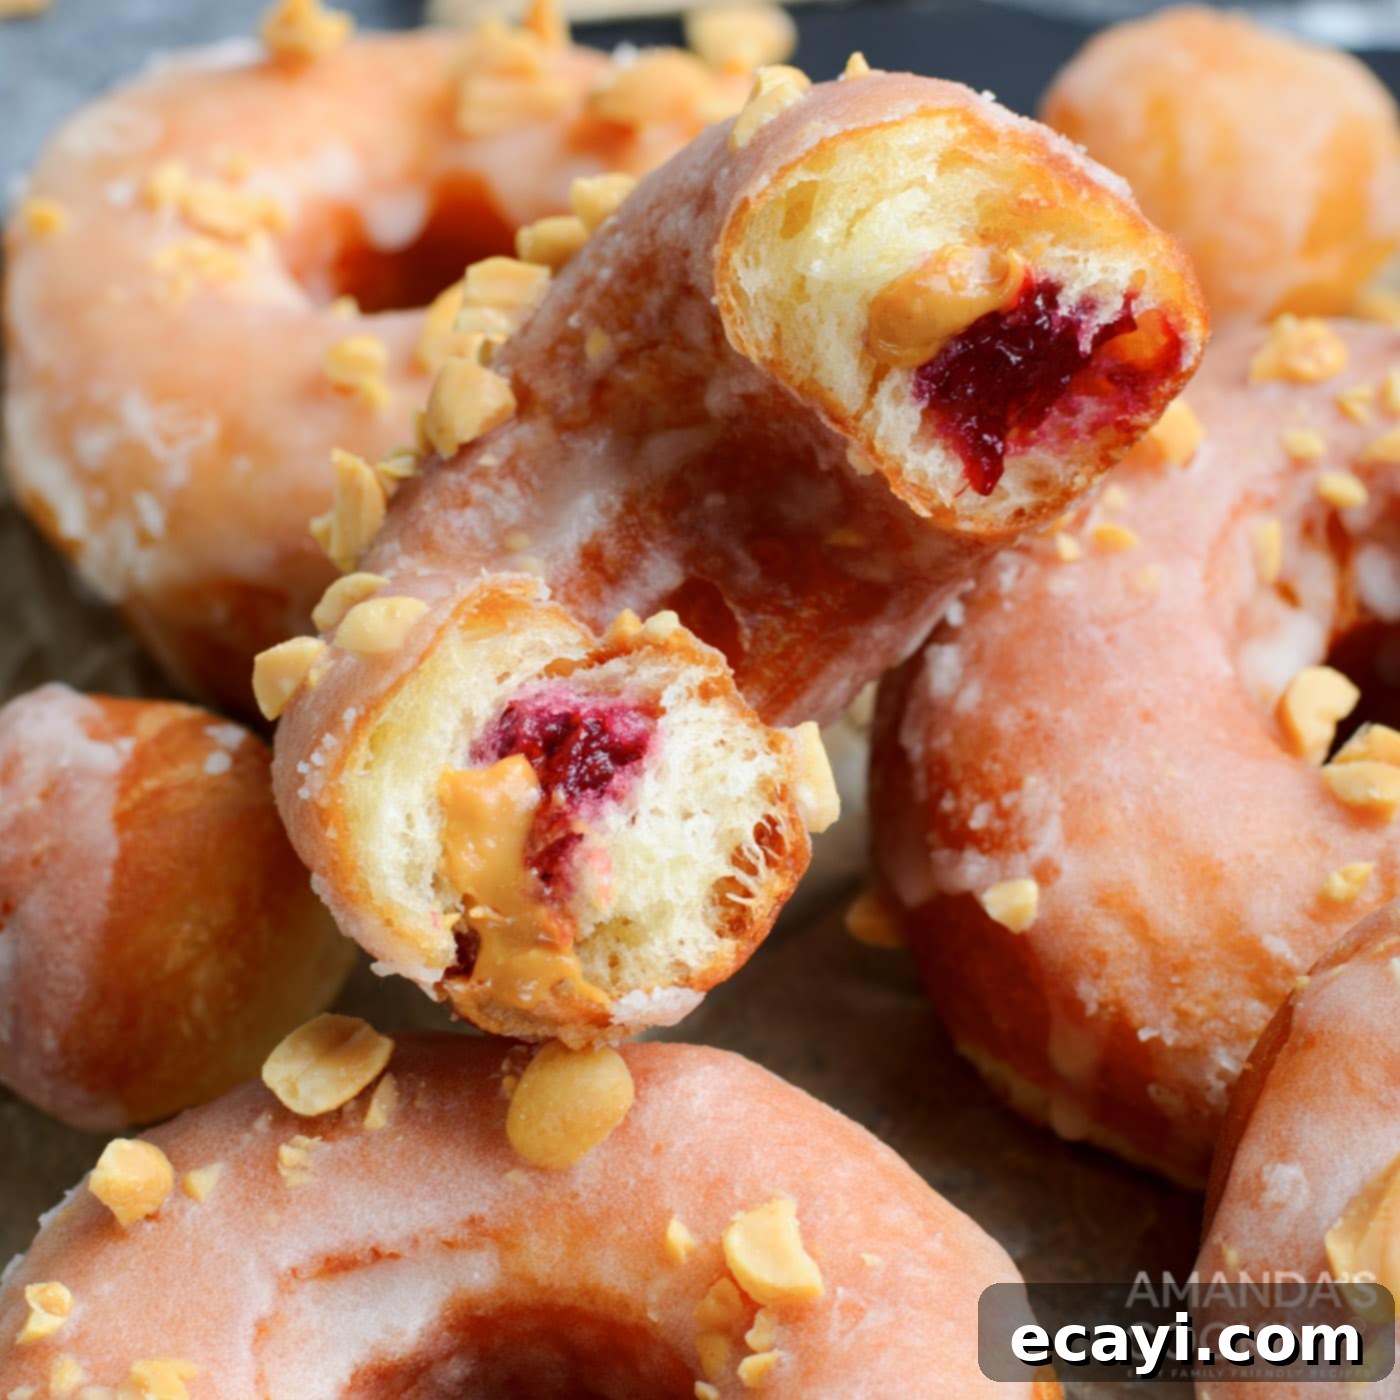
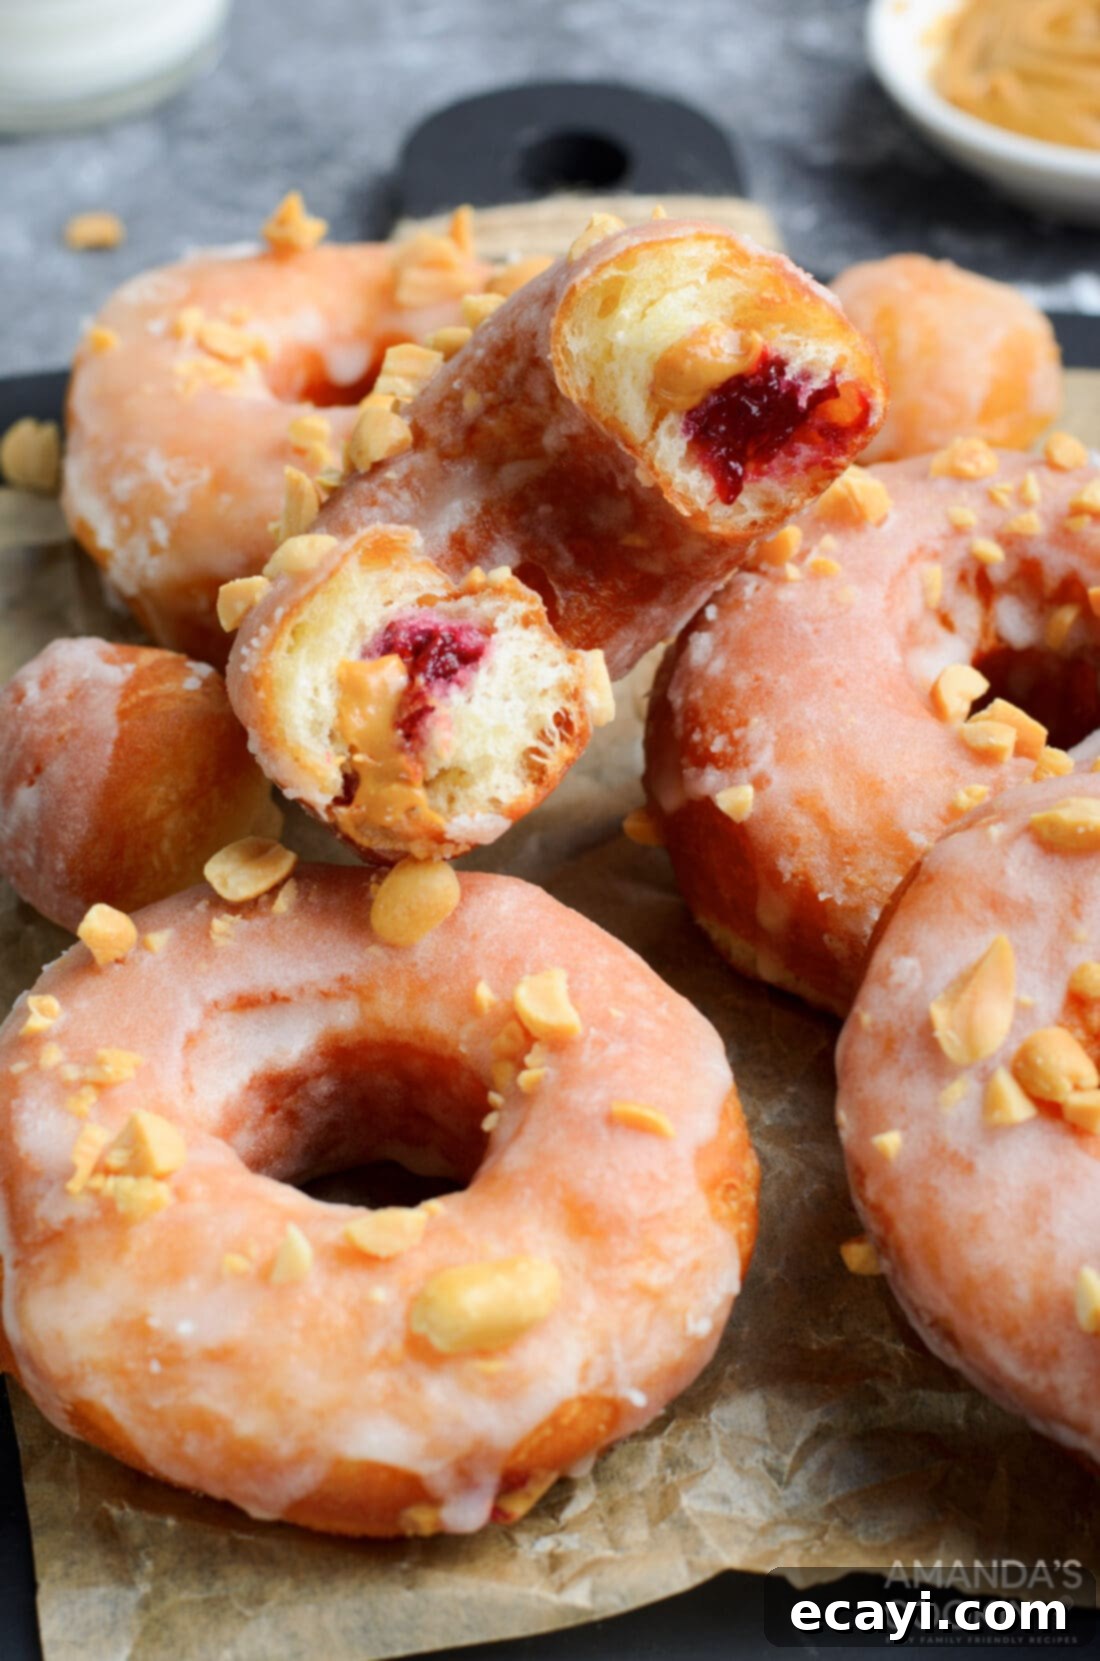
Imagine biting into a soft, pillowy donut, yielding instantly to reveal a warm, gooey center of rich peanut butter and sweet, vibrant raspberry jelly. These homemade peanut butter & jelly donuts are an incredibly addictive treat, combining nostalgic childhood flavors with the comforting indulgence of a fresh, glazed donut. Forget everything you thought you knew about breakfast pastries; these aren’t just donuts, they’re an experience no one will be able to resist!
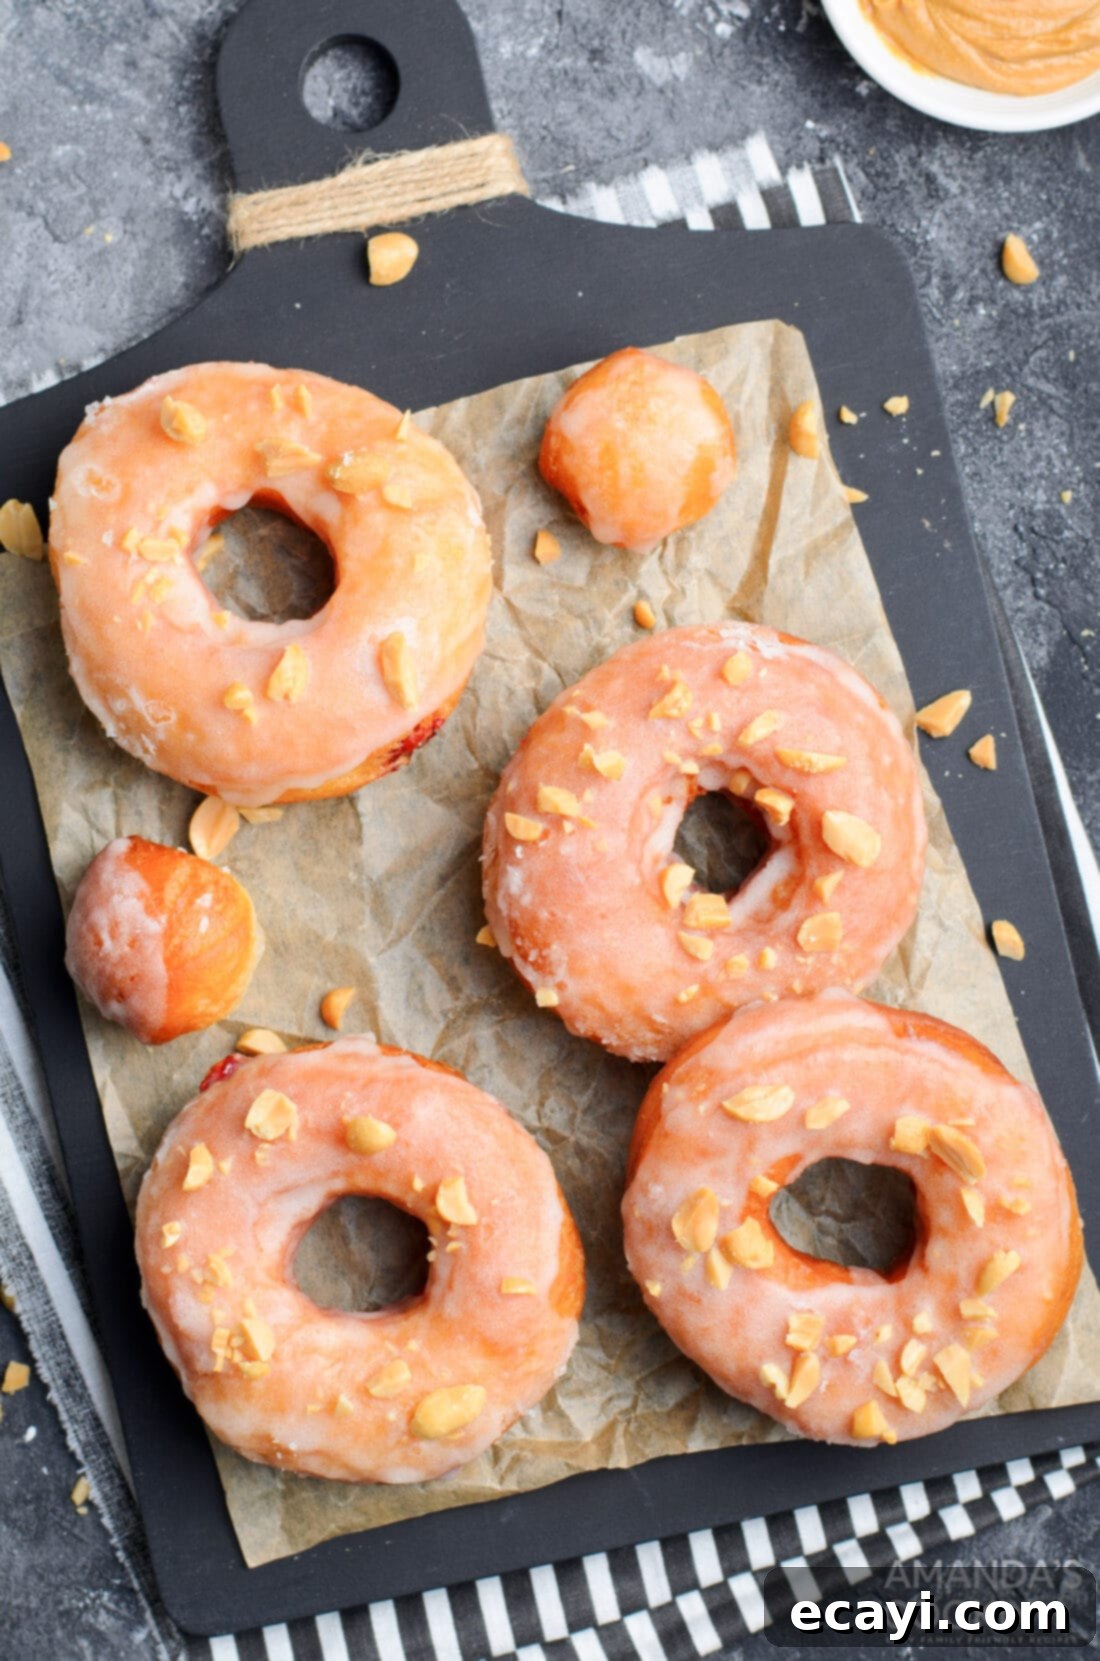
Perfect for brunch, a special dessert, or simply to elevate your morning coffee, these PB&J donuts are a delightful twist on a classic combination. The delicate, airy dough, fried to golden perfection, provides the ideal canvas for the luscious filling. Each bite is a symphony of textures and flavors – the subtle sweetness of the glaze, the satisfying crunch of chopped peanuts, and the harmonious blend of creamy peanut butter and fruity jelly.
Why This Homemade PB&J Donut Recipe is a Must-Try
Biting into one of these peanut butter & jelly donuts is an experience reminiscent of what you’d imagine a gourmet, deep-fried PB&J sandwich would taste like, but taken to an entirely new level. The fluffy, light donut acts as a perfect vessel for the warm, melty peanut butter and sweet, often tart, raspberry jelly. Unlike a sandwich, the donut boasts a sweet, glistening glaze on top, which adds another layer of flavor and a beautiful sheen.
What truly sets these donuts apart and elevates them beyond a simple pastry is the thoughtful addition of chopped peanuts. Sprinkled generously over the glaze, these peanuts introduce a crucial element of texture – a satisfying crunch that contrasts beautifully with the soft donut, creamy peanut butter, and smooth jelly. This textural interplay is key to preventing the donut from being one-note and really brings a gourmet touch to this comforting treat.
While making homemade donuts might seem a bit more involved than whipping up your typical peanut butter and jelly sandwich, the effort is undeniably worth every single step. There’s an unparalleled sense of accomplishment and a superior taste that comes with baking from scratch. You’ll find that many of your favorite store-bought delights, like these homemade pop tarts, can be recreated with stunning results right in your own kitchen. Don’t be intimidated by the process; it’s a rewarding culinary adventure that allows you to control the quality of ingredients and savor the freshest flavors. Give it a try, and you might just discover your new favorite homemade treat!
Essential Ingredients for Perfect Peanut Butter & Jelly Donuts
To embark on this delightful donut-making journey, you’ll need a selection of fresh, high-quality ingredients. While the full list with precise measurements is available in the printable recipe card at the end of this post, here’s an overview of what you’ll be gathering. Having everything prepped and ready before you begin will make the process much smoother and more enjoyable. From the foundational elements of the fluffy dough to the luscious filling and irresistible glaze, each component plays a vital role in creating these extraordinary donuts.
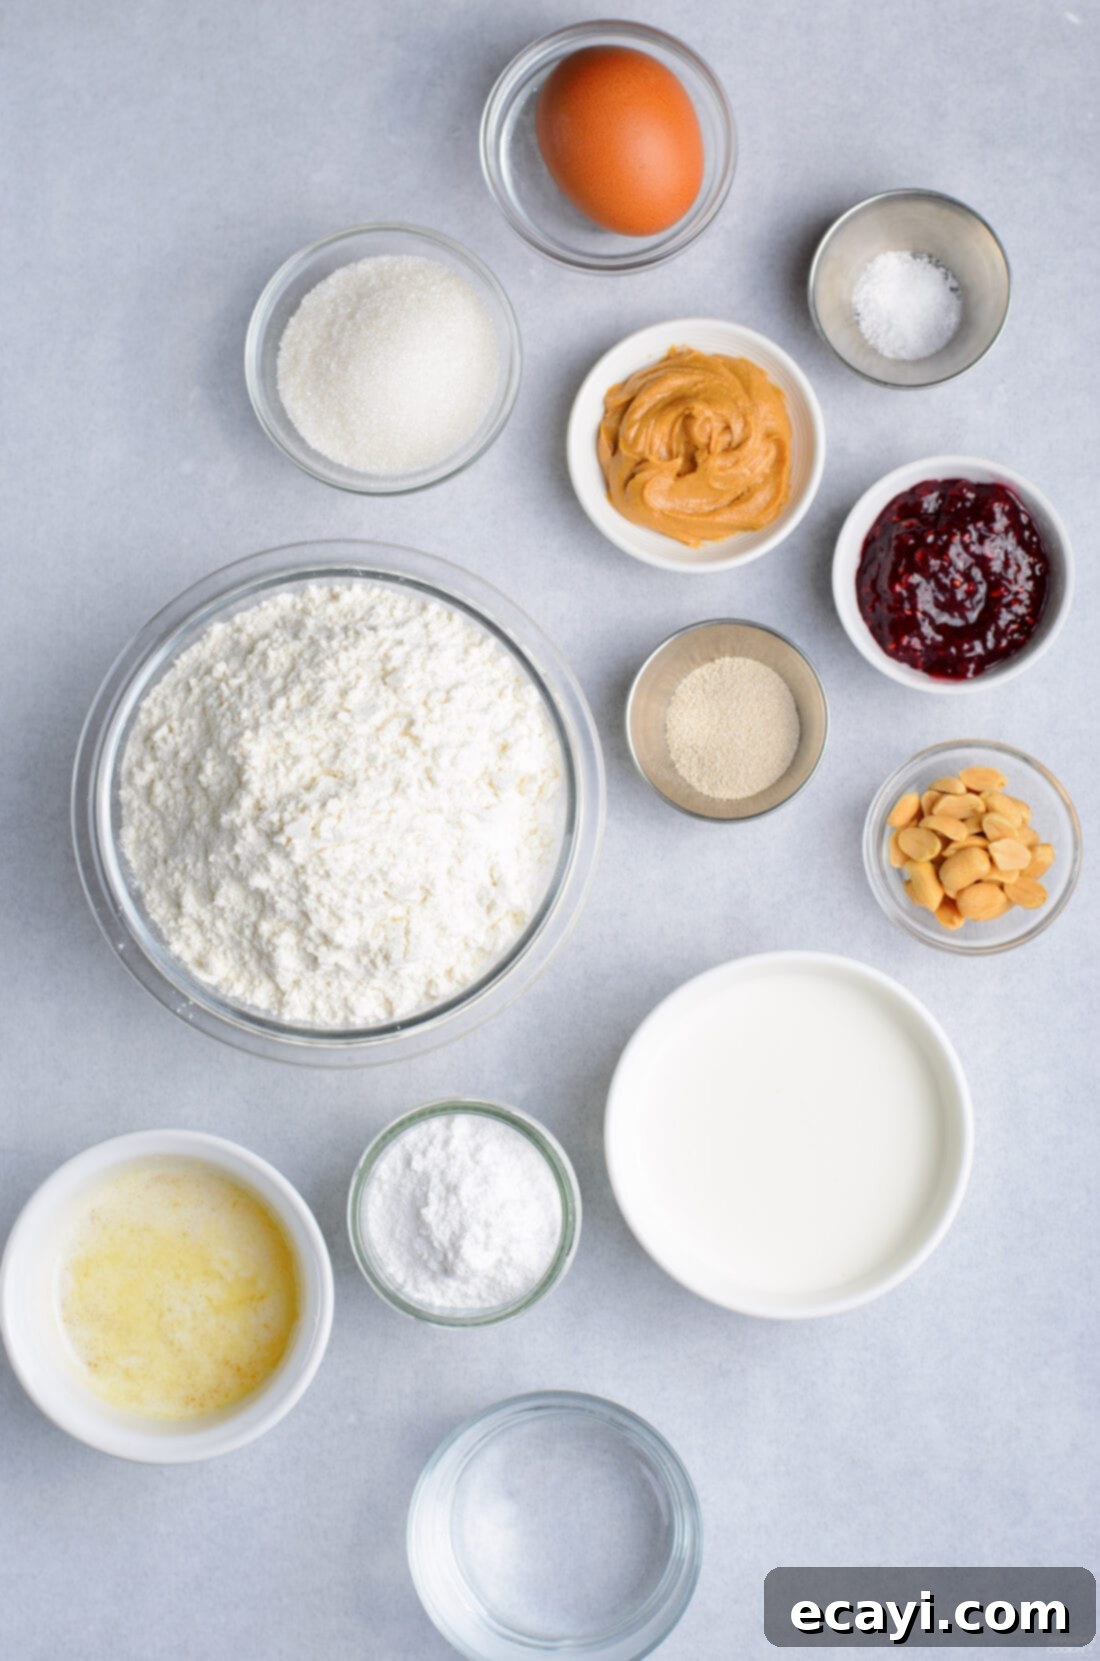
Ingredient Information and Smart Substitution Ideas
Understanding the role of each ingredient and knowing your options for substitutions can make your donut-making experience even better, and help you cater to various preferences or dietary needs.
For the Irresistible Filling: Peanut Butter and Jelly Choices
Peanut Butter: We recommend creamy peanut butter for its smooth texture, which makes it incredibly easy to pipe into the donuts and provides a consistent melt-in-your-mouth experience. However, if you’re a fan of added texture and a more robust crunch, feel free to use chunky peanut butter. Just be aware that chunky peanut butter might require a slightly wider piping tip or a bit more pressure to dispense. For those with peanut allergies or simply looking for an alternative, sunbutter (sunflower seed butter) is an excellent choice. Almond butter or cashew butter also work beautifully, offering a slightly different nutty flavor profile. Keep in mind that natural nut/seed butters may be thinner in consistency; if so, you might want to chill them slightly before filling for easier handling.
Jelly/Jam: The beauty of a PB&J donut lies in its versatility. While raspberry jelly offers a delightful tartness that cuts through the richness of the peanut butter, you can absolutely customize this to your preference. Grape jelly is a classic choice for a reason, providing a familiar and sweet counterpoint. Strawberry jam or blackberry preserves would also be fantastic, adding their unique fruity notes. For something truly special, consider a black raspberry jam. Ensure your chosen jelly or jam isn’t too runny, as this can make filling challenging and potentially lead to leakage. If your jam is very thick, warming it gently can help it flow better through a pastry bag.
Dough Essentials: Creating the Perfect Base
All-Purpose Flour: The backbone of our donut dough. Ensure your flour is fresh for the best results. Using a kitchen scale to measure flour by weight (ounces) is highly recommended for accuracy, as cup measurements can vary significantly depending on how the flour is scooped.
Lukewarm Buttermilk and Water: These liquids are crucial for activating the yeast. Buttermilk not only adds a subtle tang but also contributes to the tender crumb of the donuts. If you don’t have buttermilk, you can make a quick substitute by adding 1 tablespoon of white vinegar or lemon juice to regular milk, letting it sit for 5-10 minutes until it slightly curdles, then using it lukewarm.
Active Dry Yeast: This is what gives our donuts their fluffy, airy texture. Always check the expiration date to ensure your yeast is active. Blooming it in lukewarm liquid with a touch of sugar is a key step to verify its vitality before mixing with the rest of the ingredients.
Egg (Room Temperature): A single egg adds richness, binds the ingredients, and helps create a tender texture. Bringing the egg to room temperature helps it incorporate more smoothly into the dough.
Unsalted Butter (Melted): Butter contributes to the flavor and tenderness of the dough. Using unsalted butter allows you to control the overall saltiness of the recipe.
Granulated Sugar and Salt: Sugar provides food for the yeast, aids in browning, and sweetens the dough. Salt balances the flavors and also regulates yeast activity.
Glaze and Topping: The Finishing Touches
Powdered Sugar: The foundation of our sweet, smooth glaze. Sifting it can help prevent lumps.
Milk: Used to achieve the desired consistency for the glaze. Start with the recommended amount and add more gradually, a teaspoon at a time, until the glaze is dippable but not too thin.
Unsalted Peanuts (Chopped): These are essential for the textural contrast and classic PB&J appeal. If peanuts are not an option, consider toasted chopped almonds or walnuts for a different nutty crunch, or even a sprinkle of toasted shredded coconut for a unique twist.
By thoughtfully considering these ingredient notes and substitution possibilities, you can truly make this PB&J donut recipe your own, adapting it to suit your taste and pantry.
How to Make Homemade Peanut Butter & Jelly Donuts: A Step-by-Step Guide
These step-by-step photos and detailed instructions are provided to help you visualize each stage of making these delicious donuts. For a convenient printable version of this recipe, complete with precise measurements and instructions, you can Jump to Recipe at the bottom of this post.
- **Activate the Yeast:** In a large mixing bowl, combine the lukewarm buttermilk, lukewarm water, granulated sugar, and active dry yeast. Whisk these ingredients gently until the sugar and yeast are fully dissolved. This crucial step is called “blooming” the yeast. Let the mixture sit undisturbed for 5-10 minutes. You’ll know your yeast is active and ready when the surface becomes foamy and frothy, indicating the yeast is alive and producing carbon dioxide. If it doesn’t foam, your yeast may be old or the water temperature was incorrect (too hot kills it, too cold won’t activate it), and you’ll need to start again.
- **Incorporate Wet Ingredients:** Once the yeast mixture is foamy, add the room temperature egg, melted unsalted butter, and salt to the bowl. Whisk everything together thoroughly until all ingredients are well combined. This ensures even distribution of flavors and helps build the dough’s structure.
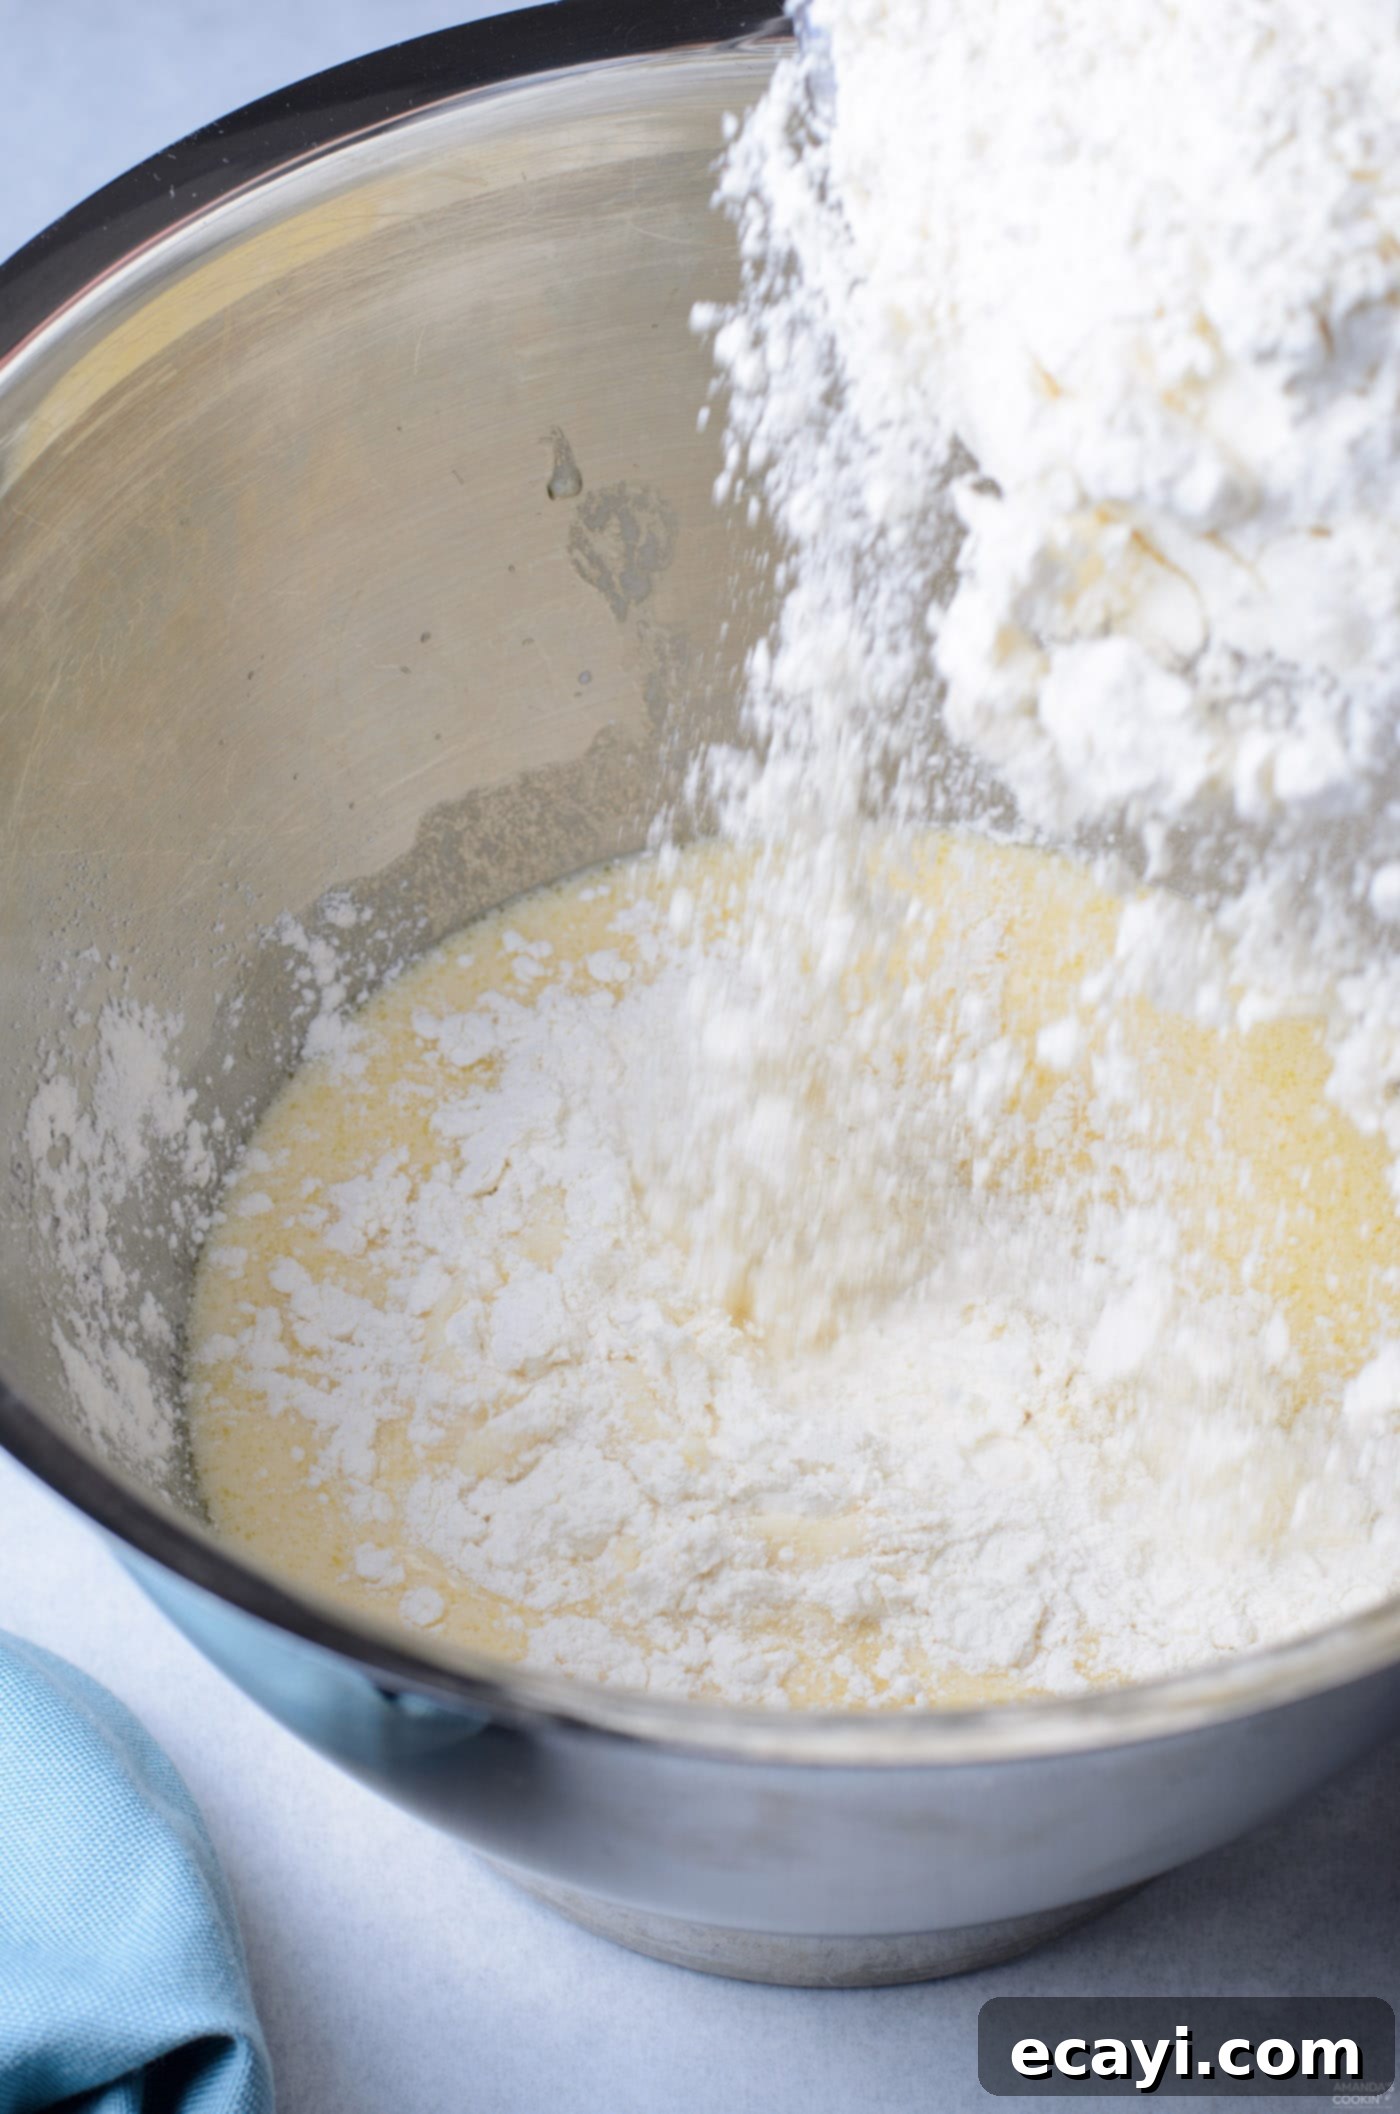
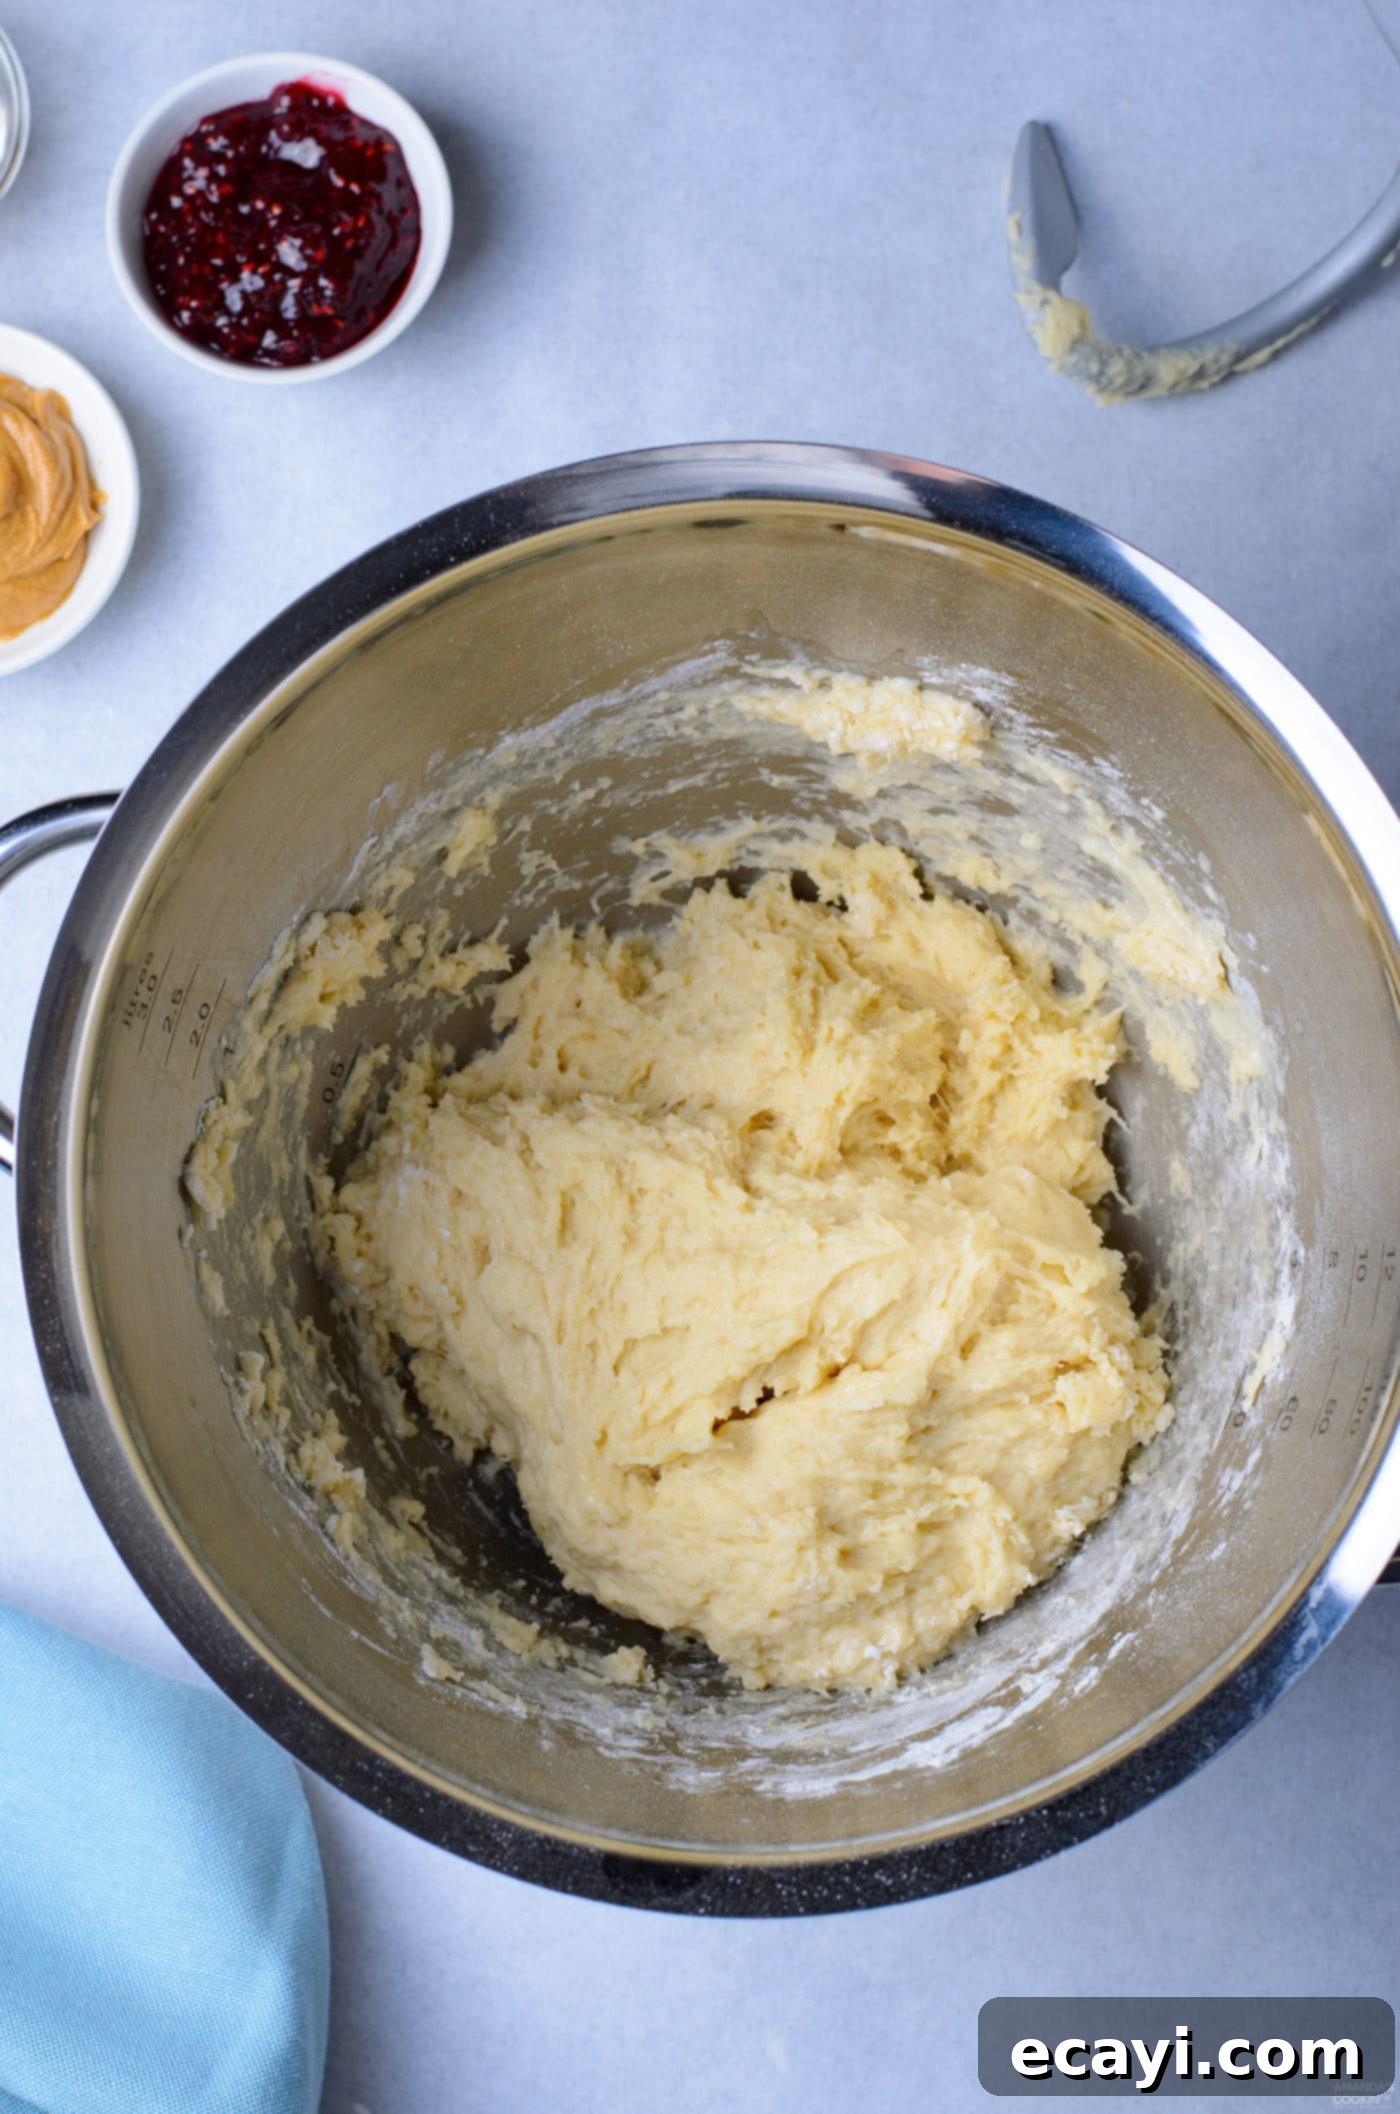
- **Form the Dough:** Gradually add the all-purpose flour to the wet ingredients. If you’re using a stand mixer, attach the dough hook and mix on low-medium speed for about 5 minutes. The dough should come together, pull away from the sides of the bowl, and become smooth and elastic. If kneading by hand, turn the dough out onto a lightly floured surface and knead for approximately 10 minutes. The dough should be soft, pliable, and slightly tacky, but not sticky. It should pass the “windowpane test” – if you stretch a small piece, it should become thin enough to see light through without tearing.


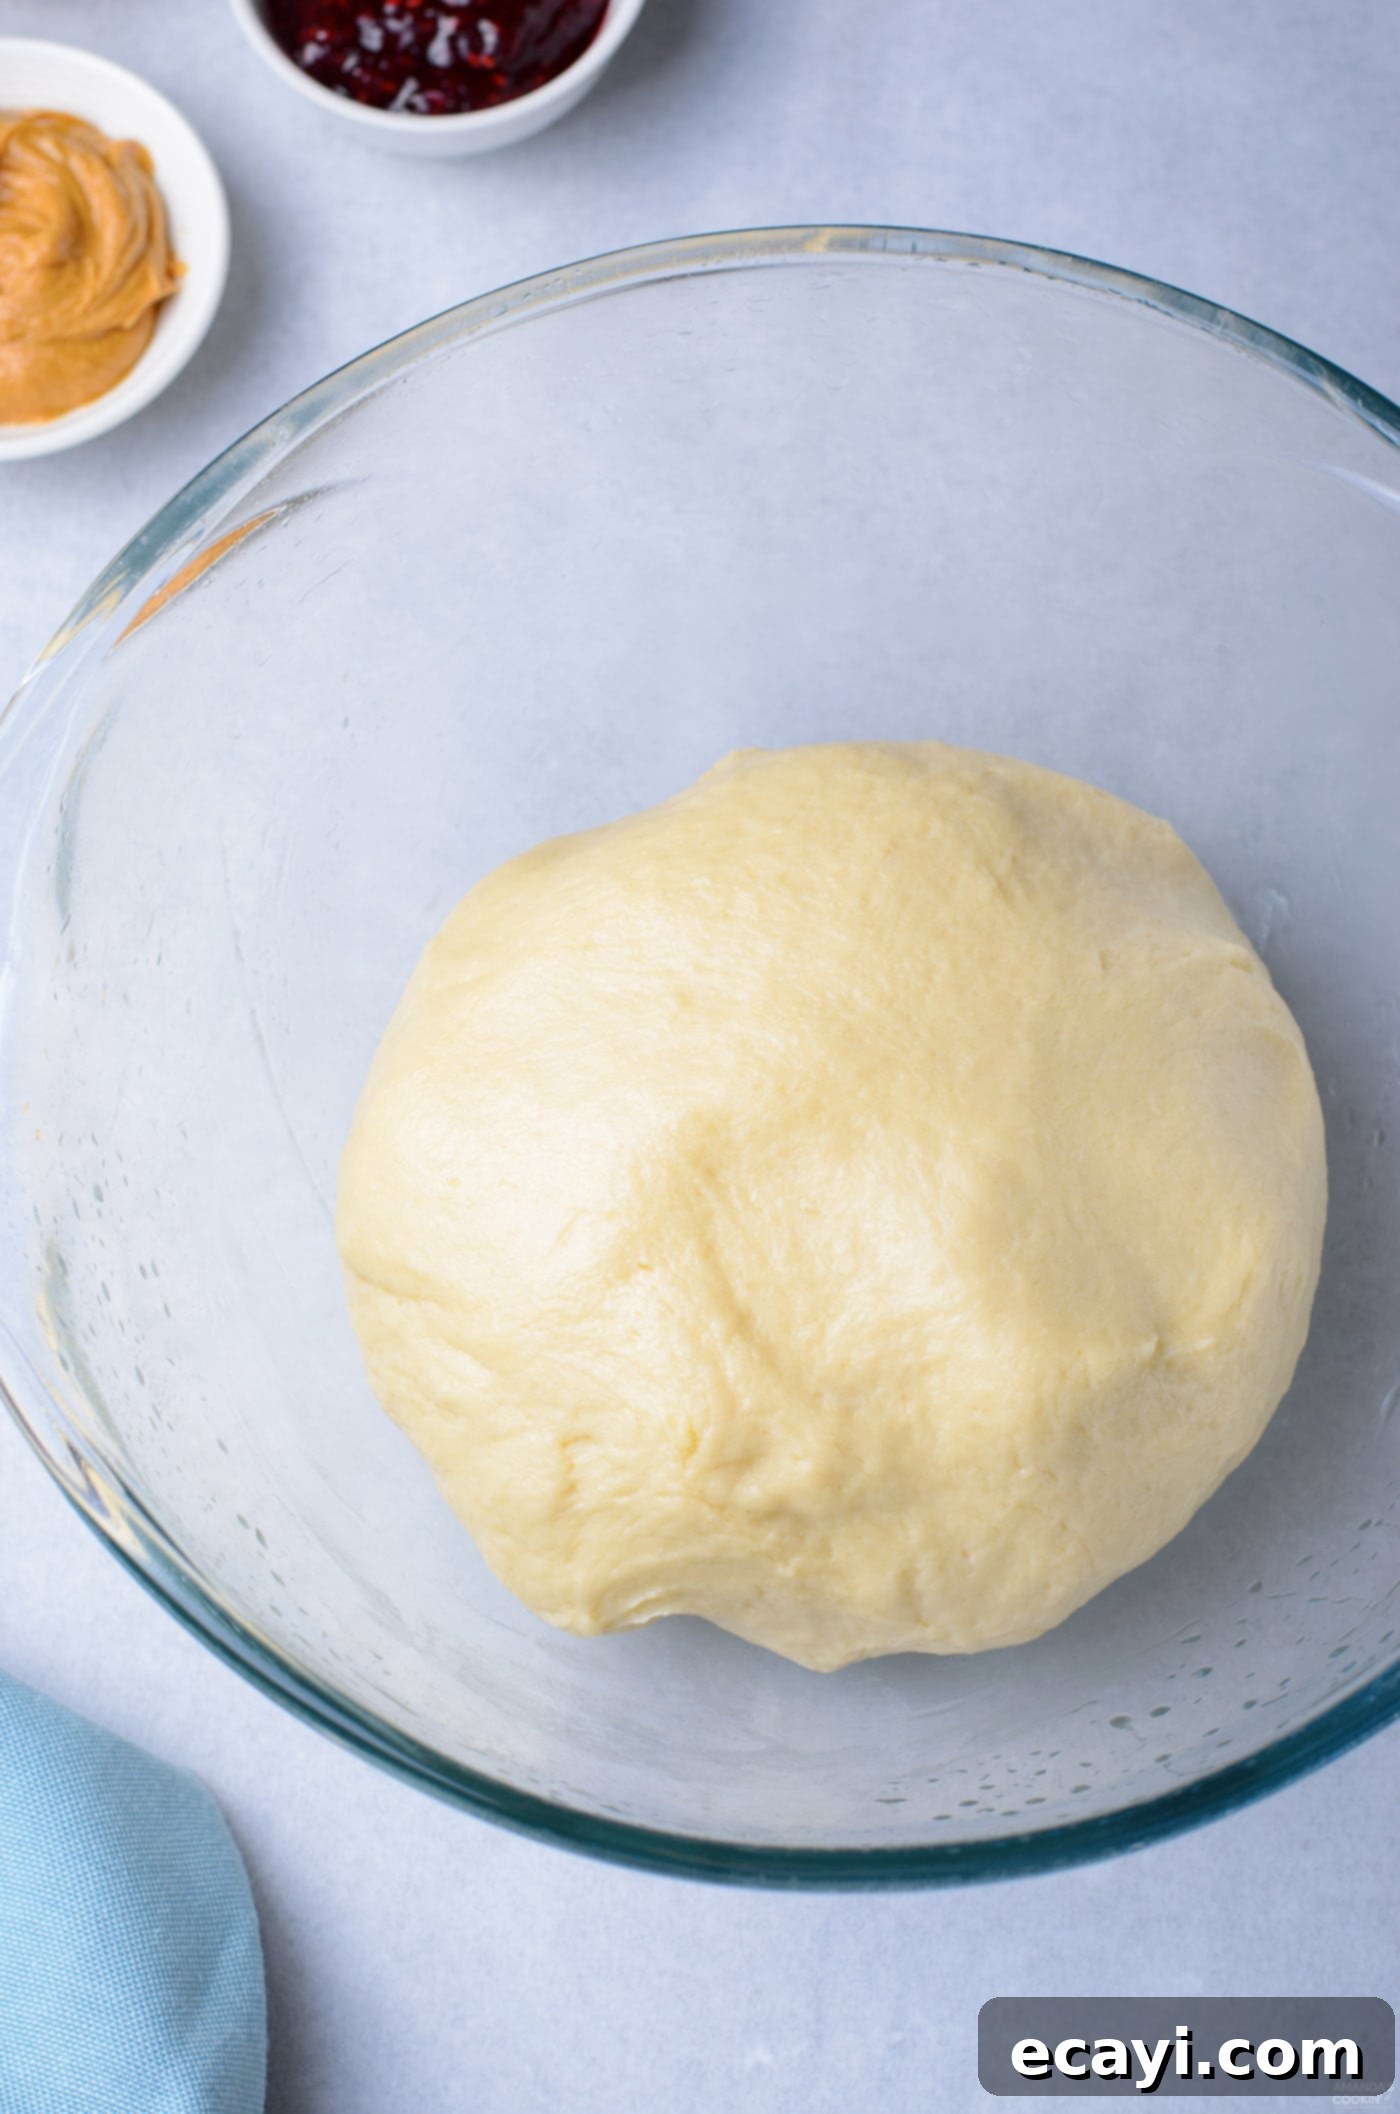
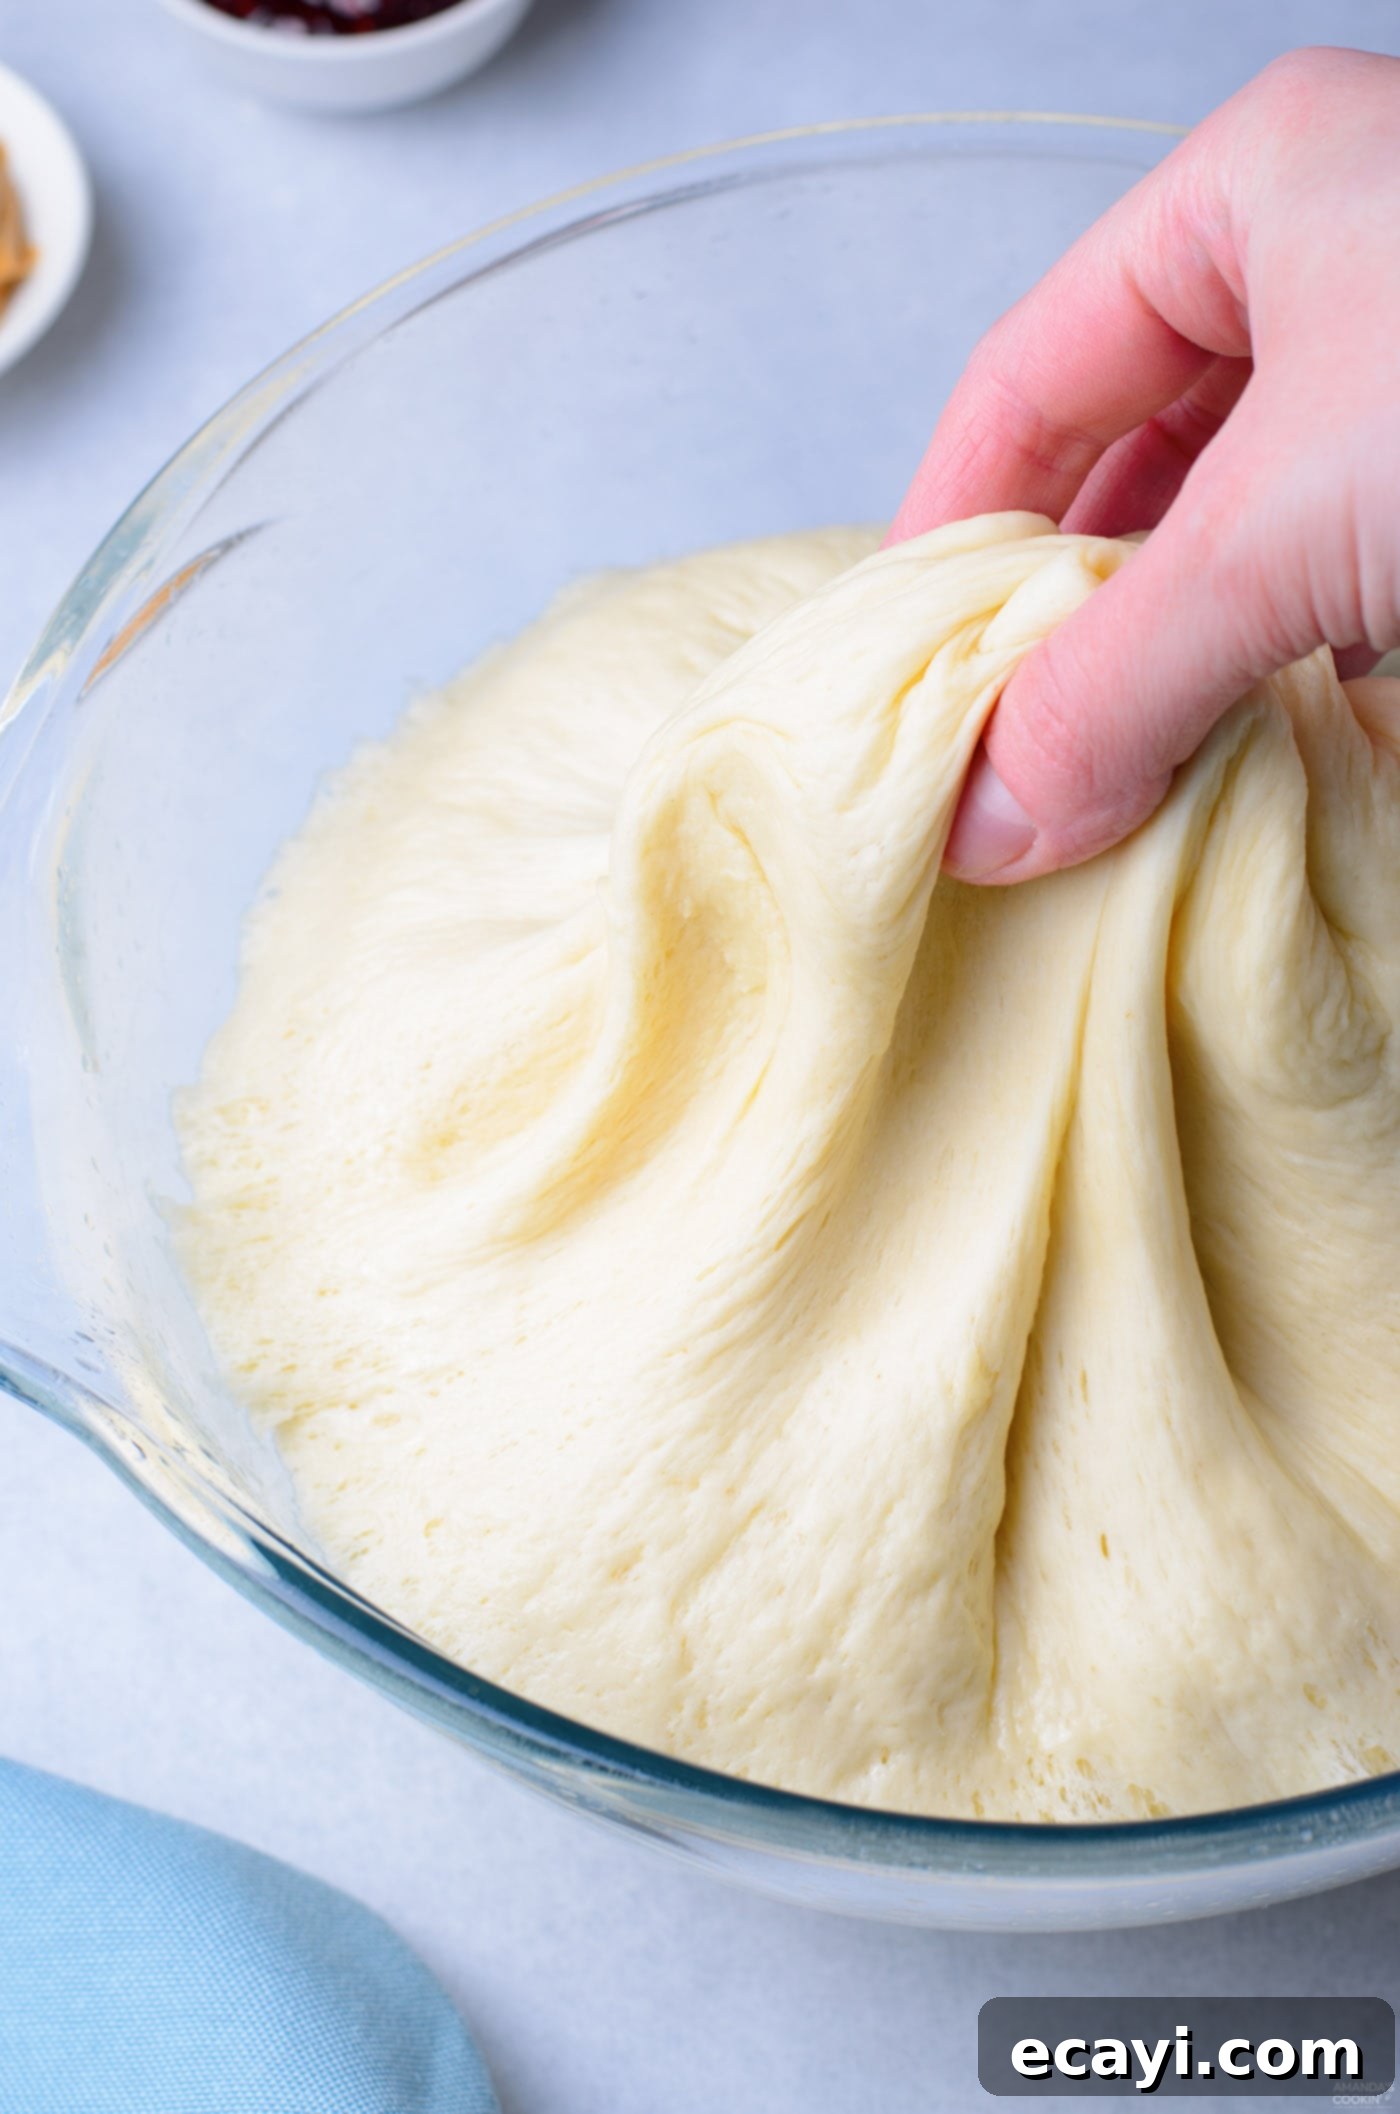
- **First Proofing:** Lightly grease a large bowl with a neutral oil or non-stick spray. Transfer the kneaded dough into this bowl, turning it once to coat lightly with oil. Cover the bowl tightly with plastic wrap or a clean kitchen towel. Place it in a warm, draft-free spot (like an oven with the light on, or a slightly warmed microwave) and allow it to proof for about one hour, or until it has visibly doubled in size. This proofing stage allows the yeast to work, creating air pockets and developing flavor.

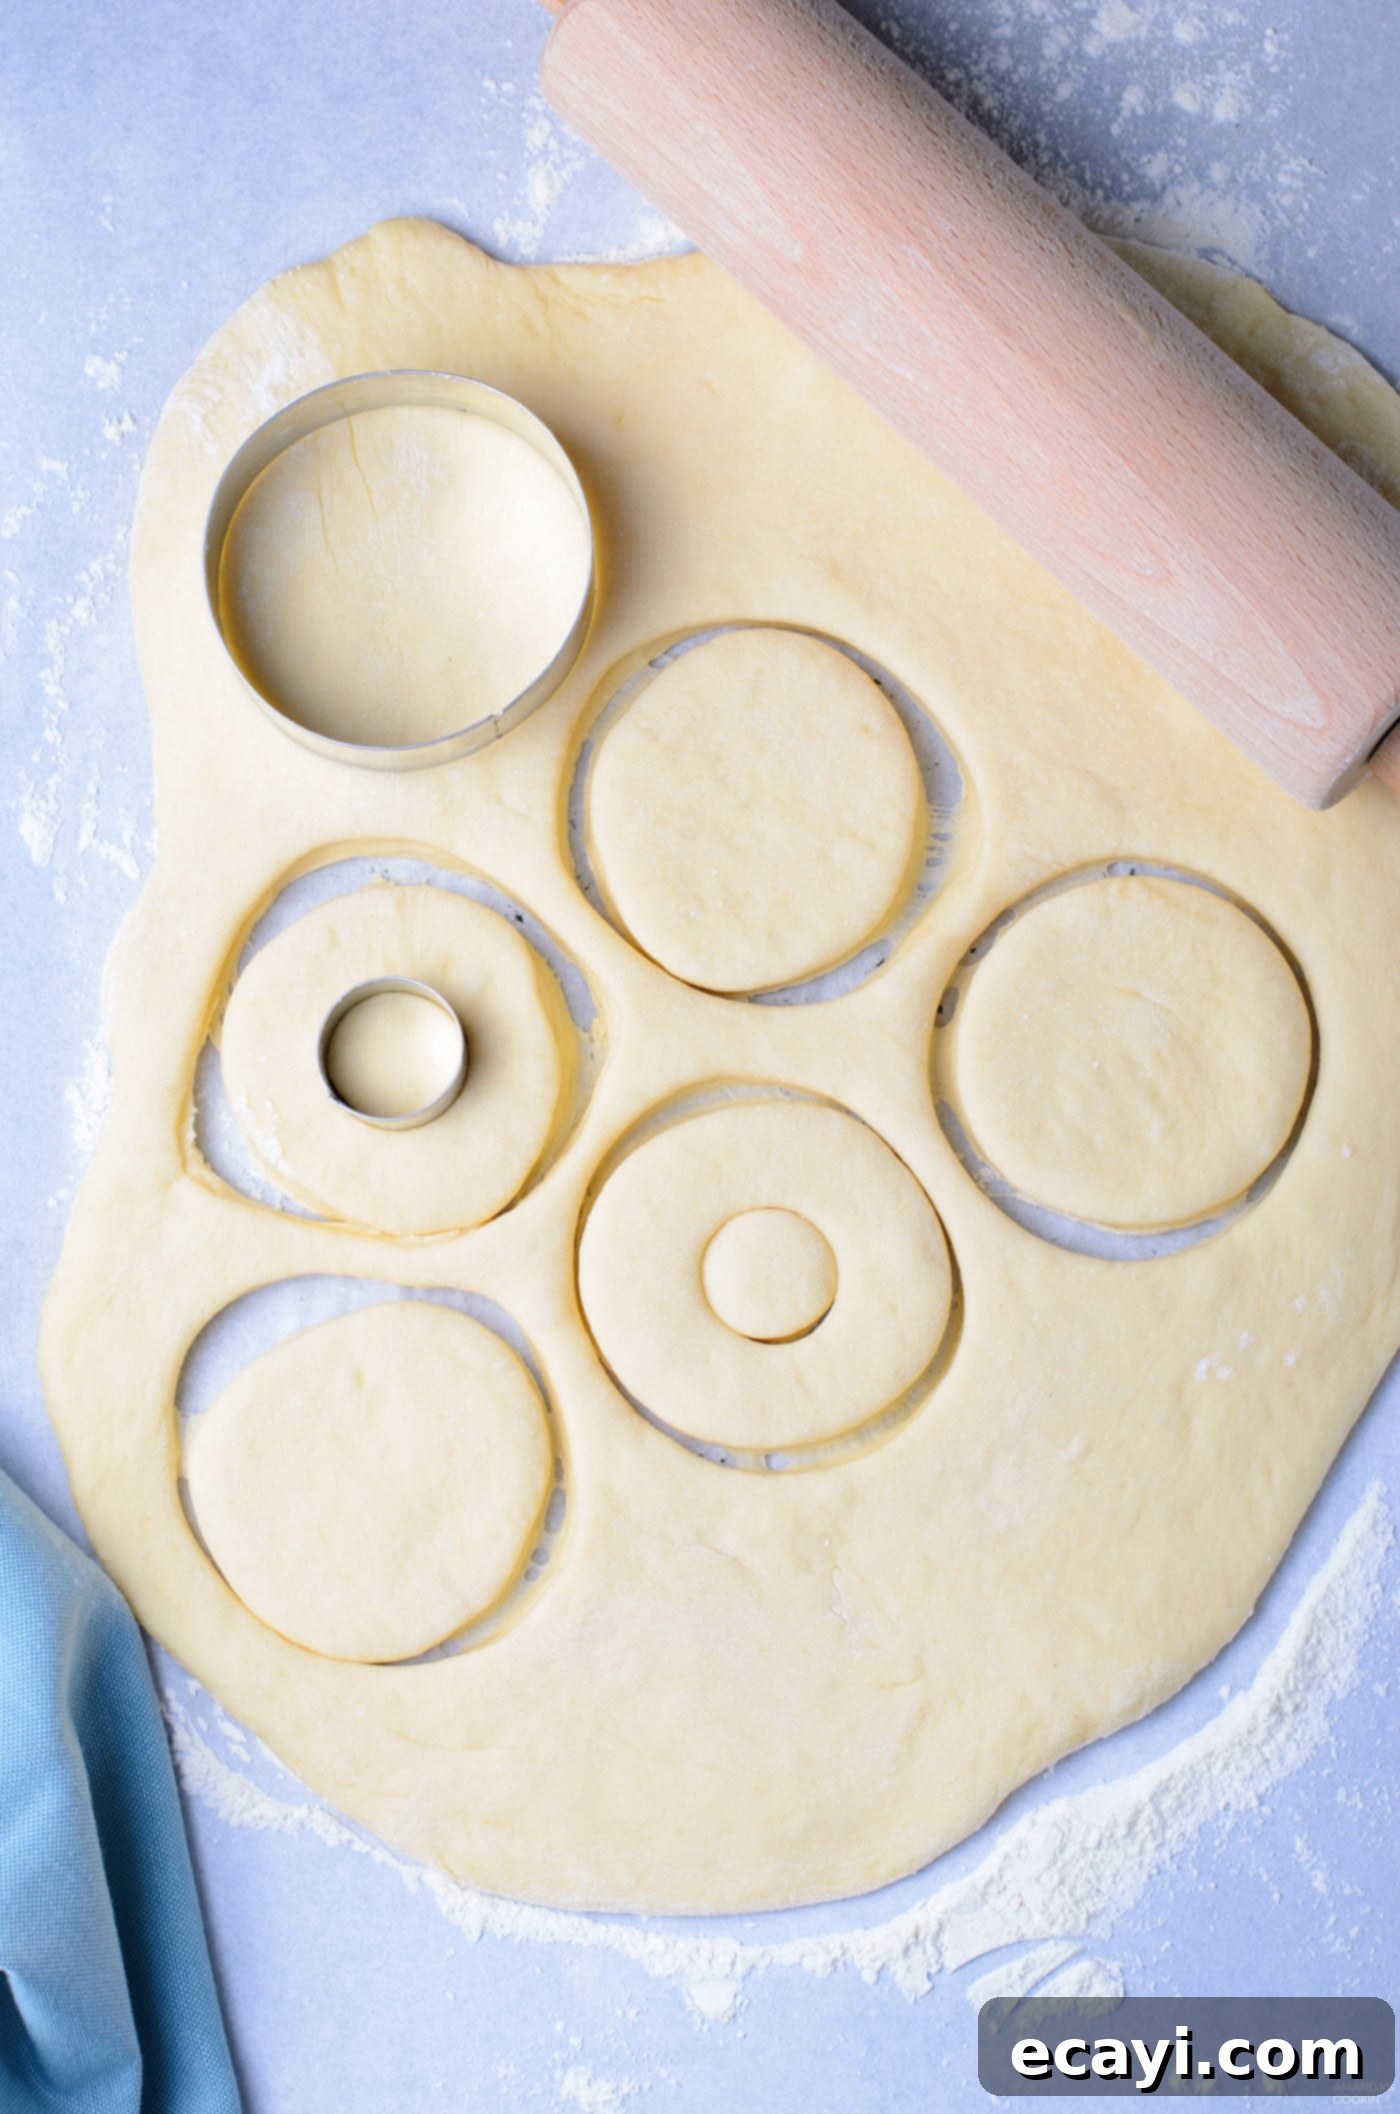
- **Roll and Cut Donut Shapes:** Once the dough has doubled, gently punch it down to release the air. Turn the dough out onto a lightly floured surface and knead it lightly for a minute or two to redistribute the yeast. Using a rolling pin, roll the dough evenly to a thickness of approximately 1/2 inch. Next, use a donut cutter (or a round cookie cutter) to cut out your donut shapes. If you’re making filled donuts, you won’t need to cut out the centers. Carefully transfer the cut donuts to a parchment-lined baking sheet. Don’t discard the donut holes or leftover dough scraps; you can fry them up as well for delicious mini treats!


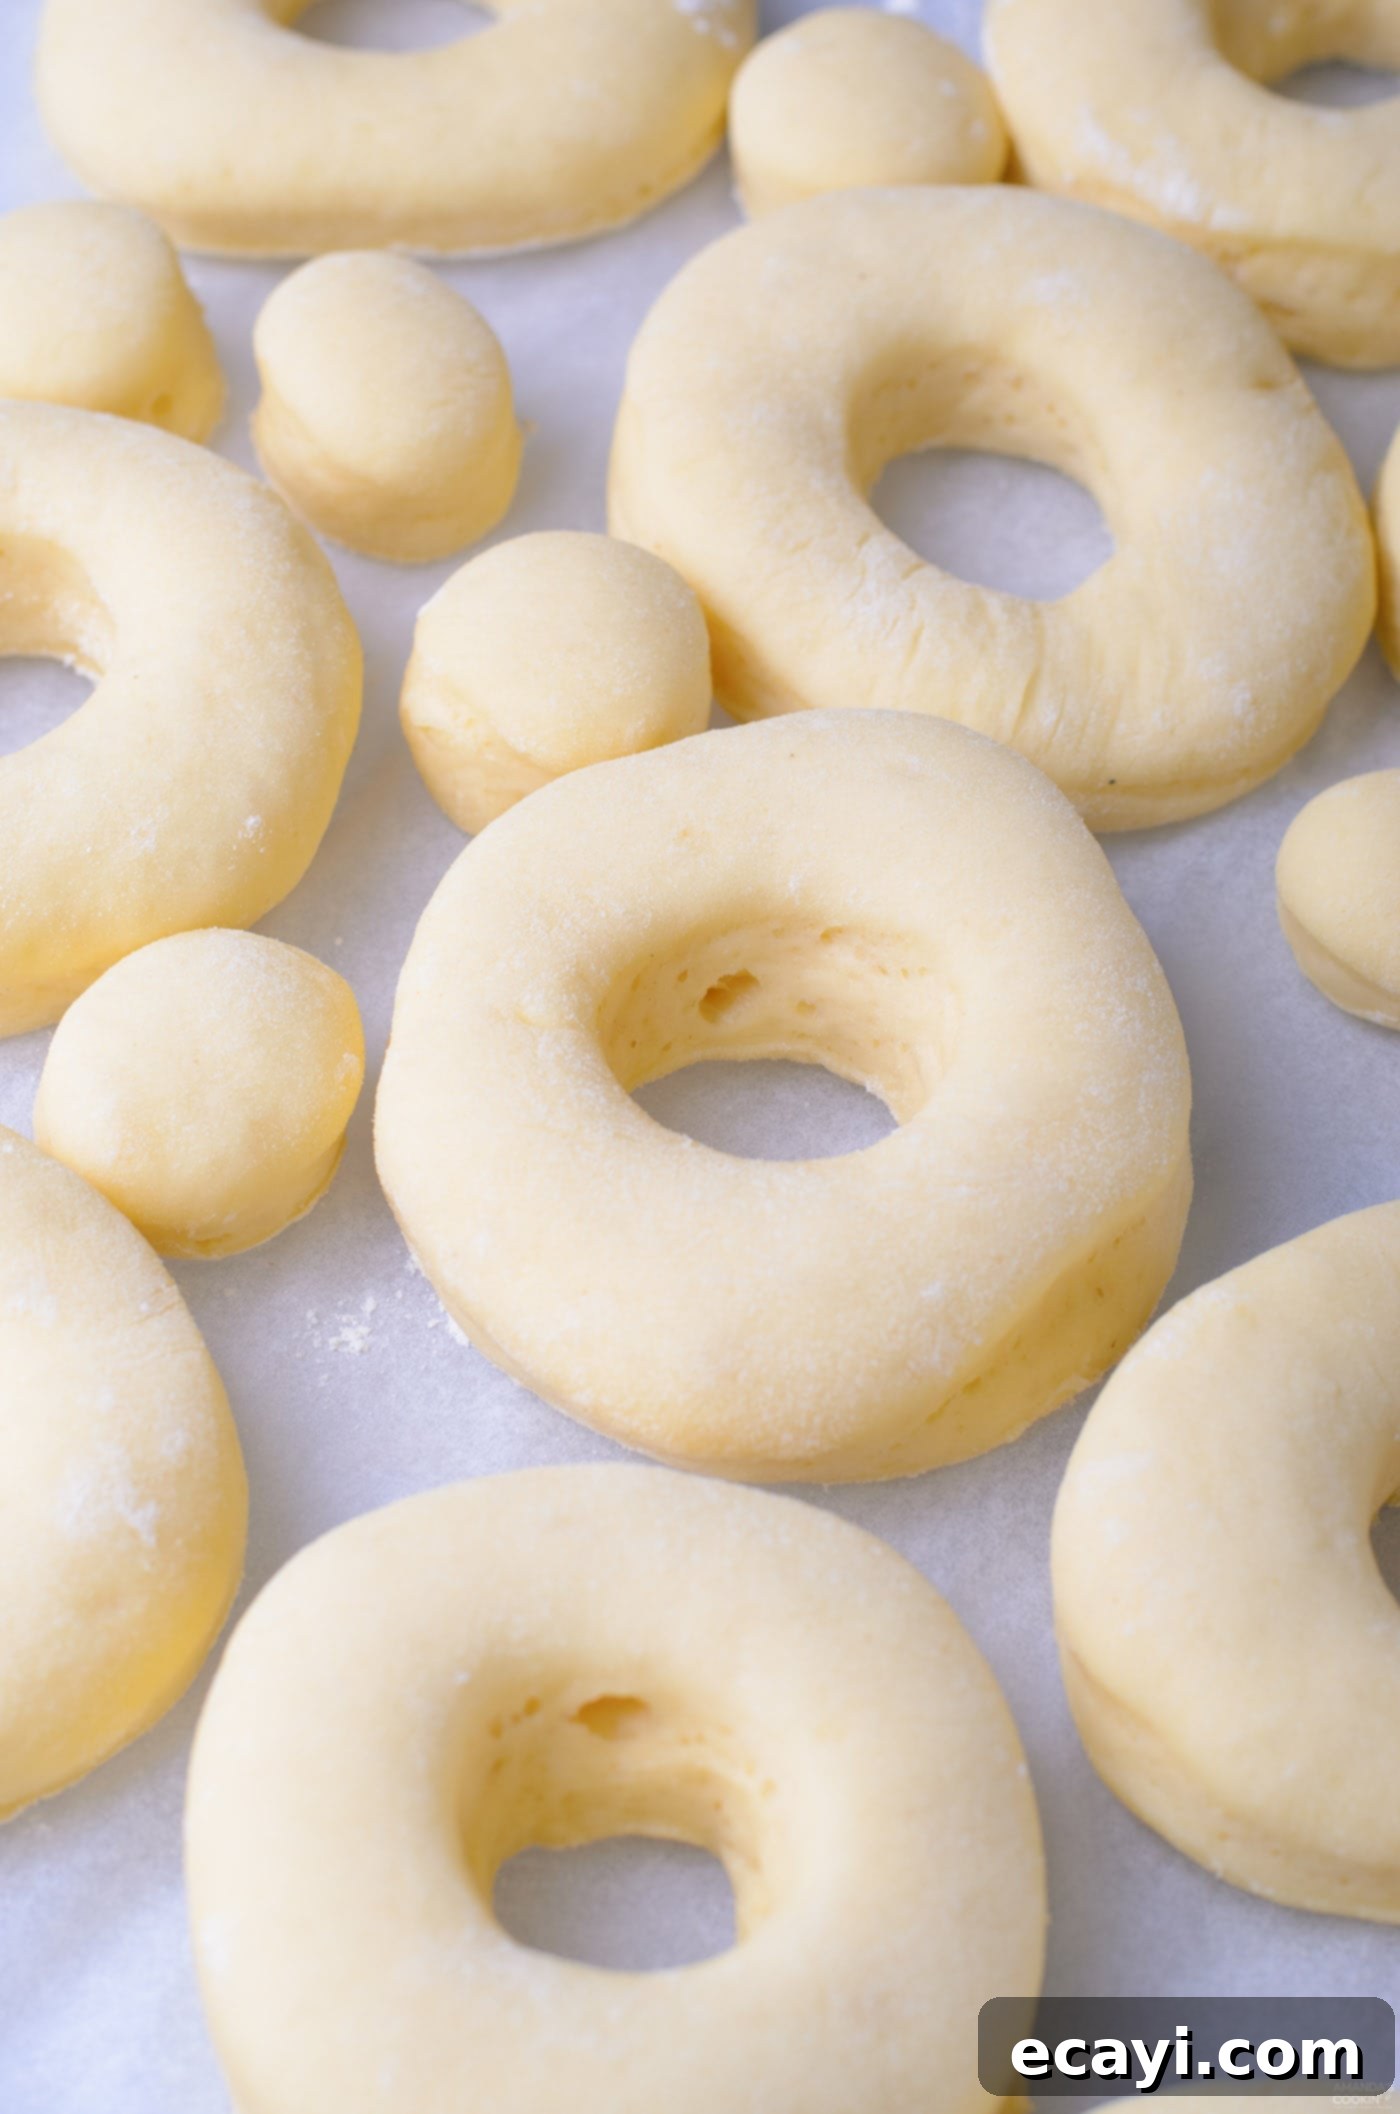
- **Second Proofing:** Gather any leftover dough scraps, gently knead them together, and re-roll to cut out more donuts until you’ve used as much dough as possible. Cover the cut donuts lightly with plastic wrap to prevent them from drying out. Allow them to proof at room temperature for another 30-45 minutes. This second proofing is vital for achieving a light, airy, and tender texture in the final fried donut. They should look noticeably puffy.

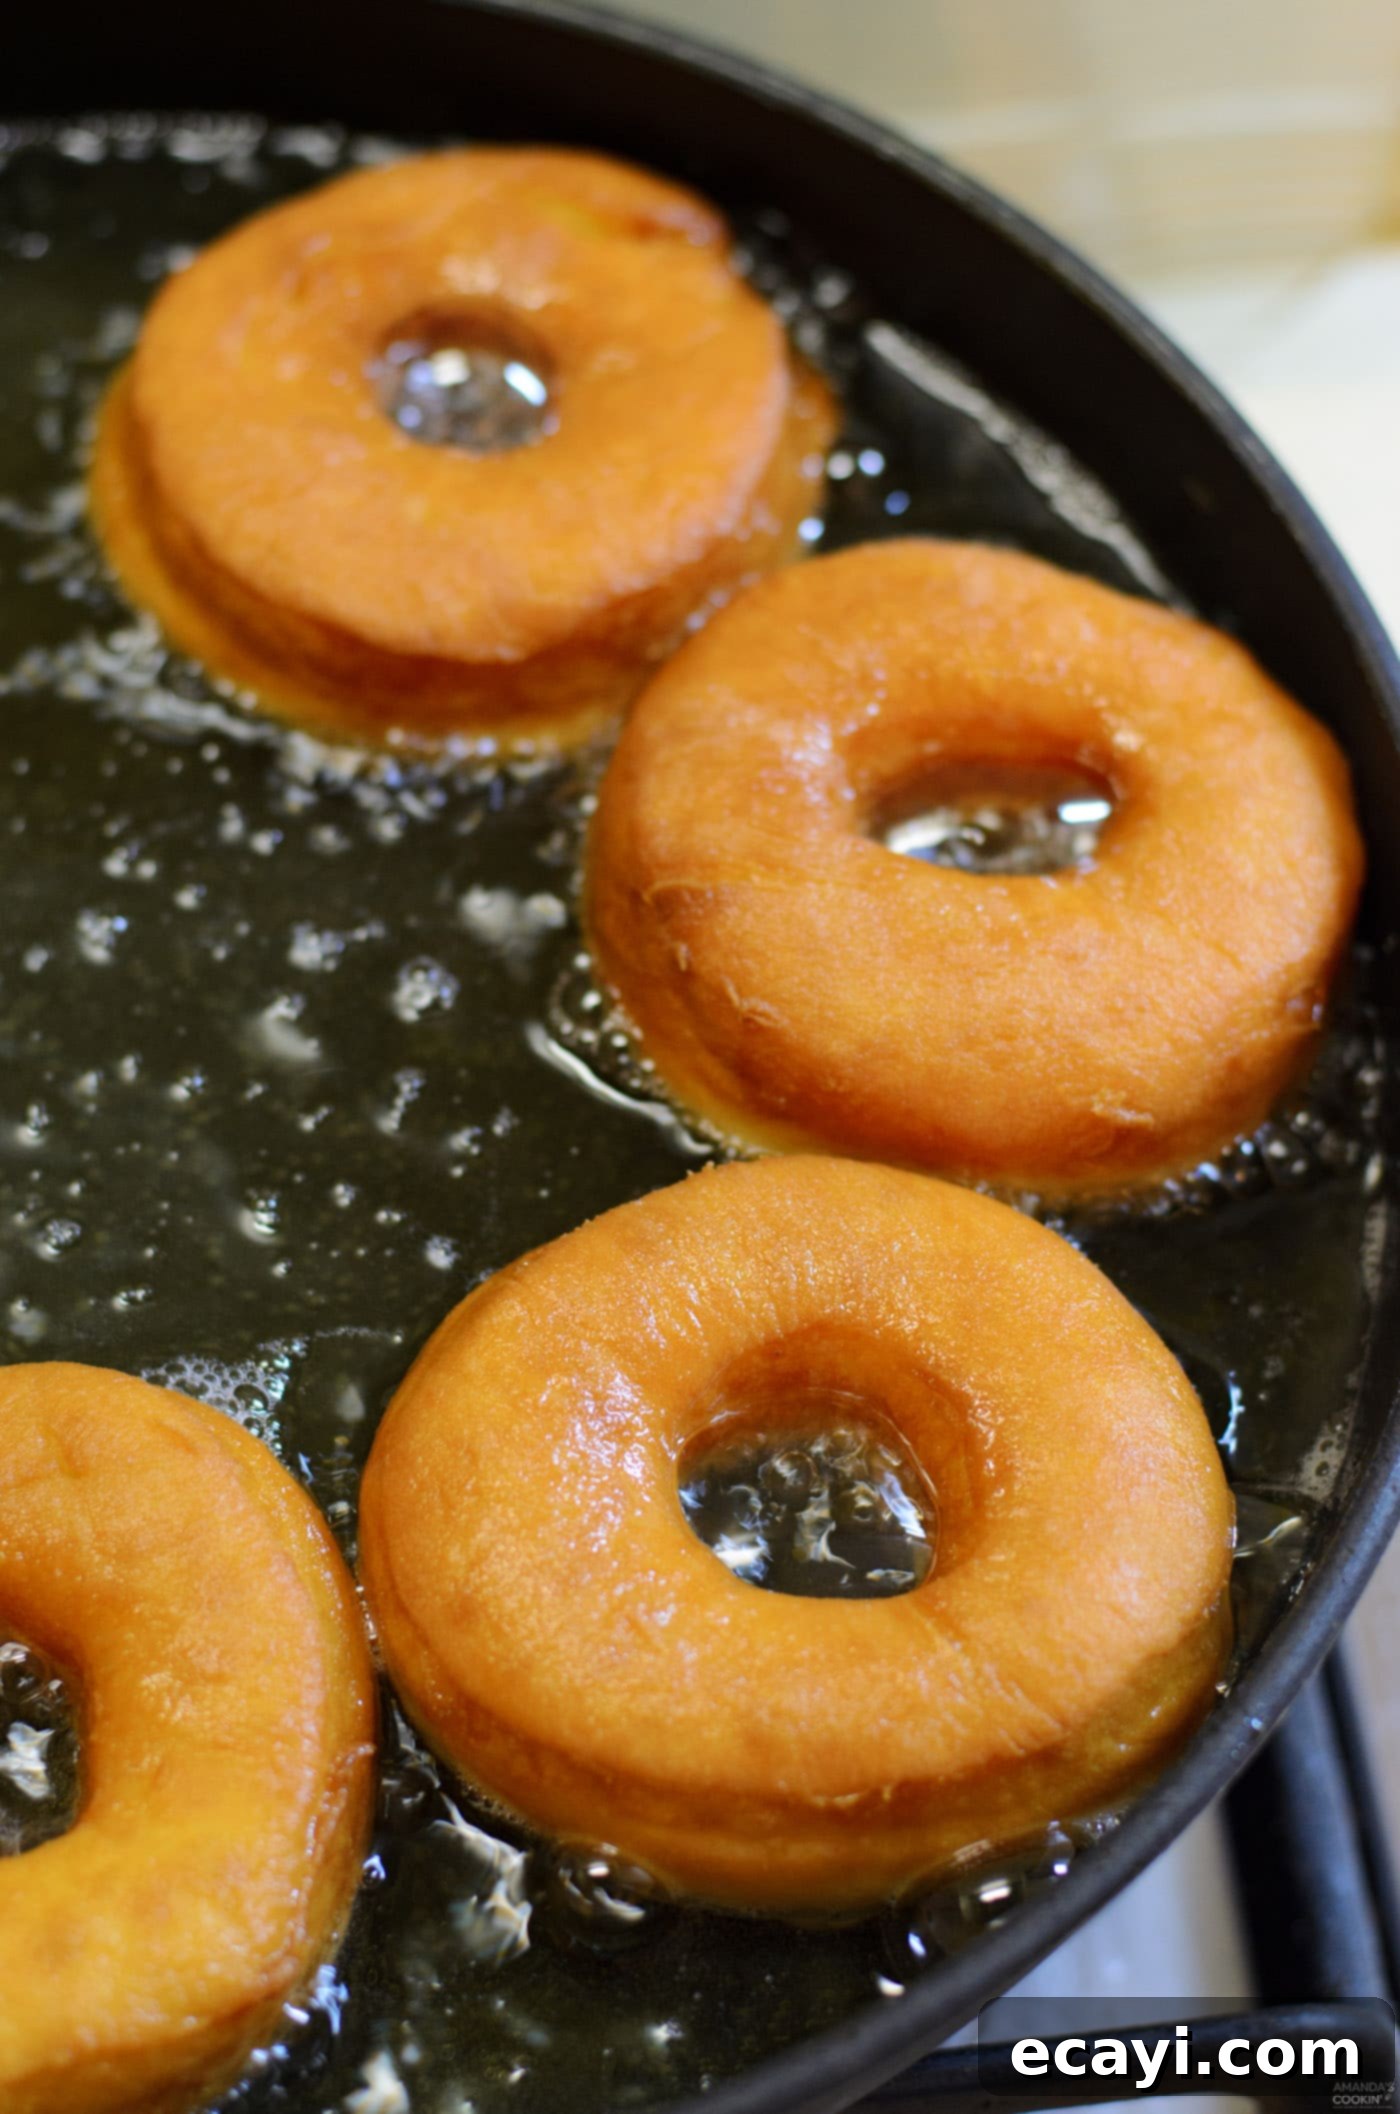
- **Frying the Donuts:** While the donuts are proofing for the second time, prepare your frying oil. Fill a Dutch oven or a heavy-bottomed pot with at least 2-3 inches of canola oil (or another high smoke point oil). Heat the oil to a consistent temperature between 350-360°F (175-182°C). An accurate deep-fry thermometer is indispensable here, as maintaining the correct oil temperature is crucial for perfectly cooked donuts (too low, they’re greasy; too high, they burn outside and are raw inside). Carefully lower 2-3 donuts into the hot oil at a time, being careful not to overcrowd the pot, which can drop the oil temperature. Fry them for 1 to 2 minutes per side, flipping once, until they are beautifully light golden brown and puffed up.

- **Cool and Prepare for Filling:** Using a spider strainer or slotted spoon, remove the fried donuts from the oil and immediately transfer them to a tray lined with several layers of paper towels to drain excess oil. Allow the donuts to cool slightly. They should still be warm but not hot to the touch before you begin filling them. This cooling period prevents the filling from becoming excessively runny.
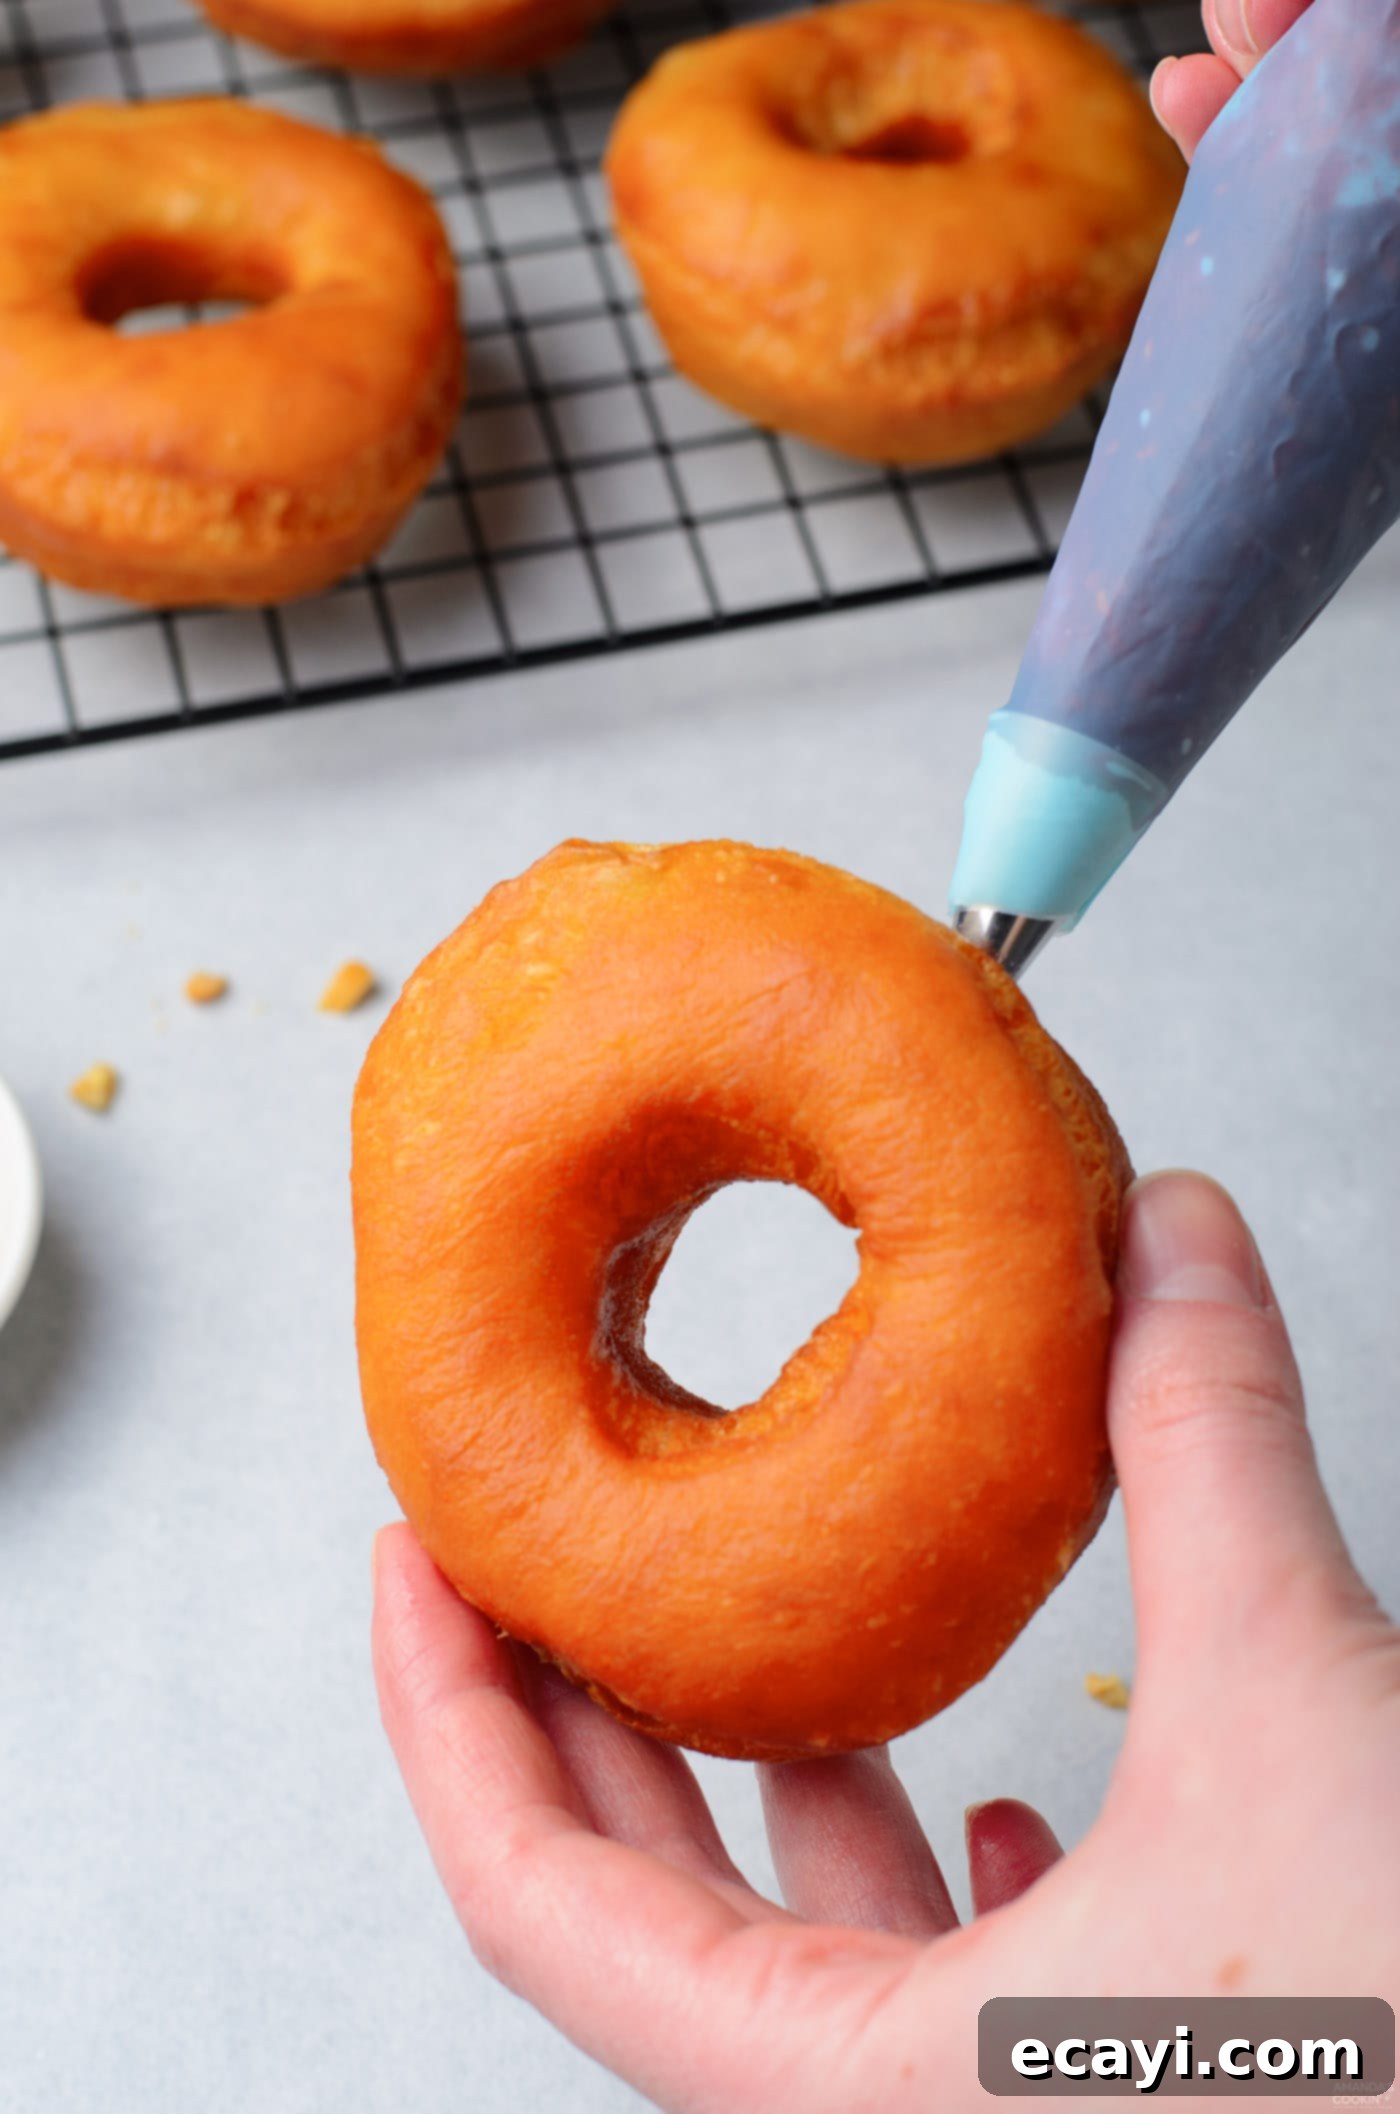
- **Fill with Peanut Butter and Jelly:** For the filling, you’ll need two pastry bags: one fitted with a circular piping tip for the jelly, and another for the warmed peanut butter. If you don’t have pastry bags, large ziplock bags with a small corner snipped off will work. Using a skewer or a small round tip, poke a hole into one side of each donut, pushing it gently to create a cavity inside. Repeat on the opposite side to create a larger space for the filling. Start with the jelly: insert the pastry tip into one hole and gently squeeze a portion of jelly into the donut. Then, switch to the peanut butter bag, insert the tip into the same hole, and squeeze a portion of peanut butter. The goal is to fill both sides somewhat evenly.
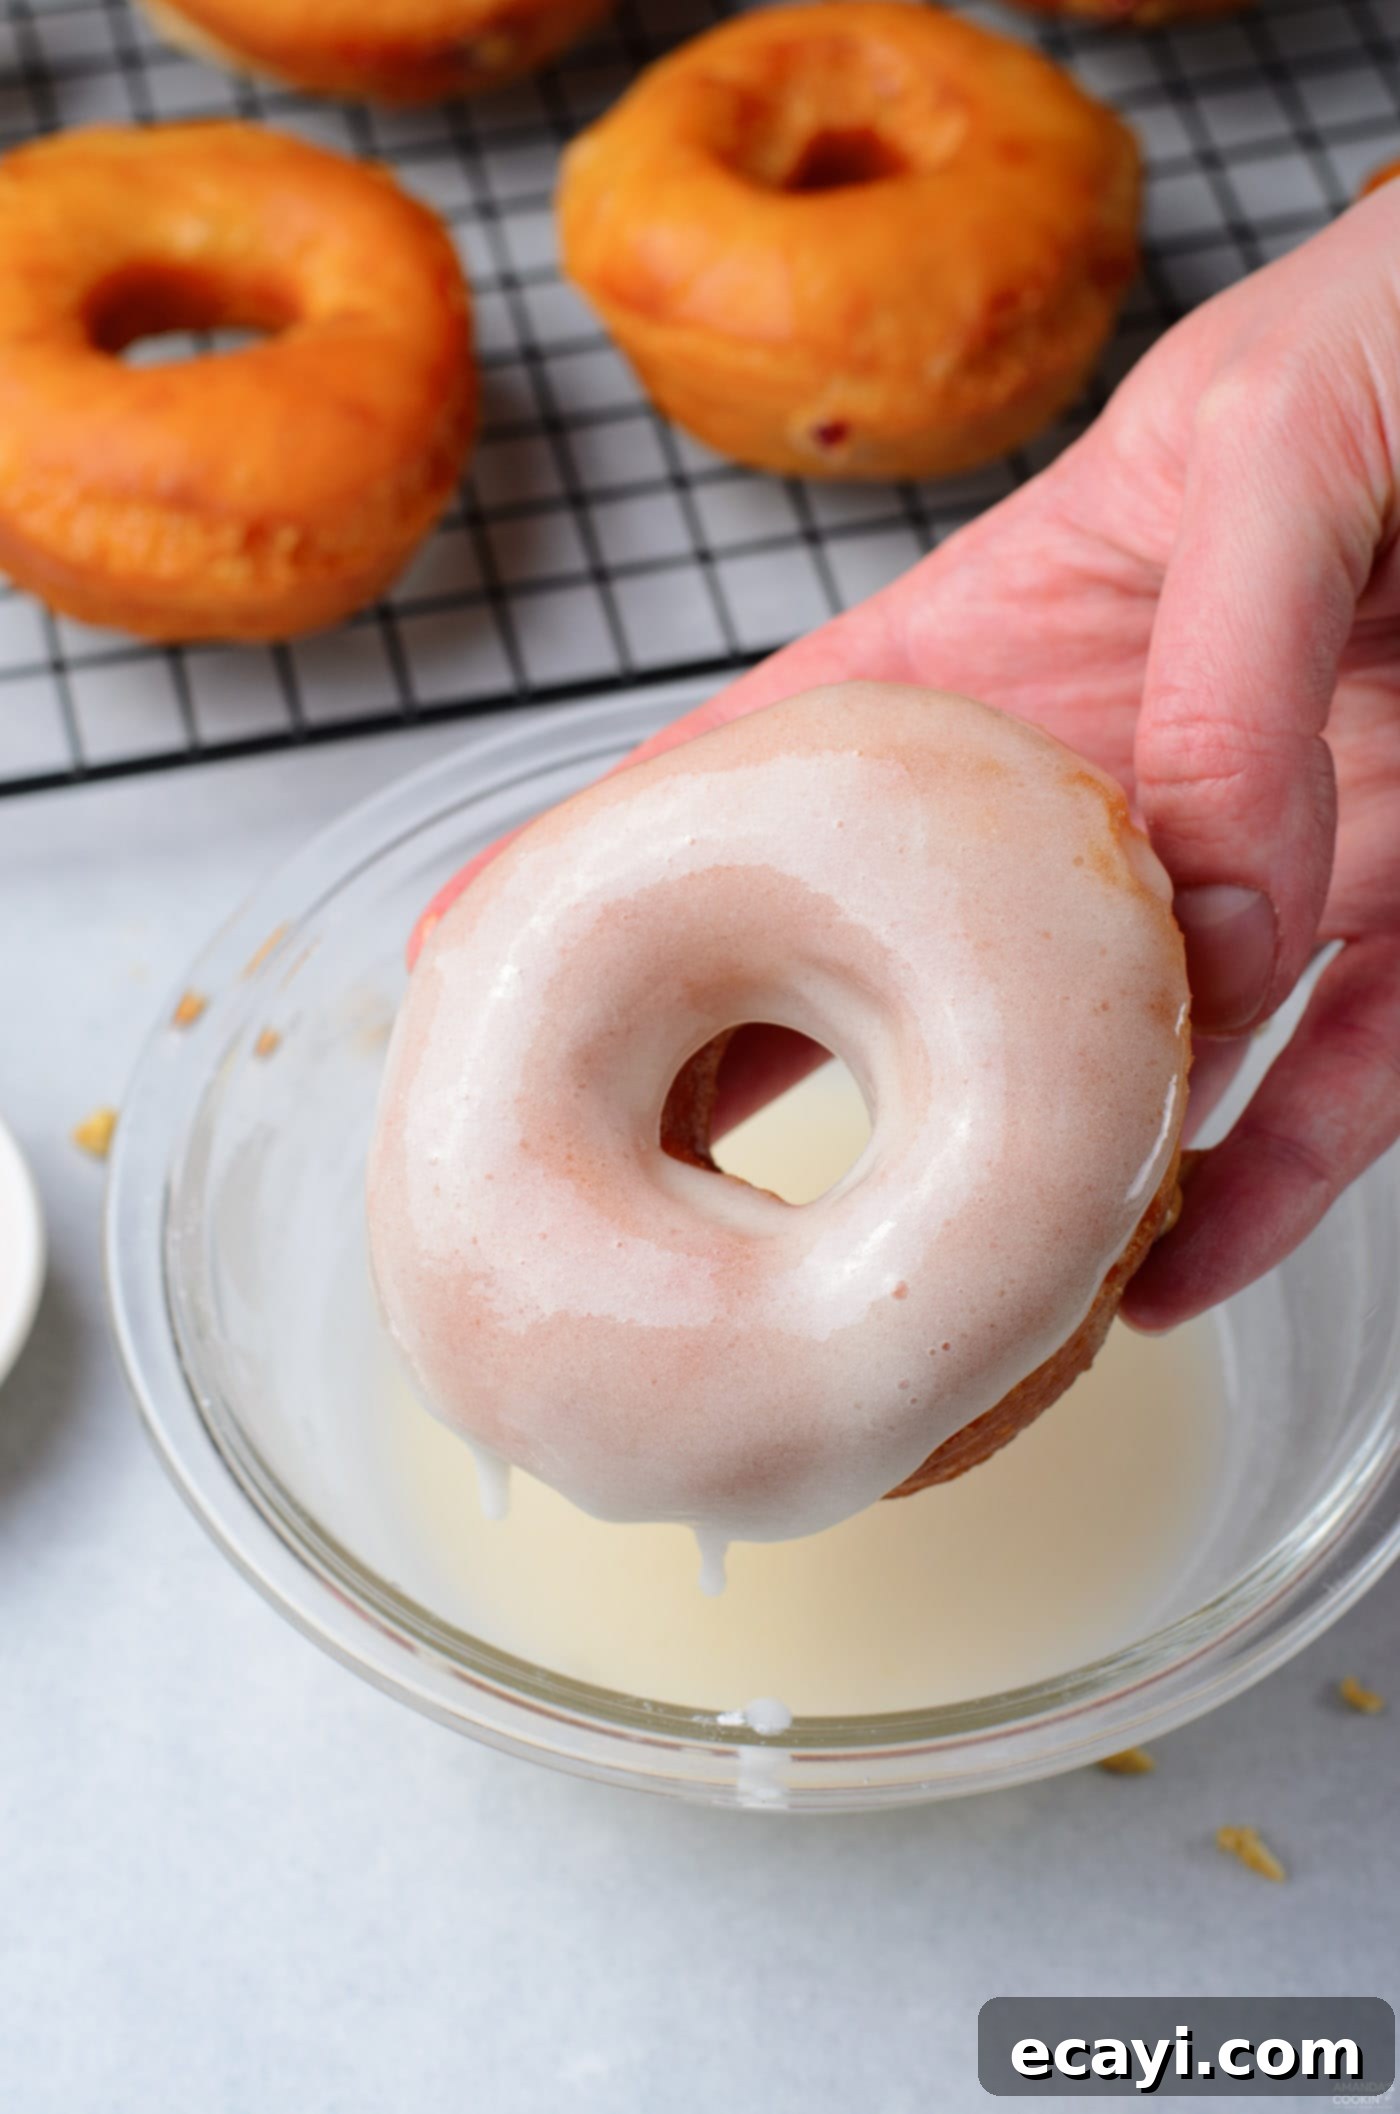
- **Complete the Filling and Glaze:** Repeat the jelly and peanut butter filling process, moving to the other hole on the donut until you feel one side is adequately filled. Then repeat the process on the other side of the donut to ensure a generous and even distribution of both fillings throughout the donut. Continue this for all your donuts. For the glaze, whisk together the powdered sugar and milk in a shallow bowl until completely smooth and lump-free. The consistency should be thick enough to coat the donuts but thin enough to drip slightly. Dip the top of each filled donut into the glaze, allowing any excess to drip off. Immediately after glazing, sprinkle the top generously with the chopped unsalted peanuts. Serve these exquisite homemade Peanut Butter & Jelly Donuts warm and fresh for the ultimate indulgence!


Frequently Asked Questions About Peanut Butter & Jelly Donuts
Absolutely! These peanut butter and jelly donuts freeze exceptionally well, making them perfect for meal prep or enjoying later. To ensure they stay fresh and prevent freezer burn, individually wrap each fully-cooled donut (filling included) tightly in plastic wrap. Then, transfer the wrapped donuts to a large freezer-safe ziptop bag or an airtight container. They can be stored in the freezer for up to 3 months. When you’re ready to enjoy them, simply allow the donuts to thaw at room temperature. For an extra warm and comforting experience, pop them in the microwave for 15-30 seconds or an air fryer for a few minutes until heated through. It’s best to wait until just before serving to apply the glaze and peanuts, as the glaze can become watery after thawing.
To maintain their freshness and delightful texture, store the donuts in an airtight container at room temperature for 3-4 days. While they are best enjoyed on the day they are made, they will still be delicious for a few days. Be aware that the glaze might absorb into the dough and cause them to become slightly soggy the longer they sit, especially if the humidity is high. To mitigate this, store them in a cool, dry place away from direct sunlight. Refrigeration is generally not recommended for donuts, as it can cause them to dry out quickly and become dense.
The key to perfectly fried, non-greasy donuts is using an oil with a high smoke point. This ensures the oil can reach and maintain the necessary high temperatures without breaking down or imparting off-flavors. We highly recommend using canola oil for its neutral flavor and ideal smoke point. Other excellent choices include sunflower oil, grapeseed oil, or vegetable oil. Avoid olive oil or butter, as they have lower smoke points and will burn quickly, ruining the taste of your donuts.
While you can certainly bake donut dough, the texture of a baked donut will be significantly different from a traditional fried donut. Baked donuts tend to resemble cake or brioche, lacking the characteristic light, airy, and slightly crispy exterior of a fried donut. If you prefer a baked version, you would likely need to adjust the recipe significantly to use a different leavening agent (like baking powder/soda) and a specific baked donut pan. For this particular recipe, frying is essential to achieve the desired classic donut experience with its tender crumb and golden crust.
No special equipment? No problem! If you don’t have a donut cutter or even a biscuit cutter, you can improvise. Simply use an upside-down drinking glass or a round cookie cutter of similar size to cut out the donut circles. For the filling hole, a small round piping tip or even the back of a chopstick can be used to gently create the initial openings for piping in the peanut butter and jelly.
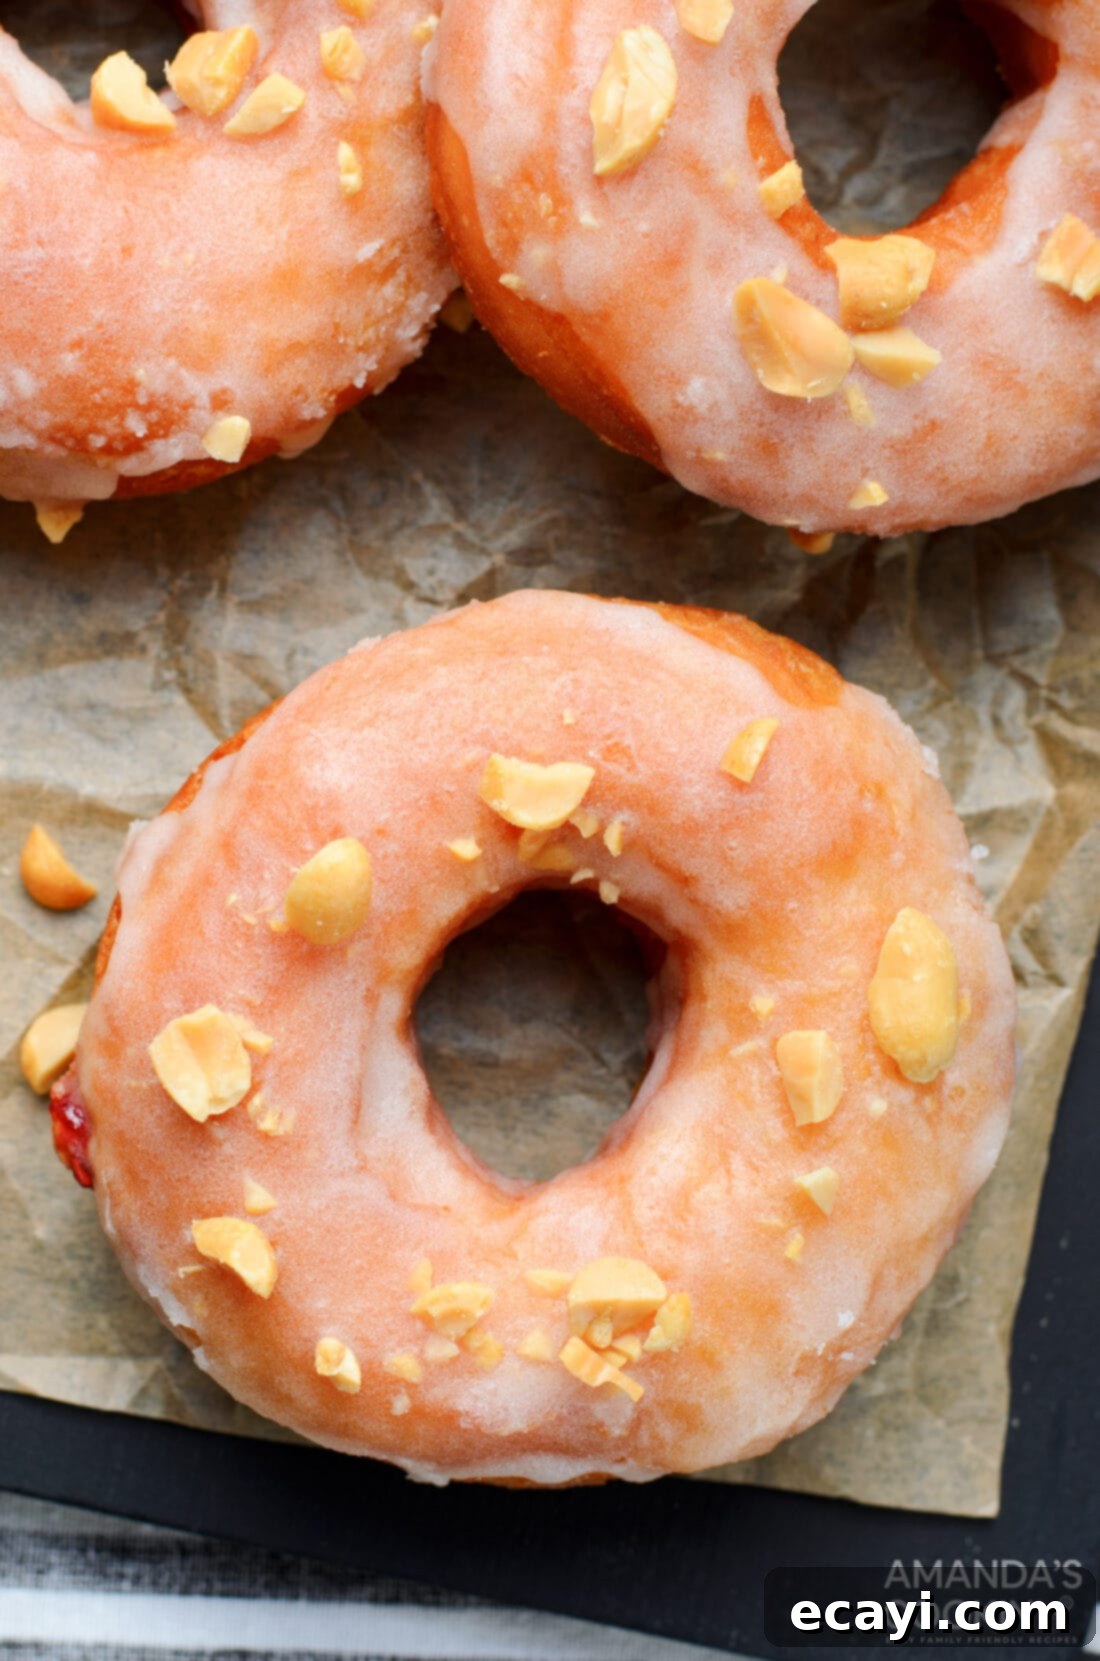
Beyond simply filling them, there are many ways to enjoy and customize this recipe. If you’d prefer a less intensive approach, you can skip stuffing your donuts entirely and simply drizzle the tops with warm peanut butter and your favorite jelly. This creates a deconstructed PB&J flavor that’s equally delicious. You can also get creative with the filling itself! This versatile donut recipe serves as an excellent base for various sweet fillings. Imagine stuffing them with rich Nutella and peanut butter for a chocolate-hazelnut twist, or perhaps a luscious cream filling. For a fantastic cream filling idea, take a look at our Boston Cream Pie Cupcakes recipe – the cream filling would be utterly divine here. Regardless of how you serve them, ensure they are warm and fresh, perhaps alongside a steaming cup of coffee or a cold glass of milk for the ultimate comforting treat. They’re perfect for sharing, but you might just want to keep them all to yourself!
Explore More Delicious Donut Recipes
If you’ve fallen in love with making homemade donuts, or simply want to explore more delightful variations, we have a collection of other fantastic donut recipes for you to try. From healthier baked options to seasonal delights, there’s a donut for every craving:
- Effortless Air Fryer Donuts
- Tender Baked Cake Donuts
- Seasonal Pumpkin Spice Donuts
- Classic Homemade Doughnuts
- Zesty Lemon Baked Donuts
- Fun Donut Hole Cake Pops
I absolutely adore spending time in the kitchen, experimenting with new flavors, and perfecting beloved classics. My greatest joy comes from sharing these culinary adventures and my kitchen experiences with all of you! Remembering to check back for new recipes can be a challenge with busy schedules, which is why I offer a convenient newsletter. Every time a new, delicious recipe is posted, you can receive it directly in your inbox. Simply subscribe here and start receiving your free daily recipes, making it easier than ever to discover your next favorite dish or dessert!
Peanut Butter & Jelly Donuts
IMPORTANT – There are often Frequently Asked Questions within the blog post that you may find helpful. Simply scroll back up to read them!
Print It
Pin It
Rate It
Save ItSaved!
Ingredients
- 16 oz all-purpose flour about 3 2/3 cups
- 6 Tbsp water lukewarm
- 5 oz buttermilk lukewarm
- 1 ½ tsp active dry yeast
- 1 egg at room temperature
- 2 oz unsalted butter melted
- 3 Tbsp granulated sugar
- 1 tsp salt
- canola oil for frying
Filling
- ⅔ cup peanut butter warmed
- ⅔ cup raspberry jelly
Glaze
- 1 ½ cups powdered sugar
- 3 Tbsp milk 3-4 Tbsp
- ⅔ cup unsalted peanuts chopped for topping
Things You’ll Need
-
Stand mixer with dough hook
-
Donut cutter
-
Spider strainer
Before You Begin
- We chose creamy peanut butter for its ease of piping and smooth texture, but feel free to use chunky PB for added crunch. For an allergy-friendly version, sunbutter (sunflower seed butter) works well, though the filling might be slightly thinner. You can also experiment with other nut or seed butters like almond or cashew butter.
- When it comes to jelly, the choice is yours! While raspberry is featured, any jam or jelly flavor you prefer will be delicious. Popular choices for PB&J include classic grape, sweet strawberry, or a unique black raspberry. Ensure the jam isn’t too runny for easier filling.
- If you don’t have a specific donut cutter or biscuit cutter on hand, you can easily use an upside-down drinking glass or a round cookie cutter to create the donut circles. For the smaller holes needed for filling, a narrow piping tip or even the blunt end of a chopstick can create the necessary openings.
- Don’t let any dough go to waste! Optionally, save and fry the donut holes you cut out. These can be filled with a tiny bit of PB&J for mini treats or simply glazed or tossed in cinnamon sugar.
- For a classic finish, instead of glazing the donuts, consider rolling or dipping them in granulated sugar or cinnamon sugar while they are still warm from frying. This gives them a delightful crunchy coating that many people love.
Instructions
-
In a large bowl, combine the lukewarm buttermilk, water, sugar, and yeast. Whisk to dissolve the yeast completely. Let the mixture sit for 5-10 minutes until it becomes foamy, indicating active yeast.
-
Add the egg, melted butter, and salt to the foamy yeast mixture. Whisk well until all ingredients are fully incorporated.
-
Gradually add the flour. Using a stand mixer with a dough hook, knead on low-medium speed for about 5 minutes, or knead by hand on a lightly floured surface for about 10 minutes, until the dough is smooth and elastic.
-
Transfer the dough to a lightly greased bowl, cover it with plastic wrap, and let it proof in a warm, draft-free place for about one hour, or until it has doubled in size.
-
Once the dough has doubled, gently punch it down and place it on a lightly floured surface. Knead lightly, then use a rolling pin to roll it to about 1/2-inch thickness. Use a donut cutter to cut out donut shapes. You can save any donut holes if desired.
-
Cover the cut donuts loosely with plastic wrap. Allow them to proof at room temperature for another 30-45 minutes, until noticeably puffy. Reroll and cut any remaining dough.
-
Fill a Dutch oven or heavy-bottomed pot with 2-3 inches of canola oil and heat to 350-360°F (175-182°C). Fry the donuts, 2-3 at a time, flipping once, until they are light golden brown on both sides (1-2 minutes per side). Maintain consistent oil temperature.
-
Remove the fried donuts from the oil using a spider strainer and place them on a tray lined with paper towels to drain excess oil. Let them cool slightly before filling.
-
Prepare your fillings: Add the raspberry jelly to a pastry bag fitted with a circular tip (or a ziplock bag with a snipped corner). Do the same with the warmed peanut butter in a separate bag.
-
Poke a hole on both sides of a donut. Starting with the jelly, gently squeeze some into one side of the donut. Then, swap to the peanut butter bag and squeeze some peanut butter into the same hole. Repeat until that side feels nearly full. Repeat the process on the other side of the donut. Continue filling all donuts until complete.
-
For the glaze, whisk the powdered sugar and milk together in a shallow bowl until smooth. Dip the top of each filled donut into the glaze to coat. Immediately sprinkle with the chopped peanuts and serve warm.
Nutrition
The recipes on this blog are meticulously tested with a conventional gas oven and gas stovetop to ensure reliable results. It’s important to acknowledge that some ovens, particularly older models, can cook and bake inconsistently. We highly recommend using an inexpensive oven thermometer to verify that your oven is truly heating to the proper temperature. If you utilize a toaster oven or countertop oven, please be aware that they may not distribute heat in the same way as a conventional full-sized oven, and you might need to adjust your cooking and baking times accordingly. For recipes made with specific appliances such as a pressure cooker, air fryer, slow cooker, or others, a link to the exact appliances we use is typically listed within each respective recipe for your reference. In the case of baking recipes where measurements are provided by weight, please note that substituting with cup measurements may yield different results, and we cannot guarantee success with that alternative method.
