Ultimate Peanut Butter Swirl Brownies: A Decadent Fudgy Recipe
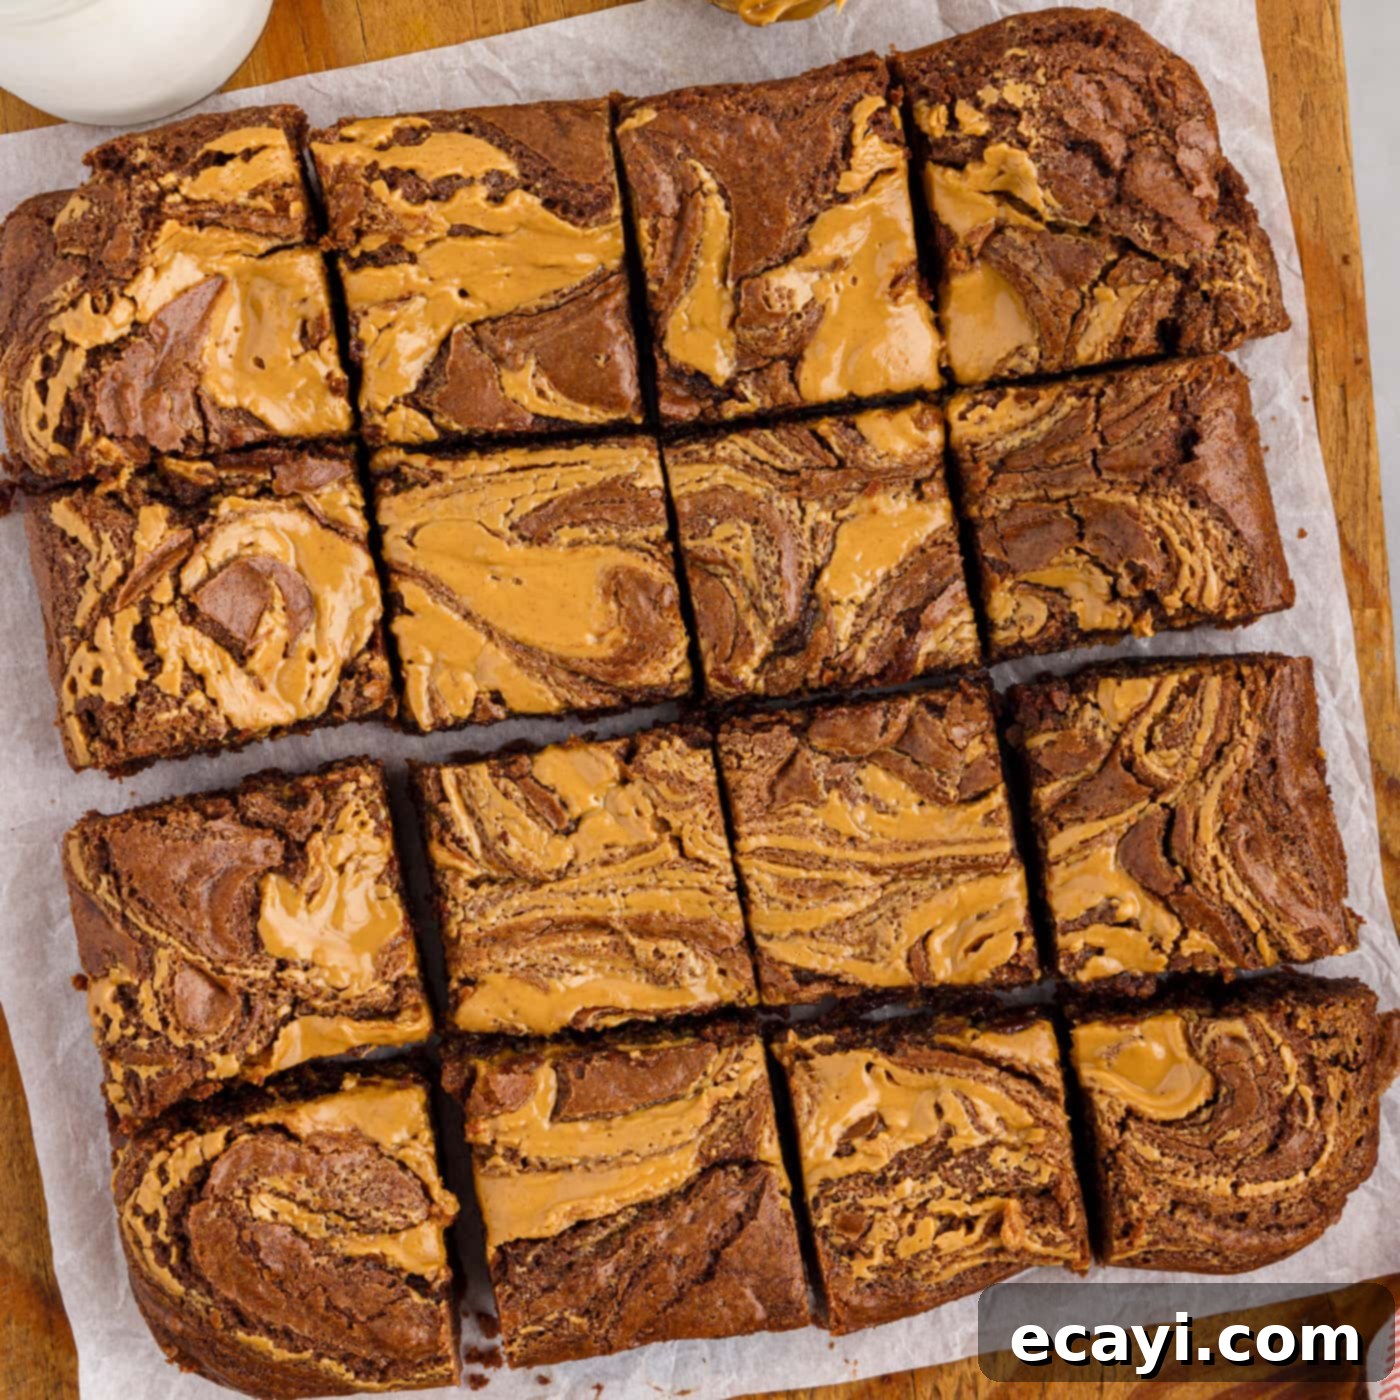
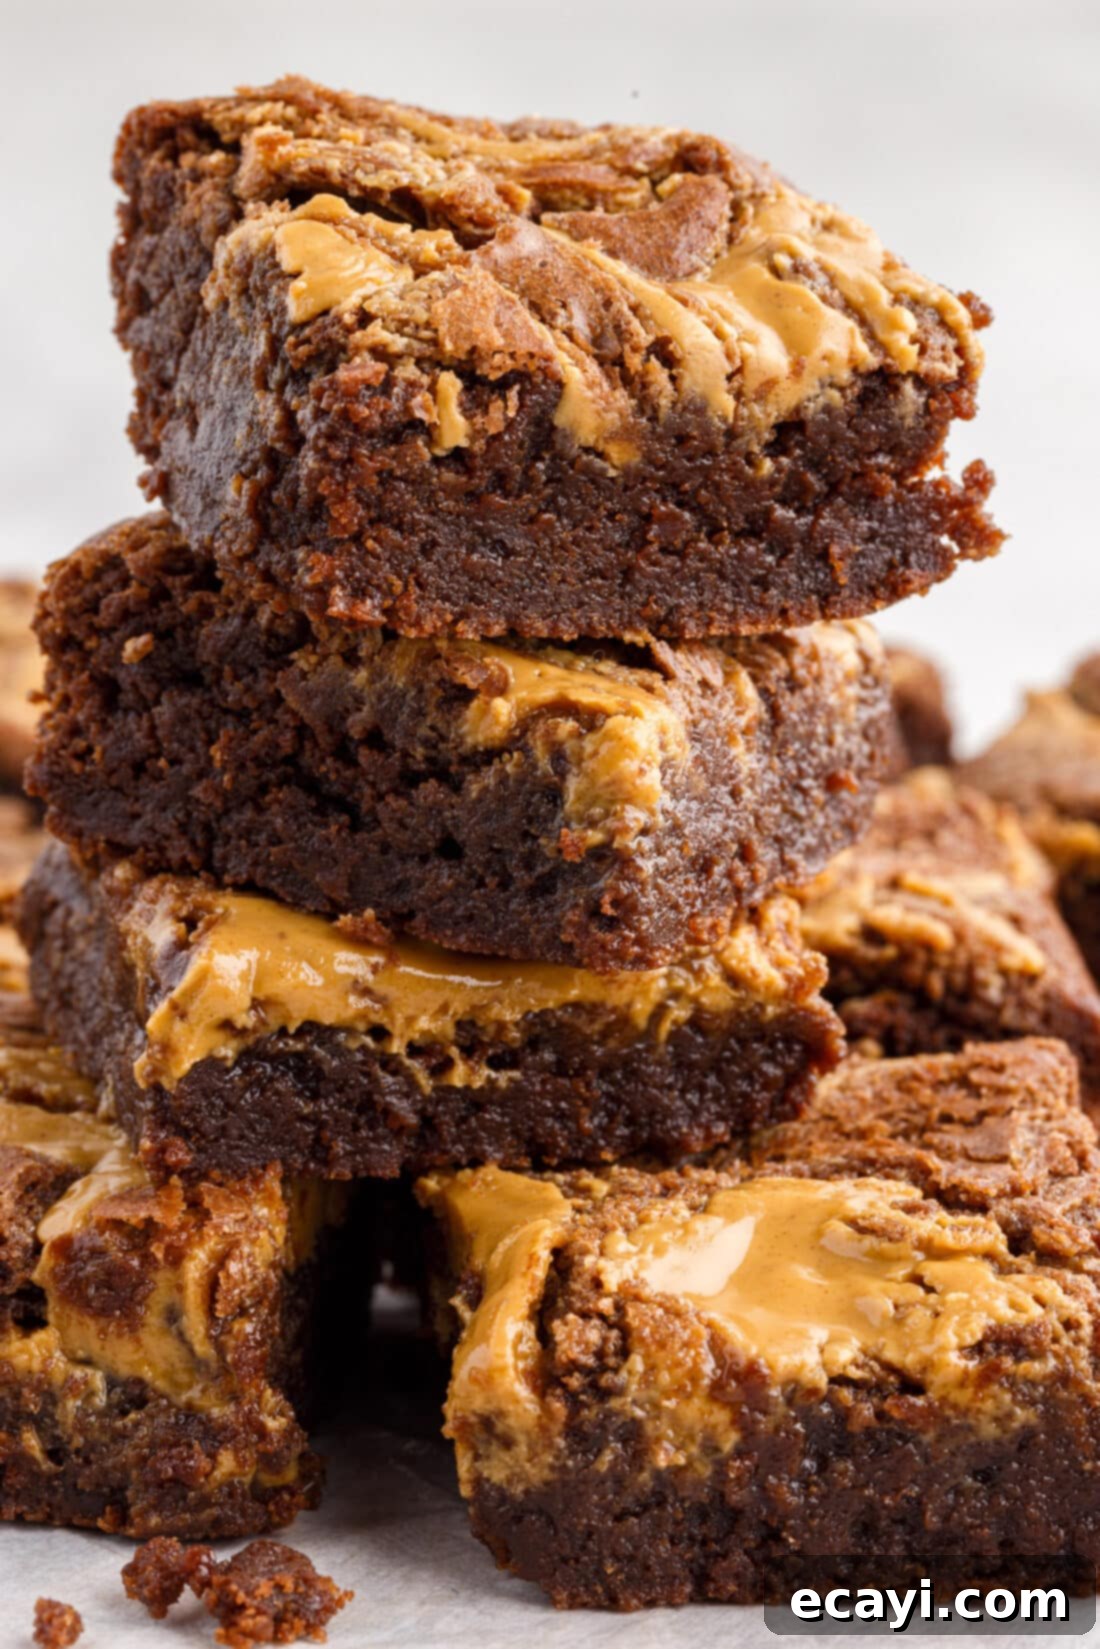
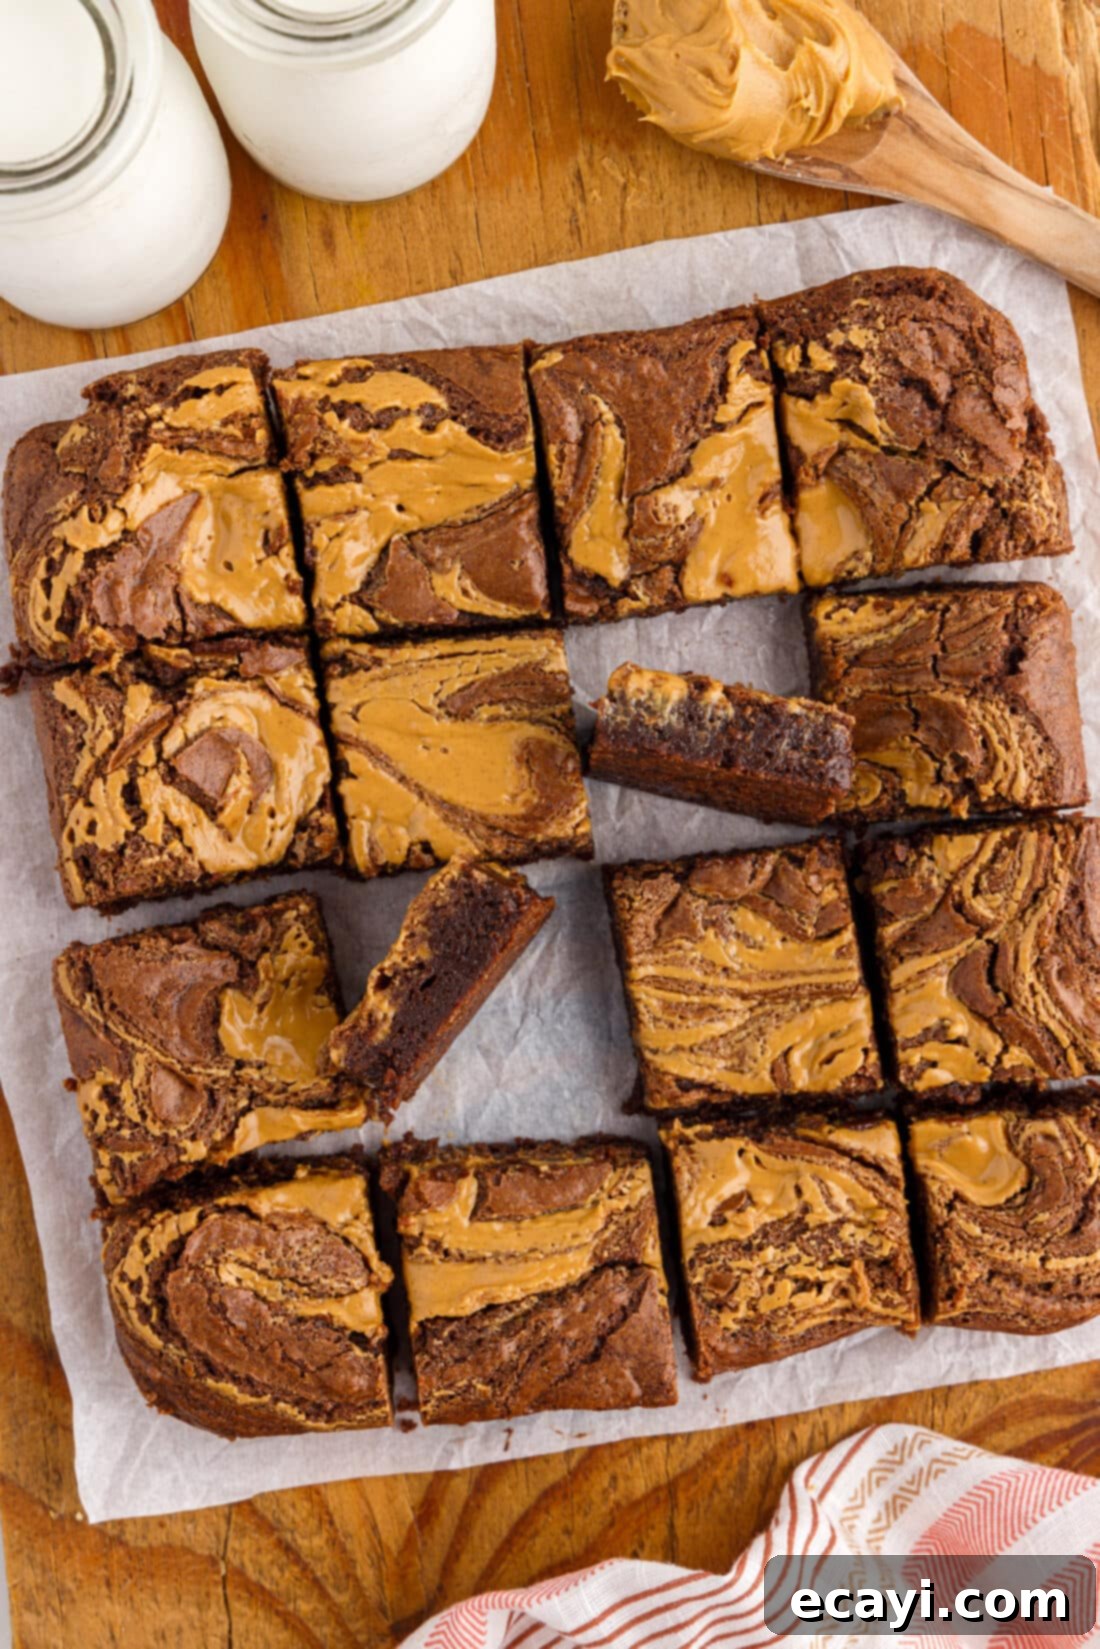
Prepare to indulge in the ultimate dessert experience with these irresistible peanut butter swirl brownies. Imagine sinking your teeth into a rich, fudgy, and incredibly moist chocolate brownie base, perfectly complemented by a creamy, dreamy ribbon of smooth peanut butter swirled right into the batter. These aren’t just brownies; they’re a symphony of flavors and textures, promising a thick, chewy bite every single time. The captivating marbled top isn’t just for show – it’s a preview of the delightful combination waiting within, mimicking your favorite peanut butter cup in brownie form.
Why This Peanut Butter Brownie Recipe Works Wonders
This recipe truly stands out because it marries the timeless appeal of a classic, intensely fudgy chocolate brownie with the creamy, salty-sweet delight of peanut butter. It’s a match made in dessert heaven, creating a flavor profile that is both familiar and exciting. Unlike brownies simply topped with peanut butter frosting, this method integrates the peanut butter directly into the brownie batter before baking. This allows the flavors to truly meld and mingle, resulting in a cohesive taste that evokes the joy of biting into a gourmet peanut butter cup.
The magic lies in the swirl. As the peanut butter bakes into the brownie, it transforms into a slightly firmer yet still incredibly smooth layer that contrasts beautifully with the dense, chewy chocolate. This isn’t just about appearance; it’s about the textural interplay and the way the sweet cocoa and rich peanut notes dance together in every single bite. The careful balance of ingredients ensures the brownies remain exceptionally moist and fudgy, never dry or crumbly. We’ve meticulously crafted this recipe to guarantee that signature crackly top and those wonderfully chewy edges that every brownie lover craves, all while featuring that eye-catching, creamy peanut butter marbling. It’s an easy-to-follow process that yields consistently delicious results, making it perfect for both novice bakers and seasoned pros looking for an impressive yet straightforward dessert.
Essential Ingredients for Your Peanut Butter Brownies
Creating these heavenly peanut butter swirl brownies requires a handful of common pantry staples. The quality of your ingredients plays a vital role in the final taste and texture, so always aim for the freshest options available. From the rich chocolate to the creamy peanut butter, each component contributes to the overall deliciousness of this dessert. You’ll find a complete list of precise measurements and detailed instructions in the printable recipe card at the very end of this post, ensuring you have everything you need at your fingertips to bake these delectable treats.
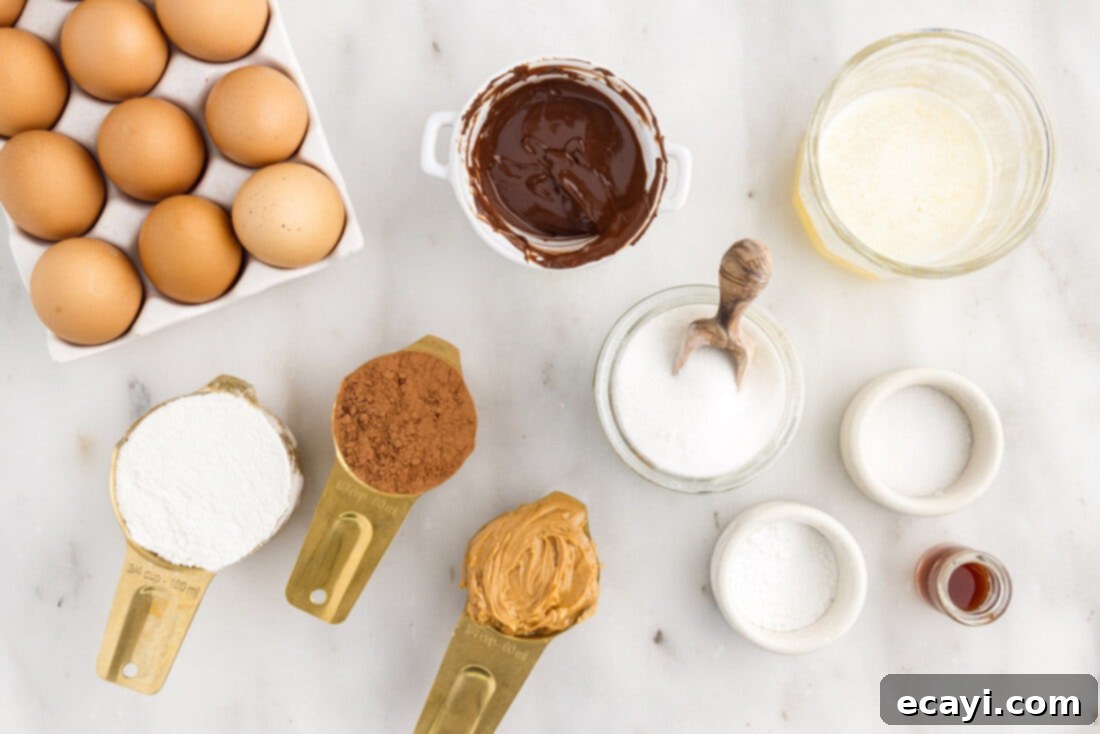
Ingredient Insights and Smart Substitutions
Let’s dive deeper into the key ingredients and some helpful tips to ensure your brownies turn out perfectly every time:
- CHOCOLATE CHIPS: For the melted chocolate component, semi-sweet chocolate chips are a fantastic choice, providing a balanced sweetness and deep cocoa flavor. To melt them effortlessly, use a microwave, heating in short 30-second bursts and stirring thoroughly after each interval until smooth. Be careful not to overheat, as this can cause the chocolate to seize. If you don’t have chocolate chips, a high-quality dark chocolate bar (around 60-70% cacao) can be chopped and melted. You can also experiment with milk chocolate for a sweeter, creamier brownie, though it will alter the depth of the chocolate flavor slightly.
- COCOA POWDER: We recommend using regular unsweetened cocoa powder for its robust chocolate flavor. However, if you prefer a darker, less acidic brownie with a slightly milder chocolate taste, Dutch-process cocoa powder is an excellent alternative. Dutch-process cocoa has been treated to reduce its acidity, resulting in a smoother flavor and darker color. The choice between the two mostly comes down to personal preference for chocolate intensity and color.
- PEANUT BUTTER: For that perfect creamy swirl, we highly recommend using a smooth, processed peanut butter (like Jif or Skippy). These types of peanut butter have a consistent texture and emulsification that allows for beautiful, even swirling and prevents excessive oil separation during baking. Natural peanut butter, while delicious for other applications, can be too thick and tend to separate, making it difficult to achieve the desired swirl effect and potentially resulting in a drier, greasier peanut butter layer in the brownies. If you’re looking for a nut-free option, a smooth sunflower seed butter (SunButter) can also work, but always check for consistency and adjust if needed.
- BUTTER AND SUGAR: Melted unsalted butter is crucial for the fudgy texture and crackly top of these brownies. When combined with granulated sugar, the melted butter helps to dissolve some of the sugar crystals, which is key to achieving that desirable glossy, slightly crinkled crust on top of your brownies. Using unsalted butter allows you to control the overall salt content of the recipe.
- EGGS: Large eggs, preferably at room temperature, act as a binder and add richness and moisture to the brownie batter. Room temperature eggs emulsify better with other ingredients, leading to a smoother, more uniform batter.
- FLOUR, SALT, AND BAKING POWDER: All-purpose flour provides the necessary structure for the brownies without making them cakey. Sifting the flour, cocoa powder, salt, and baking powder together ensures there are no lumps and that these dry ingredients are evenly distributed throughout the batter. The salt balances the sweetness and enhances the chocolate flavor, while a small amount of baking powder gives just enough lift to create a tender, but still dense, brownie.
Step-by-Step Guide: Crafting Your Peanut Butter Swirl Brownies
These step-by-step photos and detailed instructions are here to guide you visually through the process of making this delightful recipe. For the complete printable version, including all measurements and instructions, simply Jump to Recipe at the bottom of this post.
- Prepare Your Baking Dish: Begin by preheating your oven to 350°F (175°C). This ensures the oven is at the correct temperature when your batter is ready. Properly preparing your baking dish is essential for easy removal and clean cuts. Grease an 8×8-inch glass baking dish thoroughly, then line it with parchment paper, leaving an overhang on two sides. This parchment “sling” will allow you to lift the cooled brownies out of the pan effortlessly. Set the prepared dish aside.
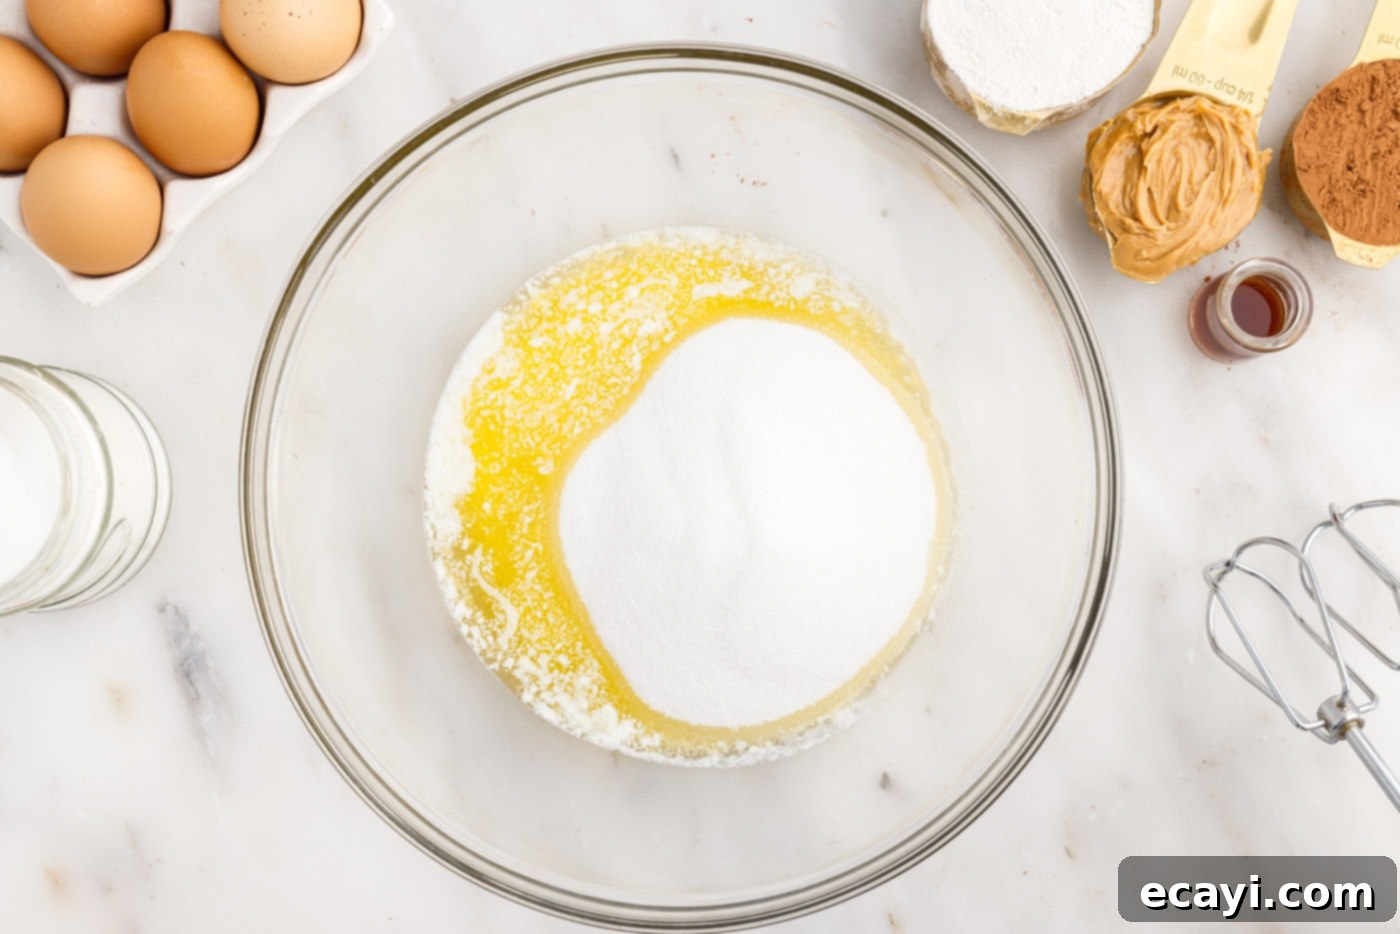
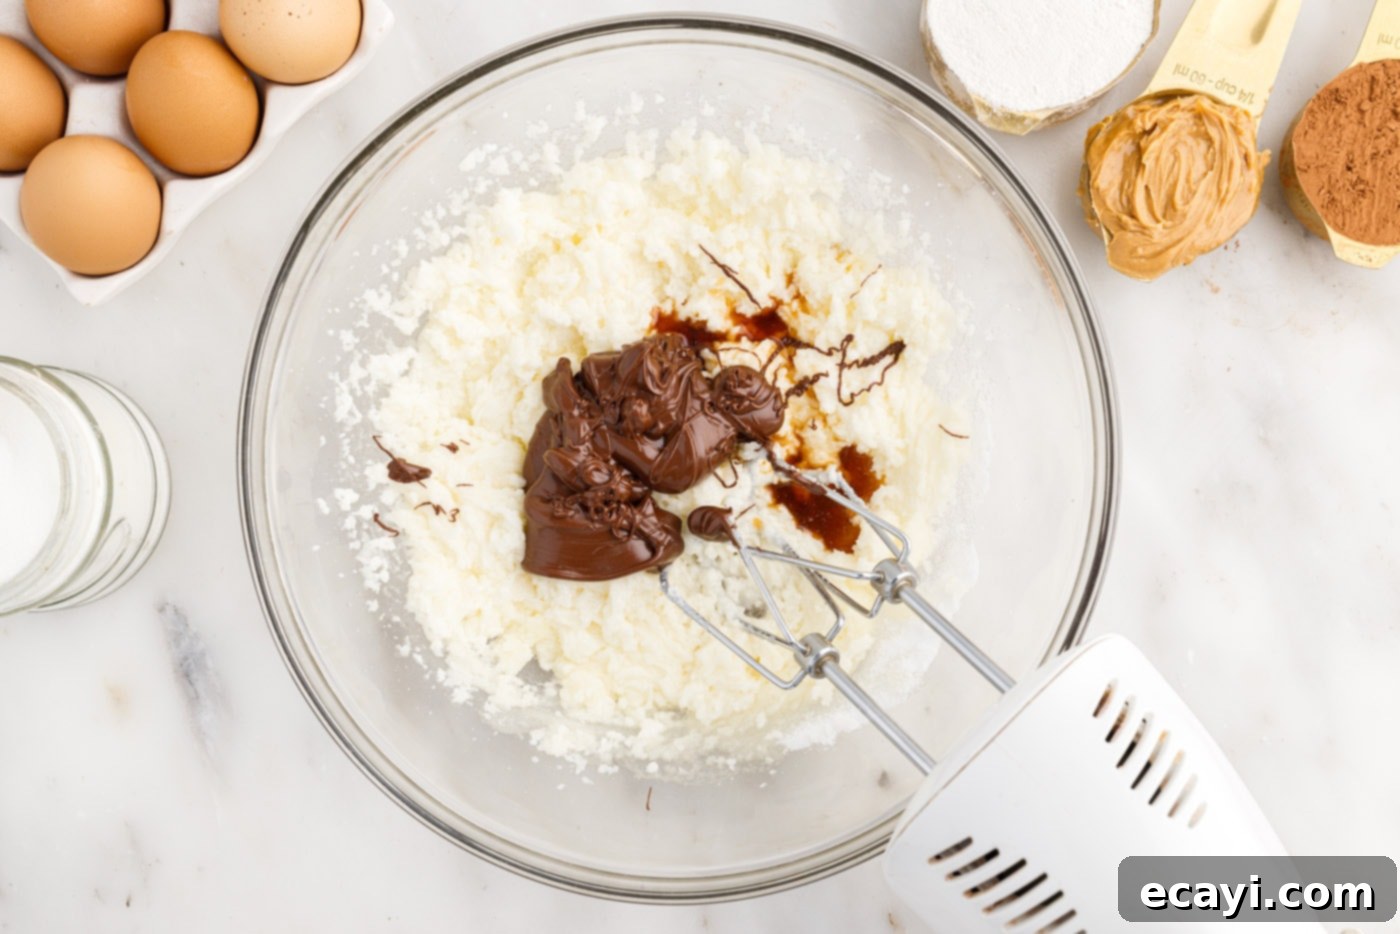
- Combine Wet Ingredients (Part 1): In a spacious mixing bowl, beat together the melted butter and granulated sugar until they are well combined. The melted butter helps to dissolve some of the sugar, which contributes to that desirable crackly top and chewy edges. Next, stir in the vanilla extract, which adds a lovely aromatic depth to the chocolate. Pour in the slightly cooled melted semi-sweet chocolate chips and continue to beat until all ingredients are thoroughly mixed and smooth. Ensure the melted chocolate has cooled a bit to avoid scrambling the eggs in the next step.

Melted butter and sugar being mixed in a bowl, forming the foundation of our rich brownie batter. 
The mixer combines melted chocolate and vanilla extract with the butter and sugar mixture, creating a glossy base. - Incorporate the Eggs: Add the two large eggs to the mixture. Beat just until they are fully combined with the wet ingredients.
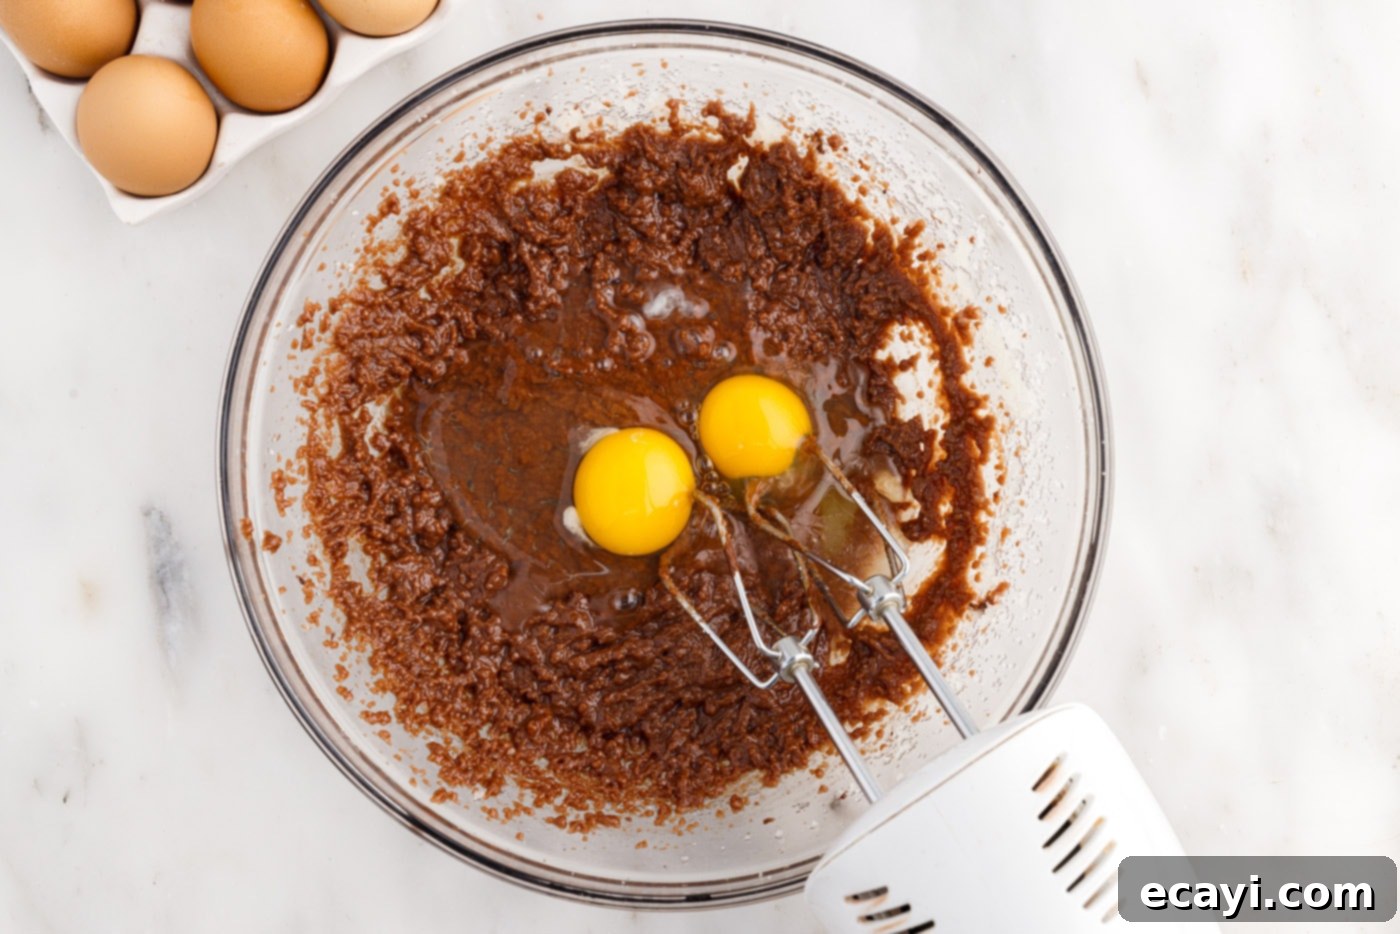
EXPERT TIP: While a hand mixer can be convenient, overbeating the eggs can incorporate too much air into the batter. This excess air causes the brownies to puff up significantly during baking, potentially leading to higher, cake-like edges and a cracked center as the brownies cool and settle. To ensure a truly fudgy brownie with a desirable dense texture, we recommend switching to mixing the batter by hand with a spatula once the eggs have been added. This minimizes air incorporation and maximizes fudginess.

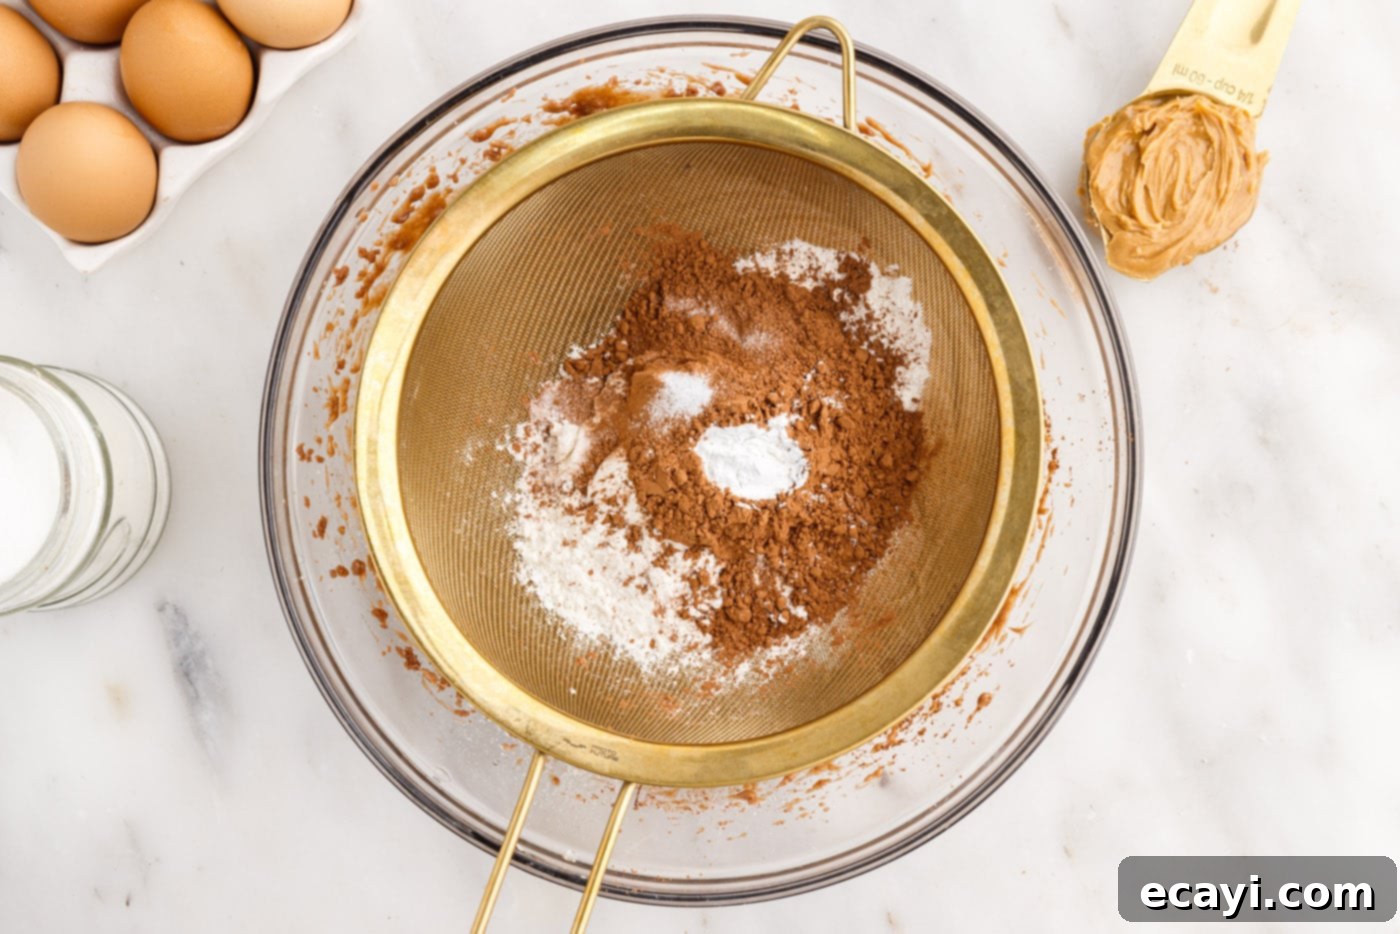
Adding the eggs to the rich chocolate batter, mixing until just combined for optimal fudgy texture. - Sift Dry Ingredients: In a separate bowl or directly over your wet mixture, sift the dry ingredients through a fine-mesh sieve. This includes the unsweetened cocoa powder, salt, baking powder, and all-purpose flour. Sifting is a crucial step that prevents lumps in your batter, ensuring a smooth texture and even distribution of leavening agents.

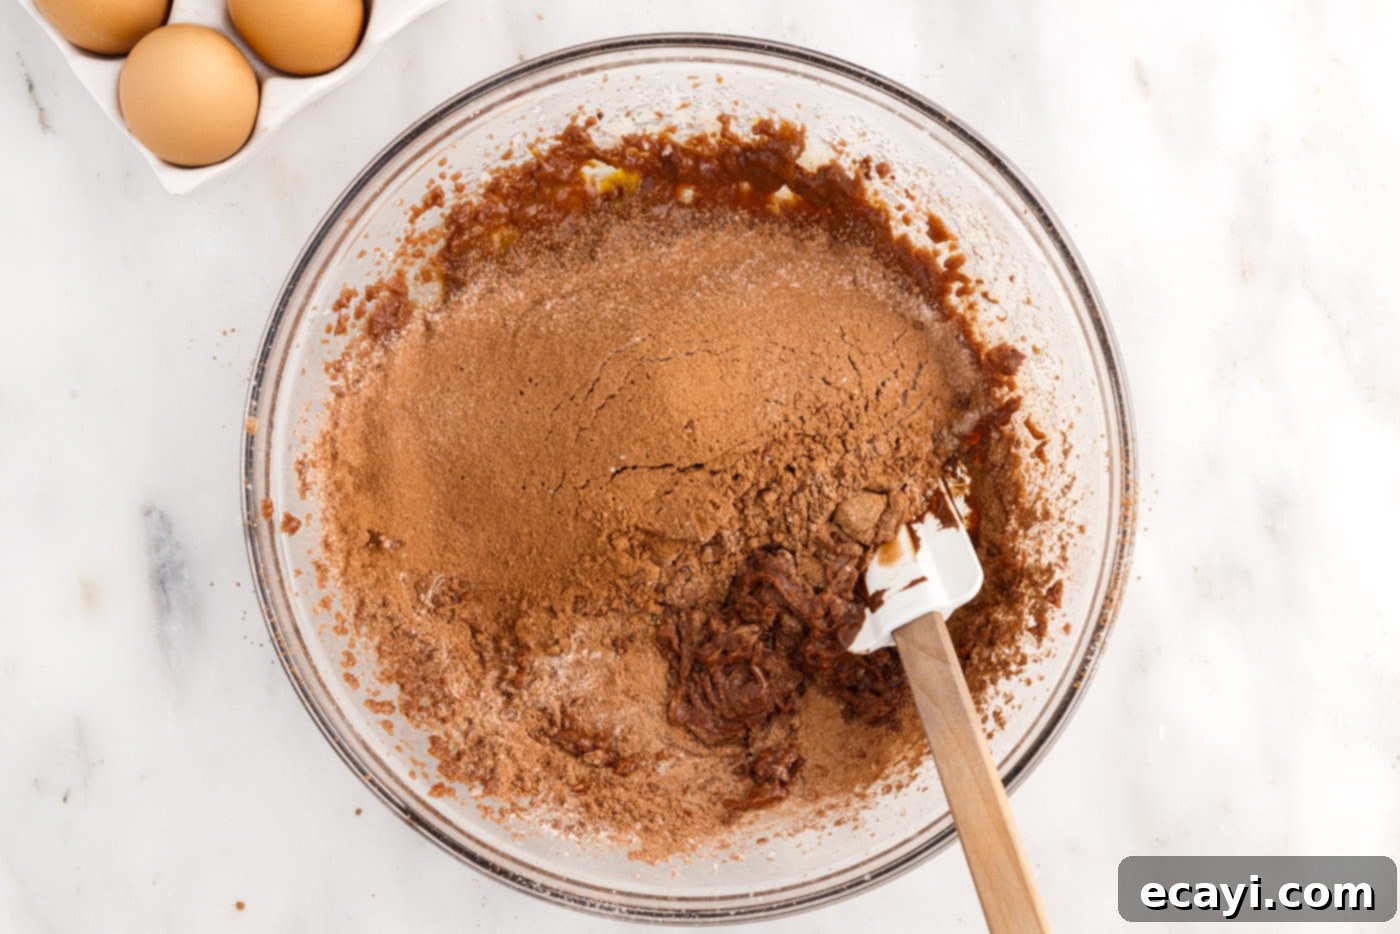
Sifting cocoa powder, flour, salt, and baking powder into the wet ingredients for a smooth, lump-free batter. - Gently Fold Dry into Wet: Using a rubber spatula, gently fold the sifted dry ingredients into the wet mixture. Mix just until combined, being careful not to overmix. Overmixing develops the gluten in the flour, which can lead to tough, cakey brownies rather than the desired fudgy, chewy texture. Stop mixing as soon as no dry streaks of flour are visible.

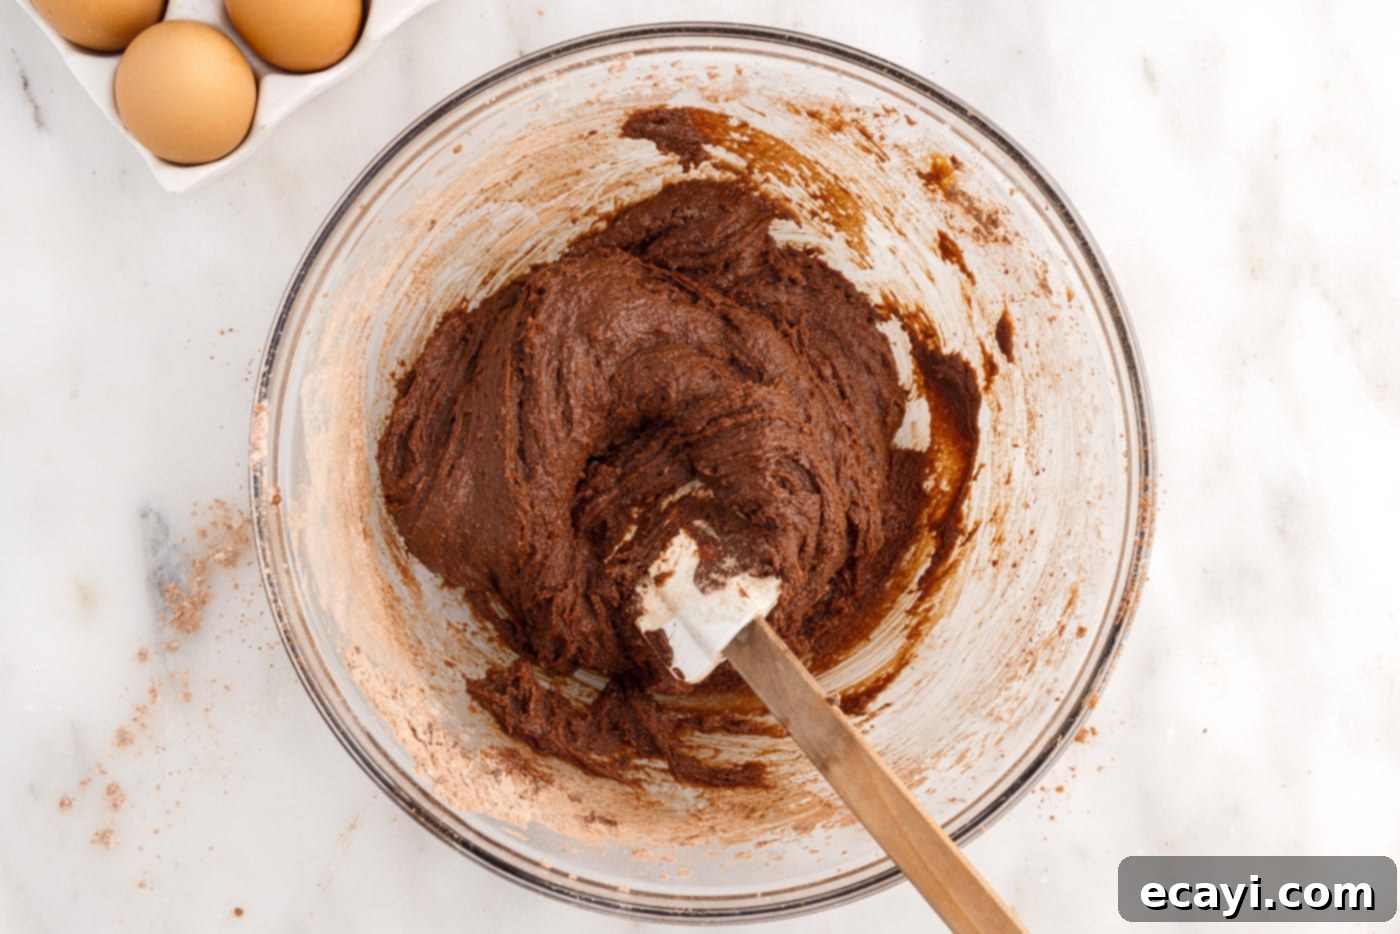
A rubber spatula carefully folding the dry ingredients into the wet, ensuring not to overmix. 
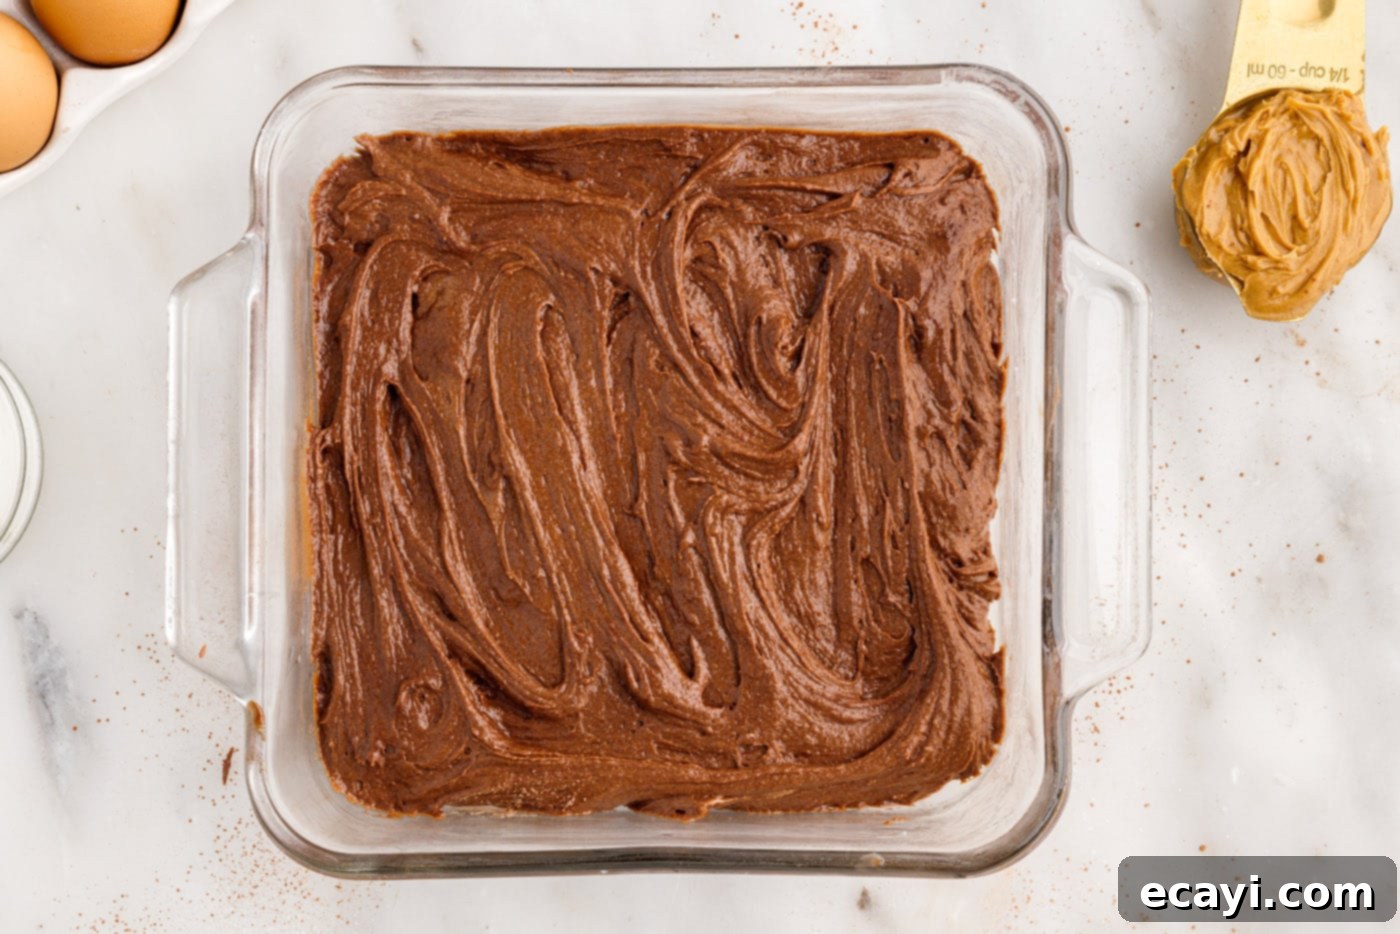
The perfectly mixed, thick brownie batter, ready for the next step. - Spread the Brownie Batter: Evenly spread the thick brownie batter into your prepared 8×8-inch baking dish. Use the back of your spatula or an offset spatula to ensure the batter is spread smoothly from edge to edge.

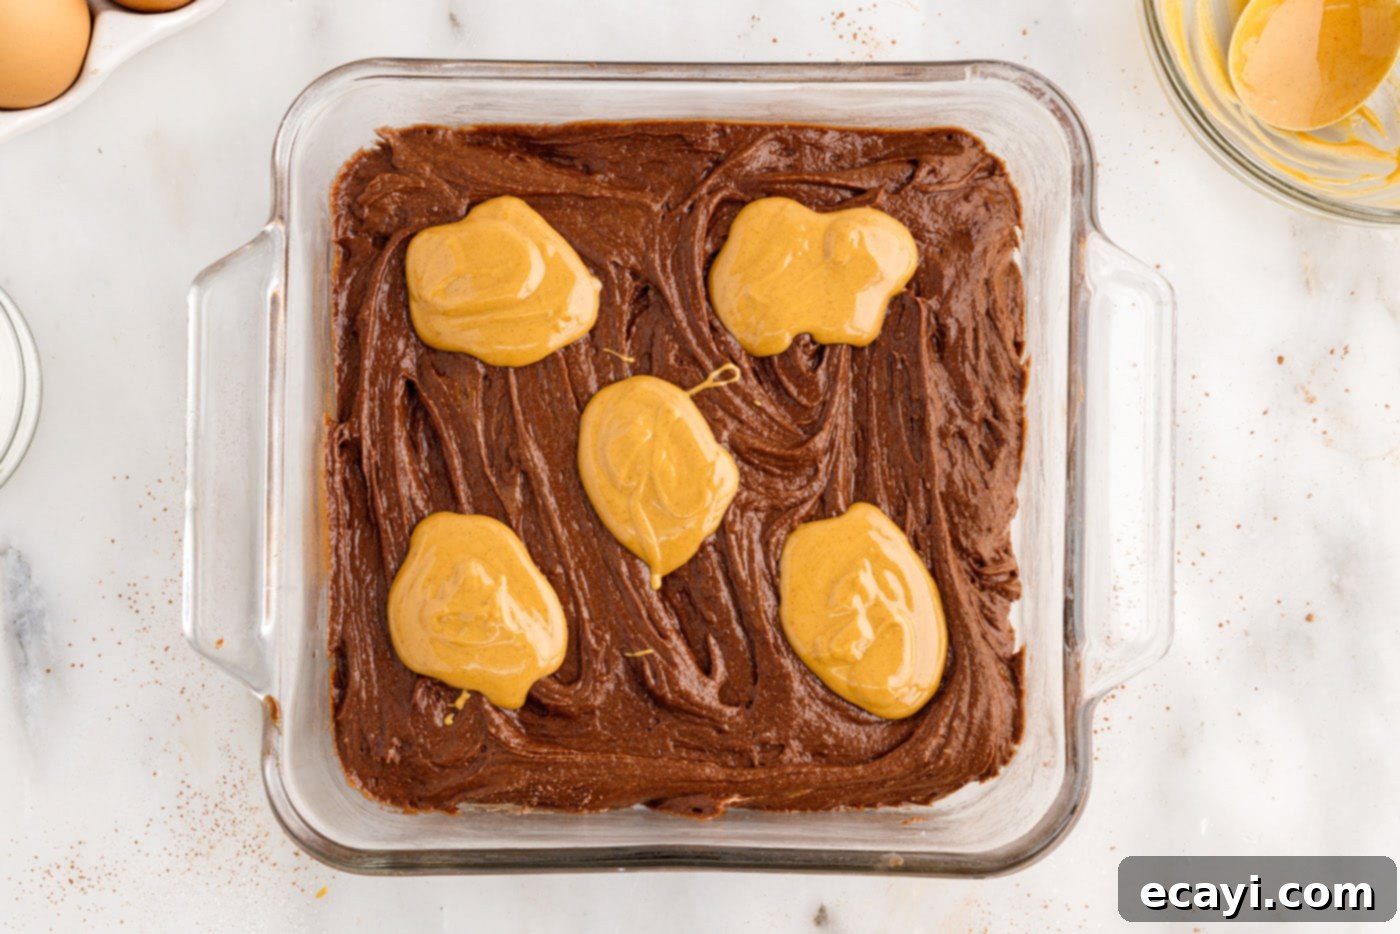
Smoothly spreading the rich brownie batter into the prepared square baking dish. - Prepare and Dollop Peanut Butter: To achieve a smooth, pourable consistency for swirling, microwave the creamy peanut butter for approximately 15 seconds. This brief heating will soften it just enough. Once it’s smooth, spoon dollops of the melted peanut butter generously over the brownie batter in the pan. Distribute the dollops somewhat evenly for a beautiful marble effect.

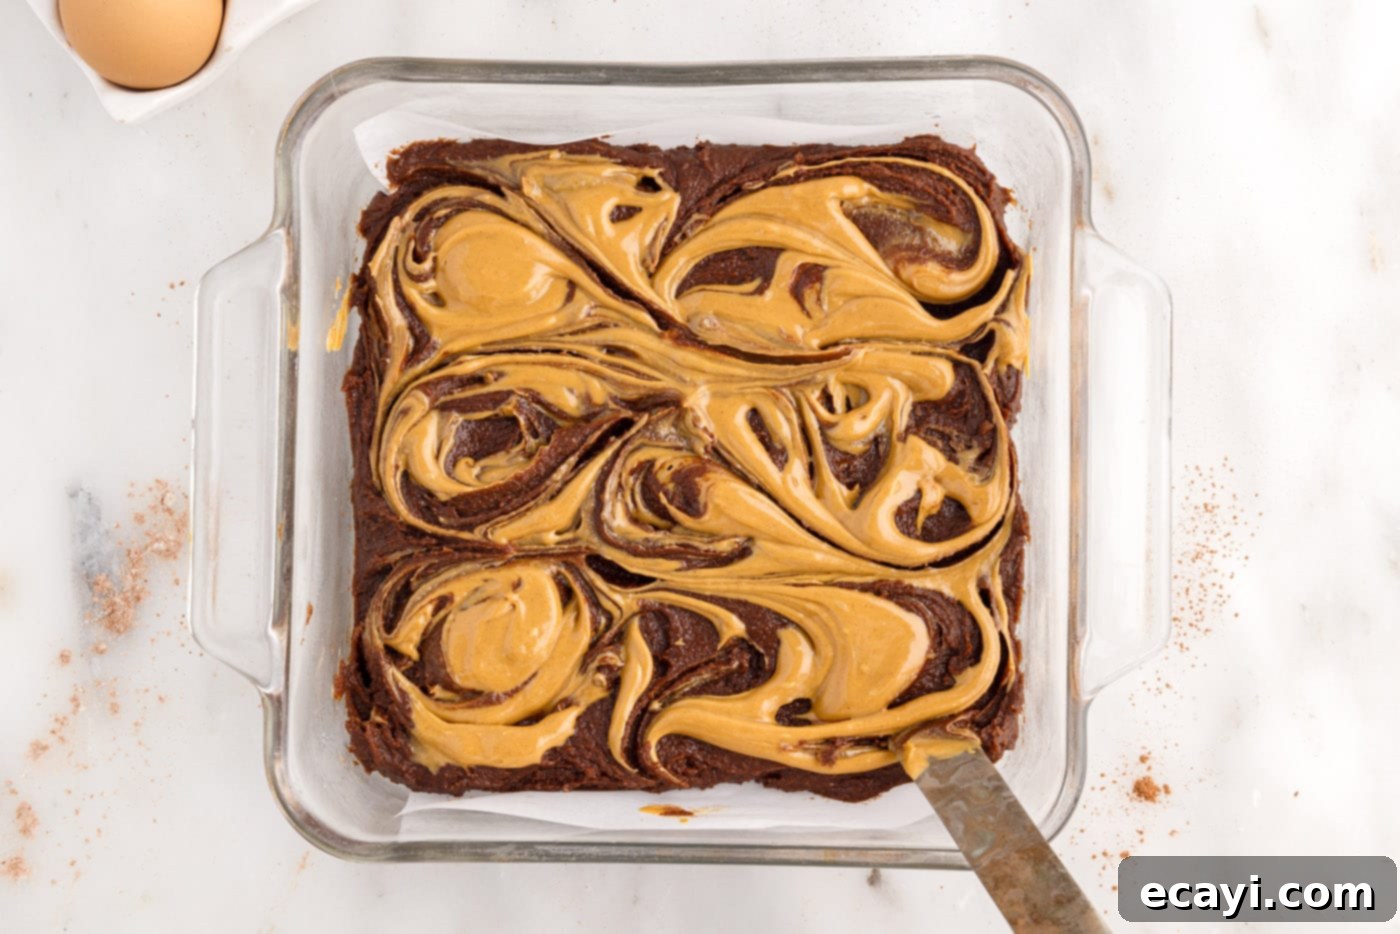
Creamy dollops of softened peanut butter carefully placed atop the brownie batter, ready for swirling. - Create the Swirl: Take a butter knife, a skewer, or even a toothpick and gently swirl the peanut butter into the brownie batter. Move the knife through the dollops and batter in a figure-eight or zigzag motion, creating beautiful marbled patterns. Be careful not to overmix the swirl; a few elegant passes are all you need to create that stunning visual and ensure the flavors intertwine perfectly.

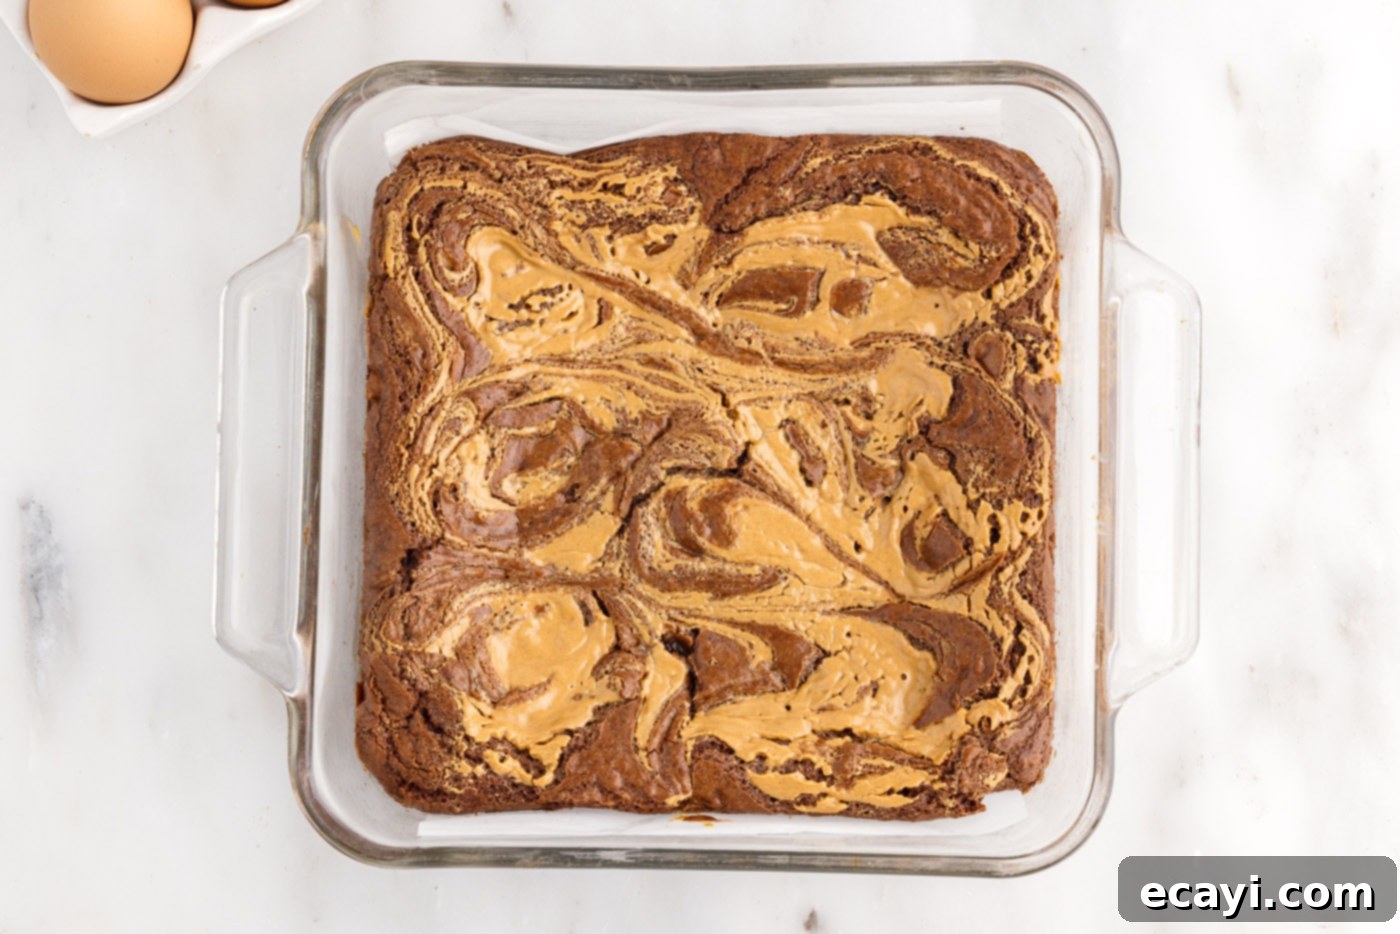
A knife artfully swirling the peanut butter into the chocolate batter, creating a mesmerizing marble pattern. - Bake to Perfection: Place the baking dish in your preheated oven and bake for 35-40 minutes. You’ll know the brownies are done when a toothpick or knife inserted into the center comes out with moist, fudgy crumbs clinging to it, but no wet batter. For a creamier peanut butter swirl and a slightly less dark brownie top, you can loosely cover the brownies with aluminum foil during the last 10 minutes of baking. If you prefer a more pronounced, slightly drier peanut butter layer and a darker, crispier brownie top, leave them uncovered for the entire baking duration. Once baked, remove from the oven and allow them to cool completely in the pan on a wire rack. Cooling fully is crucial for achieving that dense, fudgy texture and clean cuts.

The peanut butter brownies, freshly baked and golden, cooling in the glass pan after achieving fudgy perfection. - Cool, Lift, and Cut: Once completely cooled, use the parchment paper overhang to gently lift the entire slab of brownies out of the baking dish. Transfer them to a cutting board. With a sharp knife, cut the brownies into your desired square sizes. For the cleanest cuts, wipe your knife clean between each slice, especially if the brownies are very fudgy.
Frequently Asked Questions & Expert Tips
To maintain their incredible freshness and fudgy texture, store your peanut butter swirl brownies in an airtight container. They can be kept at room temperature for up to 3-4 days, or in the refrigerator for up to 5 days. Chilling them can sometimes enhance their density and chewiness, making them a delightful cold treat too!
Absolutely! These brownies freeze beautifully, making them perfect for meal prep or enjoying later. To freeze, allow them to cool completely, then cut them into individual squares. Arrange the squares in a single layer on a baking sheet and freeze for about an hour until firm. Once firm, transfer them to an airtight container or a large freezer-safe zip-top bag, separating layers with parchment paper to prevent sticking. They can be stored in the freezer for up to 1 month. When you’re ready to enjoy, simply thaw them at room temperature for a few hours or warm slightly in the microwave for a warm, gooey treat.
Additional Expert Tip: Always use an oven thermometer! Oven temperatures can vary significantly, even in newer models. An inexpensive oven thermometer will help ensure your oven is truly heating to the proper temperature, preventing under- or over-baked brownies and guaranteeing consistent results.
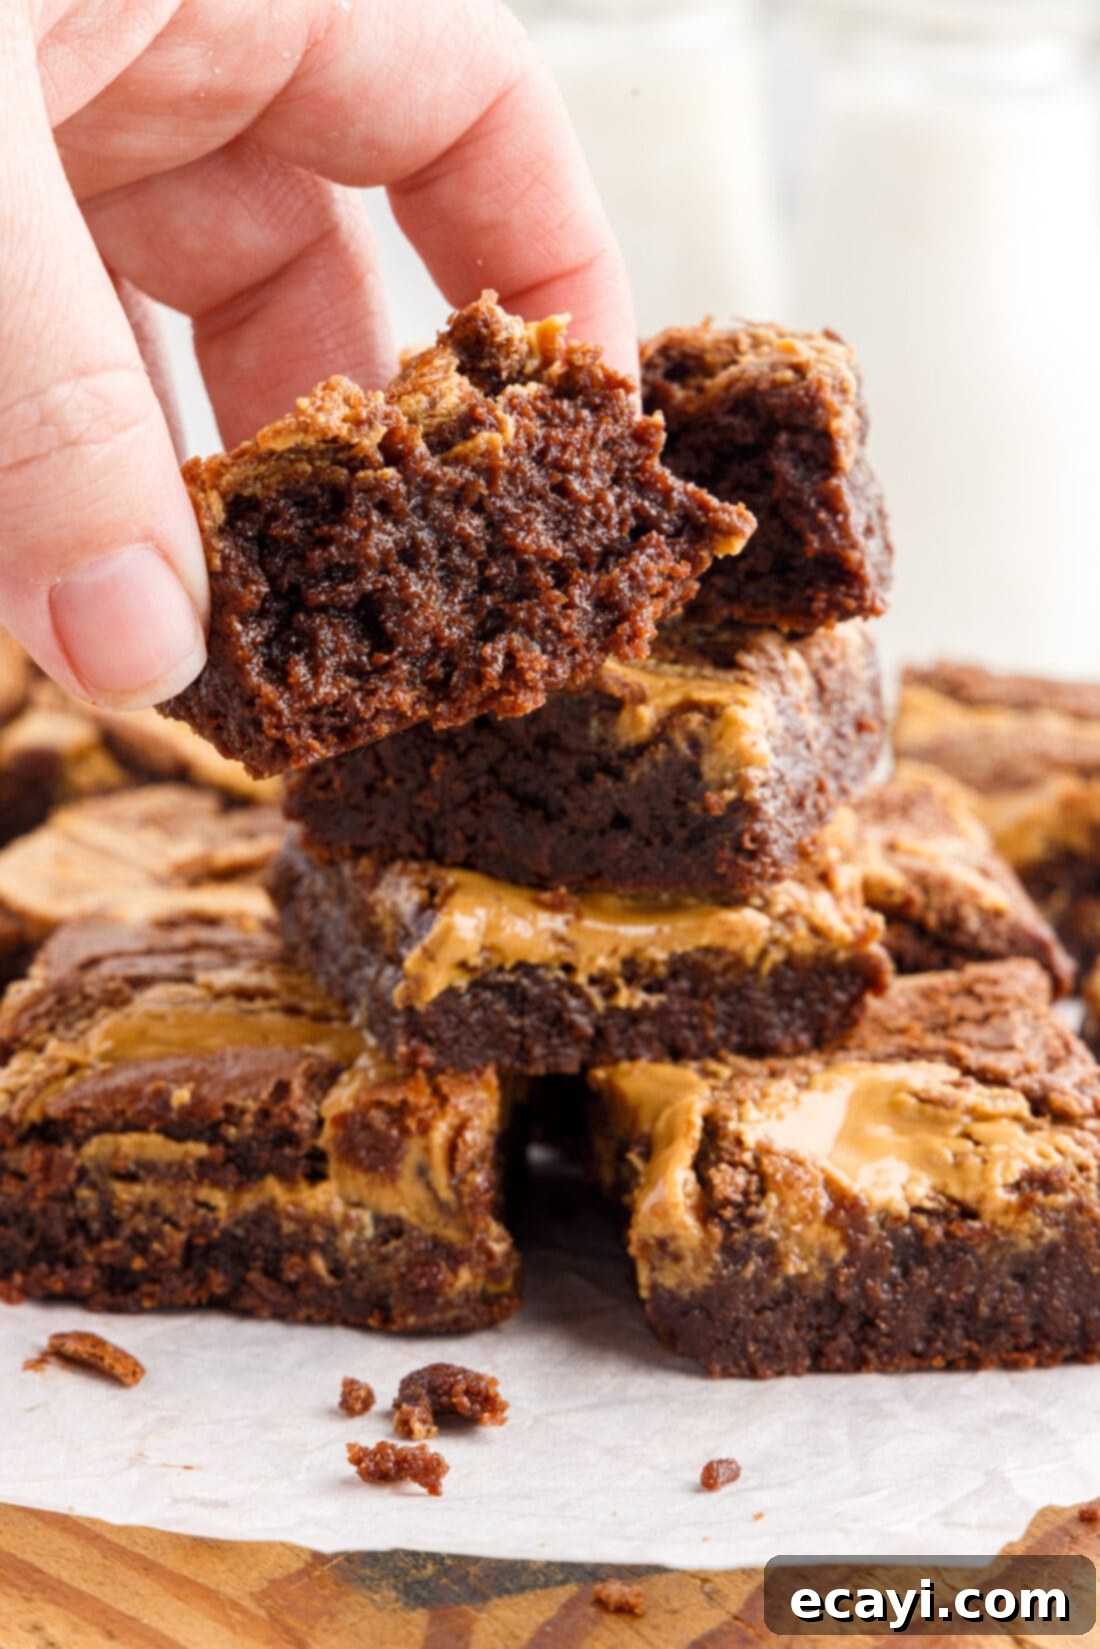
Delightful Serving Suggestions
Peanut butter swirl brownies are incredibly versatile and can be enjoyed in various ways. Serve them warm, straight from the oven, for a gooey, melting chocolate experience, perhaps with a scoop of vanilla bean ice cream or a dollop of whipped cream. They are equally delicious at room temperature, where their fudgy texture and distinct layers really shine. For those who love a firmer bite, try them chilled from the refrigerator. No matter how you prefer them, these brownies are perfect alongside a cold glass of milk, a hot cup of coffee, or as the star of any dessert platter. They’re a guaranteed crowd-pleaser for parties, potlucks, or simply as a comforting treat at home.
Explore More Decadent Brownie Recipes
If you loved these peanut butter swirl brownies, you might also enjoy these other fantastic brownie creations from our kitchen:
- Crispy Brownie Brittle
- Refreshing Chocolate Mint Brownies
- Classic Buckeye Brownie Cookies
- Creamy Oreo Cheesecake Brownies
- Rich Chocolate Cheesecake Brownies
- Warm Peanut Butter Marbled Brownie Skillet
I absolutely adore baking and cooking, and I find immense joy in sharing my culinary experiences with all of you! To make sure you never miss a new recipe, I offer a convenient newsletter delivered straight to your inbox every time a new creation is posted. Simply subscribe today and start receiving your free daily recipes – let’s make delicious memories together!
Peanut Butter Brownies
IMPORTANT – There are often Frequently Asked Questions within the blog post that you may find helpful. Simply scroll back up to read them!
Print It
Pin It
Rate It
Save ItSaved!
Ingredients
- ½ cup unsalted butter melted
- 1 ½ cups granulated sugar
- 1 teaspoon vanilla extract
- ½ cup semi-sweet chocolate chips melted and cooled slightly
- 2 large eggs at room temperature
- ⅓ cup unsweetened cocoa powder
- ½ teaspoon salt
- ½ teaspoon baking powder
- ¾ cup all-purpose flour
- ¼ cup creamy peanut butter
Things You’ll Need
-
8×8 glass baking dish
-
Hand mixer
-
Rubber spatula
-
Mixing bowls
Before You Begin
- The melted butter combined with sugar helps dissolve some sugar crystals, contributing to a beautiful crackly top and chewy edges on your brownies.
- For ultra-fudgy brownies, avoid overmixing the eggs with a hand mixer, as excessive air can lead to a more cake-like texture. Mixing by hand once eggs are added helps maintain density.
- When melting chocolate chips, use 30-second increments in the microwave, stirring between each, to prevent burning and ensure a smooth consistency. Any favorite dark chocolate bar can be used as a substitute.
- For the best swirl and texture, stick to a smooth, processed peanut butter. Natural peanut butter can separate and be too thick for optimal swirling results.
- Regular unsweetened cocoa powder yields a rich chocolate flavor; Dutch-process cocoa can be substituted for a darker color and milder taste.
Instructions
-
Preheat the oven to 350°F (175°C). Grease an 8×8-inch glass baking dish, then line it with parchment paper, leaving an overhang on two sides for easy removal. Set aside.
-
In a mixing bowl, beat together the melted unsalted butter and granulated sugar until well combined. Stir in the vanilla extract, then add the slightly cooled melted semi-sweet chocolate chips and beat until thoroughly mixed.
-
Add the 2 large eggs and beat just until combined. For fudgier brownies, mix by hand with a spatula after adding eggs to avoid incorporating too much air.
-
Sift the dry ingredients (unsweetened cocoa powder, salt, baking powder, and all-purpose flour) through a sieve into the brownie batter.
-
Using a rubber spatula, gently fold the dry ingredients into the wet mixture just until no dry streaks remain. Be careful not to overmix.
-
Spread the brownie batter evenly into the prepared baking dish.
-
Microwave the creamy peanut butter for about 15 seconds to achieve a smooth, pourable consistency. Spoon dollops of the softened peanut butter over the brownie batter.
-
Use a butter knife or skewer to gently swirl the peanut butter into the chocolate batter, creating a marbled effect.
-
Bake for 35-40 minutes, or until a toothpick inserted into the center comes out with moist, fudgy crumbs attached, but no wet batter. To keep the peanut butter swirl extra creamy, you can loosely cover the brownies with aluminum foil during the last 10 minutes of baking. Alternatively, leave uncovered for a darker, slightly firmer peanut butter layer. Remove from oven and allow to cool completely in the pan on a wire rack.
-
Once fully cooled, use the parchment paper overhang to lift the brownies from the pan. Transfer to a cutting board and cut into squares with a sharp knife, wiping the blade clean between cuts for best results.
Nutrition
The recipes on this blog are tested with a conventional gas oven and gas stovetop. It’s important to note that some ovens, especially as they age, can cook and bake inconsistently. Using an inexpensive oven thermometer can assure you that your oven is truly heating to the proper temperature. If you use a toaster oven or countertop oven, please keep in mind that they may not distribute heat the same as a conventional full sized oven and you may need to adjust your cooking/baking times. In the case of recipes made with a pressure cooker, air fryer, slow cooker, or other appliance, a link to the appliances we use is listed within each respective recipe. For baking recipes where measurements are given by weight, please note that results may not be the same if cups are used instead, and we can’t guarantee success with that method.
