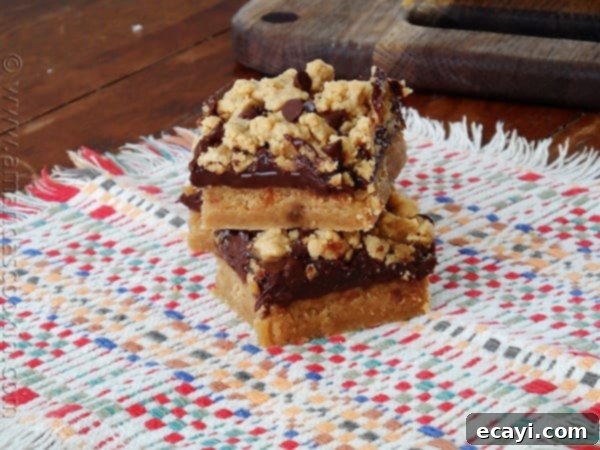
Irresistible Peanut Butter Chocolate Layer Bars: Your New Favorite Dessert Recipe
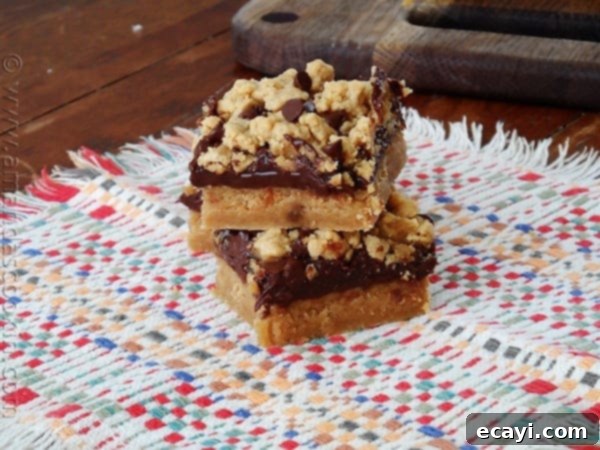
Prepare for a delightful invasion! The aroma of these incredible Peanut Butter Chocolate Layer Bars baking in your oven is so intoxicating that it will have every peanut butter enthusiast in your neighborhood knocking at your door. If the idea of working with sweetened condensed milk has ever seemed daunting, now is the perfect moment to overcome that apprehension and join the legions of fans who adore this classic chocolate and peanut butter combination. These bars are truly at their peak when they’ve been given ample time to cool completely and set. In fact, like many rich desserts, they often taste even better the following day, allowing the flavors to meld and deepen.
These decadent bars offer a harmonious blend of creamy peanut butter and rich chocolate, making them an instant crowd-pleaser. Their layered structure not only looks impressive but also delivers an exciting textural experience with every bite. From the tender, crumbly peanut butter base to the smooth, luscious chocolate filling and the delightful peanut butter crumble topping, these bars are a symphony of flavor and texture that will leave a lasting impression.
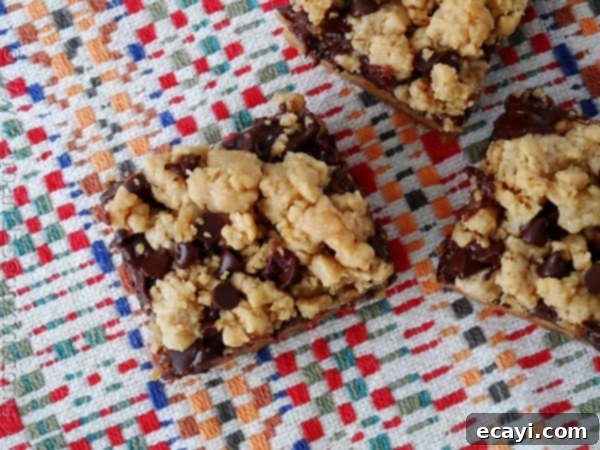
When I last baked a batch of these glorious bars, my family, especially the children, swarmed the kitchen like eager connoisseurs. It was a race against time, with the plate quickly revealing its surface as one bar after another vanished. Be warned: these treats are incredibly rich and undeniably addictive, making it easy to overindulge! While this recipe calls for classic semisweet chocolate chips, feel free to customize them to your taste. For a deeper, more intense chocolate experience, dark chocolate chips make an excellent substitute. If you prefer a milder, sweeter flavor, milk chocolate chips would also be a fantastic choice, adding their own unique character to the finished bars. Don’t hesitate to experiment with different chocolate varieties to find your perfect balance.
The beauty of these bars extends beyond their delicious taste; their convenience makes them ideal for a multitude of occasions. They are perfectly suited for packing up and taking on the go, making them a fantastic addition to picnics, potlucks, and bustling parties. Their sturdy yet tender texture holds up well, ensuring they arrive at your destination in perfect condition. They’re also an excellent choice for a special treat in school or office lunches. For versatile snacking, simply cut them into smaller, bite-sized pieces, transforming them into fun, manageable snacks that are perfect for sharing – or keeping all to yourself!
One common question that often comes up is whether these bars would work well with crunchy peanut butter. My gut tells me they would be absolutely fantastic! While I personally lean towards creamy peanut butter for its smooth consistency and seamless integration into the dough and filling, I have fond childhood memories of insisting on crunchy peanut butter for my PB&J sandwiches. My mom always made sure there was a jar of crunchy peanut butter readily available in the pantry just for me. Using crunchy peanut butter in these bars would introduce an exciting textural contrast, adding delightful bits of peanut to each bite, which would complement the richness of the chocolate beautifully. If you’re a fan of that extra crunch, I highly recommend giving it a try!
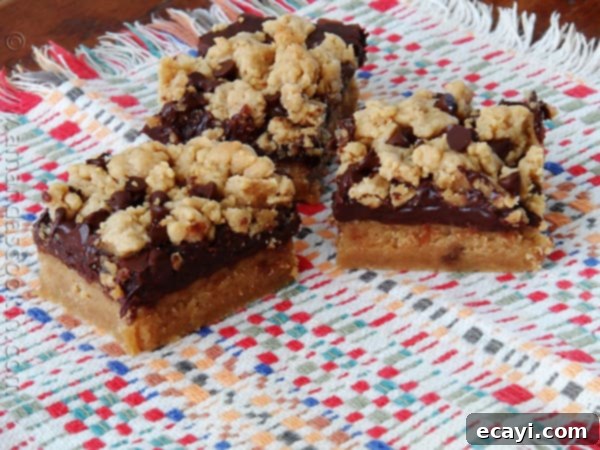
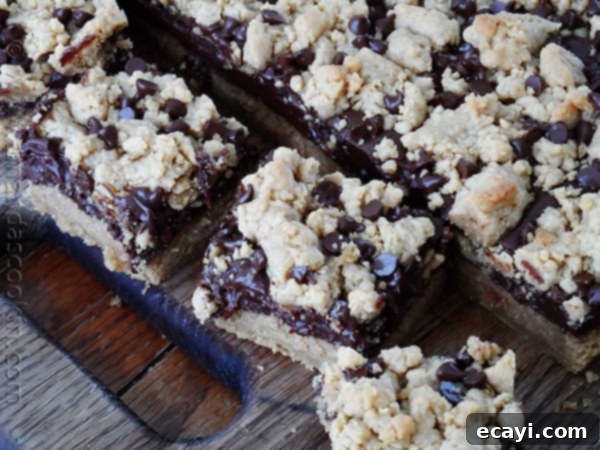
Achieving the perfect slice is all about patience. As you can see from the photos, the ideal method involves lifting the entire cooled dessert out of the baking pan before attempting to cut it. This ensures clean, neat edges and prevents the bars from crumbling. Since it’s absolutely crucial to wait until they have completely cooled and set to room temperature before cutting, planning ahead is key. If you’re preparing these for an event or to take them along, simply store the whole slab on a sturdy cutting board, covered tightly with foil, until you reach your destination. This way, you can easily cut them into perfect portions just before serving, ensuring maximum freshness and presentation.
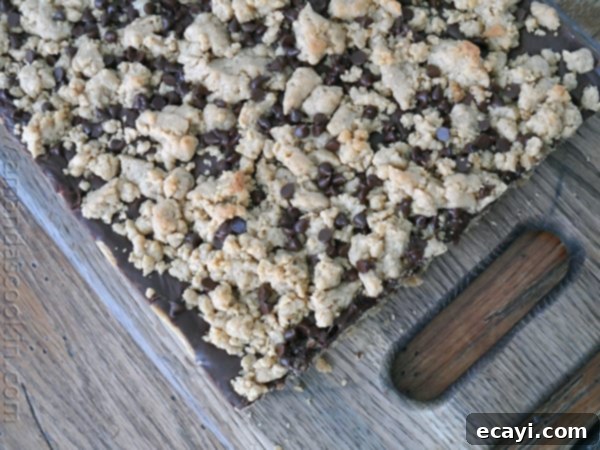
Why These Peanut Butter Chocolate Layer Bars Will Be Your New Favorite Treat
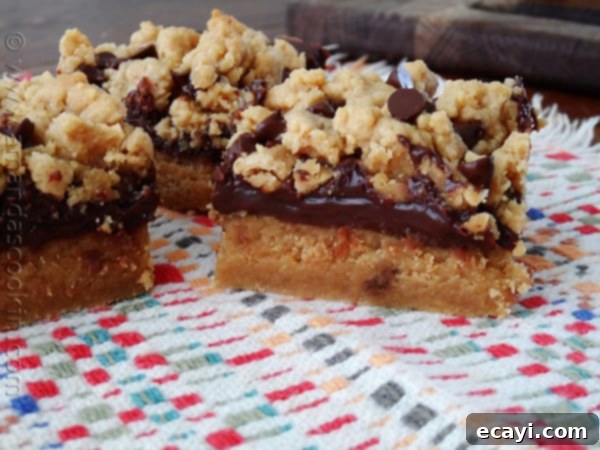
These Peanut Butter Chocolate Layer Bars aren’t just another dessert; they’re an experience waiting to happen. The magic lies in the perfectly balanced layers: a soft, chewy peanut butter base that forms the foundation, followed by a thick, velvety chocolate filling made even richer with sweetened condensed milk, and finally, a delightful crumbly peanut butter topping sprinkled with miniature chocolate chips. Each component plays a vital role in creating a treat that is both comforting and sophisticated. The rich flavors of chocolate and peanut butter are a match made in heaven, a classic combination that rarely disappoints. Plus, the simple, straightforward preparation makes this recipe accessible to bakers of all skill levels, ensuring delicious results every time.
Tips for Perfect Layer Bar Perfection
To ensure your Peanut Butter Chocolate Layer Bars turn out absolutely perfect, consider a few key tips. First, always use softened butter for the base; this ensures a smooth, even texture when creamed with the brown sugar. When measuring your brown sugar, make sure it’s firmly packed into the measuring cup to achieve the correct sweetness and moisture content. For the peanut butter, using a good quality, creamy variety (unless you’re intentionally going for crunchy!) will contribute to the richness and flavor of both the base and the filling. Don’t be afraid to splurge a little on good chocolate chips; the quality of your chocolate will significantly impact the overall taste of the filling.
During the baking process, keep a close eye on your oven. While the recipe suggests 30 minutes, all ovens vary, and yours might bake faster or slower. You’re looking for a light golden-brown color on the topping, indicating it’s cooked through without being overbaked. Overbaking can lead to a dry, crumbly texture. Most importantly, resist the urge to cut into these bars too soon! Allowing them to cool completely in the pan, preferably overnight or for several hours, is non-negotiable. This cooling period allows the chocolate filling to set properly and the layers to firm up, making for clean, beautiful slices. Patience is truly a virtue here, and it will be rewarded with perfectly structured, delectable bars.
Finally, don’t shy away from experimenting with variations. As mentioned, switching from semisweet to dark or milk chocolate chips can dramatically change the flavor profile. If you’re feeling adventurous, consider stirring in a handful of chopped nuts (like pecans or walnuts) into the chocolate filling for an added textural dimension. A sprinkle of sea salt flakes on top before baking can also enhance the chocolate and peanut butter flavors, creating a gourmet touch. These bars are quite forgiving and adaptable, so feel free to make them your own!
Serving and Storage Suggestions
These Peanut Butter Chocolate Layer Bars are incredibly versatile when it comes to serving. They are robust enough to be packed for school lunches, elegant enough for a dessert platter at a dinner party, and casual enough for a simple afternoon treat with coffee or milk. Consider serving them alongside a scoop of vanilla bean ice cream for an extra indulgent experience, or a dollop of whipped cream to cut through their richness. They also make fantastic edible gifts when wrapped individually or placed in a decorative box, perfect for holidays or showing appreciation to friends and neighbors. Their universally loved flavor profile makes them suitable for almost any occasion, from casual gatherings to more formal celebrations.
Proper storage is key to keeping these bars fresh and delicious. Once cooled and cut, store them in an airtight container at room temperature for up to 3-4 days. If you want to extend their freshness, they can be refrigerated for up to a week. For longer storage, these bars freeze exceptionally well. Wrap individual bars tightly in plastic wrap, then place them in a freezer-safe bag or container. They can be frozen for up to 2-3 months. Thaw them at room temperature before serving for the best texture and flavor. Having a stash in the freezer means you’re always ready for an unexpected guest or a sudden craving for a delightful sweet treat.
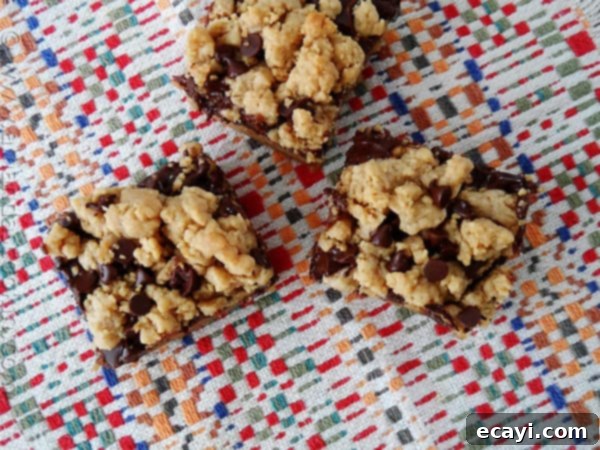
We truly hope you enjoy baking and savoring these delightful Peanut Butter Chocolate Layer Bars. They are a testament to how simple ingredients can come together to create something truly extraordinary. Until next time, happy baking!
More Chocolate and Peanut Butter Recipes
- Peanut Butter Blossoms
- Ice Cream Sandwich Cake
- No Bake Peanut Butter Bars
- Chocolate Peanut Butter Fudge
- Chocolate Peanut Butter Cookies
- Fudge Brownies with Peanut Butter Frosting
- Chocolate Peanut Butter Balls
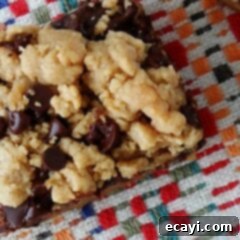
Peanut Butter Chocolate Layer Bars
IMPORTANT – There are often Frequently Asked Questions within the blog post that you may find helpful. Simply scroll back up to read them!
Print It
Pin It
Rate It
Save ItSaved!
Ingredients
- 1 cup unsalted butter 2 sticks, softened
- 1 ½ cups packed brown sugar
- 2 large eggs
- 2 cups creamy peanut butter
- 2 teaspoons vanilla
- 3 cups unbleached all purpose flour
- 1 teaspoon baking soda
- ½ teaspoon salt
Filling:
- 1 14- ounce can sweetened condensed milk
- 1 ½ cups semi sweet chocolate chips
- 2 tablespoons creamy peanut butter
- 2 teaspoons vanilla
Topping:
- ⅓ cup miniature chocolate chips
Instructions
-
Preheat oven to 350 F. Line a 13×9 baking pan with foil, spray the foil with cooking spray.
-
In mixing bowl, beat the butter until creamy. Add the brown sugar and beat until well combined. Beat in the eggs, one at a time, until combined. Add 2 cups peanut butter and 2 teaspoons of vanilla; beat until combined.
-
In a separate bowl, whisk together the flour, baking soda and salt. Turn mixture down to low and gradually add in the flour mixture until completely combined and dough comes together.
-
To make the filling, heat the sweetened condensed milk, chocolate chips and 2 tablespoons peanut butter, stirring occasionally, in a heavy saucepan over low heat until melted and creamy. Remove from heat and add the 2 teaspoons of vanilla.
-
Measure out 2 cups of the peanut butter dough and set it aside for the topping.
-
Press the remaining dough into the prepared pan. Spread the chocolate filing over the dough in the pan. Crumble the reserved dough over the top of the filling. Sprinkle with miniature chocolate chips.
-
Bake for 30 minutes or until topping is light golden brown. Cool in the pan on a wire rack.
-
Using the foil as handles, lift out of the pan and place on a cutting board. Cut into bars.
Nutrition
The recipes on this blog are tested with a conventional gas oven and gas stovetop. It’s important to note that some ovens, especially as they age, can cook and bake inconsistently. Using an inexpensive oven thermometer can assure you that your oven is truly heating to the proper temperature. If you use a toaster oven or countertop oven, please keep in mind that they may not distribute heat the same as a conventional full sized oven and you may need to adjust your cooking/baking times. In the case of recipes made with a pressure cooker, air fryer, slow cooker, or other appliance, a link to the appliances we use is listed within each respective recipe. For baking recipes where measurements are given by weight, please note that results may not be the same if cups are used instead, and we can’t guarantee success with that method.
