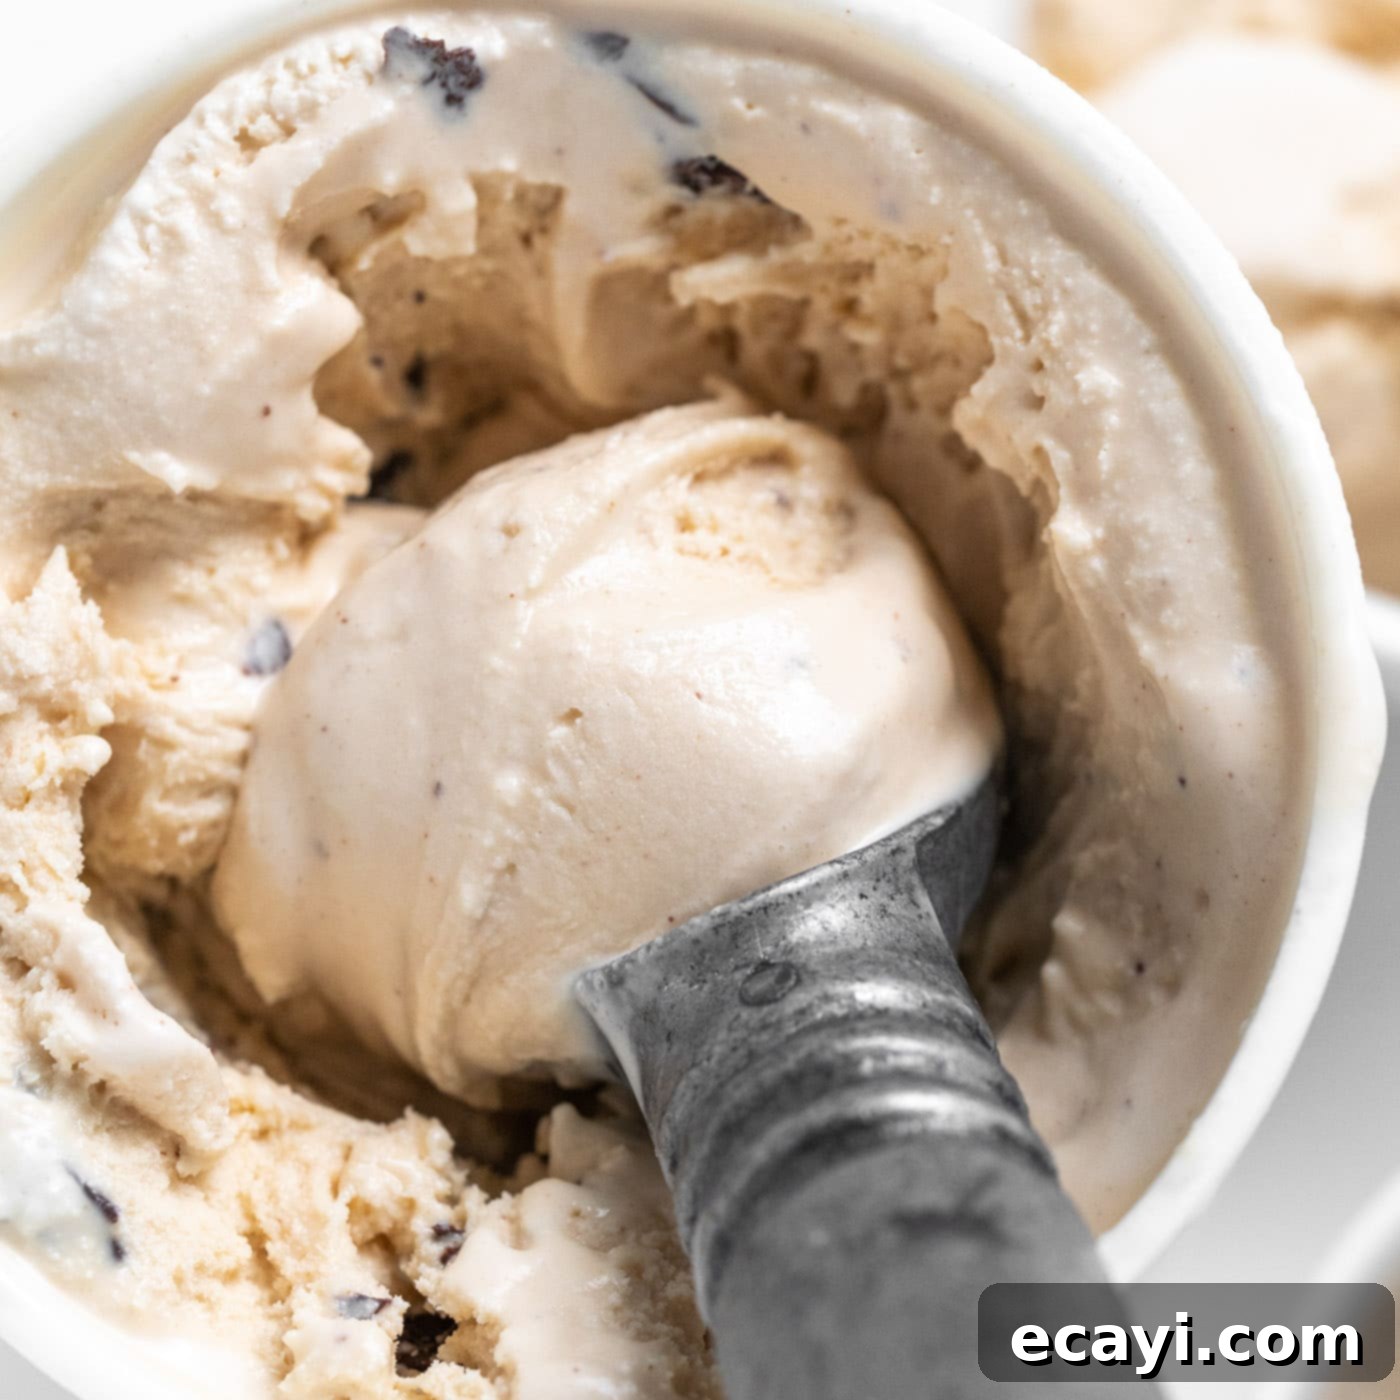
Irresistibly Creamy Peanut Butter Chocolate Chip Ice Cream: An Easy Homemade Recipe
Indulge in the ultimate homemade treat: rich, velvety peanut butter chocolate chip ice cream! This delightful dessert requires no baking, no eggs, and comes together in an ice cream maker in under 20 minutes – not counting the essential chill time, of course. Get ready to experience a symphony of sweet and salty flavors, perfectly balanced with the unique texture of homemade chocolate chips created through the ingenious stracciatella method.
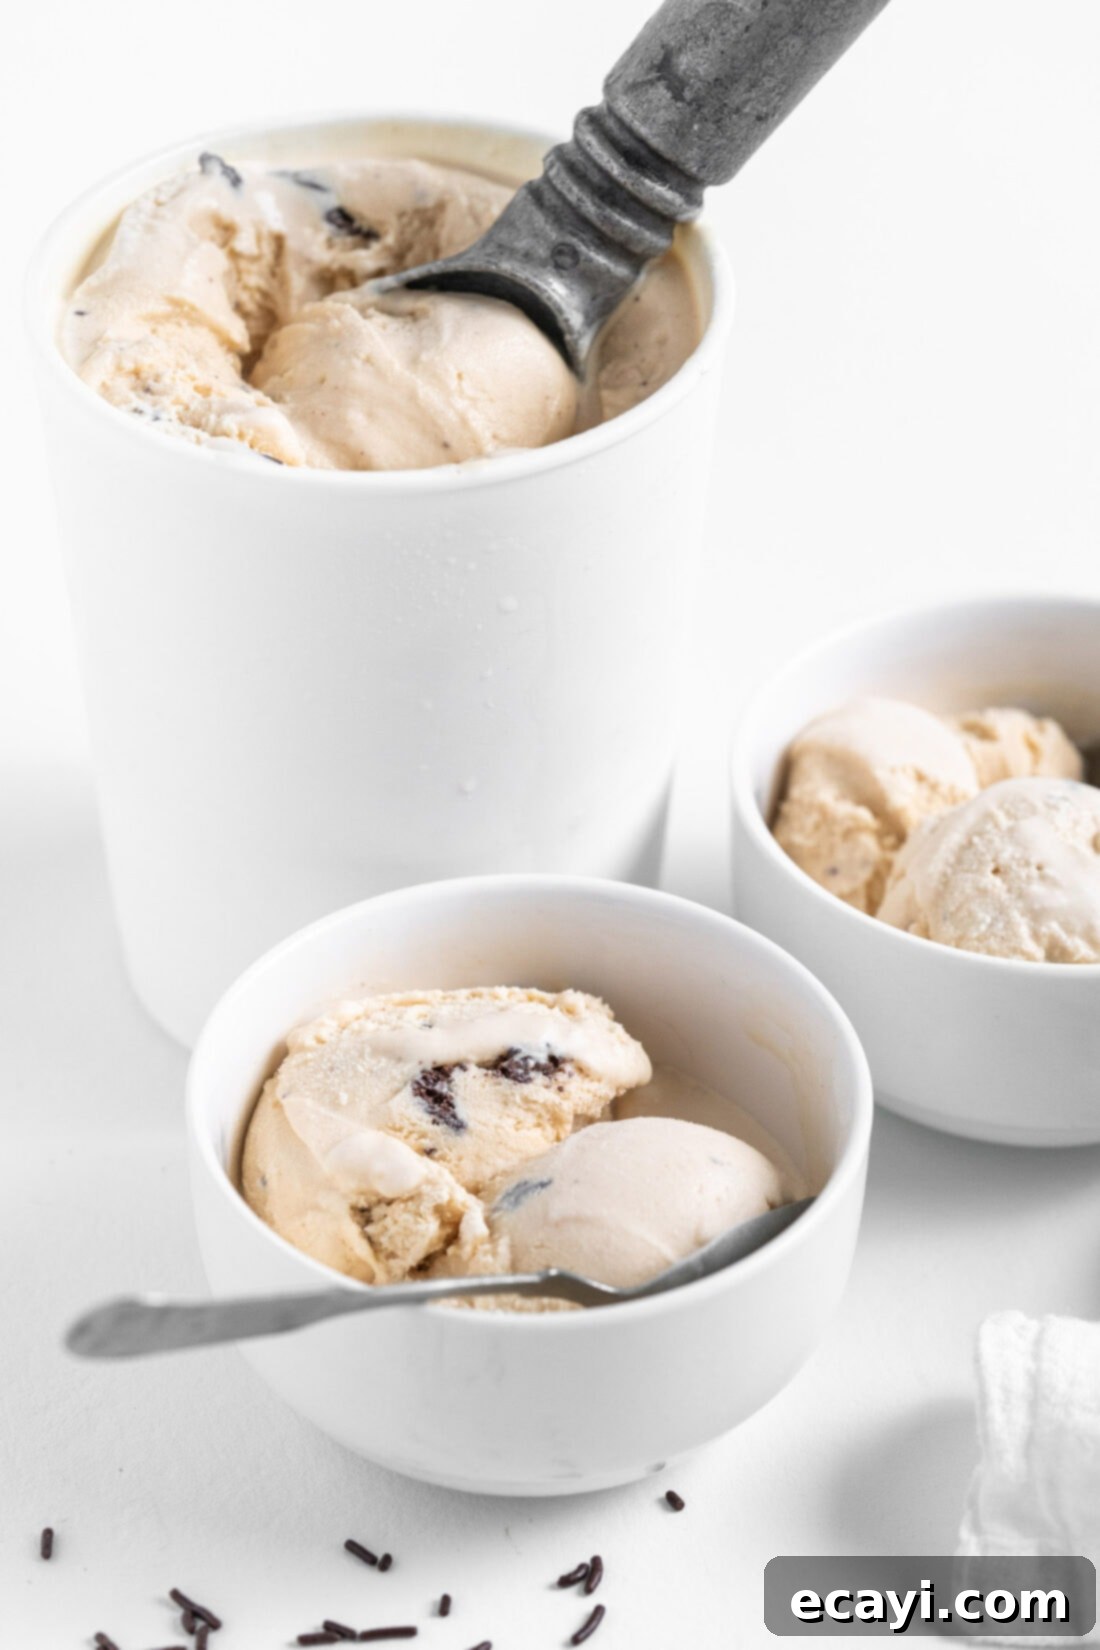
Why This Homemade Ice Cream Recipe Is a Must-Try
This recipe for creamy churned peanut butter chocolate chip ice cream stands out for several reasons. It features a luscious base made with smooth peanut butter, perfectly complemented by delicate shards of melted bittersweet chocolate. The flavor profile is meticulously crafted to be incredibly satisfying without overwhelming your palate – just enough to send your taste buds into a delightful overdrive! If you’re searching for a dessert that marries two classic flavors in a refreshing, easy-to-make format, look no further.
One of the true stars of this recipe is the incorporation of the “stracciatella” method for creating chocolate chips. This technique, also famously used in our homemade mint chocolate chip ice cream, involves slowly drizzling melted chocolate into the ice cream during the final minutes of churning. The magic happens instantly: the stark temperature difference between the cold, churning ice cream and the warm, melted chocolate causes the chocolate to harden and fragment into irregular, perfectly sized “chips” that shatter beautifully as you eat them. Unlike store-bought chocolate chips, which can become overly hard and waxy when frozen solid within ice cream, these homemade chocolate shards offer a superior melt-in-your-mouth texture that makes every bite truly special. This simple yet brilliant trick elevates the texture and flavor, ensuring a truly gourmet ice cream experience right from your kitchen.
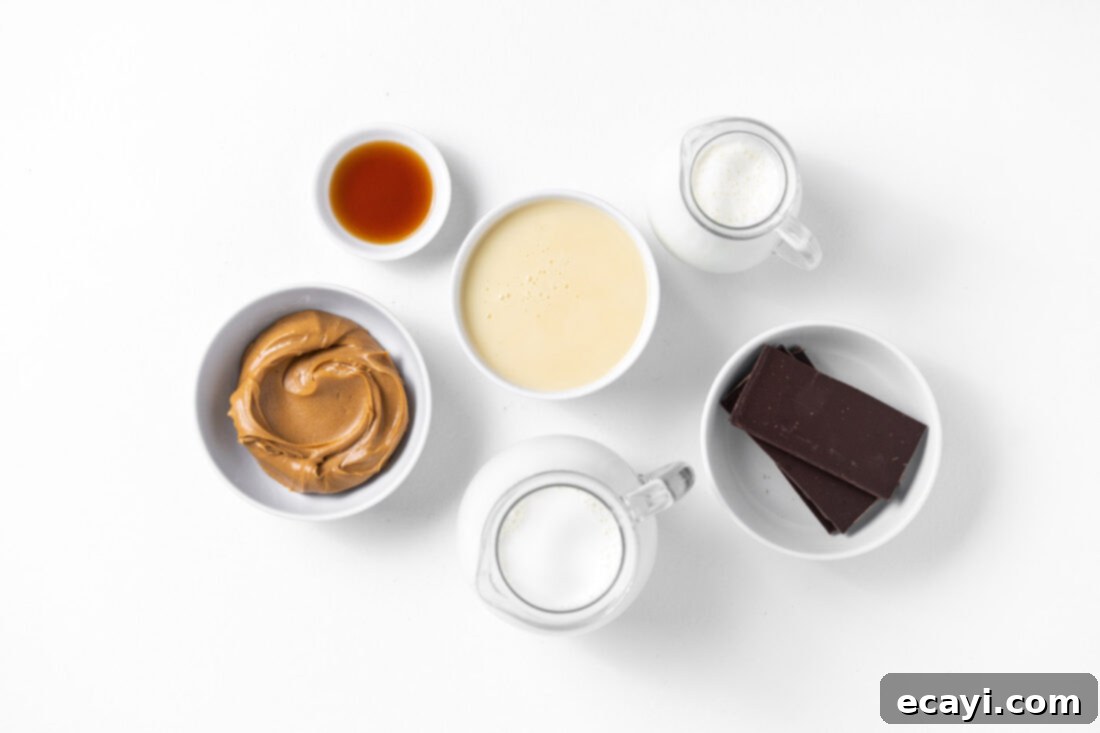
Essential Ingredients You Will Need for This Recipe
Crafting this incredible peanut butter chocolate chip ice cream requires just a handful of readily available ingredients. Before you begin, gather everything you need to ensure a smooth and enjoyable ice cream-making process. You can find all precise measurements, ingredient details, and complete instructions in the printable recipe card located at the very end of this comprehensive guide.
Ingredient Deep Dive and Smart Substitution Suggestions
Understanding each ingredient’s role and knowing your substitution options can empower you to customize this recipe to your preferences or dietary needs. Here’s a closer look at what goes into our luscious peanut butter chocolate chip ice cream:
For the Ice Cream Base:
Our rich, creamy ice cream base is a harmonious blend of low-fat sweetened condensed milk, creamy peanut butter, half-and-half, pure vanilla extract, and heavy whipping cream. The sweetened condensed milk is key; it provides both sweetness and a wonderfully smooth, non-icy texture without the need for eggs or cooking a custard. Its high sugar content also helps keep the ice cream softer when frozen. For the peanut butter, opt for a smooth, creamy variety rather than natural peanut butter with oil separation, as the latter can sometimes affect the ice cream’s texture. The combination of half-and-half and heavy whipping cream provides the essential fat content for a truly luxurious, decadent mouthfeel. And a touch of pure vanilla extract enhances all the flavors, adding a warm, aromatic note that brings everything together.
Looking for Lactose-Free Options? We’ve got you covered! You can easily adapt this recipe to be dairy-free. Look for lactose-free half-and-half and sweetened condensed milk alternatives, which are becoming increasingly common in most grocery stores. Heavy whipping cream is naturally very low in lactose content, but for a completely dairy-free version, you can substitute it with a plant-based heavy whipping cream alternative. Brands like Silk offer excellent dairy-free heavy whipping cream options that perform beautifully in ice cream. Check our FAQ section below for more specific advice on lactose-free substitutions.
For the Chocolate Component:
When it comes to the chocolate, I highly recommend using bittersweet chocolate. Its deep, complex flavor provides a fantastic contrast to the sweetness of the peanut butter base, creating an incredibly rich and balanced taste. However, if bittersweet isn’t your preference or readily available, dark chocolate (around 60-70% cocoa) or even semi-sweet chocolate can also be used effectively. The key here is to melt the chocolate down and incorporate it using the stracciatella method, rather than adding whole chocolate chips directly. Why? Because whole chocolate chips, whether mini or standard size, tend to become unpleasantly hard and difficult to chew once frozen solid within the ice cream. By melting the chocolate and drizzling it, you create thin, crisp shards that deliver an authentic chocolate experience that melts delightfully in your mouth, just like in traditional Italian gelato.
Step-by-Step: How to Make Peanut Butter Chocolate Chip Ice Cream
These step-by-step photos and detailed instructions are provided to help you visualize the process of making this irresistible ice cream. For a convenient printable version of this recipe, complete with precise measurements and instructions, simply Jump to Recipe at the bottom of this post.
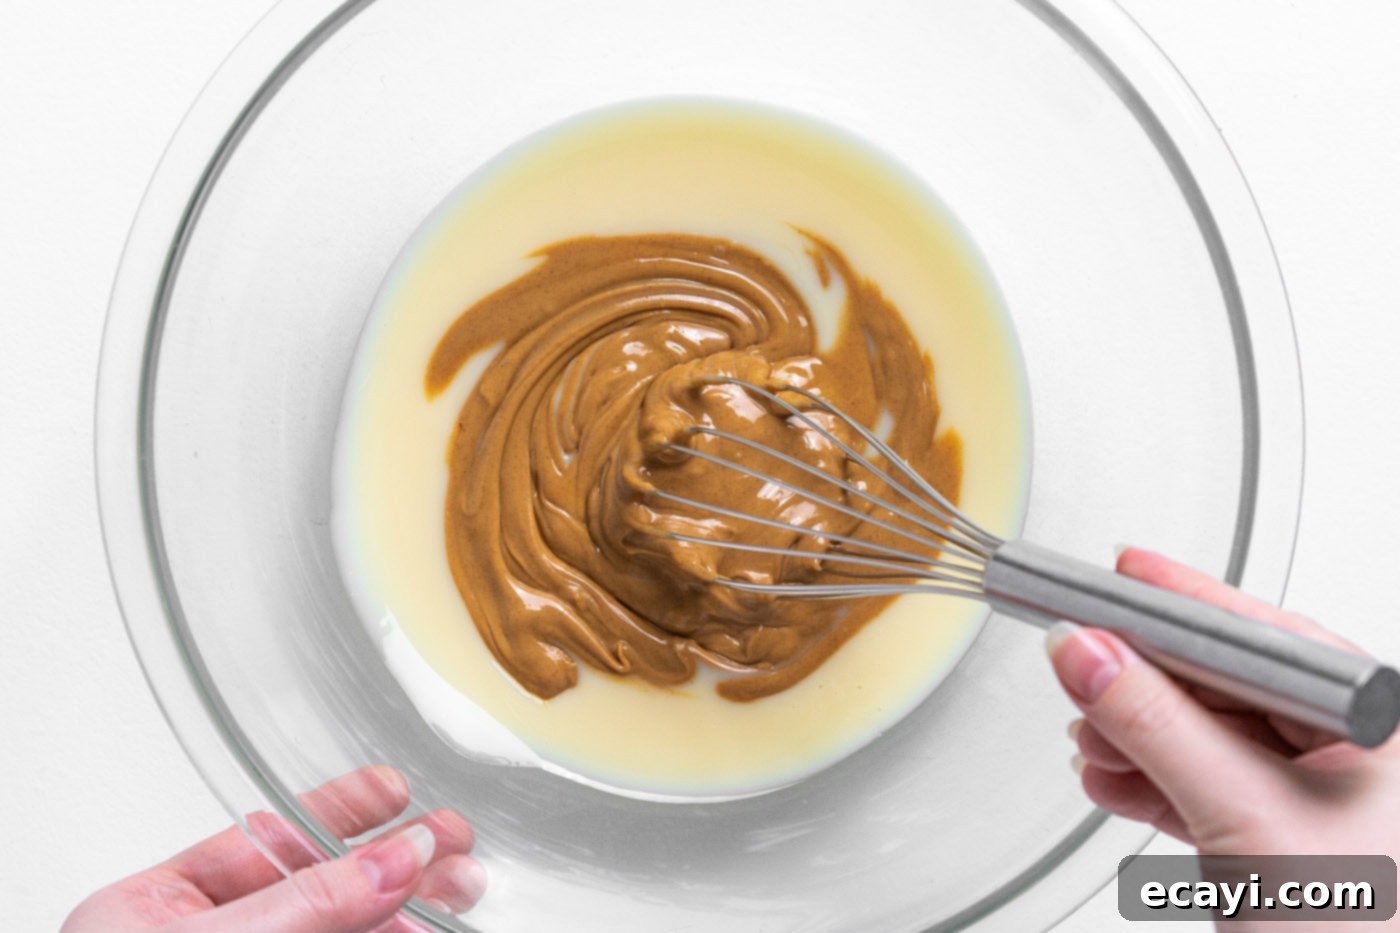
- Prepare the Peanut Butter Base: In a large mixing bowl, combine the sweetened condensed milk and creamy peanut butter. Whisk these two ingredients together thoroughly until the mixture is completely smooth and well-combined. Ensure there are no lumps of peanut butter remaining.
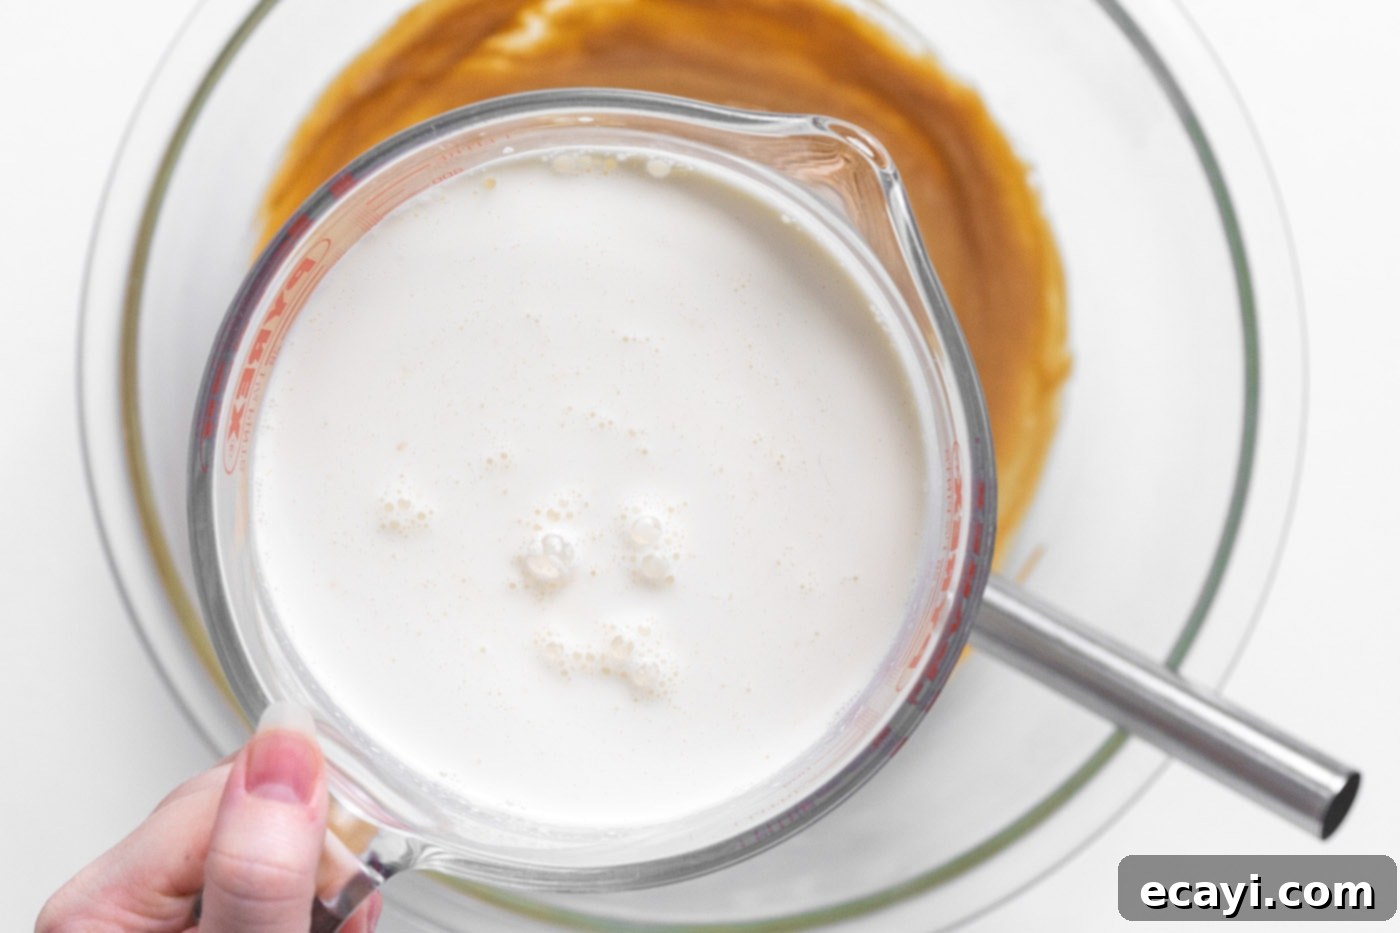
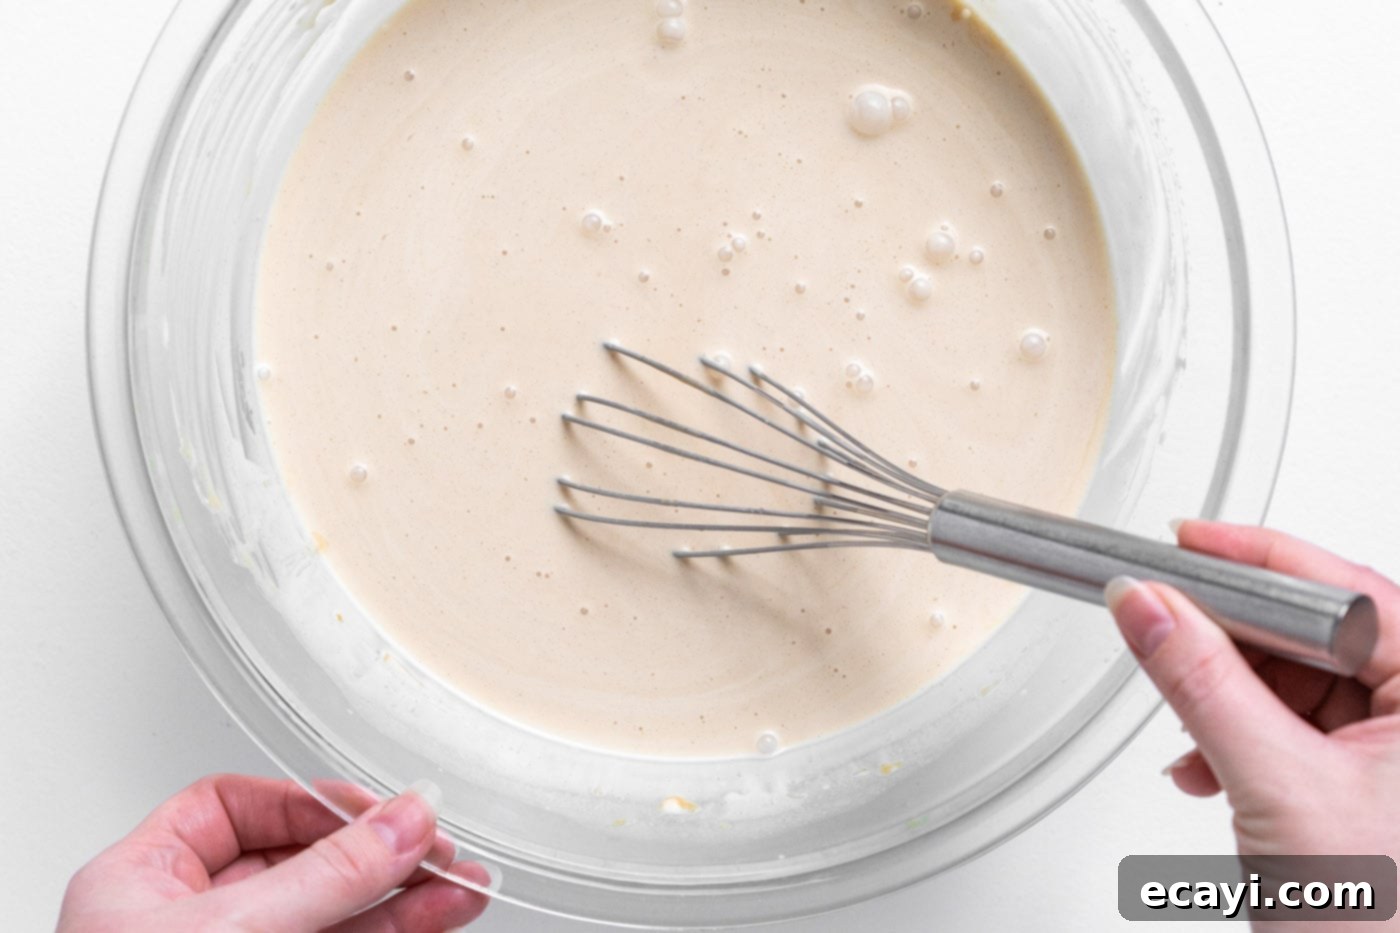
- Combine Wet Ingredients: In a separate bowl or a large measuring cup, whisk together the half-and-half, heavy whipping cream, and vanilla extract. This ensures the liquids are evenly mixed. Next, gradually add this cream mixture to the peanut butter mixture, pouring in about one cup at a time. Whisk continuously after each addition until all ingredients are fully incorporated and you have a smooth, uniform ice cream base.
- Churn the Ice Cream Base: Pour the prepared peanut butter ice cream base into your ice cream maker. We used a 2-quart ice cream maker for this recipe. Follow your manufacturer’s directions precisely for churning. The duration typically ranges from 15 to 25 minutes, depending on your machine, aiming for a soft-serve consistency.
- Prepare the Stracciatella Chocolate: Approximately 5 minutes before the churning process is complete, melt the bittersweet chocolate. You can do this in a microwave safe bowl on 50% power, stirring every 30 seconds until smooth and fully melted. Alternatively, use a double boiler on the stovetop. The chocolate should be warm and fluid for easy drizzling.
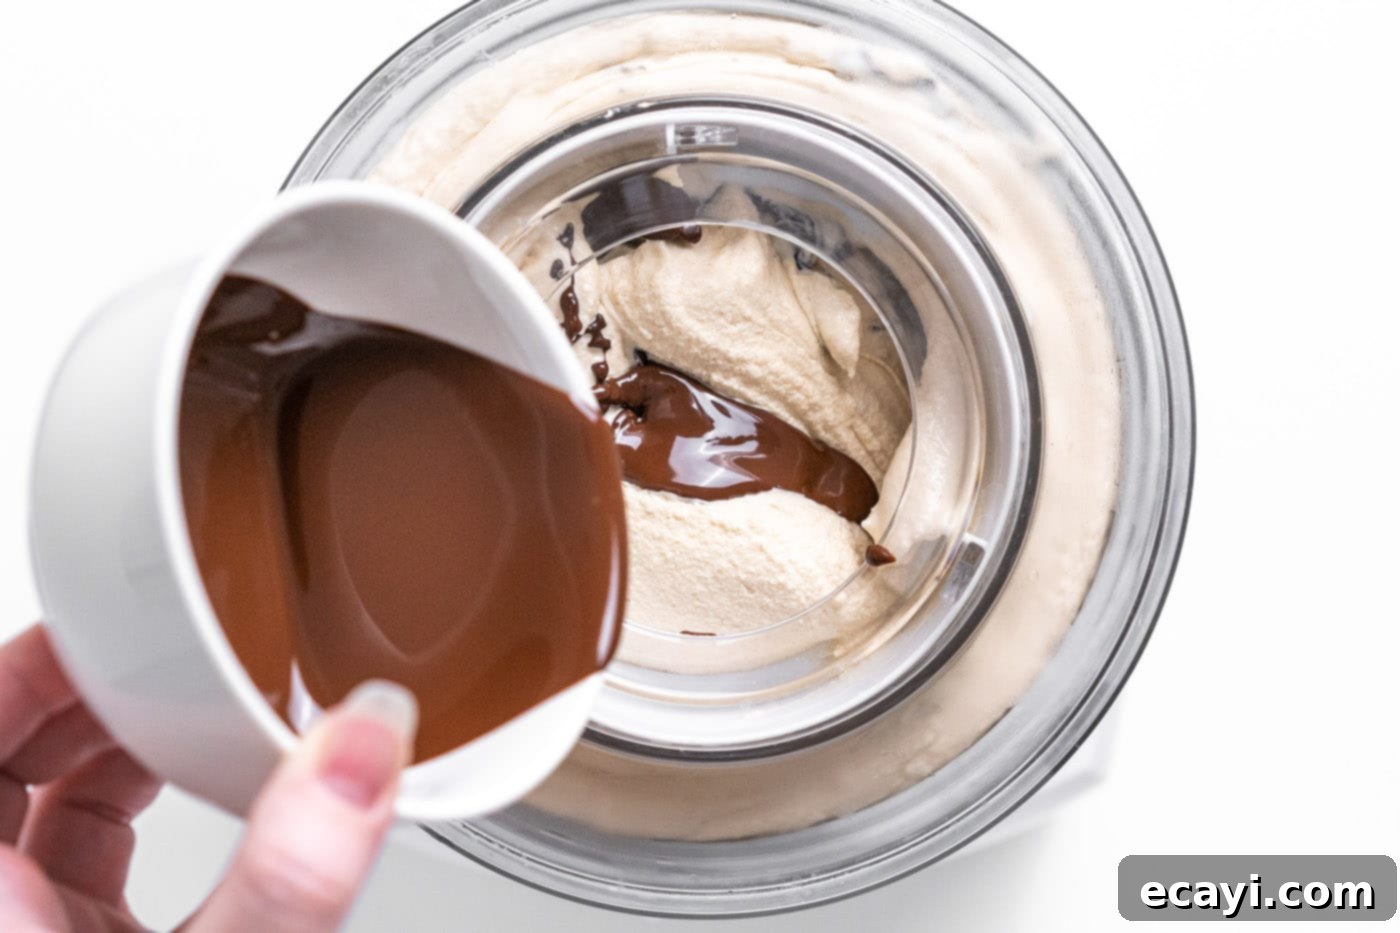
- Incorporate the Chocolate (Stracciatella Method): With the ice cream maker still churning, slowly and steadily drizzle the melted chocolate into the churning ice cream. Pour it in a thin ribbon directly into the mixture as it spins. The instant the warm chocolate meets the cold ice cream, it will seize up, harden, and break into small, irregular, delicious chocolate shards. This is the stracciatella effect, creating your very own homemade chocolate chips with a superior texture.
- Freeze to Firmness: Once churning is complete and the chocolate is incorporated, transfer the soft-serve consistency ice cream into a freezer-safe container. Press a piece of parchment paper or plastic wrap directly onto the surface of the ice cream to prevent ice crystals from forming, then seal the container tightly with a lid. Freeze for several hours, typically 3-6 hours, or until it reaches your desired firm consistency.
Frequently Asked Questions & Expert Tips for Success
While you technically *can* add mini chocolate chips at the very end of the churning process, be aware that most chocolate chips tend to become quite hard and less enjoyable to bite into when frozen solid within ice cream. This can result in a less creamy and more rigid texture. For the best flavor and texture experience, we strongly recommend melting the chocolate chips (even mini ones!) and following our stracciatella method. This creates delicate, crispy chocolate shards that are far more pleasant to eat in frozen desserts.
Absolutely! While an ice cream maker provides the creamiest results, you can definitely make a delicious batch of this peanut butter chocolate chip ice cream without one. The key to no-churn ice cream lies in whipping heavy cream to stiff peaks and then folding it into the condensed milk and peanut butter base. This aeration adds lightness and prevents excessive ice crystal formation. For detailed instructions, please refer to our comprehensive guide on how to make ice cream without an ice cream maker.
Yes, making this ice cream lactose-free or entirely dairy-free is quite straightforward! For those seeking lactose-free options, simply use lactose-free half-and-half and lactose-free sweetened condensed milk, both of which are widely available. Heavy whipping cream naturally contains very low levels of lactose, but if you require a strictly dairy-free alternative, plant-based heavy whipping creams (such as those made from coconut or soy, like Silk brand’s heavy whipping cream alternative) work wonderfully and maintain a rich, creamy texture. Regarding chocolate, bittersweet or dark chocolate is generally naturally lactose-free, as long as it’s a true bittersweet/dark variety without added milk solids. Always double-check ingredient labels to ensure no hidden dairy, and avoid milk chocolate, of course. There are many fantastic options for dairy-free chocolate on the market today!
To ensure your homemade ice cream stays fresh and resists freezer burn, always store it in an airtight container designed for freezing. Press a piece of plastic wrap or parchment paper directly onto the surface of the ice cream before sealing the lid. This minimizes air exposure, which is the primary cause of ice crystals. When stored properly, homemade ice cream can last for up to 2-3 weeks in the freezer, though for the best taste and texture, we recommend enjoying it within the first week or two.
Achieving the perfect ice cream consistency can sometimes be a balancing act. If your ice cream is too hard, it might be due to an imbalance in ingredients (e.g., not enough sugar or fat), or it was simply frozen for too long at too low a temperature. To soften it, let it sit on the counter for 5-10 minutes before scooping. If it’s too soft or doesn’t freeze properly, it could be that your ice cream maker bowl wasn’t sufficiently chilled (it needs at least 24 hours in the freezer), or the churning time wasn’t long enough. Ensure all your dairy ingredients are very cold before you start mixing them as well. The sugar content in sweetened condensed milk helps prevent it from freezing solid, so sticking to the recipe’s measurements is important.
Delicious Serving Suggestions for Your Homemade Treat
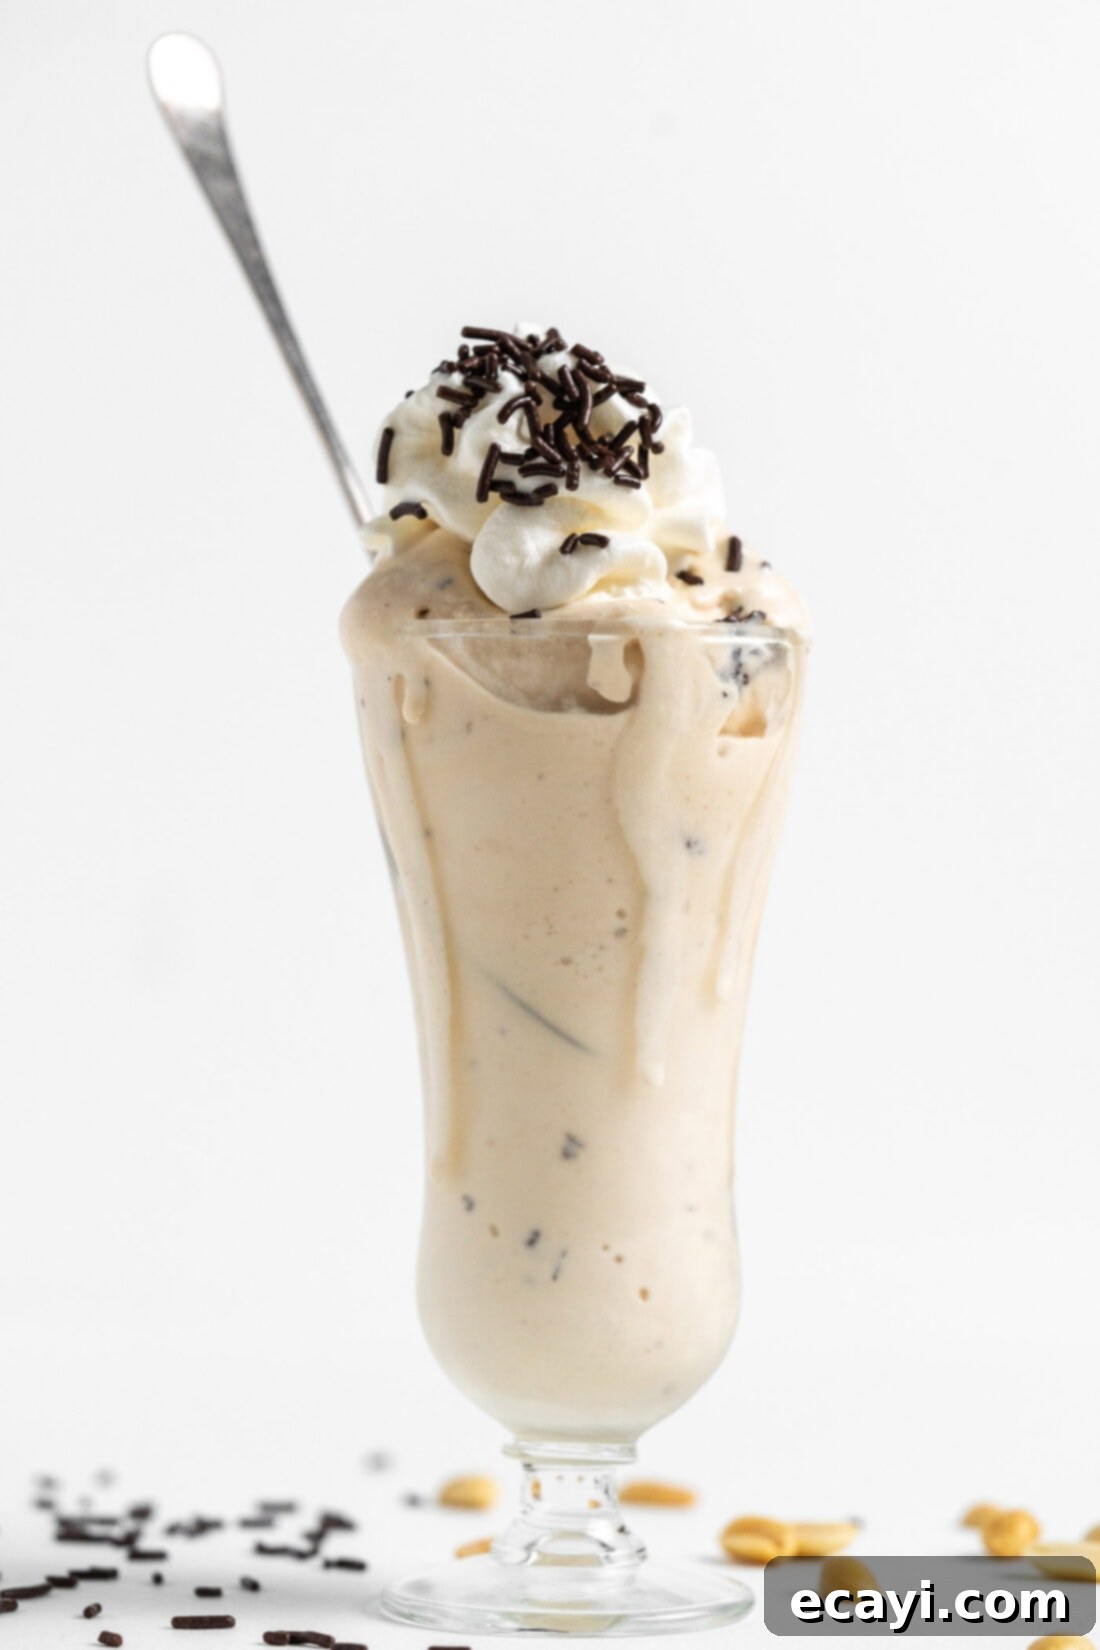
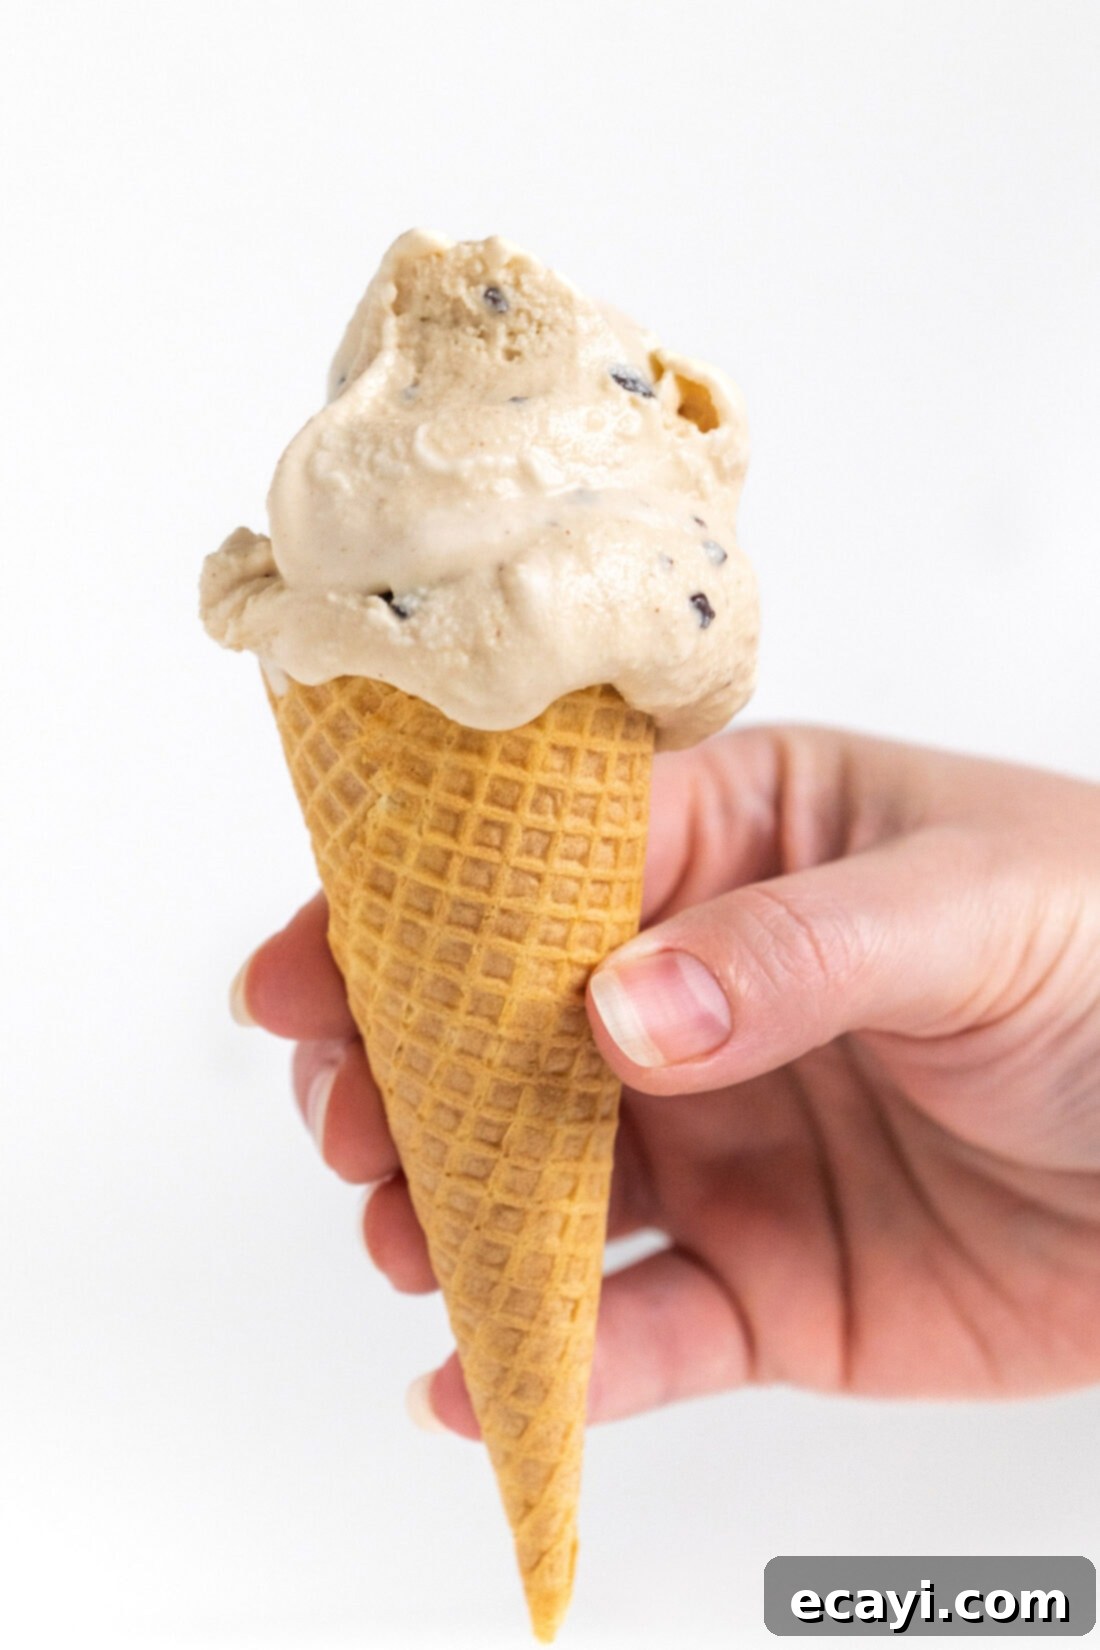
Once your rich and creamy peanut butter chocolate chip ice cream is perfectly chilled, the possibilities for enjoyment are endless! Scoop it generously into a classic bowl, serve it proudly in a crisp cone, or even blend it into a decadent milkshake for an extra special treat. To elevate your dessert, consider adding a variety of toppings and mix-ins:
- Extra Crunch: Sprinkle with crumbled cookies (like Oreos or Nutter Butters), chopped peanuts, or even some extra mini chocolate chips if you don’t mind a harder crunch.
- Peanut Butter Bliss: Drizzle with warm peanut butter sauce or chopped peanut butter cups for an even more intense peanut butter experience.
- Chocolate Lover’s Dream: A generous dollop of whipped cream, a cascade of chocolate fudge sauce, or a scattering of chocolate shavings will delight any chocoholic.
- Fun & Festive: Colorful sprinkles always add a festive touch, especially for kids (and kids at heart!).
- Fruit Twist: Believe it or not, sliced bananas pair wonderfully with peanut butter and chocolate – try adding a few slices for a classic flavor combination.
However you choose to enjoy it, this homemade ice cream is sure to be a crowd-pleaser!
Explore More Irresistible Ice Cream Recipes
If you’ve fallen in love with making your own ice cream, you’re in luck! We have a treasure trove of other delightful ice cream recipes to satisfy every craving:
- No-Churn Birthday Cake Ice Cream
- Homemade Peppermint Ice Cream
- Vanilla Blackberry Jam Ice Cream
- Nutella Swirl Cheesecake Ice Cream
- Classic No-Churn Ice Cream (Base Recipe)
- Decadent Rocky Road Ice Cream
- Fun Rolled Ice Cream at Home
I absolutely adore sharing my culinary adventures and kitchen wisdom with all of you! To make sure you never miss a new recipe, I offer a convenient newsletter delivered right to your inbox every time a fresh post goes live. Simply subscribe and start receiving your free daily recipes, inspiration, and tips!
Peanut Butter Chocolate Chip Ice Cream
IMPORTANT – There are often Frequently Asked Questions within the blog post that you may find helpful. Simply scroll back up to read them!
Print It
Pin It
Rate It
Save It
Saved!
Prevent your screen from going dark
Course:
Dessert
Cuisine:
American
8
servings
3 hours
20 minutes
491
Amanda Davis
Ingredients
-
14
oz
low fat sweetened condensed milk -
½
cup
creamy peanut butter -
2
cups
half and half -
1
cup
heavy whipping cream -
1
Tbsp
pure vanilla extract -
3
oz
bittersweet chocolate
Equipment You’ll Need
-
Ice cream maker
(2 qt capacity, or double the recipe for a 4 qt machine)
Important Notes Before You Begin
- For the best flavor and texture, we strongly recommend using bittersweet chocolate, as its intense flavor beautifully balances the sweetness of the peanut butter base. Dark chocolate (60-70%) or semi-sweet chocolate can also be used. Always melt your chosen chocolate and incorporate it using the stracciatella method for delicate, crispy shards; whole chocolate chips tend to freeze very hard and become less enjoyable.
- To make this recipe lactose-free or dairy-free, opt for lactose-free half-and-half and sweetened condensed milk. While heavy whipping cream is naturally low in lactose, a dairy-free heavy whipping cream alternative (like those from Silk brand) can be used for a completely dairy-free version. Ensure your bittersweet, dark, or semi-sweet chocolate is also certified dairy-free if strict dietary requirements are needed, and avoid milk chocolate.
Instructions
-
In a large bowl, whisk together the sweetened condensed milk and the creamy peanut butter until the mixture is perfectly smooth and uniform.
-
In a separate bowl or measuring cup, combine the half-and-half, heavy whipping cream, and vanilla extract. Gradually add this cream mixture, one cup at a time, to the peanut butter mixture, whisking continuously until all ingredients are thoroughly combined into a smooth ice cream base.
-
Pour the prepared mixture into your ice cream maker and process according to the manufacturer’s directions, typically until it reaches a soft-serve consistency.
-
About 5 minutes before the churning cycle is complete, melt the bittersweet chocolate. Use 50% power in your microwave, stirring every 30 seconds until smooth and fluid.
-
With the ice cream maker still churning, slowly drizzle the melted chocolate into the moving mixture in a thin, steady ribbon. The temperature difference will cause the chocolate to harden and crack into delightful, crispy chocolate chips (the stracciatella method).
-
Transfer the churned ice cream to a freezer-safe container. Cover tightly, pressing plastic wrap directly onto the surface to prevent ice crystals, and freeze for a few hours until firm enough to scoop and enjoy.
Nutrition Information
Serving:
1
serving (1/2 cup)
|
Calories:
491
cal
|
Carbohydrates:
41
g
|
Protein:
11
g
|
Fat:
32
g
|
Saturated Fat:
16
g
|
Polyunsaturated Fat:
3
g
|
Monounsaturated Fat:
10
g
|
Trans Fat:
1
g
|
Cholesterol:
70
mg
|
Sodium:
161
mg
|
Potassium:
268
mg
|
Fiber:
2
g
|
Sugar:
34
g
|
Vitamin A:
781
IU
|
Vitamin C:
1
mg
|
Calcium:
221
mg
|
Iron:
1
mg
Tried this Recipe? Pin it for Later!
Follow on Pinterest @AmandasCookin or tag #AmandasCookin!
The recipes on this blog are tested with a conventional gas oven and gas stovetop. It’s important to note that some ovens, especially as they age, can cook and bake inconsistently. Using an inexpensive oven thermometer can assure you that your oven is truly heating to the proper temperature. If you use a toaster oven or countertop oven, please keep in mind that they may not distribute heat the same as a conventional full-sized oven and you may need to adjust your cooking/baking times. In the case of recipes made with a pressure cooker, air fryer, slow cooker, or other appliance, a link to the appliances we use is listed within each respective recipe. For baking recipes where measurements are given by weight, please note that results may not be the same if cups are used instead, and we can’t guarantee success with that method.
