Irresistible No-Bake Chocolate Peanut Butter Balls: Your Ultimate Guide to Easy Homemade Treats
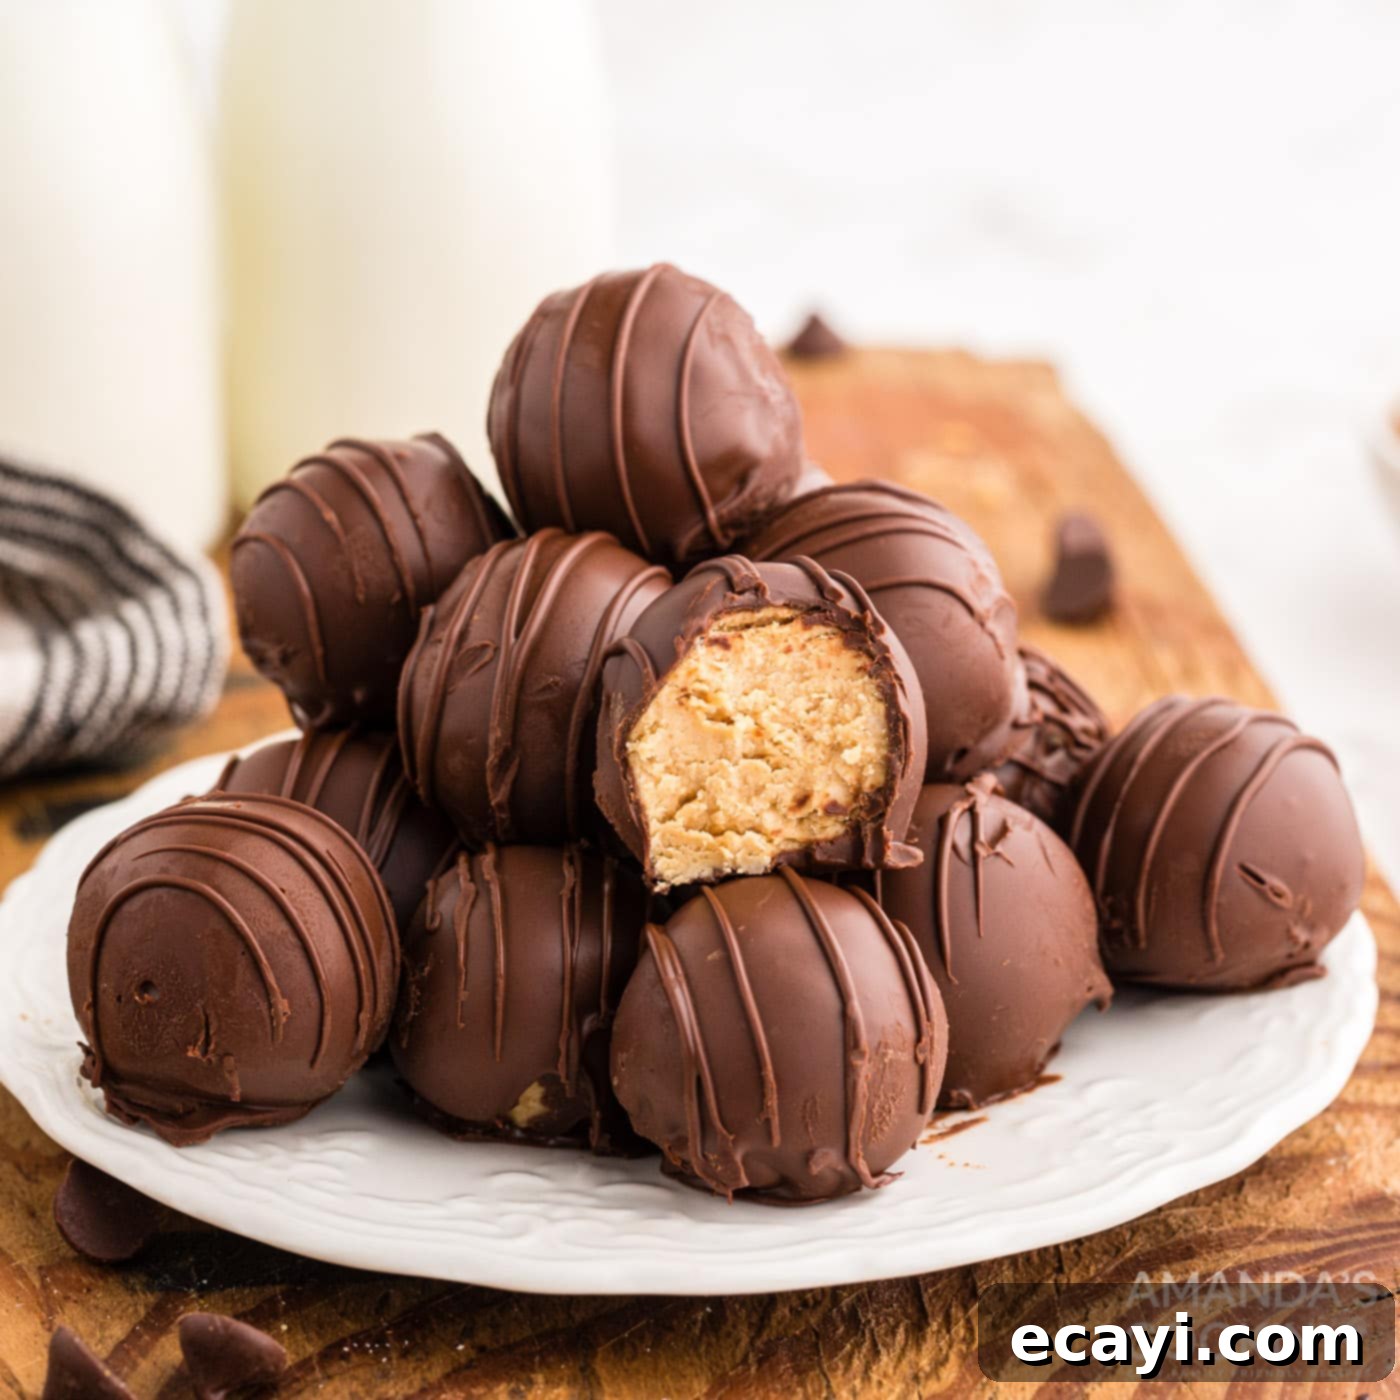
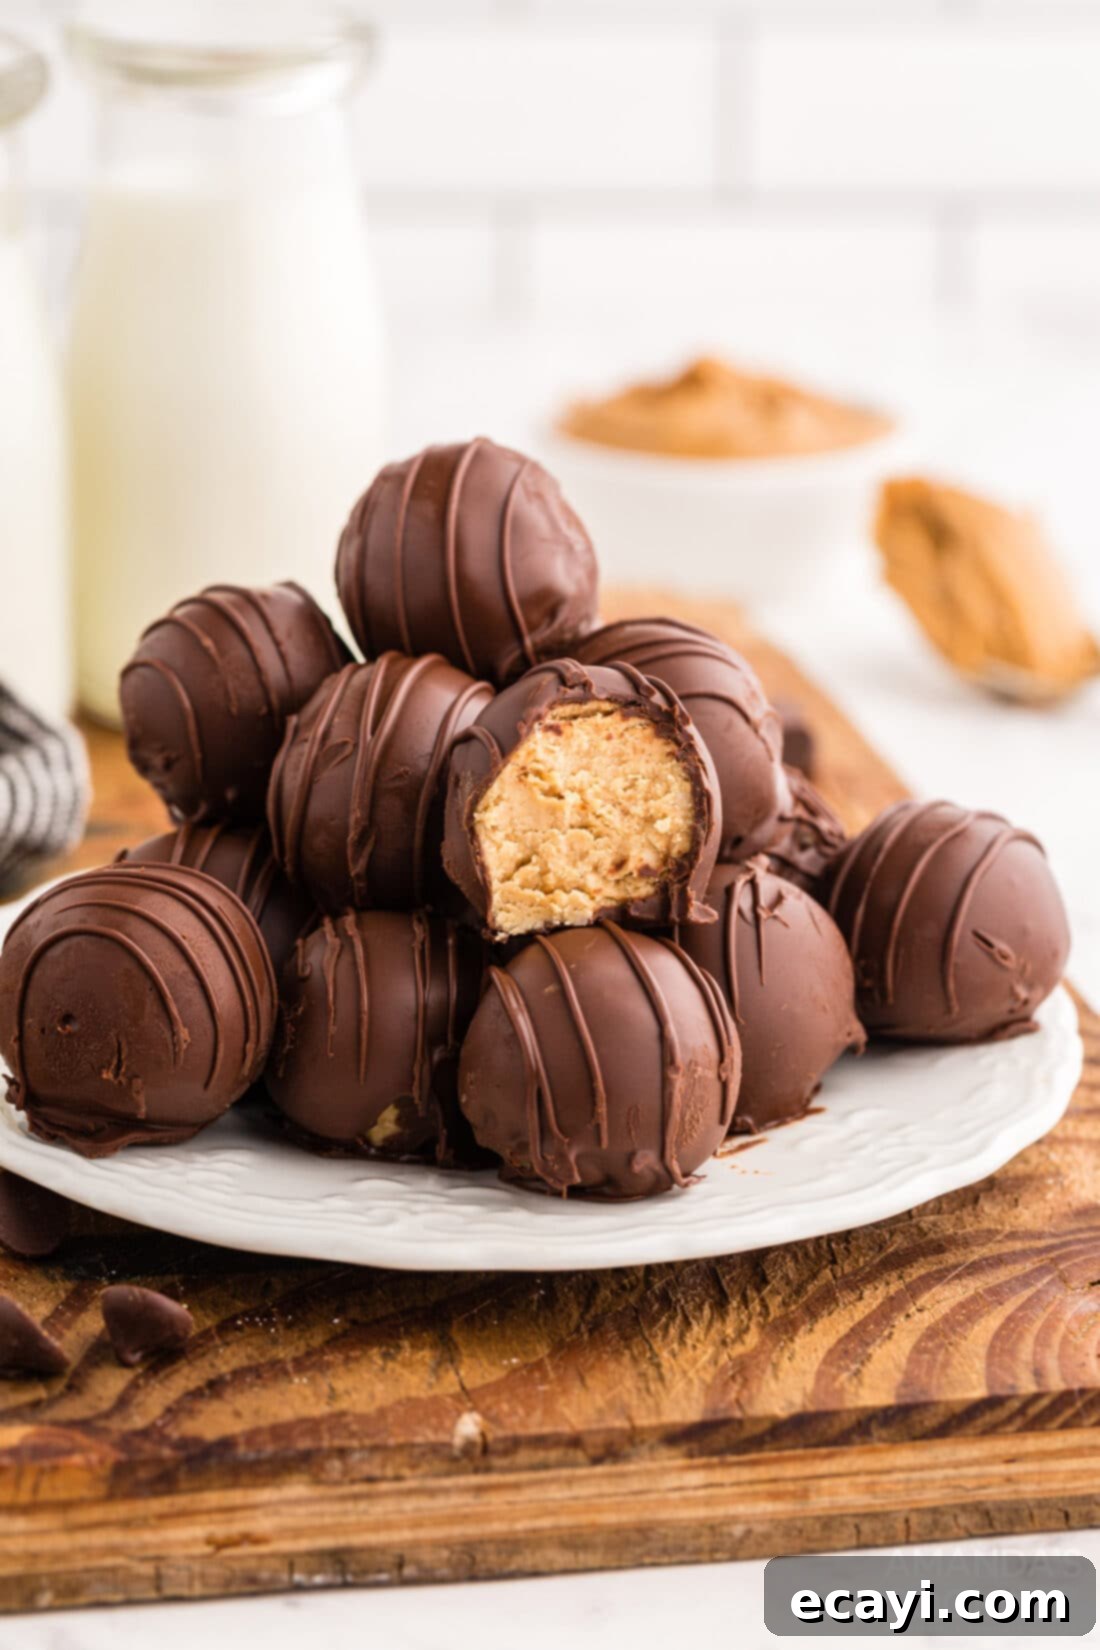
Prepare to fall in love with these no-bake chocolate peanut butter balls – truly an irresistible bite-sized treat that delivers pure bliss with every mouthful. These delightful confections feature a perfectly creamy, yet slightly crumbly peanut butter center, meticulously dipped and elegantly drizzled in rich, semi-sweet chocolate. Whether you’re a seasoned baker or a kitchen novice, this straightforward recipe promises sweet success and a dessert that everyone will adore. They’re quick to make, require no oven, and offer that classic flavor combination that never disappoints.
Why This Easy No-Bake Recipe is a Must-Try
These luscious chocolate peanut butter balls are more than just a dessert; they’re a celebration of the beloved chocolate and peanut butter pairing. Much like our popular no-bake chocolate peanut butter bars, this recipe takes that fantastic flavor profile and transforms it into perfectly portioned, rollable spheres. Instead of slicing into bars, you get delightful individual bites, each smothered in a smooth chocolate coating.
There are numerous reasons why this recipe stands out and deserves a spot in your regular dessert rotation:
- Effortless Preparation: The biggest draw is undoubtedly the “no-bake” aspect. Forget about preheating ovens, monitoring baking times, or worrying about over-baking. This recipe is perfect for hot summer days, busy holidays, or whenever you crave a decadent treat without the fuss of baking.
- Iconic Flavor Combination: Chocolate and peanut butter are a match made in culinary heaven. The rich, slightly bitter notes of semi-sweet chocolate beautifully complement the sweet and savory creaminess of peanut butter, creating a harmonious flavor that appeals to nearly everyone.
- Versatile for Any Occasion: While they frequently grace holiday dessert tables during Christmas or Thanksgiving, these peanut butter balls are truly a year-round indulgence. They’re elegant enough for a dinner party, casual enough for a potluck, and perfectly suitable for an everyday sweet craving. They can effortlessly pass as a sophisticated truffle or a comforting homemade cookie, making them incredibly versatile.
- Make-Ahead Friendly: These treats store exceptionally well, making them ideal for preparing in advance. This is a huge advantage for party planning or for having a stash of delicious snacks ready whenever a sweet tooth strikes.
- Fun to Make: The process of rolling the peanut butter mixture and dipping them in chocolate is surprisingly therapeutic and enjoyable, especially if you have little helpers in the kitchen.
In essence, these no-bake chocolate peanut butter balls are the epitome of a chocolate and peanut butter lover’s fantasy – simple, satisfying, and utterly delicious from start to finish. Once you try them, you’ll understand why they’re such a cherished recipe.
Essential Ingredients for Your No-Bake Peanut Butter Balls
Crafting these delectable chocolate peanut butter balls requires just a few simple ingredients, most of which you likely already have in your pantry. Each component plays a vital role in achieving that perfect creamy texture and rich flavor. You’ll find all precise measurements, ingredient details, and comprehensive instructions in the printable recipe card located at the very end of this blog post. Make sure to gather all your ingredients before you begin to ensure a smooth and enjoyable preparation process!
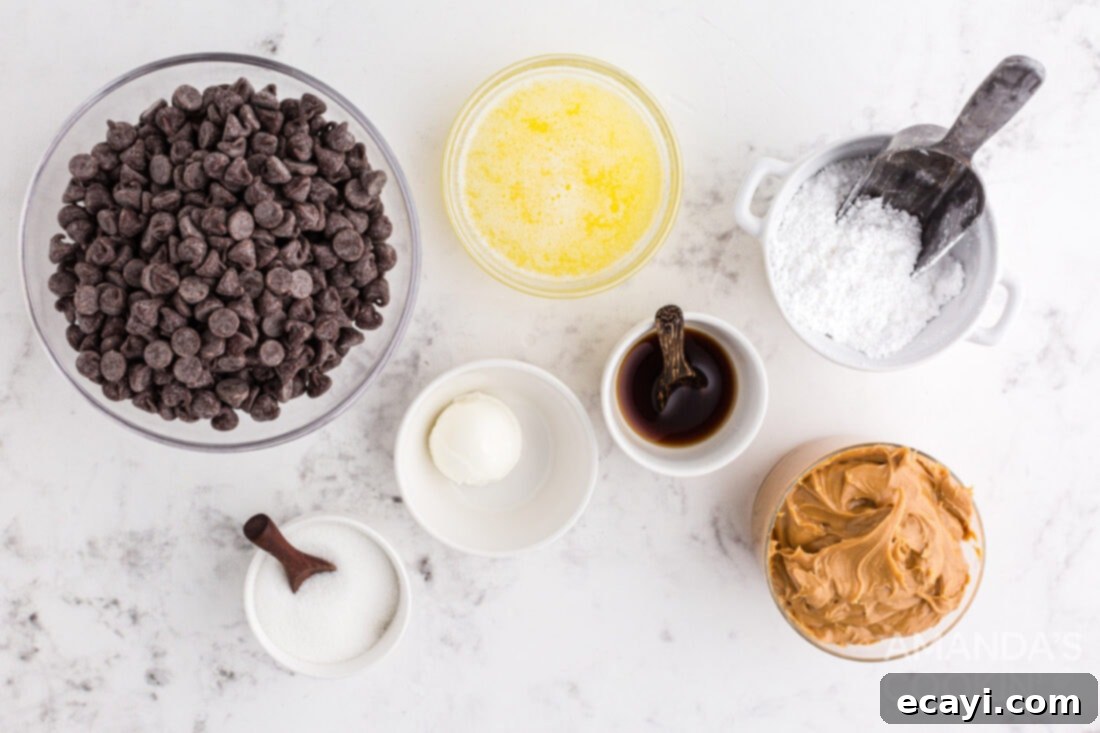
Ingredient Spotlight & Smart Substitutions
Understanding the role of each ingredient and knowing how to make smart substitutions can significantly enhance your experience with this recipe. Here’s a closer look:
CHOCOLATE: The beauty of this recipe lies in its adaptability when it comes to chocolate. We highly recommend using semi-sweet chocolate chips for a balanced flavor that isn’t overly sweet. However, feel free to unleash your inner chocolatier! You can easily follow the same dipping and drizzling steps with milk chocolate for a sweeter, creamier profile, dark chocolate for a more intense, less sweet bite, or even white chocolate for a distinctively different taste and appearance. For an even easier melting experience, consider using almond bark or high-quality melting wafers, which are formulated to melt smoothly and set quickly with a beautiful sheen. If using chocolate bars, chop them finely for consistent melting.
PEANUT BUTTER: For the best results in terms of texture and workability, we strongly suggest using a creamy, “no-stir” peanut butter. Brands like Jif or Skippy are excellent choices. These types of peanut butter have a consistent, thick, and creamy texture that holds its shape wonderfully when rolled. We advise against using natural peanut butter or those that require stirring, as they tend to be oilier and thinner, which can result in a mixture that is too soft and difficult to form into balls. If you only have natural peanut butter on hand, you might need to adjust the amount of powdered sugar, possibly adding more to achieve the desired crumbly-yet-formable consistency. If you’re feeling adventurous and love a textural contrast, go ahead and experiment with crunchy peanut butter – it will add a delightful crunch to the center!
SHORTENING: This is our secret ingredient for achieving a professional-looking, smooth chocolate coating without the complexities of tempering. Adding just a tablespoon of shortening to your melted chocolate serves a few key purposes. Firstly, it thins out the melted chocolate slightly, making it much smoother and easier to dip the peanut butter balls evenly. Secondly, and very importantly, it helps prevent “bloom” on the chocolate – those dull, grayish streaks or spots that can appear on the surface as the chocolate sets. Shortening ensures a glossy, attractive finish. While the chocolate coating will be set, it will remain relatively soft when bitten into. If you desire a hard, snappy chocolate shell that holds up firmly, you would typically need to temper the chocolate. However, shortening offers a fantastic, user-friendly shortcut for home cooks.
BUTTER (Melted & Cooled): We use salted butter in this recipe, as the hint of salt perfectly balances the sweetness of the peanut butter and chocolate. Ensure it’s melted and then allowed to cool slightly before mixing to prevent it from solidifying the peanut butter or causing issues with the sugar. If you only have unsalted butter, you might want to add a tiny pinch of extra salt to the mixture to enhance the flavors.
GRANULATED SUGAR: This adds foundational sweetness and a slight graininess that contributes to the classic texture of the peanut butter center.
POWDERED SUGAR (Confectioners’ Sugar): Crucial for binding the ingredients and firming up the peanut butter mixture. Its fine texture helps create that characteristic smooth and crumbly consistency. Make sure to sift it if it’s lumpy, to avoid pockets of undissolved sugar.
VANILLA EXTRACT: A touch of pure vanilla extract enhances all the other flavors, adding a warm, aromatic depth that elevates the entire treat. Don’t skip it!
Step-by-Step Guide: Crafting Your Delicious Chocolate Peanut Butter Balls
These detailed step-by-step photos and instructions are provided to help you visualize each stage of making this incredibly satisfying recipe. For a convenient, printable version of this recipe, complete with precise measurements and comprehensive instructions, simply Jump to Recipe at the bottom of the post.
- Prepare Your Workspace: Begin by lining a standard baking sheet or a large platter with parchment paper. This non-stick surface is essential for easily removing the dipped balls once the chocolate sets. Set it aside for now, as you’ll need it very soon.
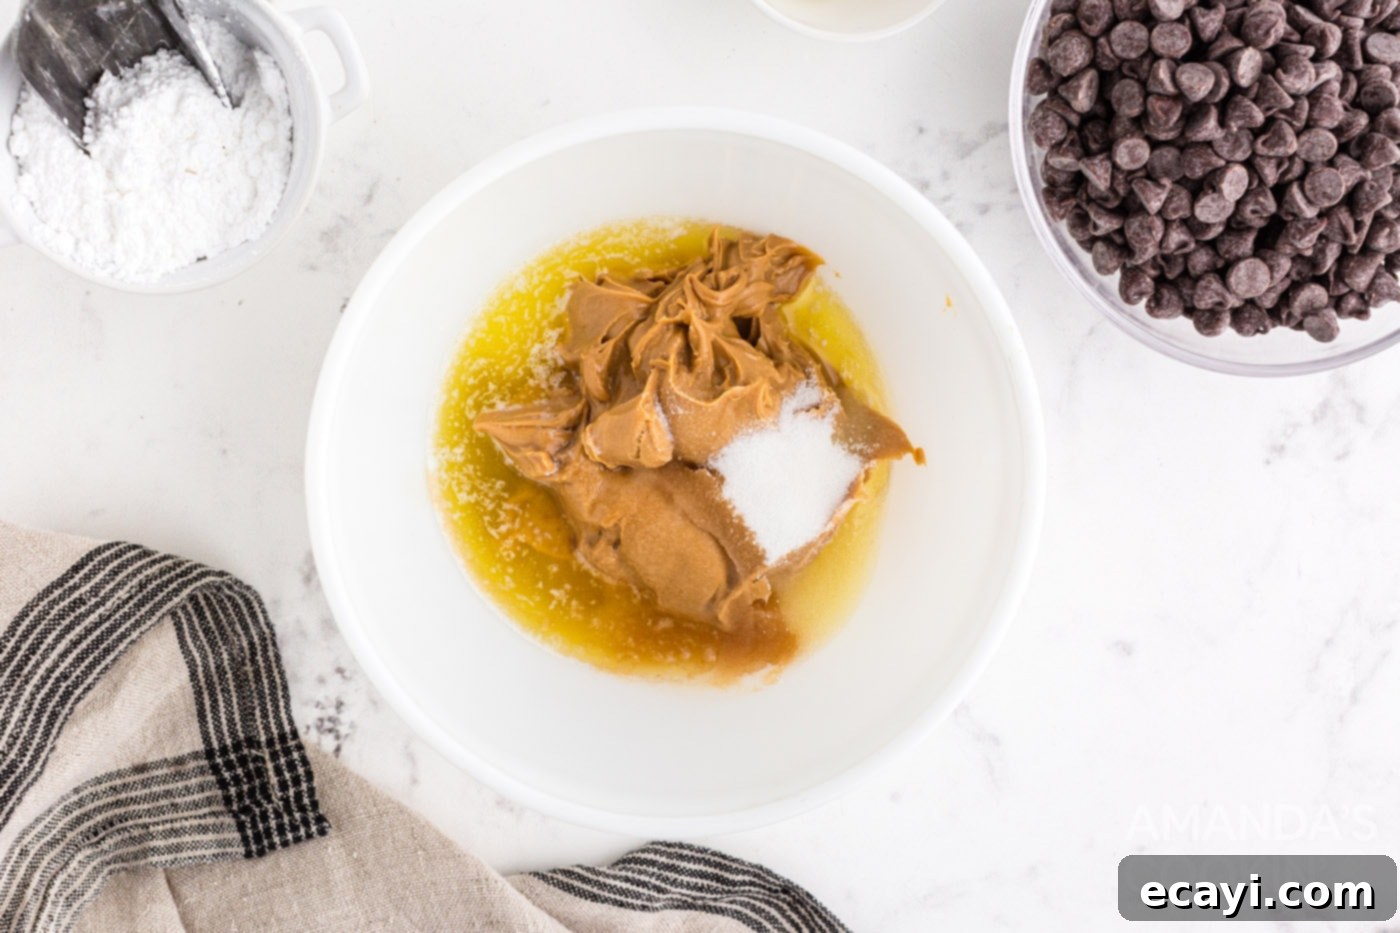
- Combine Wet Ingredients: In a medium-sized mixing bowl, combine the melted and slightly cooled salted butter, creamy peanut butter, granulated sugar, and vanilla extract. Use a hand mixer or a standing mixer fitted with a paddle attachment. Beat these ingredients together on medium speed until they are thoroughly combined and smooth. This creates the flavorful foundation for your peanut butter centers.

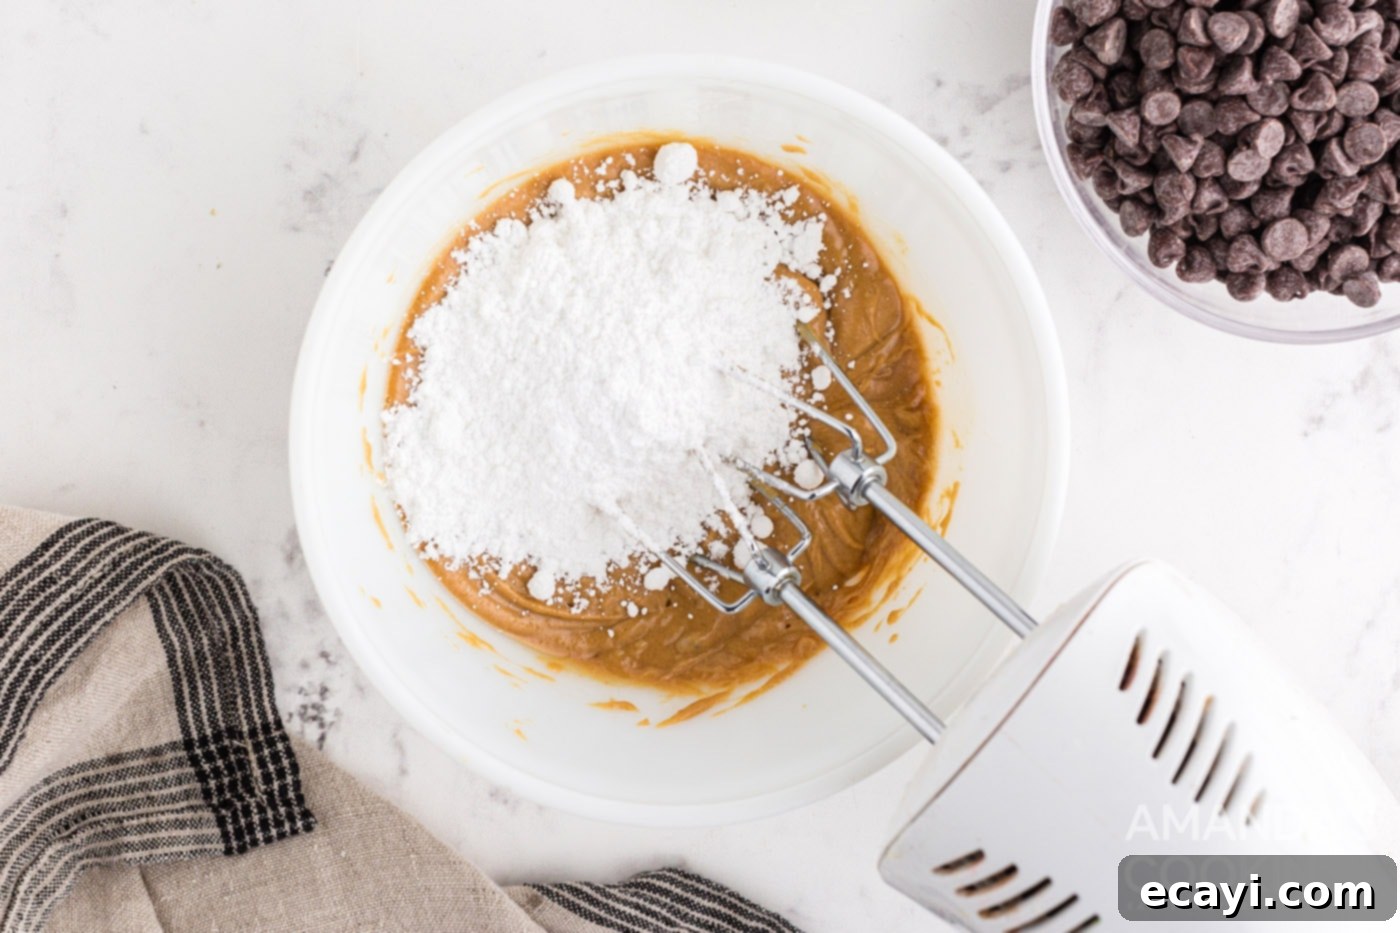
- Incorporate Powdered Sugar: Gradually add the powdered sugar to the peanut butter mixture. Continue mixing until everything is fully incorporated. At this stage, the mixture will transition from smooth to quite thick and crumbly. Don’t worry if it looks a bit dry; it will come together when you roll it. The powdered sugar is crucial for the final texture and to help the balls hold their shape.

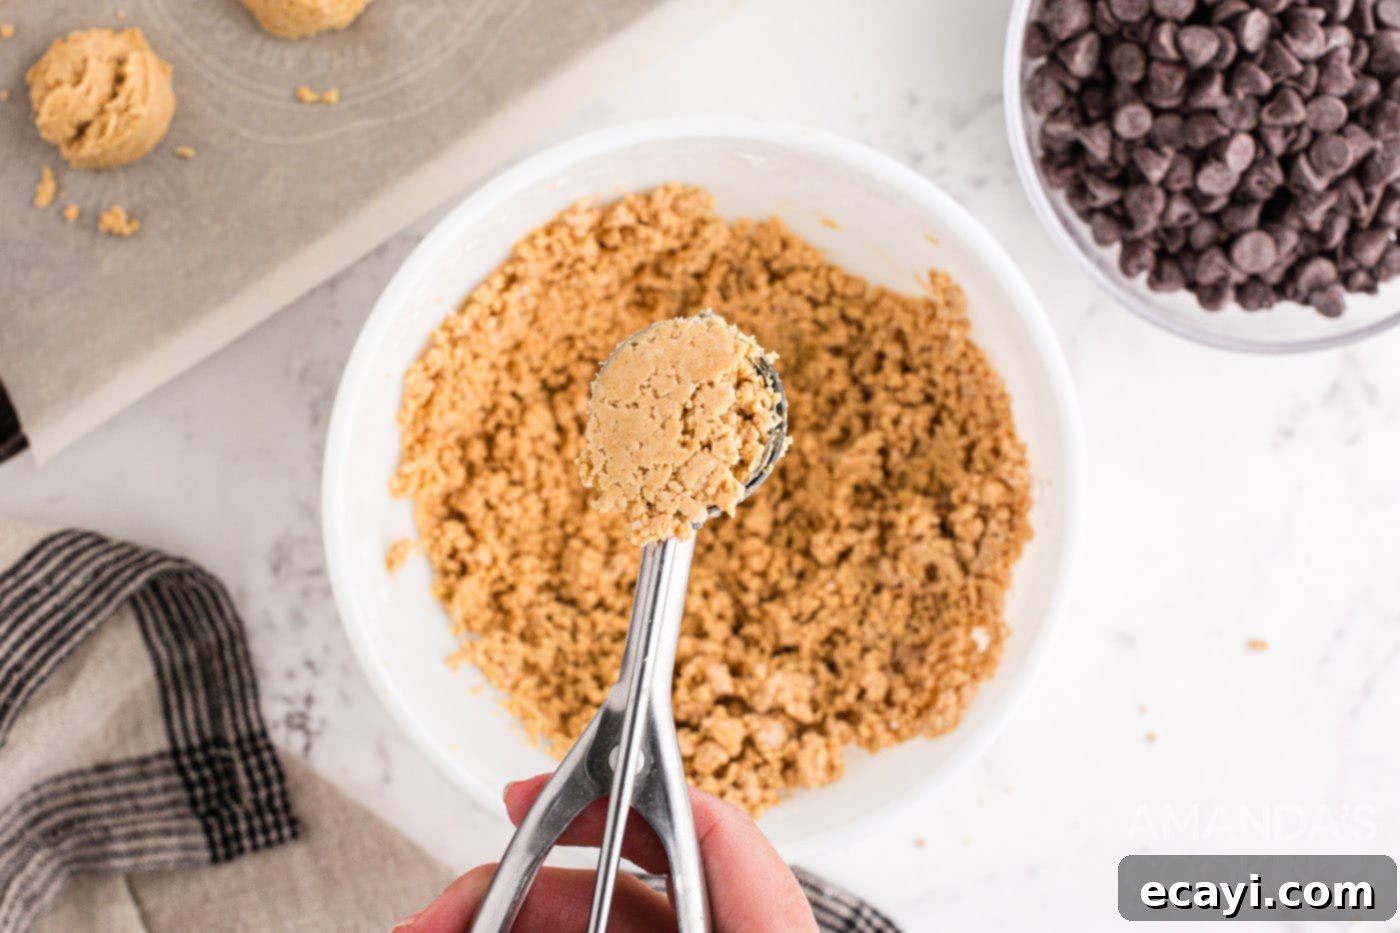
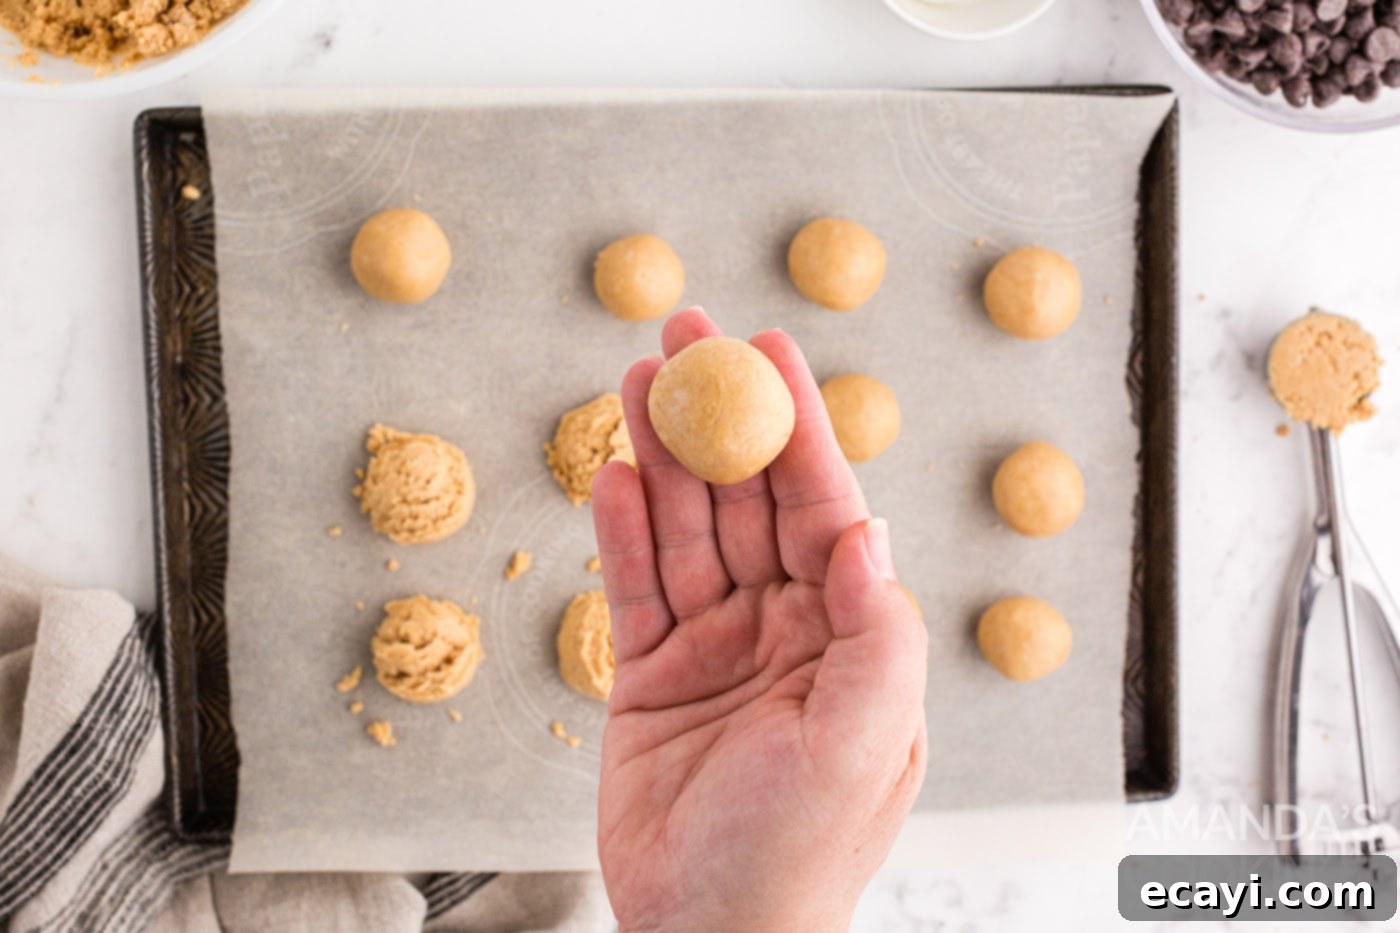
- Scoop and Form Balls: Using a 1 tablespoon cookie scoop, portion out approximately 28 uniform balls of the peanut butter mixture. Consistency in size ensures even chilling and dipping. Gently roll each scooped portion between the palms of your hands to form smooth, compact balls. Place each finished ball onto your prepared parchment-lined sheet pan, leaving a small space between them.


- Chill the Peanut Butter Balls: Once all the balls are formed and arranged on the sheet pan, transfer the pan to the freezer for a minimum of 30 minutes. This chilling step is absolutely vital!
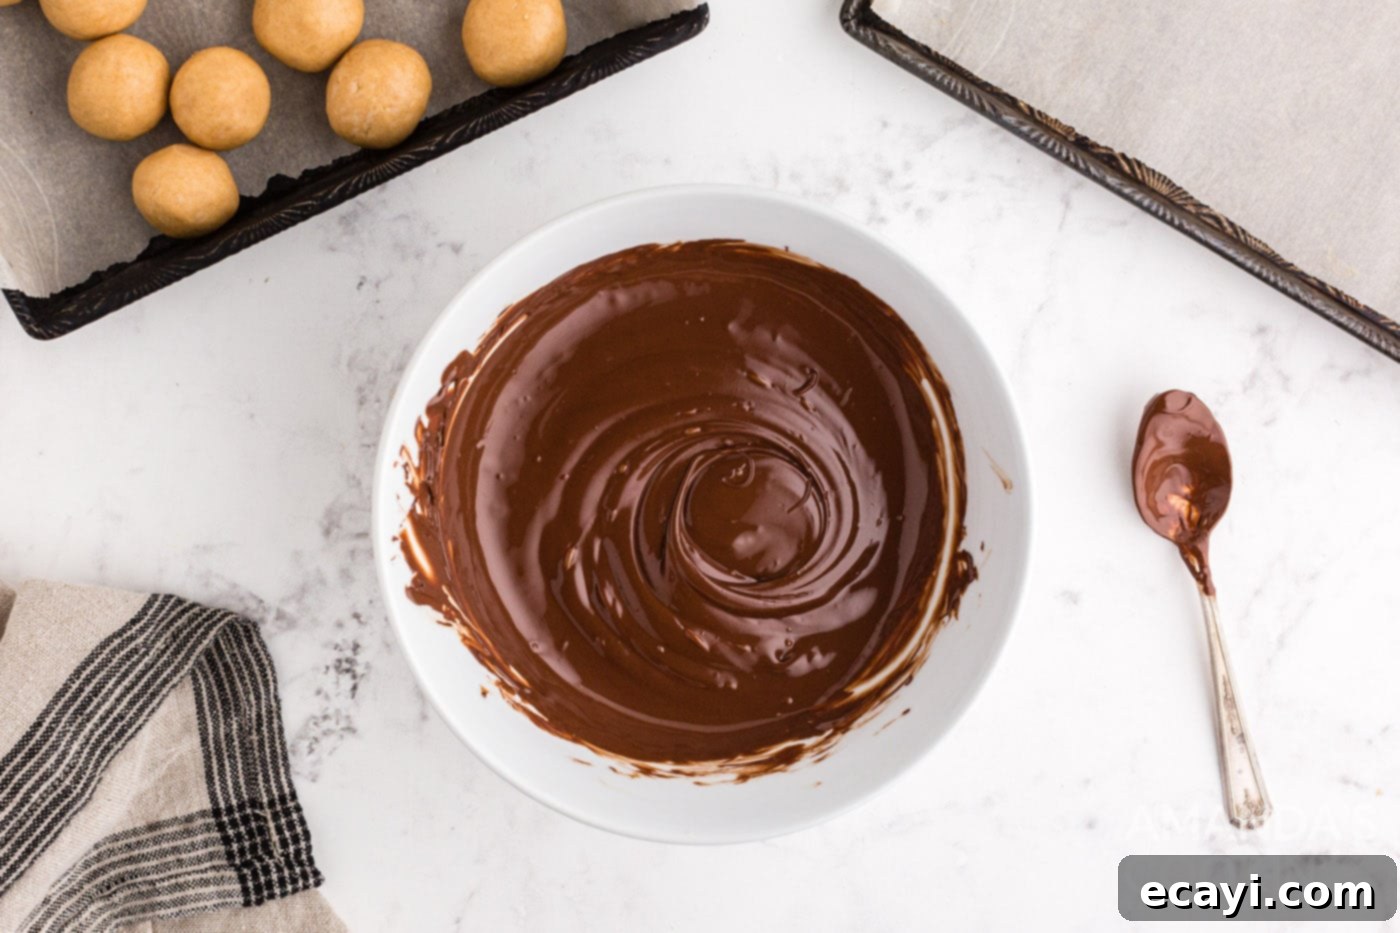
- Prepare the Chocolate Coating: While the peanut butter balls are chilling, it’s time to prepare your luscious chocolate coating. In a heatproof, microwave-safe bowl, combine the semi-sweet chocolate chips and the shortening. Heat the mixture in the microwave using short bursts – 30-second increments are ideal. After each interval, remove the bowl and stir the chocolate thoroughly. Continue this process until the chocolate is completely smooth and melted. Be careful not to overheat the chocolate, as it can seize or burn. If a few small solid pieces remain, simply remove from the microwave and continue stirring; the residual heat will melt them, ensuring a silky-smooth consistency.

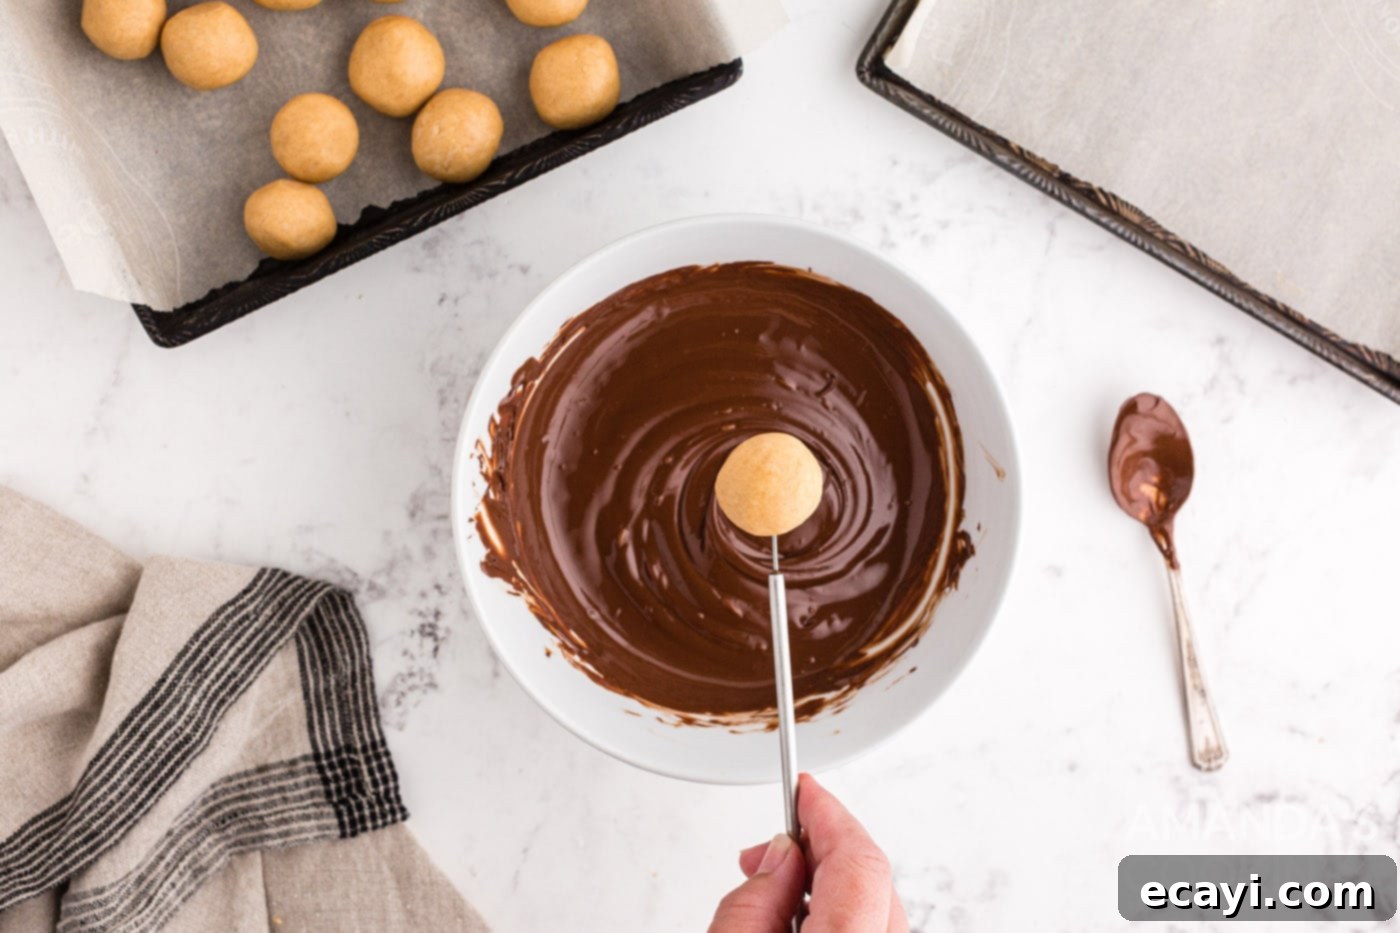
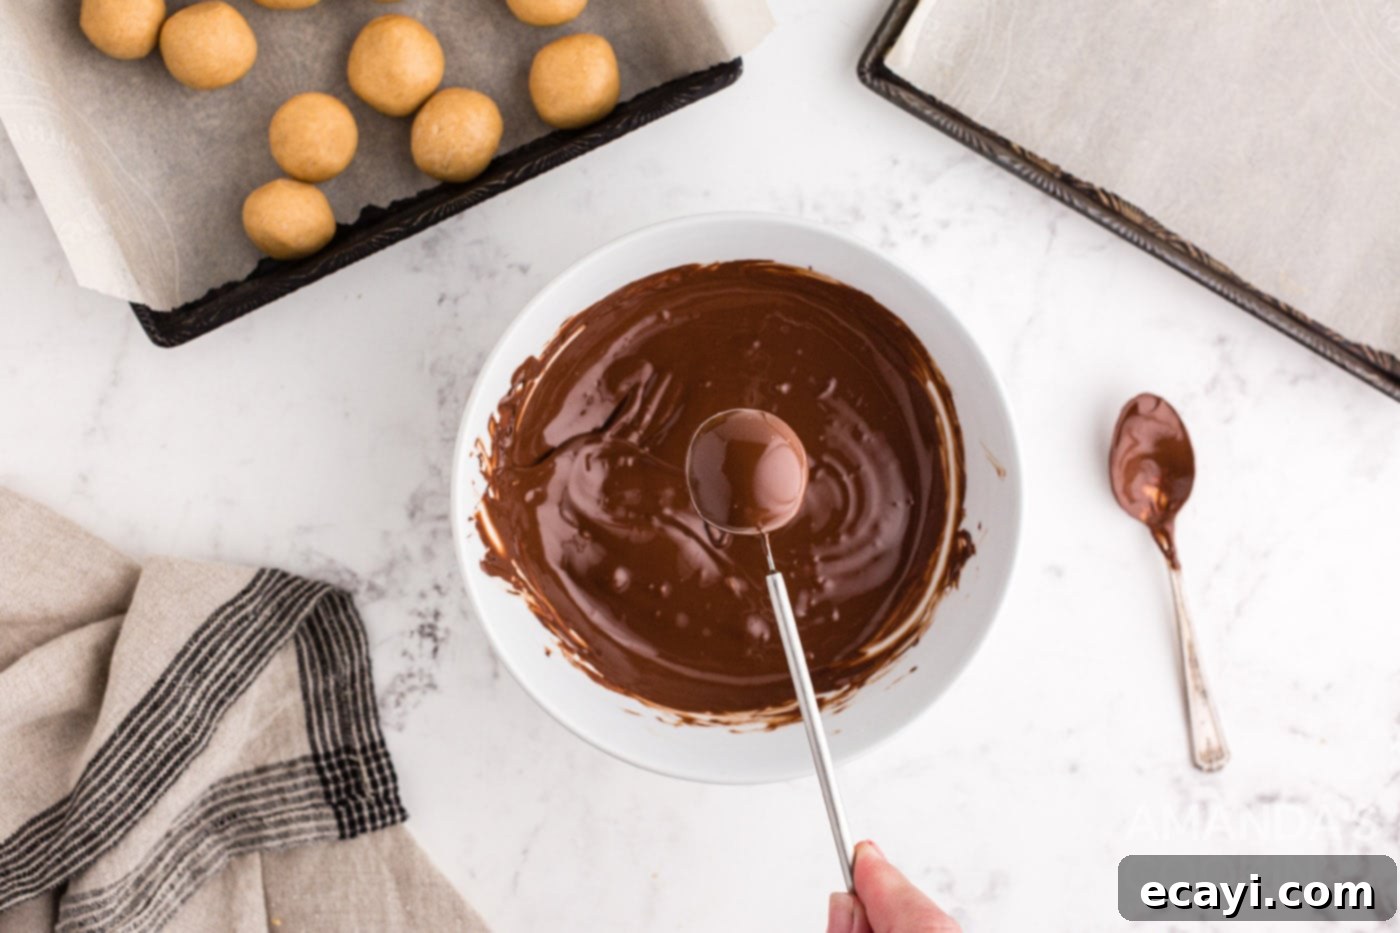
- Dip the Peanut Butter Balls: Once the chocolate is perfectly melted and smooth, and the peanut butter balls are fully chilled, it’s time for the fun part! Using a fork or a specialized chocolate dipping tool, gently dunk each peanut butter ball into the melted chocolate. Turn the ball to ensure it’s fully coated. Carefully lift the ball out, tapping off any excess chocolate against the side of the bowl. Place the chocolate-coated ball back onto your parchment-lined sheet pan.
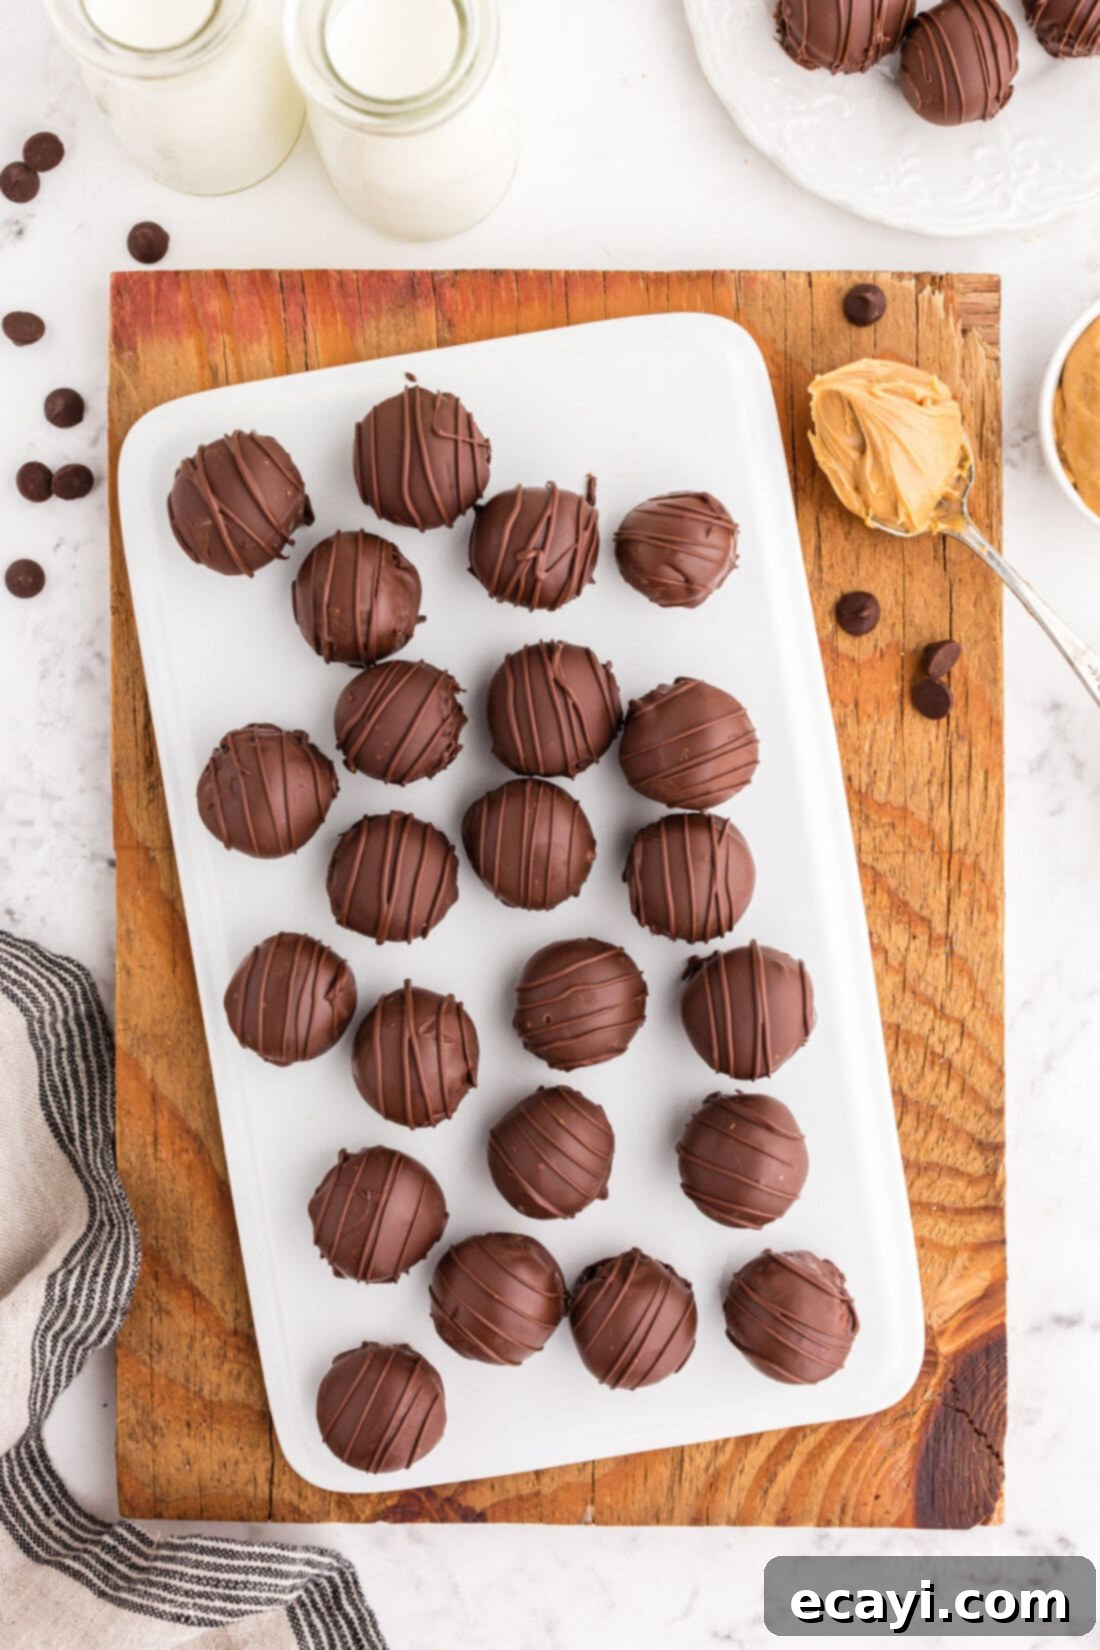
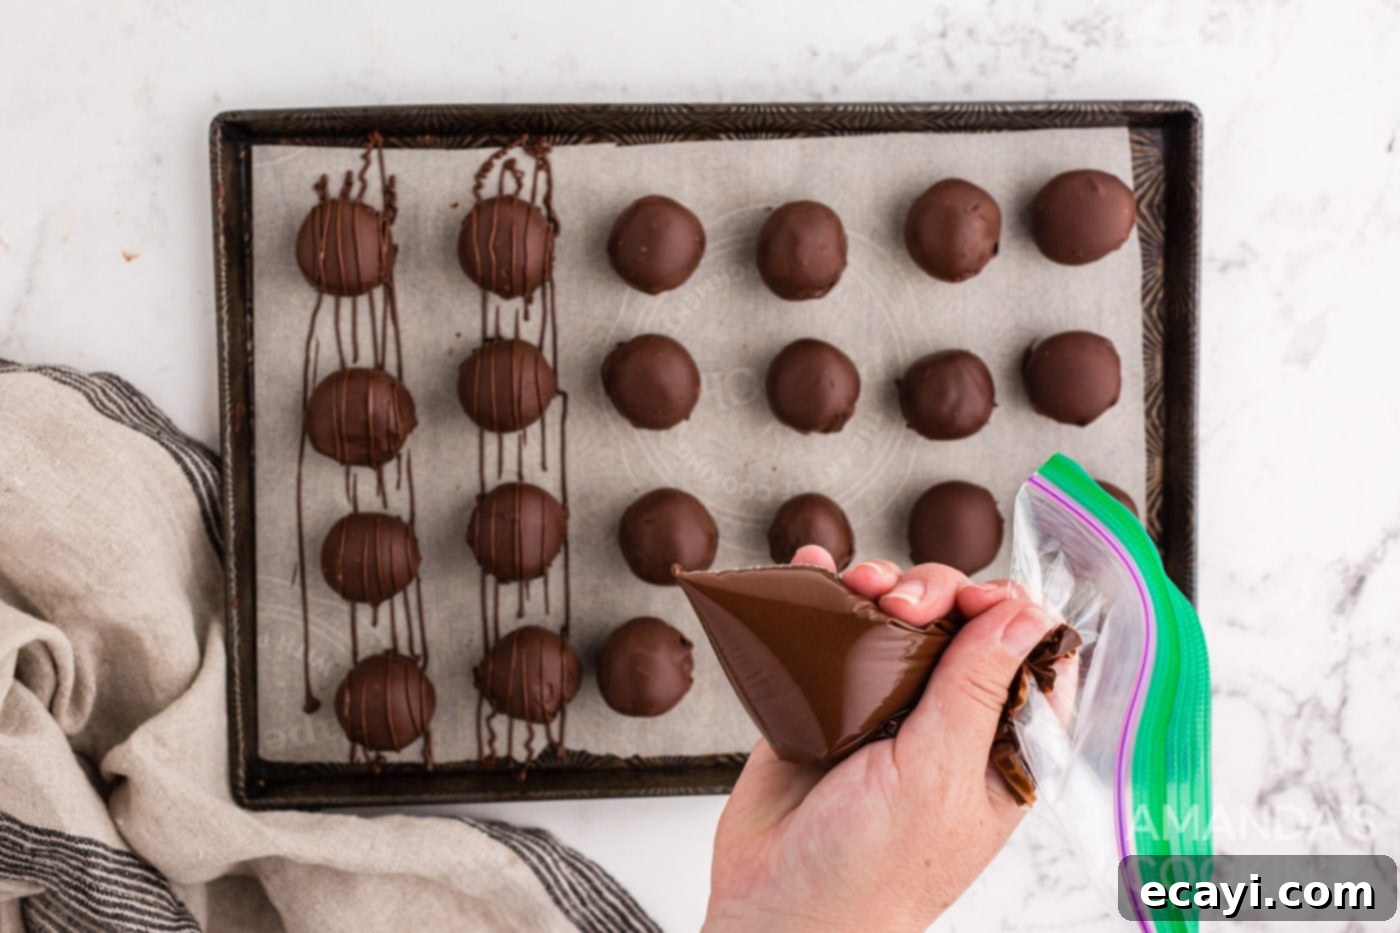
- Drizzle with Remaining Chocolate: After all the peanut butter balls have been dipped and placed on the parchment paper, gather any excess melted chocolate remaining in your bowl. Scoop it into a plastic baggy or a piping bag. Snip a very small corner from the bag to create a fine opening. Artistically drizzle the chocolate over the now-coated peanut butter balls. This adds an extra layer of chocolatey goodness and a beautiful decorative touch.
- Set and Serve: Allow the chocolate drizzle to fully set. This can happen at room temperature, or more quickly in the refrigerator or freezer if you’re in a hurry. Once the chocolate is firm to the touch, your incredible no-bake chocolate peanut butter balls are ready to be enjoyed immediately!
EXPERT TIP: Freezing the peanut butter balls not only makes them significantly easier to handle during the dipping process (preventing them from crumbling or melting), but it also helps the warm chocolate coating set much more quickly and evenly from the inside out. Don’t skip this step for the best results!
EXPERT TIP: To maintain the ideal chilled temperature of your peanut butter balls and ensure rapid setting of the chocolate, it’s best to remove only a few balls at a time from the freezer for dipping. This strategy prevents them from warming up too much, which can lead to a messy dip or a coating that takes longer to set.
Frequently Asked Questions & Essential Expert Tips
Here are some common questions and additional expert tips to ensure your chocolate peanut butter balls turn out perfect every time:
To maintain their freshness and delicious texture, store your chocolate peanut butter balls in an airtight container. They can be kept on the counter at room temperature for up to 3-4 days, or in the refrigerator for up to 7 days. Storing them in the fridge will keep the chocolate coating firmer and prevent the peanut butter center from becoming too soft.
Absolutely! These treats are excellent for freezing. Place them in a single layer on a baking sheet to freeze solid, then transfer them to an airtight, freezer-safe container or bag. They can be frozen for up to 3 months. While freezing, some discoloration or speckling (known as “fat bloom”) may occur on the chocolate surface, but this will not affect the taste or safety. To serve, defrost them in the refrigerator overnight or for a few hours before bringing them to room temperature, if desired.
Chocolate seizing (turning into a thick, gritty paste) usually happens when even a tiny amount of water or steam comes into contact with it during melting. Ensure your bowl and utensils are completely dry. Overheating chocolate can also cause it to thicken. If your chocolate becomes too thick or gloppy during dipping, gently reheat it in 10-15 second increments in the microwave, stirring well after each, until it reaches the desired smooth, thin consistency. You can also add a tiny bit more shortening (¼ teaspoon at a time) to help thin it out, stirring until smooth.
If the mixture is too sticky to roll, try adding a tablespoon or two more of powdered sugar until it reaches a manageable consistency. If it’s too crumbly and won’t hold together, it might be a result of using natural peanut butter or not enough melted butter. You can try adding a teaspoon of melted butter or a tiny bit more creamy peanut butter, one small increment at a time, until it comes together. Remember to chill the mixture briefly if it gets too warm while working with it.
You can certainly experiment with other nut butters like almond butter or cashew butter. However, keep in mind that their consistency can vary significantly from traditional creamy peanut butter. You may need to adjust the amount of powdered sugar to achieve the correct dough-like texture for rolling. Always opt for a “no-stir” version if possible for best results.
To make these treats vegan, simply substitute the regular butter with a good quality vegan butter alternative (stick form is best) and ensure your chocolate chips are dairy-free (many semi-sweet brands are, but always check the label). The rest of the ingredients are typically vegan-friendly.
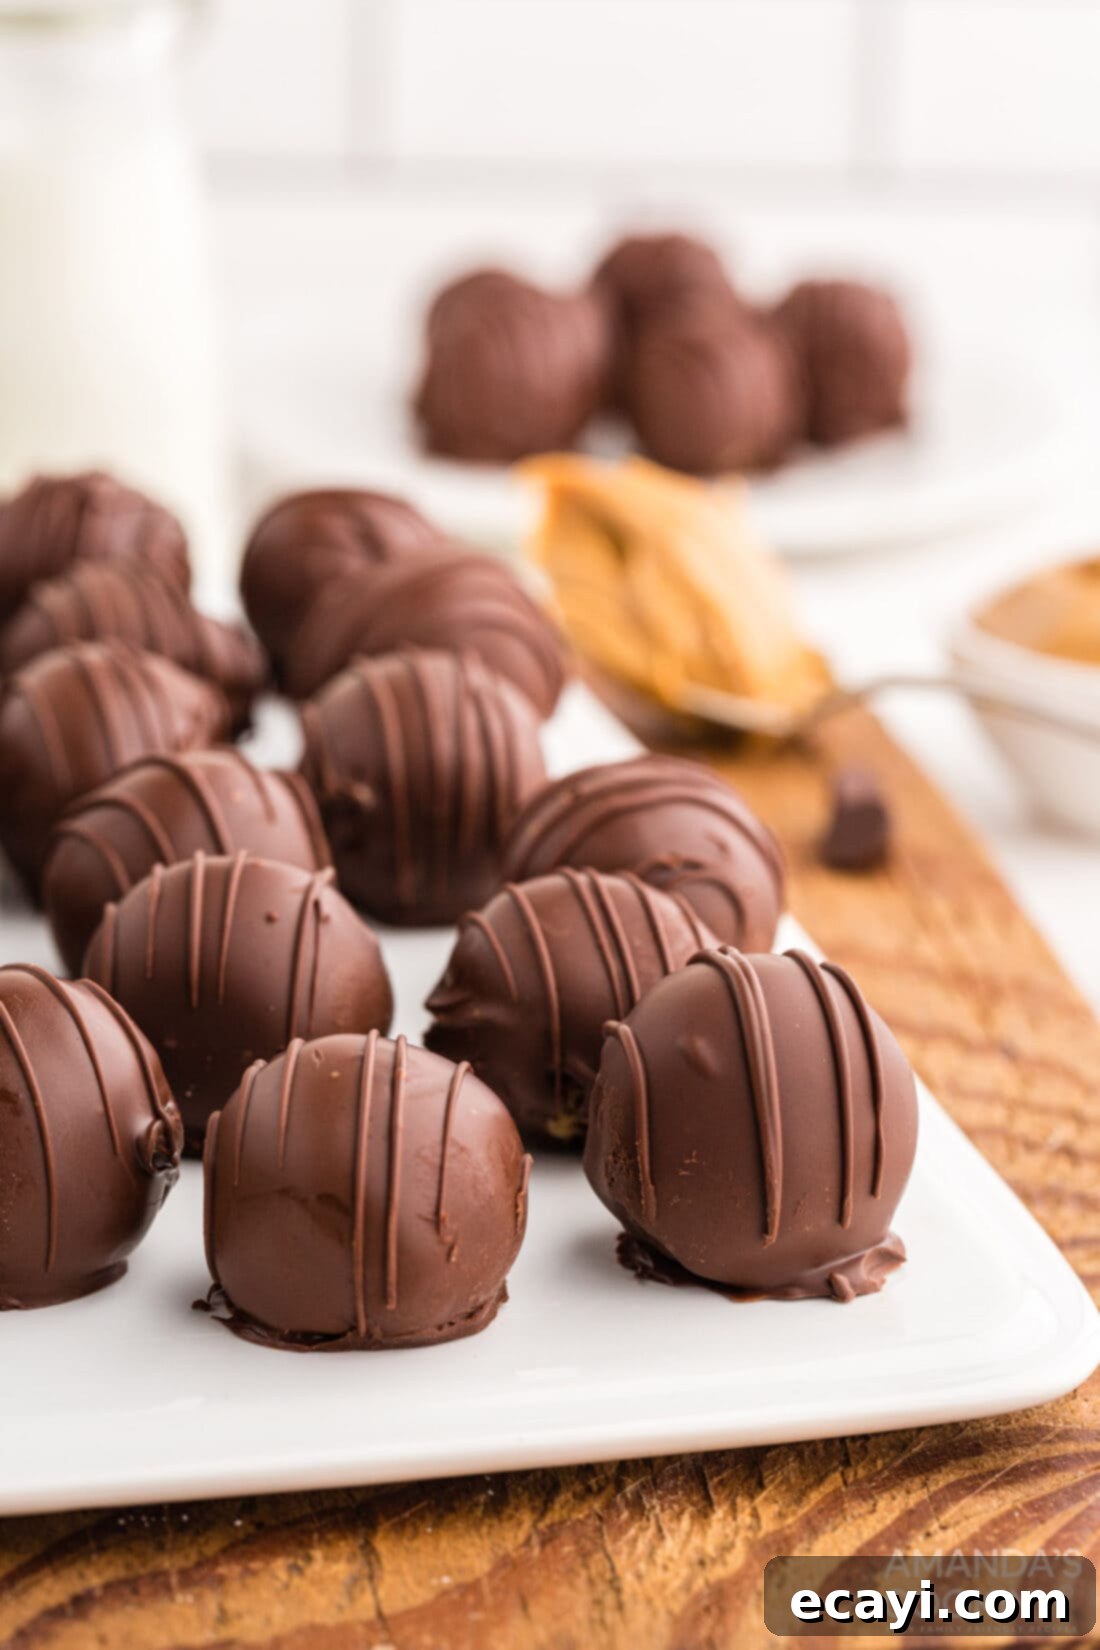
Creative Serving Suggestions & Presentation Ideas
These chocolate peanut butter balls are wonderfully versatile and can be enjoyed in many ways. While they are undeniably fantastic treats for festive holidays like Christmas or Thanksgiving, their universal appeal makes them suitable for nearly any occasion. Here are some ideas to make them even more special:
- Elegant Dessert Platter: Arrange them artfully on a serving platter alongside other small bites like cookies, brownies, or fresh berries for a stunning dessert spread.
- Decadent Edible Gifts: Package these delightful balls in decorative boxes or cello bags tied with a ribbon. They make thoughtful and delicious homemade gifts for birthdays, hostess gifts, or any special celebration.
- Peanut Butter Pops: For a fun and fancy twist, insert lollipop sticks into the chilled peanut butter balls before dipping them in chocolate. This transforms them into charming chocolate peanut butter pops, perfect for parties or as a kid-friendly treat.
- Coffee or Tea Companion: Serve them alongside a freshly brewed cup of coffee, espresso, or your favorite tea for a delightful afternoon pick-me-up or an after-dinner indulgence.
- Vary the Toppings: Before the chocolate sets, sprinkle them with a touch of sea salt (to enhance the flavors), mini chocolate chips, colorful sprinkles, finely chopped nuts, or even a dusting of cocoa powder for added visual appeal and flavor complexity.
You can serve these treats at room temperature for a softer, melt-in-your-mouth experience, or chilled for a firmer bite. If your peanut butter balls happen to get a bit sticky or soft at room temperature, simply pop them back into the freezer or refrigerator for a few minutes. This will help reharden the chocolate coating, making them easier and cleaner to handle before serving.
More Irresistible Chocolate and Peanut Butter Recipes to Explore
If you’re a true fan of the magical combination of chocolate and peanut butter, then you’re in for a treat! This dynamic duo is a favorite for a reason, creating desserts that are universally loved. Once you’ve mastered these incredible no-bake chocolate peanut butter balls, we encourage you to dive into more delightful recipes that celebrate this iconic pairing. Here are some of our top recommendations:
- Peanut Butter Blossoms: A classic cookie with a soft peanut butter base topped with a chocolate kiss.
- Buckeye Candy: Similar to these balls, but traditionally showing a peek of the peanut butter center.
- Chocolate Peanut Butter Fudge: A rich, dense, and creamy fudge with layers of chocolate and peanut butter.
- Homemade Peanut Butter Cups: Recreate your favorite candy at home, often with richer, more customizable flavors.
- Chocolate Peanut Butter Cupcakes: Fluffy chocolate cupcakes crowned with a decadent peanut butter frosting.
- Chocolate Peanut Butter Lasagna: A layered, no-bake dessert featuring a cookie crust, cream cheese, peanut butter mousse, and chocolate pudding.
- No-Bake Peanut Butter Cornflake Cookies: Another fantastic no-bake option combining crispy cornflakes with a sweet peanut butter coating.
Each of these recipes offers a unique way to enjoy the beloved chocolate and peanut butter combination, promising delicious results that will satisfy your sweet cravings.
I absolutely adore spending time in the kitchen, crafting delicious recipes and sharing my culinary experiences with all of you! Remembering to come back each day to check for new creations can be a challenge, which is why I offer a super convenient newsletter every time a fresh recipe is posted. Simply subscribe today and start receiving your free daily recipes directly in your inbox – never miss out on another delectable dish!

Chocolate Peanut Butter Balls
IMPORTANT – There are often Frequently Asked Questions within the blog post that you may find helpful. Simply scroll back up to read them!
Print It
Pin It
Rate It
Save ItSaved!
Ingredients
- ¼ cup salted butter melted and cooled
- 1 cup creamy peanut butter
- ¼ cup granulated sugar
- 1 tsp vanilla extract
- 2 cups powdered sugar
- 12 oz semi sweet chocolate chips
- 1 Tbsp shortening
Things You’ll Need
-
Sheet pan
-
Cookie scoop
-
Hand mixer
Before You Begin
- Store in an airtight container on the counter for up to 3-4 days or in the refrigerator for up to 7 days. Freeze for up to 3 months; note that discoloration/speckling may occur but won’t affect taste. Defrost in the refrigerator before serving.
- If your melted chocolate starts to thicken or become gloppy during the dipping process, reheat it gently in 10-15 second bursts in the microwave, stirring well until it is smooth and fluid again for easy coating.
- Especially if your kitchen is warm, you can transfer the dipped peanut butter balls back into the refrigerator or freezer after coating to help them set more quickly. While this might sometimes slightly affect the ultimate sheen of the chocolate coating, it will absolutely not compromise the delicious flavor!
Instructions
-
Line a sheet pan with parchment paper and set aside; this will prevent sticking and make cleanup easier.
-
In a medium bowl, combine the melted and cooled salted butter, creamy peanut butter, granulated sugar, and vanilla extract. Beat them together using a hand mixer or standing mixer until the mixture is smooth and well combined.
-
Gradually add the powdered sugar to the mixture and beat again until fully combined. The resulting mixture will be quite thick and crumbly.
-
Use a 1 tablespoon cookie scoop to portion out about 28 balls of the peanut butter mixture, ensuring uniform size for even cooking.
-
Roll each scooped portion between the palms of your hands to form smooth, compact balls, then place each ball on the prepared sheet pan.
-
Place the sheet pan with the peanut butter balls in the freezer for at least 30 minutes. This chilling process is essential to make them firm and easy to handle for dipping.
-
While the balls chill, combine the chocolate chips and shortening in a heatproof bowl. Microwave in 30-second increments, stirring well after each, until the chocolate is completely smooth and melted. Be careful not to overheat.
-
Using a fork or a chocolate dipping tool, dunk the chilled peanut butter balls into the melted chocolate, turning to fully coat them. Tap off any excess chocolate and place the coated ball back onto the parchment paper. To keep the balls very cold, remove them from the freezer a few at a time for dipping, which helps the chocolate set faster.
-
Allow the chocolate coating to harden. Once all balls are dipped, scoop any leftover melted chocolate into a plastic baggy or piping bag. Snip a small corner and drizzle decorative lines over the chocolate-coated peanut butter balls.
-
Allow the chocolate drizzle to set completely, then serve immediately or store as directed above. Enjoy your homemade no-bake treats!
Nutrition
The recipes on this blog are tested with a conventional gas oven and gas stovetop. It’s important to note that some ovens, especially as they age, can cook and bake inconsistently. Using an inexpensive oven thermometer can assure you that your oven is truly heating to the proper temperature. If you use a toaster oven or countertop oven, please keep in mind that they may not distribute heat the same as a conventional full sized oven and you may need to adjust your cooking/baking times. In the case of recipes made with a pressure cooker, air fryer, slow cooker, or other appliance, a link to the appliances we use is listed within each respective recipe. For baking recipes where measurements are given by weight, please note that results may not be the same if cups are used instead, and we can’t guarantee success with that method.
