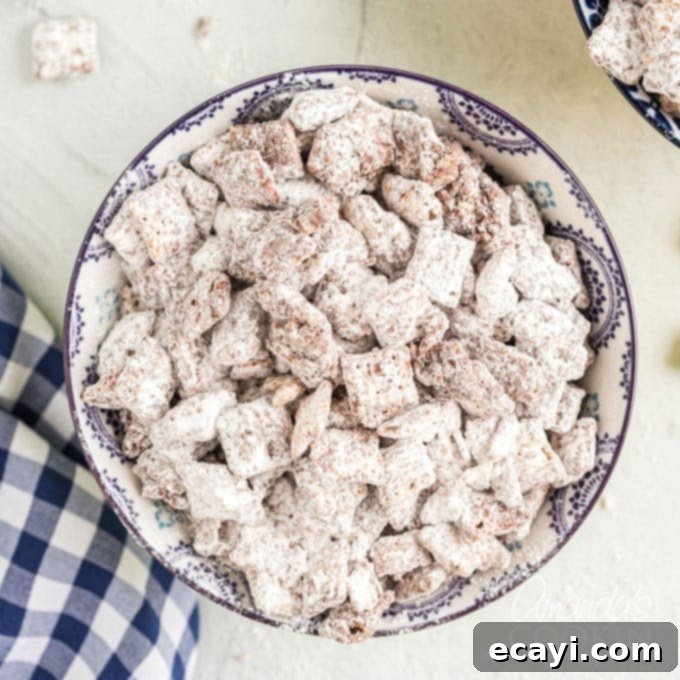
The Ultimate Homemade Muddy Buddies Recipe: Your Guide to Irresistible Puppy Chow
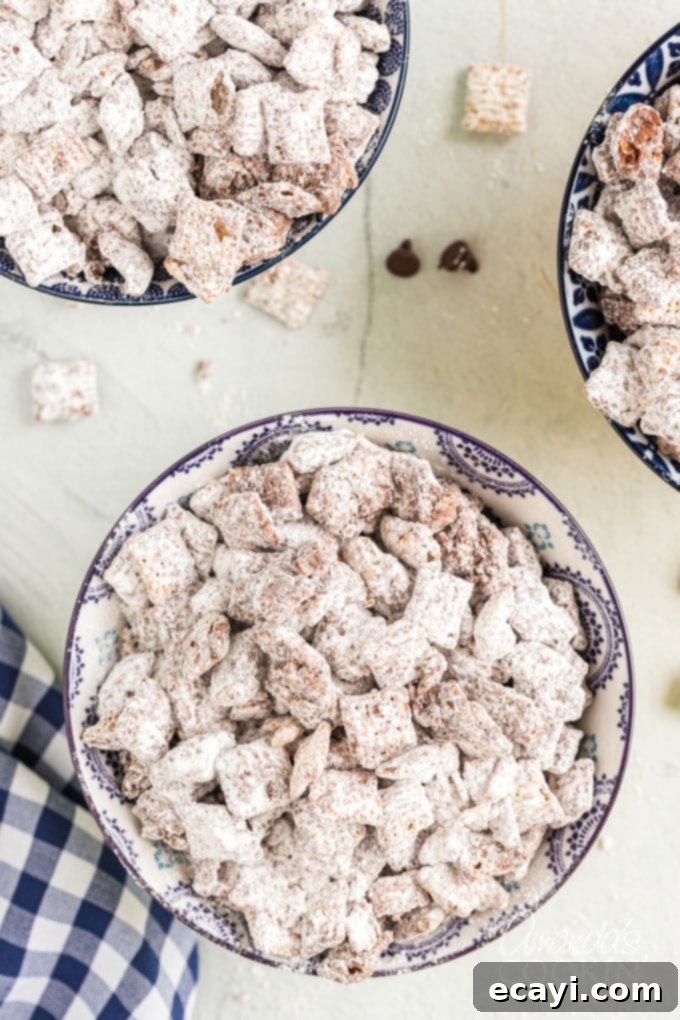
There’s something uniquely magical about Muddy Buddies, also affectionately known as Puppy Chow. These sweet, delicious, and delightfully crunchy snacks have been a beloved treat for generations, instantly transporting many of us back to childhood. The simple yet ingenious combination of crisp Chex cereal, rich melted chocolate, creamy peanut butter, all enveloped in a generous coating of sweet powdered sugar, creates an irresistible flavor and texture explosion that’s impossible to say no to!
While I often crave a savory snack like homemade popcorn or a robust Chex Mix, when that undeniable sweet tooth calls, Muddy Buddies are always the perfect answer. They offer a comforting blend of familiar flavors and a satisfying crunch that makes them a go-to for any sweet craving, whether it’s a quick afternoon bite or a delightful party treat.
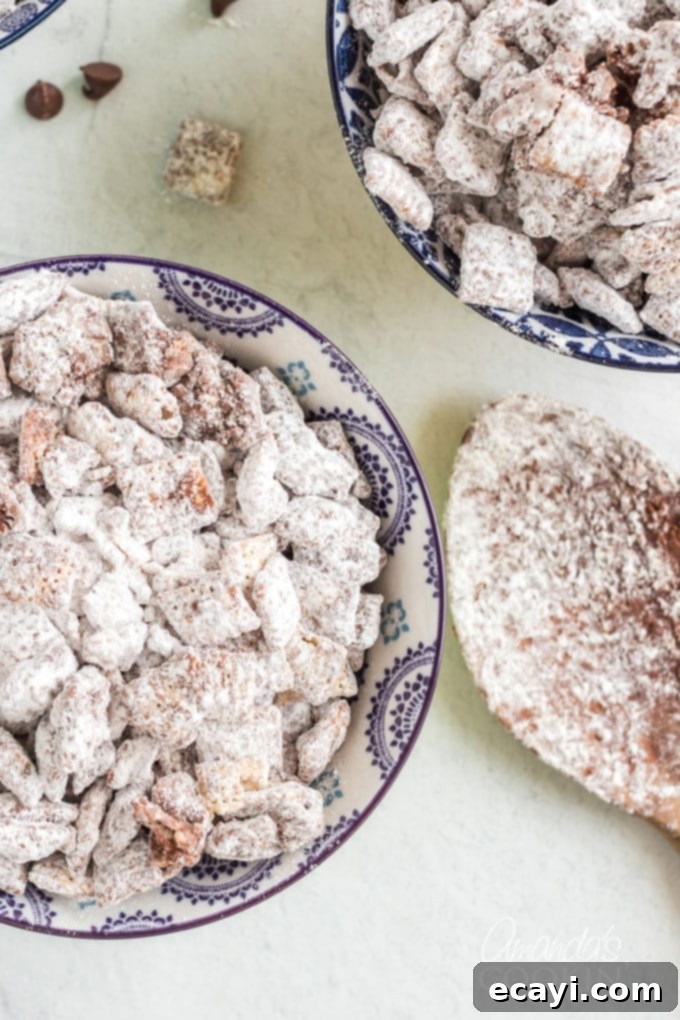
Why Make Homemade Muddy Buddies (or Puppy Chow)?
In today’s bustling world, convenience often takes precedence, and indeed, you can now find pre-made bags of Muddy Buddies in many grocery stores. Some local bakeries even offer their own versions in plastic containers. While these can be a quick fix, there’s an undeniable charm and superior quality that comes with making Muddy Buddies from scratch. This isn’t just about saving money; it’s about the experience, the taste, and the joy of creating something delicious with your own hands.
Making Muddy Buddies at home, especially with children, is more than just a recipe – it’s an incredibly fun and rewarding activity that creates lasting memories. My daughter, now 25, still talks fondly about our Muddy Buddies making sessions when she was a little girl. She even enlightened me to the fact that her elementary school friends commonly referred to this snack as “Puppy Chow.” Regardless of what you call this classic sweet snack, the process is wonderfully easy and serves as an excellent way to introduce kids to the kitchen, teaching them basic cooking skills in an enjoyable way.
Beyond the fun, homemade Muddy Buddies offer unparalleled freshness and allow for complete control over the ingredients. You can customize the chocolate, peanut butter, and even the cereal blend to suit your family’s preferences. Plus, whipping up a batch at home is often more cost-effective than buying the pre-packaged versions. Once prepared, this delightful snack can be portioned into snack-sized bags or containers, making it the perfect portable sweet treat for road trips, school lunches, or quick indulgence on the go!
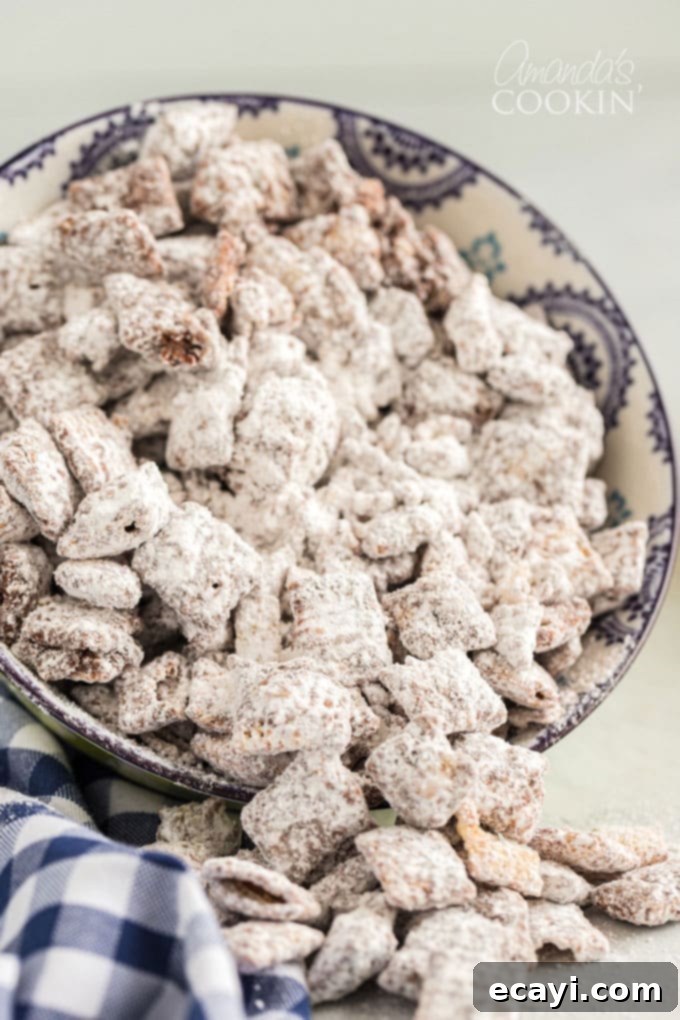
Essential Ingredients for the Perfect Muddy Buddies Snack Mix
This recipe sticks closely to the original, time-tested Chex Muddy Buddies formula, with a slight personal twist – I typically use just two types of Chex cereal for a perfectly balanced texture and flavor. The printable recipe card at the end of this post will provide all the precise measurements you’ll need to create this incredibly addictive snack mix.
- **Chex Cereal:** For this recipe, I opt for a blend of **Chocolate Chex and Rice Chex**. Rice Chex offers the lightest and crispiest crunch among the Chex varieties, making it my personal favorite for this recipe. However, **Corn Chex** is also an excellent choice if you prefer a slightly different texture or want to stick to a more traditional Chex Mix cereal base. The key is to use a sturdy cereal that holds up well to the chocolate-peanut butter coating.
- **Chocolate Chips:** **Semisweet chocolate chips** are the go-to for the classic Muddy Buddies flavor, providing a balanced sweetness that complements the peanut butter. If you’re a fan of a richer, less sweet profile, **dark chocolate chips** could be an intriguing alternative. I generally advise against using white chocolate, as I find it can make the overall snack excessively sweet, potentially overpowering the other flavors.
- **Peanut Butter:** A good quality, creamy **peanut butter** is crucial for both flavor and coating consistency. Its rich, nutty taste is a defining characteristic of Muddy Buddies. For those with peanut allergies or dietary restrictions, certain **sun butters** (like sunflower seed butter) have proven to be fantastic alternatives, maintaining a similar texture and flavor profile. Always ensure any substitution is safe for those consuming the snack.
- **Butter:** I typically reach for unsalted **butter** in almost all my recipes, allowing me to control the salt content. However, for this particular snack, either **salted butter or margarine** will work absolutely fine. The small amount of butter helps create a smooth, pliable chocolate-peanut butter mixture that evenly coats the cereal.
- **Vanilla Extract:** For the best flavor, I strongly recommend using **pure vanilla extract**. The depth and warmth it adds are incomparable. Imitation vanilla, while functional, often has a distinctly different and sometimes less appealing flavor profile that can detract from the overall quality of your Muddy Buddies.
- **Powdered Sugar:** The iconic, sweet, and slightly messy coating is achieved with **powdered sugar** (also known as confectioners’ sugar). This finely milled sugar adheres beautifully to the chocolate-peanut butter mixture, creating that irresistible “snow-dusted” look and a final burst of sweetness that makes Muddy Buddies so beloved. Don’t skimp on this!
Handy Kitchen Tools for Muddy Buddies Success:
Having the right tools can make the Muddy Buddies preparation even smoother and more enjoyable, especially when little hands are helping out! These items are generally useful for many baking and snack-making projects:
- **Large Mixing Bowl:** Essential for combining your cereals and later for coating them with the chocolate-peanut butter mixture without making a huge mess. A spacious bowl ensures even distribution.
- **Wooden Spoon:** Ideal for stirring the melted chocolate mixture and gently folding it into the Chex cereal. Its sturdy nature helps prevent crushing the delicate cereal squares.
- **Bag Holders:** These are truly a game-changer when it comes to pouring the coated cereal into resealable bags for shaking. They keep the bags open and upright, minimizing spills and sticky situations.
- **Snack Bags:** Perfect for portioning out your finished Muddy Buddies for on-the-go snacking, sharing with friends, or simply controlling portion sizes. Gallon-sized resealable bags are also essential for the coating process.
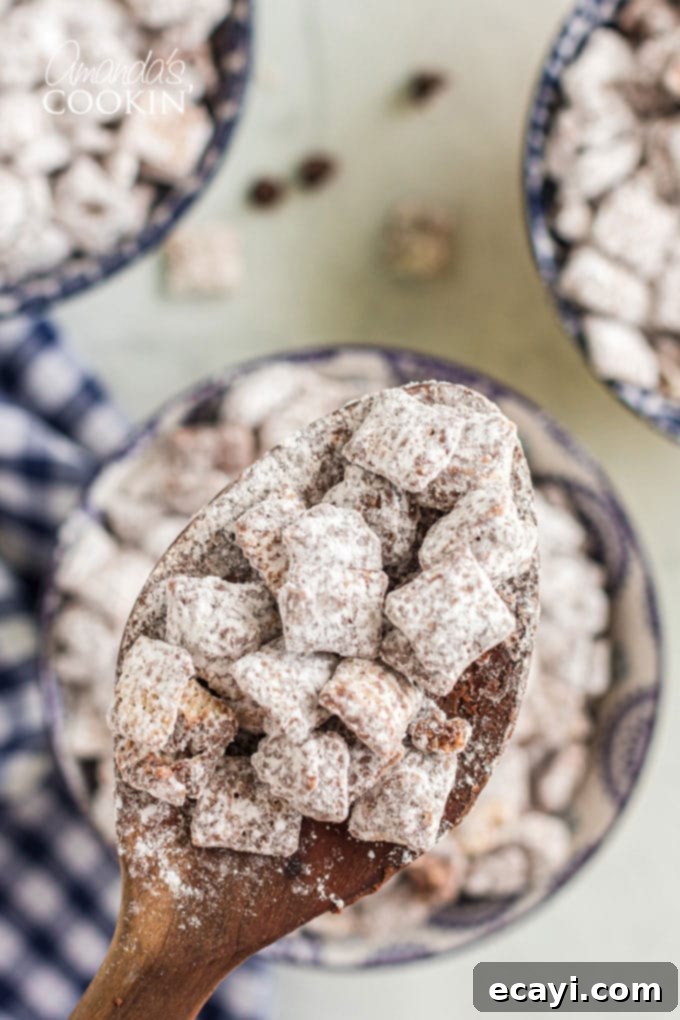
Step-by-Step Guide: How to Make Irresistible Muddy Buddies
Preparing this incredibly popular sweet treat is surprisingly simple, making it a fantastic activity for all ages. Don’t hesitate to involve the kids in as many steps as possible; they’ll adore being an active part of creating their favorite snack!
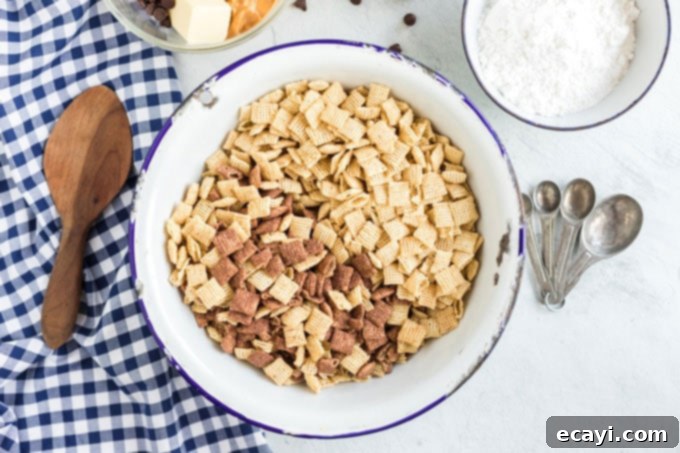
- **Prepare the Cereal Base:** Begin by gently combining your chosen Chex cereals (Rice Chex and Chocolate Chex work wonderfully together) into a very large mixing bowl. Make sure the bowl is spacious enough to allow for thorough mixing without spilling. Set this aside while you prepare the decadent coating.
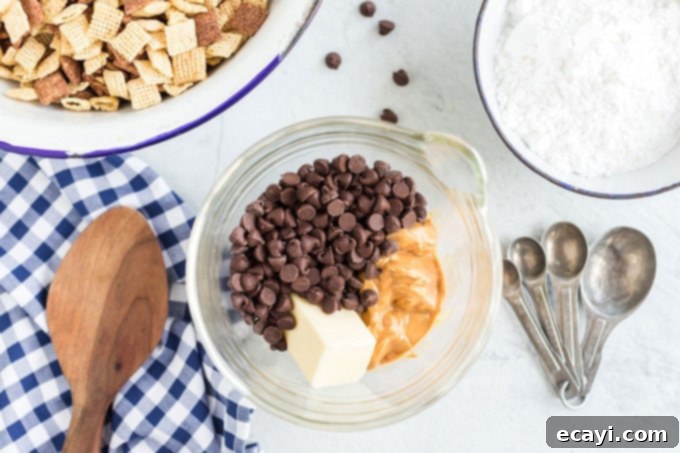
- **Melt the Chocolate-Peanut Butter Mixture:** In a 1-quart microwave-safe bowl, combine the semisweet chocolate chips, creamy peanut butter, and butter (or margarine). Place the bowl, uncovered, into the microwave and heat on High for 1 minute. After the initial minute, stir the mixture thoroughly with your wooden spoon. If it’s not yet smooth, continue microwaving in additional 30-second intervals, stirring after each, until the mixture is completely melted and can be stirred into a smooth, glossy consistency. Be careful not to overheat to avoid scorching the chocolate.
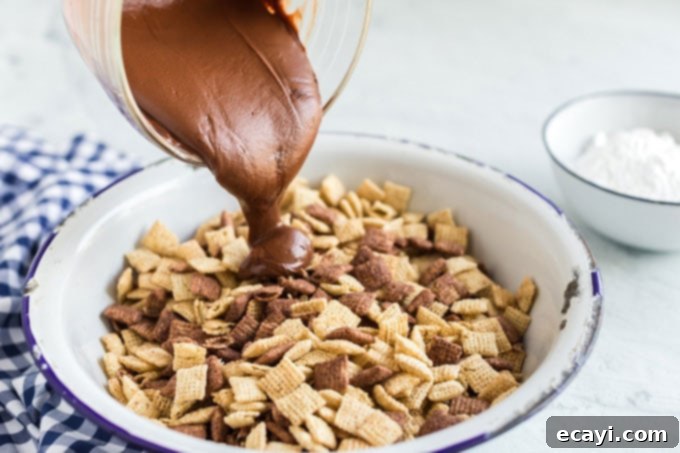
- **Coat the Cereal:** Once your chocolate-peanut butter mixture is silky smooth, stir in the pure vanilla extract. Immediately pour this warm, delicious mixture over the prepared Chex cereal in the large bowl. Using your wooden spoon, or a rubber spatula, gently but quickly stir the cereal until every single piece is evenly coated. Take care not to crush the cereal as you stir. The goal is a uniform, glistening layer of chocolatey goodness.
- **Prepare for the Powdered Sugar Shake:** Divide the coated cereal equally into two separate gallon-sized resealable food-storage plastic bags. This step is much easier with bag holders, which keep the bags open and stable, allowing you to pour the sticky cereal in without making a mess on the countertop.
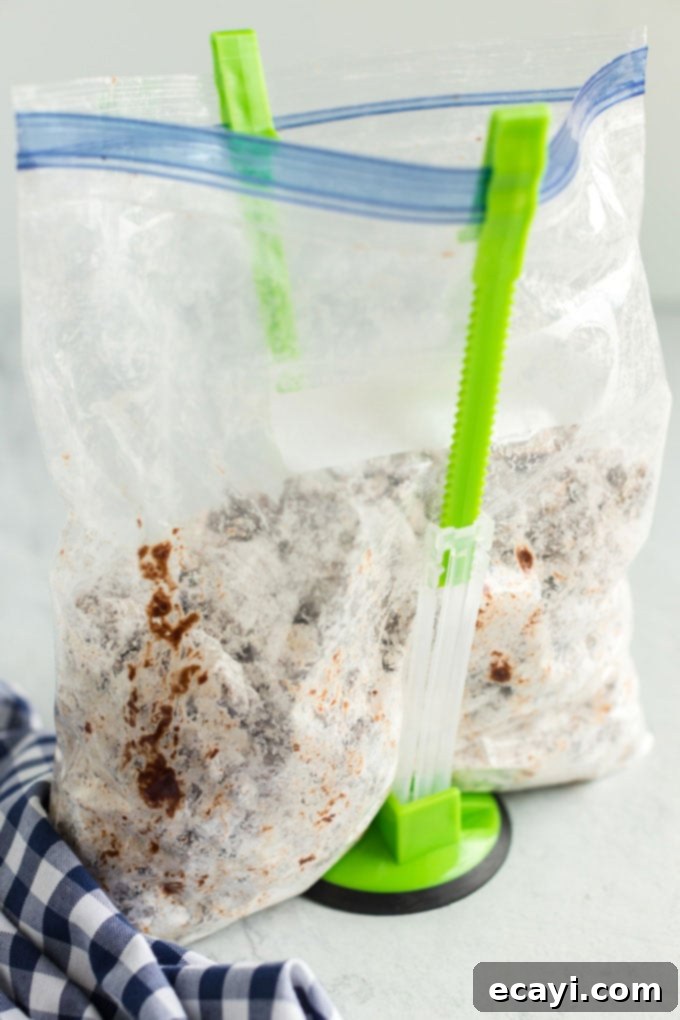
- **The Powdered Sugar Coat:** Add half of the powdered sugar (roughly ¾ cup for each bag) into each bag with the coated cereal. Seal the bags securely, making sure to remove as much air as possible. Now for the fun part: shake, shake, shake! Encourage the kids to help with this, gently but vigorously shaking each bag until the cereal is thoroughly coated in powdered sugar, giving it that classic “muddy” or “puppy chow” appearance.
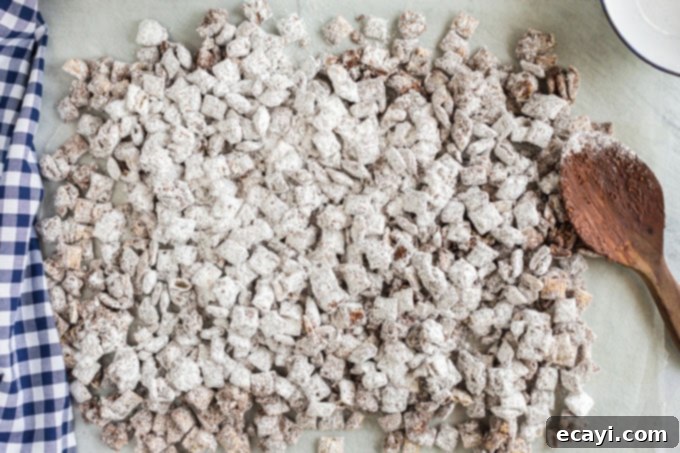
- **Cool and Store:** Once coated, spread the Muddy Buddies in a single layer onto waxed paper or parchment paper to cool completely. This helps prevent sticking and allows the chocolate coating to set. Once cooled, transfer your irresistible Muddy Buddies to an airtight container. For optimal freshness and texture, store them in the refrigerator. They can also be stored at room temperature for a shorter period, but chilling them often enhances their texture and extends their shelf life.
Tips for Perfect Muddy Buddies Every Time
- **Don’t Overheat the Chocolate:** When melting, heat in short bursts and stir frequently to avoid burning the chocolate. Scorched chocolate can seize and become unusable.
- **Work Quickly:** The chocolate-peanut butter mixture will begin to set as it cools, so pour it over the cereal and stir quickly to ensure even coating before it stiffens.
- **Use Two Bags:** Dividing the coated cereal into two separate gallon bags makes the shaking process much more efficient and ensures better, more even coverage of powdered sugar.
- **Experiment with Cereal:** While Rice and Chocolate Chex are fantastic, feel free to try other Chex varieties like Corn Chex or Wheat Chex for a different flavor or texture.
- **Add Mix-Ins:** Once the Muddy Buddies are cooled, consider adding M&Ms, miniature marshmallows, pretzels, or nuts for extra flavor and crunch.
- **Storage:** Keep them in an airtight container to maintain freshness and prevent them from becoming stale. Storing in the refrigerator can extend their shelf life and provides a nice firm texture.
I truly cherish recipes like this one – simple, delicious, and destined to be passed down through generations. Spending time in the kitchen with my children when they were young, making fun treats like Muddy Buddies, instilled in them a genuine love for cooking and baking that has continued into their adulthood. I have no doubt they’ll carry on this wonderful tradition with their own children, creating new memories and sharing these timeless, sweet moments.
Frequently Asked Questions About Muddy Buddies
Here are some common questions people ask about this popular snack:
- **What’s the difference between Muddy Buddies and Puppy Chow?** Absolutely nothing! These are simply two different names for the exact same delicious snack. “Muddy Buddies” is the official name given by Chex cereal, while “Puppy Chow” is a very popular, unofficial nickname often used because the finished product resembles kibble.
- **Can I make Muddy Buddies without peanut butter due to allergies?** Yes, you can! For those with peanut allergies, sunflower seed butter (often sold as “sun butter”) is a fantastic and widely used alternative that provides a similar creamy texture and nutty flavor. Almond butter or cashew butter can also be used, but they will subtly alter the taste.
- **How long do Muddy Buddies last?** When stored in an airtight container, Muddy Buddies will typically last for about 3-5 days at room temperature. If stored in the refrigerator, they can stay fresh for up to a week. For longer storage, you can freeze them for up to 2-3 months in a freezer-safe bag or container; just let them thaw for a few minutes before serving.
- **Can I use other types of chocolate?** While semi-sweet chocolate chips are standard, you can experiment! Milk chocolate chips will make the snack sweeter and creamier, while dark chocolate will yield a richer, less sweet result. Avoid white chocolate if you don’t want an overly sweet treat.
- **Why is my powdered sugar not sticking?** This usually happens if the chocolate-peanut butter mixture has cooled too much before the powdered sugar is added. Ensure the cereal is still slightly warm and tacky when you add it to the bags with the powdered sugar. Shaking vigorously also helps.
- **Can I make a larger batch?** Yes, this recipe is easily scalable. Just ensure you have very large bowls and multiple gallon-sized bags for shaking to accommodate the increased volume.
More Fun & Easy Snack Recipes to Try
If you loved making these Muddy Buddies, you might be interested in exploring other exciting and simple snack recipes that are perfect for family fun or satisfying those cravings:
- **Popcorn Chocolate Bark:** A delightful combination of salty popcorn and sweet chocolate, creating a crunchy, indulgent treat that’s easy to customize.
- **Pepperoni Pizza Puffs:** Savory, bite-sized puffs bursting with the classic flavors of pizza – perfect for appetizers or a quick snack.
- **Homemade Fruit Roll Ups:** A healthier, customizable alternative to store-bought fruit snacks, allowing you to control the ingredients and flavors.
- **Easter Muddy Buddies:** A festive twist on the classic Muddy Buddies, perfect for holiday celebrations with colorful additions and seasonal sprinkles.
Muddy Buddies (Classic Puppy Chow) Recipe
IMPORTANT – There are often Frequently Asked Questions within the blog post that you may find helpful. Simply scroll back up to read them!
Print It
Pin It
Rate It
Save ItSaved!
Ingredients
- 4 ½ cups Rice Chex cereal
- 4 ½ cups Chocolate Chex cereal
- 1 cup semisweet chocolate chips
- ½ cup creamy peanut butter
- ¼ cup butter or margarine
- 1 teaspoon pure vanilla extract
- 1 ½ cups powdered sugar
Instructions
-
Combine the two cereals into a large bowl; set aside.
-
In 1-quart microwavable bowl, microwave chocolate chips, peanut butter and butter uncovered on High 1 minute; stir. Microwave about 30 seconds longer or until mixture can be stirred smooth.
-
Stir in vanilla. Pour mixture over cereal, stirring until evenly coated.
-
Pour into 2 separate gallon resealable food-storage plastic bag. We love these bag holders for this task!
-
Add powdered sugar. Seal bag; shake until well coated.
-
Spread on waxed paper to cool. Store in airtight container in refrigerator.
Nutrition Information (Estimated Per Serving)
The recipes on this blog are tested with a conventional gas oven and gas stovetop. It’s important to note that some ovens, especially as they age, can cook and bake inconsistently. Using an inexpensive oven thermometer can assure you that your oven is truly heating to the proper temperature. If you use a toaster oven or countertop oven, please keep in mind that they may not distribute heat the same as a conventional full sized oven and you may need to adjust your cooking/baking times. In the case of recipes made with a pressure cooker, air fryer, slow cooker, or other appliance, a link to the appliances we use is listed within each respective recipe. For baking recipes where measurements are given by weight, please note that results may not be the same if cups are used instead, and we can’t guarantee success with that method.
