The Ultimate No-Bake Reese’s Peanut Butter Pie: A Decadent Chocolate & Peanut Butter Dream
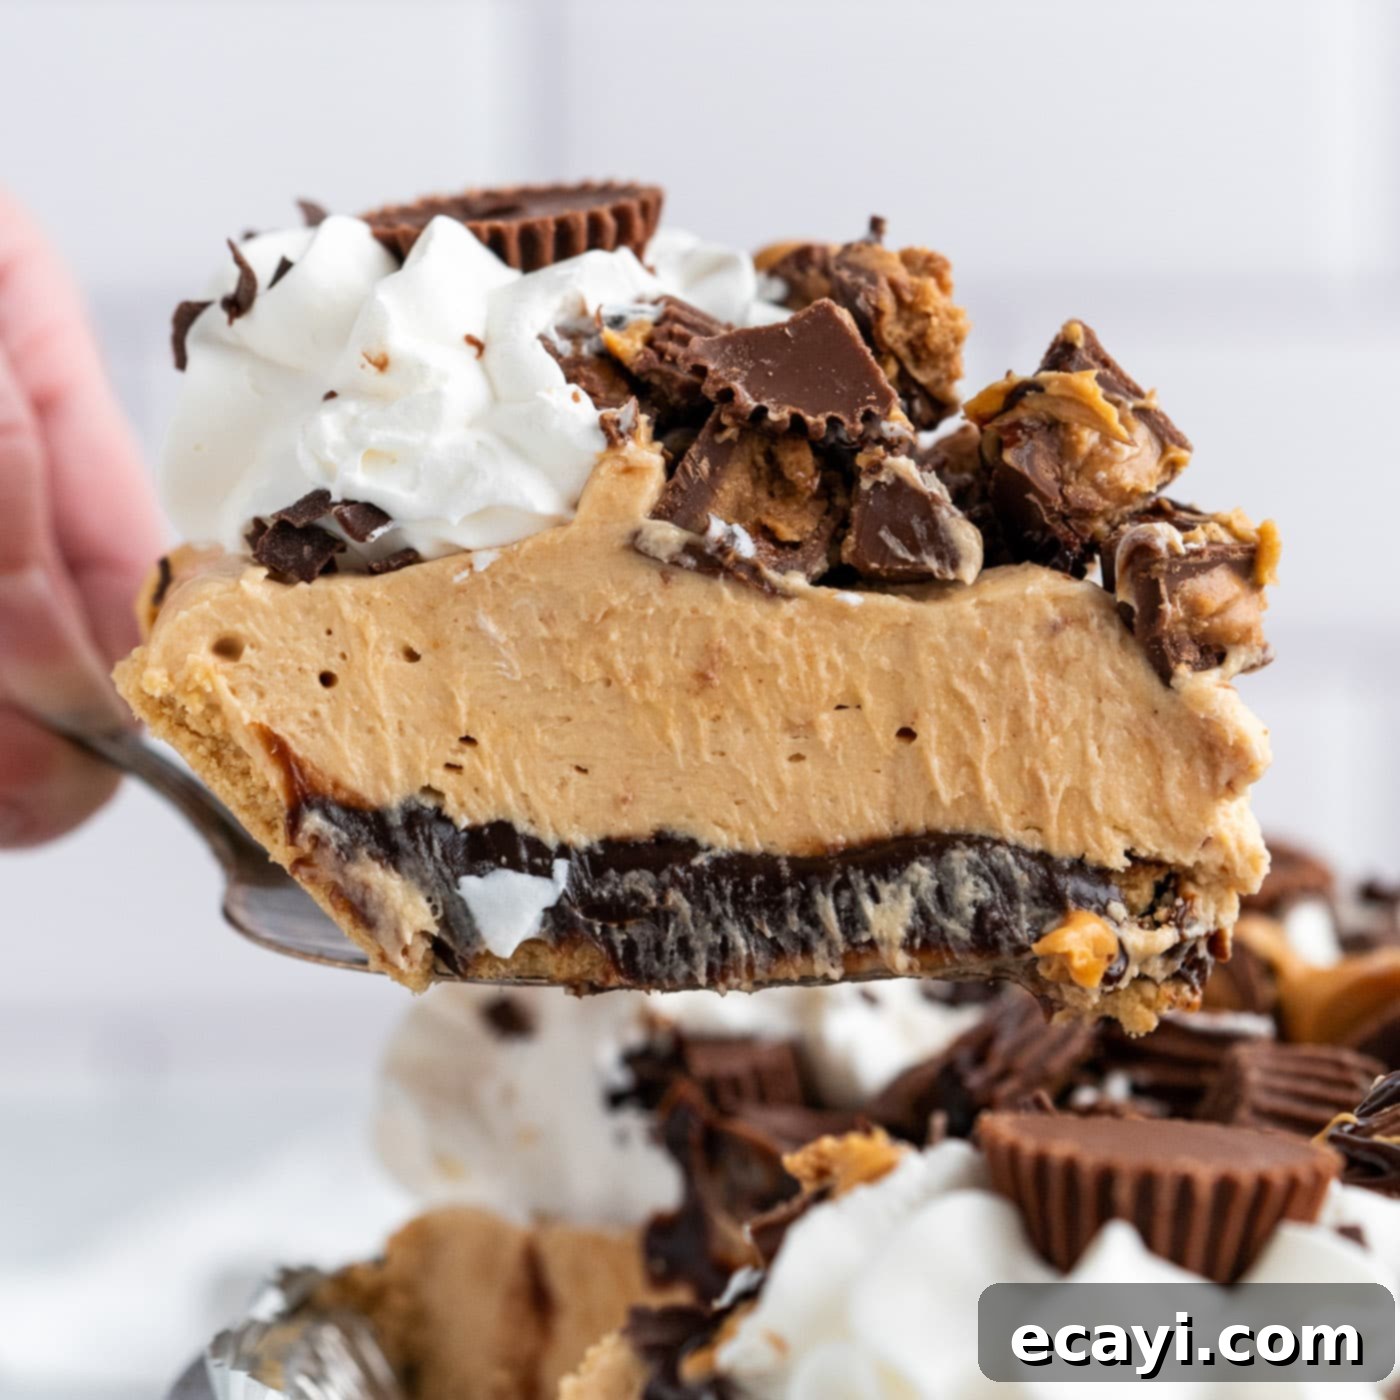
Prepare for an unforgettable dessert experience with this incredible No-Bake Reese’s Peanut Butter Pie! Imagine layers of luscious, smooth peanut butter cream filling nestled atop a rich, buttery graham cracker crust, crowned with a decadent blanket of hot fudge and an abundance of your favorite Reese’s Peanut Butter Cups. This isn’t just a pie; it’s a celebration of the iconic chocolate and peanut butter combination, crafted into a dreamy, no-fuss dessert that’s surprisingly easy to make and guarantees to impress. Perfect for any occasion, from casual family dinners to festive holiday gatherings, this Reese’s pie brings pure bliss in every creamy, crunchy bite.
Why This No-Bake Reese’s Pie Recipe is a Must-Try
This Reese’s Peanut Butter Pie stands out for several compelling reasons, making it a go-to recipe for any dessert enthusiast. First and foremost, it’s a **no-bake wonder**, meaning you won’t need to turn on your oven. This is a huge advantage, especially during warm weather or when your oven is occupied with other dishes, making it an ideal holiday dessert or summer treat. With a total prep time of under 30 minutes, this recipe is incredibly fast to assemble, leaving you more time to enjoy your company or simply relax.
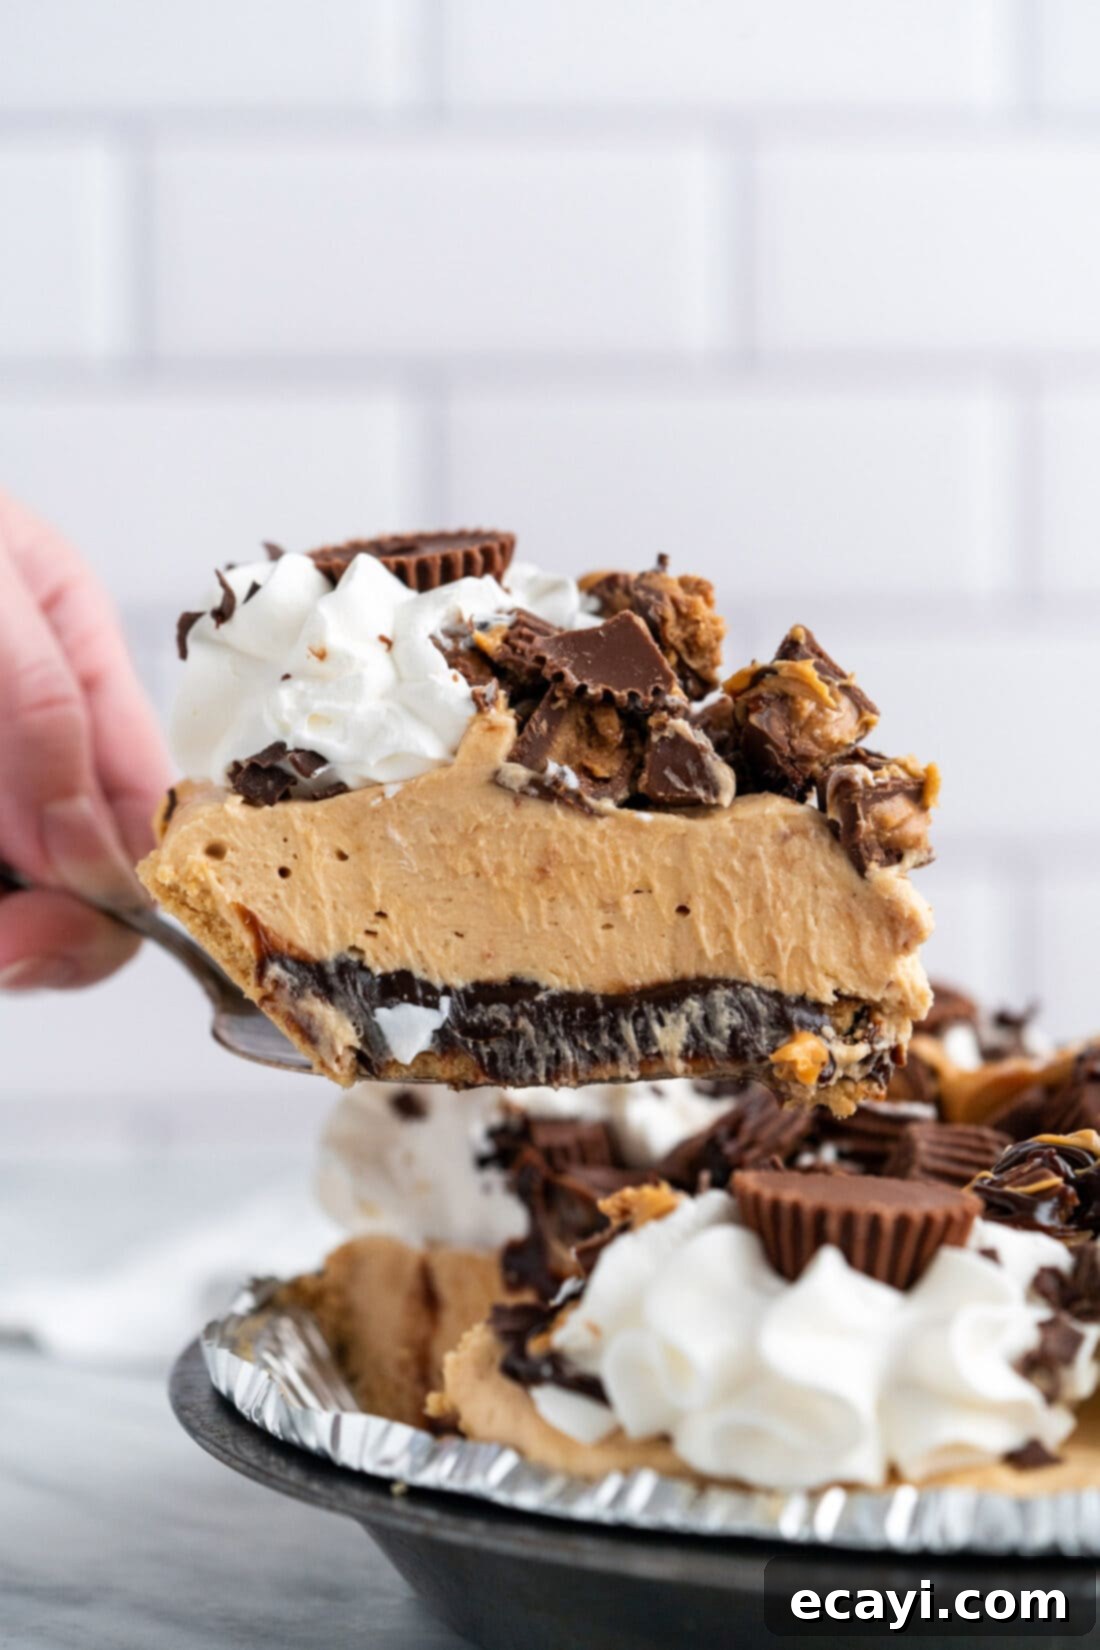
The magic truly happens in the flavor and texture. This pie is a symphony of rich, creamy, and utterly dreamy textures. Each slice features a thick, velvety peanut butter filling that perfectly balances sweetness with that distinctive salty-sweet peanut butter flavor. This is beautifully complemented by a luscious hot fudge layer that adds an extra dimension of chocolatey decadence, all held within a sturdy, buttery graham cracker crust. The generous toppings—fluffy whipped cream, crunchy Reese’s Peanut Butter Cups, delicate shaved chocolate, and drizzles of melted peanut butter and hot fudge—elevate it to a show-stopping dessert.
Beyond its ease and exquisite taste, this Reese’s pie is a guaranteed crowd-pleaser. The classic combination of chocolate and peanut butter is universally loved, making this dessert a hit with both kids and adults. It’s truly a celebration of one of the most popular candy pairings, echoing the joy found in Reese’s Peanut Butter Cups themselves. Whether you’re making it for a special occasion or just because, this recipe delivers maximum impact with minimal effort. The hardest part, as many will agree, is patiently waiting for it to chill and set to perfection in the refrigerator!
Essential Ingredients for Your Reese’s Peanut Butter Pie
Creating this irresistible Reese’s Peanut Butter Pie requires a simple list of readily available ingredients. You’ll find the complete measurements and detailed instructions in the printable recipe card at the very end of this blog post. However, let’s dive into some of the key components and why they are essential for achieving the perfect balance of flavor and texture in your pie.
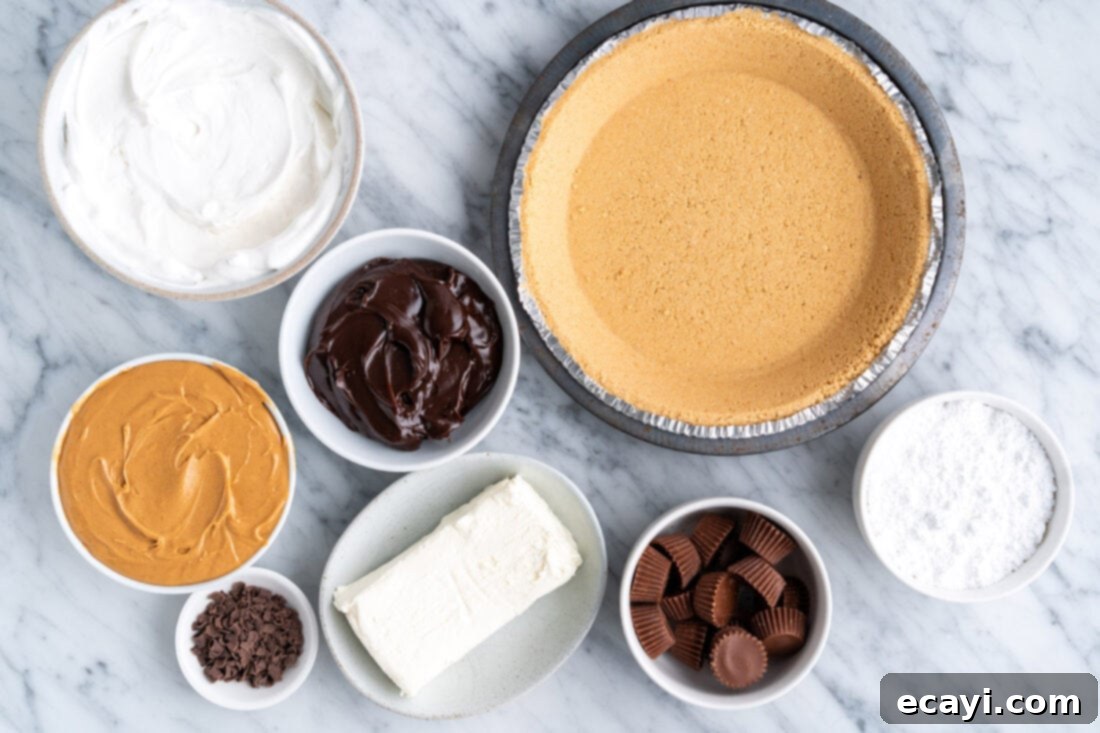
Ingredient Spotlight & Smart Substitutions
Understanding the role of each ingredient and knowing your options for substitutions can make all the difference in your baking journey. Here’s a closer look at the key components for this no-bake Reese’s pie:
CRUST: For ultimate convenience, a store-bought 9-inch graham cracker pie crust is a fantastic choice, saving you precious time. However, if you’re looking to add a personal touch or simply prefer homemade, making your own graham cracker crust is incredibly simple and adds a fresh, buttery flavor that can’t be beaten. For a standard 8 to 9-inch pie, you’ll need approximately 1½ cups of finely crushed graham cracker crumbs, 4 tablespoons of granulated sugar, and 7 tablespoons of melted unsalted butter. Simply combine these ingredients in a medium bowl until the mixture resembles wet sand, then press it firmly into the bottom and up the sides of your pie plate. Ensure it’s compacted well for a firm base. Beyond graham cracker, an Oreo cookie crust offers a deeper chocolate flavor, making your pie even more chocolate-forward. Alternatively, a pre-baked traditional pie crust can also work beautifully, just ensure it’s fully cooled before adding the fillings.
COOL WHIP: This ingredient is crucial for achieving the light, airy, yet stable consistency of our peanut butter filling and the beautiful piped rosettes on top. While Cool Whip is excellent for its convenience and stability, you absolutely can opt for homemade stabilized whipped cream. Regular whipped cream, made solely from heavy cream, will sadly not hold its shape for long enough and will begin to weep and melt, compromising the structure of your beautiful pie. Stabilized whipped cream includes an ingredient like gelatin or cornstarch to ensure it stays fluffy and firm.
CREAM CHEESE: The foundation of our creamy peanut butter filling! For a perfectly smooth, lump-free filling that truly melts in your mouth, it is absolutely essential that your cream cheese is at **room temperature**. Cold cream cheese will result in a lumpy mixture, no matter how much you beat it. To speed up the process, remove the cream cheese from its packaging, slice it into 1-inch cubes, and spread them out on a plate. Let them rest on your counter for about 30-45 minutes. This small step makes a monumental difference in the final texture of your pie.
PEANUT BUTTER: Creamy peanut butter is preferred for the filling as it blends smoothly and contributes to the silky texture. While you could technically use crunchy peanut butter for added texture, it might make the filling slightly less smooth. For the best results, stick with a classic creamy variety. Avoid natural peanut butter that separates, as its oil content can affect the pie’s consistency.
HOT FUDGE: This adds a layer of deep, rich chocolate flavor that perfectly complements the peanut butter. Ensure you’re using a hot fudge sauce, which is thicker and richer than regular chocolate syrup. For the base layer, you’ll use it at room temperature, but a small amount will be microwaved for drizzling on top, creating a beautiful glaze.
POWDERED SUGAR: Also known as confectioners’ sugar, this fine sugar blends seamlessly into the filling, ensuring a smooth, granular-free texture. It provides the perfect level of sweetness without being overpowering.
GARNISHES: The magic is in the details! Mini Reese’s Peanut Butter Cups (both whole and chopped), shaved chocolate or chocolate curls, and extra drizzles of melted peanut butter and hot fudge turn this simple pie into an elaborate masterpiece. Don’t skip these; they add visual appeal and an extra burst of flavor and texture.
Step-by-Step Guide: Crafting Your No-Bake Reese’s Pie
These step-by-step photos and detailed instructions are here to guide you visually through the process of making this irresistible Reese’s Peanut Butter Pie. For the complete printable version of this recipe, including all precise measurements and condensed instructions, you can Jump to Recipe at the bottom of this post.
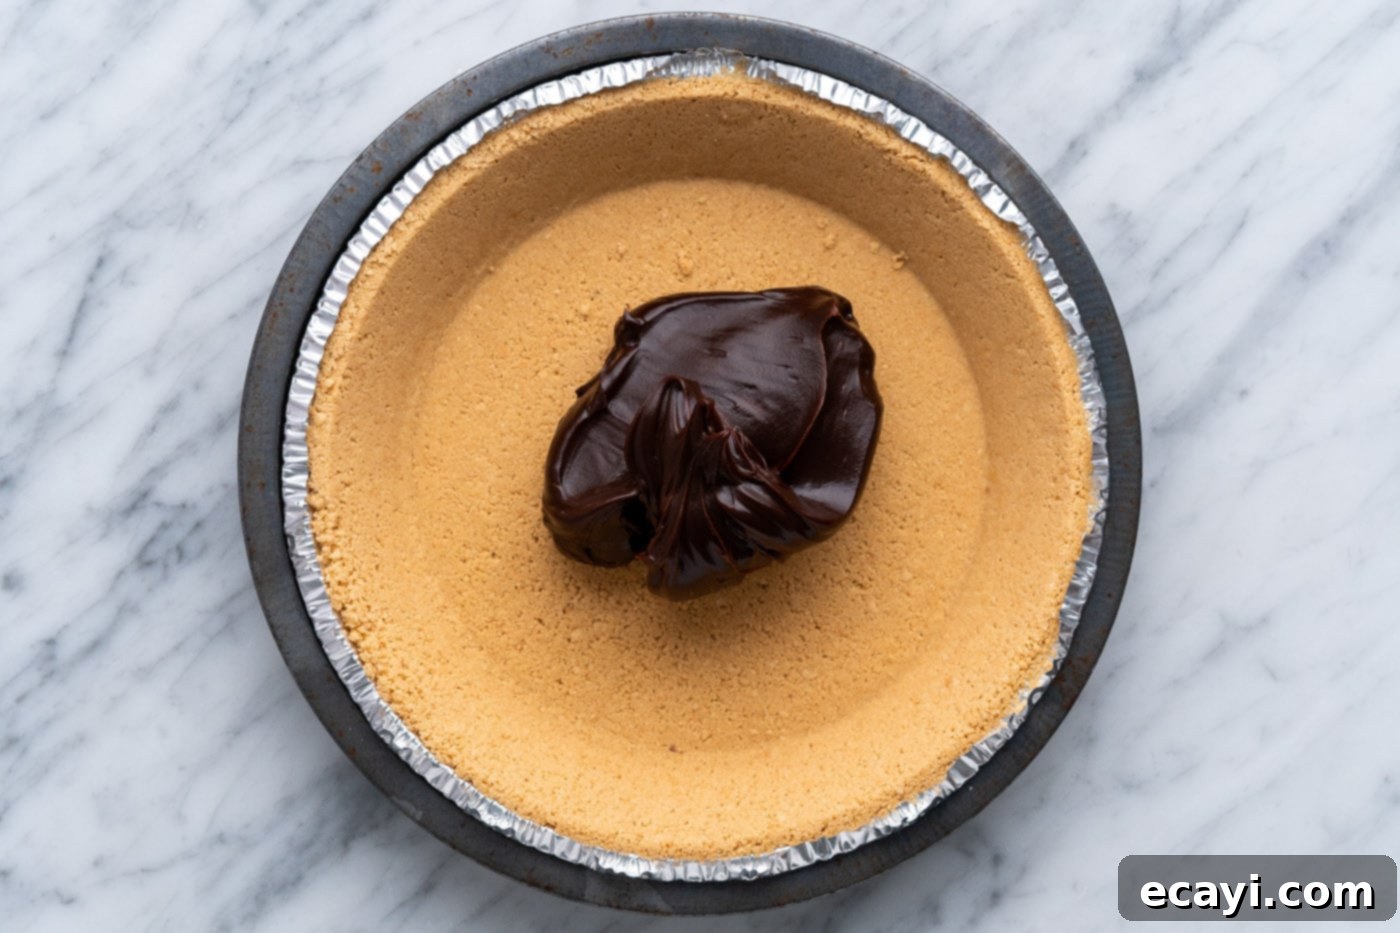
- **Prepare the Fudge Layer:** Begin by taking your hot fudge sauce (ensure it’s not warmed; room temperature is perfect) and spreading it evenly into the bottom of your graham cracker pie crust. Use an offset spatula or the back of a spoon to create a smooth, consistent layer across the entire base. This forms the rich, chocolatey foundation of your pie.

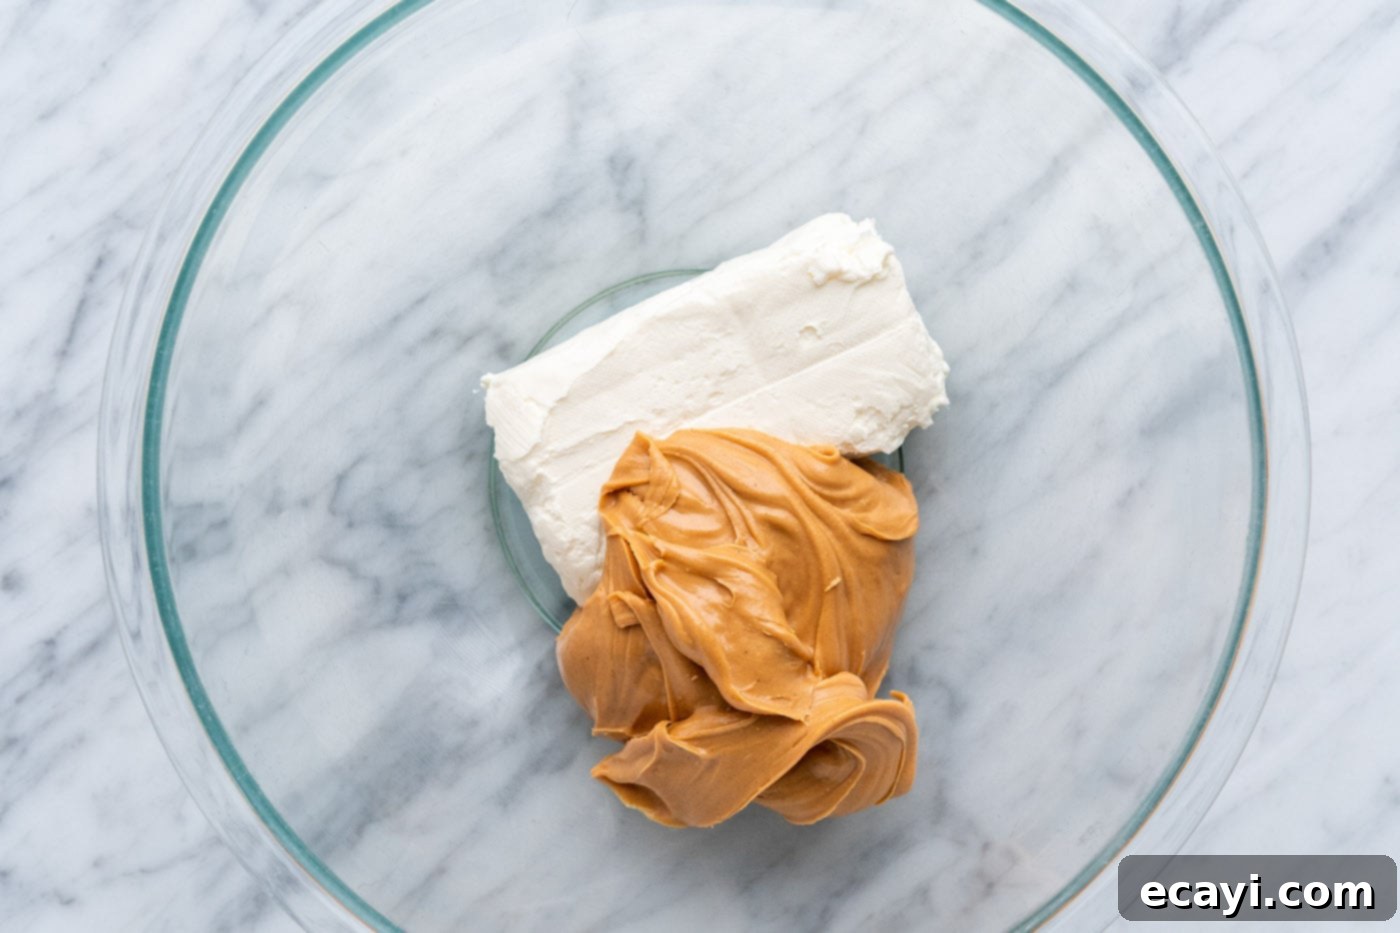
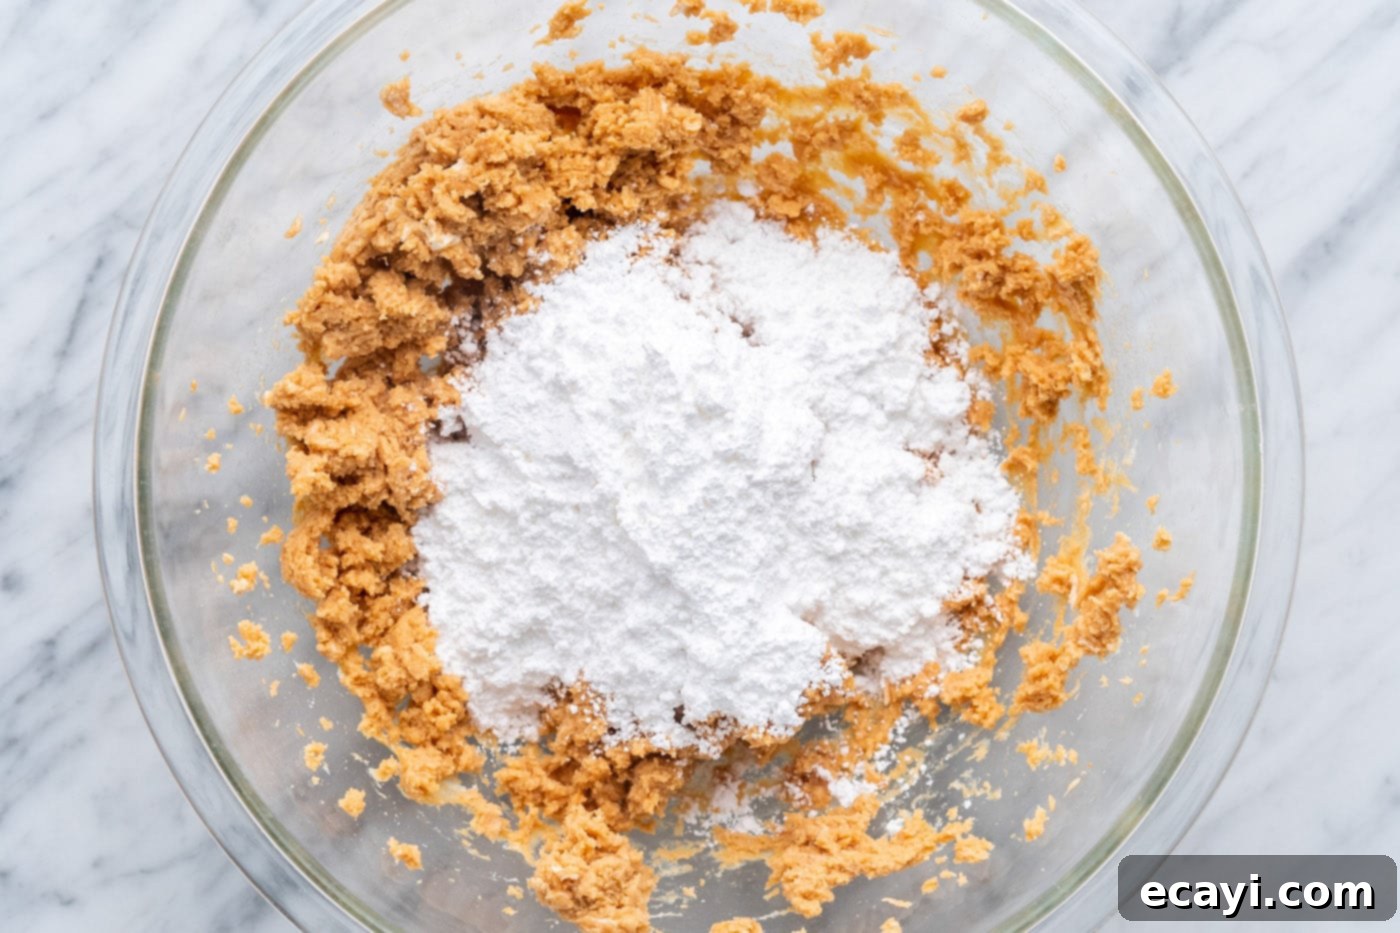
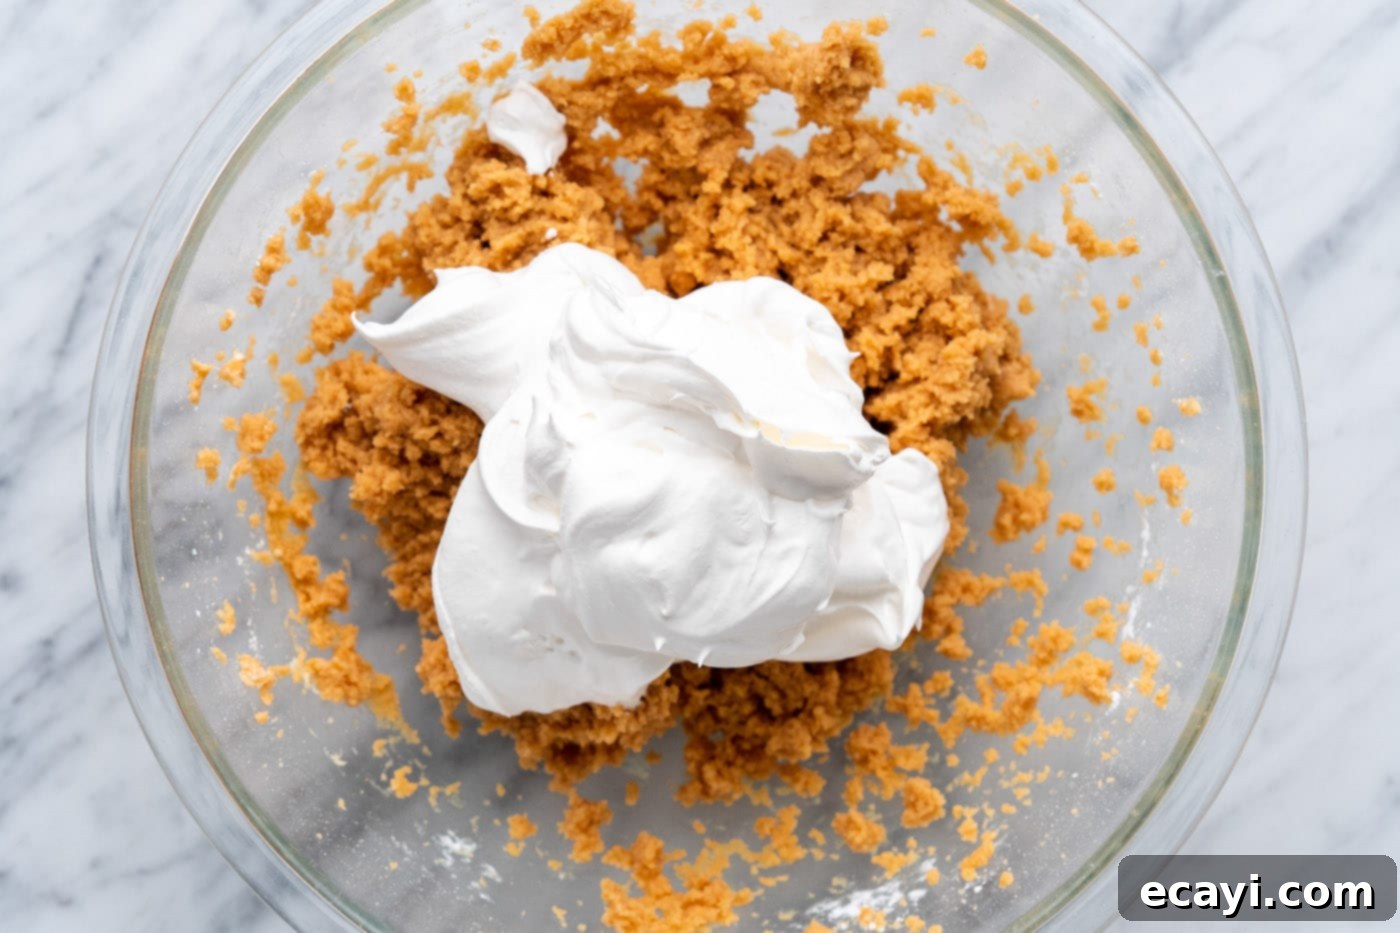
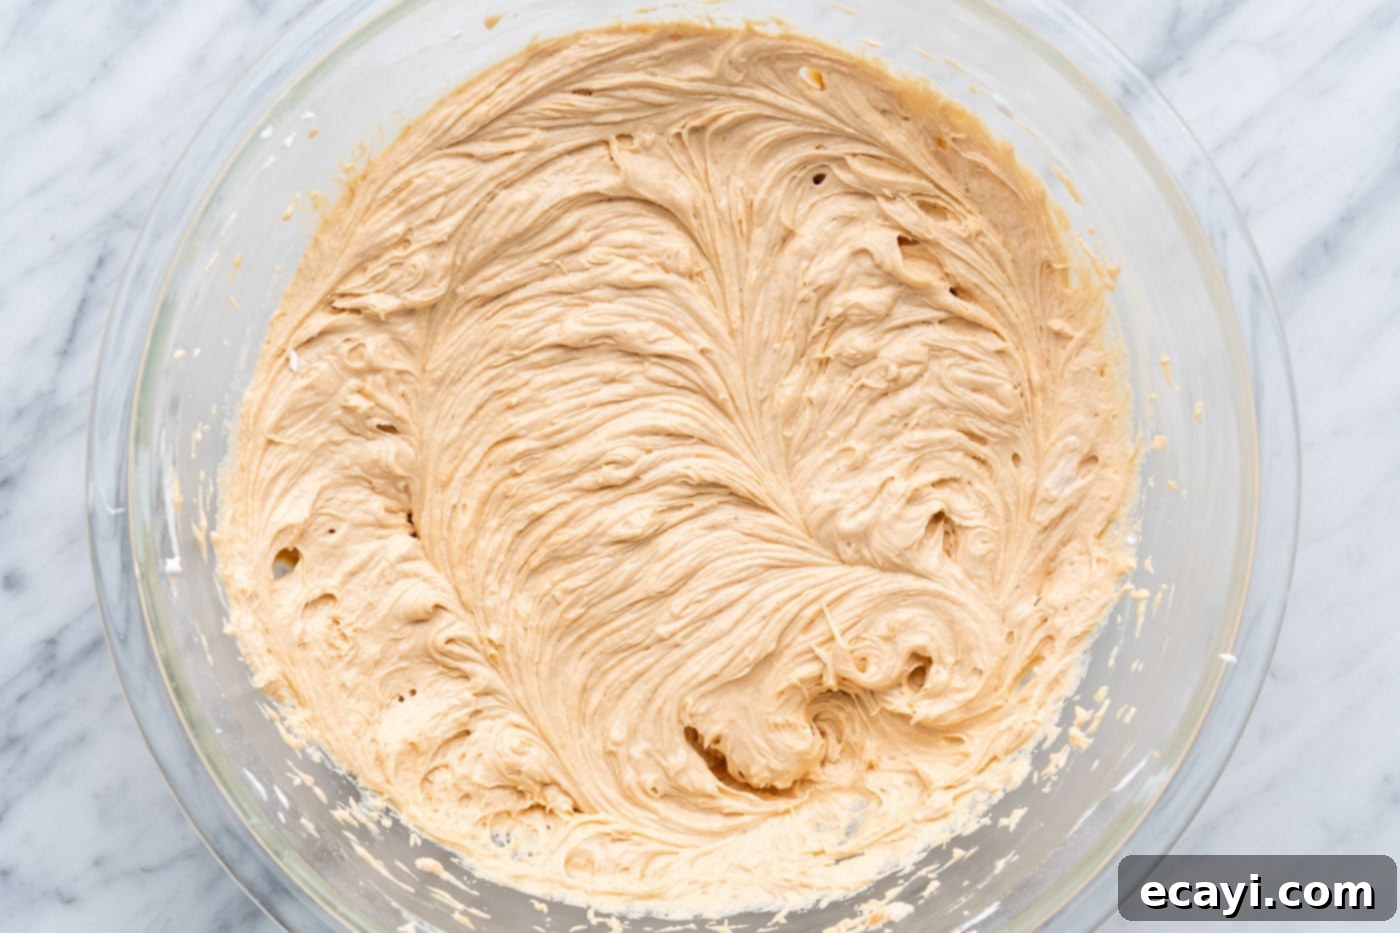
- **Create the Peanut Butter Filling:** In a large mixing bowl, combine the softened cream cheese (remember, room temperature is key for a smooth filling!) and the creamy peanut butter. Using a handheld electric mixer, beat these two ingredients together until they are just combined. At this stage, the mixture will likely appear crumbly. Next, gradually add the powdered sugar, continuing to beat until the mixture becomes smooth and creamy. Finally, gently fold in 2½ cups of Cool Whip, ensuring you reserve the remaining Cool Whip for the decorative topping. Beat until the mixture is light, fluffy, and well-incorporated.


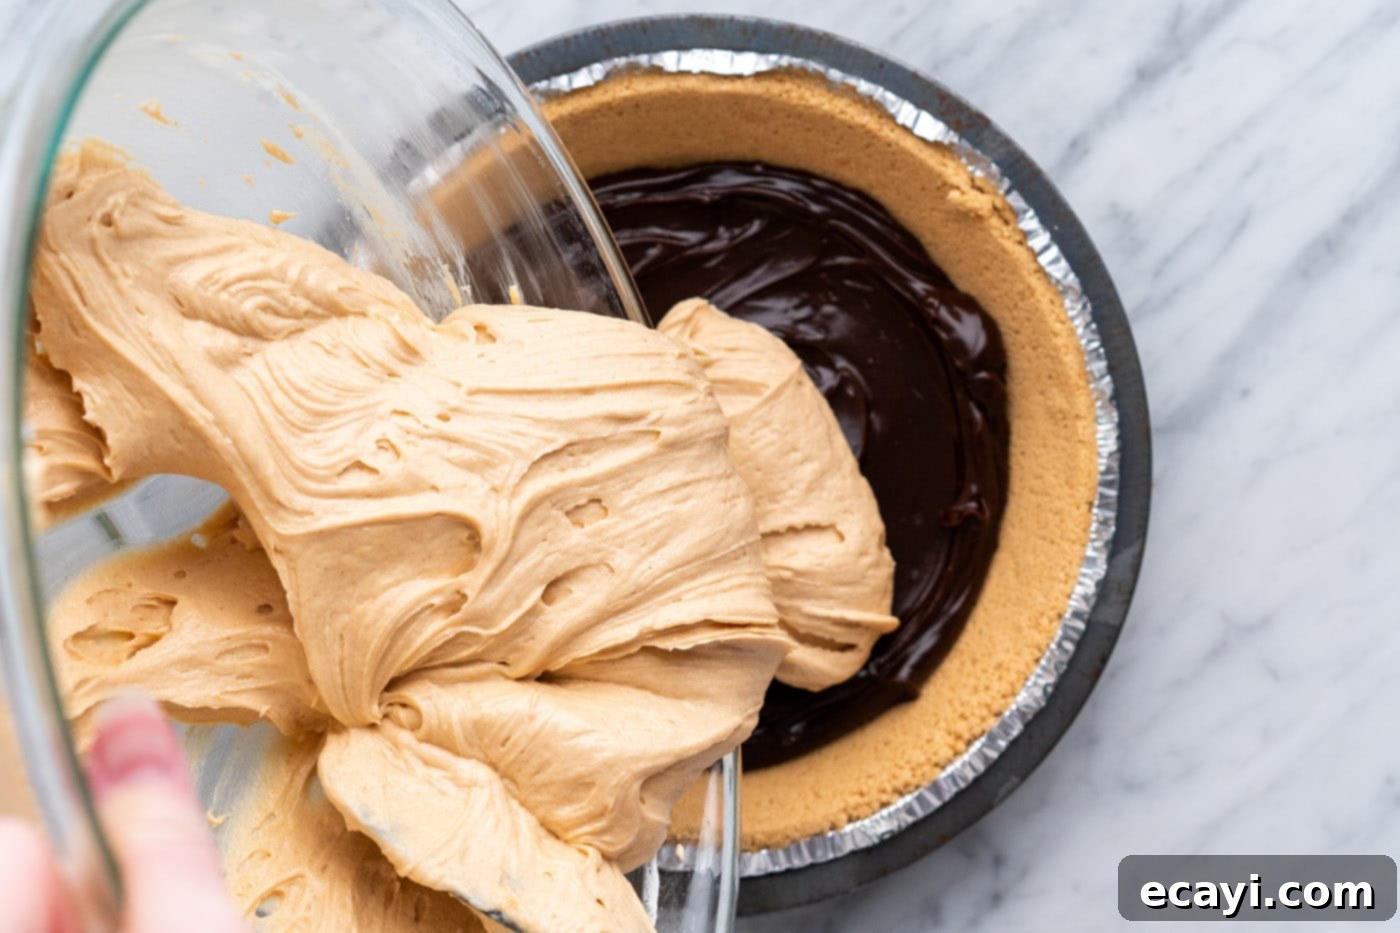
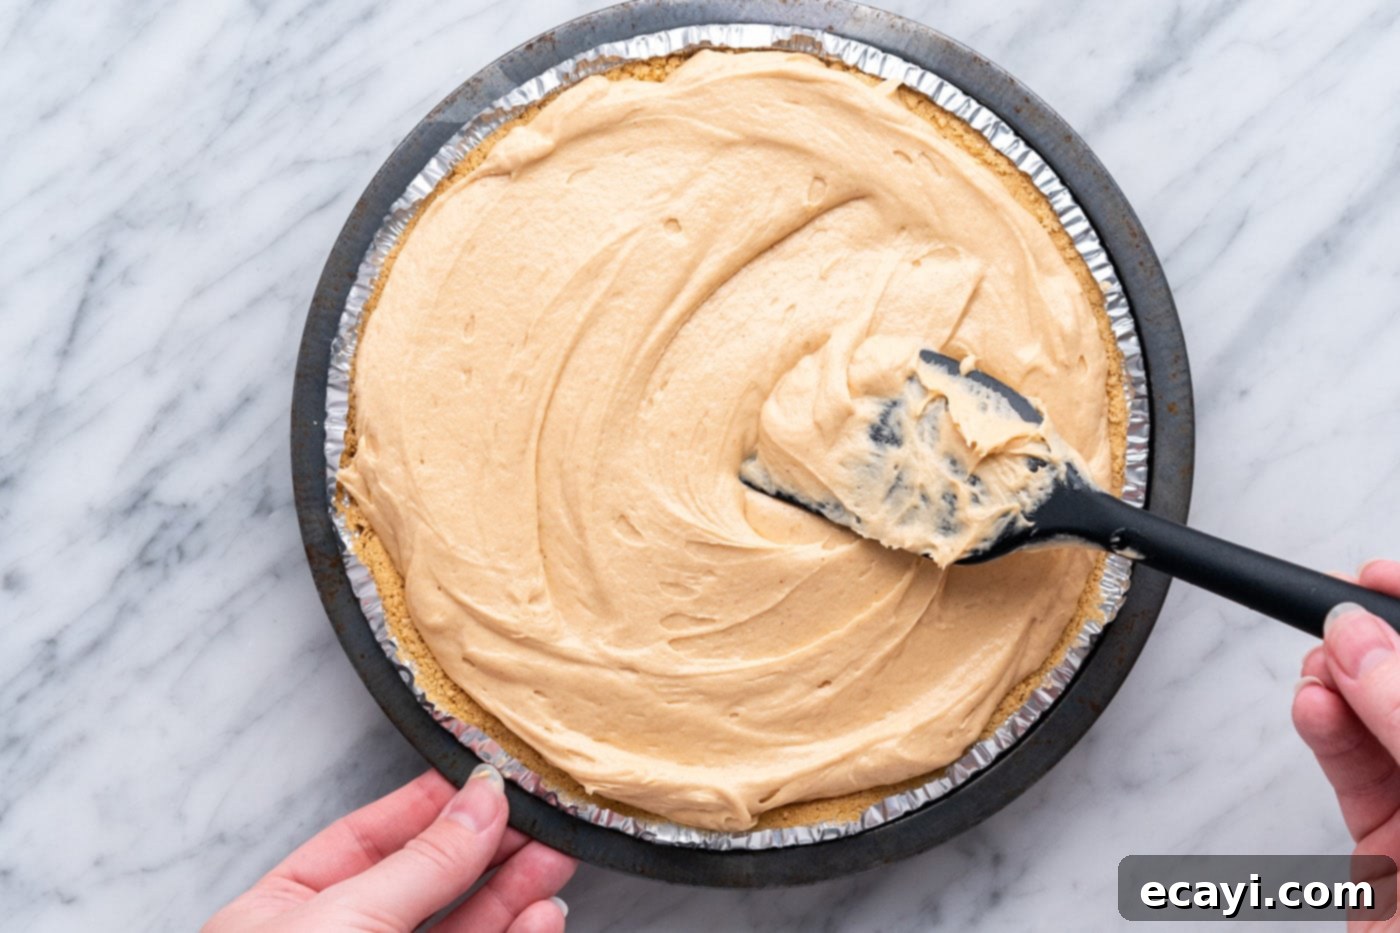
- **Assemble the Layers:** Carefully pour the prepared creamy peanut butter mixture over the hot fudge layer in the pie crust. Use your spatula to gently spread it out, creating an even, smooth top. Take care not to disturb the fudge layer beneath.


- **Chill to Perfection:** This is a crucial step for a firm, sliceable pie. Place the pie in the freezer for at least 1 hour, or in the refrigerator for a minimum of 4 hours. The longer chilling time in the fridge allows for a more gradual setting and often a creamier texture. Don’t rush this process; a well-chilled pie is a happy pie!
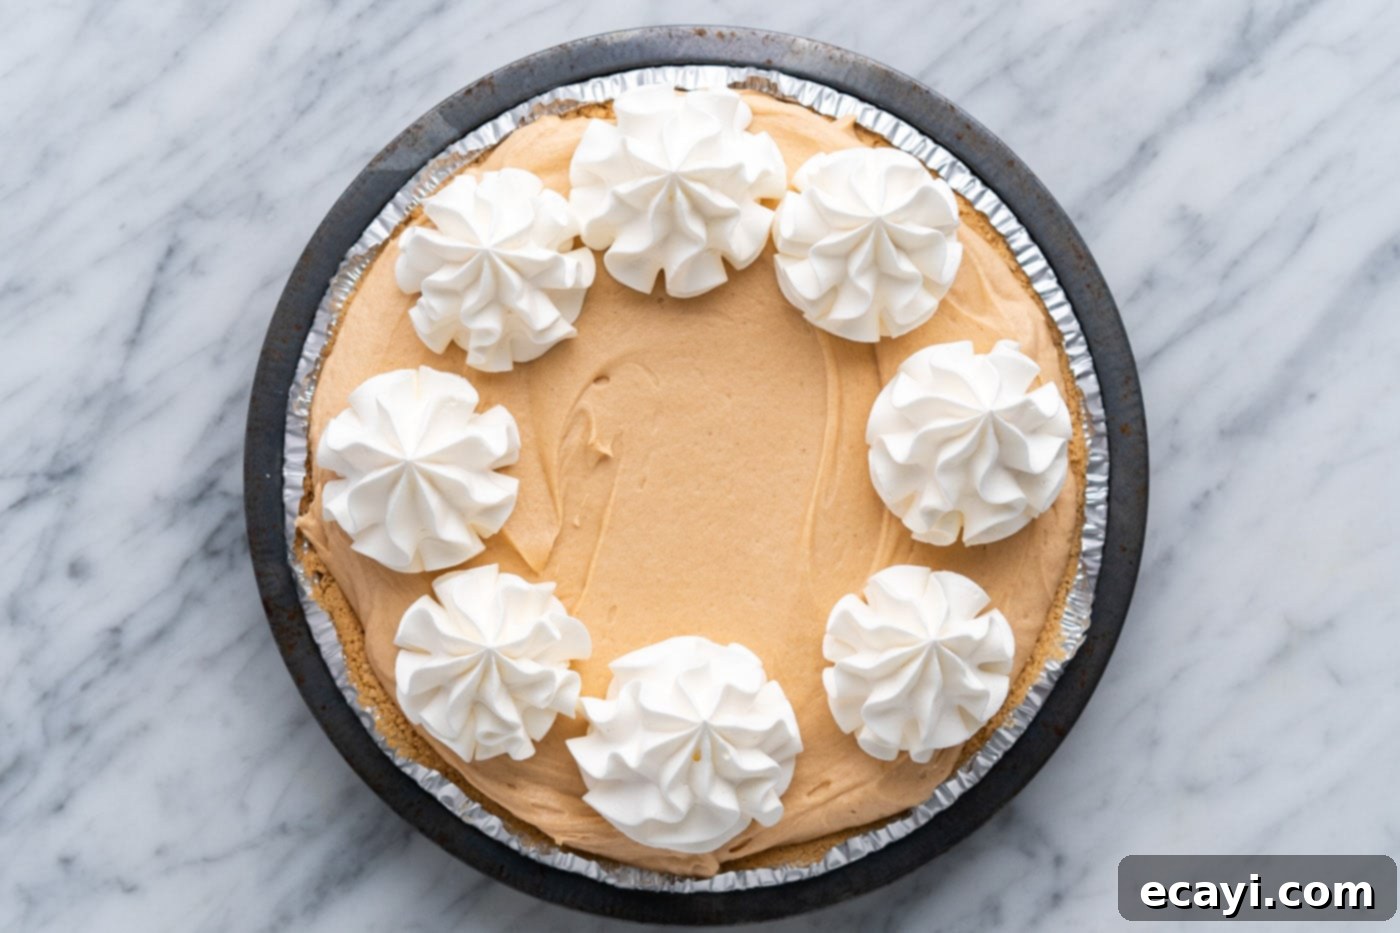
- **Add Whipped Cream Rosettes:** Once the pie is properly chilled and set, take the remaining reserved Cool Whip and transfer it to a piping bag fitted with a large star tip. Pipe 8 equally sized and spaced rosettes of Cool Whip around the outer edge of the pie’s top surface. These will serve as pedestals for your whole mini Reese’s cups and add a beautiful decorative touch.

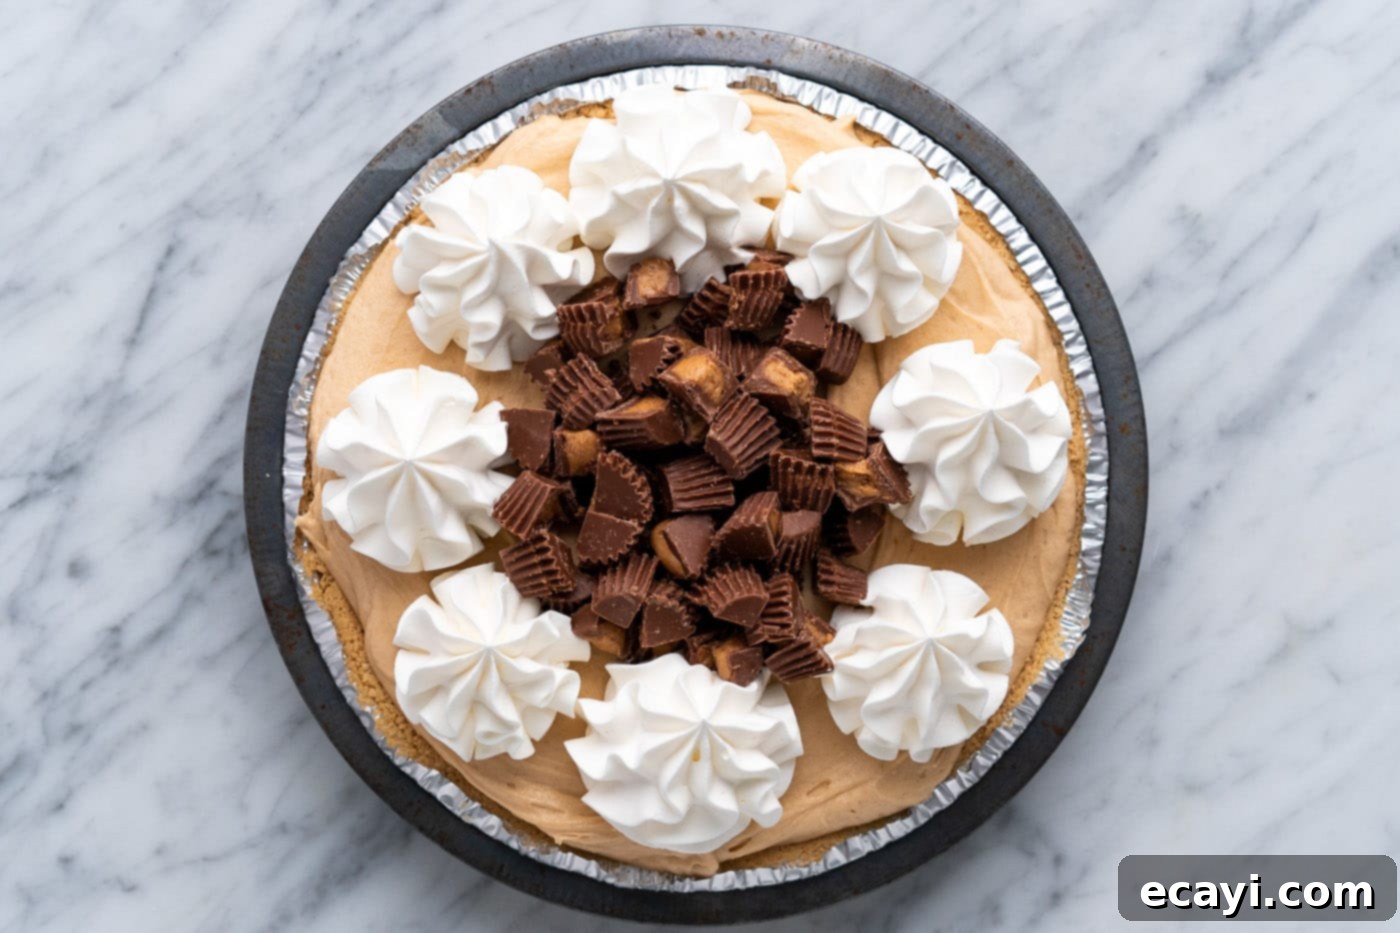
- **Decorate with Chopped Reese’s:** Carefully spread the chopped mini Reese’s Peanut Butter Cups over the center of the pie, filling the space between the Cool Whip rosettes. This creates a delightful texture and an extra burst of peanut butter and chocolate.

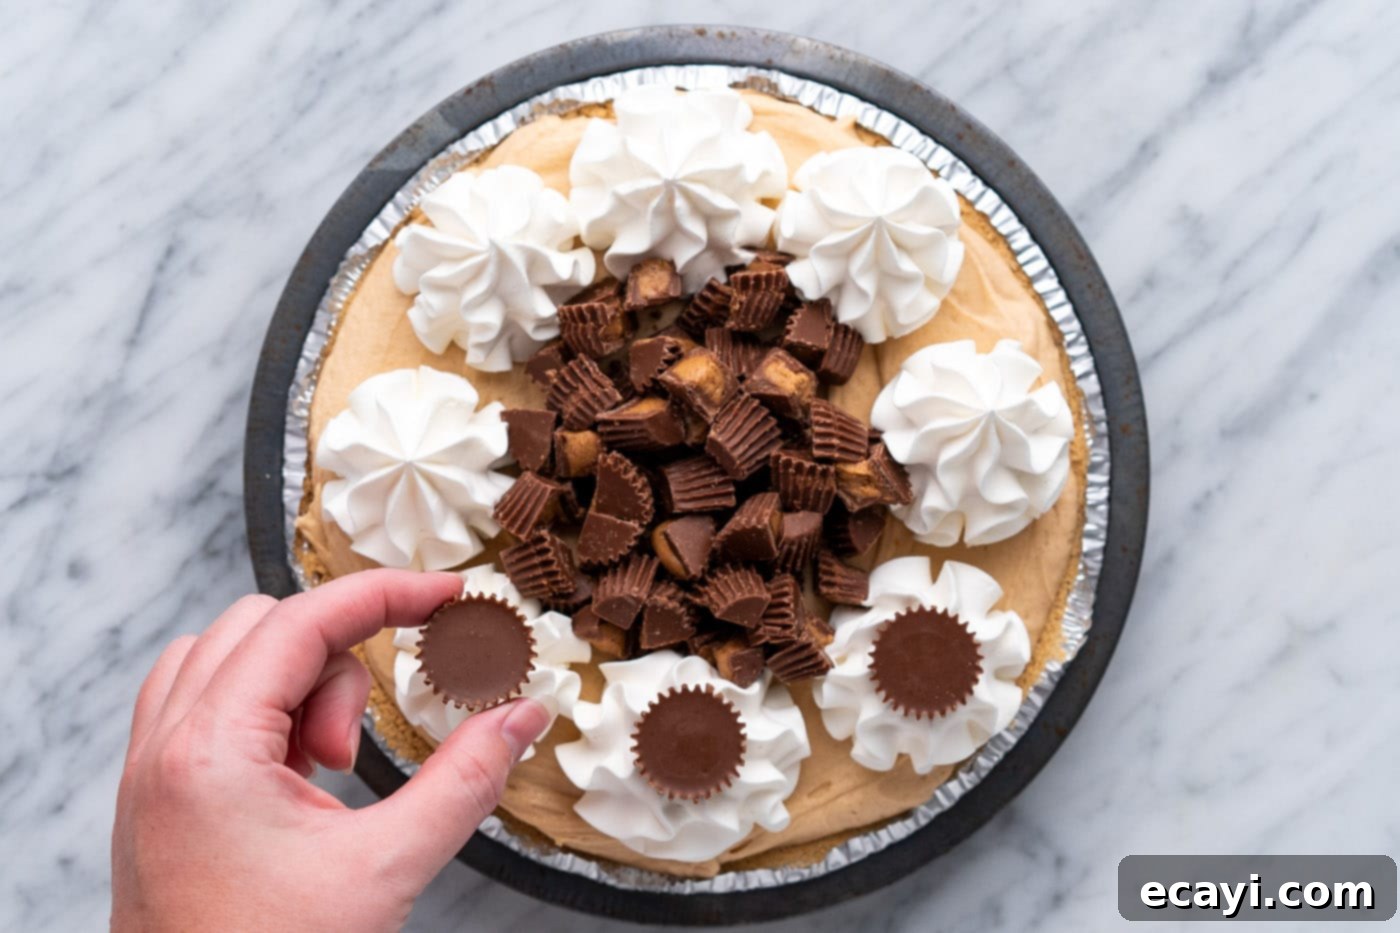
- **Place Whole Mini Reese’s:** Gently place one whole miniature Reese’s peanut butter cup on top of each piped Cool Whip rosette. This adds height, visual appeal, and another layer of deliciousness.

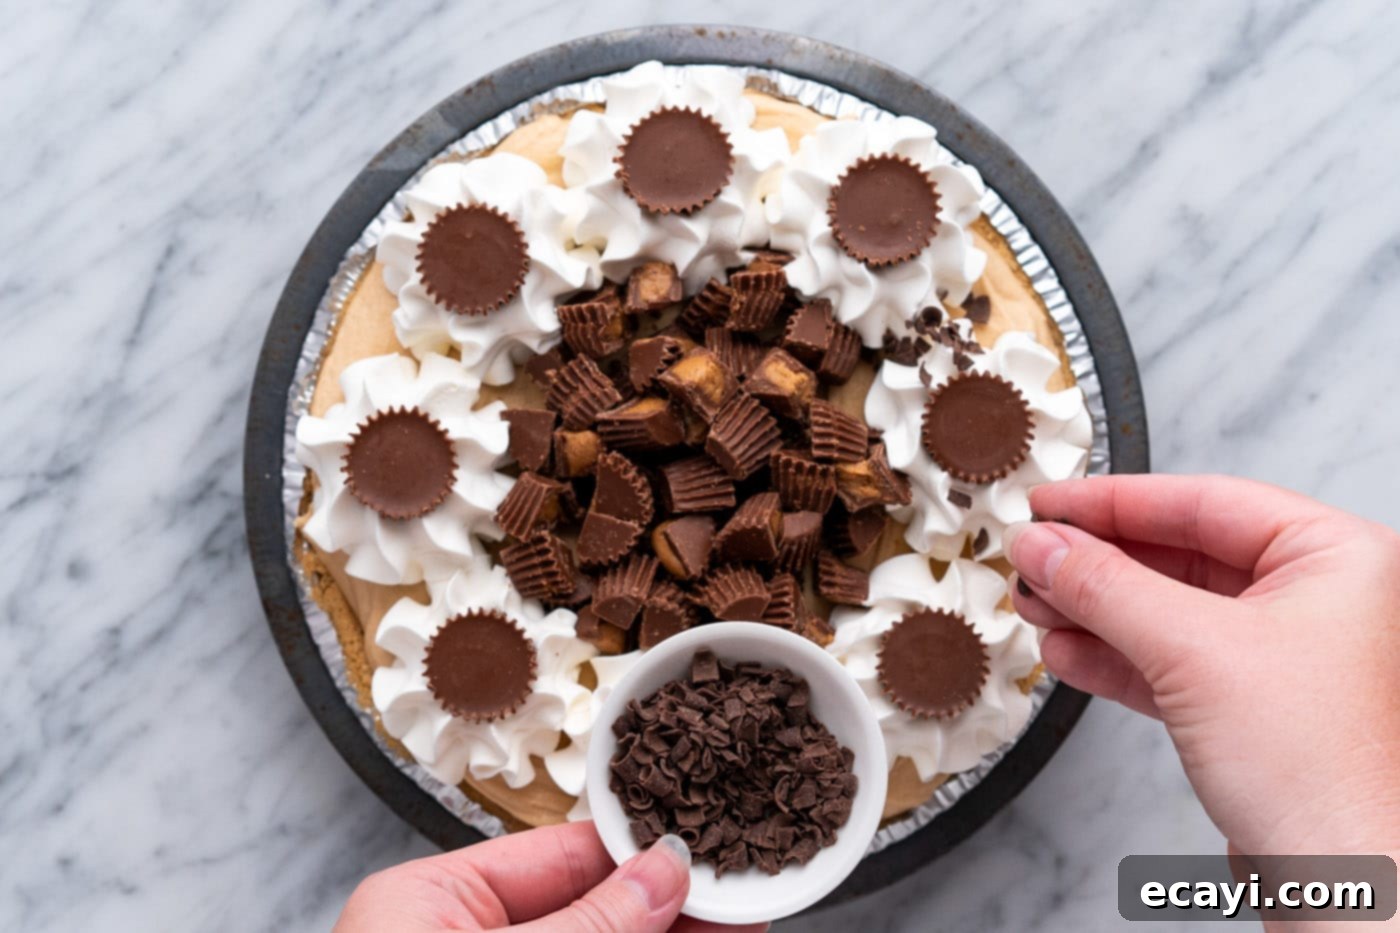
- **Sprinkle with Shaved Chocolate:** Lightly sprinkle shaved chocolate or delicate chocolate curls over the Cool Whip rosettes. This adds an elegant finish and another layer of chocolatey goodness.

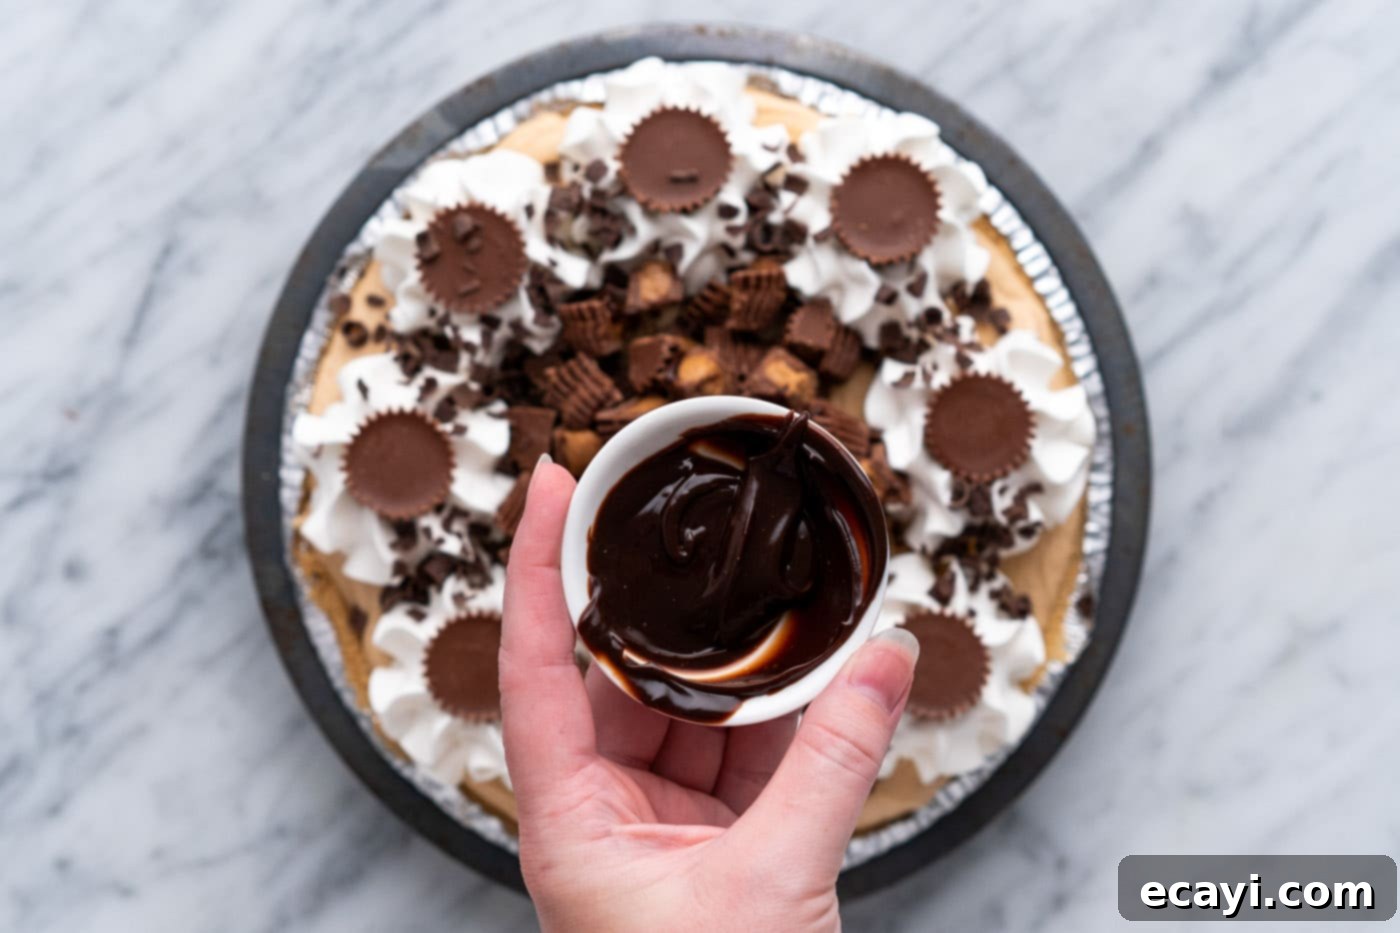
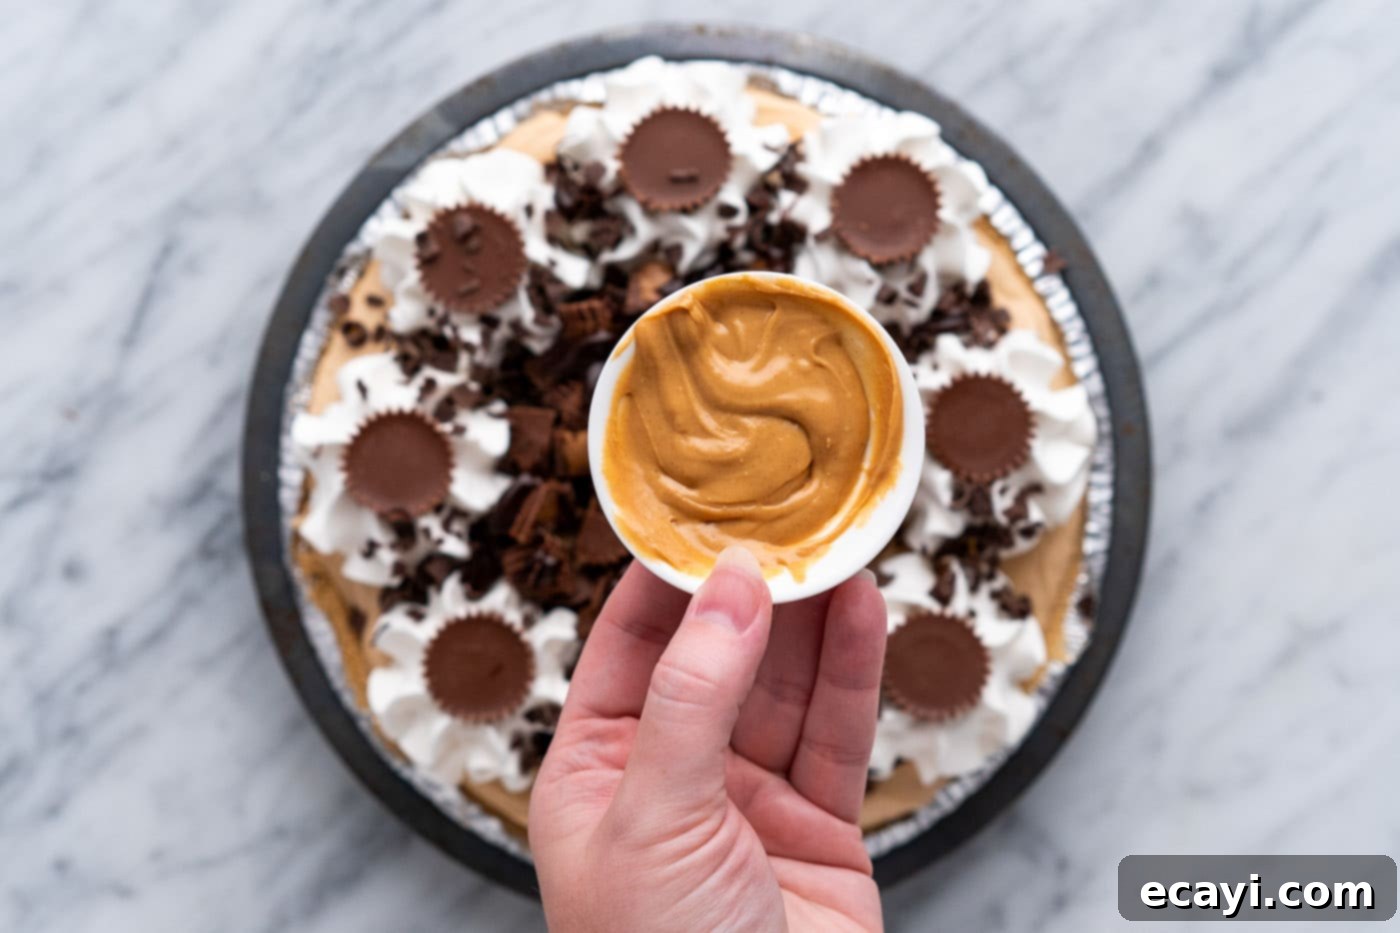
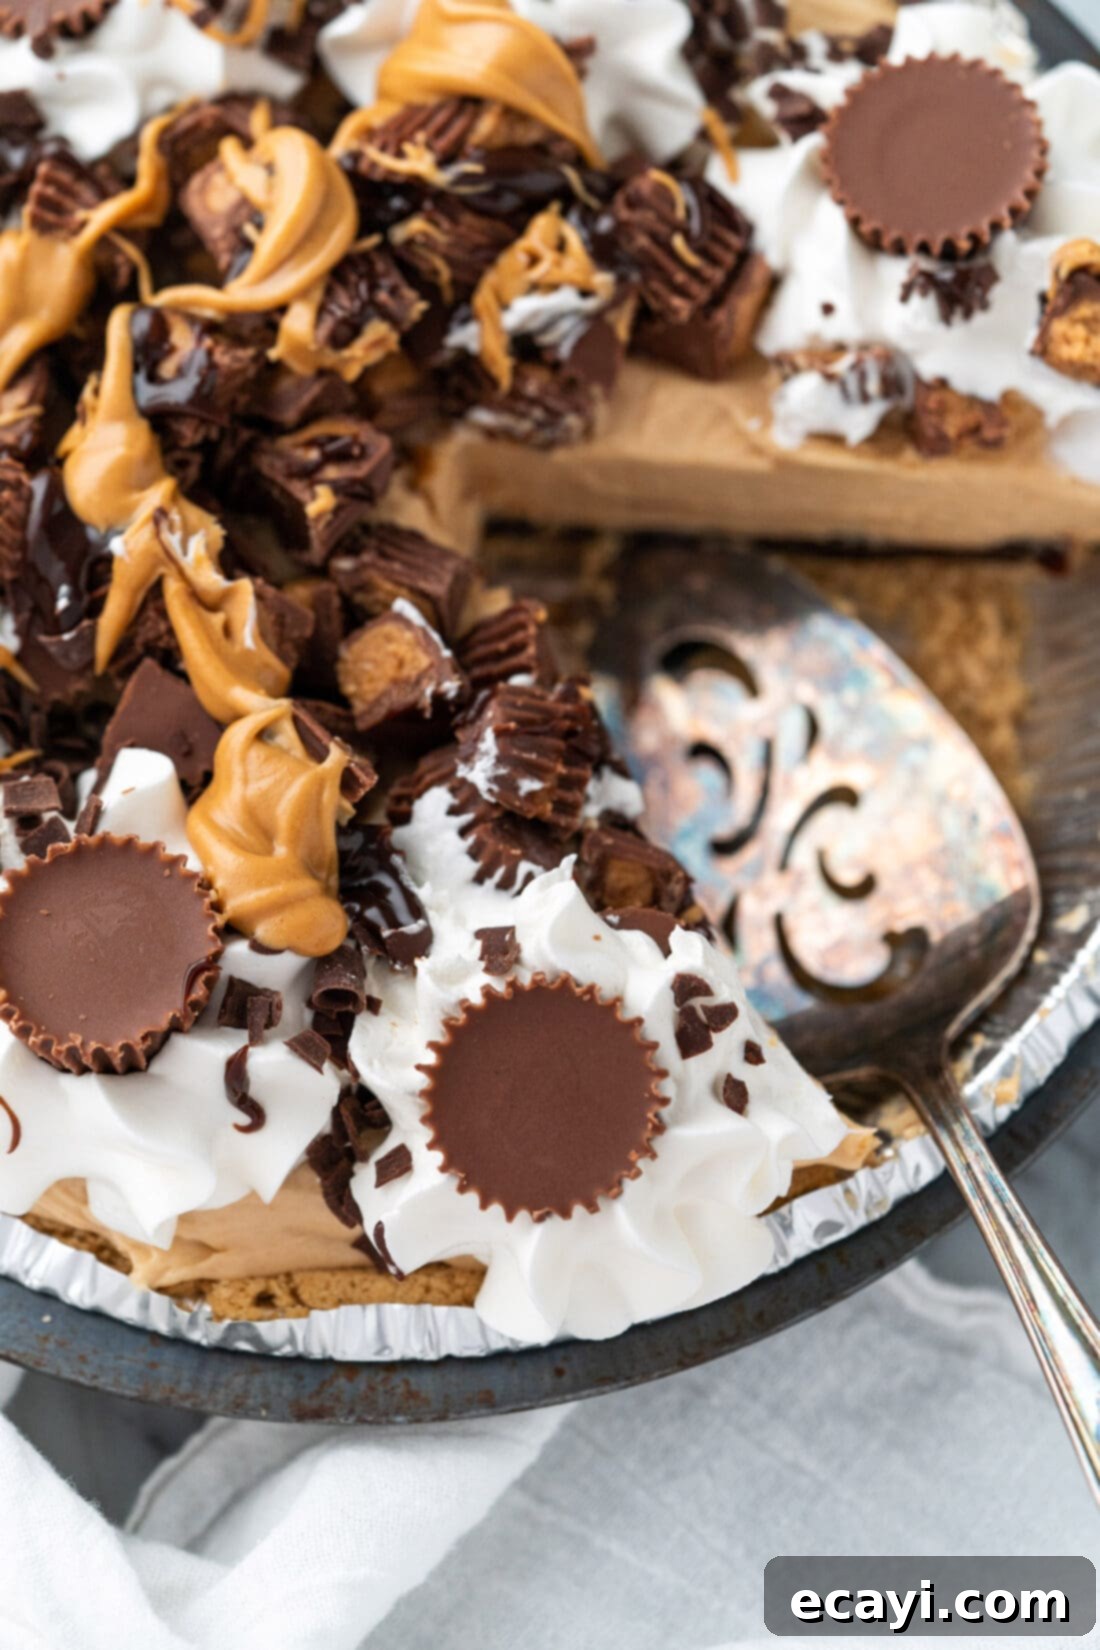
- **Drizzle with Peanut Butter and Fudge:** For the ultimate final touch, lightly microwave 1 tablespoon of creamy peanut butter for about 5 seconds (just enough to make it drizzly). Do the same with 1 tablespoon of hot fudge. Drizzle both over the chopped peanut butter cups in the center of the pie, creating an artistic and extra-flavorful topping.


- **Final Chill & Serve:** Before slicing and serving, place the fully decorated pie back into the refrigerator for another 15 minutes. This brief final chill allows the garnishes to settle and ensures everything holds together beautifully for clean, perfect slices. Then, serve and watch the smiles!
Frequently Asked Questions & Expert Tips for Reese’s Pie Success
To ensure your No-Bake Reese’s Peanut Butter Pie turns out perfectly every time, here are some common questions and expert tips to guide you:
Absolutely! This pie is a fantastic make-ahead dessert, which is one of its many advantages. At a minimum, you should plan to make this pie at least 5 hours before you intend to serve it, allowing ample time for the filling to set completely. For best results and to alleviate day-of stress, you can easily prepare the pie (without garnishes) 1-2 days in advance. Simply cover it loosely with plastic wrap and store it in the refrigerator. We recommend adding all the delicious garnishes—whipped cream, Reese’s cups, chocolate shavings, and drizzles—on the day of serving to ensure they look fresh and vibrant.
Technically, yes, you can freeze this pie, but with a few important considerations. It’s best to freeze the pie without any of the added toppings or whipped cream, as these elements can suffer in texture upon thawing. Freezing desserts containing cream cheese for more than a few days can sometimes lead to slight changes in texture, making the filling a bit grainier or less smooth once thawed. While we haven’t extensively tested freezing this specific Reese’s pie recipe, if you decide to do so, wrap the pie exceptionally well in multiple layers of plastic wrap and then aluminum foil to prevent freezer burn. Thaw it slowly in the refrigerator overnight before garnishing and serving. If you try it, we’d love to hear about your results!
This is a critical point! If your cream cheese isn’t at true room temperature, your filling will be lumpy and won’t achieve that coveted smooth, creamy consistency. If you’re short on time, you can unwrap the cream cheese, cut it into 1-inch cubes, and microwave it on low power (around 30% or defrost setting) for 10-15 second intervals, stirring in between, until just softened. Be careful not to melt it completely!
For this recipe, we strongly recommend using processed, creamy peanut butter (like Jif or Skippy) rather than natural peanut butter. Natural peanut butter often separates, and its oil content can make the filling too oily or cause it to not set as firmly. The stabilizers in conventional creamy peanut butter are key to the pie’s consistent texture.
Any leftover pie should be stored in an airtight container or covered tightly with plastic wrap in the refrigerator. It will stay fresh and delicious for 3-4 days. The flavors actually deepen a bit over time!
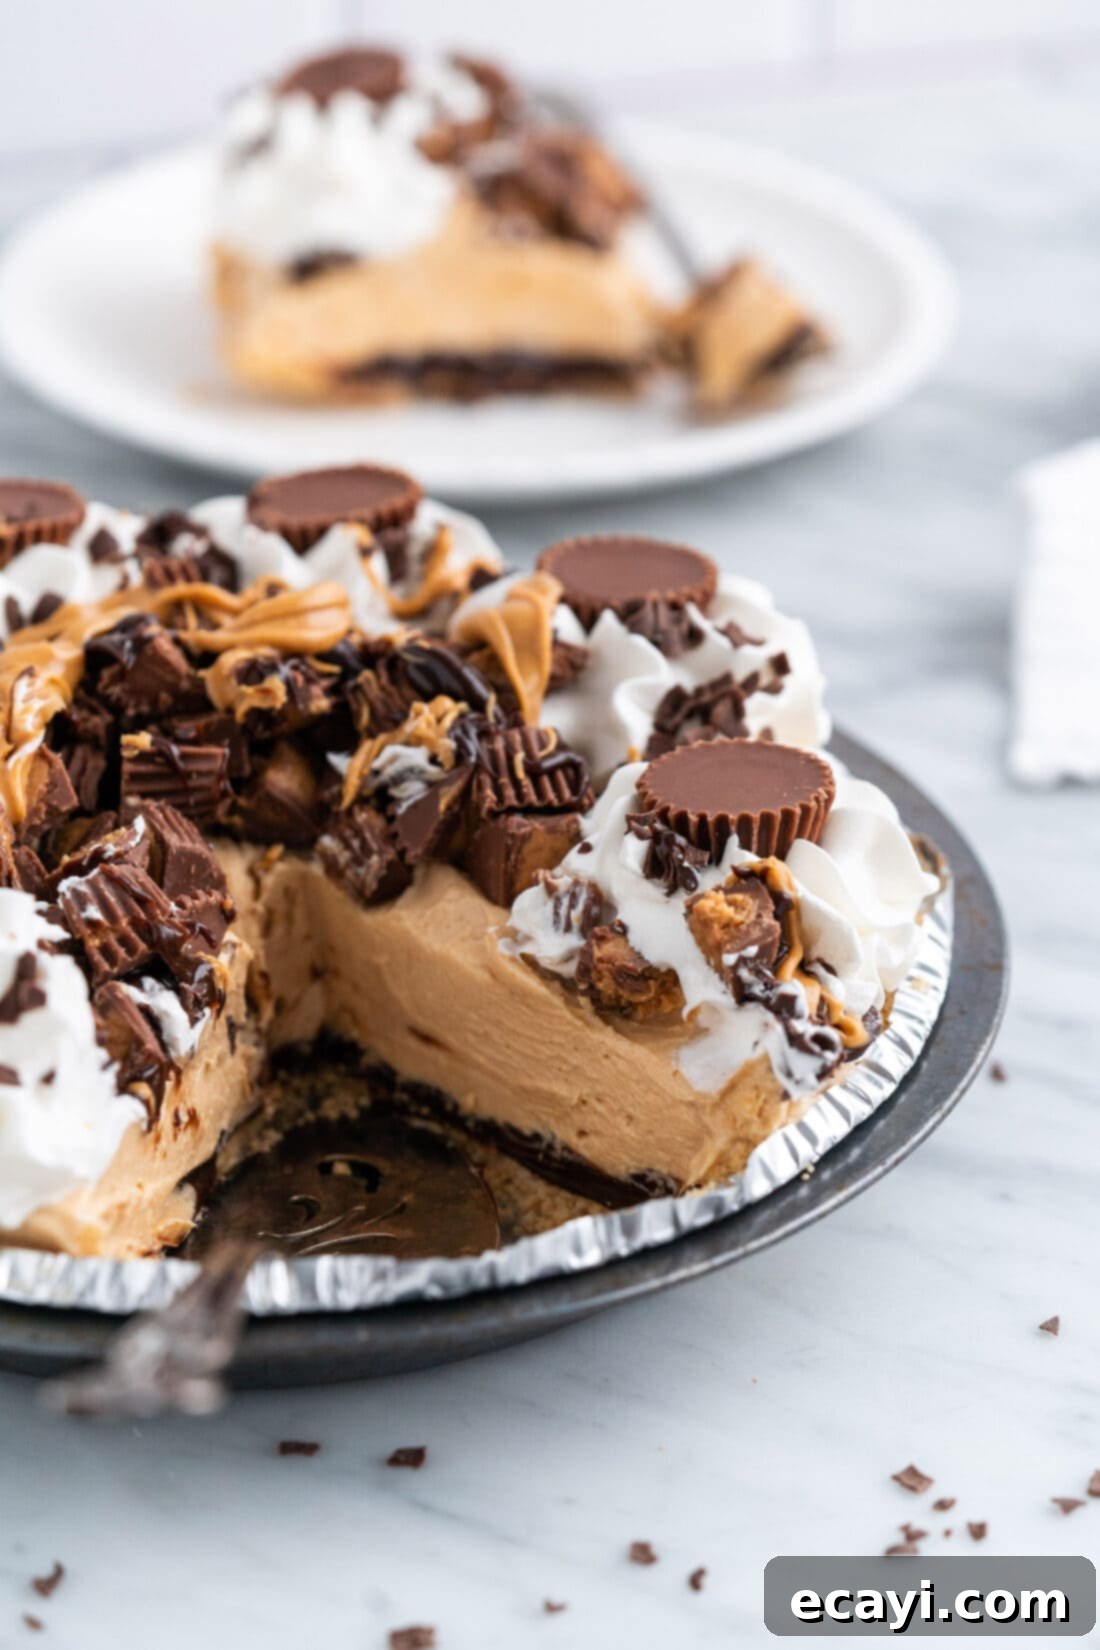
Creative Ways to Serve Your Reese’s Pie
One of the many delights of this no-bake Reese’s pie is its versatility in serving. While a traditional slice is always welcome, you can get creative with presentation to suit different occasions or preferences. For individual servings that are perfect for parties or portion control, consider assembling mini versions. You can layer graham cracker crumbs, hot fudge, peanut butter filling, and a dollop of whipped cream with chopped Reese’s in elegant parfait cups. Alternatively, use mini pie pans for adorable, personal-sized Reese’s pies, ideal for a dessert bar or individual gifts.
Another fun idea is to create a deconstructed pie experience. Layer the crust ingredients (crumbs and melted butter) at the bottom of small Mason jars, then pipe in the peanut butter filling, drizzle with fudge, and top generously with whipped cream and crushed Reese’s. These are fantastic for picnics or grab-and-go treats.
No matter how you choose to present it, always remember the crucial chill time as specified in the recipe card below. This isn’t just for firmness; it’s essential for allowing the flavors to meld and the pie to achieve its optimal creamy texture, ensuring each serving is a perfect experience. A well-chilled pie also makes for cleaner, more beautiful slices.
More Irresistible Chocolate and Peanut Butter Creations
Can’t get enough of that magical chocolate and peanut butter duo? You’re in luck! This iconic flavor combination inspires countless delicious desserts. If you’ve loved this Reese’s pie, be sure to explore these other fantastic recipes that celebrate this perfect pairing:
- Homemade Peanut Butter Cups
- Decadent Chocolate Peanut Butter Fudge
- Soft & Chewy Chocolate Peanut Butter Cookies
- Amazing Chocolate Peanut Butter Cupcakes
- Rich Fudge Brownies with Peanut Butter Frosting
- Classic Chocolate Peanut Butter Pie (Baked Version)
And if your heart truly belongs to peanut butter alone, without the chocolate companion, don’t miss our equally delightful simple no-bake peanut butter pie recipe!
We love creating and sharing delicious recipes with you! We know it can be tricky to remember to check back every day, so we offer a convenient newsletter. Simply subscribe to receive our free daily recipes directly in your inbox. Happy cooking and baking!

Reeses Pie
IMPORTANT – There are often Frequently Asked Questions within the blog post that you may find helpful. Simply scroll back up to read them!
Print It
Pin It
Rate It
Save ItSaved!
Ingredients
- 9 inch graham cracker pie crust
- ¾ cup hot fudge not warmed
- 8 ounces cream cheese at room temperature
- 1 cup creamy peanut butter
- 1 cup powdered sugar
- 16 ounces Cool Whip divided, thawed if frozen
Garnish
- remaining Cool Whip
- 8 mini Reese’s peanut butter cups unwrapped, kept whole
- 1 cup mini Reeses peanut butter cups unwrapped and chopped into quarters
- 1 Tablespoons shaved chocolate or chocolate curls
- 1 Tablespoon creamy peanut butter microwaved for 5 seconds
- 1 Tablespoon hot fudge microwaved for 5 seconds
Things You’ll Need
-
Electric mixer
Before You Begin
- If you prefer, you can make a homemade graham cracker pie crust instead of using store-bought. For 1 (8 to 9-inch) round pie, you will need: 1 1/2 cup graham cracker crumbs, 4 tablespoons granulated sugar, and 7 tablespoons melted butter. Combine everything in a large bowl, and then spread it into the bottom and up the sides of an 8 or 9-inch pie plate, pressing it to compact.
- Instead of Cool Whip, you can use homemade stabilized whipped cream
- For the smoothest lump-free filling, be sure to let your cream cheese come to room temperature. The quickest way to do so is to remove it from the packaging and slice it into cubes. Place the cubes on a plate to rest at room temperature for 30-45 minutes before beginning.
- Make sure to follow the chill time directions as the recipe says. This gives the filling time to set.
Instructions
-
Spread the hot fudge evenly into the bottom of the pie crust.
-
Add the cream cheese and peanut butter to a large bowl. Use a handheld electric mixer to combine (the mixture will be crumbly). Beat in the powdered sugar, and then beat in 2 1/2 cups of Cool Whip (reserving the rest of the Cool Whip for topping).
-
Pour the peanut butter mixture over the top of the hot fudge layer.
-
Chill for 1 hour in the freezer or for 4 hours in the fridge.
-
Add the remaining Cool Whip to a piping bag fitted with a large star tip. Pipe 8 large rosettes of Cool Whip on the top of the pie evenly spaced apart around the outside.
-
Spread the chopped peanut butter cups on top of the center of the pie.
-
Place 1 whole miniature Reese’s peanut butter cup on top of each Cool Whip rosette.
-
Sprinkle the shaved chocolate or chocolate curls on the Cool Whip rosettes.
-
Drizzle the peanut butter and hot fudge on the chopped peanut butter cups.
-
Chill for 15 minutes in the fridge before slicing and serving.
Nutrition
The recipes on this blog are tested with a conventional gas oven and gas stovetop. It’s important to note that some ovens, especially as they age, can cook and bake inconsistently. Using an inexpensive oven thermometer can assure you that your oven is truly heating to the proper temperature. If you use a toaster oven or countertop oven, please keep in mind that they may not distribute heat the same as a conventional full sized oven and you may need to adjust your cooking/baking times. In the case of recipes made with a pressure cooker, air fryer, slow cooker, or other appliance, a link to the appliances we use is listed within each respective recipe. For baking recipes where measurements are given by weight, please note that results may not be the same if cups are used instead, and we can’t guarantee success with that method.
