Easy No-Bake Nutter Butter Balls: The Ultimate 5-Ingredient Peanut Butter Chocolate Truffles Recipe
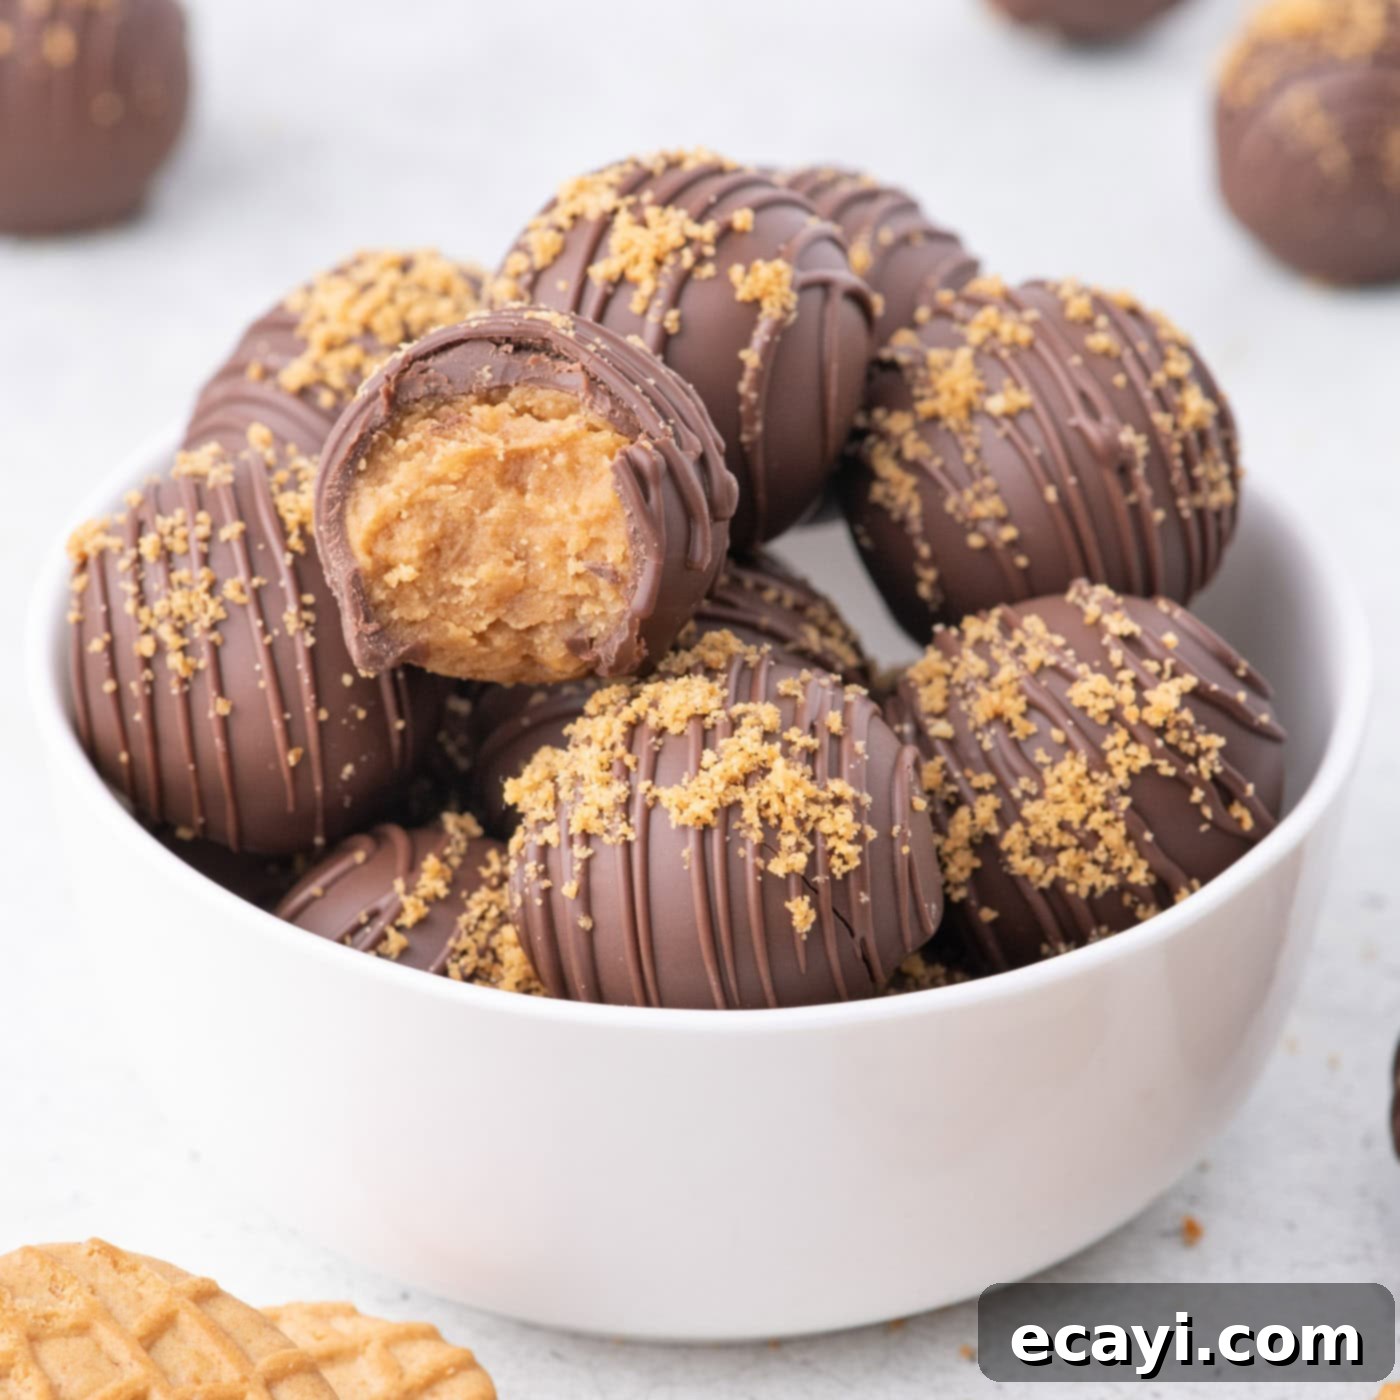
Prepare for a delightful treat that’s incredibly simple to make and bursting with flavor! These no-bake Nutter Butter balls, often called Nutter Butter truffles, are a dream come true for peanut butter and chocolate lovers. Crafted with just five essential ingredients—creamy cream cheese, finely crushed Nutter Butter cookies, rich peanut butter, and a smooth chocolate coating—they create irresistible, bite-sized “peanut butter chocolate bombs” that are perfect for any occasion. Whether you’re a seasoned baker or just starting out, this recipe promises delicious results with minimal effort, making it an ideal choice for quick desserts, holiday platters, or a sweet craving anytime.
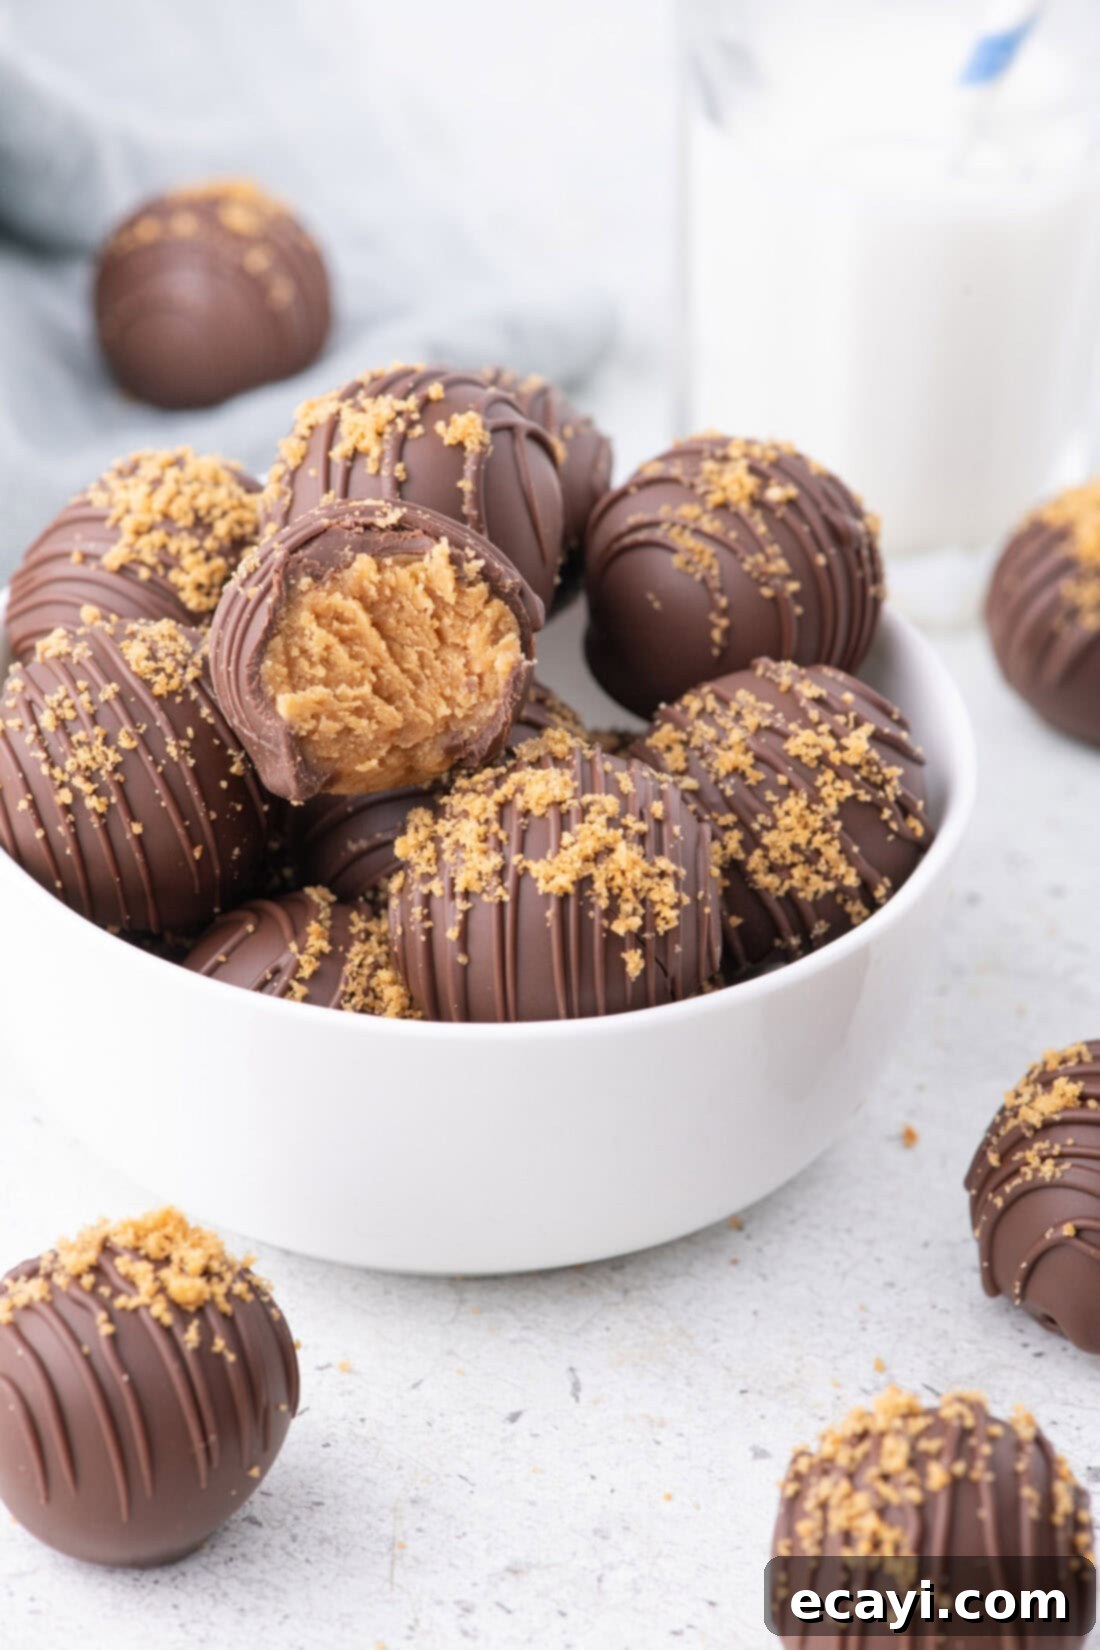
Why You’ll Love This No-Bake Nutter Butter Balls Recipe
There are countless reasons why these Nutter Butter balls will quickly become a cherished favorite in your recipe collection. First and foremost, they are incredibly easy to make. With no baking required, you can whip up a batch of these delectable treats in under two hours, including chilling time. This makes them perfect for busy holidays, impromptu gatherings, or when you simply need a quick dessert fix without heating up the kitchen.
The flavor profile is another major win. Unlike traditional chocolate peanut butter balls, these truffles feature the distinct and beloved taste of Nutter Butter cookies. The combination of Nutter Butter cookie crumbs with rich cream cheese and extra creamy peanut butter creates a filling that is slightly thicker and more complex in flavor, offering a wonderful textural contrast to the smooth chocolate shell. Each bite delivers that unmistakable Nutter Butter nostalgia, elevated by the creamy additions and luxurious chocolate coating.
Furthermore, their versatility is unmatched. They are easily customizable for different occasions or personal preferences. Whether you drizzle them with white chocolate, sprinkle them with festive decorations, or simply leave them with a classic chocolate coating, they always look impressive and taste even better. They make fantastic edible gifts, delightful party appetizers, or a special indulgence for your family. Once you try these Nutter Butter truffles, you’ll find it nearly impossible to stop at just one!
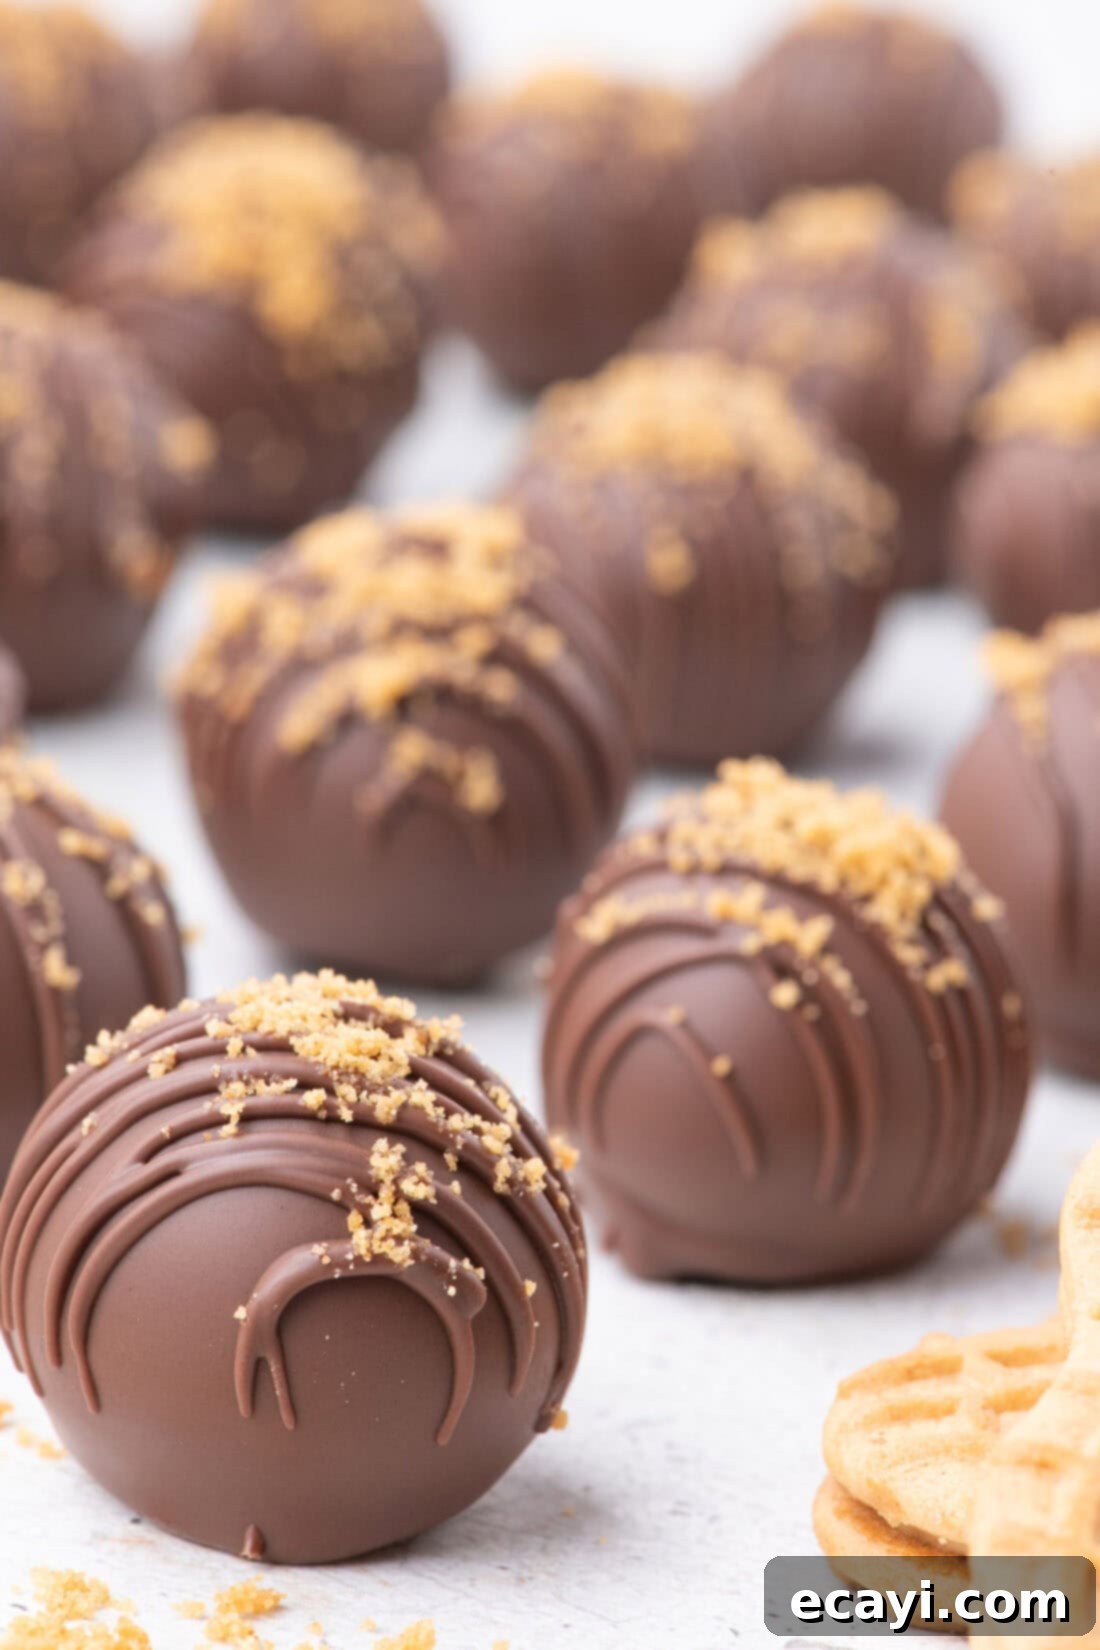
Key Ingredients for Nutter Butter Balls
This recipe shines with its simplicity, requiring only five core ingredients to create these delightful peanut butter treats. You can find precise measurements, full ingredient list, and detailed instructions in the printable recipe card at the very end of this post.
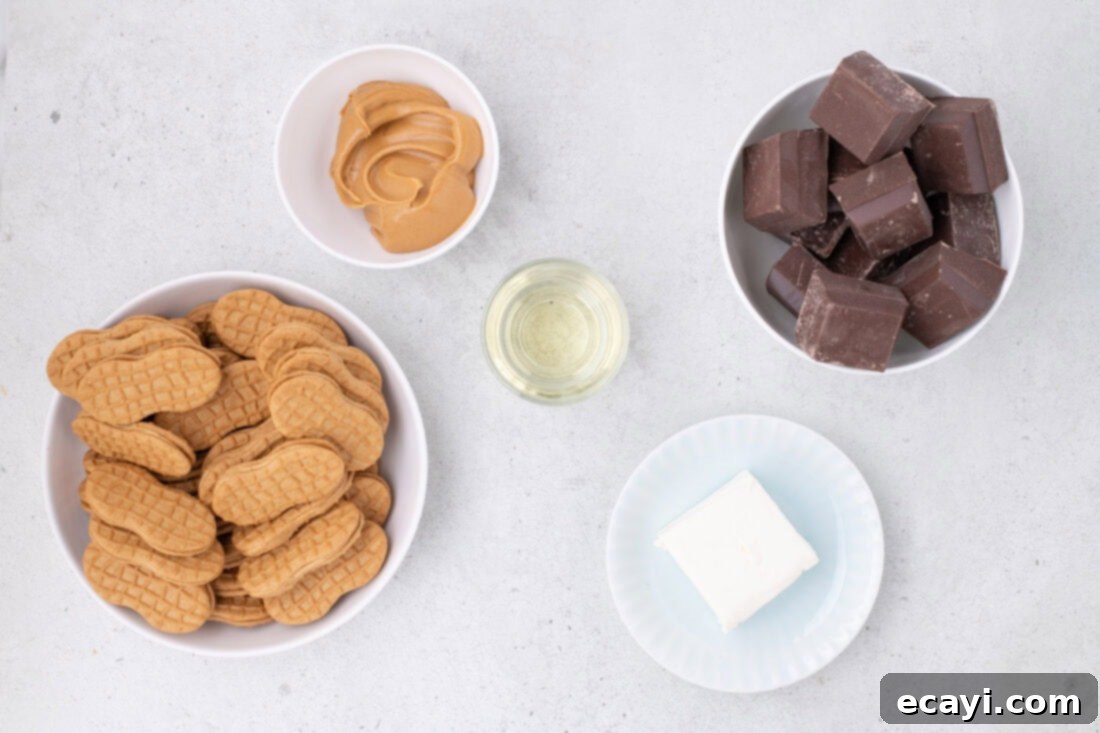
Ingredient Notes and Expert Substitution Tips
Understanding each ingredient and its role is key to achieving the perfect Nutter Butter balls. Here’s a breakdown along with helpful substitution suggestions:
CHOCOLATE
For the best coating, we highly recommend using almond bark or candy wafers. These are specifically designed for melting smoothly and setting quickly, giving your truffles a beautiful, professional finish without tempering. A high-quality bar of baking chocolate also works wonderfully, just ensure it’s a type known for easy melting. While milk chocolate offers a classic sweet flavor, don’t hesitate to experiment with dark chocolate for a richer, more sophisticated taste, or white chocolate for a visually striking contrast and a different sweet profile. Avoid using standard chocolate chips for dipping, as their stabilizing ingredients prevent them from melting as smoothly and evenly, often resulting in a thicker, less workable consistency that can be difficult to dip with.
NUTTER BUTTER COOKIES
These peanut-shaped sandwich cookies are the star of the show! It’s crucial to use the entire cookie, including the creamy peanut butter filling. The filling acts as an additional binder and contributes significantly to the unique Nutter Butter flavor and texture that sets these balls apart from simple peanut butter truffles. Pulse them in a food processor until they form fine crumbs, which will easily incorporate into the other ingredients to create a cohesive dough.
CREAM CHEESE
For optimal results, ensure your cream cheese is at room temperature. Softened cream cheese blends effortlessly with the cookie crumbs and peanut butter, creating a smooth, homogenous mixture free of lumps. Cold cream cheese will be stiff and difficult to combine, potentially leading to an uneven texture. To speed up the softening process, unwrap the cream cheese, cut it into cubes, and let it sit on your counter for about 30 minutes. You can also carefully microwave it on low power for 10-15 seconds, checking frequently.
PEANUT BUTTER
For the ideal binding and texture, creamy peanut butter (such as Skippy or Jif) is highly recommended. Natural peanut butter, while delicious, often separates into oil and solids, making its consistency too oily and inconsistent for binding these balls properly. It can result in a crumbly mixture that doesn’t hold its shape. Stick with a conventional creamy variety for the best and most reliable outcome. Avoid chunky peanut butter as the pieces will disrupt the smooth texture of the truffles.
VEGETABLE OIL
A small amount of vegetable oil is added to the melted chocolate to help thin it slightly and make it smoother for dipping. This improves the flow of the chocolate, ensuring an even and professional-looking coating on each Nutter Butter ball. You can substitute vegetable oil with the same quantity of coconut oil (refined, to avoid coconut flavor) or shortening if preferred.
Step-by-Step Guide: How to Make Nutter Butter Balls
These step-by-step photos and detailed instructions are provided to help you visualize each stage of the recipe. For a concise, printable version of this recipe, complete with exact measurements and instructions, please Jump to Recipe at the bottom of this post.
- Prepare Your Workspace: Begin by lining two standard cookie sheets with parchment paper. This non-stick surface will prevent the balls from sticking and make cleanup a breeze. Set these aside for later.
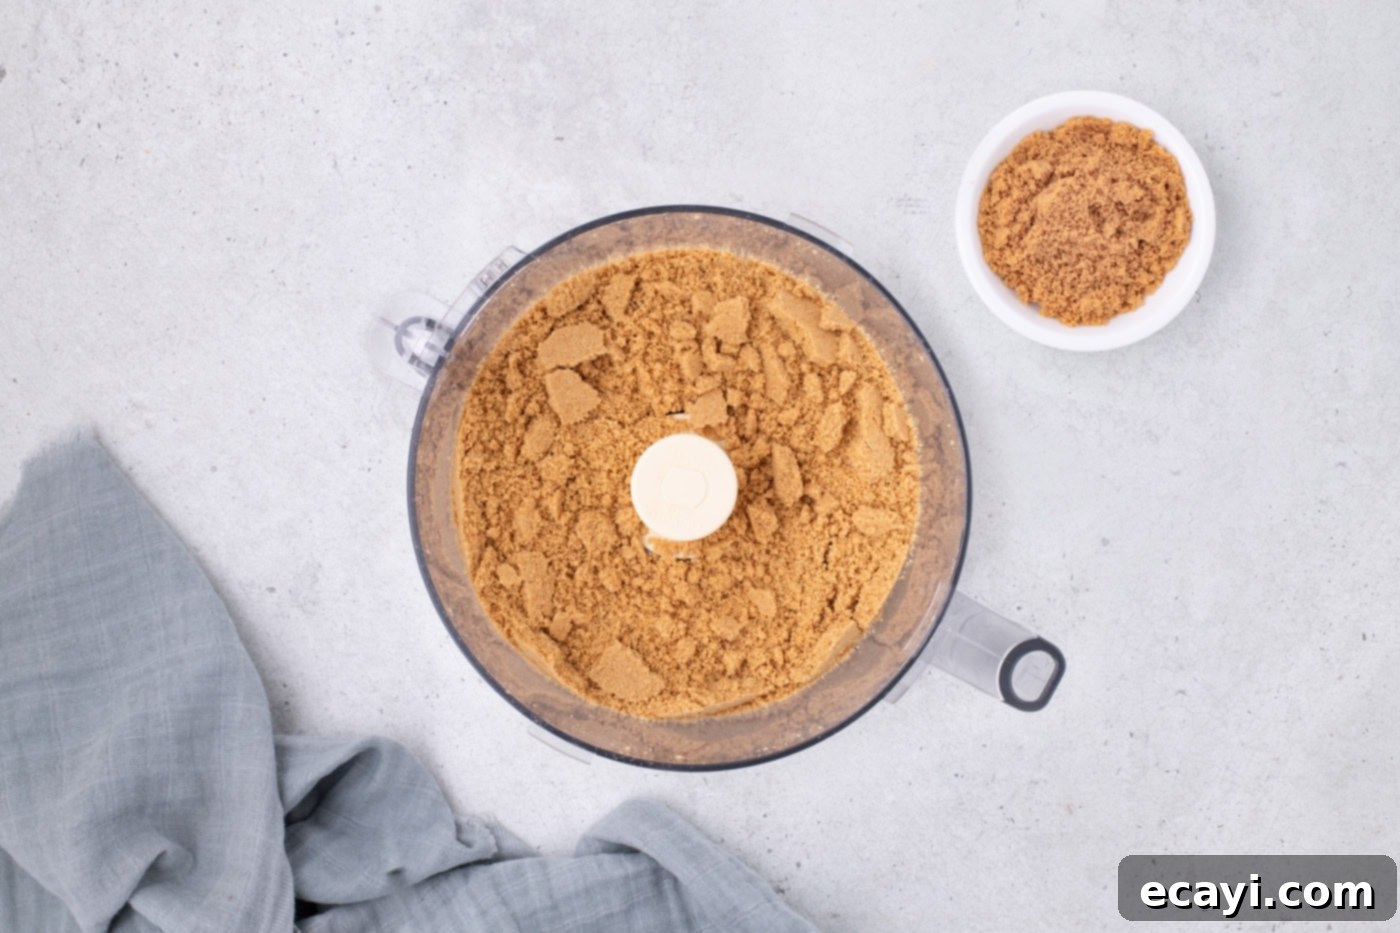
- Crumble the Cookies: Place all of your Nutter Butter cookies into a food processor. Pulse the cookies until they transform into fine, even crumbs. It’s important to get a consistent crumb texture for a smooth mixture. Once pulsed, set aside about 3 tablespoons of these crumbs in a small bowl; these will be used later as a decorative topping.

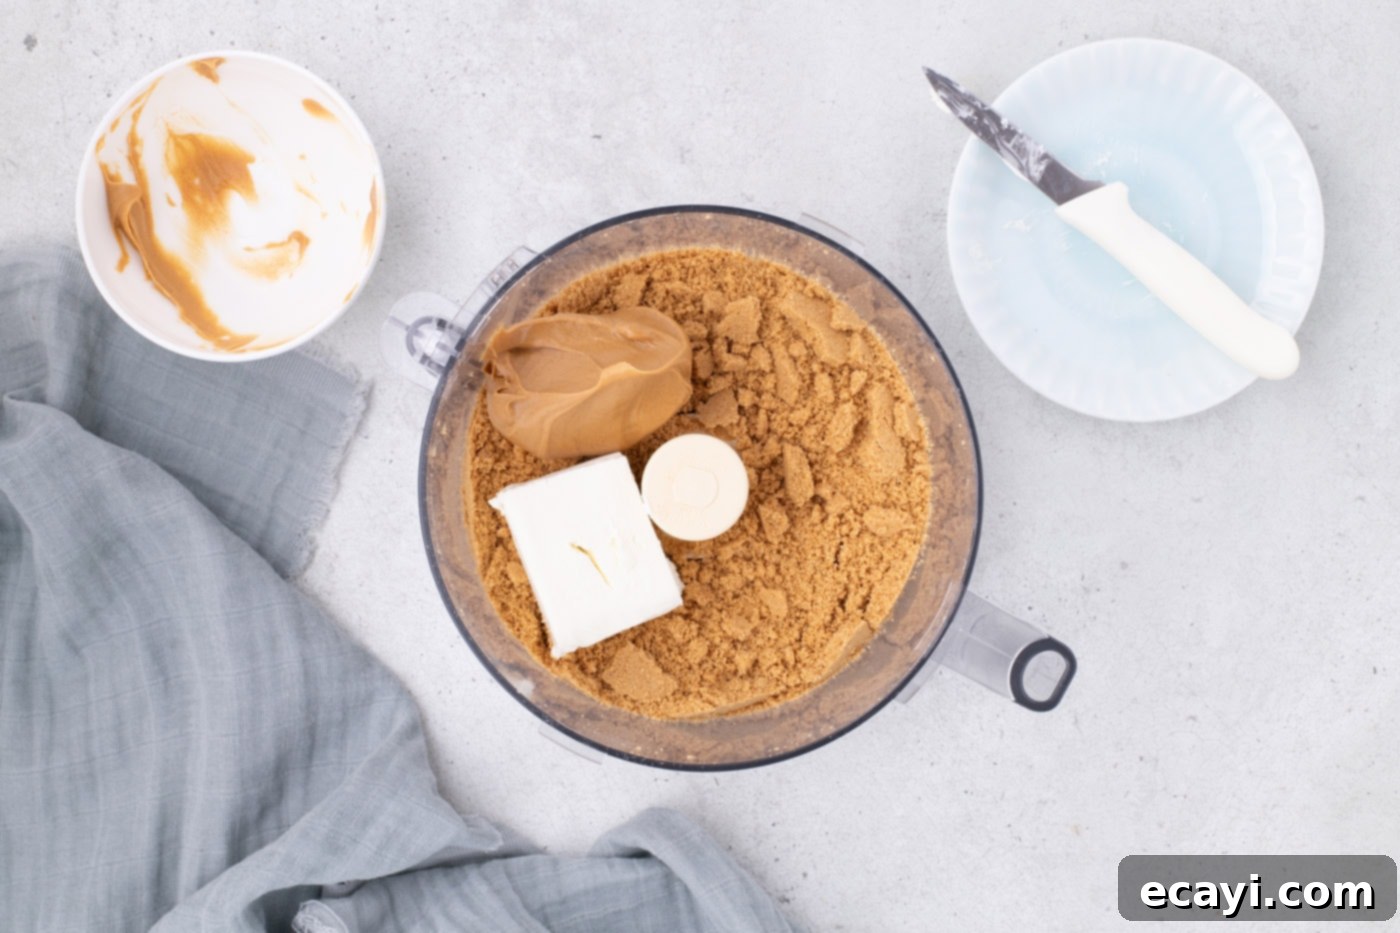
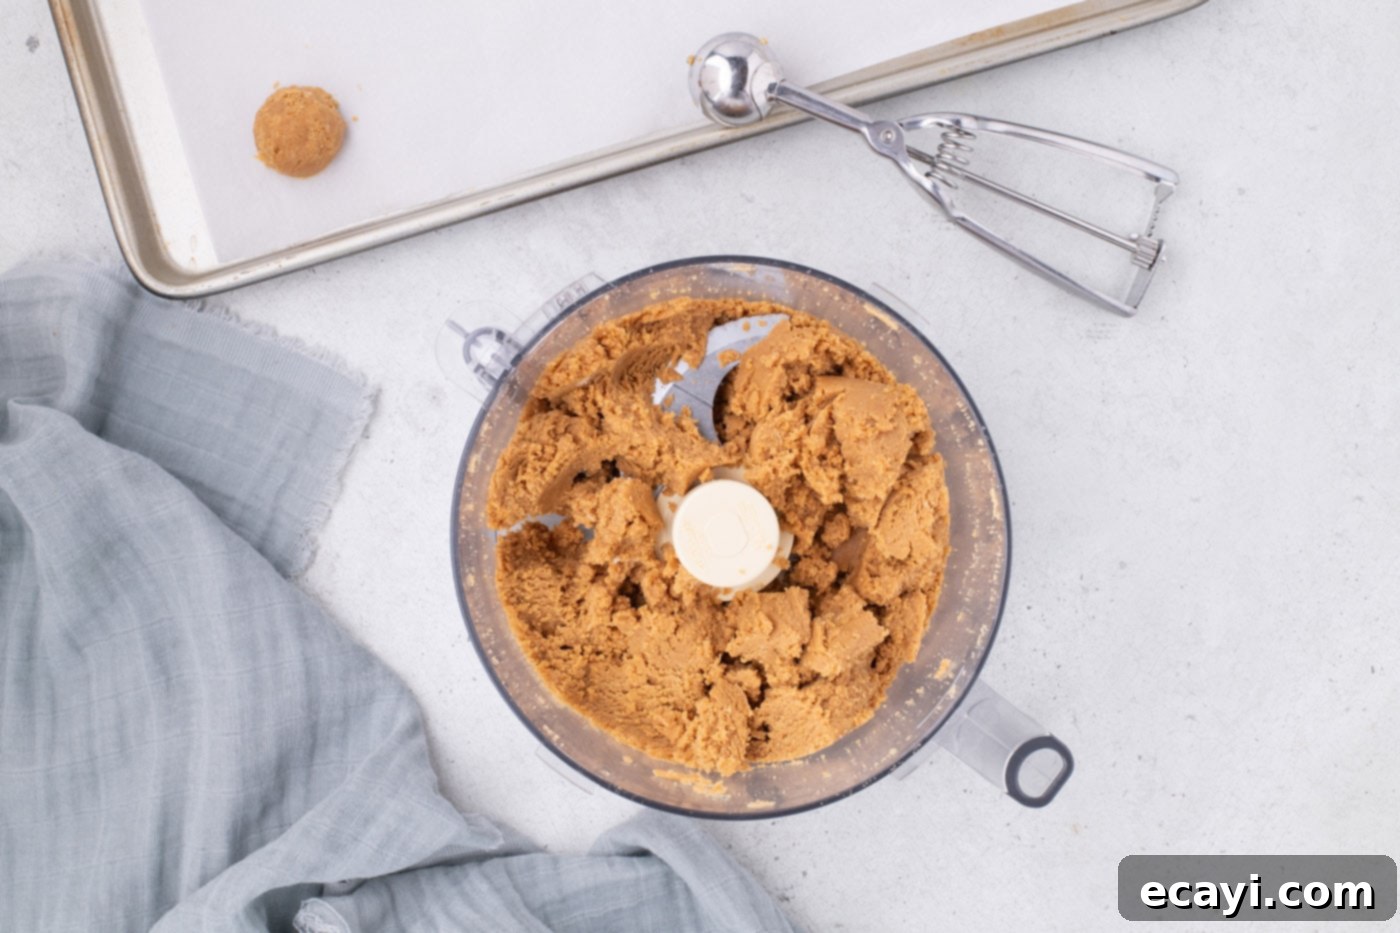
- Combine the Filling: Add the softened cream cheese and the creamy peanut butter directly into the food processor with the Nutter Butter crumbs. Continue pulsing until all the ingredients are thoroughly combined and the mixture starts to come together, forming a cohesive ball or a thick, uniform dough. This usually takes a minute or two. Scrape down the sides of the processor bowl as needed to ensure everything is incorporated.


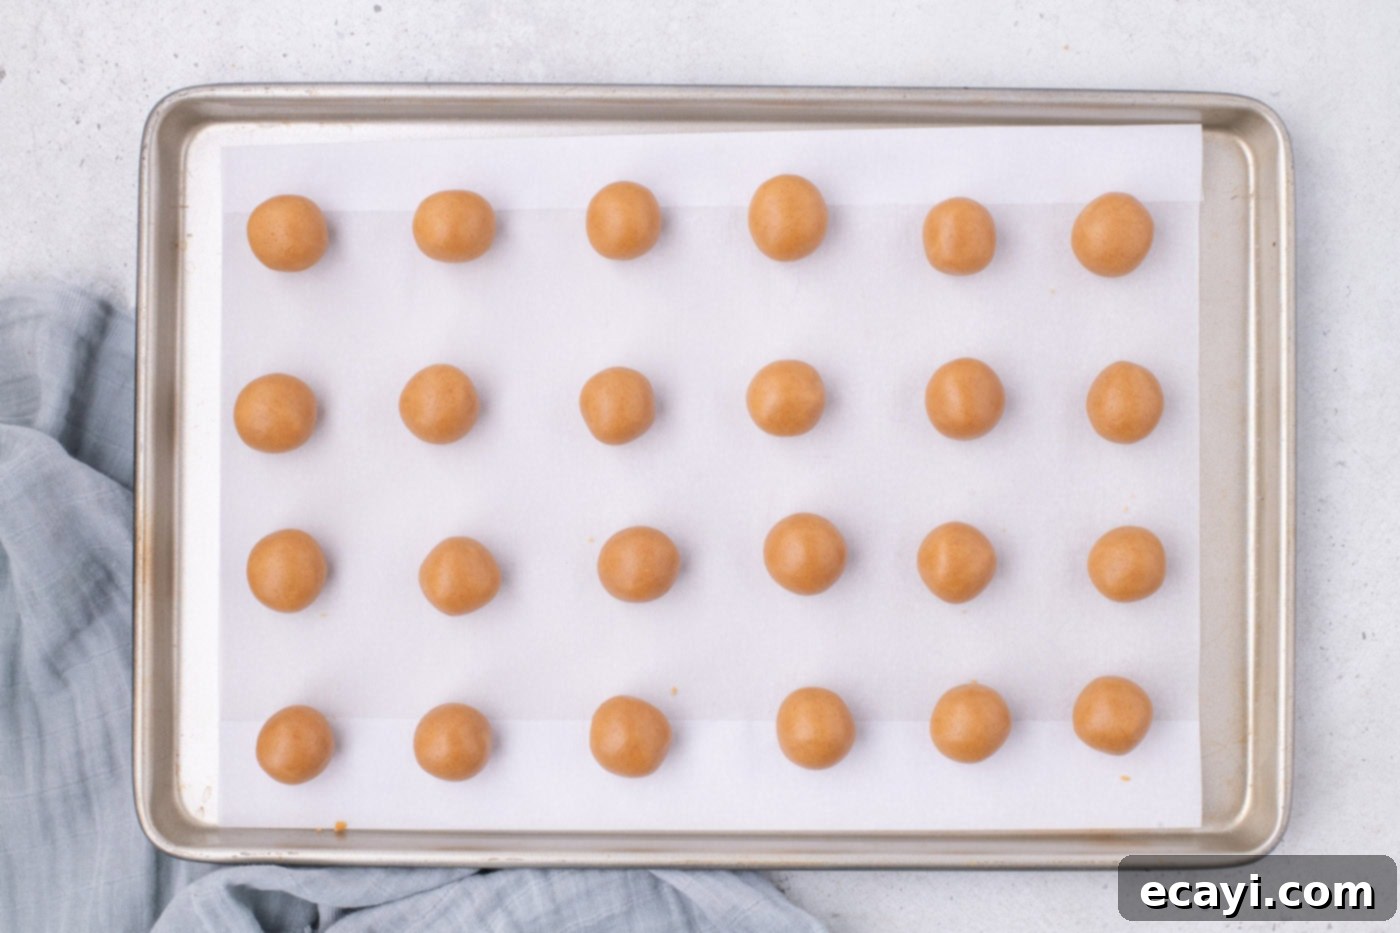
- Scoop the Mixture: Using a small cookie dough scoop (ideally a 1-tablespoon size), scoop out even amounts of the Nutter Butter mixture. Place these scoops onto the parchment-lined cookie sheets, leaving a little space between each one. This helps ensure uniform size and even chilling.
- Roll into Balls: Once all the mixture has been scooped, gently roll each portion between your palms to form smooth, compact balls. Return these neatly rolled balls to the parchment-lined cookie sheets. The goal is to make them as round and tight as possible for easy dipping later.

- Chill (Freeze) for Firmness: Transfer both cookie sheets with the Nutter Butter balls into the freezer. Let them freeze for a full hour. This crucial step allows the balls to firm up significantly, making them much easier to handle and dip in the chocolate without falling apart or melting.
EXPERT TIP: Do not skip the freezing step! Freezing the balls ensures a perfectly smooth and even chocolate coating. A frozen ball will set the chocolate almost instantly upon dipping, preventing streaks and excess dripping. If merely chilled in the refrigerator, the balls may not be firm enough, leading to a messier dipping process and an uneven coating.
- Melt the Chocolate: While the Nutter Butter balls are freezing, place your chosen chocolate (almond bark, candy wafers, or baking chocolate) in a microwave-safe bowl. Heat it on high power in 30-second intervals, stirring thoroughly after each interval, until the chocolate is completely melted and smooth. Be careful not to overheat it. Once melted, stir in the 2 teaspoons of vegetable oil; this will help thin the chocolate for easier dipping.
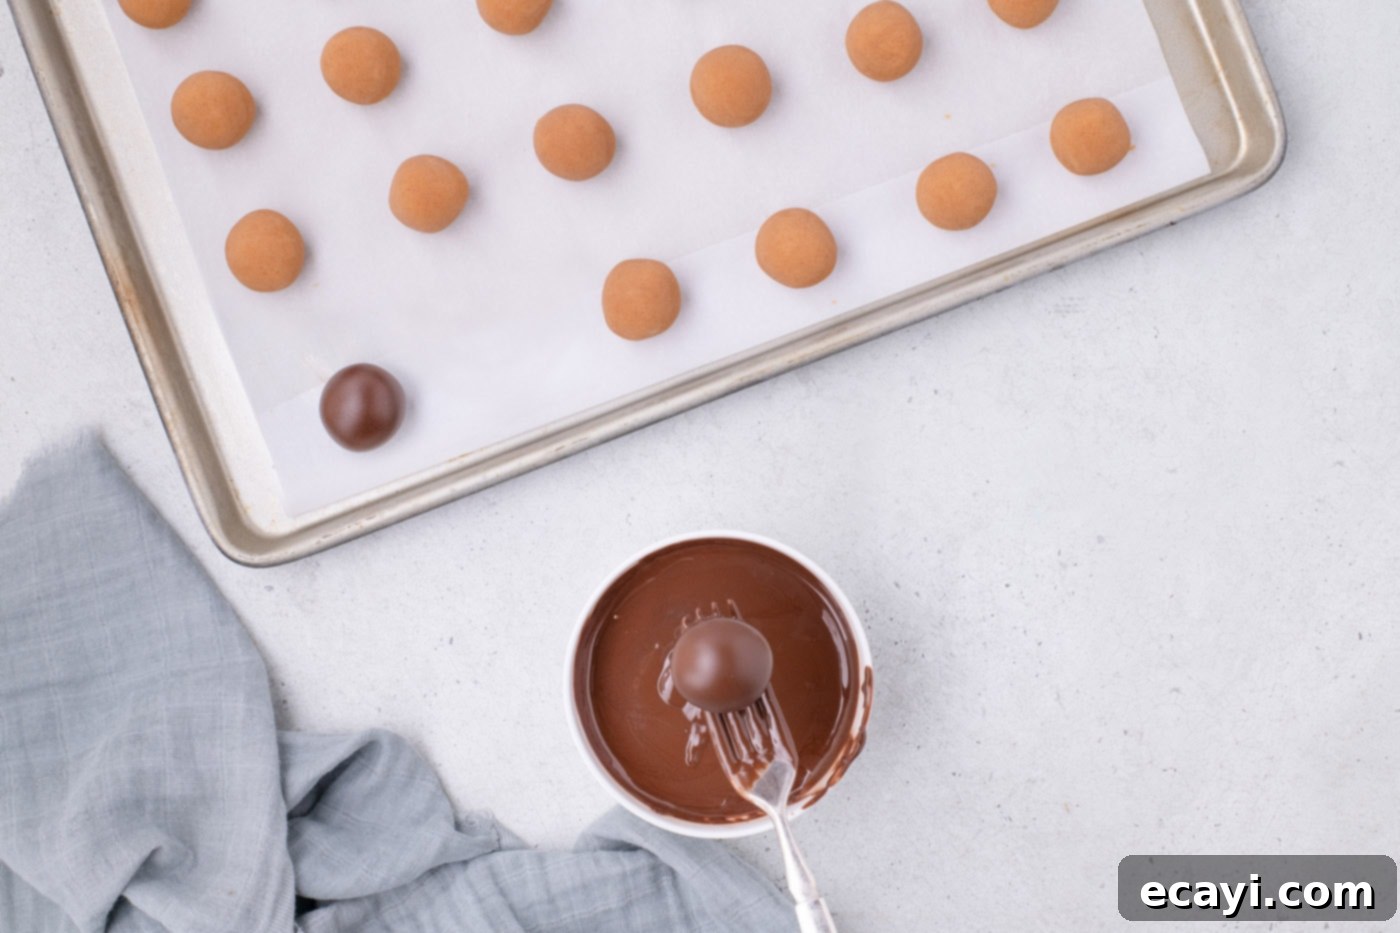
- Dip the Balls: Remove a cookie sheet from the freezer. Place a single frozen Nutter Butter ball onto the tines of a fork. Submerge it quickly into the melted chocolate, ensuring it’s fully coated. Lift the ball out and gently tap the fork against the edge of the bowl to allow any excess chocolate to drip off. The chocolate should coat the ball in an even layer and begin to set almost immediately due to the frozen center. Carefully slide the dipped ball back onto the parchment-lined cookie sheet. Repeat this process with the remaining frozen balls, working efficiently to prevent the chocolate from cooling too much.

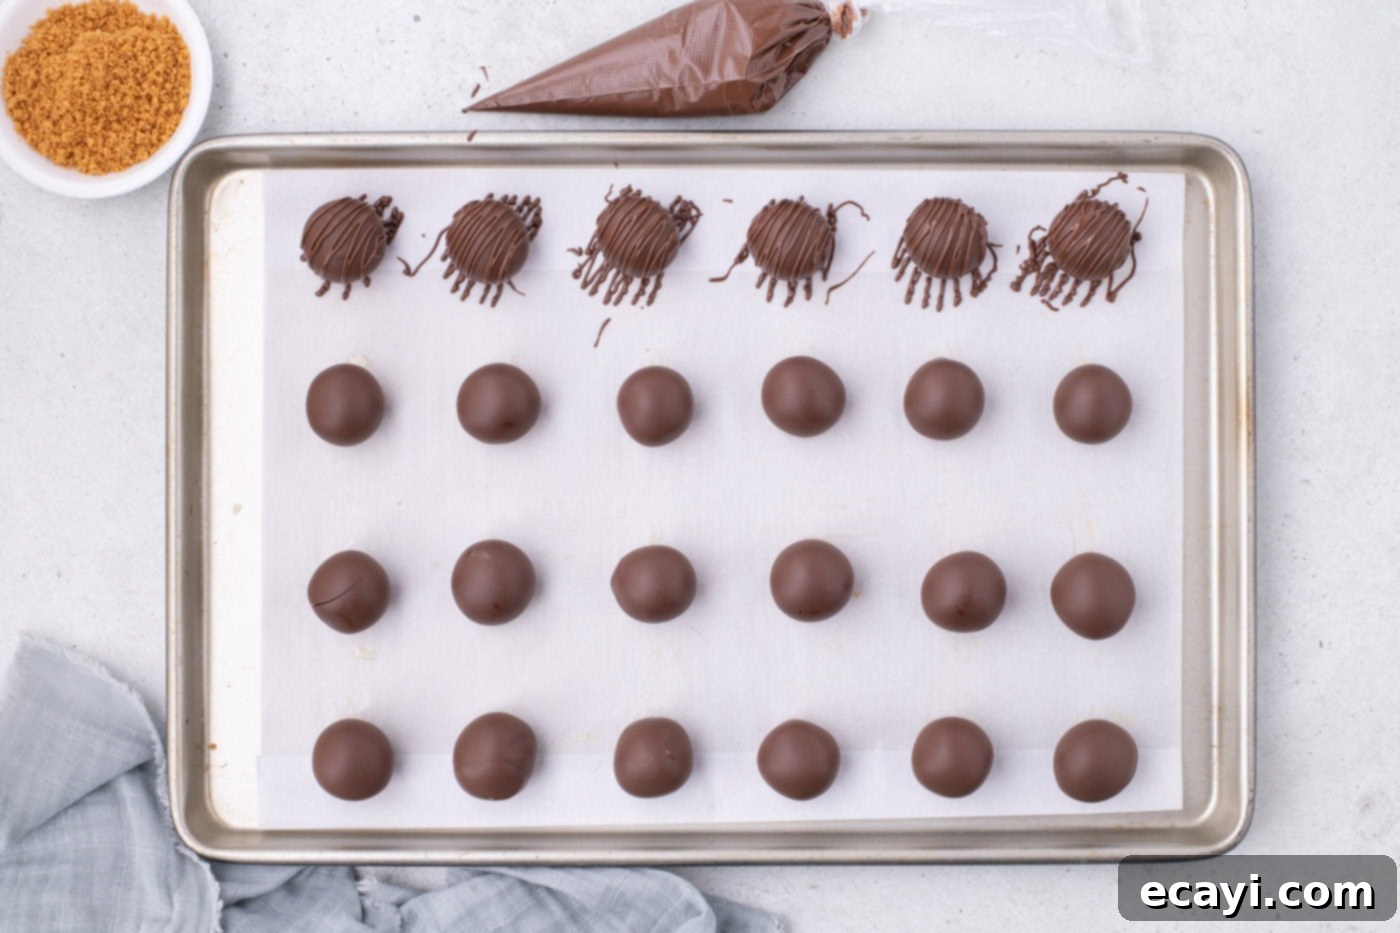
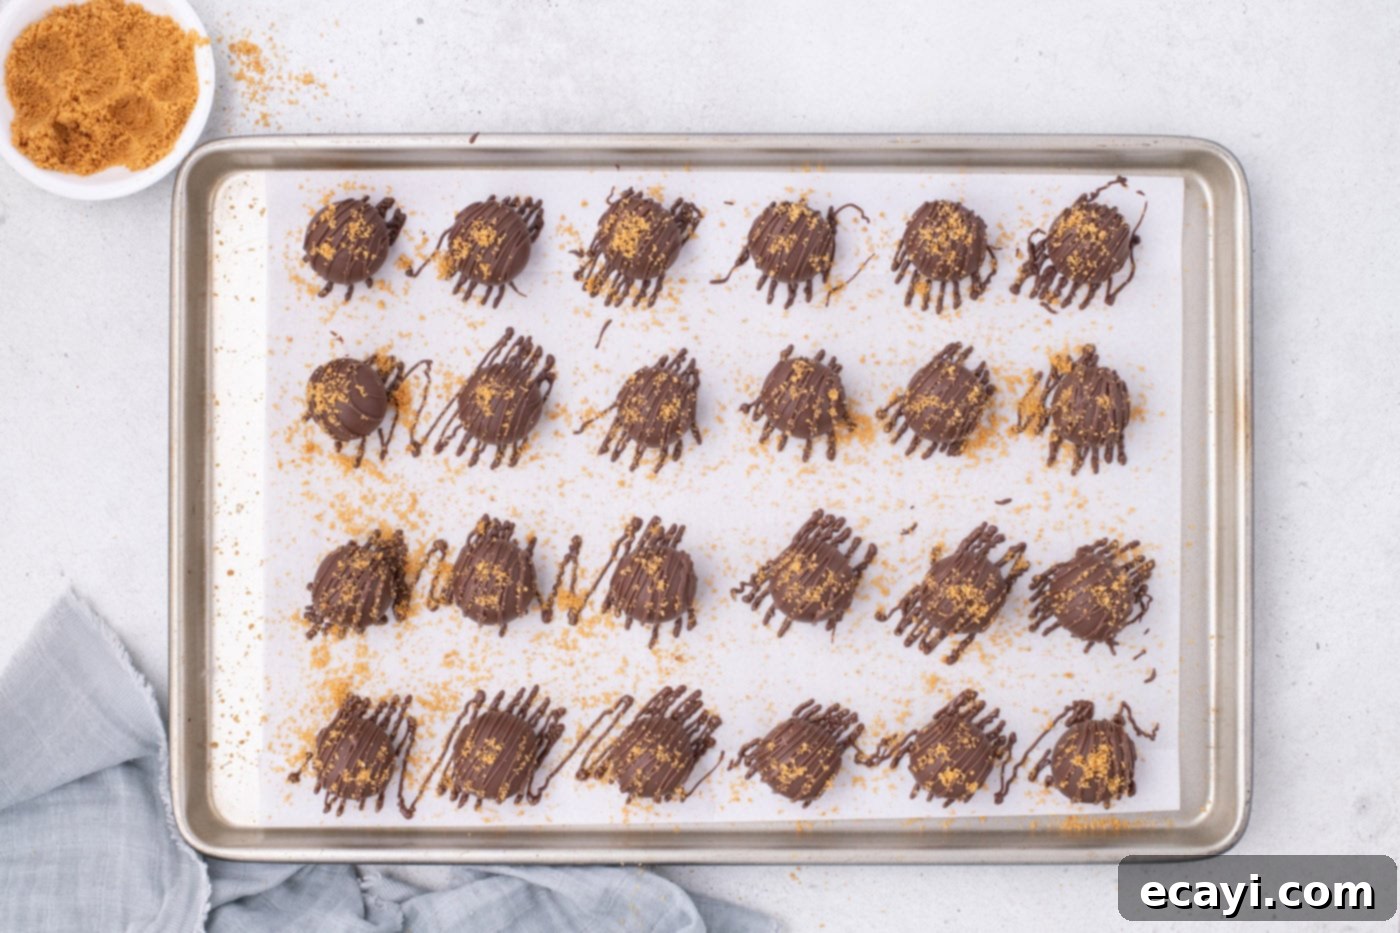
- Drizzle and Garnish: If the chocolate has cooled, gently re-heat it until pourable again. Carefully pour the melted chocolate into a small pastry bag or a Ziploc bag with a tiny corner snipped off. Drizzle decorative lines or zigzags across the tops of the chocolate-dipped Nutter Butter balls. Immediately, before the drizzle has a chance to dry, sprinkle the reserved Nutter Butter cookie crumbs over the balls. Work quickly in small batches if necessary to ensure the crumbs adhere.

- Serve and Store: Once decorated, your Nutter Butter balls are ready to be enjoyed! For best texture and longevity, transfer them to an airtight container and refrigerate them if you plan to serve them later. Enjoy these delightful homemade treats!

Frequently Asked Questions & Expert Tips for Perfect Nutter Butter Balls
Due to the inclusion of cream cheese in the filling, it’s essential to store Nutter Butter balls properly to maintain their freshness and safety. Once the chocolate coating has fully set, transfer the balls to an airtight container and keep them refrigerated. Stored this way, they will remain fresh and delicious for up to 5 days. For longer storage, consider freezing them as described below.
Adding vegetable oil (or coconut oil/shortening) to melted chocolate serves a few important purposes. It helps to thin the chocolate slightly, making it more fluid and easier to work with for dipping. This results in a smoother, thinner, and more even coating on your Nutter Butter balls. It also helps prevent the chocolate from seizing or becoming too thick, especially if you’re working in a cooler environment. This small addition makes a significant difference in the final appearance and texture of your chocolate shell.
For the easiest and most successful dipping experience, we highly recommend using either chocolate almond bark, high-quality candy wafers, or a good bar of baking chocolate. These types of chocolates are formulated to melt smoothly, evenly, and set quickly without requiring tempering, which is often needed for standard chocolate bars to achieve a glossy, stable coating. We strongly advise against using regular chocolate chips for dipping. Chocolate chips contain stabilizers that make them hold their shape, which means they don’t melt as fluidly and can be very difficult to dip with, often leading to a thick, lumpy, or uneven coating.
Yes, Nutter Butter truffles freeze beautifully, making them excellent for meal prep or for saving a batch for later! You can freeze the fully dipped and decorated Nutter Butter balls in an airtight container for up to 3 months. When freezing the finished truffles, be aware that you might observe some minor discoloration or speckling on the chocolate coating over time due to temperature fluctuations, but this typically does not affect the taste. Alternatively, you can freeze the peanut butter balls before dipping them in chocolate. If freezing them undipped, place them in a single layer on a parchment-lined tray until solid, then transfer to a freezer-safe bag or container. When ready to serve, thaw them in the refrigerator before dipping or enjoying.
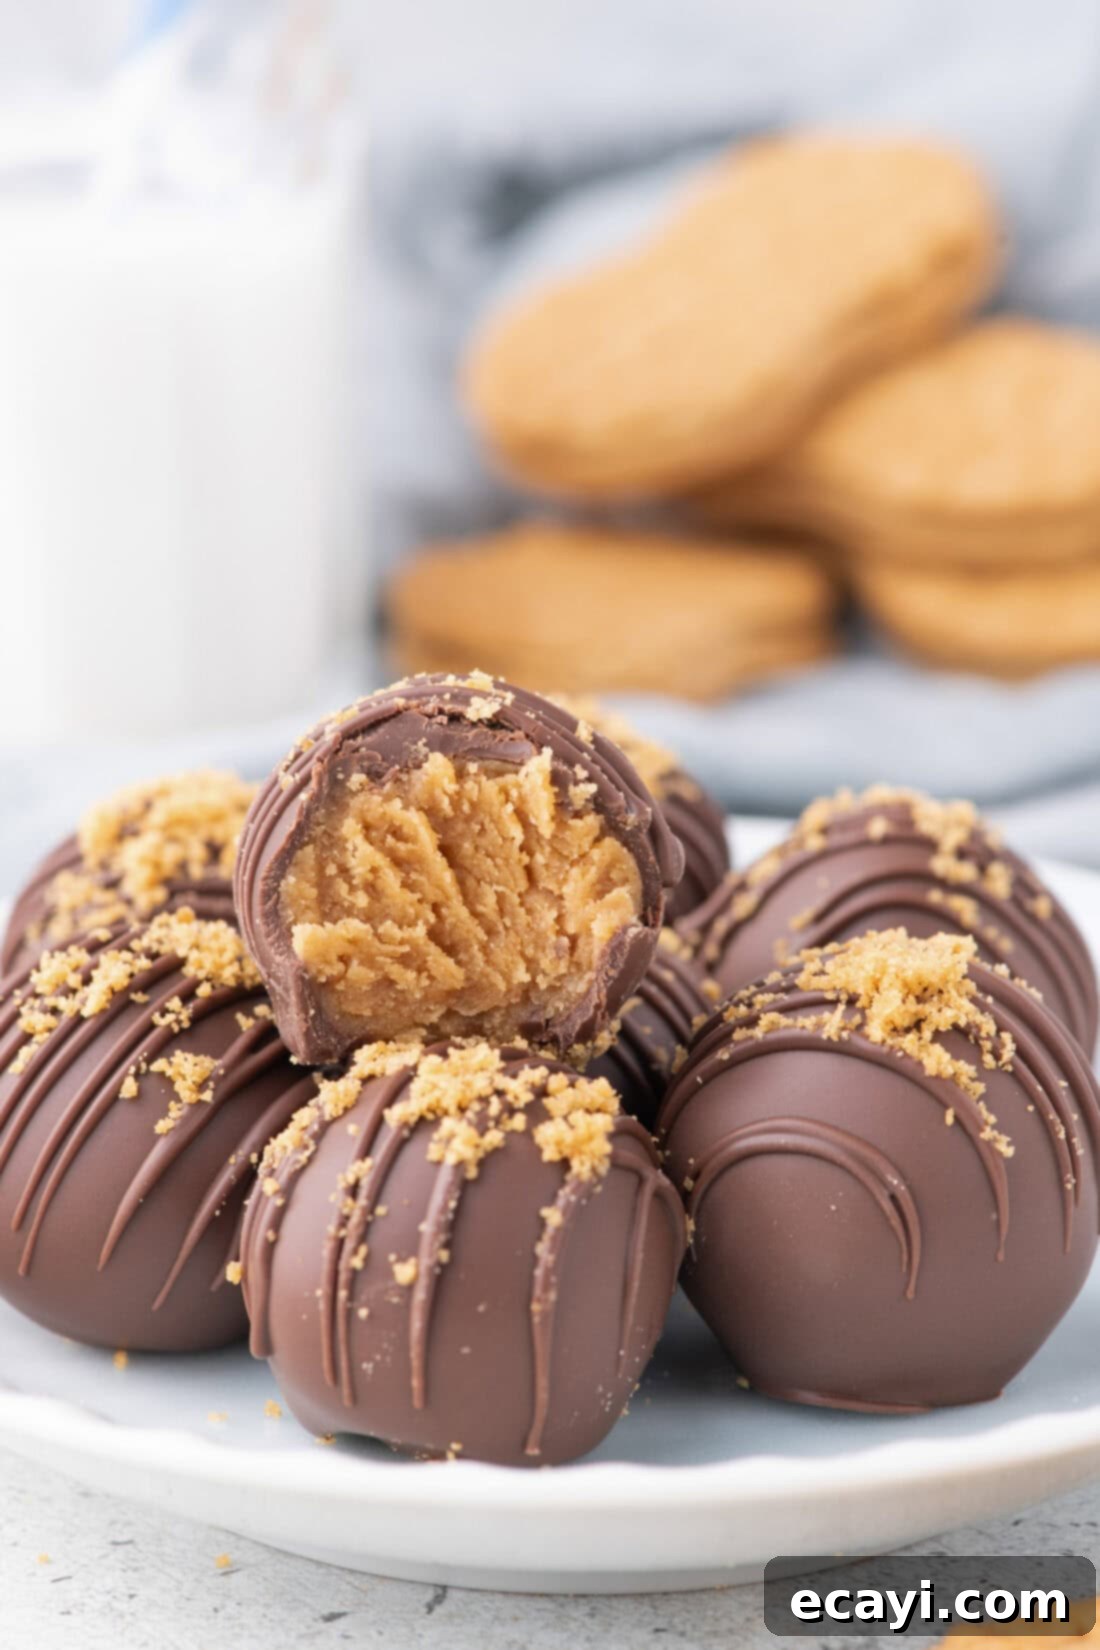
Serving & Decoration Ideas for Your Nutter Butter Truffles
Nutter Butter balls are not only delicious but also incredibly fun to decorate, allowing you to personalize them for any occasion or simply make them look extra special. The possibilities for garnishing are endless!
Beyond the classic chocolate drizzle and cookie crumb topping we’ve shown, consider these creative ideas:
- White Chocolate Drizzle: For a striking visual contrast, drizzle melted white chocolate over the dark chocolate coating. You can even tint the white chocolate with food coloring to match specific holiday themes (red and green for Christmas, orange and black for Halloween) or sports team colors.
- Sprinkles: Add a festive touch with colorful sprinkles! Use rainbow sprinkles for birthdays, seasonal sprinkles for holidays, or even metallic sprinkles for an elegant look. Apply them immediately after the chocolate drizzle, while the chocolate is still wet, to ensure they adhere.
- Chopped Nuts: If you love extra crunch, sprinkle finely chopped peanuts or other nuts (like pecans or walnuts) over the wet chocolate coating.
- Sea Salt: A tiny pinch of flaky sea salt sprinkled on top can beautifully enhance the sweet and savory flavors, creating a gourmet touch.
- Mini Chocolate Chips: Press a few mini chocolate chips onto the wet chocolate for an extra chocolatey flourish.
- Creative Presentation: Arrange your Nutter Butter truffles in decorative paper candy cups or small cupcake liners for a refined presentation, especially when serving them on a platter or packaging them as gifts.
No matter how you choose to dip, drizzle, and garnish, these Nutter Butter balls are sure to be a hit. Enjoy creating and indulging in these delightful treats!
Explore More Delicious Chocolate Peanut Butter Recipes
If you’re a fan of the irresistible combination of chocolate and peanut butter, you’re in for a treat! Here are some other fantastic recipes that celebrate this classic pairing:
- Decadent Peanut Butter Brownies
- Easy No-Bake Peanut Butter Bars
- Rich Chocolate Peanut Butter Pie
- Classic Chocolate Peanut Butter Cookies
I love to bake and cook and share my kitchen experience with all of you! Remembering to come back each day can be tough, that’s why I offer a convenient newsletter every time a new recipe posts. Simply subscribe and start receiving your free daily recipes!

Nutter Butter Balls
IMPORTANT – There are often Frequently Asked Questions within the blog post that you may find helpful. Simply scroll back up to read them!
Print It
Pin It
Rate It
Save ItSaved!
Ingredients
- 16 ounces Nutter Butter cookies (1 package)
- 6 ounces cream cheese (at room temperature)
- 1 cup creamy peanut butter (such as Skippy or Jif)
- 16 ounces chocolate almond bark (or candy wafers)
- 2 teaspoons vegetable oil
Things You’ll Need
-
Food processor
-
Baking sheet
-
Parchment paper
-
1 Tablespoon cookie scoop
Before You Begin
- Avoid using natural peanut butter, as it often has an inconsistent consistency and oil separation that can prevent the Nutter Butter balls from binding properly. Creamy (not chunky) conventional peanut butter is preferred to achieve the best results and a smooth texture.
- Vegetable oil is added to the chocolate to help thin it out, making it much easier for dipping and achieving a smooth, even coating on the Nutter Butter balls. If you prefer, you can substitute the same quantity of coconut oil (refined, to avoid coconut flavor) or shortening.
- For the best chocolate coating, we recommend using either chocolate almond bark, candy wafers, or a quality bar of baking chocolate. These are designed to melt smoothly and set well. We do not recommend using chocolate chips, as their stabilizing ingredients make them difficult to melt and dip with, often resulting in a thicker, less manageable coating.
- When pulsing the Nutter Butter cookies in the food processor, do not separate the cookie from its filling. The entire cookie, including its creamy center, should be pulsed to create the fine crumbs. The filling contributes essential flavor and helps bind the mixture together.
Instructions
-
Line 2 cookie sheets with parchment paper and set aside.
-
Put Nutter Butter cookies in a food processor and pulse until they resemble a fine crumb. Set aside 3 tablespoons of the crumb mixture for the topping.
-
Add the cream cheese and peanut butter to the cookie crumbs and continue to pulse until the mixture comes together to form a ball.
-
Using a small cookie dough scoop (1 tablespoon size), place even amounts of the mixture on the prepared cookie sheets.
-
Once you have scooped all the mixture, roll them into compact balls and place them back on the parchment-lined cookie sheets.
-
Transfer the cookie sheets to the freezer for 1 hour to allow the balls to firm up.
TIP – Don’t skip the freezing step! I find it much easier to dip and achieve a perfectly smooth chocolate coating when the ball is frozen as opposed to chilled in the refrigerator.
-
Place the chocolate in a microwave-safe bowl and heat on high for 30-second intervals until the chocolate has melted. Stir in 2 teaspoons of vegetable oil.
-
Place a frozen ball on the end of a fork and quickly dip it into the melted chocolate. It should coat the ball in an even layer and dry very quickly. Tap off any excess chocolate from the fork against the edge of the bowl. Place the ball back on the parchment-lined cookie sheet and repeat with the remaining balls.
-
To make the drizzle, re-heat the chocolate if needed and pour it into a pastry bag or a small ziploc bag with a tiny corner snipped. Drizzle lines across the balls. Working quickly (so the drizzle doesn’t dry), sprinkle the balls with the remaining cookie crumbs.
-
Enjoy, or transfer to fridge if serving later.
Expert Tips & FAQs
- This recipe is designed to yield approximately 40-48 Nutter Butter balls, depending on the size of your cookie dough scoop.
- Storage: Since these delicious Nutter Butter balls contain cream cheese, proper storage is important. Once the chocolate coating has set, store them in an airtight container in the refrigerator. They will remain fresh and delightful for up to 5 days.
- Freezing: These truffles are excellent for freezing! You can freeze the fully dipped Nutter Butter balls in an airtight container for up to 3 months. Be aware that the chocolate coating may show slight discoloration or speckling after freezing, but this does not affect the taste. Alternatively, you can freeze the peanut butter balls (undipped) and then coat them in chocolate at a later time. Always defrost frozen Nutter Butter balls in the refrigerator before serving for the best texture and flavor.
Nutrition
The recipes on this blog are tested with a conventional gas oven and gas stovetop. It’s important to note that some ovens, especially as they age, can cook and bake inconsistently. Using an inexpensive oven thermometer can assure you that your oven is truly heating to the proper temperature. If you use a toaster oven or countertop oven, please keep in mind that they may not distribute heat the same as a conventional full sized oven and you may need to adjust your cooking/baking times. In the case of recipes made with a pressure cooker, air fryer, slow cooker, or other appliance, a link to the appliances we use is listed within each respective recipe. For baking recipes where measurements are given by weight, please note that results may not be the same if cups are used instead, and we can’t guarantee success with that method.
