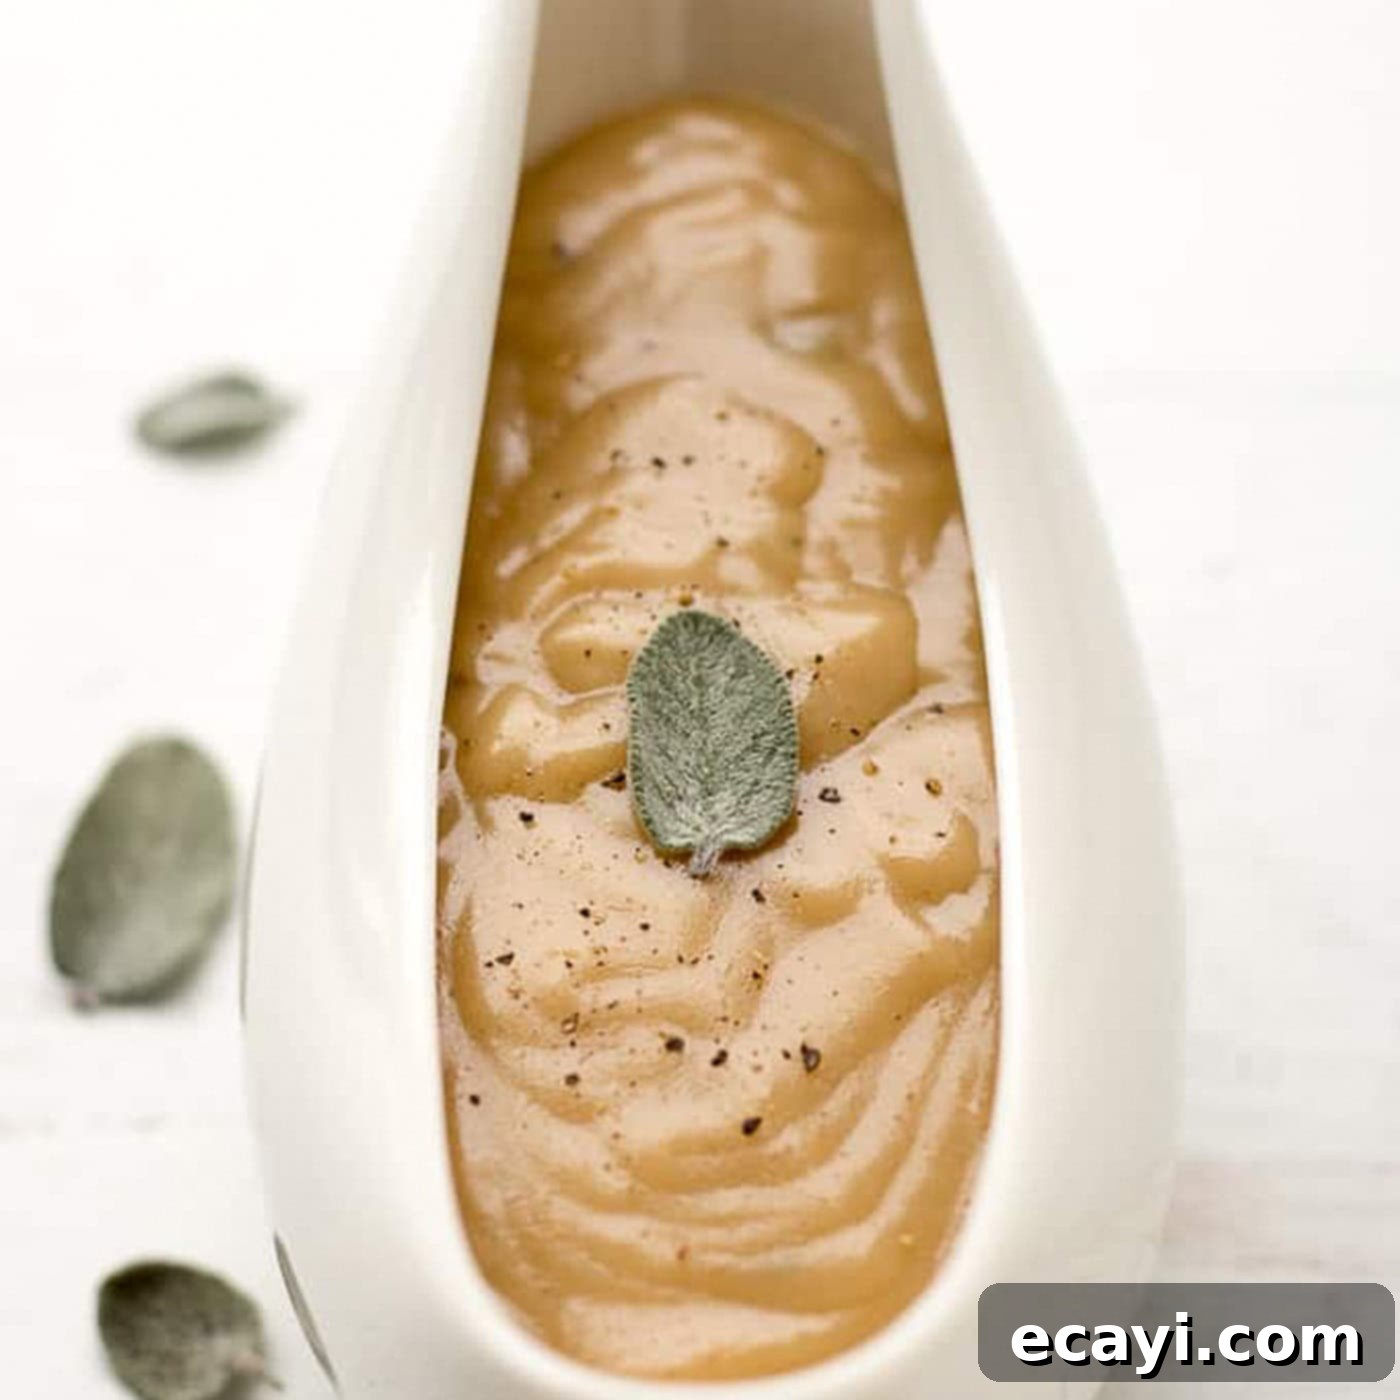
The Ultimate Guide to Homemade Turkey Gravy: Crafting Savory Perfection for Your Holiday Table
There’s nothing quite like rich, savory homemade turkey gravy to elevate a holiday meal. This comprehensive recipe tutorial guides you through making the most delicious turkey gravy from scratch, utilizing the flavorful pan drippings from your roasted bird. Achieving that perfect consistency, infused with aromatic herbs like sage, rosemary, and thyme (optional), and enhanced by a splash of dry sherry or white wine (also optional), this gravy will become a staple for your Thanksgiving and Christmas feasts. Forget store-bought alternatives; once you master this simple technique, you’ll never look back.
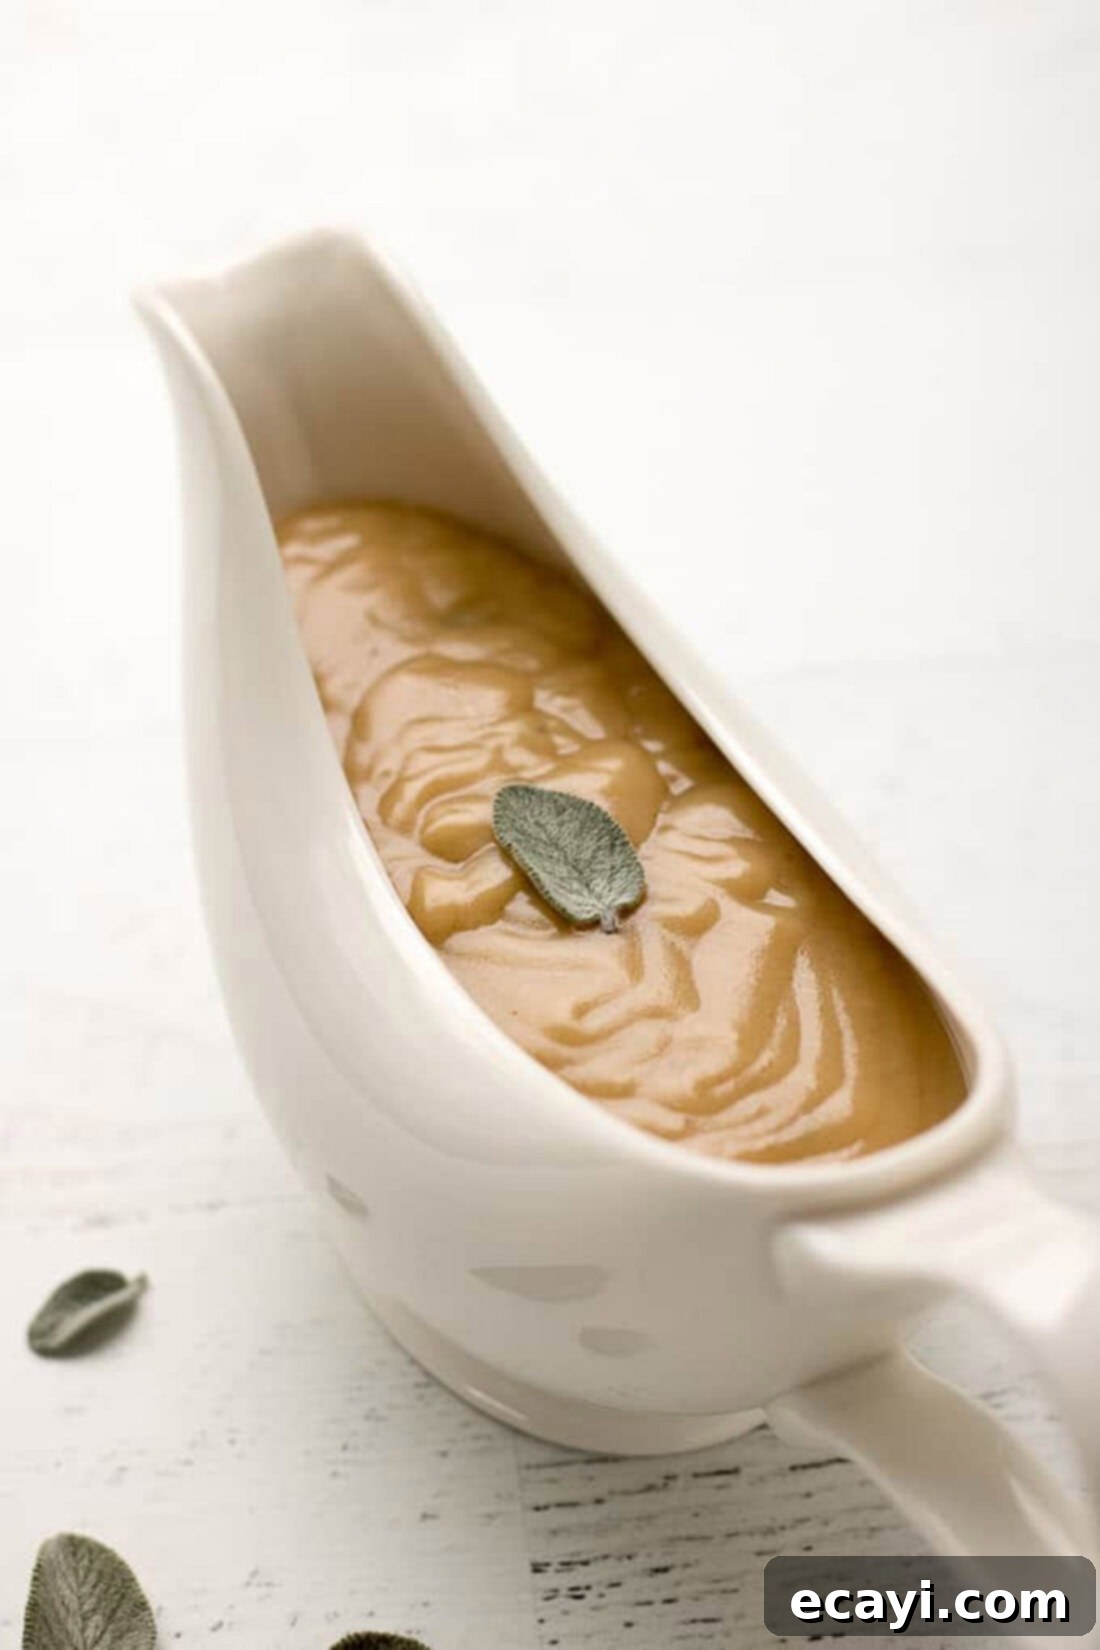
Why This Homemade Turkey Gravy Recipe Is a Must-Have
Learning how to make homemade turkey gravy is an invaluable culinary skill that will serve you well, especially during major holidays like Thanksgiving and Christmas. It’s the crowning glory for any perfectly roasted turkey, bringing together all the elements of your festive meal with its deeply savory flavor. The beauty of this recipe lies in its ability to transform simple pan drippings into a luxurious sauce that complements every dish on your plate.
One of the greatest advantages of this homemade turkey gravy recipe is its make-ahead potential. You can prepare it several days in advance and store it in the refrigerator, or even freeze it for up to three months, significantly easing your holiday cooking stress. This method is also incredibly versatile; it works just as beautifully when making gravy for a whole roasted chicken. The recipe yields a generous amount, typically 3 1/2 to 4 cups or more, ensuring there’s plenty for everyone (and for delicious leftovers!). Infusing your gravy with fresh or dried herbs like sage, rosemary, and thyme is highly recommended, as their earthy, aromatic notes naturally complement the rich flavor of turkey and chicken, adding an extra layer of complexity and fragrance that defines a truly exceptional gravy.

Key Ingredients for Flavorful Turkey Gravy
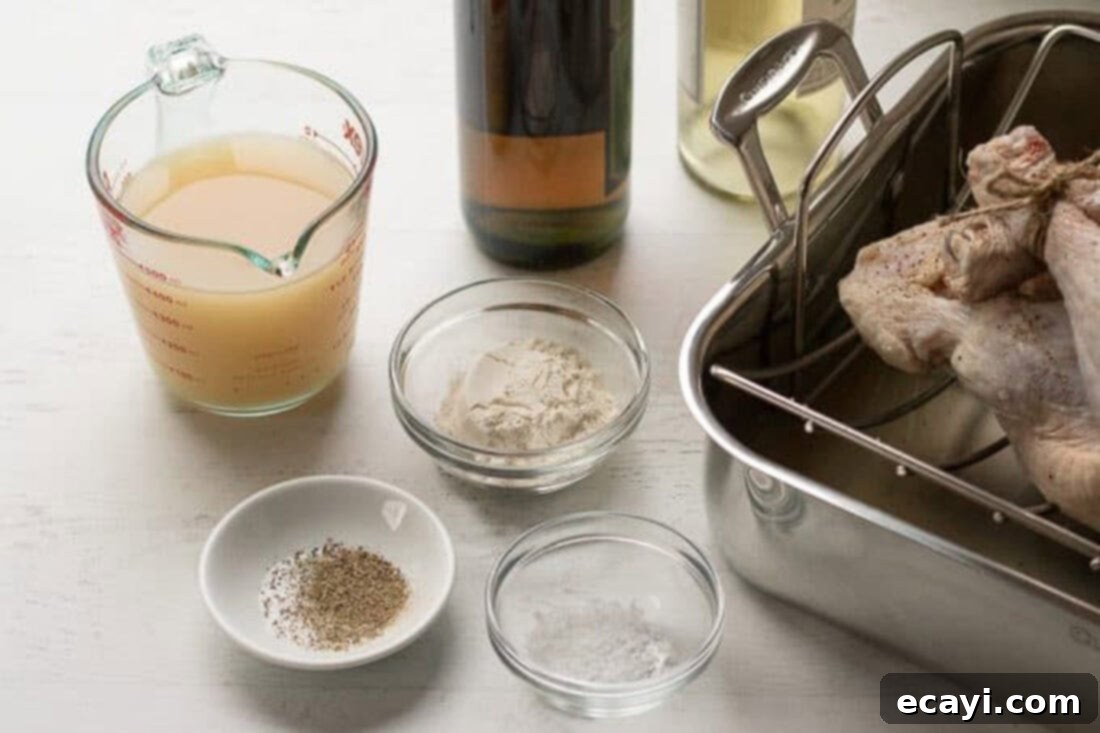
Gathering the right ingredients is the first step to creating a spectacular homemade turkey gravy. While the full list with precise measurements is available in the printable recipe card at the end of this post, here’s a quick overview of what you’ll need to transform your turkey drippings into liquid gold:
- Pan drippings from a roasted turkey (these are the flavor foundation!)
- Chicken or vegetable broth (low sodium recommended)
- All-purpose flour (for thickening)
- Unsalted butter (optional, for richness)
- Kosher or sea salt and freshly ground black pepper (to taste)
- Dry white wine or dry sherry (optional, for depth of flavor)
- Fresh or dried herbs: rosemary, sage, thyme (optional, for aromatic infusion)
Ingredient Insights and Smart Substitutions
Understanding each ingredient and its role is key to mastering your homemade turkey gravy. Here are some helpful tips and substitution suggestions:
TURKEY DRIPPINGS: The Heart of Your Gravy
The flavorful liquid accumulated at the bottom of your roasting pan after cooking a turkey is the essential base for this gravy. These drippings are packed with rich, roasted turkey flavor. To easily separate the fat from the flavorful juices, I highly recommend using a fat separator. It’s a game-changer for gravy making, allowing you to pour off the pure broth from the bottom while the fat floats to the top. If you don’t have a fat separator, don’t worry! You can simply refrigerate the drippings for about 30 minutes (or overnight) until the fat solidifies on top, then easily skim it off with a spoon. You’ll need about 1/4 cup of the fat and 1 cup of the defatted drippings for this recipe. Don’t discard any extra; it can be refrigerated or frozen for future gravy endeavors.
BROTH: Adjusting Consistency and Enhancing Flavor
You have flexibility here – chicken broth, vegetable broth, or even turkey stock (if you have it) will work beautifully. I always recommend using low-sodium broth so you can control the saltiness of your gravy. The broth is crucial for deglazing the pan and later for adjusting the gravy’s consistency. If your gravy turns out too thick, simply whisk in a little more broth until it reaches your desired pourable texture. If you’re out of drippings or want to amplify the flavor, a good quality store-bought turkey stock or a concentrated bouillon paste (like “Better Than Bouillon”) can be a fantastic addition.
HERBS: Aromatic Infusion
The combination of sage, rosemary, and thyme perfectly complements turkey and adds an incredible aroma to your gravy. While fresh herbs offer the most vibrant flavor, dried herbs can certainly be used. A good rule of thumb for substitution is: **3 parts fresh herbs to 1 part dried herbs**. For example, if the recipe calls for 1 teaspoon of fresh herbs, use 1/3 teaspoon of dried herbs. Make sure to finely mince fresh herbs so their flavor distributes evenly. You can add them during the simmering process to allow their flavors to fully meld with the gravy.
ALL-PURPOSE FLOUR: The Thickening Agent
All-purpose flour is used to create a roux, which is the foundation for thickening this gravy to a luscious, smooth consistency. It blends with the turkey fat to form a paste that then absorbs the liquid, preventing lumps. For those avoiding gluten, you could experiment with a gluten-free all-purpose flour blend or use cornstarch or arrowroot powder to create a slurry (mixing it with cold water first) and whisking it into the hot gravy at the end. However, this recipe specifically focuses on the classic flour-based roux for its rich flavor development.
DRY WINE OR SHERRY: Optional Depth and Deglazing
A splash of dry white wine or dry sherry is entirely optional but highly recommended. These alcoholic additions, when cooked down, add a wonderful depth and complexity to the gravy, enhancing the savory notes without making it taste boozy. They also aid in the deglazing process, helping to lift those delicious browned bits from the roasting pan. Choose a wine you’d enjoy drinking, such as a Sauvignon Blanc or Pinot Grigio, or a good quality dry sherry. The alcohol cooks off, leaving only the rich flavor behind.
SALT AND PEPPER: Seasoning to Perfection
Seasoning is paramount for a balanced gravy. Always taste as you go! Turkey drippings and broth can vary in saltiness, so start with a modest amount of Kosher or sea salt and freshly ground black pepper, then adjust to your preference. Remember, you can always add more, but you can’t take it away.
How to Make the Best Homemade Turkey Gravy: A Step-by-Step Guide
These step-by-step photos and instructions are here to help you visualize how to make this recipe. For a concise, printable version of this delicious homemade turkey gravy recipe, complete with measurements and instructions, simply Jump to Recipe at the bottom of the post.
Making gravy from scratch might seem intimidating, but by following these detailed steps, you’ll achieve a smooth, flavorful sauce every time. The process begins right after your beautiful roasted turkey comes out of the oven.
1. Deglaze the Roasting Pan for Maximum Flavor
- Remove the Turkey: Once your whole roasted turkey is cooked to perfection, carefully remove it from the oven and transfer it to a large platter or a rimmed sheet pan. This allows the turkey to rest, and leaves behind all those incredibly flavorful drippings and browned bits in the roasting pan. These are the goldmine for your gravy!
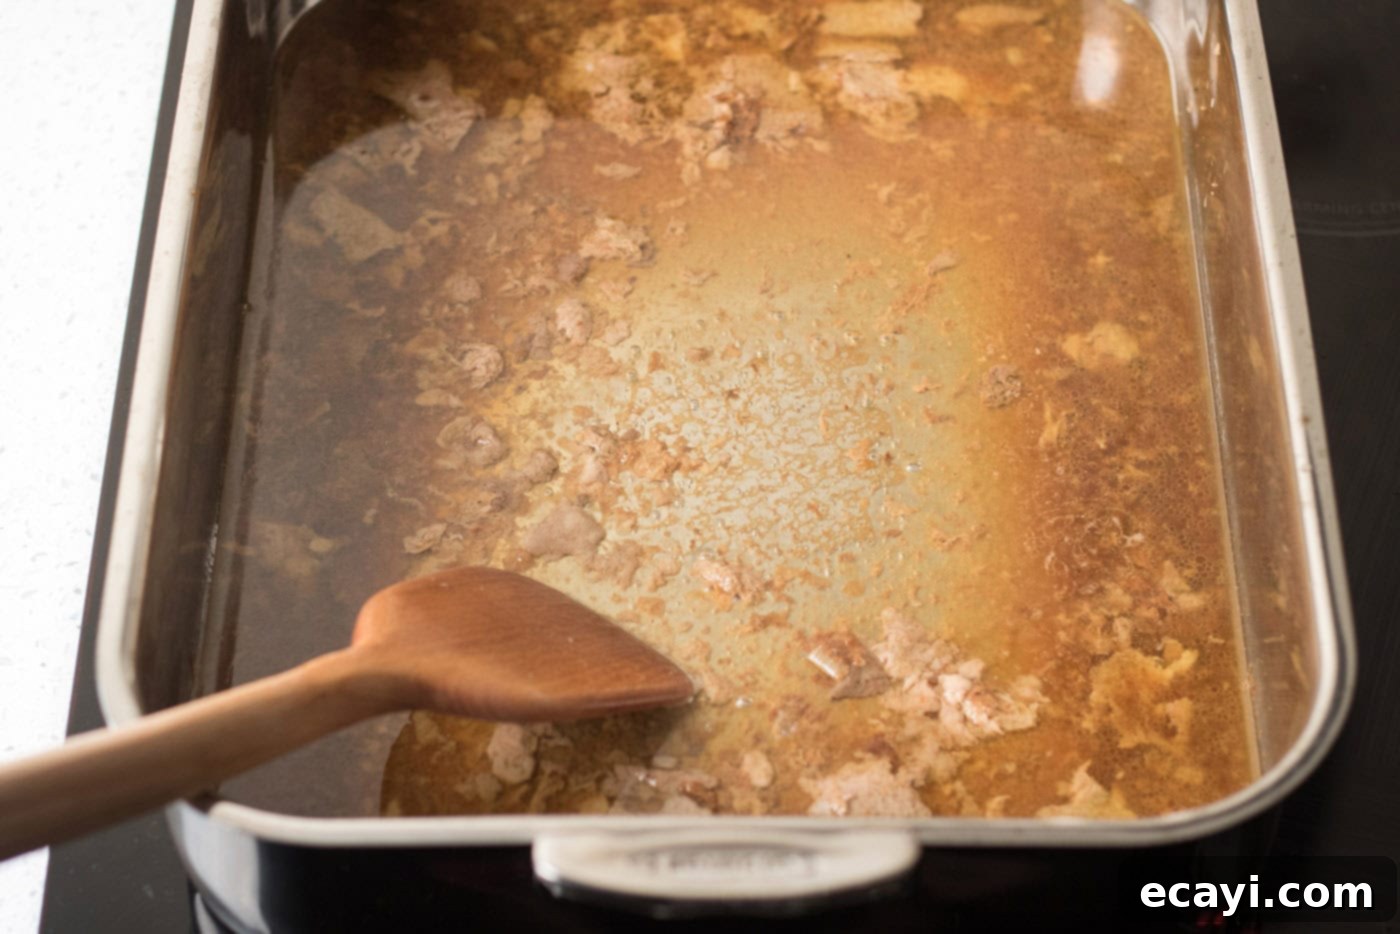
- Heat the Pan: Place the large roasting pan across two burners on your stovetop. Turn the heat to medium-high. You’ll notice the residual liquid in the pan will begin to heat up and sputter. This high heat is essential for deglazing.
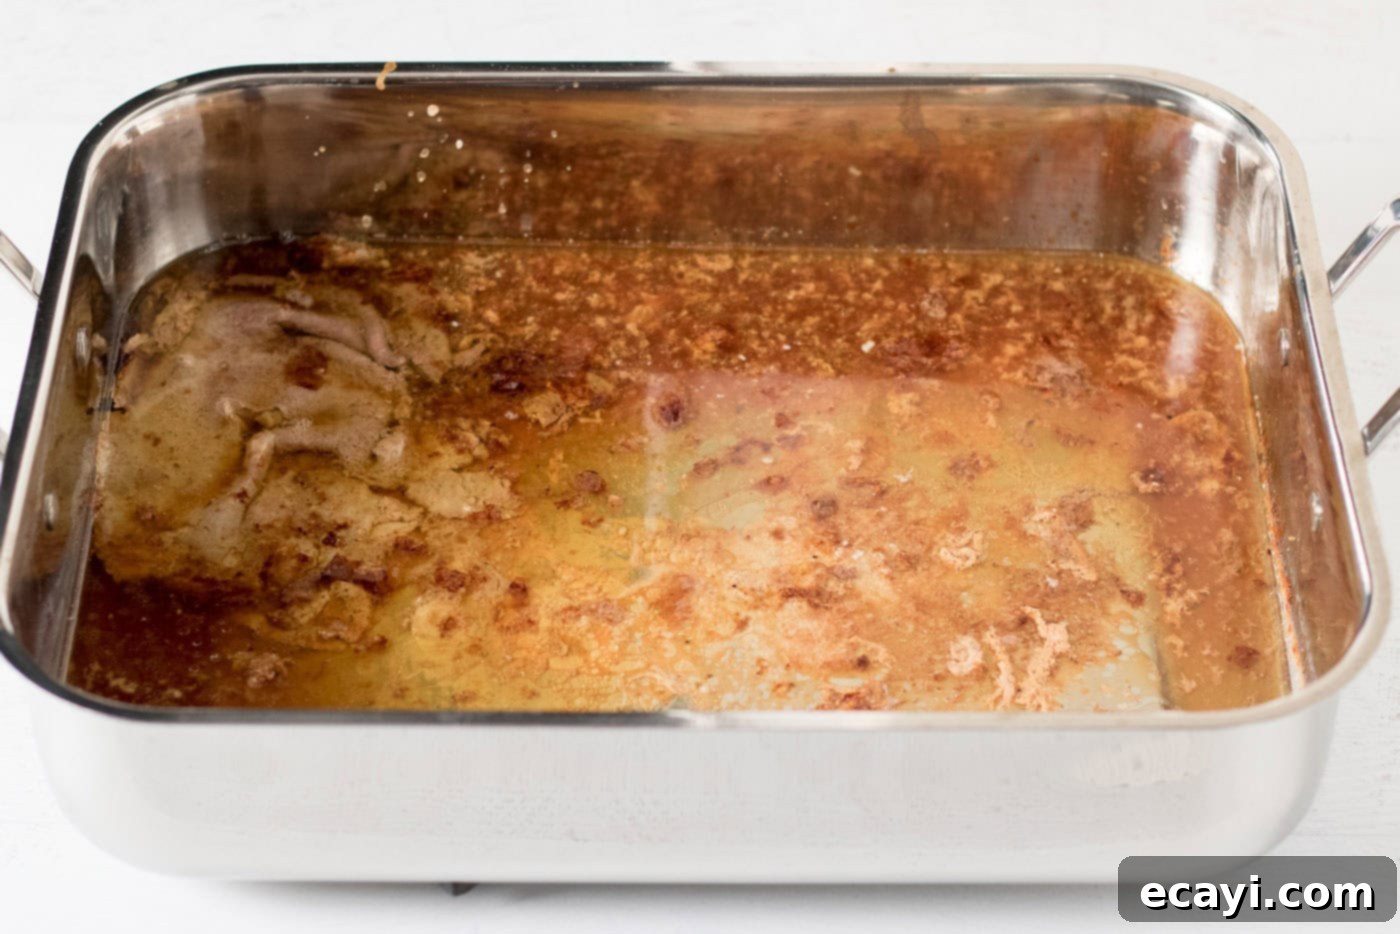
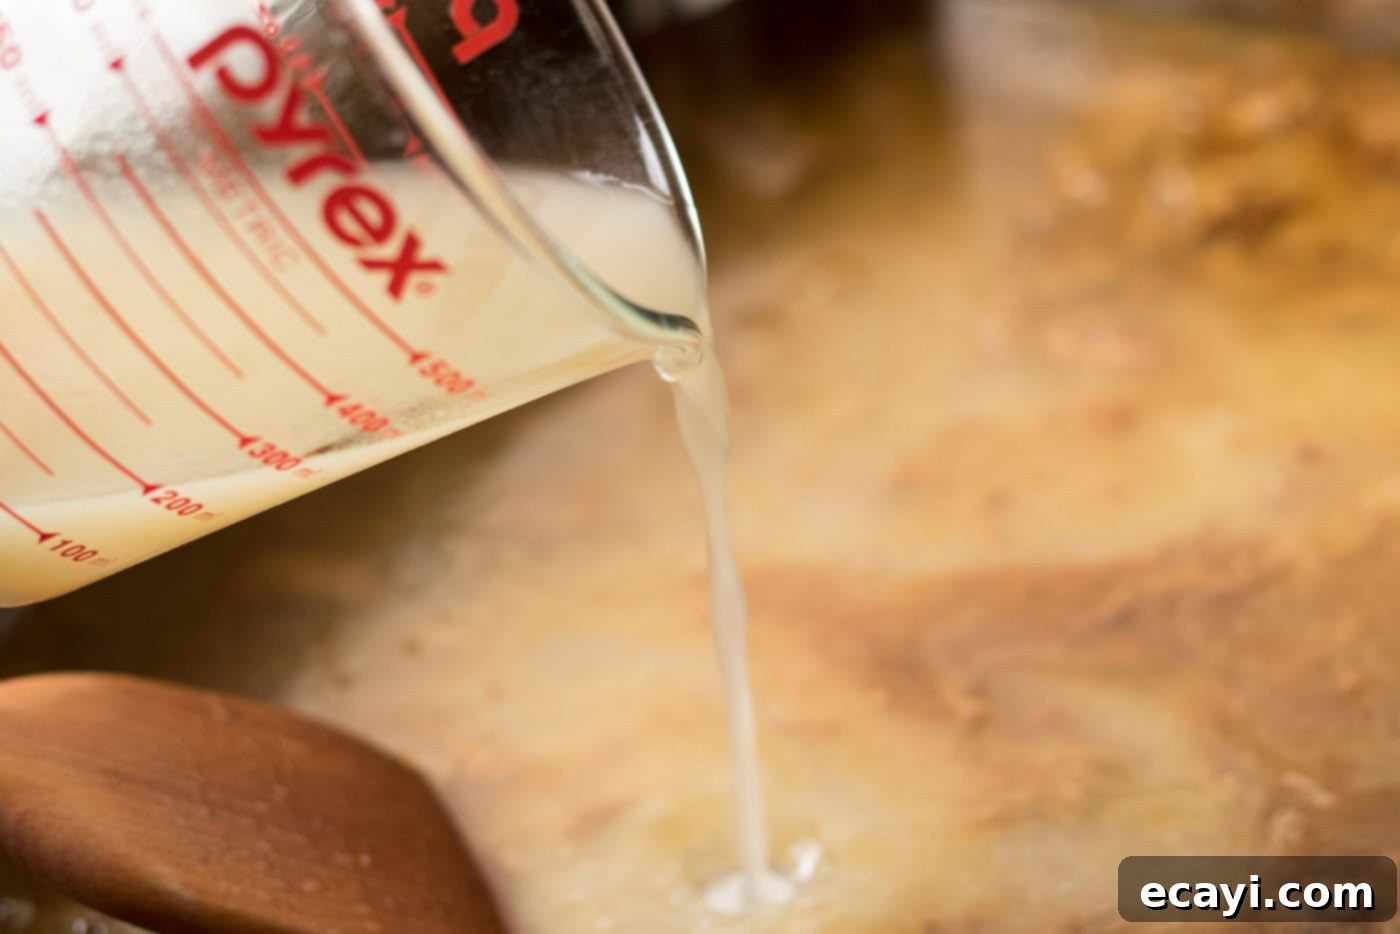
- Add Broth and Scrape: Pour 1 cup of chicken or vegetable broth into the hot roasting pan. Immediately, using a sturdy metal spatula or a wooden spoon, begin to scrape vigorously at the bottom and sides of the pan. All those caramelized, browned bits stuck to the bottom are packed with concentrated flavor. As you scrape, they will loosen and dissolve into the broth, creating a rich, flavorful base for your gravy. Continue to scrape for a few minutes until all the flavorful fond has been incorporated into the liquid.
2. Separate the Fat from the Drippings
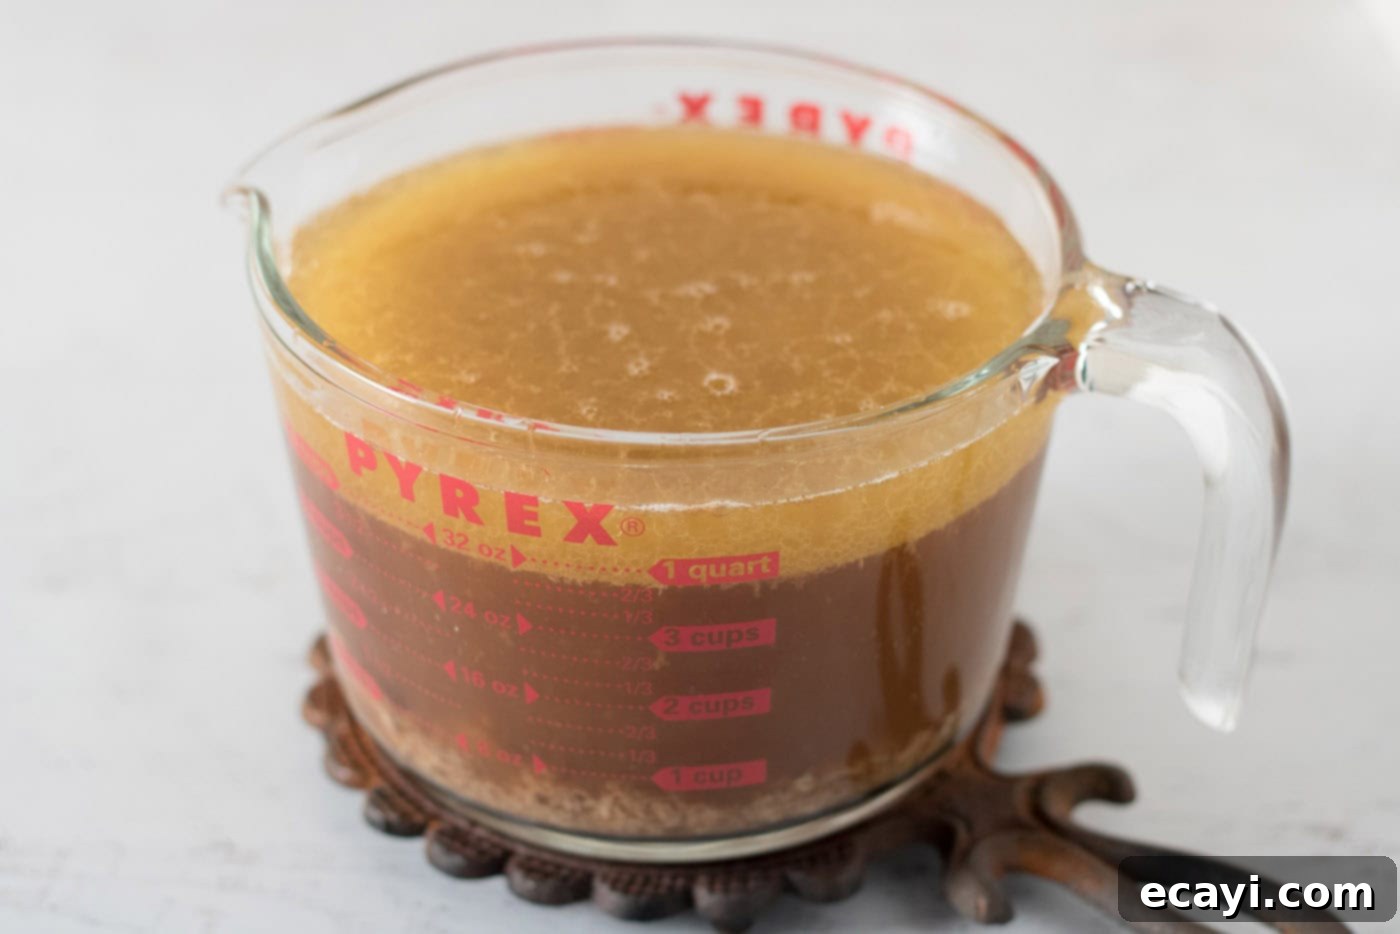
- Chill the Drippings: Carefully pour the deglazed drippings into a large liquid measuring cup or another heat-proof container. Place it in the refrigerator for at least 30 minutes. If you’re making gravy ahead of time, you can refrigerate it overnight. Chilling allows the fat to rise to the top and solidify, making it much easier to separate.
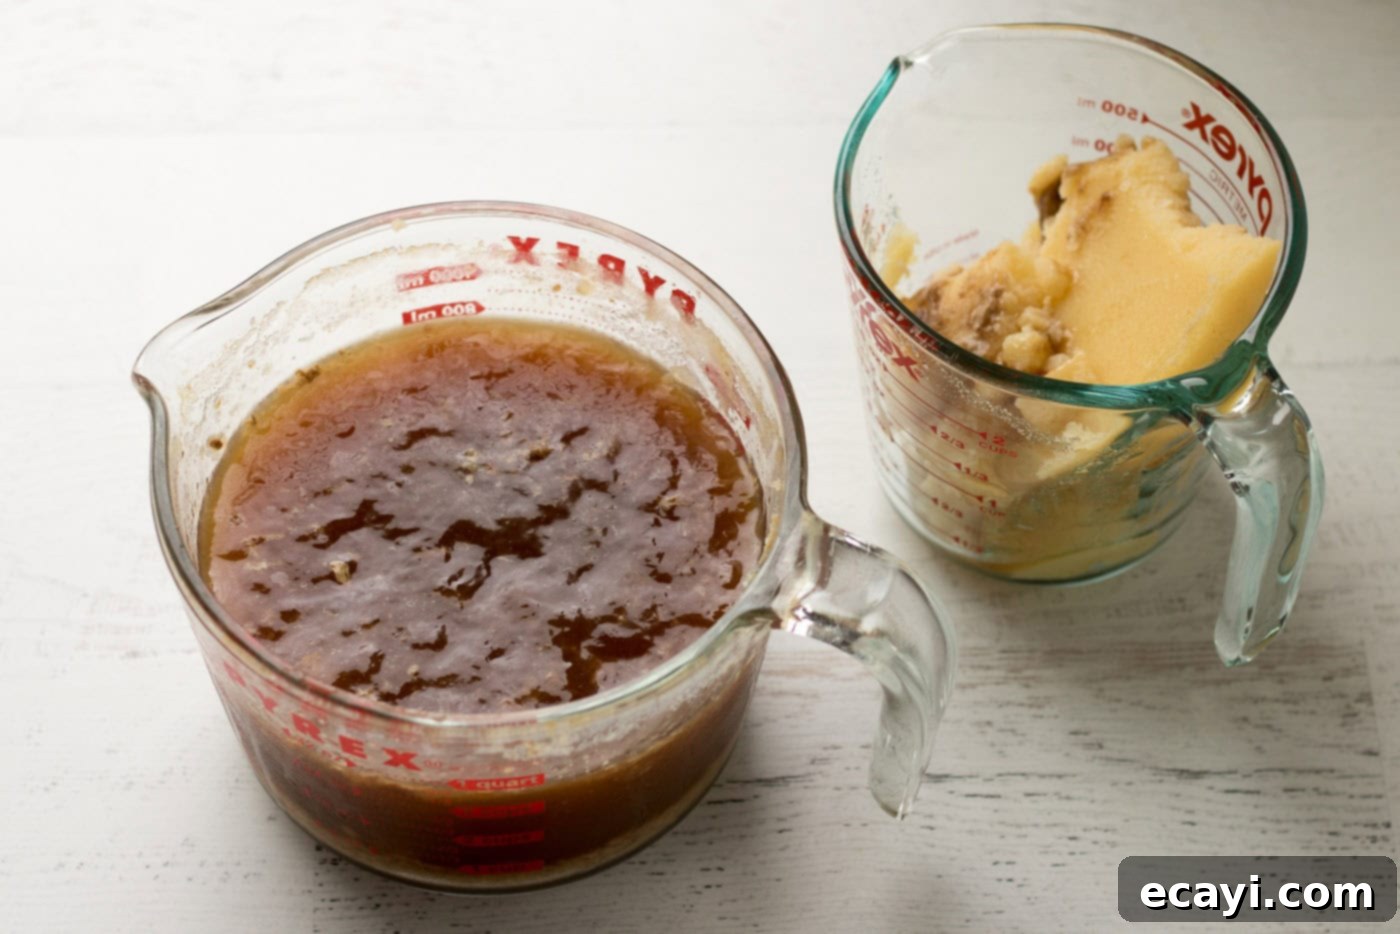
- Skim the Fat: Once the fat has congealed into a solid layer on the surface, use a spoon to gently scrape it off and transfer it to a separate container. You’ll need about 1/4 cup of this turkey fat for your roux, but you can save any extra fat and remaining defatted drippings for future use (they freeze beautifully!). Measure out 1 cup of the defatted pan drippings to be used in the gravy. These defatted drippings are pure flavor, free of excessive grease.
3. Craft the Perfect Roux and Build Your Gravy
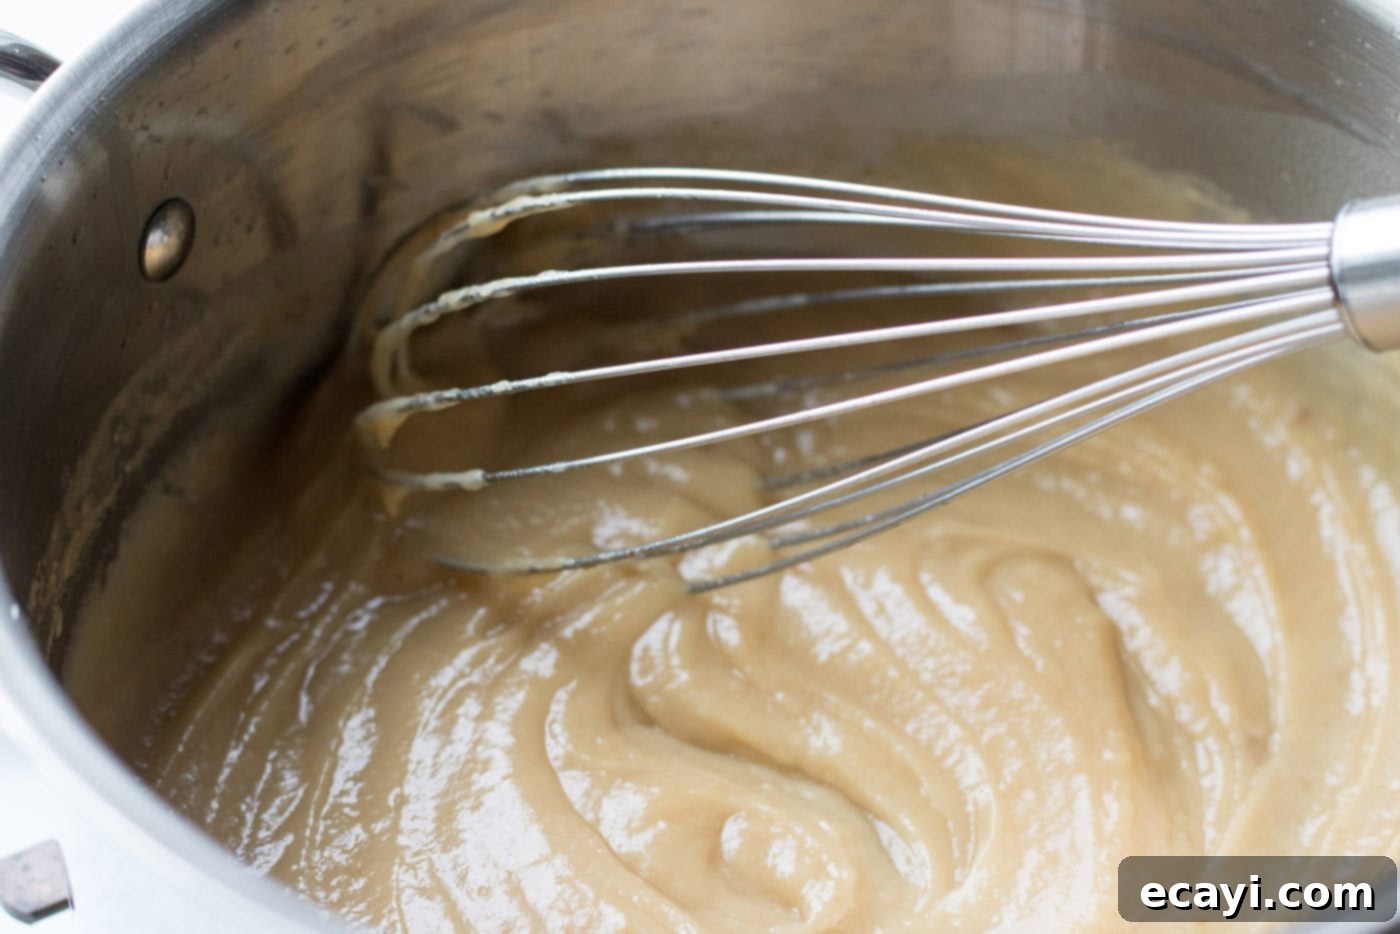
- Prepare the Roux Base: In a medium saucepan, add 1/4 cup of the reserved turkey fat (or unsalted butter if you don’t have enough fat) over medium-high heat. Once melted and shimmering, add 1/4 cup of all-purpose flour. Using a metal whisk, vigorously mix the fat and flour together. Continue whisking constantly for 1-2 minutes, cooking out the raw flour taste and creating a smooth, even paste. This is your roux, the thickening foundation for your gravy. For a darker gravy, cook the roux slightly longer until it turns a light golden brown.
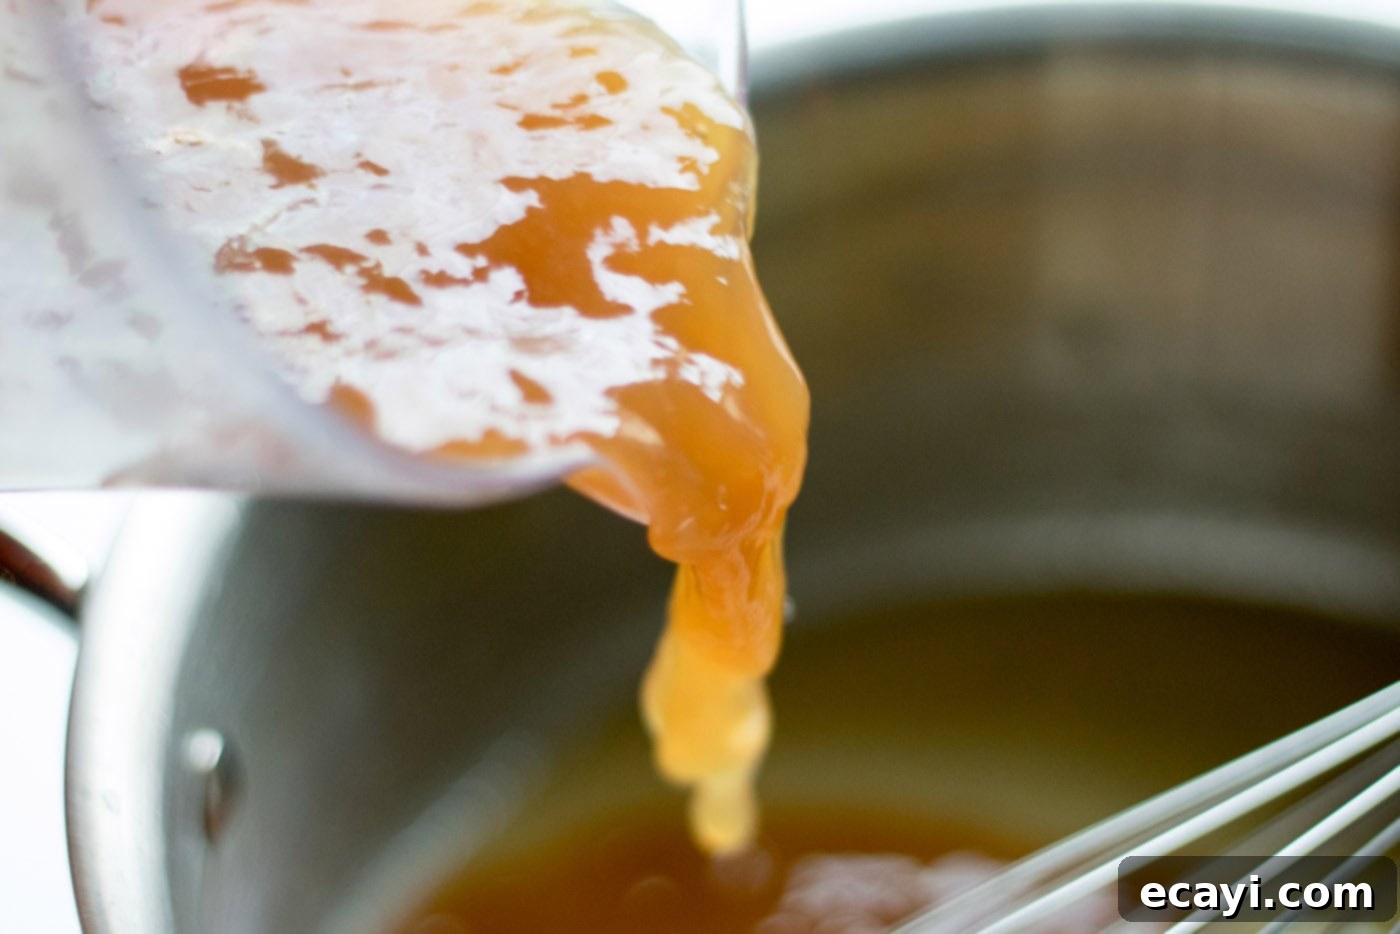
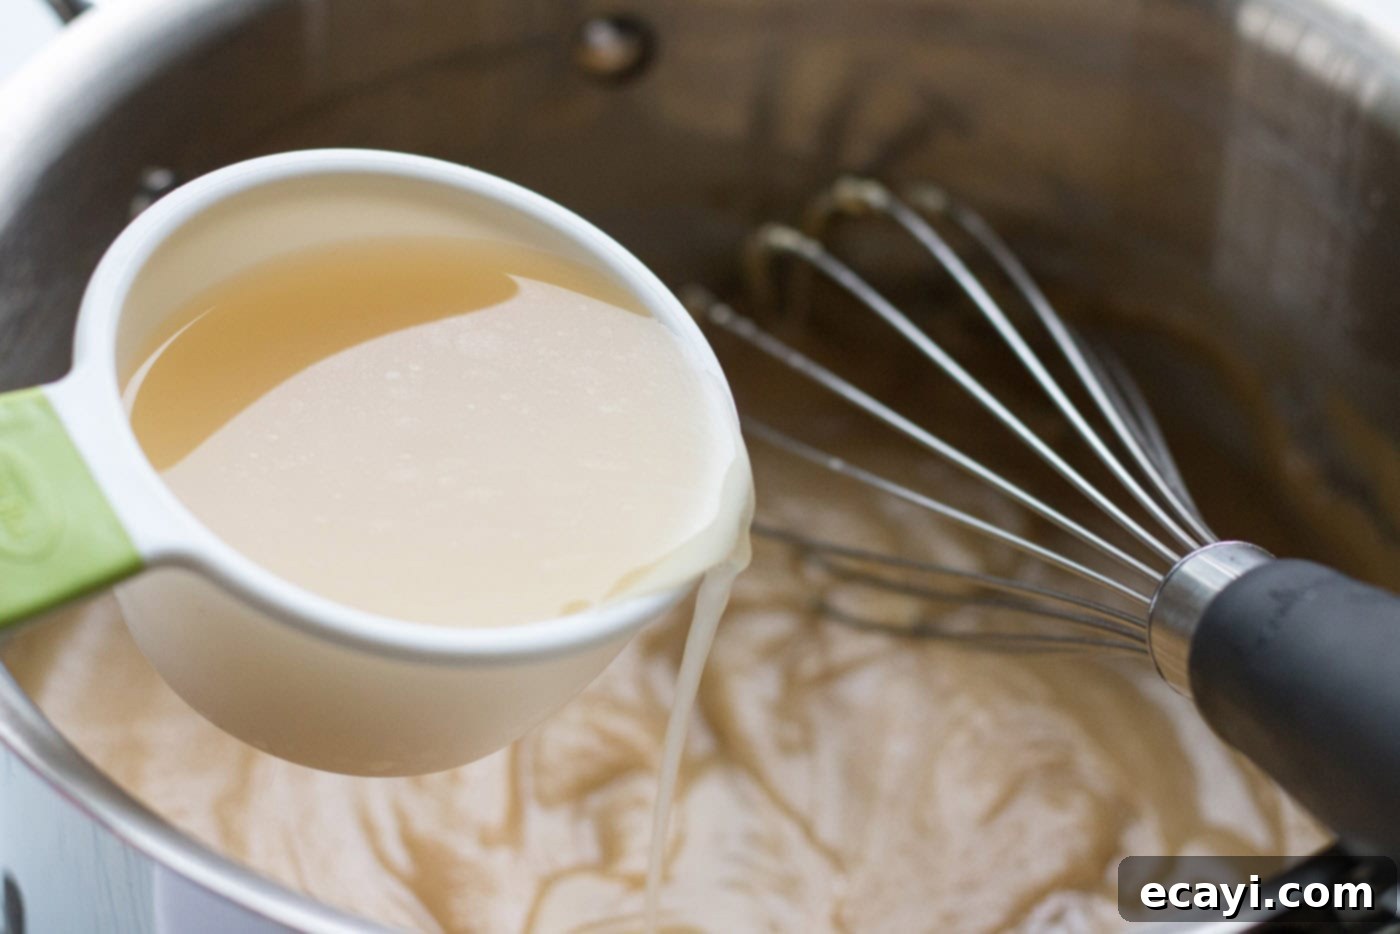
- Incorporate Drippings and Broth: Gradually pour the 1 cup of reserved pan drippings into the roux, whisking continuously to prevent lumps. The mixture will thicken quickly. Once combined, slowly add 1/2 cup of your chosen broth, continuing to whisk until the gravy is smooth and starts to simmer.
- Adjust Consistency and Season: Allow the gravy to simmer gently for a few minutes, continuing to whisk occasionally. This helps it thicken further and allows the flavors to meld. If you prefer a thicker gravy, simmer it for a longer duration. If you find it too thick, simply whisk in additional broth (a tablespoon at a time) until it reaches your desired pourable consistency. Season the gravy with salt and freshly ground black pepper to taste. Remember, the drippings already contain salt, so taste before adding too much.
4. Enhance with Optional Ingredients for Richness and Aroma
- Add Wine/Sherry and Herbs: Now is the perfect time to incorporate the optional ingredients that add incredible depth. Stir in 1-2 tablespoons of dry white wine or dry sherry, and the finely minced fresh herbs (rosemary, sage, and thyme). Allow the gravy to simmer for another few minutes, letting the alcohol cook off and the herb flavors to infuse fully.
5. Achieving Ultra-Smooth Gravy
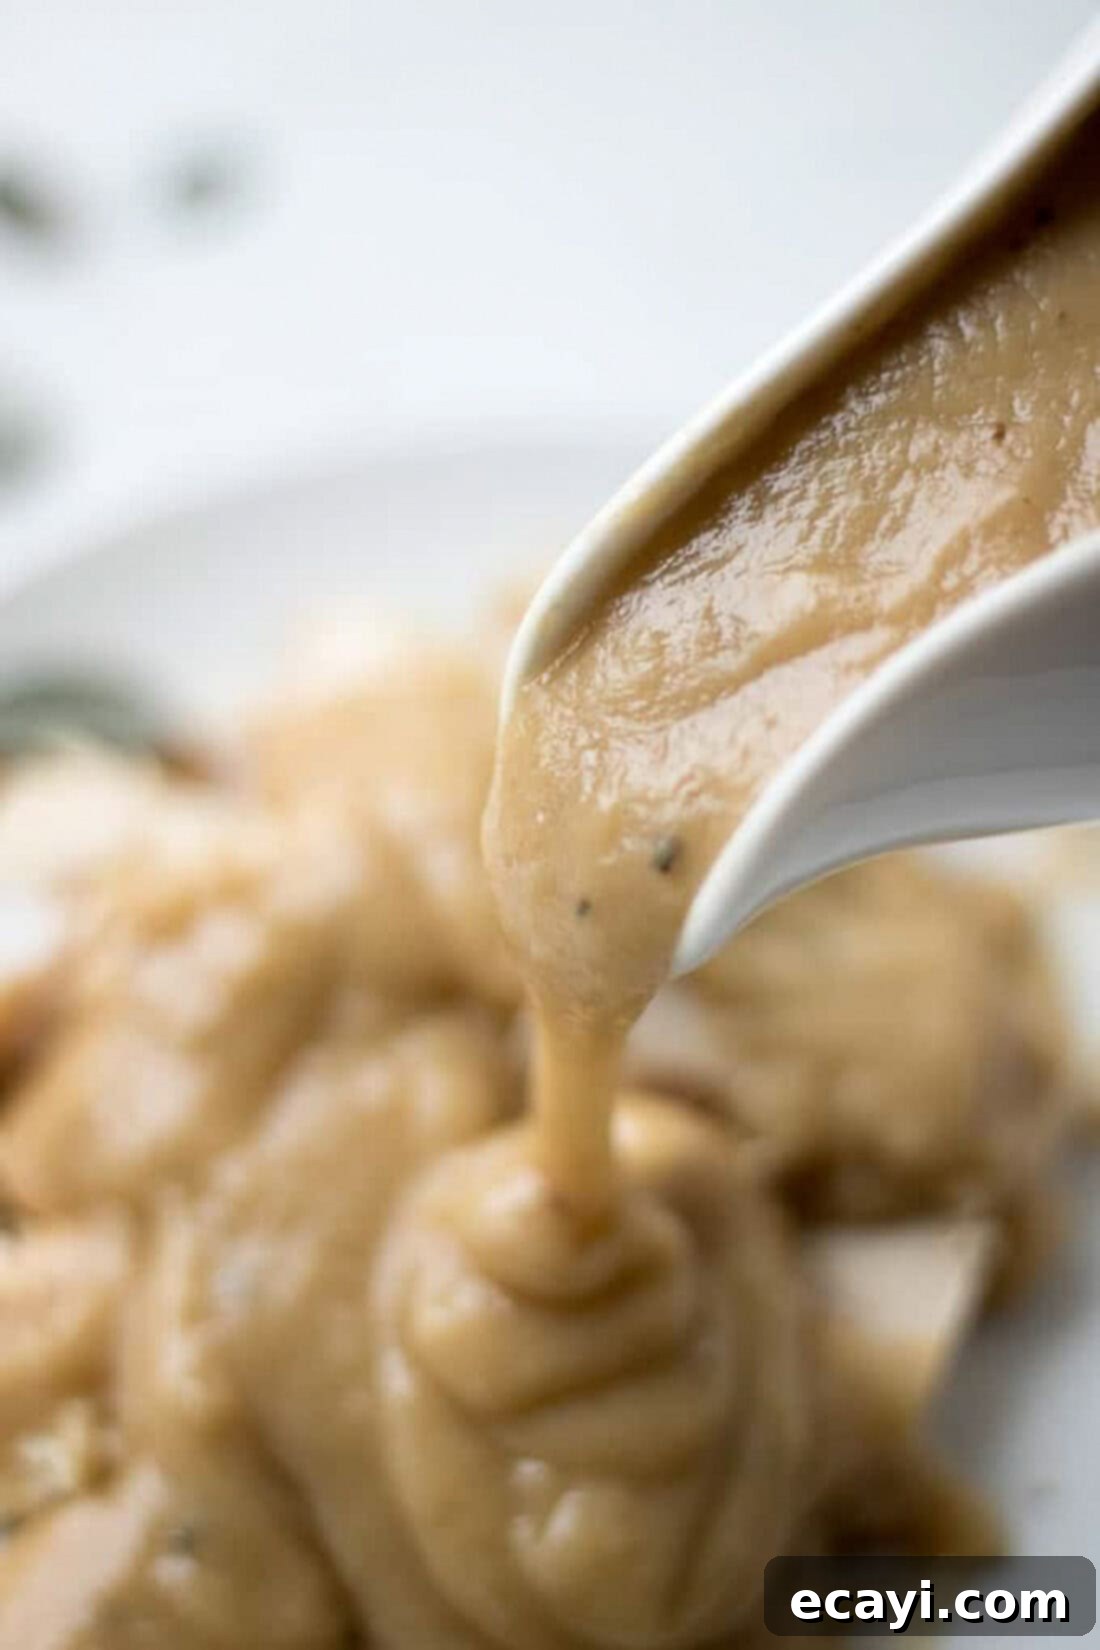
- Strain for Perfection: If you desire an exceptionally smooth, velvety gravy, pour it through a fine-mesh sieve or strainer directly into your gravy boat or serving container. This will catch any small bits of herbs, browned fond that didn’t fully dissolve, or tiny lumps, ensuring a restaurant-quality finish.
Frequently Asked Questions & Expert Tips for Perfect Gravy
Homemade turkey gravy is best stored in an airtight container in the refrigerator for up to 1 week. For longer storage, you can freeze the gravy for up to 3 months. To reheat, gently warm it on the stove over low heat, whisking frequently to restore its smooth consistency. If it’s too thick after reheating, a splash of broth will bring it back to life.
To **thicken** turkey gravy, you have a few options: you can simply simmer it for a longer period, allowing more liquid to evaporate. Alternatively, for a quicker fix, create a cornstarch or arrowroot slurry (mix 1 tablespoon of starch with 2 tablespoons of cold water) and whisk it into the simmering gravy until it reaches your desired thickness. To **thin** turkey gravy, gradually whisk in additional chicken or vegetable broth, a tablespoon at a time, until it has the perfect pourable consistency.
Lumps often occur when hot liquid is added too quickly to a roux, or if the flour isn’t fully incorporated into the fat. To prevent them, ensure you whisk your fat and flour together thoroughly to form a smooth roux. When adding liquids (drippings and broth), do so gradually while whisking continuously and vigorously. If lumps still form, don’t despair! You can usually fix them by either straining the gravy through a fine-mesh sieve or, for smaller lumps, using an immersion blender directly in the saucepan to smooth it out.
If your roasted turkey didn’t yield as many drippings as you’d hoped, you can still make a fantastic gravy! Supplement the drippings with extra chicken or turkey broth. For an even richer flavor, consider using a high-quality, concentrated turkey or chicken base (like “Better Than Bouillon”) dissolved in hot water instead of standard broth. You might also add a pat of butter to your roux if you lack sufficient turkey fat.
Absolutely! For an even deeper turkey flavor, you can make a separate giblet stock. Simmer the turkey neck, giblets (excluding the liver, which can make it bitter), a quartered onion, a carrot, a celery stalk, and a bay leaf in water for an hour or two. Strain the stock and use it in place of or in addition to the chicken or vegetable broth in this recipe. Chop the cooked giblets finely and add them to the finished gravy for extra texture and flavor.
Delicious Serving Suggestions for Your Homemade Gravy
This rich homemade turkey gravy is the ultimate companion for your holiday roasted turkey, but its versatility extends far beyond just the main bird. Drizzle it generously over slices of succulent turkey breast or dark meat for an unforgettable meal. Don’t let any go to waste! It’s absolutely divine poured over creamy side dishes like these amazing crockpot mashed potatoes or creamy traditional mashed potatoes. It also pairs wonderfully with stuffing, roasted vegetables, biscuits, or even warmed dinner rolls. Leftover gravy can be used to moisten turkey sandwiches, add flavor to shepherd’s pie, or enrich a simple bowl of rice or noodles. Your holiday table won’t be complete without this savory addition!
More Essential Thanksgiving & Holiday Recipes
Round out your holiday feast with these other delicious and easy-to-make recipes:
- Crockpot Green Bean Casserole
- Sweet Potato Casserole
- Mini Pumpkin Pies
- Crockpot Stuffing
- Pumpkin Deviled Eggs
I love to bake and cook and share my kitchen experience with all of you! Remembering to come back each day can be tough, that’s why I offer a convenient newsletter every time a new recipe posts. Simply subscribe and start receiving your free daily recipes!
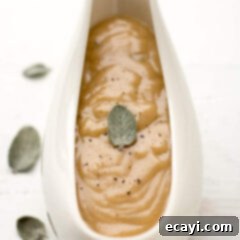
Homemade Turkey Gravy
IMPORTANT – There are often Frequently Asked Questions within the blog post that you may find helpful. Simply scroll back up to read them!
Print It
Pin It
Rate It
Save ItSaved!
Ingredients
- pan drippings from a 12-15 pound whole roasted turkey, yields approx. 1 cup defatted drippings + 1/4 cup fat
- 1 cup chicken or turkey broth low sodium, plus more for thinning if needed
- ¼ cup turkey fat from drippings, or unsalted butter if supplementing
- ¼ cup all-purpose flour
- Kosher or sea salt to taste
- freshly ground black pepper to taste
- 1-2 Tablespoons dry sherry or dry white wine optional, for depth of flavor
- 1 teaspoon fresh rosemary, sage, and thyme combined stems removed, finely minced (*see notes about substituting dried herbs)
Essential Equipment
-
Fat separator (highly recommended for easy fat removal)
-
Medium saucepan
-
Metal whisk
-
Large liquid measuring cup
-
Sturdy metal or wooden spatula
Before You Begin
- Fresh vs. Dry Herbs: If you don’t have fresh herbs on hand, you can substitute with dried. The general ratio is 3 parts fresh herbs to 1 part dried herbs. For this recipe, use approximately 1/3 teaspoon of dried mixed herbs if substituting for 1 teaspoon fresh.
- Yield Amount: This recipe typically yields about 3 1/2 to 4 cups of gravy, depending on how thick you prefer it. If you save extra pan drippings and fat, you can easily scale up the recipe to make a larger batch for bigger gatherings.
- Seasoning: Always taste your gravy before adding salt and pepper, as the turkey drippings and broth can already contain a good amount of seasoning.
Instructions
Prepare Drippings & Deglaze Pan
-
After removing your whole roasted turkey from the oven, transfer it to a platter or rimmed sheet pan to rest.
-
Place the large roasting pan over 2 burners on your stovetop and turn the heat to medium-high. The liquid and bits in the pan will begin to sputter.
-
Add 1 cup of broth to the pan. Using a sturdy spatula or wooden spoon, vigorously scrape all the browned bits (fond) from the bottom and sides of the pan, incorporating them into the liquid. This process is called deglazing and extracts immense flavor.
Separate Fat for a Smooth Gravy
-
Pour the deglazed drippings into a large liquid measuring cup or other heat-proof container. Refrigerate for at least 30 minutes (or overnight if making ahead) until the fat separates and solidifies on top.
-
Once the fat has solidified, carefully scrape it off the top and into a separate container.
-
Measure out 1/4 cup of the skimmed fat and set aside. Measure 1 cup of the defatted pan drippings (the flavorful liquid) and reserve for the gravy. You can refrigerate or freeze any remaining fat and pan drippings for future use.
Make the Roux & Build the Gravy
-
In a medium saucepan over medium-high heat, add the 1/4 cup of reserved turkey fat. Once shimmering, add 1/4 cup of all-purpose flour. Using a metal whisk, mix vigorously until you achieve a smooth, even consistency (a roux). Cook for 1-2 minutes to cook out the raw flour taste.
-
Gradually add the 1 cup of reserved defatted pan drippings to the roux, whisking constantly until fully combined and smooth.
-
Slowly add 1/2 cup of the broth, whisking until combined and the gravy begins to simmer and thicken. Allow to simmer gently for a few minutes. If you want it thicker, simmer for longer; if you want it thinner, add more broth (1-2 tablespoons at a time). Season with Kosher salt and freshly ground black pepper to taste.
Optional Flavor Boosts
-
If desired, add the optional 1-2 tablespoons of dry sherry or dry white wine, and the 1 teaspoon of finely minced fresh herbs (rosemary, sage, thyme). Stir to combine and simmer for another 2-3 minutes to allow the flavors to deepen and the alcohol to cook off.
For a Silky Smooth Finish
-
For an exceptionally smooth gravy, carefully pour the finished gravy through a fine-mesh sieve into your gravy boat or serving container before serving. This will remove any small lumps or herb pieces. Serve warm and enjoy!
Expert Tips & FAQs
- Storing Your Gravy: This homemade turkey gravy will keep beautifully for up to 1 week when stored in an airtight container in the refrigerator. For longer preservation, it can be frozen in an airtight container for up to 3 months. When reheating, always do so gently over low heat on the stovetop, using a whisk to stir frequently to ensure a smooth, lump-free texture. A splash of extra broth may be needed to achieve the perfect consistency upon reheating.
- Preventing Lumps: The key to a smooth gravy lies in properly forming the roux and adding liquids gradually while whisking constantly. If lumps do appear, strain the gravy through a fine-mesh sieve or use an immersion blender to smooth them out.
- Making Ahead: Preparing the gravy ahead of time is a great way to reduce stress on busy holiday cooking days. Simply follow the instructions, then cool and store. Reheat when ready to serve.
Nutrition Information
The recipes on this blog are tested with a conventional gas oven and gas stovetop. It’s important to note that some ovens, especially as they age, can cook and bake inconsistently. Using an inexpensive oven thermometer can assure you that your oven is truly heating to the proper temperature. If you use a toaster oven or countertop oven, please keep in mind that they may not distribute heat the same as a conventional full sized oven and you may need to adjust your cooking/baking times. In the case of recipes made with a pressure cooker, air fryer, slow cooker, or other appliance, a link to the appliances we use is listed within each respective recipe. For baking recipes where measurements are given by weight, please note that results may not be the same if cups are used instead, and we can’t guarantee success with that method.
This post was originally published here on December 18, 2018, and has been updated with expanded content and improved instructions.
