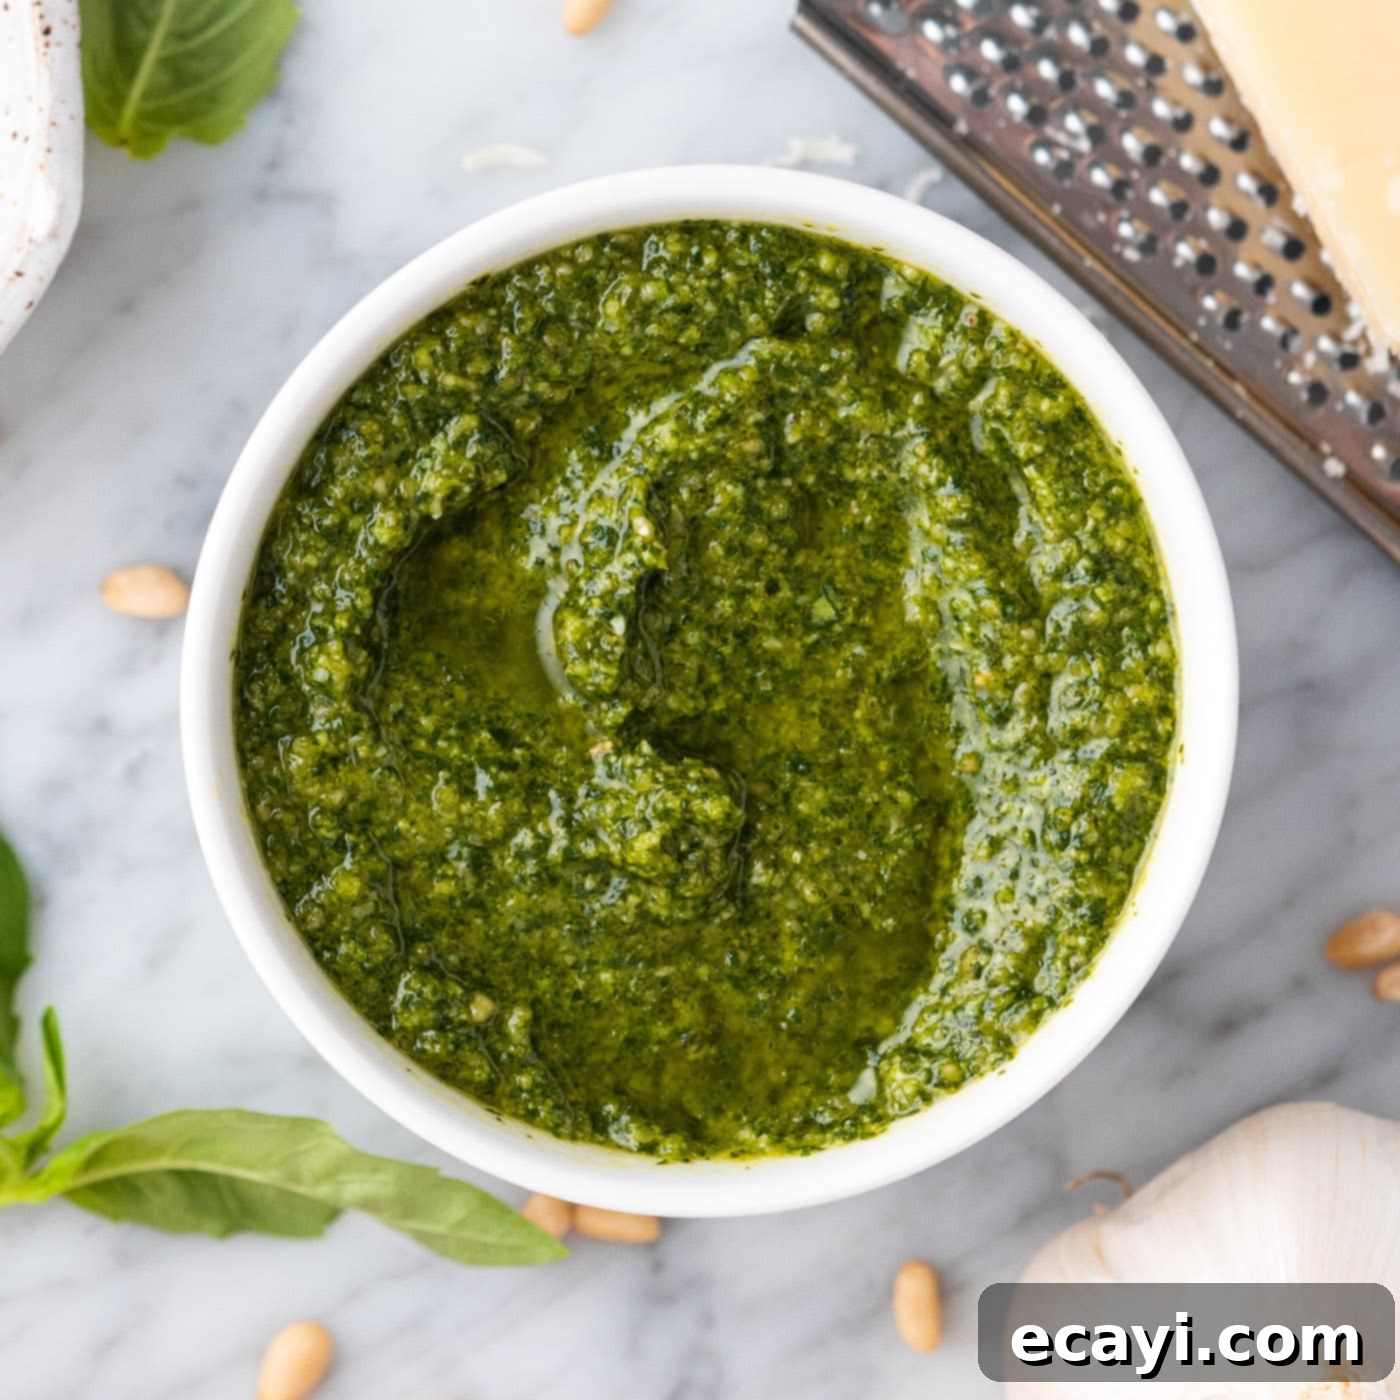
The Ultimate 10-Minute Homemade Basil Pesto Recipe: Fresh, Flavorful, and Incredibly Versatile
There’s nothing quite like the vibrant taste of freshly made basil pesto. This incredible sauce, bursting with Mediterranean flavors, is a culinary delight that transforms simple ingredients into something truly extraordinary. Our easy-to-follow recipe brings together bright green basil leaves, crunchy pine nuts, pungent garlic, rich grated Parmesan cheese, premium extra virgin olive oil, and a delicate pinch of salt. All these wholesome components are harmoniously blitzed together in a food processor, delivering a sensational sauce in under 10 minutes. Say goodbye to store-bought varieties and embrace the unparalleled freshness and depth of homemade pesto!
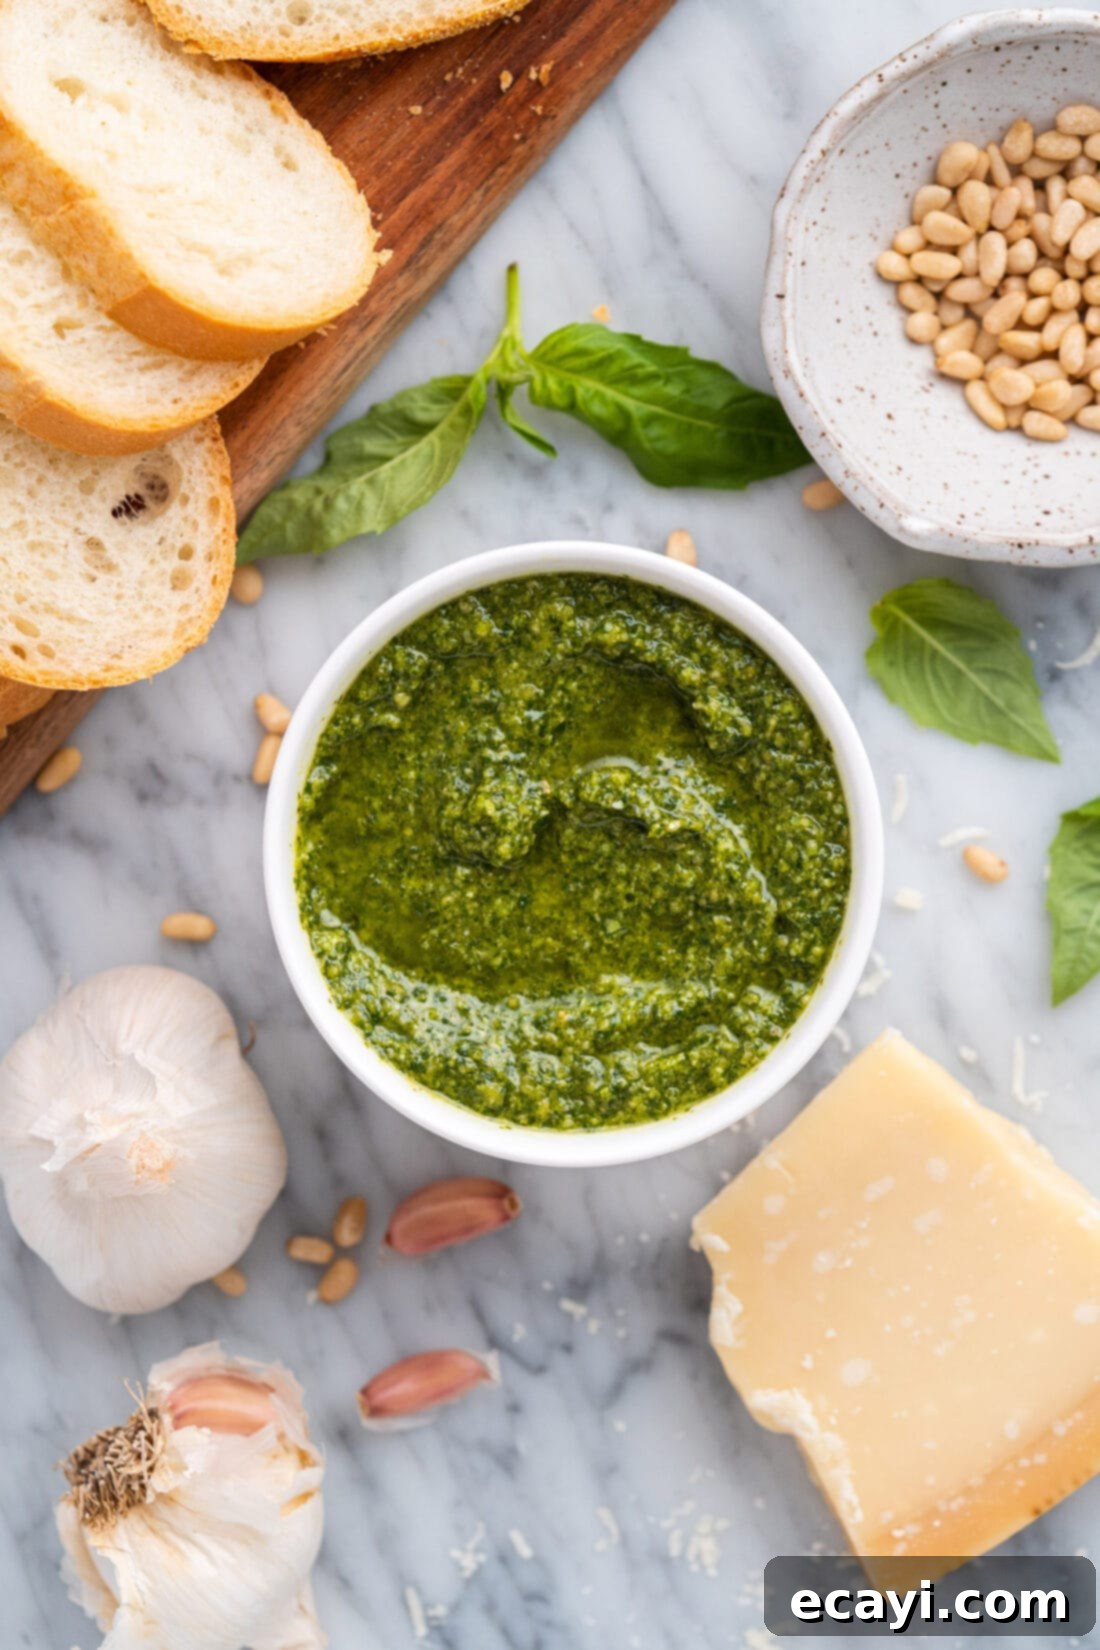
Why This Recipe Works: The Magic of Homemade Pesto
This recipe for homemade basil pesto isn’t just easy; it’s a game-changer for anyone who loves fresh, vibrant flavors in their cooking. Pesto, at its heart, is a simple yet profoundly flavorful blend of fresh basil, pine nuts, Parmesan cheese, garlic, and high-quality extra virgin olive oil, all pulsed together to a smooth or slightly chunky consistency. The result is a rich, aromatic paste that elevates countless dishes from ordinary to extraordinary.
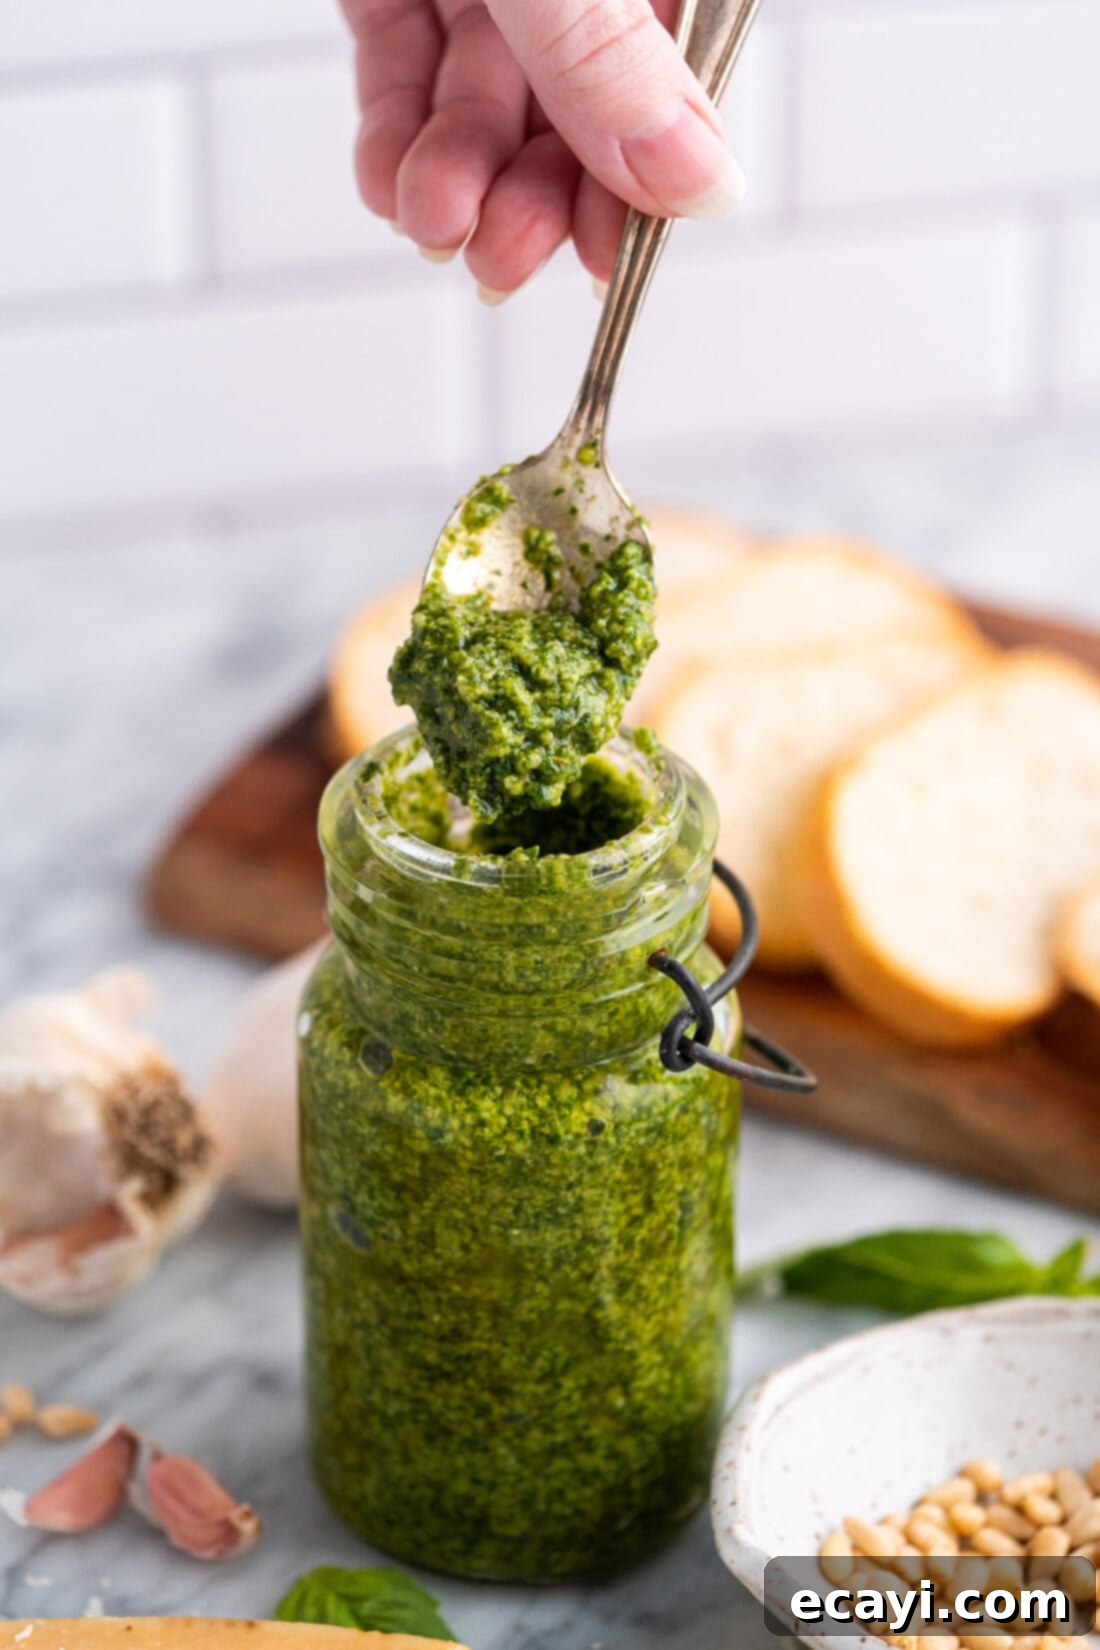
Many different versions of pesto exist, showcasing the culinary world’s endless creativity. From hearty, tomato-based variations like our delicious sun-dried tomato pesto to the bright, fresh herb-based classic you’ll find here, there’s a pesto for every palate. However, no matter your preferred style, the true secret to the best pesto lies in its freshness. Preparing pesto yourself ensures you capture the most intense and authentic flavors, avoiding the dullness and preservatives often found in bottled alternatives. This quick recipe allows you to enjoy that peak freshness, and it can be stored for up to 5 days in the refrigerator, making it perfect for meal prep throughout the week.
Beyond its incredible taste, making your own pesto offers several advantages. You have complete control over the quality of ingredients, allowing you to choose organic produce or adapt to dietary needs. It’s often more cost-effective than buying gourmet jarred pestos, especially when basil is in season. Furthermore, the process itself is wonderfully simple and satisfying. In just minutes, you can create a versatile sauce that’s far superior to anything you’ll find on a supermarket shelf, bringing a touch of Italian sunshine to your kitchen.
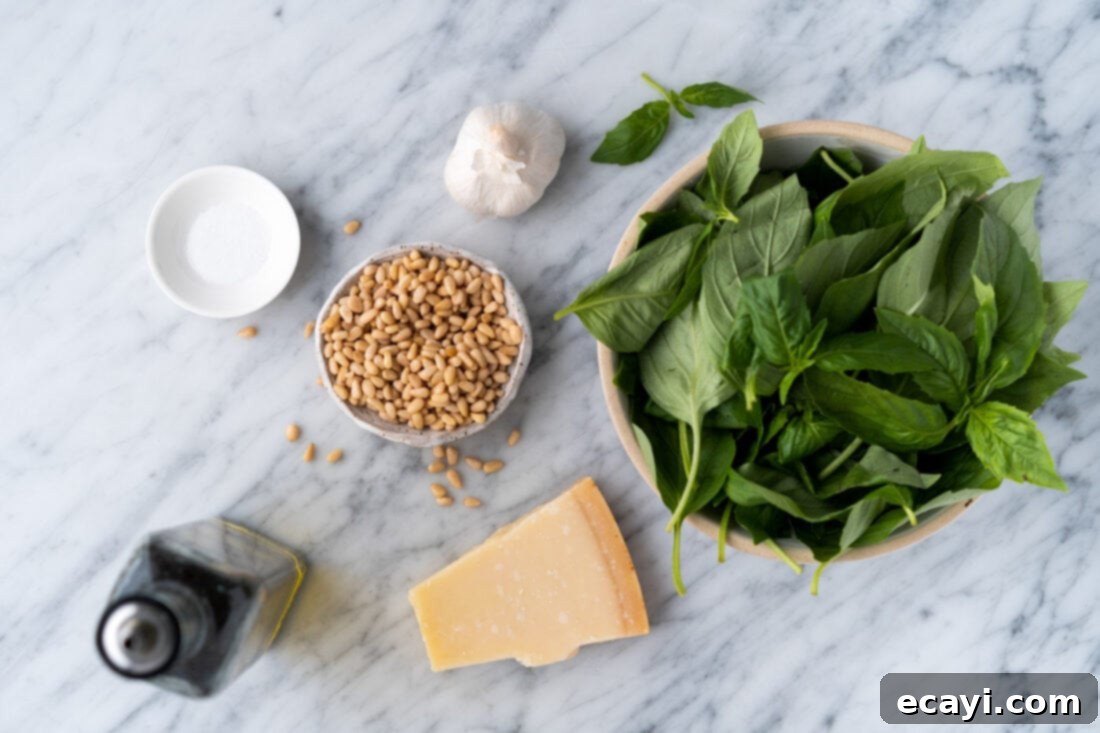
Ingredients You Will Need for Authentic Basil Pesto
Crafting the perfect pesto starts with selecting the right ingredients. Each component plays a vital role in creating the iconic flavor and texture of this beloved Italian sauce. For precise measurements, detailed instructions, and nutritional information, remember to check out the printable recipe card at the conclusion of this post.
Ingredient Info and Substitution Suggestions
Understanding each ingredient and its potential substitutes can help you customize your pesto to perfection, or simply make do with what you have on hand.
Fresh Basil: This is the star of the show. For the most vibrant flavor and color, always opt for fresh, bright green basil leaves. Avoid any leaves that are wilted, bruised, or discolored. Gently wash and thoroughly dry the basil before using; excess water can dilute the flavor and affect the pesto’s texture. About 4 cups of loosely packed leaves usually yield a good amount of concentrated basil goodness.
Pine Nuts: Traditional pesto uses pine nuts for their delicate, buttery flavor and soft texture. Toasting the pine nuts lightly in a dry pan for a few minutes before adding them to the food processor can significantly enhance their nutty aroma and depth of flavor. Watch them carefully, as they can burn quickly! If you don’t have pine nuts, don’t worry – you can easily use other types of nuts. Pistachios (shelled), pecans, and blanched almonds are excellent alternatives that offer a similar richness, though they will impart a slightly different flavor profile. For those with nut allergies, sunflower seeds or pumpkin seeds can be a great substitute, just ensure they are unsalted.
Parmesan Cheese: Freshly grated Parmesan is absolutely key to achieving the ultimate savory, umami-rich flavor and slightly granular texture that defines authentic pesto. While pre-packaged shredded Parmesan will work in a pinch, it often contains anti-caking agents that can affect texture and its flavor is usually less intense. I highly recommend grabbing a block of good quality Parmesan (Parmigiano Reggiano, if possible) and grating it yourself just before making the pesto. This ensures maximum flavor and freshness. For a sharper, saltier kick, you could also substitute half of the Parmesan with Pecorino Romano cheese.
Garlic: Fresh garlic cloves provide that essential aromatic punch. The amount can be adjusted based on your personal preference for garlic intensity. Three medium-sized cloves typically offer a balanced flavor, but feel free to add more if you love a stronger garlic kick, or less for a milder taste. Always use fresh garlic for the best results; pre-minced garlic in a jar often lacks the same vibrancy.
Extra Virgin Olive Oil: The quality of your olive oil directly impacts the final taste and texture of your pesto. Choose a good quality, flavorful extra virgin olive oil. It not only binds all the ingredients together into a smooth paste but also contributes its own fruity, peppery notes. The oil helps create a beautiful emulsion, giving the pesto its luxurious mouthfeel.
Salt: A pinch of salt is crucial for balancing and enhancing all the flavors. Start with ½ teaspoon and then adjust to taste at the end. Remember that Parmesan cheese is already salty, so it’s always better to add a little less and then add more if needed, rather than starting with too much.
How to Make Pesto: A Simple Step-by-Step Guide
These step-by-step photos and instructions are here to help you visualize how to make this recipe. You can Jump to Recipe to get the printable version of this recipe, complete with measurements and instructions at the bottom.
Making homemade pesto is incredibly simple, especially with the help of a food processor. This method saves time and effort, delivering fantastic results every time. Here’s how you’ll create your fresh, flavorful pesto:
- Prepare Your Food Processor: Ensure your food processor is clean and ready to go. While traditional pesto is made with a mortar and pestle (which can develop deeper flavors through crushing rather than cutting), a food processor is perfect for a quick and easy homemade version, offering convenience without sacrificing much flavor.
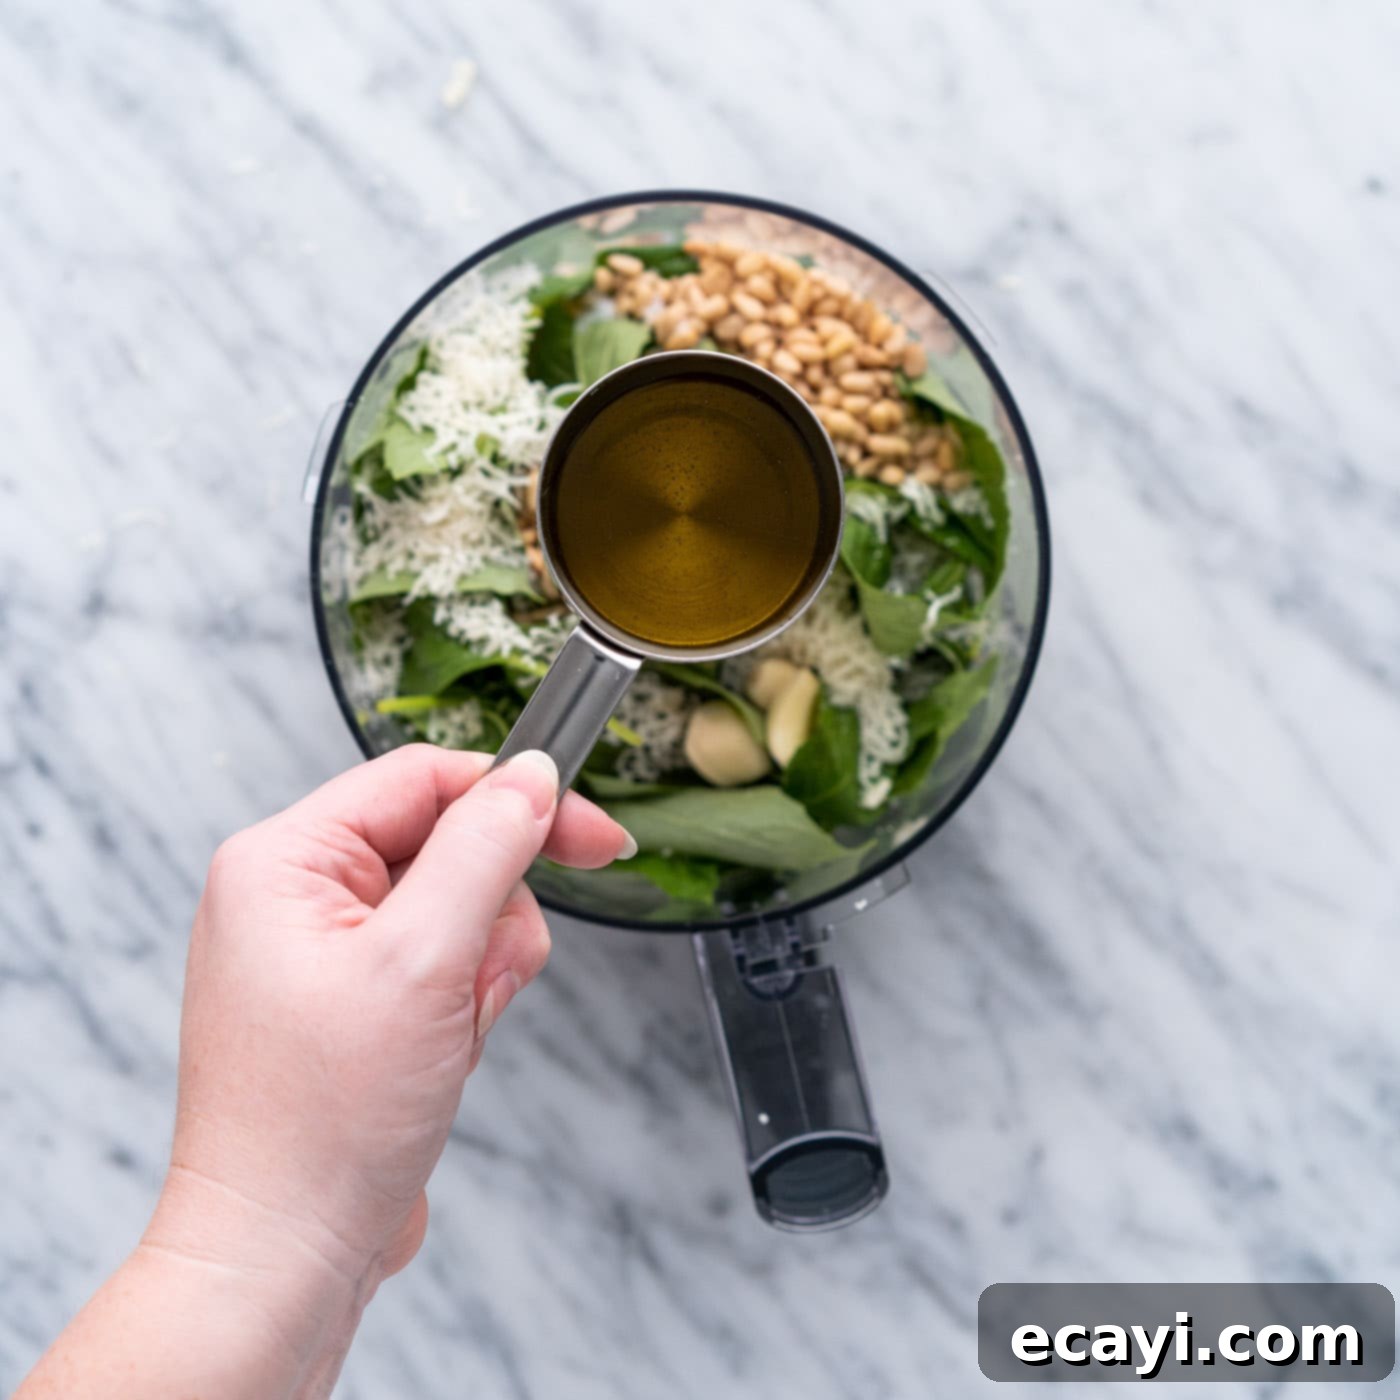
- Combine Ingredients: Add all of your prepared ingredients – the fresh basil leaves, toasted pine nuts, peeled garlic cloves, freshly grated Parmesan cheese, and initial pinch of salt – into the bowl of your food processor. It’s best to add the ingredients in this order, starting with the drier, leafy items, to ensure everything is evenly chopped.
- Initial Pulsing: Begin by pulsing the mixture a few times. This initial pulsing helps to roughly chop all the ingredients and get them moving around the bowl. You’ll see the basil leaves break down, and the nuts and garlic start to incorporate.
- Add Olive Oil Gradually: Once the ingredients are roughly chopped, turn the food processor on continuously. While it’s running, slowly drizzle in the extra virgin olive oil through the feed tube. Adding the oil gradually allows it to emulsify properly with the other ingredients, creating a smooth, creamy texture. Avoid dumping all the oil in at once, as this can lead to a less cohesive pesto.
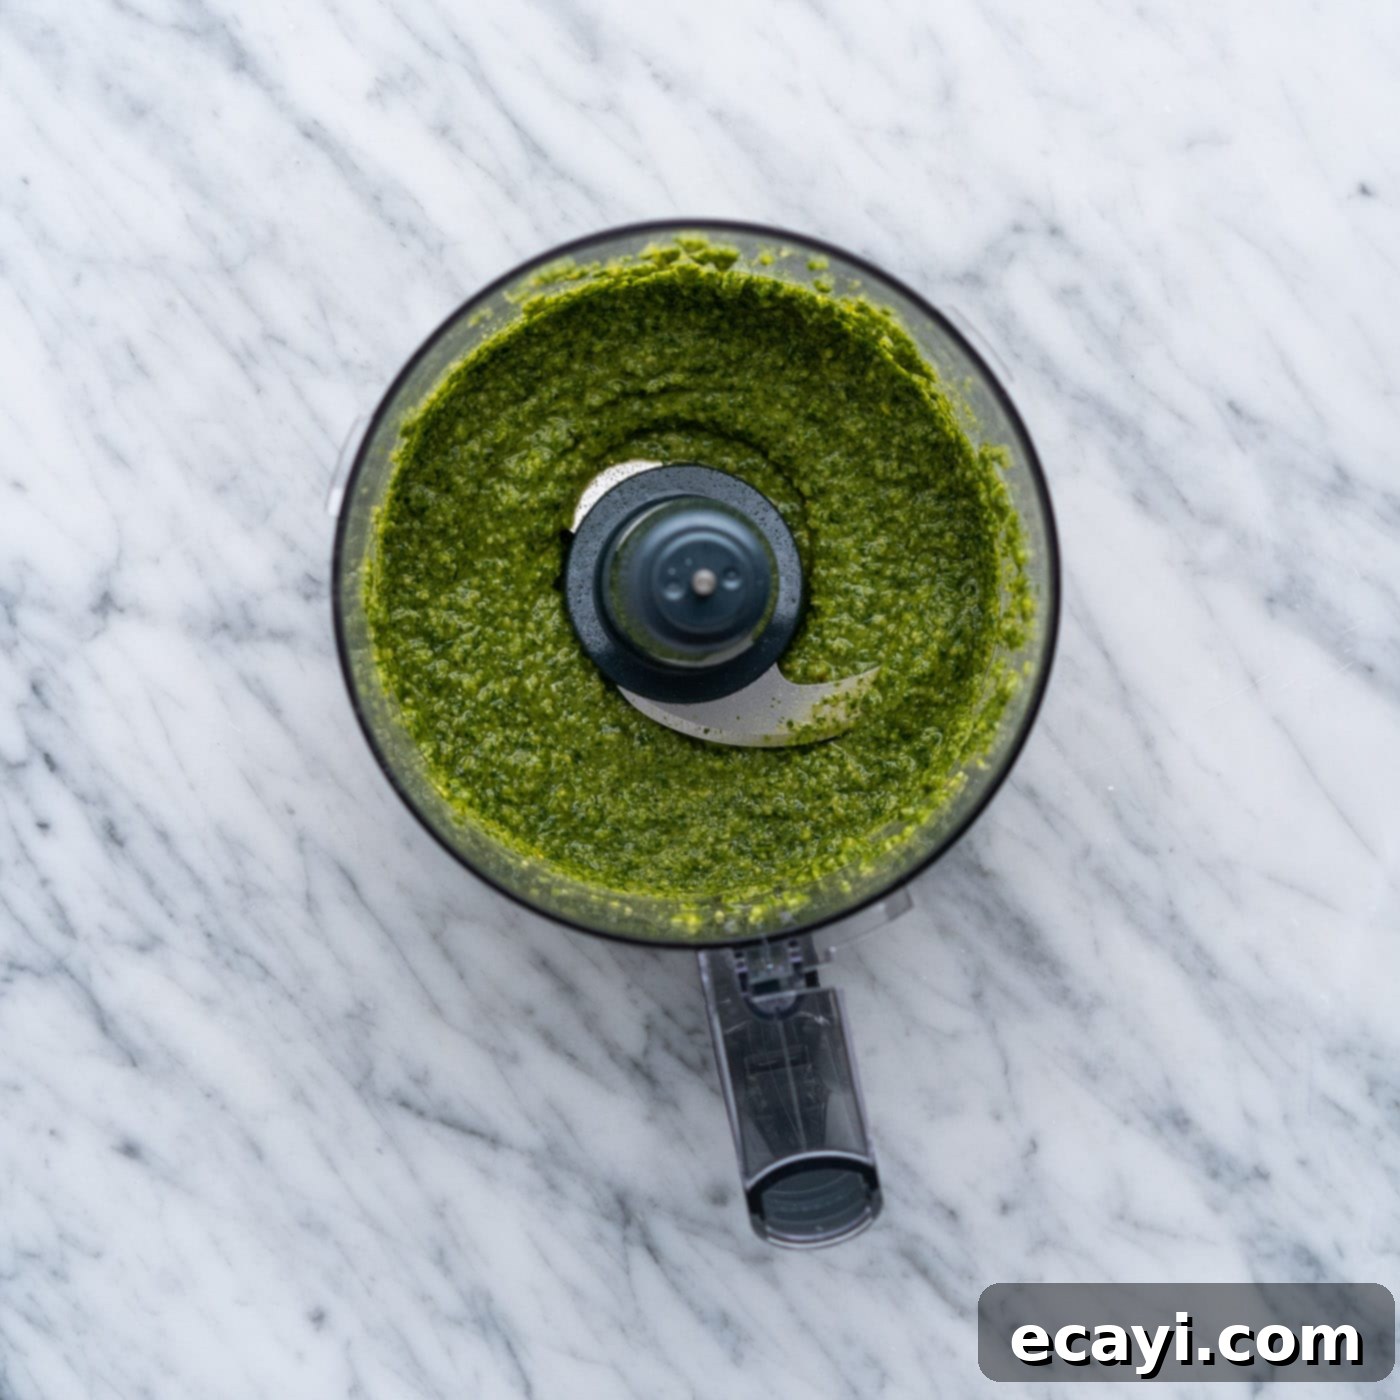
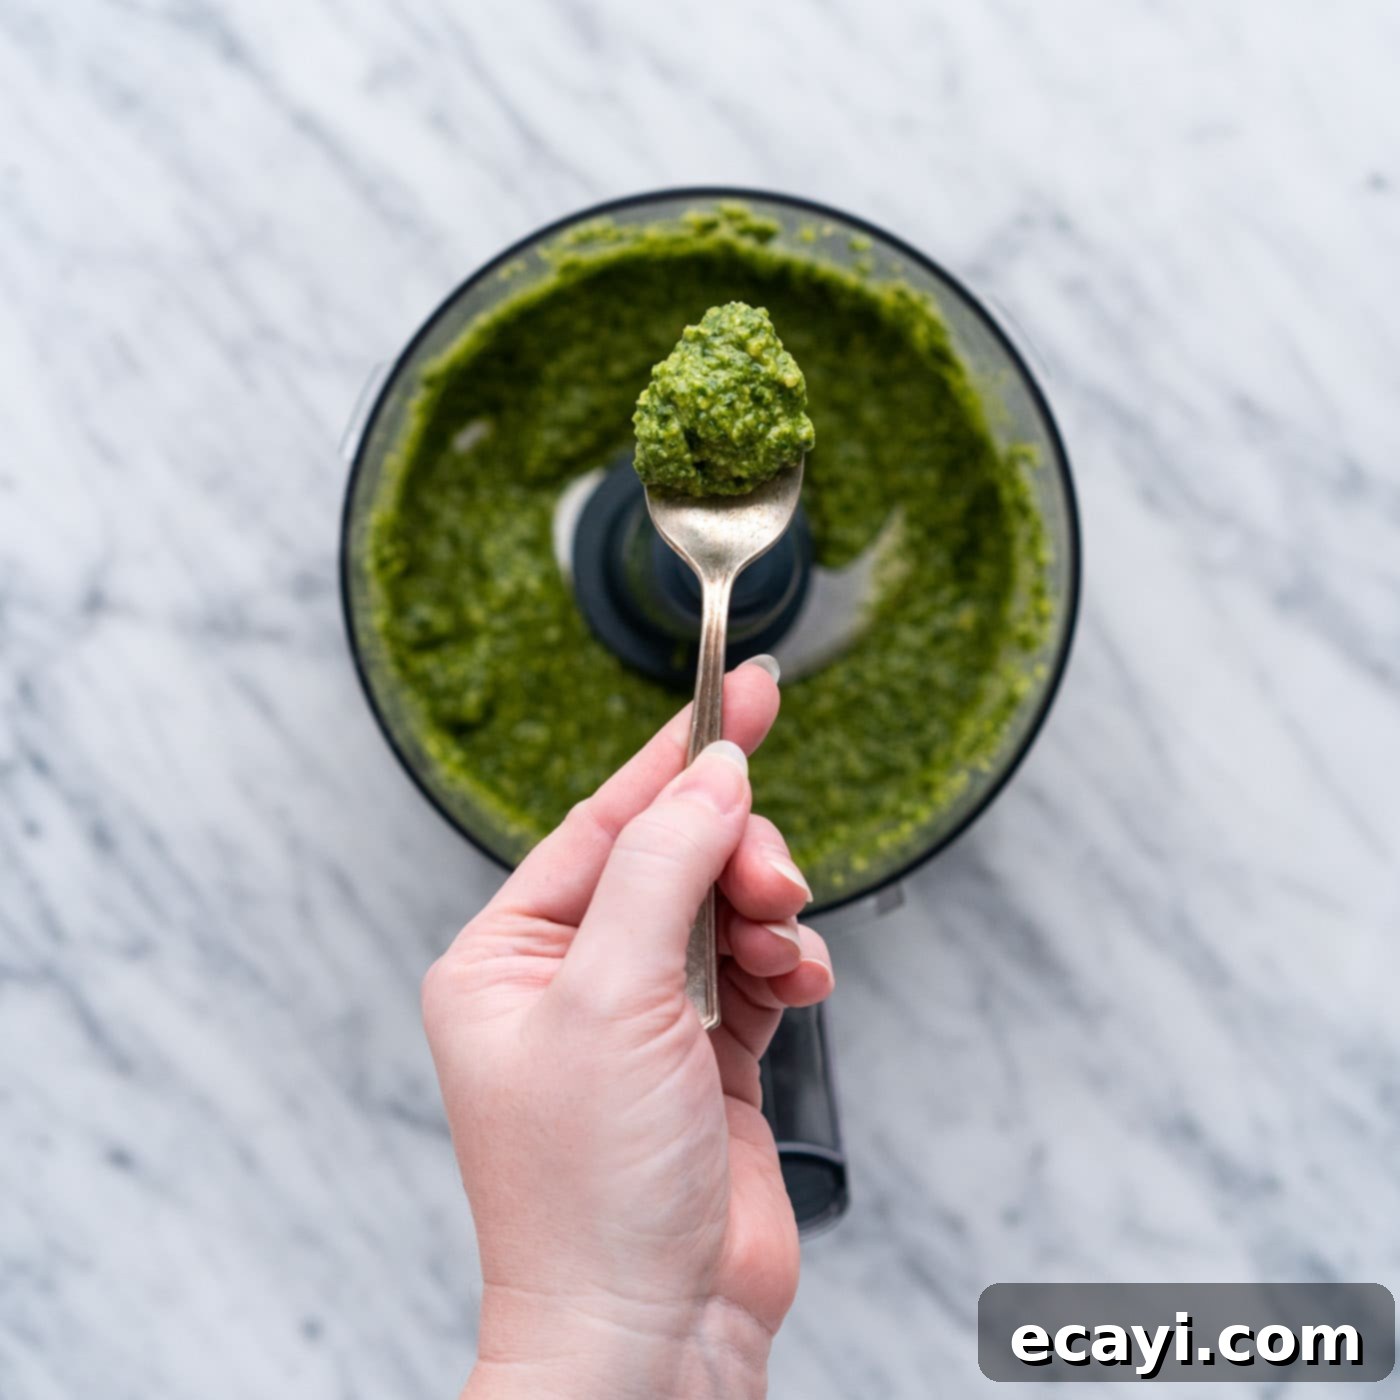
- Process to Desired Consistency: Continue processing the mixture until it reaches your desired smoothness. Some people prefer a chunkier pesto that offers more texture, while others prefer a perfectly smooth, velvety sauce. For a smoother pesto, process for a bit longer. For a chunkier one, stop when you still see small bits of nuts and basil. If your pesto seems too thick, add a tiny bit more olive oil, a tablespoon at a time, and process again until it loosens up.
- Taste and Adjust: Once the desired consistency is achieved, taste the pesto. This is a crucial step! Adjust the seasoning as needed. You might want to add more salt, a little black pepper, or even a squeeze of fresh lemon juice to brighten the flavors. Serve immediately or store for later enjoyment.
Frequently Asked Questions & Expert Tips for Perfect Pesto
Here are some common questions and expert advice to help you master homemade pesto:
Proper storage is essential to keep your homemade basil pesto fresh and vibrant. Store it in an air-tight container, like a glass jar with a sealed lid, in the refrigerator for up to 5 days. To help prevent the top layer of the pesto from browning (which is caused by oxidation), you can implement a simple trick: gently press a piece of plastic wrap directly onto the surface of the pesto, ensuring no air pockets remain. Then, cover it with the lid of the jar. Alternatively, you can pour a thin layer of extra virgin olive oil over the top of the pesto before sealing. This creates an airtight barrier that protects the pesto’s beautiful green color.
The beauty of homemade pesto is that you have complete control over its consistency, allowing you to pulse it to your desired texture. Some culinary enthusiasts prefer a slightly chunky pesto, as the small bits of basil and nuts add extra bite and texture to dishes, creating a more rustic feel. Others prefer a perfectly smooth, velvety pesto, which helps to evenly coat whatever it is you’re serving it with and integrate flavors more seamlessly. Ultimately, it all comes down to individual preference. If your pesto comes out too chunky when you prefer it smooth, simply add a small amount more of extra virgin olive oil (start with a tablespoon) and pulse again until it reaches your ideal consistency. If it’s too thick, continue adding oil gradually until it loosens. If it’s too thin, you can try adding a few more basil leaves, a spoonful of grated Parmesan, or a few more pine nuts and pulse to thicken.
Expert Tip: Freezing Pesto for Long-Term Storage: If you’ve made a large batch or want to enjoy fresh pesto year-round, freezing is an excellent option. Pesto freezes beautifully! To freeze, spoon the pesto into ice cube trays and freeze until solid. Once frozen, pop out the pesto cubes and transfer them to an airtight freezer bag or container. You can also freeze pesto directly in small jars, leaving about an inch of headspace at the top, and then pour a thin layer of olive oil over the top to prevent freezer burn and oxidation. Frozen pesto can last for up to 6 months. Thaw in the refrigerator overnight or simply add a frozen cube directly to hot pasta or soup.
Expert Tip: Brighten the Flavor with Lemon: A squeeze of fresh lemon juice or a pinch of lemon zest can add a wonderful bright, zesty note to your pesto, cutting through its richness and enhancing the fresh basil flavor. Add it at the end, after tasting, to avoid over-acidifying the sauce.
Expert Tip: Prevent Bitterness from Over-processing Garlic: When using a food processor, be mindful not to over-process the garlic, as this can sometimes lead to a slightly bitter taste. Adding it with the other ingredients and pulsing initially helps integrate it without pulverizing it too much.
Serving Suggestions: Unleash Pesto’s Versatility
The beauty of homemade basil pesto lies in its incredible versatility. Once you’ve made a batch, the culinary possibilities are truly endless. Here are some inspiring ways to incorporate this vibrant sauce into your meals:
- Pasta Dishes: The classic pairing! Toss warm, freshly cooked pasta (spaghetti, linguine, penne, orecchiette, or fusilli work wonderfully) with a generous dollop of pesto. Add a splash of reserved pasta water to create a creamy, emulsified sauce that clings beautifully to every strand.
- Pasta Salads: Elevate your next pasta salad by mixing in pesto. It’s fantastic in cold tortellini salads like our delicious tortellini pesto pasta salad, or with other small pasta shapes, cherry tomatoes, and fresh mozzarella.
- Risotto: Stir a spoonful of pesto into your creamy risotto just before serving for an extra layer of herbaceous flavor and a beautiful green swirl.
- Sandwiches and Wraps: Spread pesto generously onto bread slices, wraps, or flatbreads for an instant flavor boost. It pairs exceptionally well with chicken, turkey, fresh mozzarella, and tomato.
- Pizza Topping: Use pesto as a base sauce for your pizza instead of traditional tomato sauce, or drizzle it over a finished pizza for a burst of fresh flavor. It’s particularly good on white pizzas with chicken or roasted vegetables.
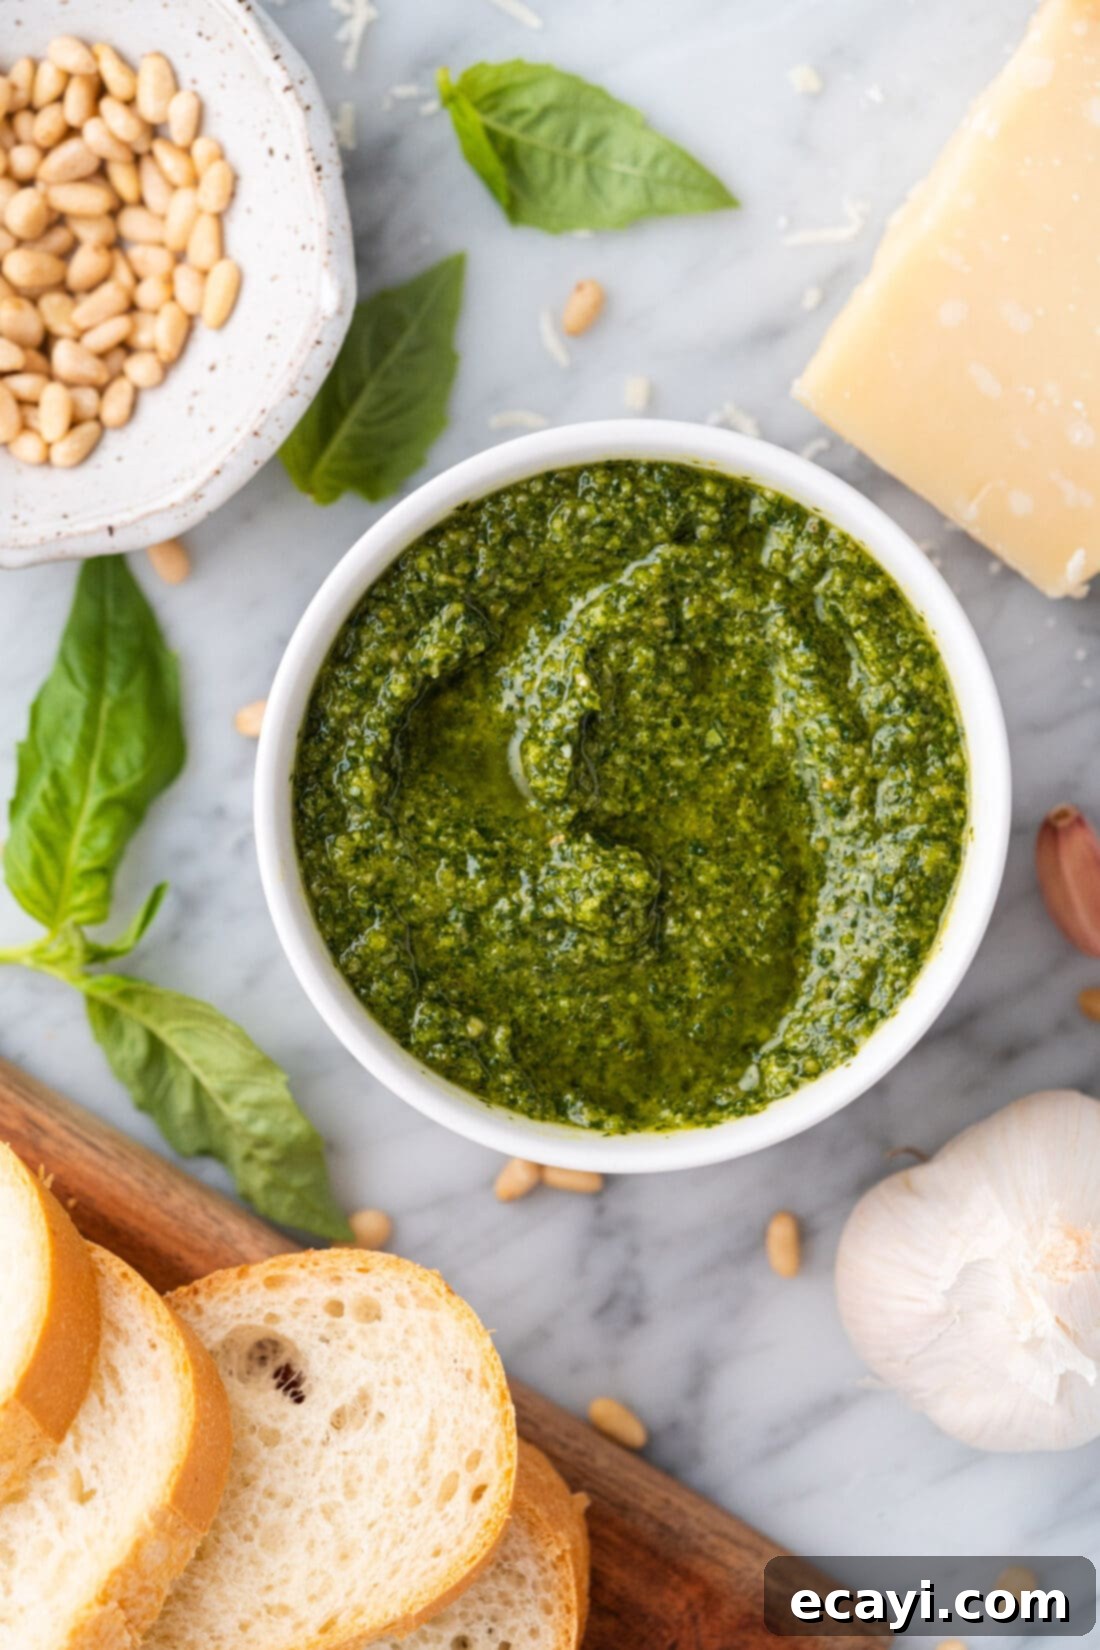
- Bread Dip or Spread: Serve pesto with warm, crusty bread, focaccia, or toasted baguette slices for a simple yet elegant appetizer. You can also mix it with cream cheese or ricotta for a gourmet spread.
- Grilled or Roasted Proteins: Spoon pesto over grilled chicken, baked fish (like salmon or cod), roasted pork, or even grilled tofu for an instant flavor infusion. It adds moisture and a rich herbaceousness.
- Vegetable Enhancement: Toss roasted vegetables (potatoes, zucchini, bell peppers), steamed green beans, or grilled asparagus with pesto for a vibrant side dish.
- Eggs: Swirl a bit of pesto into scrambled eggs, omelets, or frittatas for a savory breakfast or brunch.
- Soups and Stews: Dollop a spoonful of pesto into a bowl of minestrone, vegetable soup, or chicken stew just before serving for a fresh, aromatic finish.
- Salad Dressing: Whisk pesto with a little extra olive oil, vinegar (balsamic or red wine), and a touch of honey or maple syrup for a delicious, herbaceous salad dressing.
More Delicious Homemade Sauce Recipes to Try
If you’ve enjoyed making this fresh basil pesto, you’ll love exploring other homemade sauce recipes. Crafting your own sauces allows you to control the ingredients, tailor flavors to your preference, and enjoy fresh, wholesome additions to your meals. Here are some more of our favorite sauces that are worth trying in your kitchen:
- Classic Homemade Pizza Sauce
- Rich and Hearty Bolognese Sauce
- Zesty French Fry Sauce
- Tangy Alabama White Sauce
- Authentic Homemade Enchilada Sauce
Each of these recipes brings its unique flavor profile and versatility to your cooking, proving that homemade is almost always better!
I love to bake and cook and share my kitchen experience with all of you! Remembering to come back each day can be tough, that’s why I offer a convenient newsletter every time a new recipe posts. Simply subscribe and start receiving your free daily recipes!

Pesto
IMPORTANT – There are often Frequently Asked Questions within the blog post that you may find helpful. Simply scroll back up to read them!
Print It
Pin It
Rate It
Save ItSaved!
Ingredients
- 4 cups fresh basil leaves
- ½ cup extra virgin olive oil
- ½ cup pine nuts
- ½ cup freshly grated parmesan cheese
- 3 cloves garlic peeled
- ½ teaspoon salt or more to taste
Things You’ll Need
-
Food processor
Before You Begin
- This recipe yields 1 cup of pesto. Easily double or triple it for a larger amount.
- Store pesto in a lidded glass jar in the fridge for up to 5 days.
- To help prevent the top of the pesto from browning, you can press a piece of plastic wrap directly on top of the pesto before covering with the lid of the jar.
- If you don’t have pine nuts, you can use other types of nuts here. Pistachios, pecans, and almonds all work well.
- If your pesto comes out too chunky when you’d prefer it smooth, add a small amount more of extra virgin olive oil and pulse again.
Instructions
-
Add all ingredients to a food processor and pulse a few times to chop everything up. Turn the processor on, and process the mixture until it’s as smooth as you like it.
-
Taste and add more salt if desired. Serve.
Nutrition
The recipes on this blog are tested with a conventional gas oven and gas stovetop. It’s important to note that some ovens, especially as they age, can cook and bake inconsistently. Using an inexpensive oven thermometer can assure you that your oven is truly heating to the proper temperature. If you use a toaster oven or countertop oven, please keep in mind that they may not distribute heat the same as a conventional full sized oven and you may need to adjust your cooking/baking times. In the case of recipes made with a pressure cooker, air fryer, slow cooker, or other appliance, a link to the appliances we use is listed within each respective recipe. For baking recipes where measurements are given by weight, please note that results may not be the same if cups are used instead, and we can’t guarantee success with that method.
