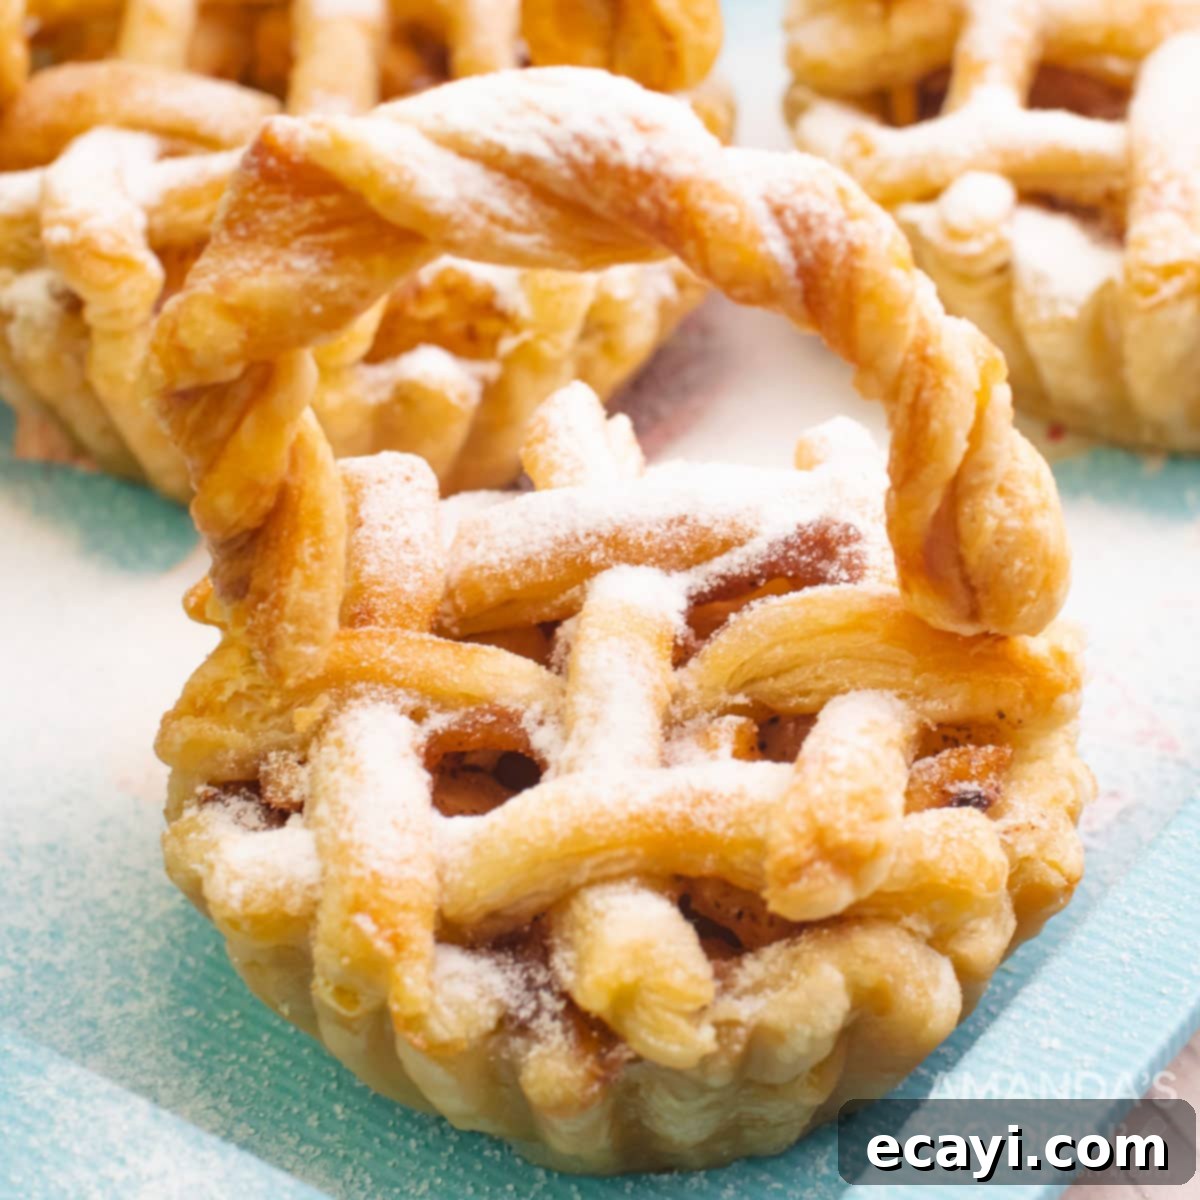
Easy Mini Apple Pies: Adorable, Delicious & Perfect for Any Occasion
Discover the delightful charm of these easy mini apple pies, perfectly sized for individual enjoyment and simple to create using convenient refrigerated pie crusts. These adorable little desserts are not only a joy to behold but also a clever way to practice portion control without sacrificing an ounce of flavor. Imagine biting into a warm, flaky crust filled with a sweet, spiced apple mixture – all in a single, irresistible serving that’s sure to bring smiles to any gathering.
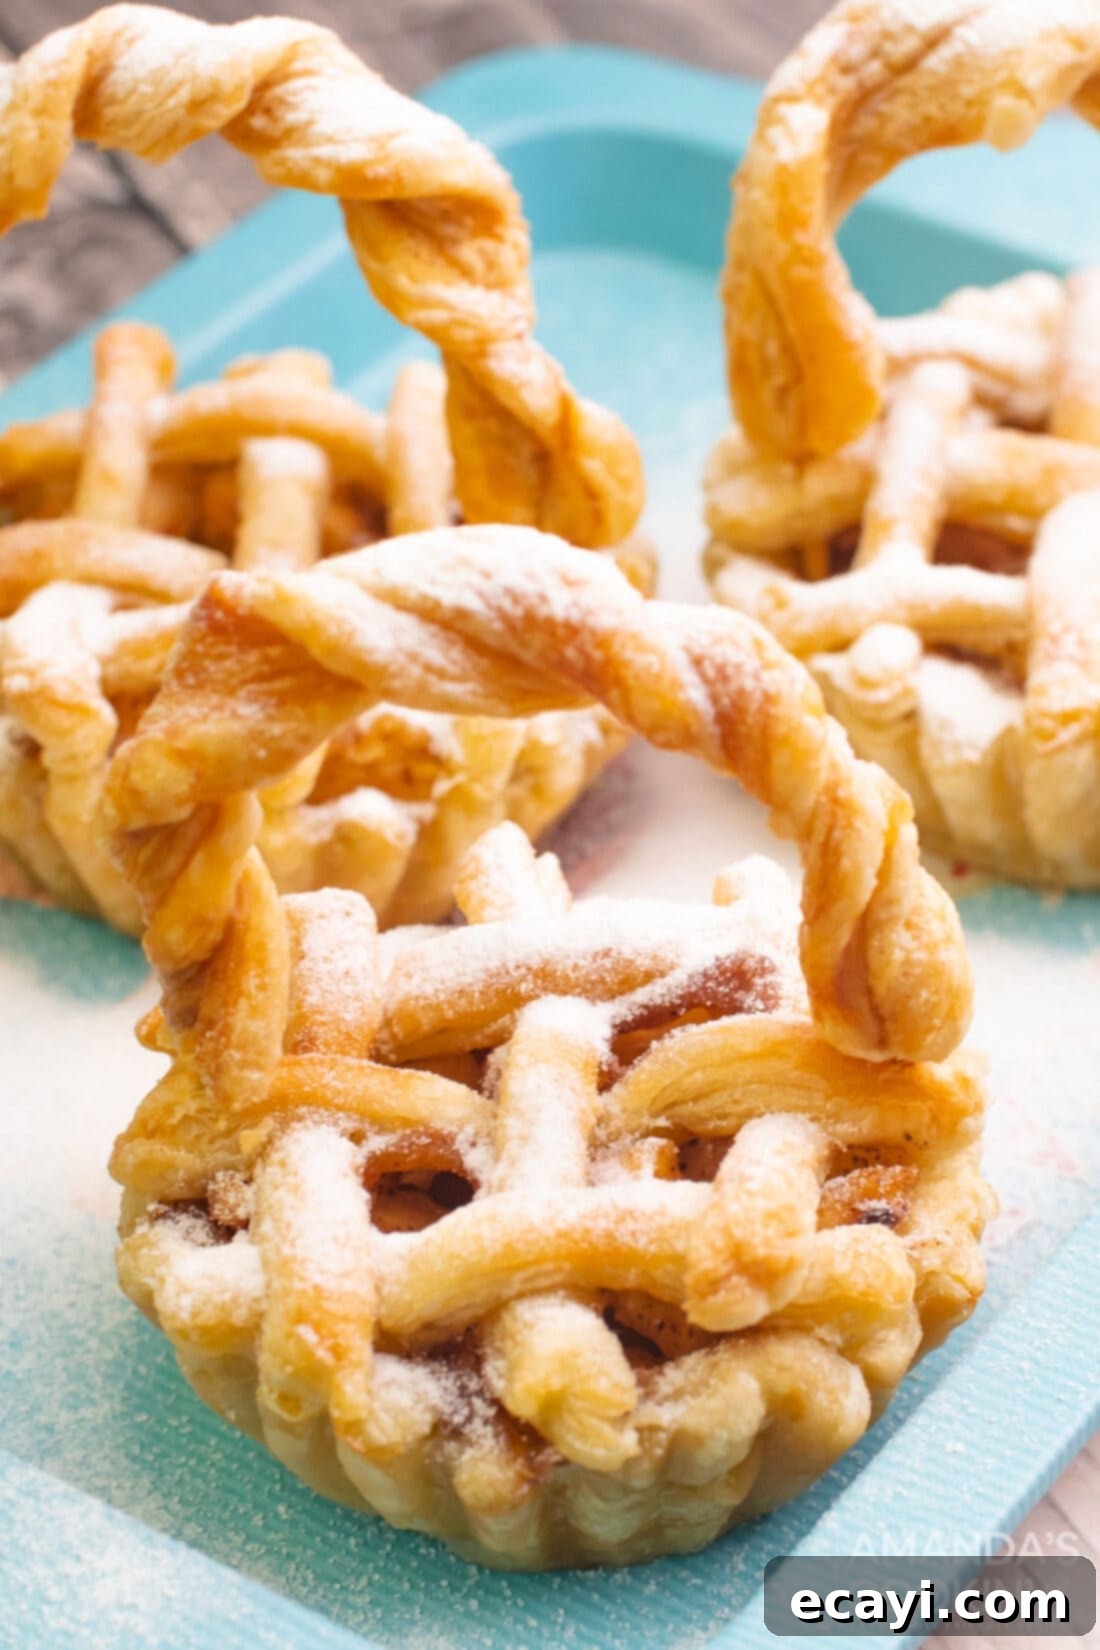
Why You’ll Fall in Love with This Easy Mini Apple Pie Recipe
There’s an undeniable magic to miniature desserts that captures the hearts of everyone. Our recipe for these homemade mini apple pies is specifically crafted to be both incredibly cute and remarkably simple to prepare, making it a favorite for seasoned bakers and absolute beginners alike. They’re exceptionally versatile, serving as the perfect sweet ending for holiday gatherings, elegant dinner parties, or simply a cozy treat for a quiet evening at home.
The true brilliance behind their effortless creation lies in utilizing pre-made, store-bought pie dough. This ingenious shortcut dramatically reduces prep time, allowing you to whip up these charming individual apple pies in a fraction of the time it would take to make dough from scratch. Your guests will be utterly enchanted by their professional presentation, believing you’ve spent hours meticulously crafting each one, when in reality, they come together with surprising speed and ease. It’s the ultimate hack for impressive entertaining without the stress.
Beyond their delightful appearance, these miniature apple pies offer a practical advantage: built-in portion control. Each person receives their own perfectly sized serving, making them ideal for managing dessert cravings or for catering to events where individual portions are preferred for hygiene and convenience. They effortlessly eliminate the need for messy cutting and serving from a large pie, streamlining cleanup and ensuring every guest enjoys a beautiful, intact dessert that looks as good as it tastes.
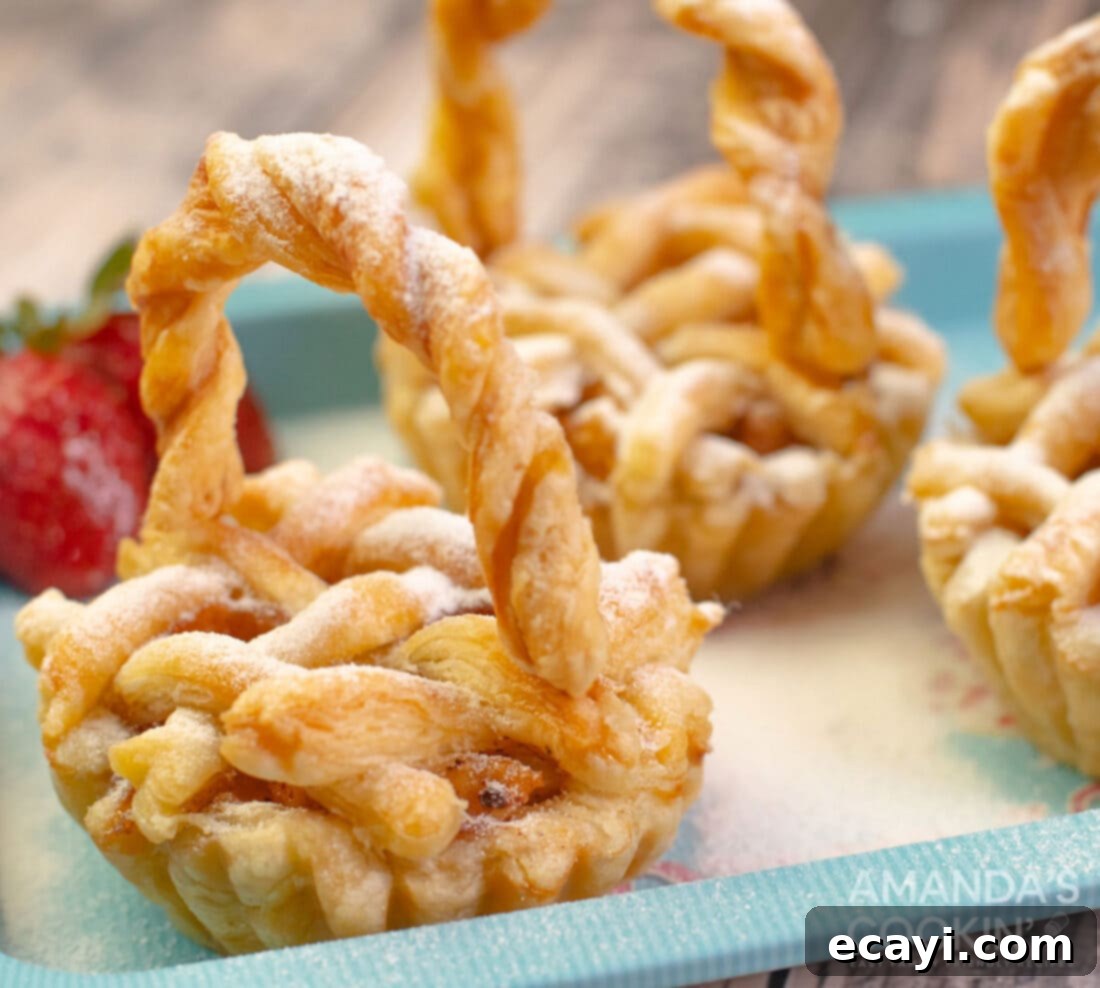
Essential Ingredients for Your Delicious Mini Apple Pies
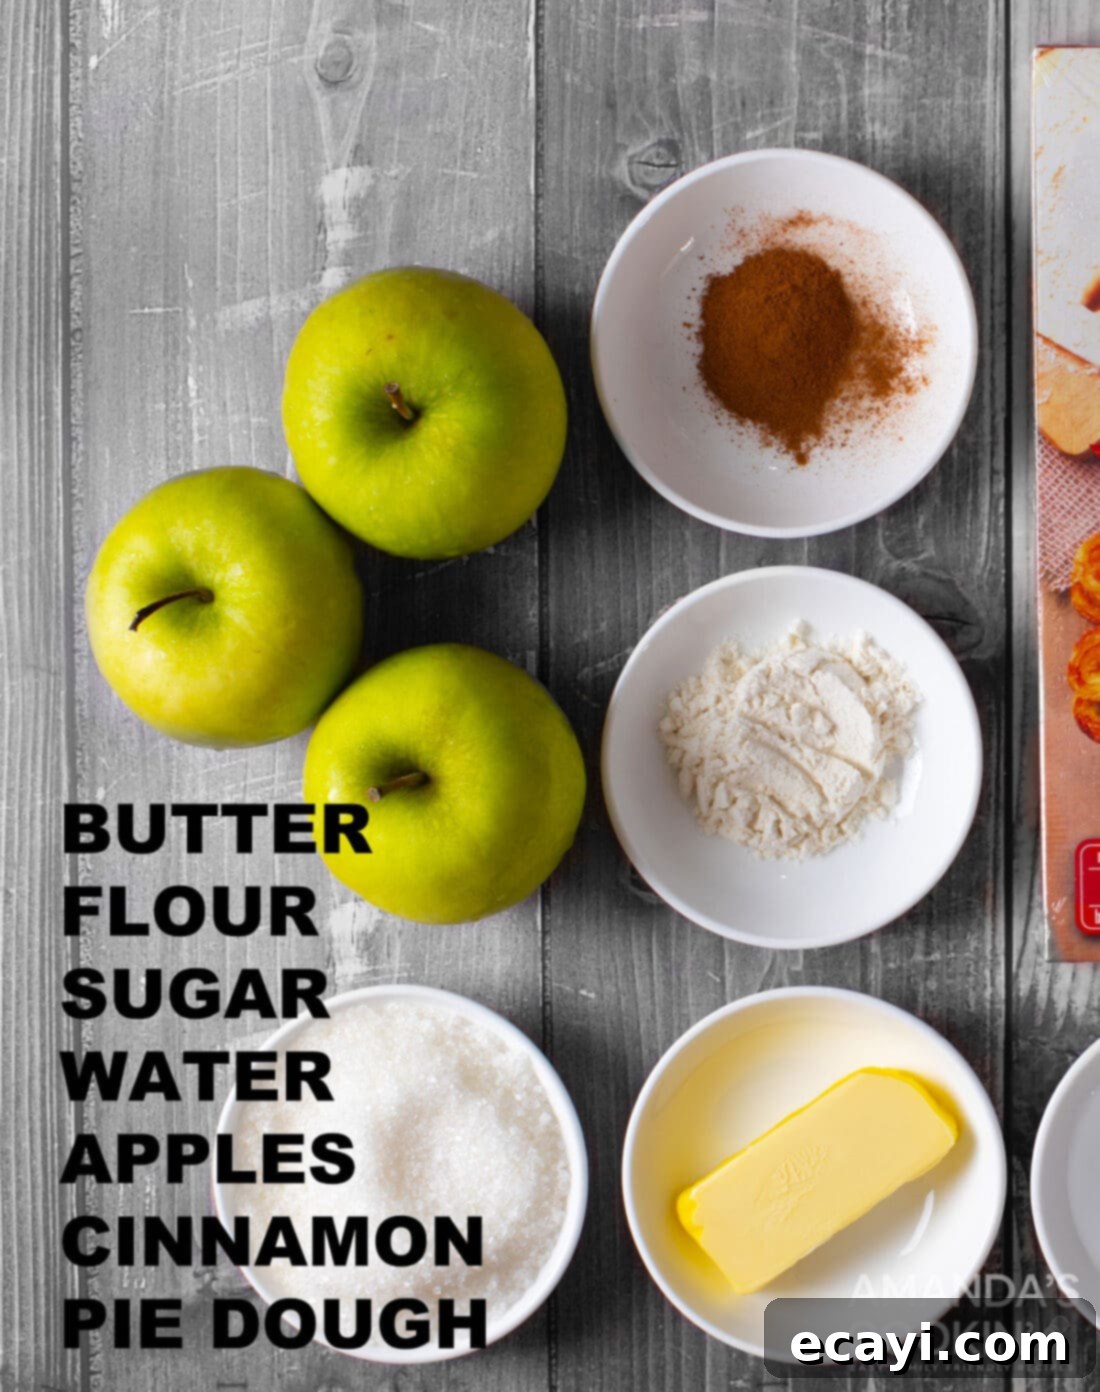
Crafting these delectable mini apple pies requires a handful of common pantry staples, with a focus on fresh, high-quality apples and a reliable pie crust. While the full, detailed list of measurements and step-by-step instructions can be found in the printable recipe card at the very end of this post, here’s a general overview of what you’ll need to gather to ensure your baking experience is smooth and successful:
- Unsalted Butter: This forms the rich, flavorful base for our luscious caramel apple filling. Using unsalted butter gives you better control over the overall saltiness of the dessert.
- All-Purpose Flour: Essential for creating a smooth roux that will perfectly thicken the filling into a delightful sauce.
- Water: A small amount of water is crucial for achieving the ideal caramel consistency in our filling.
- Granulated Sugar: Sweetens the apple mixture to perfection and actively contributes to the beautiful caramelization process, adding depth of flavor.
- Apples: The undeniable star of the show! For the best texture and a balanced sweet-tart flavor, we highly recommend firm, crisp apples like Granny Smith (for tartness), Honeycrisp (for sweetness and texture), or Fuji. Ensure they are peeled and uniformly diced so they cook down beautifully and fit perfectly within your mini pies.
- Ground Cinnamon: The quintessential spice for apple pie, adding wonderful warmth, aromatic depth, and that classic comforting taste.
- Refrigerator Pie Dough Sheets: Your ultimate time-saver! Opt for a high-quality brand you trust, as the crust is a key component of these delightful desserts. Using pre-made dough makes this a truly quick apple dessert.
- Large Egg & Water (for egg wash): Whisking these together creates a simple egg wash that, when brushed on the crust, helps achieve that gorgeous, irresistible golden-brown sheen and a slightly crisp finish.
How to Make Perfect Mini Apple Pies: A Detailed Step-by-Step Guide
These step-by-step photos and comprehensive instructions are meticulously designed to help you visualize and execute every part of this delightful recipe with confidence. For all precise measurements, exact ingredient quantities, and a printer-friendly version of the recipe, please feel free to jump directly to the full recipe card located at the bottom of this page. You’ll find everything you need to bake these charming treats successfully!
Crafting the Irresistible Caramel Apple Filling
The heart and soul of any truly great apple pie is its filling, and ours is a sweet, beautifully spiced, and slightly caramel-kissed blend that perfectly complements the crisp, flaky pie crust. Before you begin the filling, ensure your oven is preheated to 425°F (218°C) and lightly spray your muffin tin cups (or mini tart pans) with cooking spray. This crucial preparatory step prevents sticking and guarantees your mini pies will effortlessly pop out of the tins after baking.
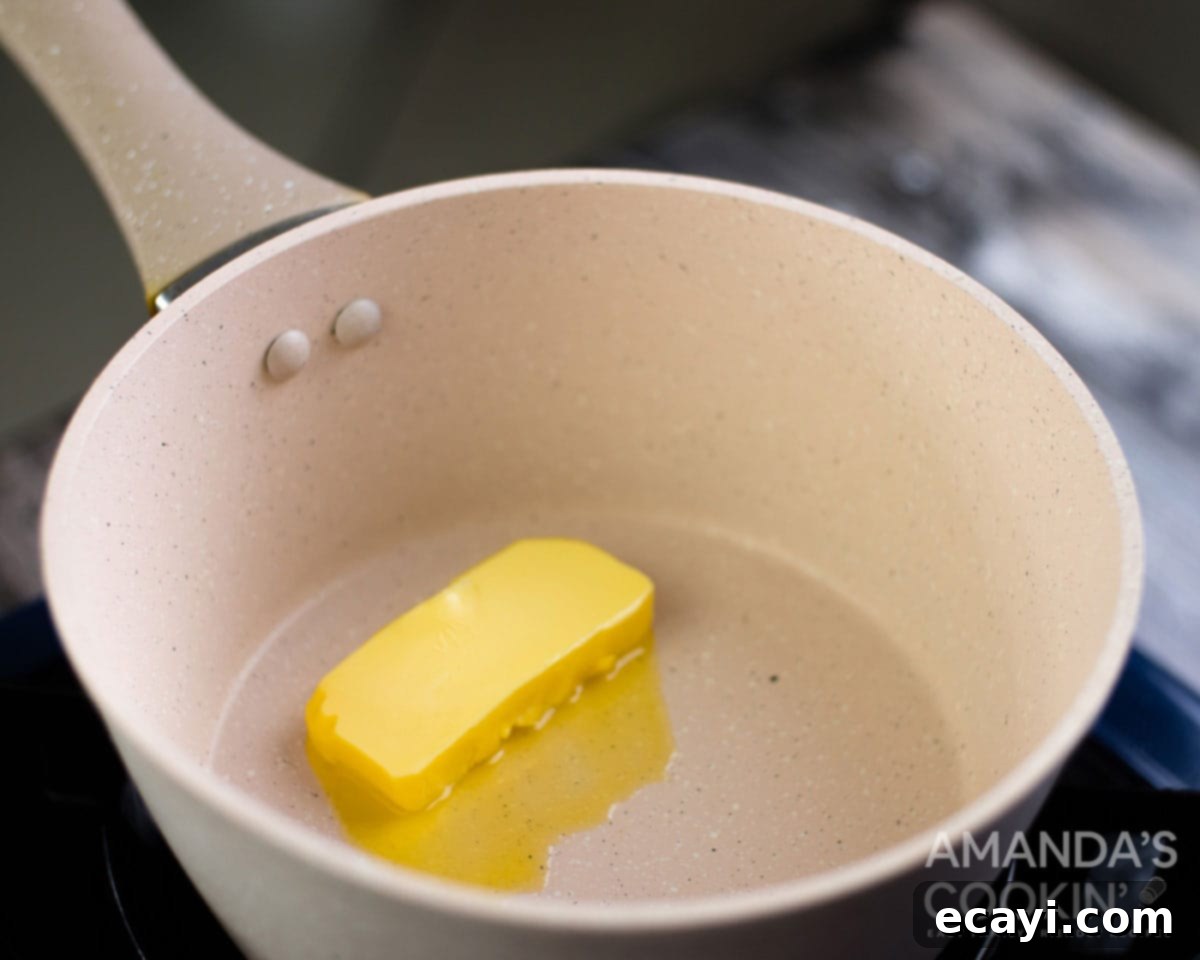
- Melt the Butter: Begin by melting the unsalted butter in a heavy-bottomed saucepan over medium-high heat. A heavy-bottomed pan is essential here as it distributes heat much more evenly, preventing the butter from scorching and ensuring you achieve a perfectly smooth, rich caramel base.
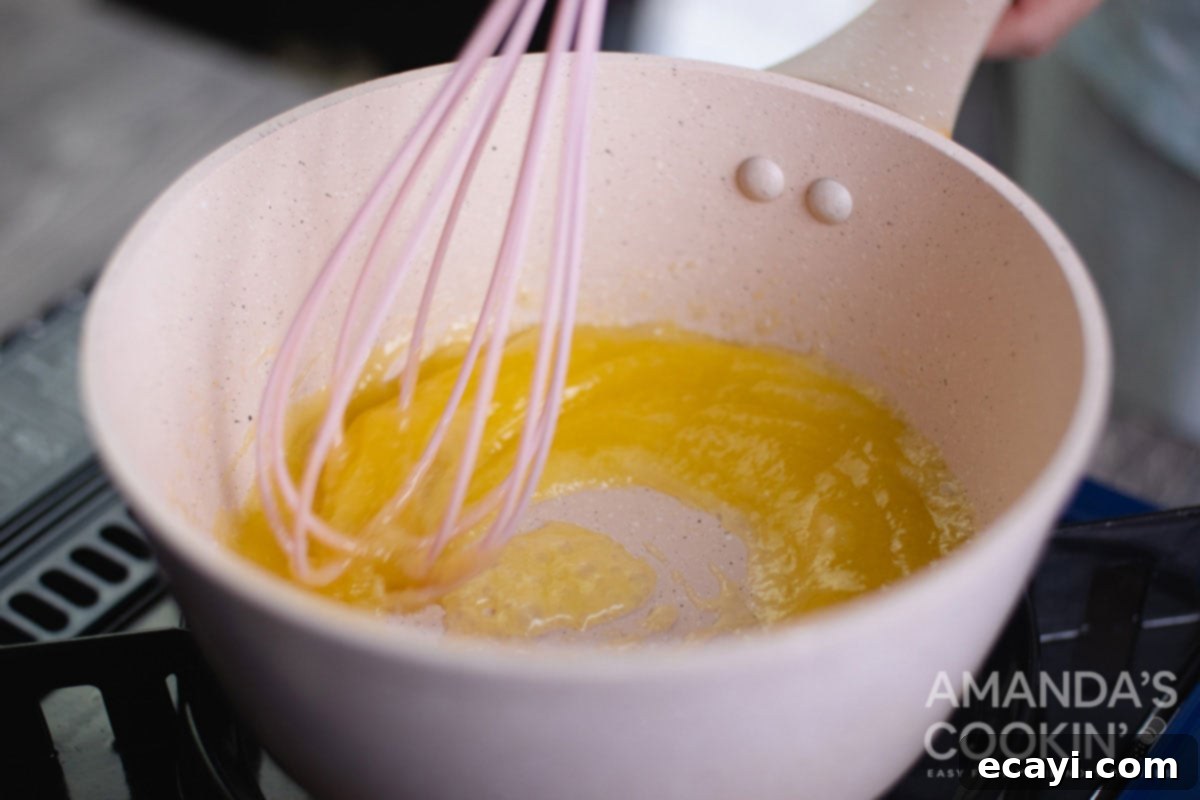
- Create a Roux: Once the butter is fully melted, add the all-purpose flour and stir quickly and continuously with a whisk or spoon until it is completely combined and forms a smooth paste. This quick stirring creates a roux, which is a vital component that will beautifully thicken our sauce.
- Form the Caramel Sauce: Carefully incorporate 3 tablespoons of water and the granulated sugar into the roux, mixing everything thoroughly. Continue to cook this mixture for approximately 5 minutes, stirring occasionally. During this time, it will gradually transform into a rich, glossy golden caramel sauce. The desired consistency should be thick enough to generously coat the back of a spoon.
- Cool the Sauce: Once the caramel sauce reaches the desired consistency, promptly remove the saucepan from the heat and set the sauce aside to cool. This cooling step is paramount to prevent the apples from cooking prematurely and becoming mushy when they are combined with the warm caramel.
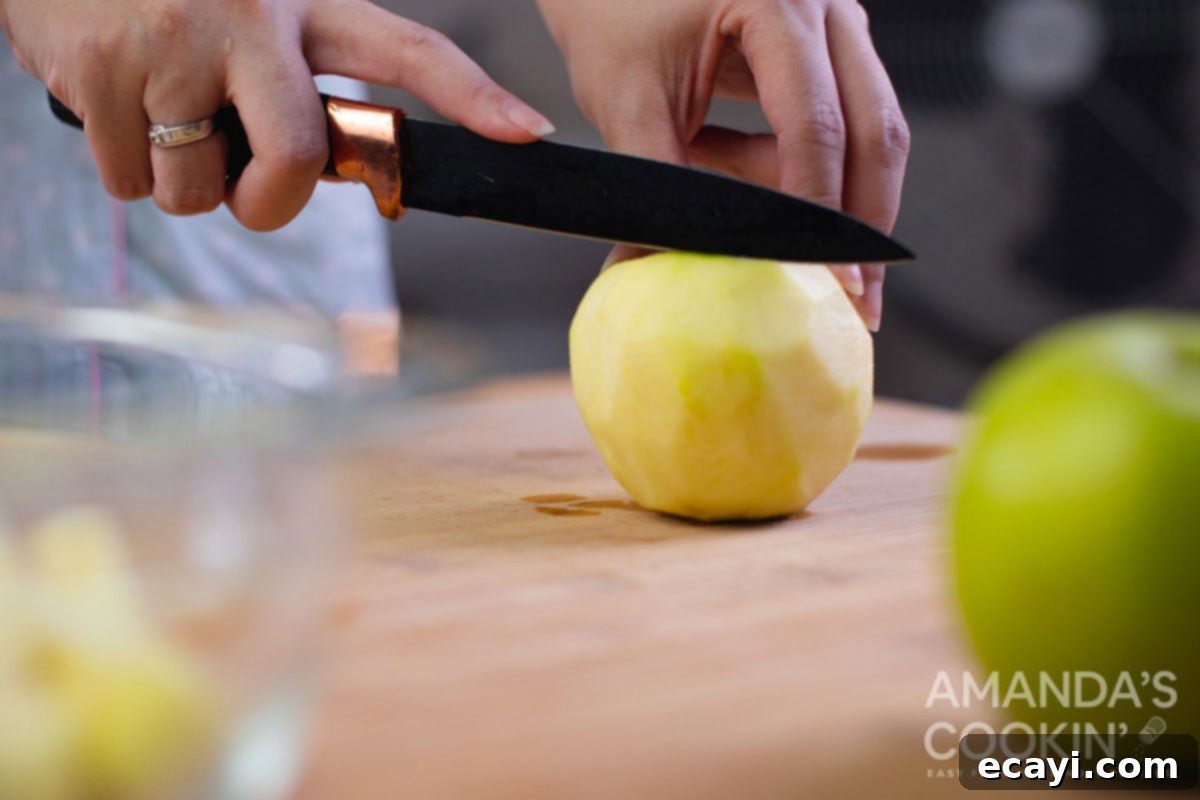
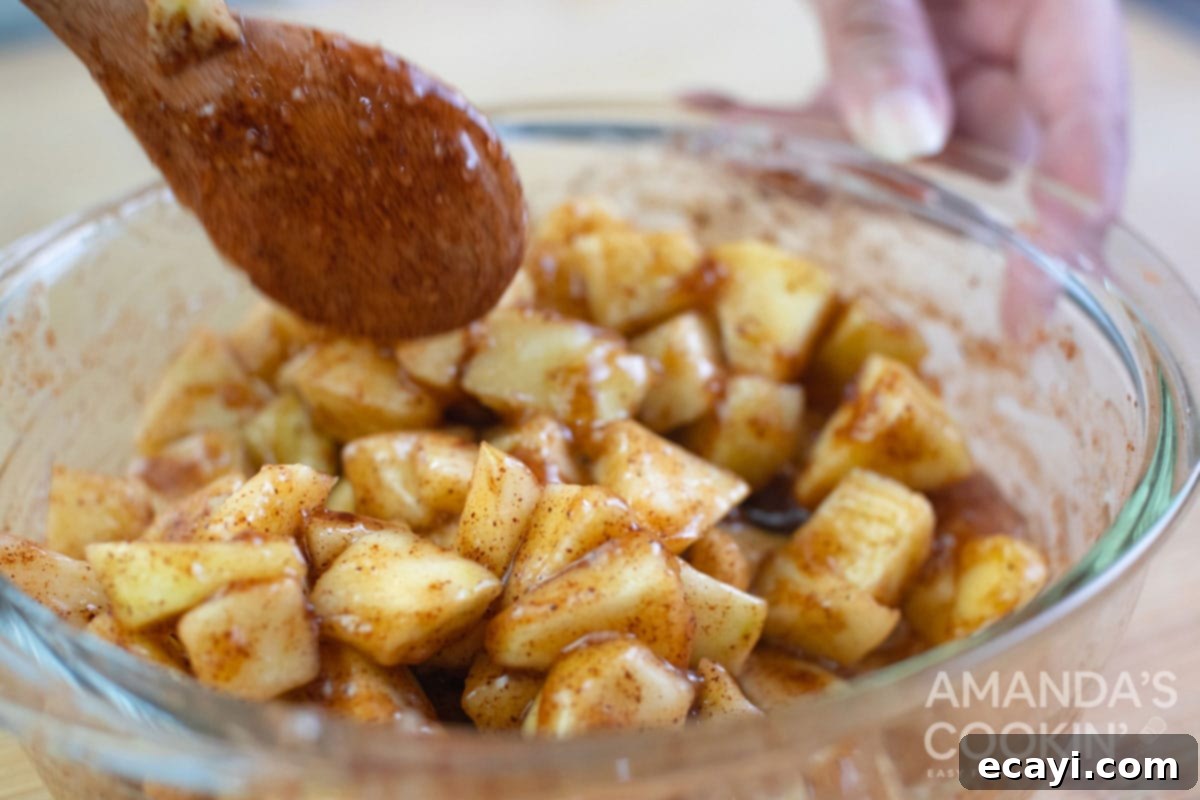
- Prepare the Apples: While the caramel sauce cools, meticulously dice your peeled apples into small, uniform pieces. Aim for approximately 1/2-inch cubes; this consistent sizing ensures that the apples soften evenly during baking and fit perfectly within the petite dimensions of your mini pies. In a separate, clean bowl, toss the diced apples with the ground cinnamon, ensuring every single piece is thoroughly coated with that warm, fragrant spice.
- Combine Filling Ingredients: Once the caramel sauce has cooled sufficiently (it should still be slightly warm but not hot), combine it with the cinnamon-tossed apples in a large bowl. Mix everything gently but thoroughly until the apples are completely coated in the luscious caramel sauce. This crucial step ensures that every single bite of your caramel apple pie filling is bursting with irresistible flavor.
Assembling Your Adorable Mini Apple Pies
Now comes the most enjoyable part of the process: assembling your charming individual apple pies! Thanks to the convenience of pre-made pie dough, this stage is incredibly quick and delightfully easy, bringing you closer to your delicious dessert.
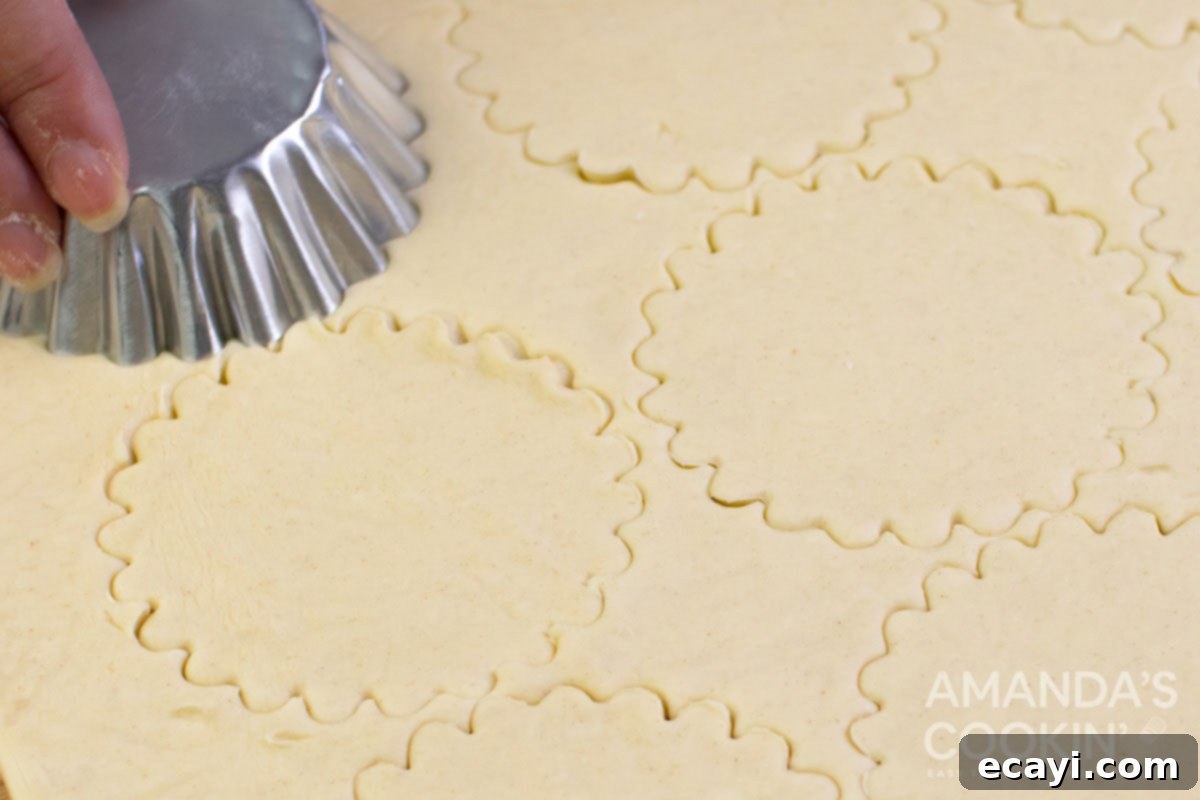
- Cut Pie Dough Circles: Carefully unroll your refrigerator pie dough sheets onto a lightly floured surface. Using a 3.5-inch round biscuit cutter or a cookie cutter of similar size, cut out 12 perfectly round circles from the dough. If you don’t have a cutter, you can cleverly use the mini tart pans themselves to gently press and cut the circles, or even the rim of a standard drinking glass for a makeshift solution.
- Line the Muffin Tin: Gently tuck each pie dough circle snugly into the prepared muffin tin cups or mini tart pans. Press the dough firmly but carefully to ensure it adheres well to both the sides and the bottom, creating a neat and secure cup for your filling.
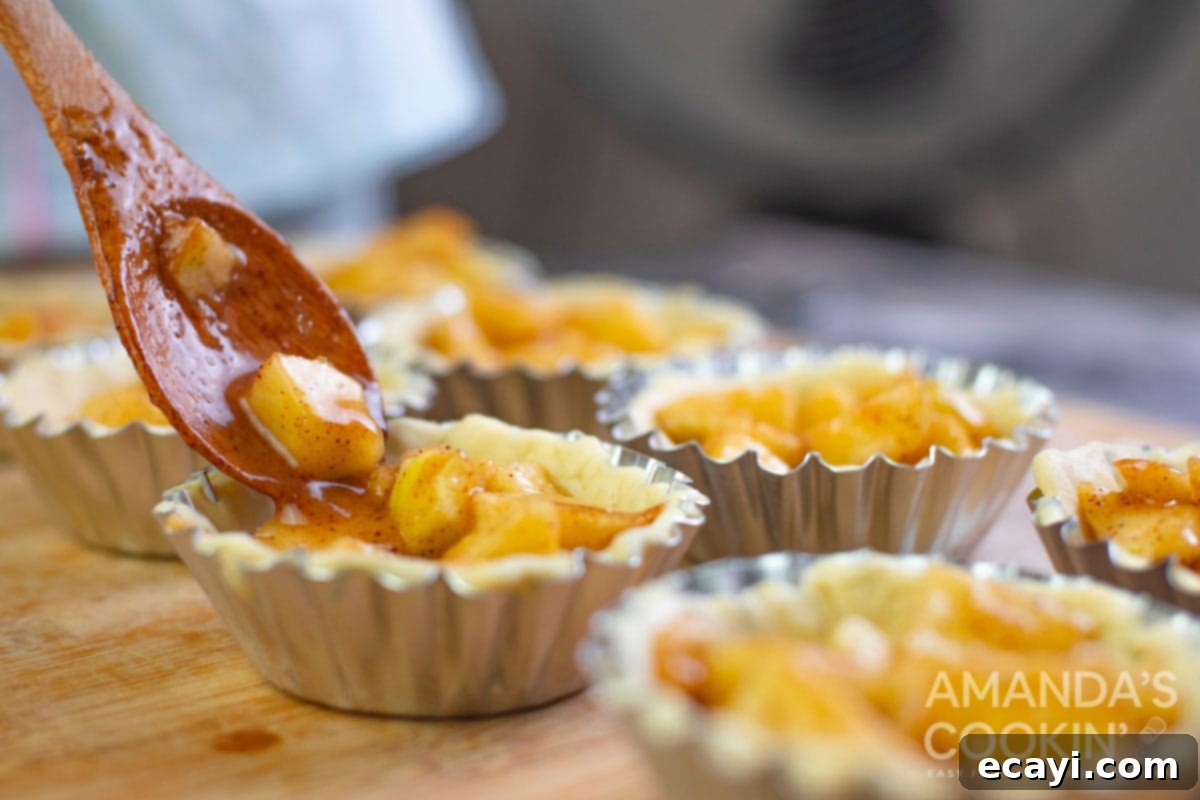
- Fill with Apple Mixture: Divide the prepared apple filling evenly among all 12 pie crusts. Fill them generously, but be mindful to keep the filling flush with the top edge of the dough, rather than mounded. This careful filling prevents any potential overflow during baking and ensures a clean, attractive top crust application.
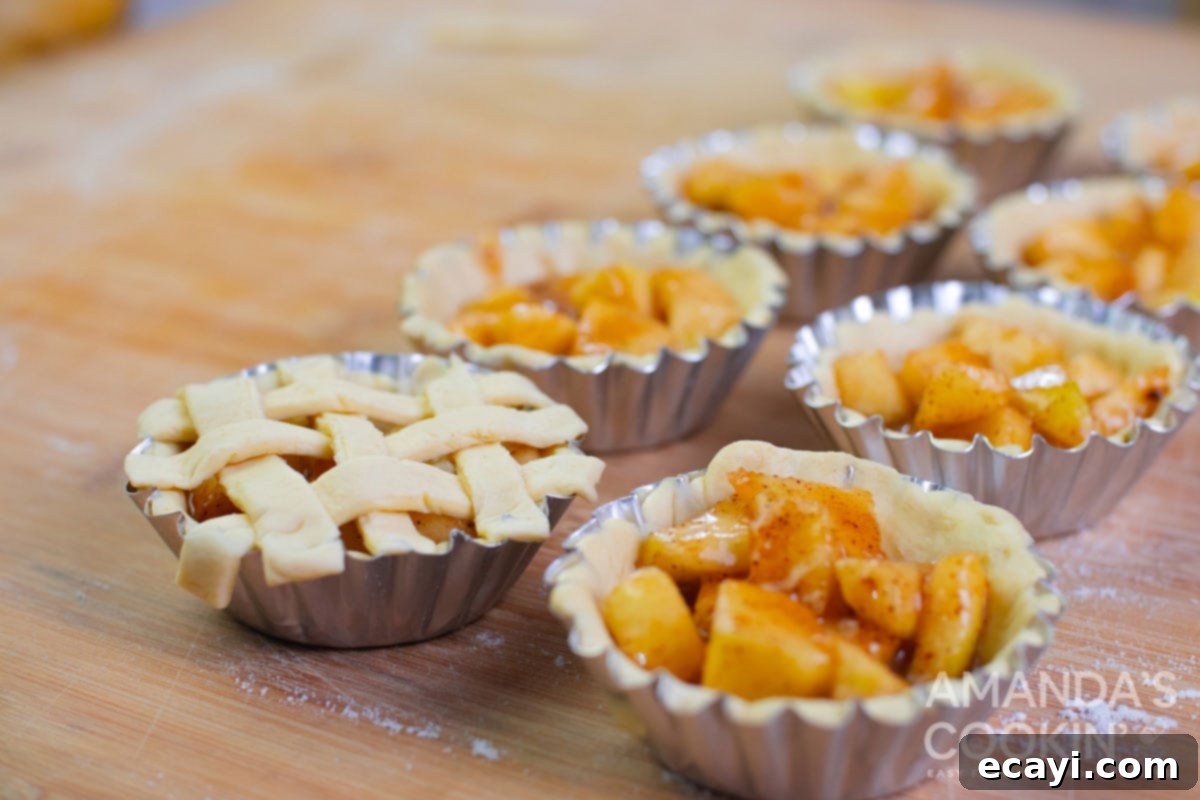
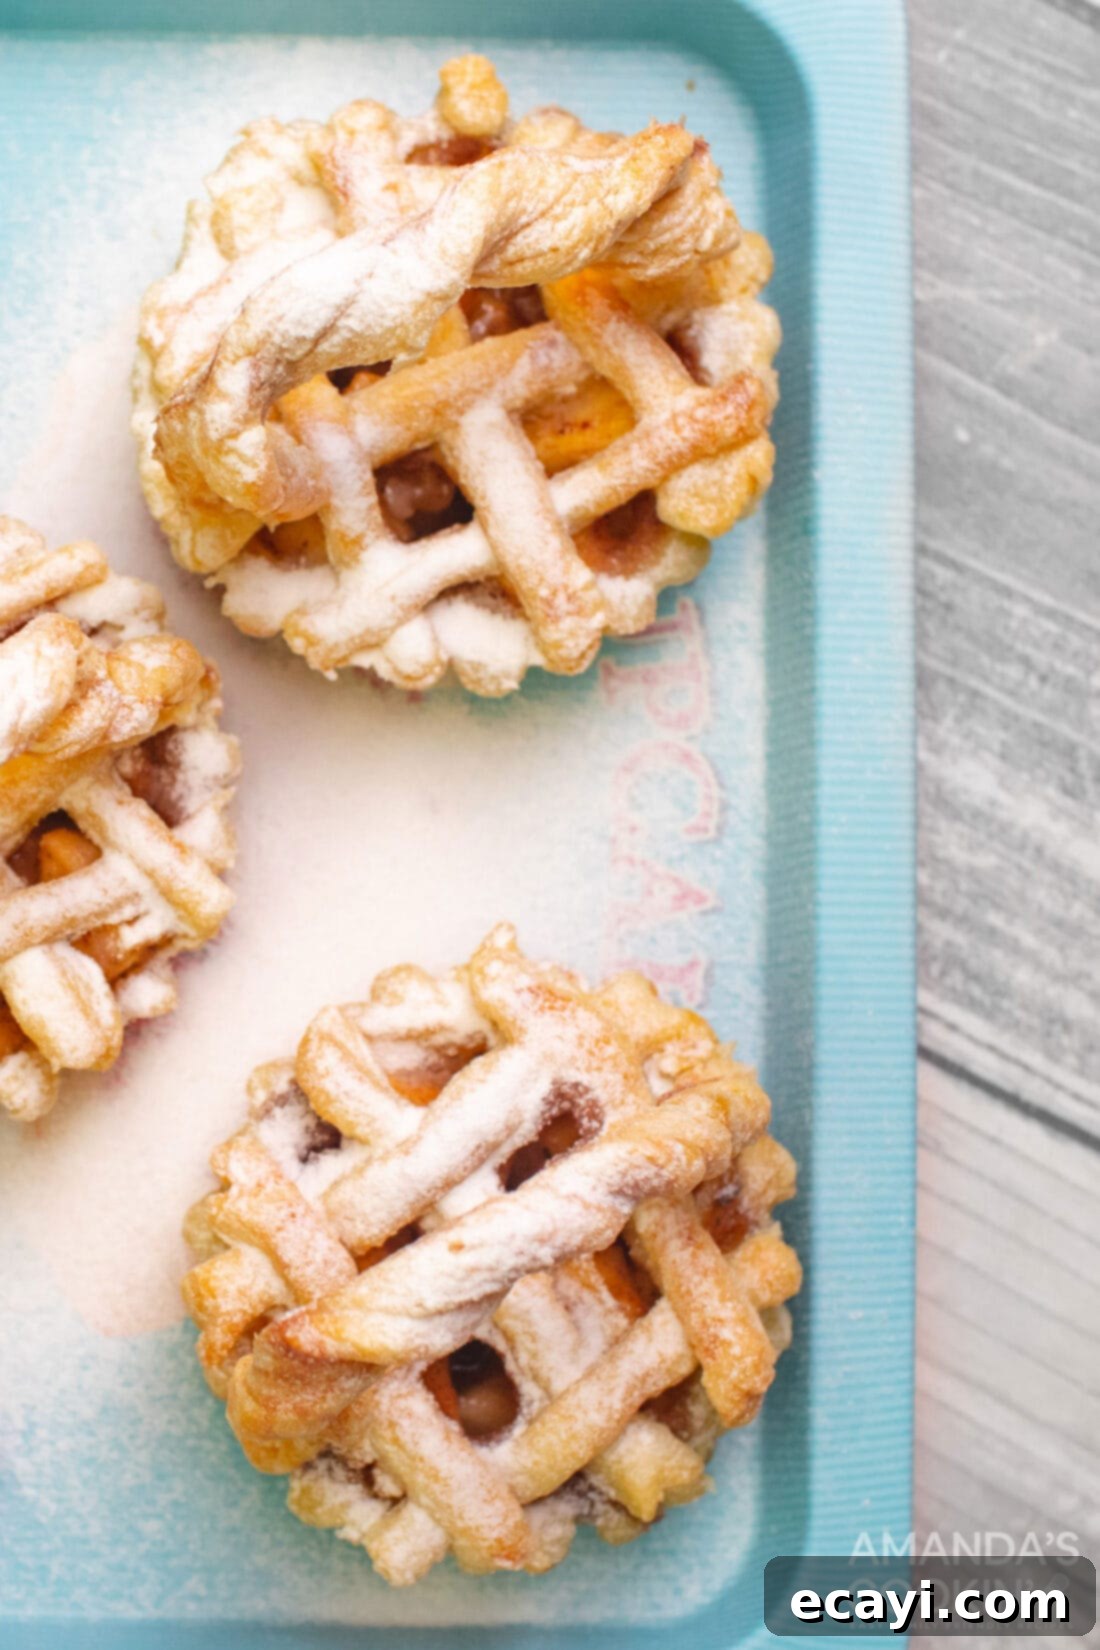
- Create Lattice Tops (Optional but Highly Recommended!): Take the remaining pie dough and cut it into thin strips, aiming for about 1/4 to 1/2 inch wide. Carefully layer these strips on top of each mini pie, meticulously weaving them over and under each other to construct a beautiful and classic lattice pie crust design. Trim any excess dough neatly from the edges. This elegant touch not only enhances the visual appeal but also allows steam to escape during baking, preventing a soggy top crust.
- Prepare Egg Wash: In a small, clean bowl, whisk one large egg with a teaspoon of water until the mixture is light and slightly frothy. This is your essential egg wash.
- Apply Egg Wash: Gently brush the tops of your mini pies (including the lattice pattern) with the prepared egg wash. This application is key to helping them achieve that gorgeous, irresistible golden-brown color and a wonderfully slightly crispy texture during baking. If you are planning to add decorative basket handles, please refer to the “Tips for Success” section or the Recipe Notes below for instructions on when to best apply them.
- Bake to Perfection: Carefully transfer the muffin tin or tart pans to your preheated oven. Bake for approximately 20-25 minutes, or until the pie crusts are a beautiful light golden brown and you can visibly see the apple filling bubbling enticingly through the lattice openings. This bubbling is a clear indicator that the apples are tender and the filling is perfectly cooked.
- Cooling: Once baked, allow the pies to cool undisturbed in their pans on a wire rack for a crucial 10-15 minutes. This setting time allows the filling to firm up slightly before handling. After this initial cooling, carefully remove the mini apple pies from the tart pans or muffin tin and transfer them completely to a wire rack to cool down fully. Cooling completely is essential for the filling to set properly and for the crust to maintain its desired flaky texture.
Adding Adorable Basket Handles (Optional Decorative Touch)
For an extra touch of cuteness and elevated flair, consider adorning your mini apple pies with delicate basket handles. These charming additions are especially perfect for special occasions, holiday tables, or whenever you want to truly impress your guests with a unique presentation.
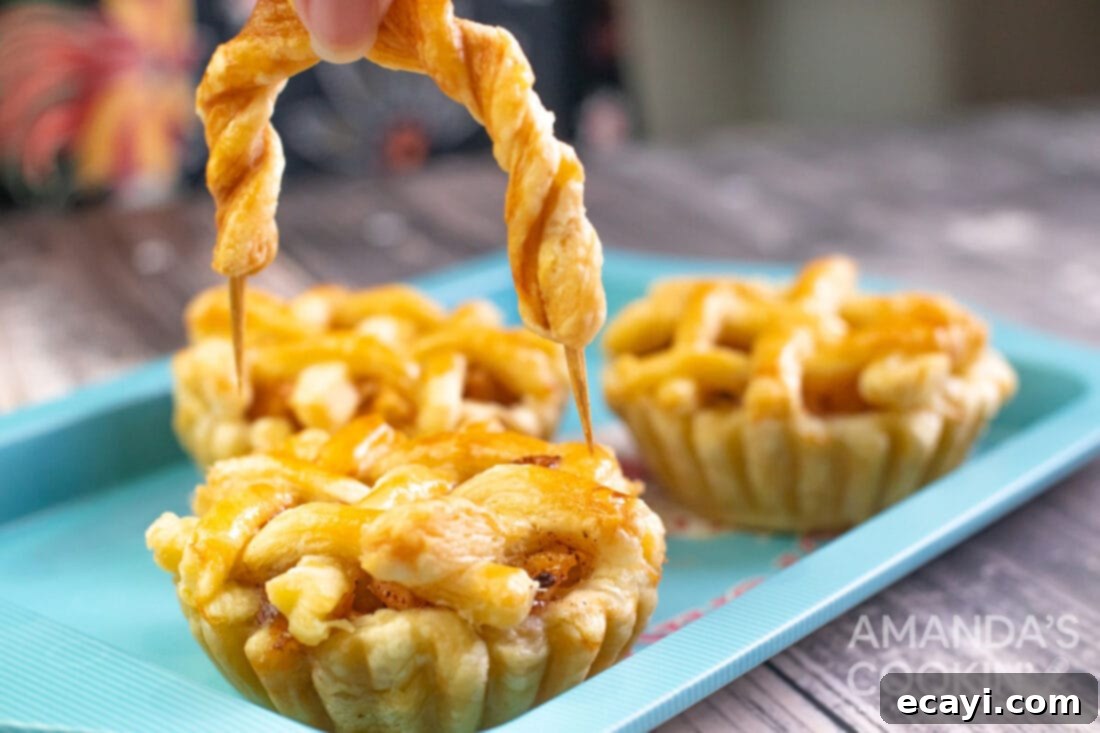
- Prepare the Handles: From your extra pie dough scraps, cut thin strips. For enhanced texture and visual appeal, you can gently twist these strips into spirals. Bend each twisted strip into a graceful, arching curve, ensuring that the opening between the two ends is wide enough to comfortably fit over the diameter of your baked mini pies.
- Bake Separately: Arrange these carefully shaped dough handles on a separate, parchment-lined baking sheet. Bake them either alongside your mini pies or immediately after. It’s crucial to keep a very close eye on them during baking, as their thinness means they may cook and brown significantly faster than the pies themselves. They should emerge golden brown and firm to the touch.
- Attach the Handles: Once both the mini pies and the decorative handles have cooled completely, the attachment process begins. Carefully insert a sturdy toothpick into each open end of the baked dough handle. Then, gently poke the other end of these toothpicks into the top crust of your mini apple pie. This method provides a surprisingly secure and edible attachment for your charming basket handles, completing the delightful presentation.
Expert Tips & Tricks for Baking the Best Mini Apple Pies
Achieving bakery-quality mini apple pies at home is much simpler than you might imagine, especially with a few insightful pointers to guide your baking process. These expert tips will help you create a truly spectacular dessert:
- Choosing the Right Apples is Key: The specific type of apple you choose will profoundly impact both the flavor and texture of your finished pie. For a classic, balanced apple pie, always opt for firm, tart-sweet varieties that are known to hold their shape exceptionally well when baked. Excellent and popular choices include Granny Smith (for its crisp tartness), Honeycrisp (for a perfect blend of sweetness and crispness), Fuji, Gala, or Braeburn. Many bakers find that using a combination of two different types of apples (e.g., Granny Smith and Honeycrisp) can create a more complex and satisfying flavor profile.
- Mastering Refrigerated Pie Dough: Always keep your store-bought pie dough chilled in the refrigerator until the very moment you are ready to unroll and use it. Cold dough is significantly easier to handle, less prone to sticking, and crucially, it results in a much flakier, more tender crust. If, at any point during your preparation, the dough starts to become too warm and difficult to manage, simply pop it back into the refrigerator for 10-15 minutes to firm up again before continuing.
- Preventing a Soggy Bottom Crust: The dreaded soggy bottom can be avoided! First, ensure your oven is fully preheated to the correct temperature before introducing your pies. Baking at a higher initial temperature helps the bottom crust set and crisp up quickly. Second, be careful not to overfill the pie shells; excess moisture from the apple filling is a primary culprit for a soggy crust. A small sprinkle of breadcrumbs or finely crushed cereal on the bottom of the crust before adding the filling can also act as a moisture barrier.
- Achieving Uniform Apple Dicing: Consistently dicing your apples into uniform pieces (ideally around 1/2-inch cubes) is critical. This ensures that all the apple pieces cook evenly throughout the baking process. If some chunks are too large, they might remain unpleasantly firm, while overly small pieces could turn to an undesirable mush.
- Don’t Rush the Cooling Process: It’s tempting to dive into a warm pie, but allowing your mini apple pies to cool properly on a wire rack is non-negotiable. This isn’t just to prevent burns; cooling allows the hot fruit filling to set and firm up, preventing it from being runny. It also ensures the crust retains its delicate, flaky texture. Warm apple pie filling is delicious, but often lacks the structural integrity of a cooled pie.
- The Elegant Touch of Powdered Sugar: For a truly professional and elegant finish, consider dusting your completely cooled mini apple pies with a light, delicate sprinkle of powdered sugar just before serving. This simple garnish adds a lovely touch of visual appeal and a subtle extra hint of sweetness that elevates the entire dessert.
Frequently Asked Questions About Mini Apple Pies
Absolutely! Mini apple pies are exceptionally well-suited for freezing, making them a fantastic make-ahead dessert option for busy schedules or future cravings. You can freeze them both before and after baking. If you plan to freeze them **before baking**, we highly recommend lining your muffin cups with strips of parchment paper before carefully placing the dough into the tins. Assemble the pies precisely as directed in the recipe. Once assembled, transfer them to the freezer in the muffin tin for a few hours until they are completely solid. Then, use the parchment strips to gently lift the partially frozen pies out. Wrap each individual frozen pie tightly in plastic wrap, then place them into an airtight container or a heavy-duty zipper freezer bag to prevent any freezer burn. When you’re ready to bake, remove them from the freezer, unwrap them while still frozen, and place them back into a lightly greased muffin tin. Allow them to defrost at room temperature for approximately 30-60 minutes before baking according to the recipe instructions; you may need to add a few extra minutes to the baking time to ensure they are cooked through and golden.
You can also freeze **baked mini pies**. After they have cooled completely on a wire rack, follow the same careful wrapping instructions as above: individually wrap each pie tightly in plastic wrap, then store in an airtight container or freezer bag. To serve, simply thaw them at room temperature for several hours or gently reheat them in a low oven (around 300°F/150°C) until warmed through, which will help re-crisp the crust.
Yes, you certainly can use canned apple pie filling as a convenient shortcut, especially if you’re short on time! While our homemade caramel apple pie filling is truly delicious, a good quality canned filling can work in a pinch. However, do keep in mind that a single standard can of filling will likely be too much for just 12 muffin-sized pies. You’ll need to carefully adjust the quantity to avoid overfilling your mini pie crusts. If you find yourself with extra canned filling, don’t let it go to waste! You could always use it to make our delicious crockpot apple cobbler or another fantastic apple-themed treat to enjoy.
Absolutely! While this recipe conveniently highlights the ease and speed of using refrigerated, pre-made pie dough, if you have a cherished homemade pie dough recipe that you adore, please feel free to use it. Freshly made pie crust often adds an extra layer of nuanced flavor and a uniquely tender, flaky texture that many experienced bakers truly appreciate. If you’re looking for a reliable scratch-made pie dough recipe to try, you can find a thoroughly tested one featured in our popular blueberry pie recipe, which is a tried and true favorite!
For the best possible flavor and texture in your mini apple pies, we highly recommend using a delightful mix of tart and sweet apples that are known to hold their shape exceptionally well when baked. Excellent choices for apple pie include Granny Smith (prized for its essential tartness), Honeycrisp (known for its perfect balance of sweetness and crispness), Fuji, Gala, or Braeburn. Using a thoughtful combination of these, such as Granny Smith alongside Honeycrisp, often yields a more complex, well-rounded, and utterly delightful flavor profile that will make your pies stand out.
Shrinking pie crusts can indeed be a common frustration for bakers, but there are effective ways to minimize this. To start, ensure your dough is always well-chilled before you begin rolling and cutting it. When you press the dough into the muffin tins, avoid stretching it; instead, gently ease it into place, allowing it to relax. If you’re using homemade dough, a brief period of “blind baking” (baking the empty crust for about 5-10 minutes, often with pie weights or dried beans) can help set the shape and reduce shrinkage, although this step is typically not necessary for mini pies where the filling bakes simultaneously with the crust. Letting the dough rest in the fridge for a short period after forming can also help prevent shrinkage.
We sincerely hope you thoroughly enjoy the delightful experience of creating and sharing these charming and utterly delicious mini apple pies. They are truly the perfect dessert for any occasion, from intimate cozy family dinners to grand, festive holiday celebrations, offering a personal touch that everyone will deeply appreciate and remember.
More Delightful Pie Recipes to Explore
If you’ve discovered a newfound love for pie making (or perhaps just pie eating!), we are thrilled to offer an array of other fantastic pie recipes that are sure to tempt your taste buds and inspire your next baking adventure. From cherished classic favorites to creative and unique twists, there’s a perfect pie for every craving and occasion:
- Classic Banana Cream Pie
- Perfect Pumpkin Pie (A quintessential Holiday Favorite!)
- Refreshingly Fresh Strawberry Pie
- Zesty and Adorable Mini Key Lime Pies
- Hearty Traditional Homemade Apple Pie
- Rich and Indulgent Pecan Pie
- Convenient and Portable Apple Hand Pies
- Quick & Easy 3-Ingredient Apple Pie Cupcakes
I absolutely adore baking and cooking, and it is truly my immense pleasure to share my kitchen experiences, tested recipes, and culinary insights with all of you! Remembering to come back each day for new inspiration can sometimes be tough, which is precisely why I offer a convenient and free newsletter delivered straight to your inbox every single time a new recipe is posted. Simply subscribe here and start receiving your free daily recipes to spark joy and creativity in your kitchen endeavors!
Mini Apple Pies
IMPORTANT – Don’t miss our Frequently Asked Questions section further up in this post, which offers helpful tips and answers to common queries. Simply scroll back up to read them!
Print It
Pin It
Rate It
Save ItSaved!
Ingredients
- 4 tablespoons unsalted butter
- 1 tablespoon all-purpose flour
- 3 tablespoons water
- ⅓ cup PLUS 1 tablespoon granulated sugar 90 grams
- 3 medium apples peeled and diced
- 1 tablespoon ground cinnamon
- 2 14.1-oz boxes refrigerator pie dough sheets
- 1 large egg
- 1 teaspoon water
Equipment You’ll Need
-
Muffin pan or mini tart pans
-
Heavy saucepan
-
3.5-inch round biscuit or cookie cutter
Before You Begin & Recipe Notes
- Optional Basket Handles: To add a charming basket handle, cut thin strips of pie dough and gently twist them. Bend these twisted strips into a graceful curve, ensuring the opening between the ends fits over the diameter of your pies. Bake these handles separately on a baking sheet at the same oven temperature as the pies. Keep a close eye on them, as their thinness may cause them to bake faster. Once cooled, carefully insert toothpicks into each open end of the handle and gently poke the other end of the picks into the top of the mini apple pie to secure them.
- Garnish for Elegance: For a beautiful and refined presentation, consider dusting your completely cooled mini apple pies with a light sprinkle of powdered sugar just before serving. This adds a delightful touch of visual appeal and a subtle extra sweetness.
Instructions
-
Preheat your oven to 425°F (218°C). Lightly spray your muffin tin cups or mini tart pans with cooking spray to ensure your pies don’t stick.
Make the Apple Filling
-
Melt 4 tablespoons of unsalted butter in a heavy-bottomed saucepan over medium-high heat until fully liquid and bubbling gently.
-
Add 1 tablespoon of all-purpose flour to the melted butter and stir vigorously with a whisk until a smooth paste (roux) forms and is completely combined. Continue stirring for about 1 minute.
-
Pour in 3 tablespoons of water and the granulated sugar (⅓ cup plus 1 tablespoon), mixing everything very well. Continue to cook this mixture for approximately 5 minutes, stirring occasionally, until it thickens into a rich, golden caramel sauce that coats the back of a spoon.
-
Remove the caramel sauce from the heat and allow it to cool slightly while you proceed with preparing the apples.
-
Meanwhile, peel and dice the 3 medium apples into small, uniform pieces (about 1/2-inch cubes). In a separate bowl, toss the diced apples with 1 tablespoon of ground cinnamon until they are evenly coated.
-
Combine the cooled caramel sauce with the seasoned apples in a large bowl. Mix thoroughly to ensure all apple pieces are coated with the delicious caramel, creating a luscious filling.
Prepare the Pies
-
Unroll your refrigerator pie dough sheets onto a lightly floured surface. Using a 3.5-inch round biscuit cutter or cookie cutter, cut out 12 circles from the pie dough. (Alternatively, you can use the mini tart pans themselves to press and cut the circles).
-
Carefully tuck each pie dough circle snugly into the prepared muffin tin cups, gently pressing to line the bottoms and sides evenly.
-
Divide the apple filling evenly among the 12 pie crusts. Fill them generously, ensuring the filling is level with the top of the dough, not mounded, to prevent overflow.
-
Take any remaining pie dough and cut it into thin strips (approximately 1/4 to 1/2 inch wide). Layer these strips on top of the mini pies, weaving them over and under to create an attractive lattice pattern. Trim any excess dough from the edges.
-
In a small bowl, whisk 1 large egg with 1 teaspoon of water until frothy to create your egg wash.
-
Gently brush the tops of the mini pies (including the lattice) with the egg wash for a beautiful golden-brown finish. (If adding optional basket handles, please refer to the “Before You Begin & Recipe Notes” section within this recipe card for specific instructions on timing).
-
Bake in the preheated oven for 20-25 minutes, or until the crust is a beautiful light golden brown and the apple filling is visibly bubbling through the lattice openings.
-
Allow the pies to cool in the muffin pan on a cooling rack for 10-15 minutes. This allows them to set slightly. Then, carefully remove them from the tart pans or muffin tin and transfer them to a wire rack to cool completely before serving. Cooling fully ensures the filling sets and the crust remains flaky.
Nutrition Information
The recipes on this blog are tested with a conventional gas oven and gas stovetop. It’s important to note that some ovens, especially as they age, can cook and bake inconsistently. Using an inexpensive oven thermometer can assure you that your oven is truly heating to the proper temperature. If you use a toaster oven or countertop oven, please keep in mind that they may not distribute heat the same as a conventional full sized oven and you may need to adjust your cooking/baking times. In the case of recipes made with a pressure cooker, air fryer, slow cooker, or other appliance, a link to the appliances we use is listed within each respective recipe. For baking recipes where measurements are given by weight, please note that results may not be the same if cups are used instead, and we can’t guarantee success with that method.
