Mastering Mini French Silk Pies: Decadent Chocolate Treats for Every Occasion
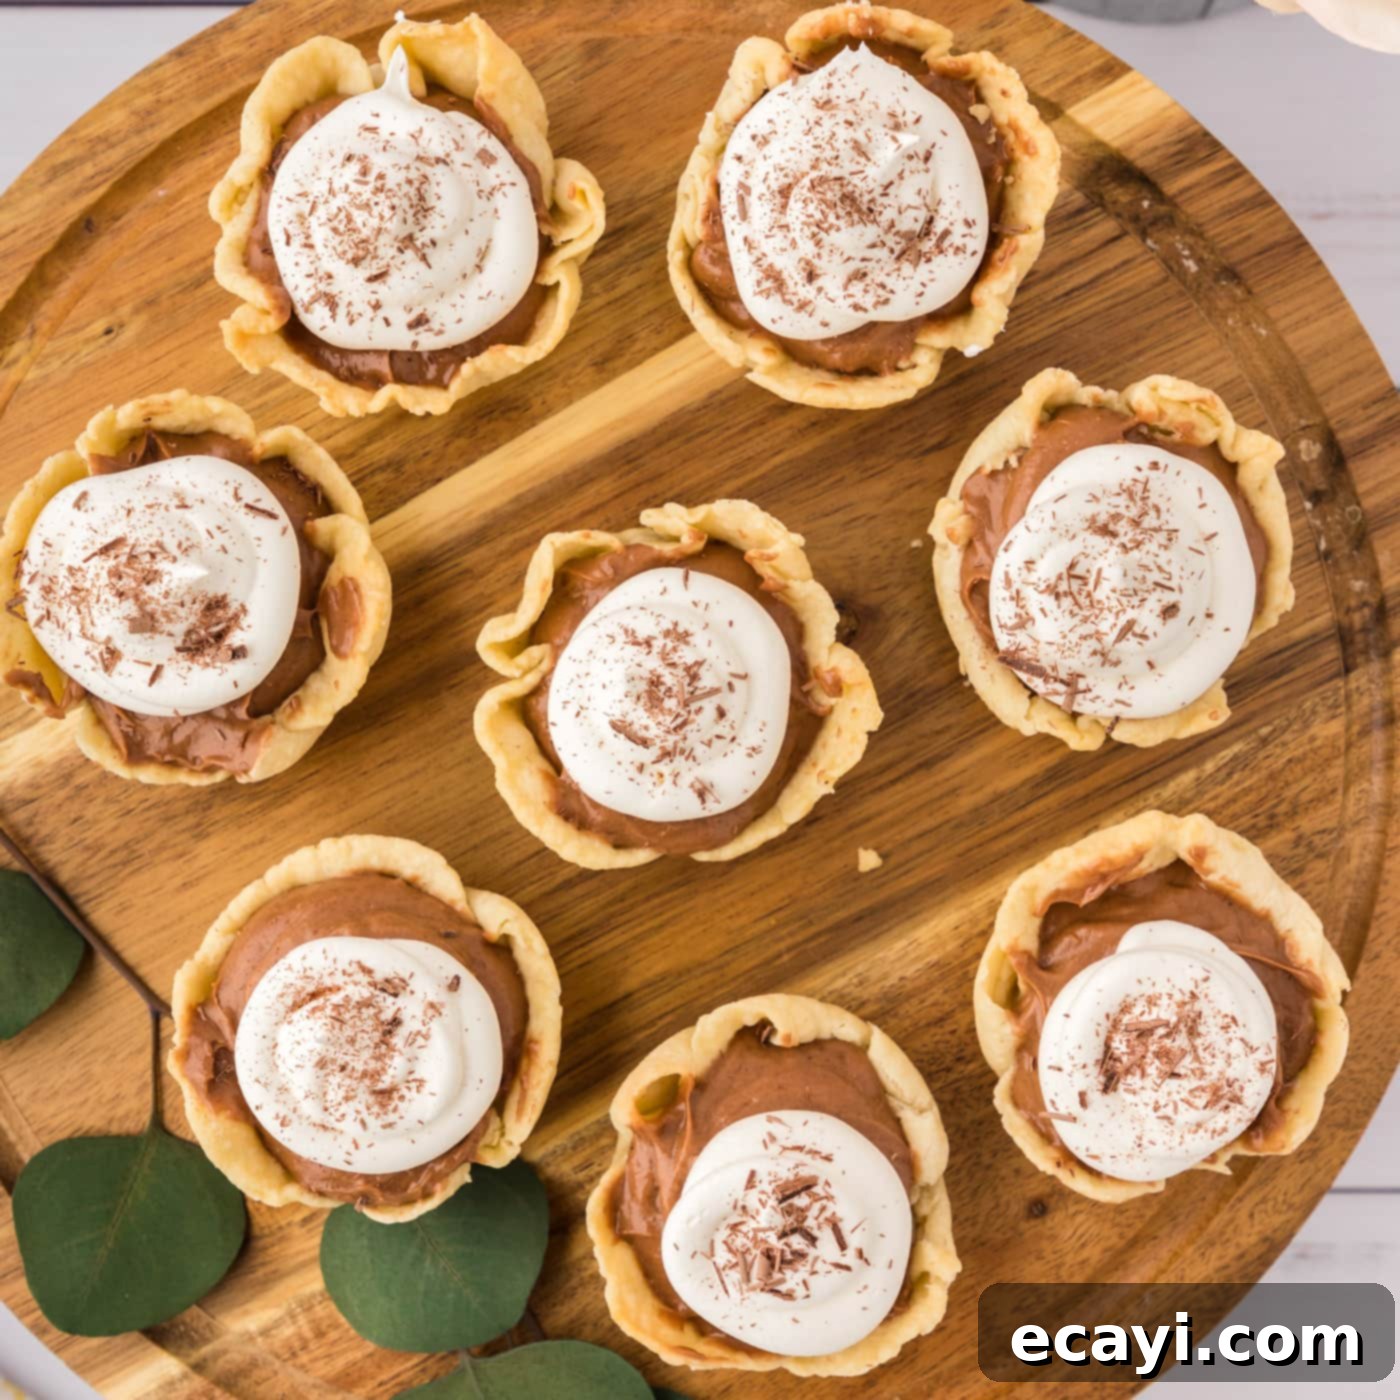
Indulge in the pure bliss of these Mini French Silk Pies, a perfect symphony of textures and flavors. Each delightful bite-sized portion features a perfectly flaky, buttery homemade crust, generously filled with a velvety, rich chocolate filling, and elegantly crowned with fluffy whipped cream and delicate chocolate shavings. These individual treats are not just desserts; they’re tiny masterpieces designed to impress and satisfy any chocolate lover.
Why This Mini French Silk Pie Recipe Is a Must-Try
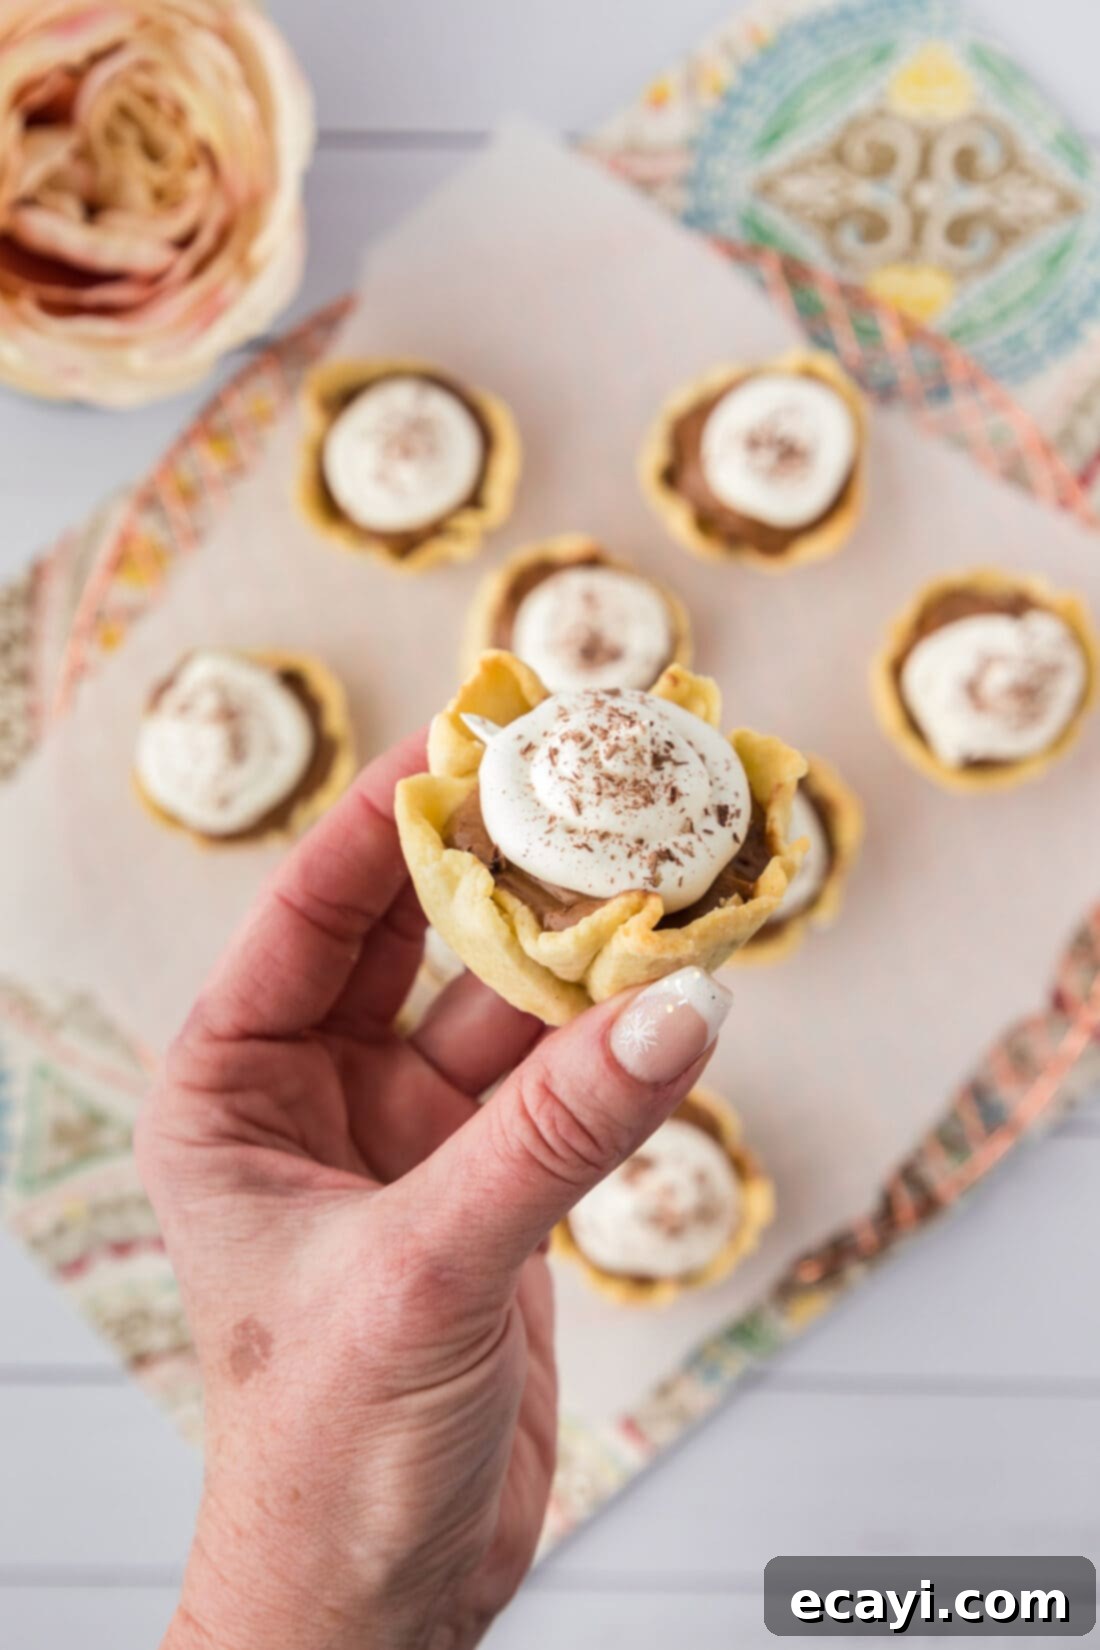
There’s something uniquely enchanting about a French Silk Pie, and this mini version takes that enchantment to a whole new level of convenience and charm. These aren’t just smaller pies; they’re thoughtfully crafted, two-bite delights that simplify serving and elevate any gathering. Drawing inspiration from my beloved classic French silk pie recipe, these miniature counterparts offer all the rich, decadent flavor without the fuss of slicing and plating. Imagine guests effortlessly grabbing their own perfectly portioned dessert, free from the challenges of pie cutters and messy transfers.
Beyond the ease of serving, mini pies are incredibly practical for various reasons. They’re ideal for wrapping up as elegant leftovers, making it simple to send a sweet treat home with guests. Moreover, they freeze beautifully, allowing you to prepare them in advance and enjoy a silky chocolate indulgence whenever a craving strikes. Last year, I proudly served these at our Thanksgiving feast, and they were an absolute sensation, rivaling the popularity of the traditional whole pie. In our family, a truly exceptional dessert is a holiday necessity, and these mini pies delivered beyond expectation. They truly are like little chocolate silk bombs, featuring a delicate, flaky, and intensely buttery crust that provides the perfect counterpoint to the smooth, rich filling. Each bite is a dream, combining luxurious texture with profound chocolate flavor.
This recipe ensures a consistently perfect result, yielding a pie crust that is tender and golden, and a chocolate filling that is both dense and incredibly smooth, melting in your mouth. The combination of high-quality ingredients and precise techniques outlined here guarantees that your mini French silk pies will be a memorable addition to any dessert spread, perfect for holidays, parties, or simply a luxurious personal treat.
Essential Ingredients for Your Mini French Silk Pies
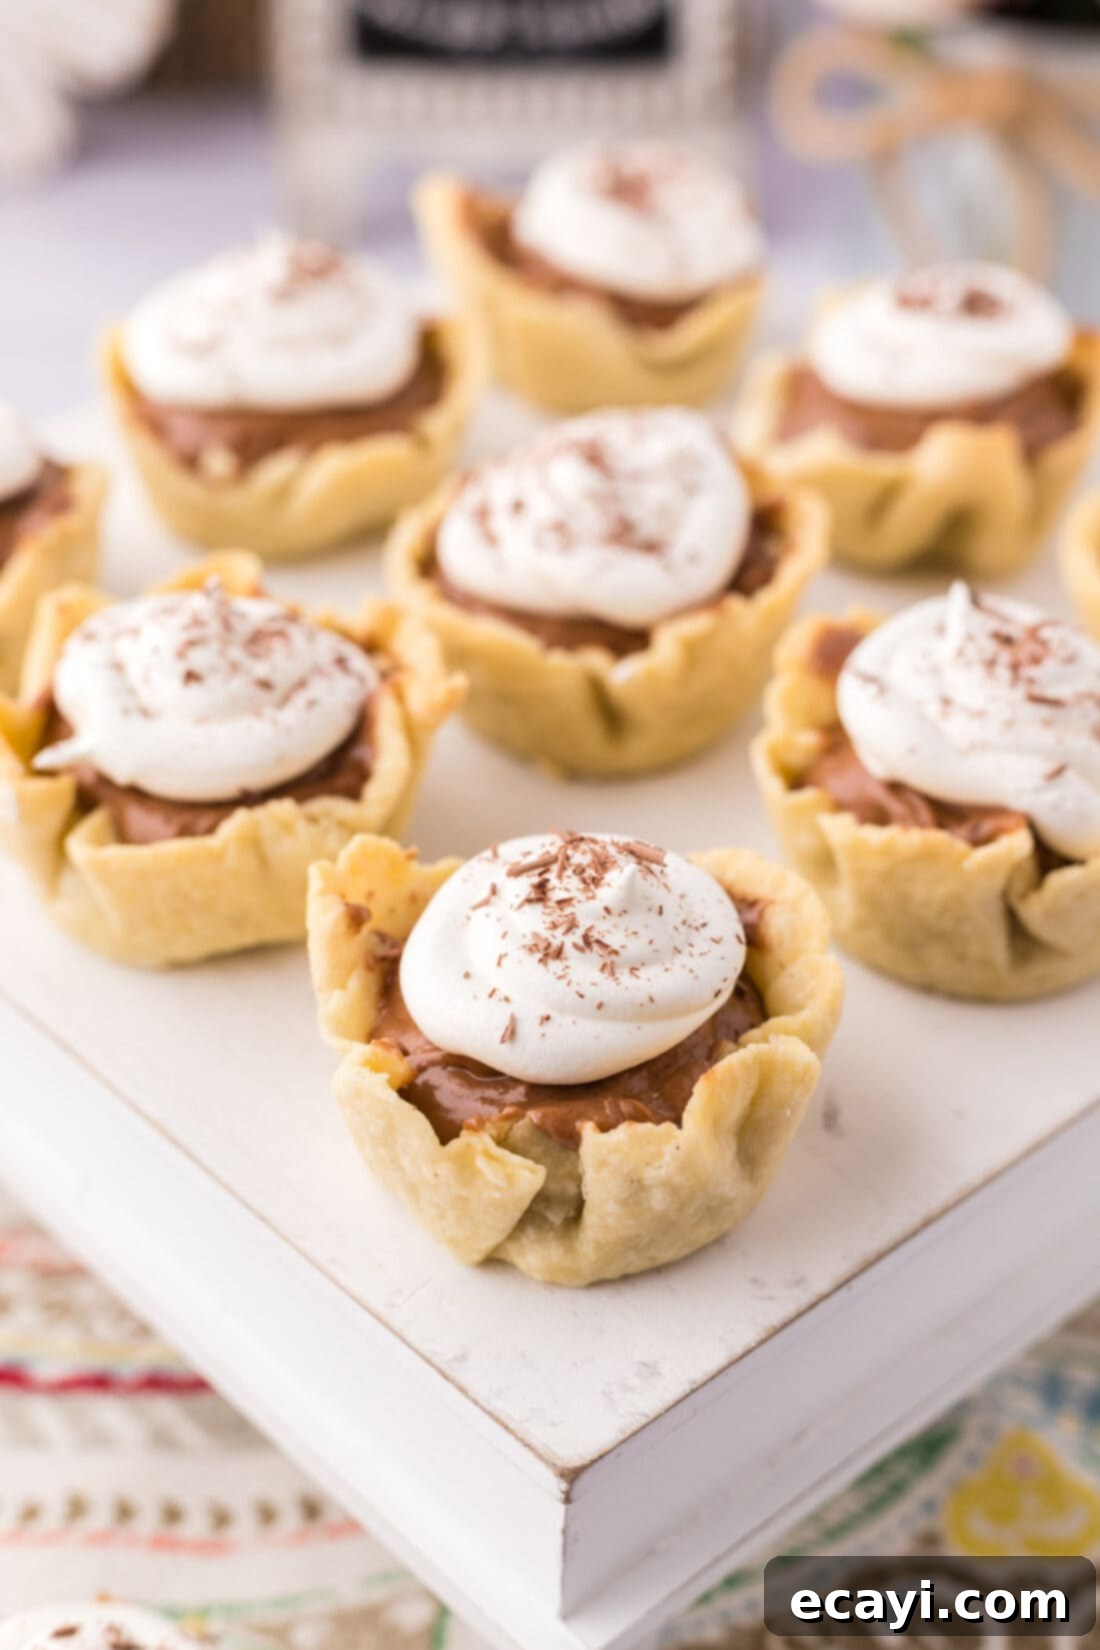
Crafting these exquisite mini French silk pies requires a selection of fresh, high-quality ingredients that contribute to their incredible flavor and texture. You’ll find a complete list of all measurements, ingredients, and detailed instructions in the printable version of this recipe conveniently located at the end of this post. Gathering your ingredients before you begin will ensure a smooth and enjoyable baking experience. From the flour for the flaky crust to the rich chocolate and creamy butter for the filling, each component plays a crucial role in creating this irresistible dessert.
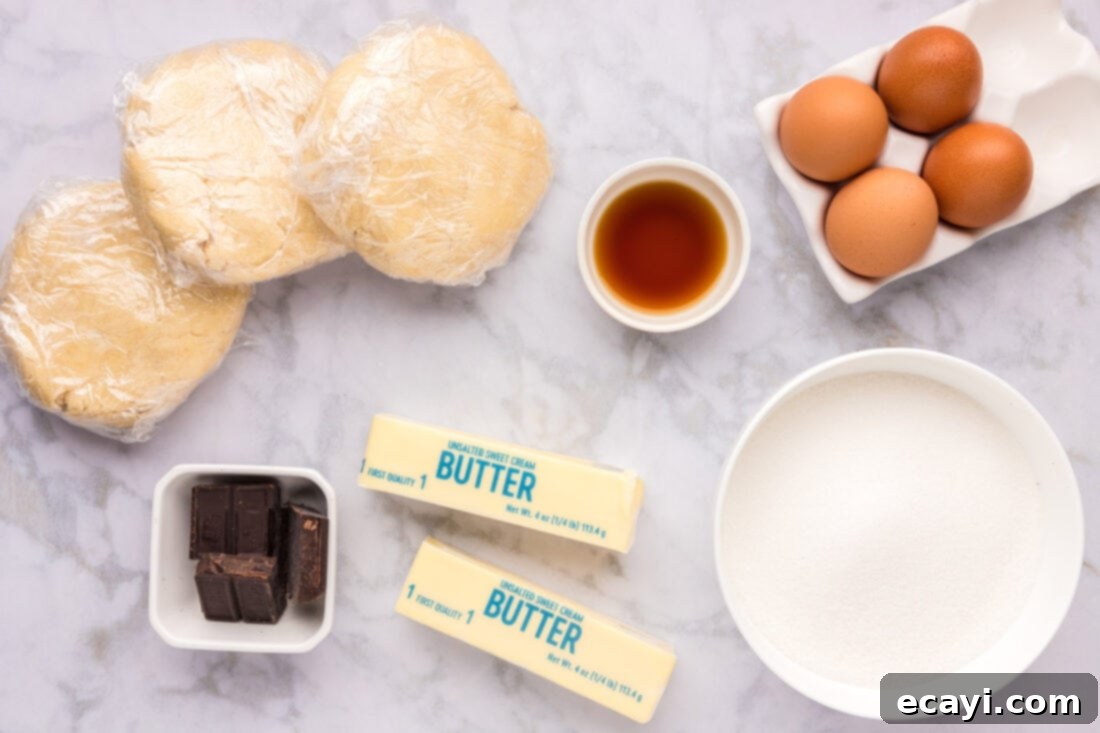
Ingredient Spotlight: Tips & Substitutions
Understanding each ingredient’s role and potential substitutions is key to baking success. Here’s a breakdown to guide you:
DOUGH – Our recipe features a homemade dough that promises an incredibly flaky and tender crust, providing the perfect foundation for the rich filling. While I highly recommend experiencing the superior texture and flavor of a scratch-made crust, I understand that time constraints can sometimes be a factor. If you prefer to streamline the process, you can absolutely use high-quality store-bought mini pie crust shells or even a refrigerated pie dough that you can cut and press into your muffin tins. Just ensure they are suitable for baking and will hold their shape.
BUTTER – For the French silk filling, the quality of your butter is paramount. Always use unsalted butter to control the salt content of your dessert. It’s crucial that you do NOT use margarine, as its different fat composition will yield an undesirable texture and flavor that I have not tested. Furthermore, resist the urge to melt the butter. The butter must be properly softened to room temperature, which typically means removing it from the refrigerator and letting it sit on the counter for about 20-30 minutes. Softened butter creams beautifully with sugar, incorporating air that is essential for the filling’s light and fluffy consistency. Melting it would result in a dense, greasy texture.
EGGS – This recipe calls for raw eggs in the chocolate filling. While many traditional French silk pie recipes use uncooked eggs, if this is a concern for you or your guests (especially for pregnant women, young children, or those with weakened immune systems), I strongly advise using pasteurized eggs. Pasteurized eggs have been gently heated to kill bacteria without cooking them, making them safe for raw consumption. Alternatively, you can learn how to pasteurize eggs at home with a simple method using a sous vide or stovetop. Your safety and comfort are important!
CHOCOLATE – Unsweetened chocolate is specified for the filling to achieve that deep, intense chocolate flavor without excessive sweetness, allowing the sugar in the recipe to balance it perfectly. Ensure it’s melted and cooled completely before adding it to the butter mixture, as warm chocolate could melt the butter and compromise the filling’s texture. Bittersweet chocolate shavings are ideal for garnish, offering a slight contrast in flavor and an elegant finish. You can grate a high-quality chocolate bar for the best shavings.
TOPPING – A generous dollop of homemade whipped cream provides a light and airy contrast to the rich chocolate filling. Our recipe uses heavy whipping cream and powdered sugar for a classic, fresh taste. If you’re looking for convenience, Cool Whip is a perfectly acceptable alternative. For a whipped topping that maintains its structure longer, especially if you’re preparing these pies in advance or for an outdoor event, consider making stabilized whipped cream. This version often includes a touch of gelatin or cream of tartar to help it hold stiff peaks for extended periods, preventing it from weeping or deflating.
GRANULATED SUGAR & POWDERED SUGAR – Granulated sugar is used in the pie crust and filling for sweetness and structure, while powdered sugar is essential for the whipped cream, dissolving quickly to create a smooth, lump-free topping.
Step-by-Step Guide: Crafting Your Mini French Silk Pies
These step-by-step photos and detailed instructions are provided to help you visualize each stage of making this delectable recipe. For a fully printable version, complete with precise measurements and comprehensive instructions, simply Jump to Recipe at the bottom of this post.
- To Make the Flaky Pie Dough: Begin by combining the all-purpose flour, kosher salt, and granulated sugar in a food processor. Pulse the mixture on high for about 10 seconds to thoroughly combine the dry ingredients. This ensures an even distribution of salt and sugar throughout the dough.
- Next, evenly distribute the cold, cubed unsalted butter over the flour mixture. It’s crucial that the butter is very cold to achieve a flaky crust. Pulse the food processor for short 1-2 second bursts at a time. Continue pulsing until the mixture resembles coarse crumbs, with some pea-sized pieces of butter still visible. This usually takes around 14-16 pulses. Avoid over-processing, as you don’t want to fully incorporate the butter.
- Gradually add the ice water, 1 tablespoon at a time, pulsing briefly after each addition. Continue this process until the mixture just begins to come together and form a cohesive dough. You might not need to use all of the water; stop as soon as the dough forms.
EXPERT TIP – Over-hydrating your dough is a common pitfall that can lead to significant shrinkage in your finished pie crusts. Follow these instructions meticulously, adding only enough water for the dough to barely come together. A slightly drier dough is preferable to one that is too wet, as it prevents tough crusts and excessive shrinkage during baking.
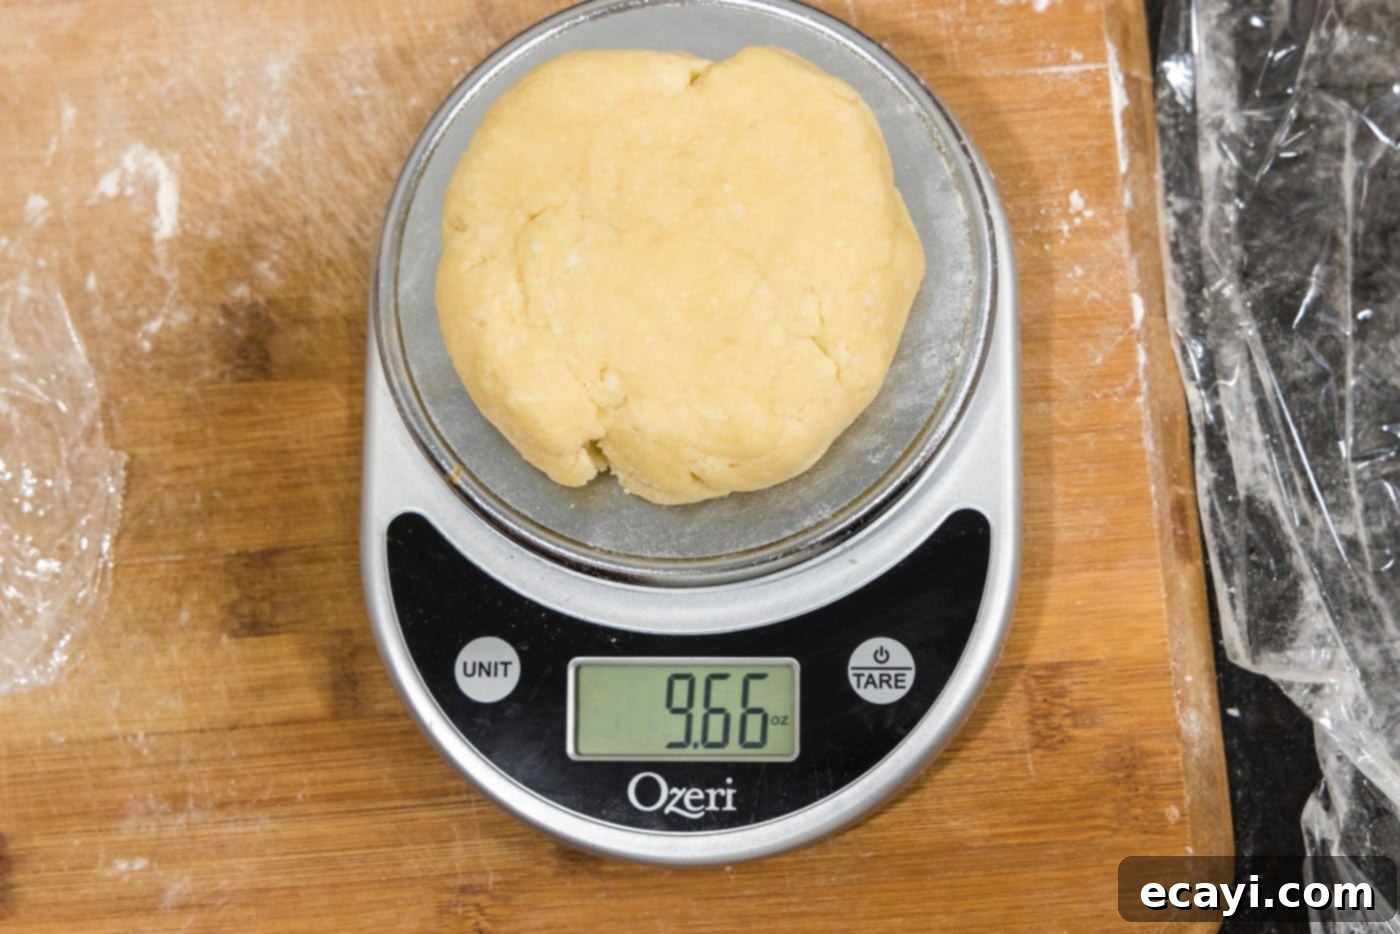
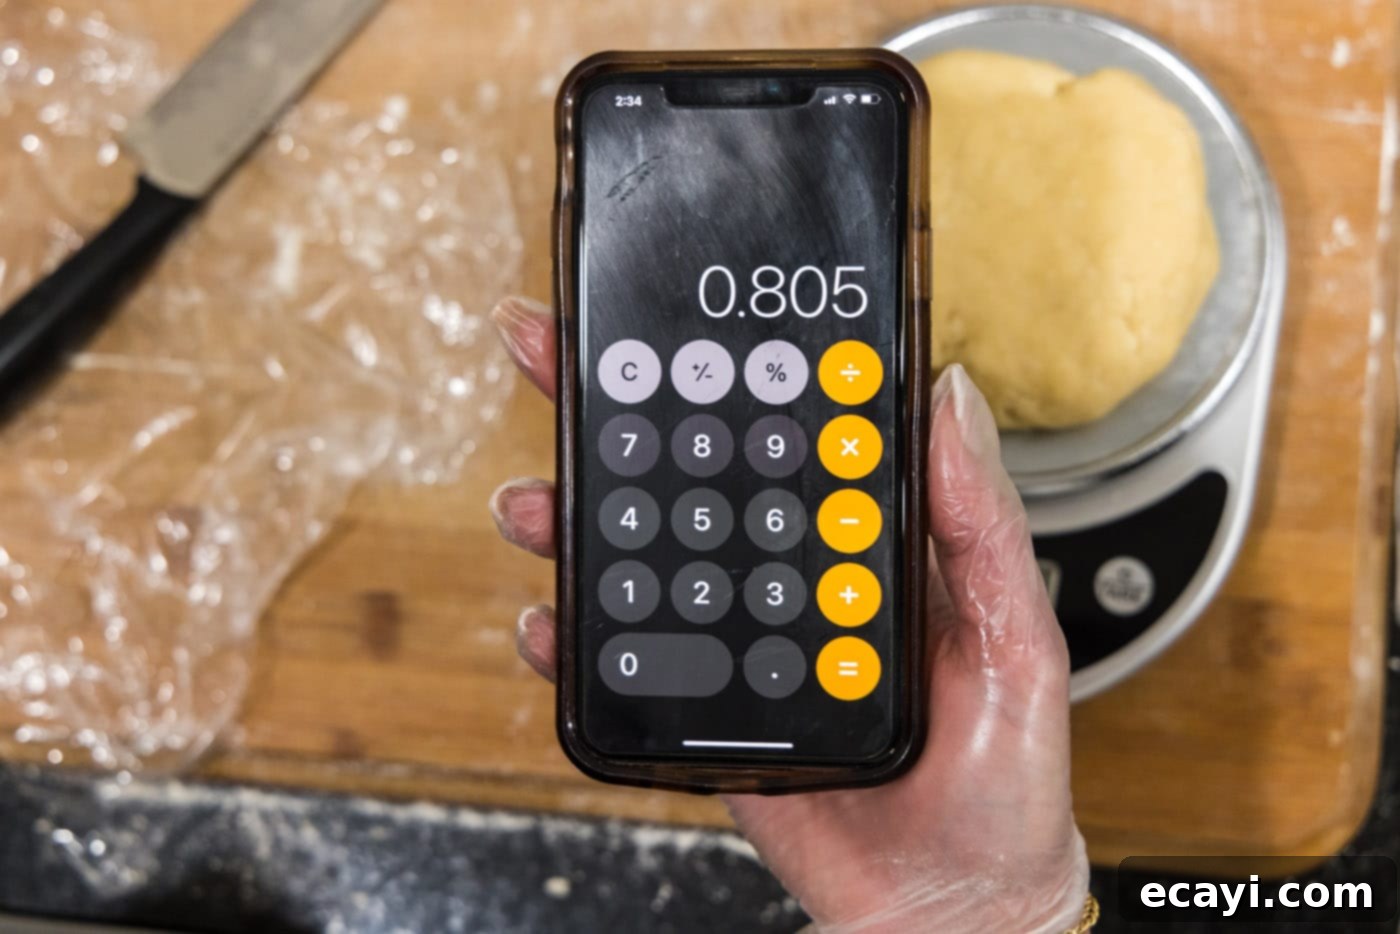
- Carefully remove the dough from the food processor and divide it into two equal pieces. For precise division, I recommend using a kitchen scale to weigh the entire dough, then dividing that weight in half. Form each half into a flat disc, wrap tightly in plastic wrap, and chill in the refrigerator for a minimum of 30 minutes. This chilling period is essential; it allows the gluten to relax, making the dough easier to roll, and solidifies the butter, which is key for a truly flaky texture. The dough can be prepared up to a week in advance and stored in the refrigerator, or frozen for longer storage.

- To Blind Bake the Mini Pie Crusts: Preheat your oven to 375°F (190°C). Retrieve two 12-cup muffin pans. There’s no need to grease them, as the butter in the dough will prevent sticking.
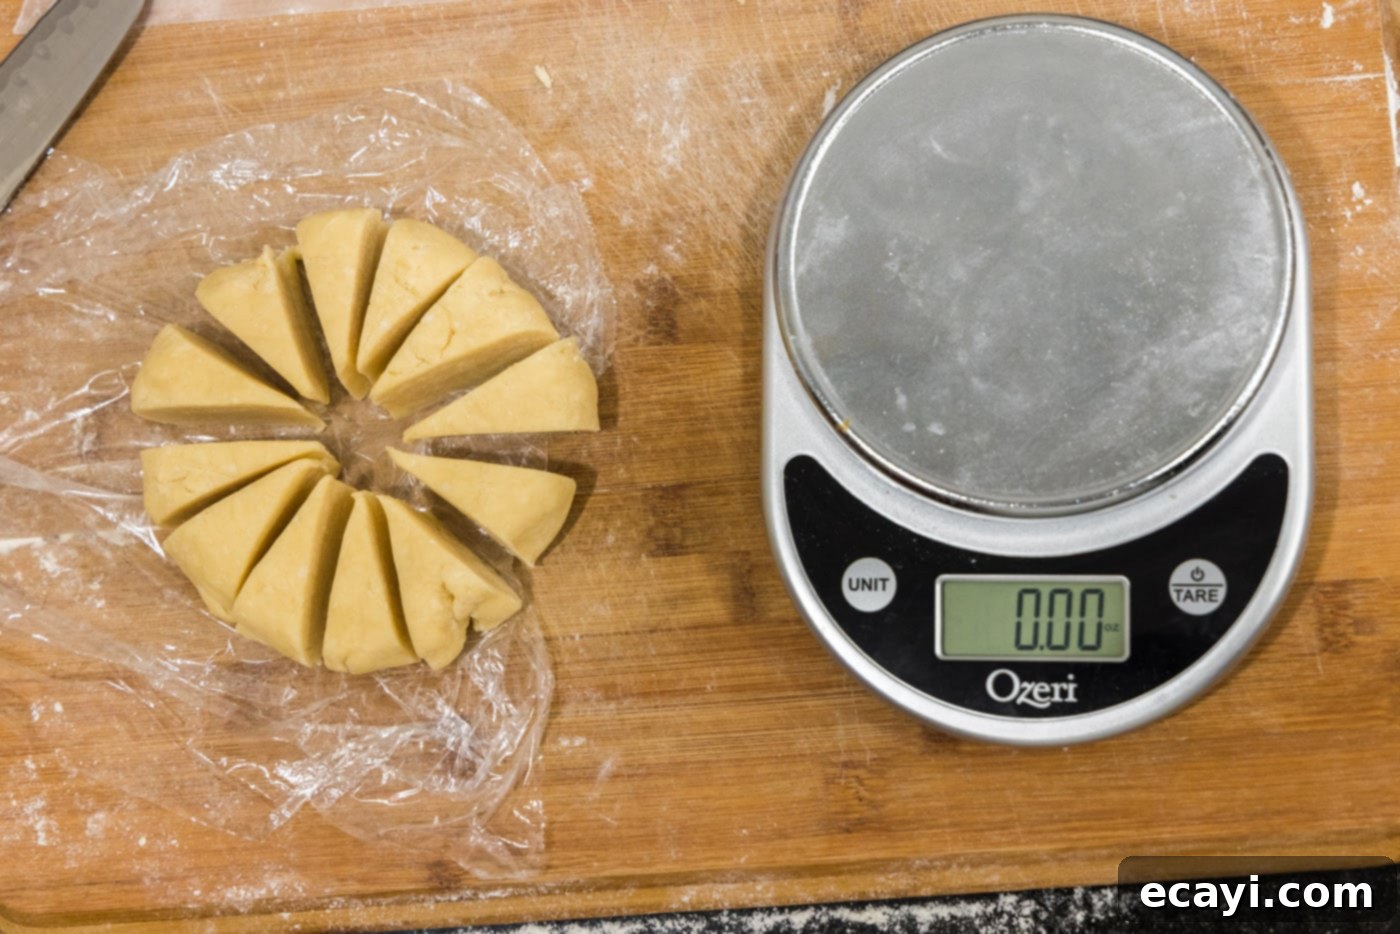
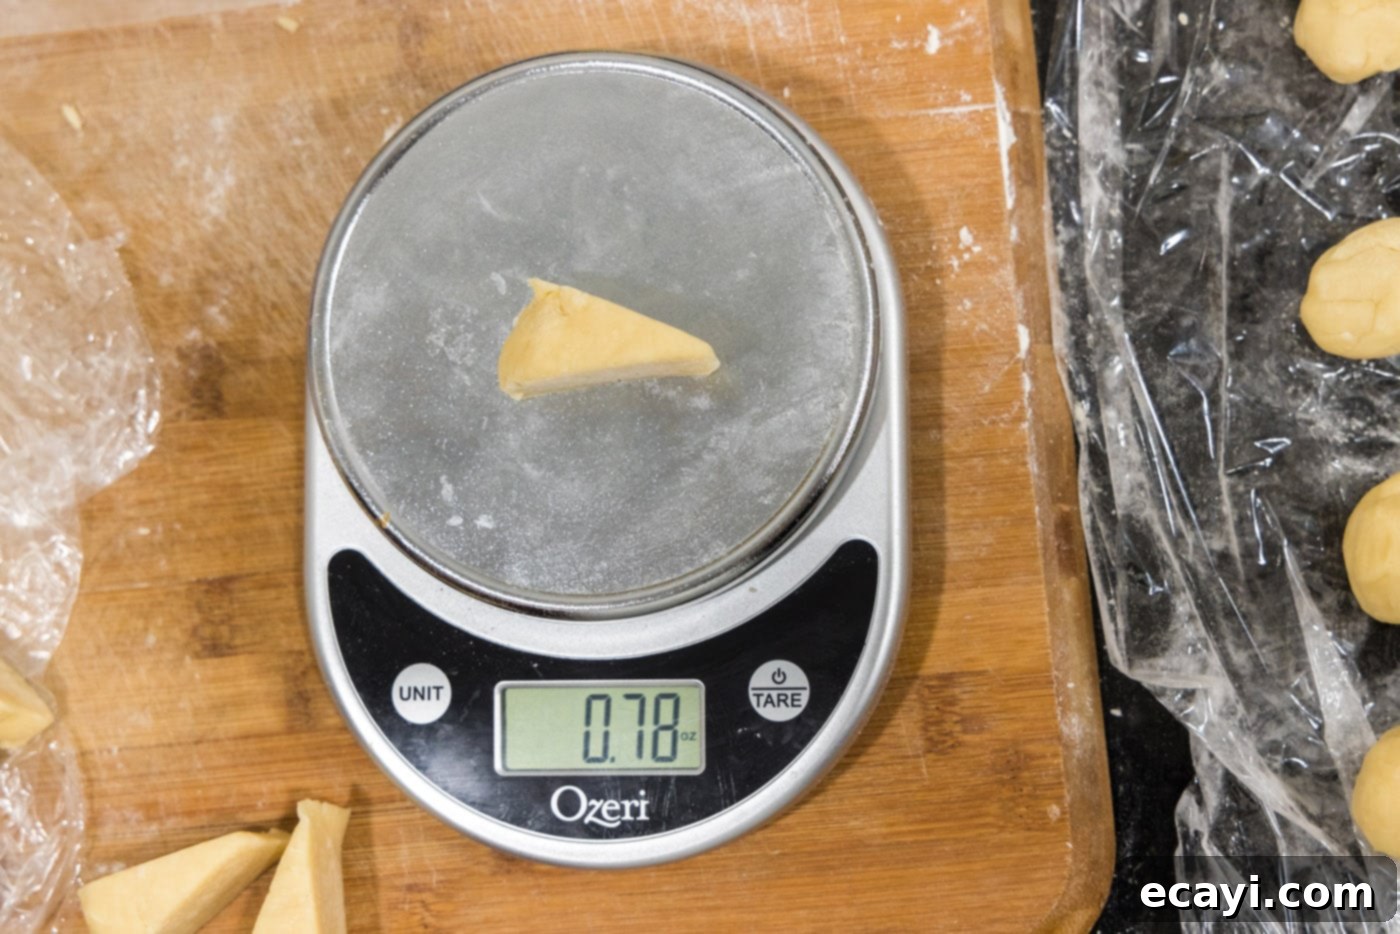
- Take one of the chilled dough discs. Weigh it on your kitchen scale, then carefully divide it into 12 equal pieces. This ensures each mini pie crust will be uniform in size and bake evenly.


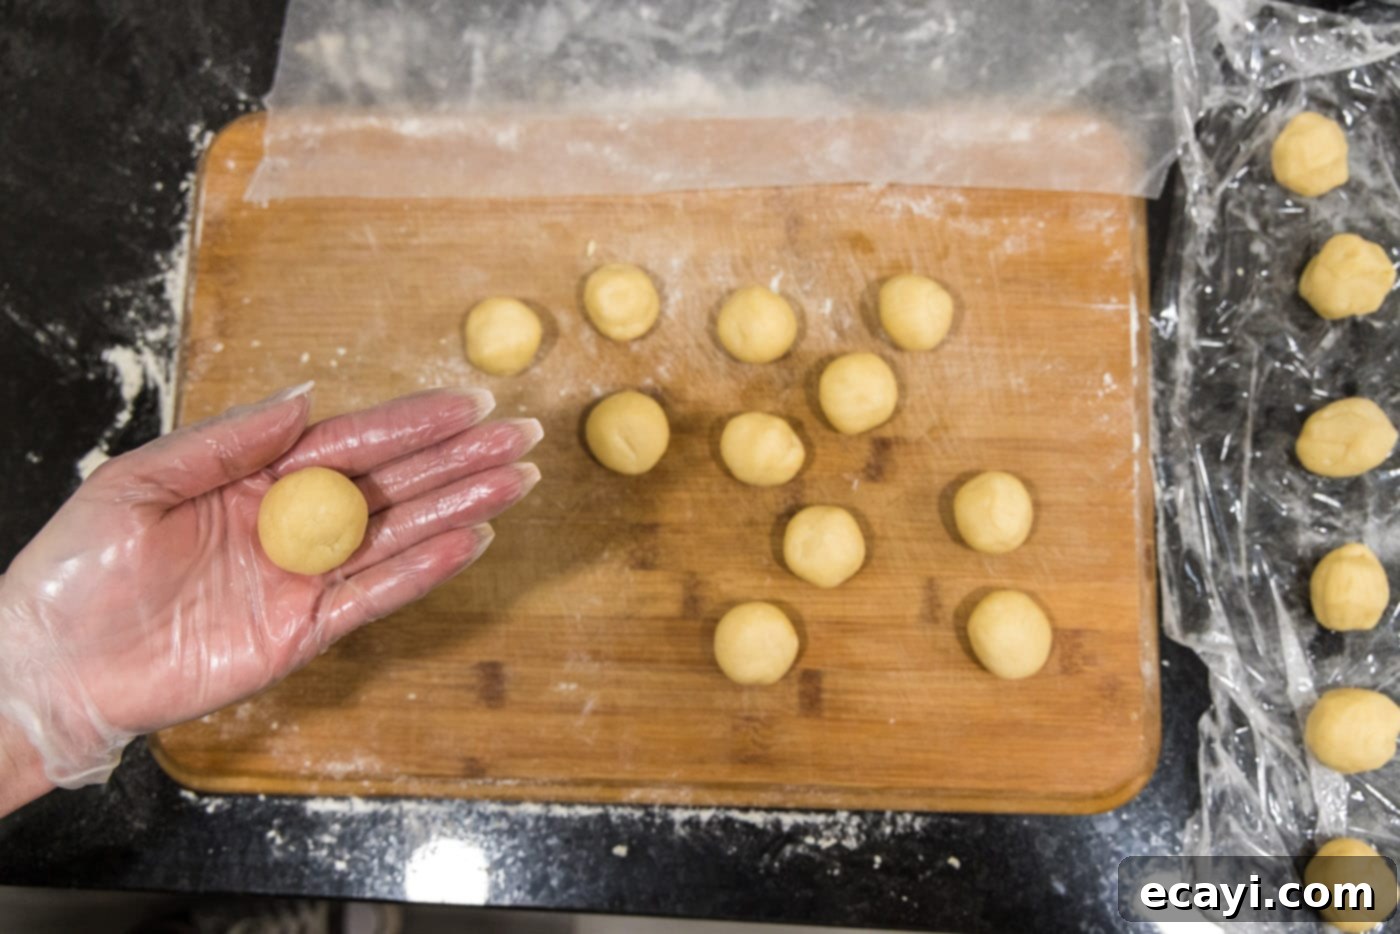
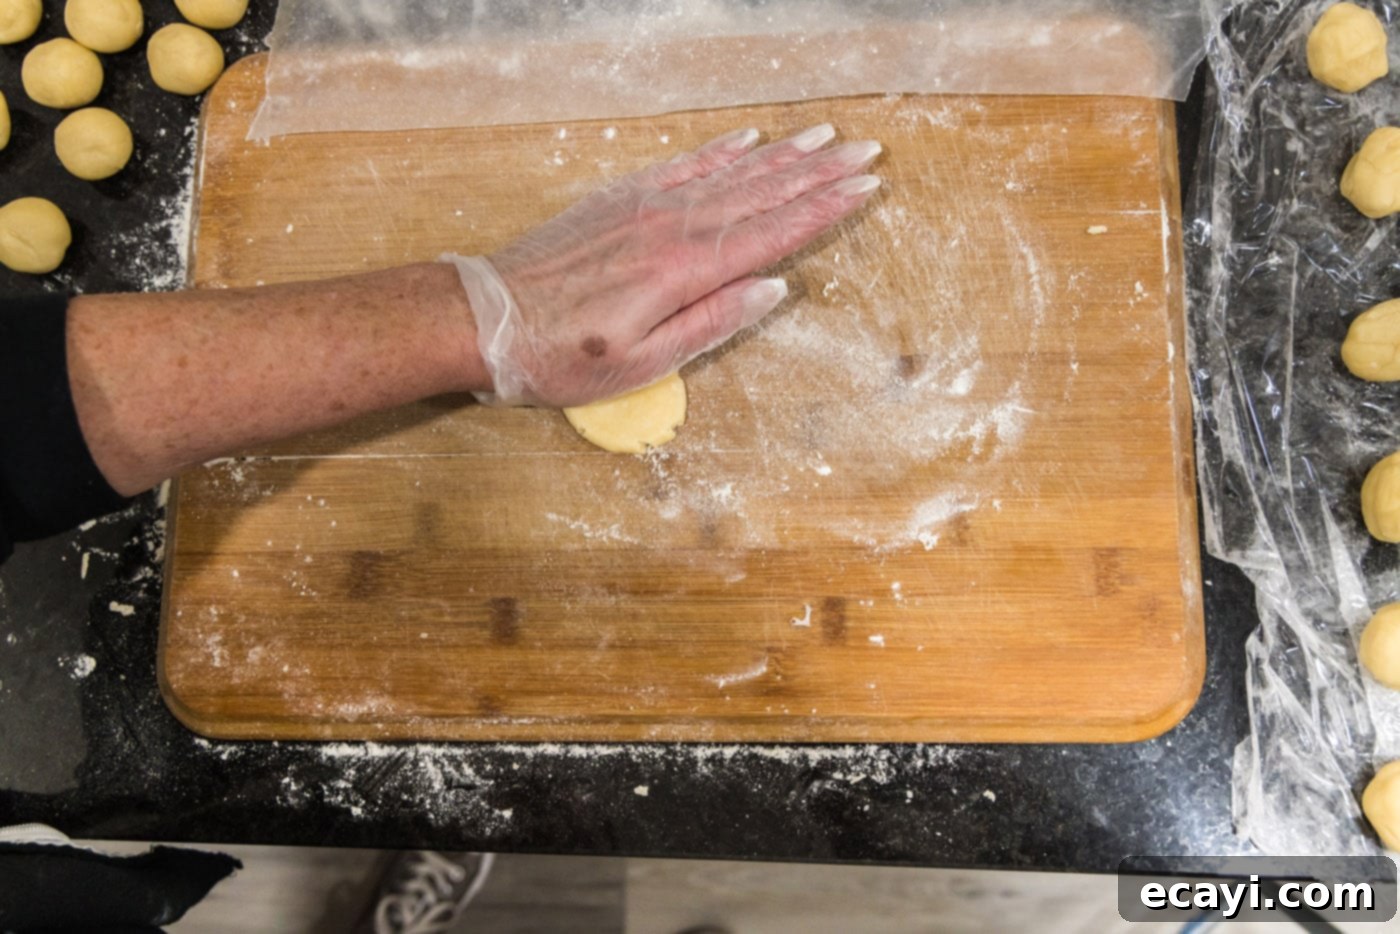
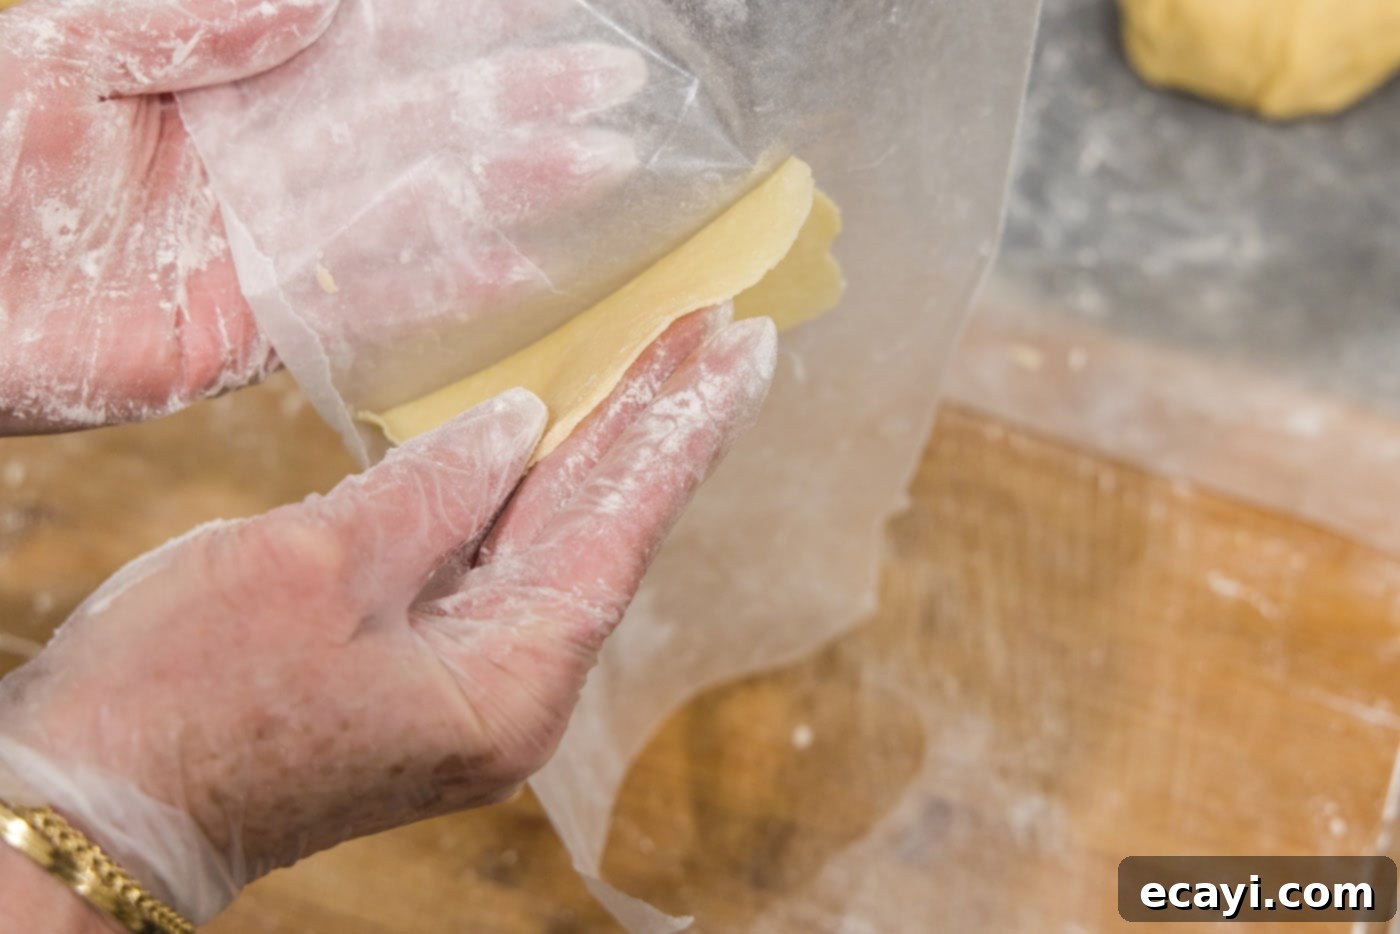
- Lightly flour your work surface to prevent sticking. Take one piece of dough and roll it gently between your hands to form a smooth ball. Then, using the palm of your hand, gently flatten it into a small disc on the floured surface.


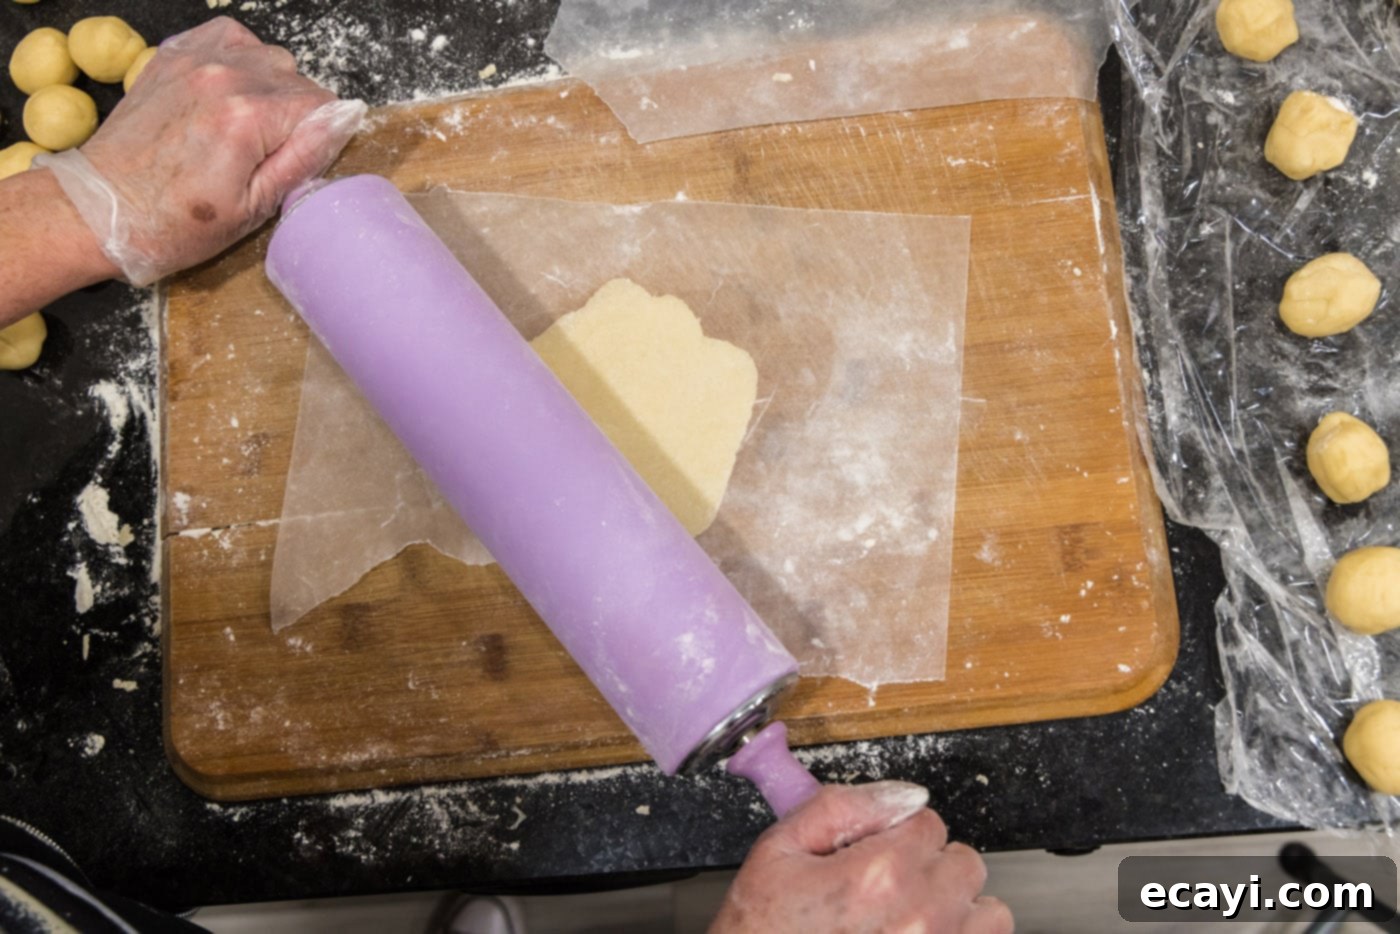
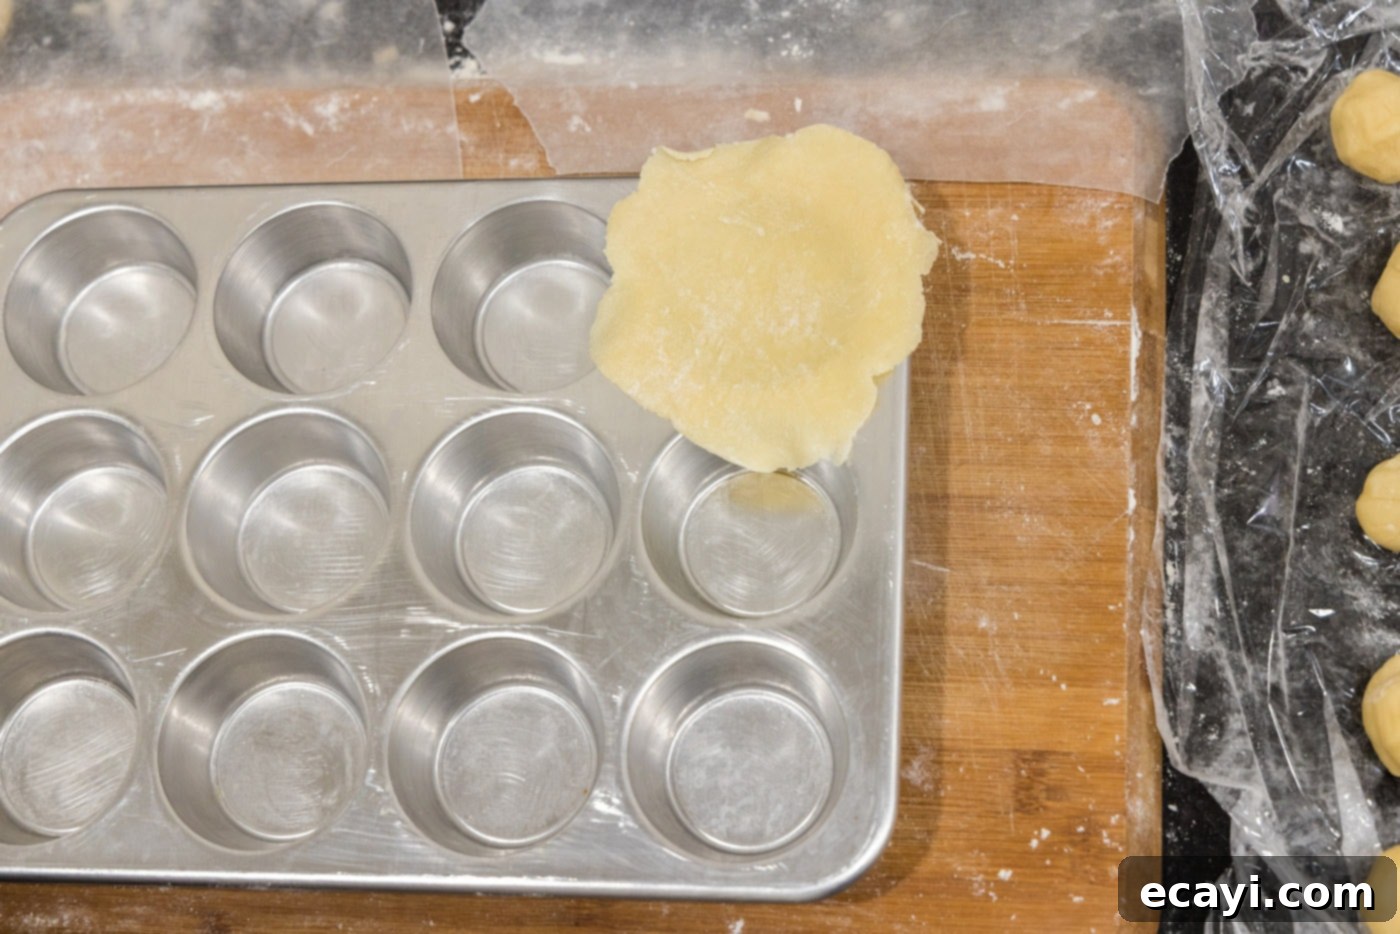
- Now, use a rolling pin to further flatten the dough until it forms a circle approximately 4 1/2 inches in diameter. This size is ideal for fitting perfectly into the muffin pan cups. Lift the dough carefully.


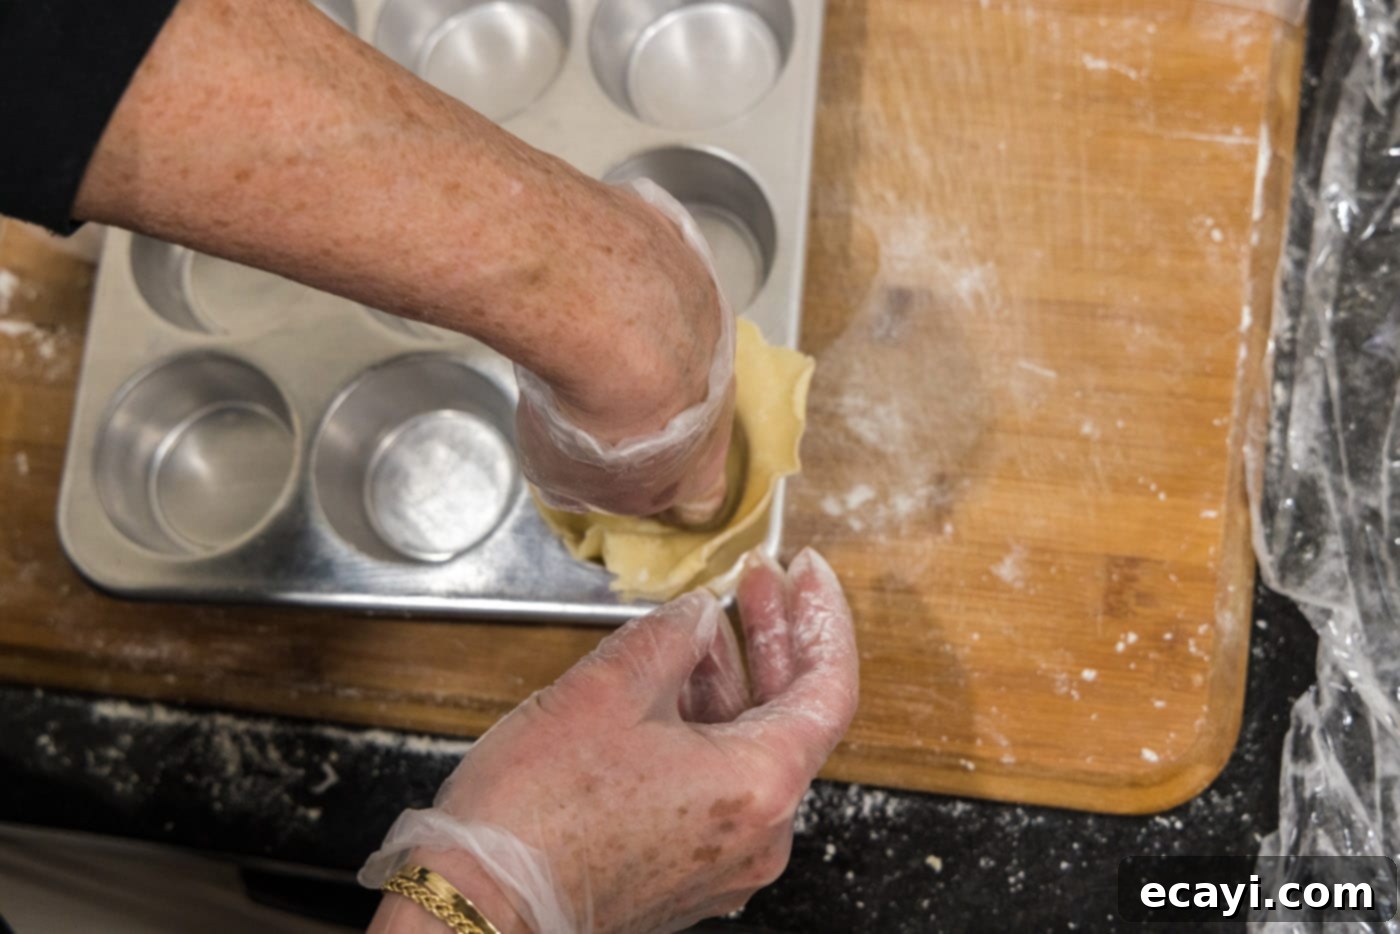
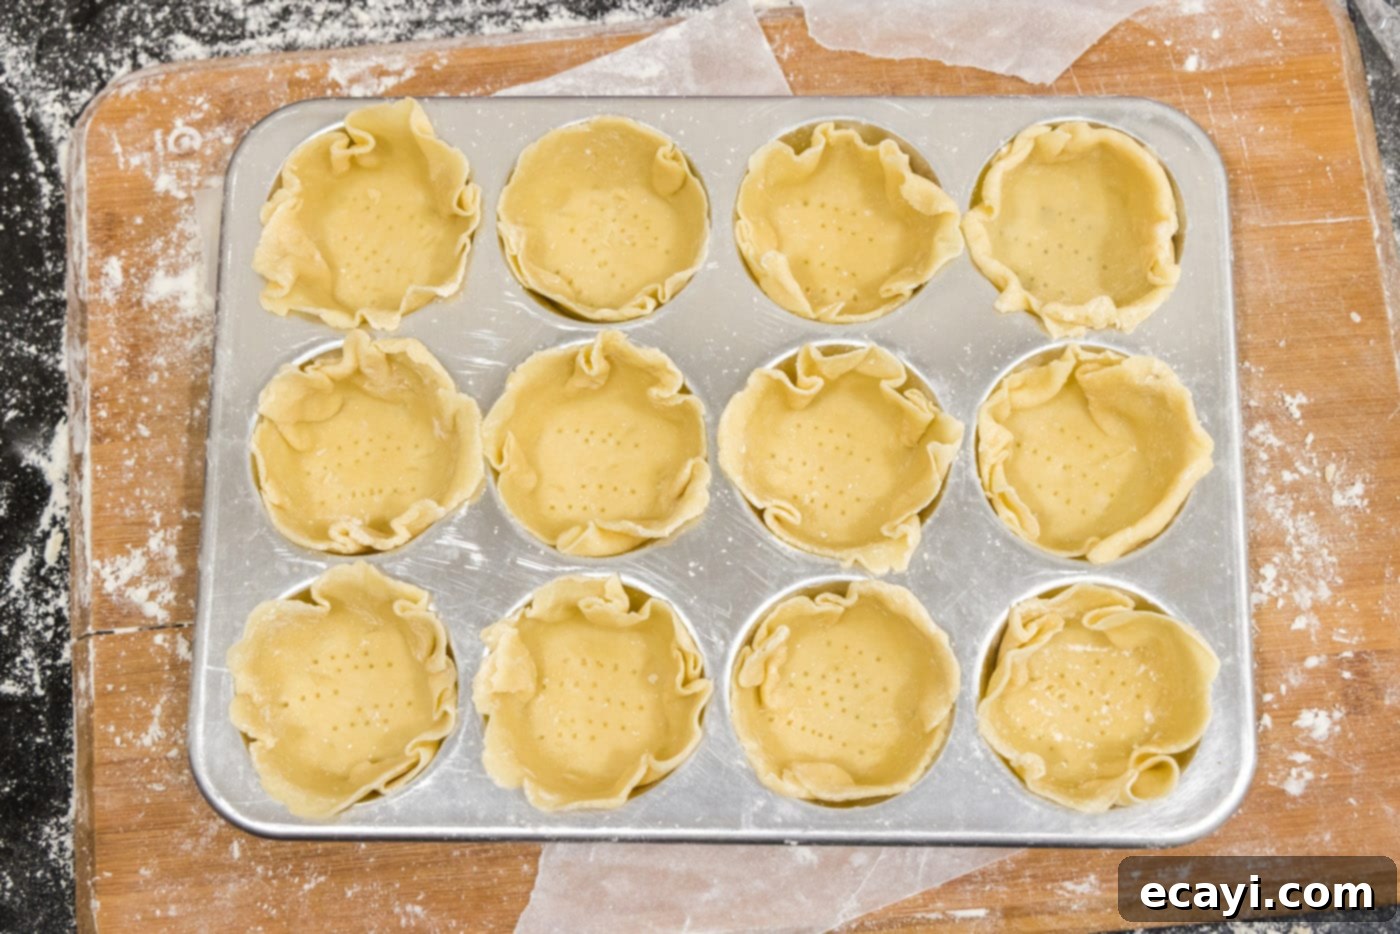
- Carefully ease each dough circle into the well of a 12-cup muffin tin, gently pressing it against the bottom and sides to form a neat cup. Repeat this process for all 12 dough balls in the first pan. To prevent the crust from puffing up excessively during baking, pierce the bottom of each dough cup a couple of times with a fork.


- Repeat the entire dough rolling and shaping process for the second pan, ensuring you have a total of 24 mini pie crusts.
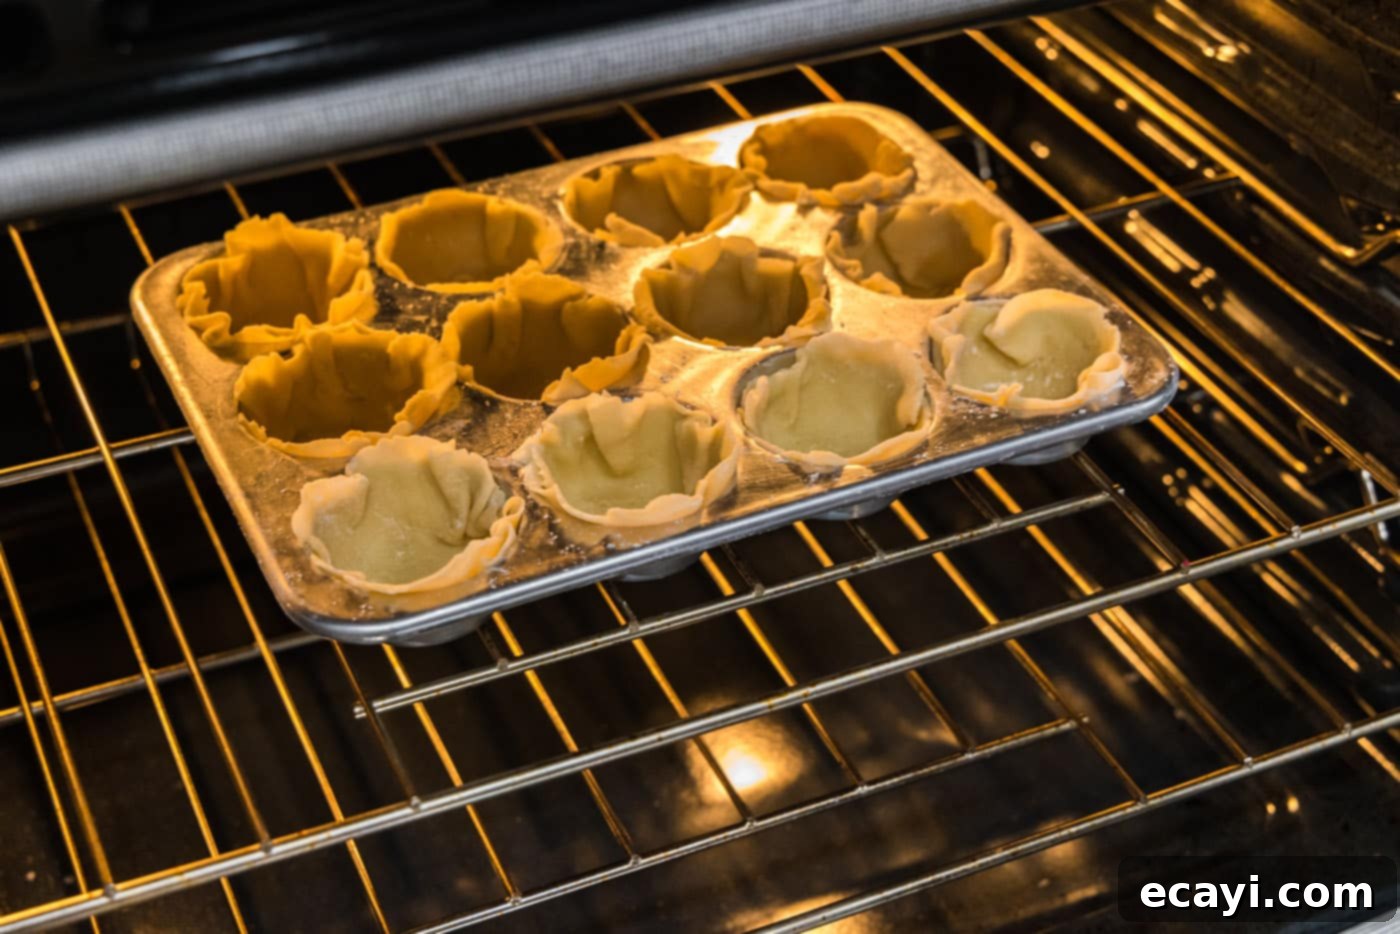
- Bake the mini pie crusts for 14-16 minutes. During baking, you’ll observe the dough shrinking slightly and puffing up, which is normal. The edges should turn a beautiful light golden brown, indicating they are perfectly cooked and crisp.
EXPERT TIP – For optimal and consistent baking, I highly recommend baking one muffin pan at a time. This approach allows for better air circulation around the pan, ensuring more even baking and a perfectly golden brown crust. If you choose to bake both pans simultaneously, make sure to stagger them on different racks in the oven so that air can circulate freely. However, if time permits, baking them one at a time will yield the best results.

- Once baked, remove the muffin pans from the oven and carefully transfer the hot crusts to a wire rack. It is absolutely crucial to allow them to cool completely to room temperature before adding the filling. Filling warm crusts will cause the chocolate filling to melt and create a soggy, undesirable texture.
- Making the Velvety French Silk Filling: First, melt the unsweetened chocolate using a double boiler or microwave (in 30-second intervals, stirring well). Set it aside to cool completely. It must be cool to the touch, not even slightly warm, before adding it to the butter mixture.
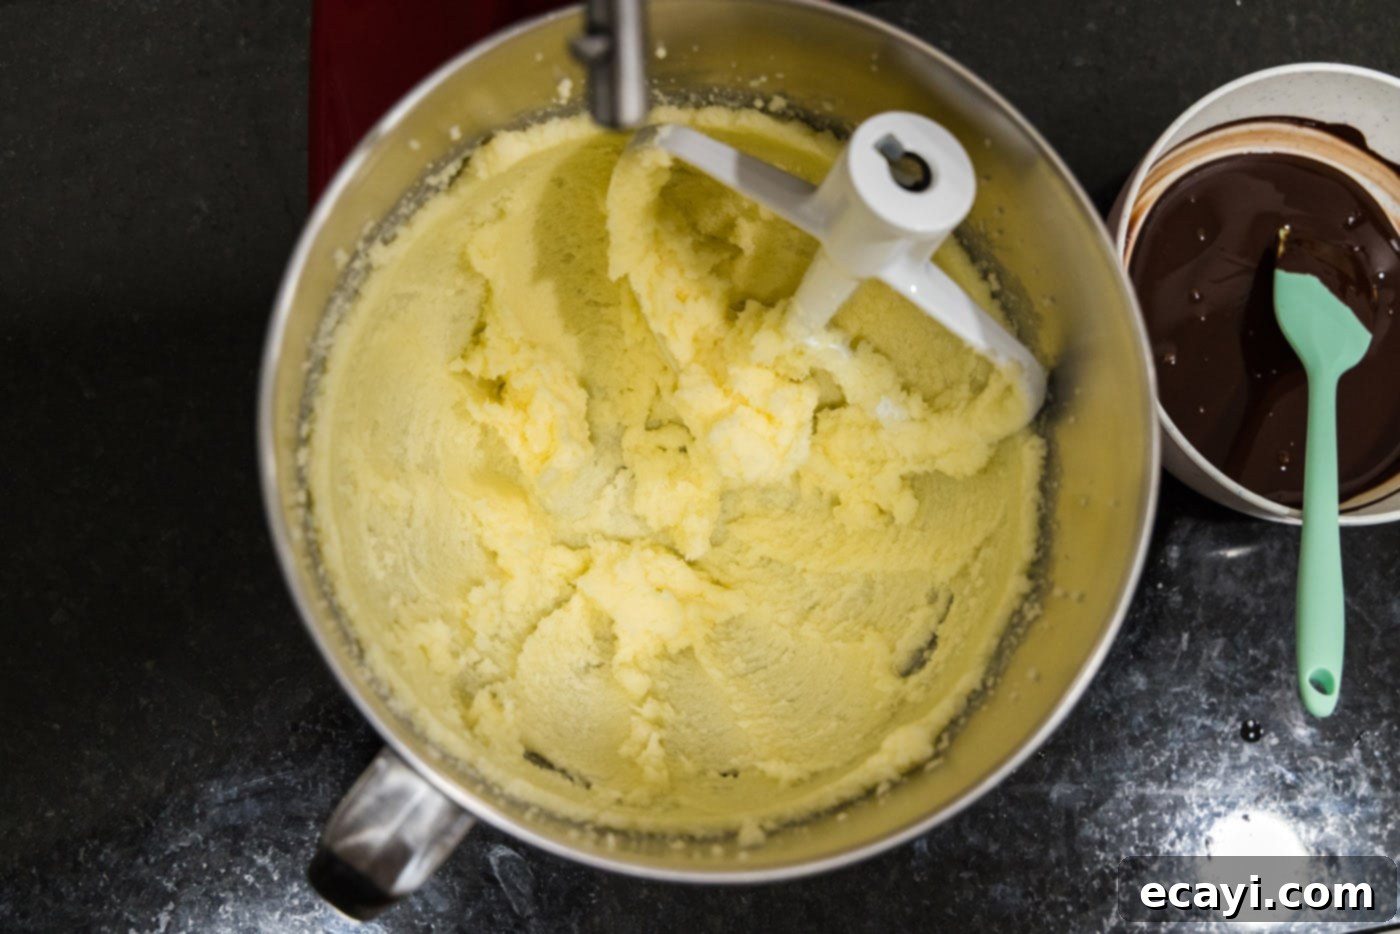
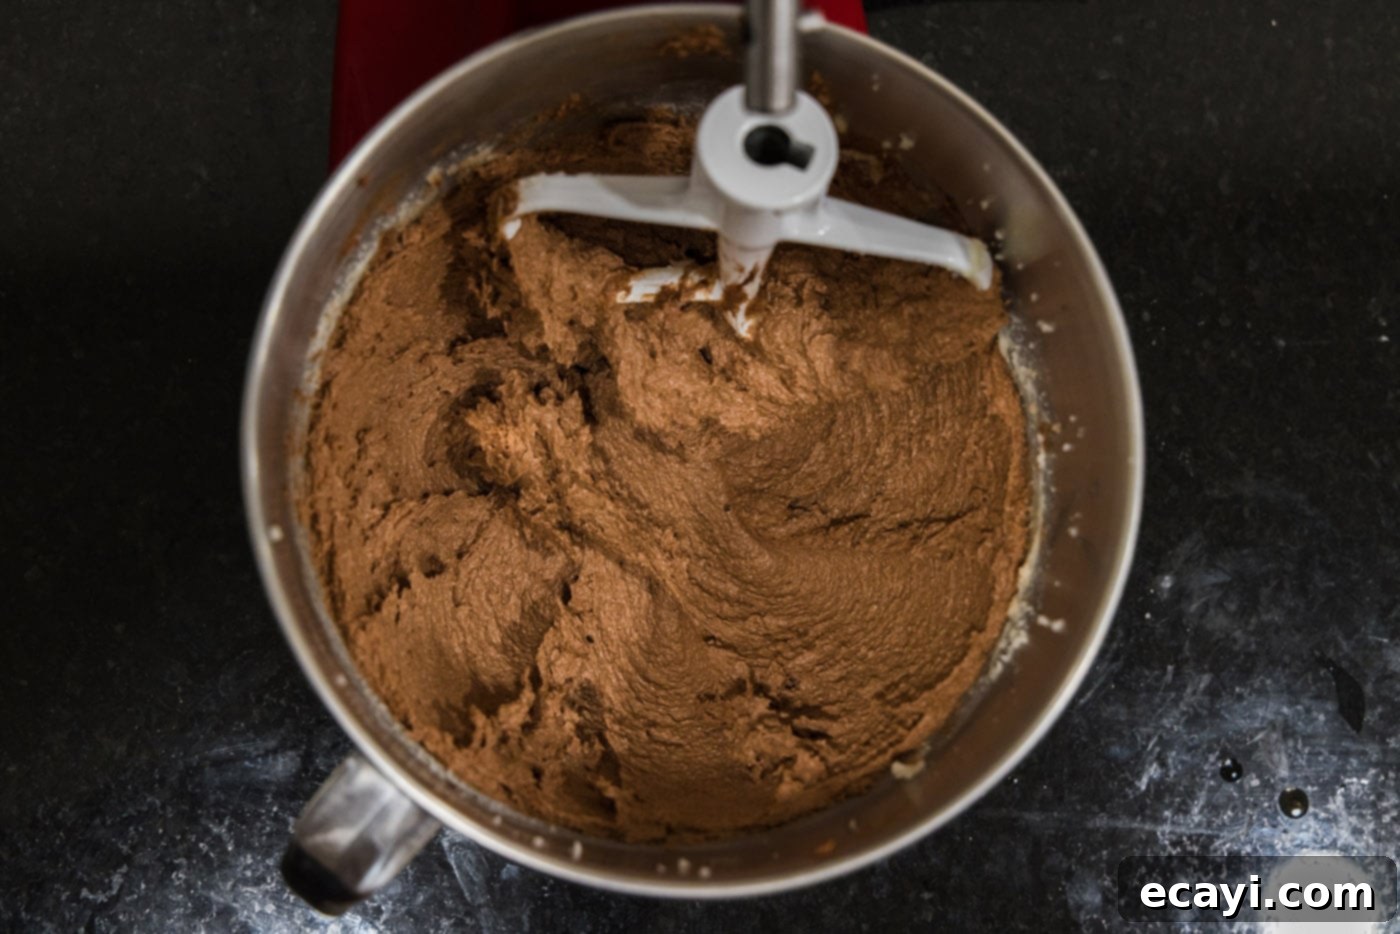
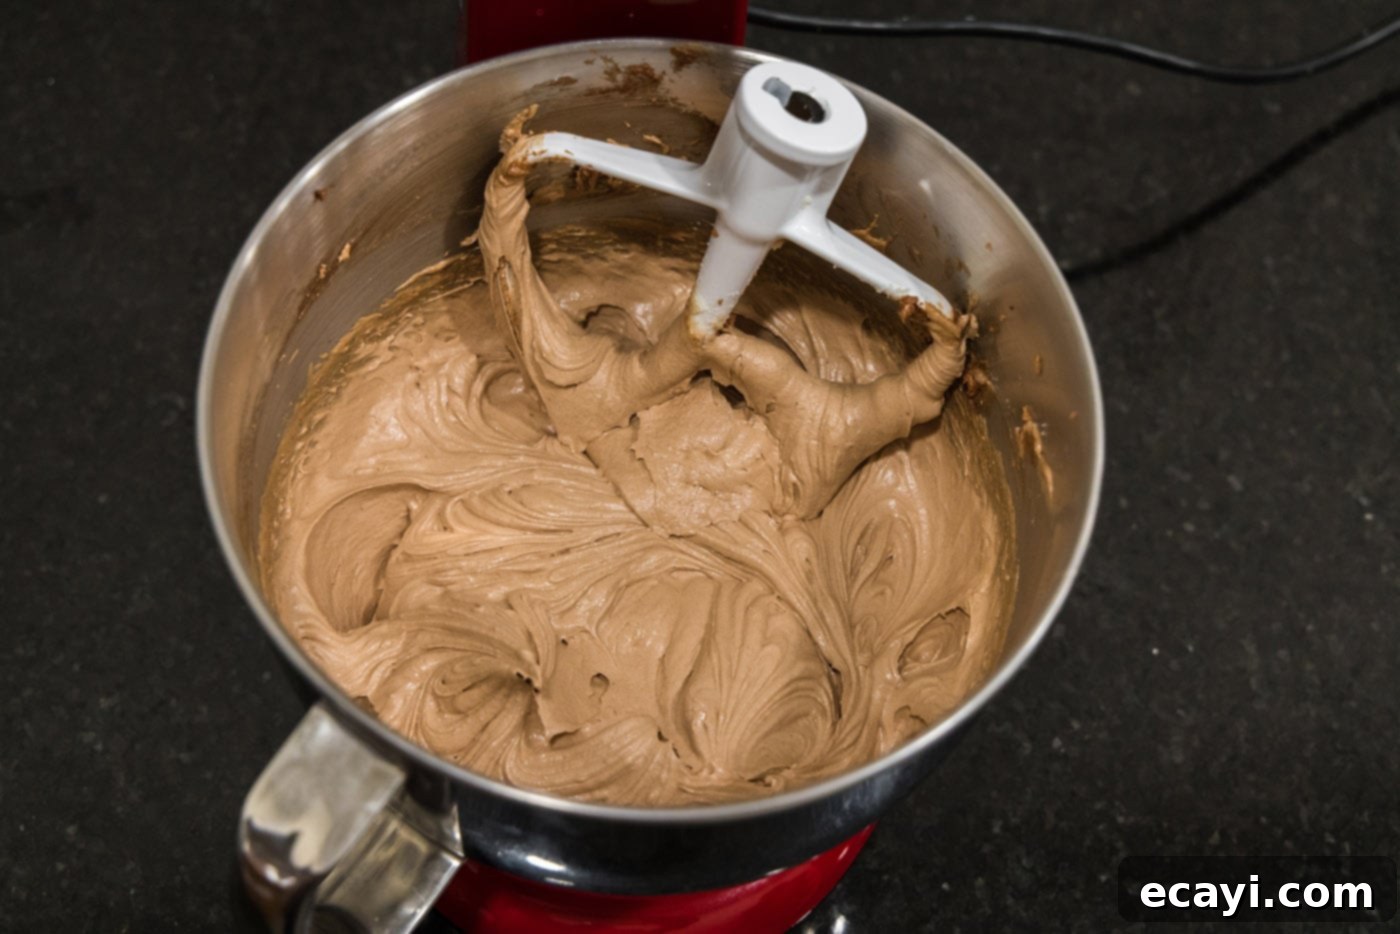
- In the bowl of a standing mixer fitted with a paddle attachment, combine the softened unsalted butter and granulated sugar. Beat on medium-high speed until the mixture is exceptionally light and fluffy. This is a critical step for the silkiness of the pie: set a timer and beat for a full 7 minutes. This extended creaming incorporates a significant amount of air, creating a truly airy and smooth base for the chocolate filling.

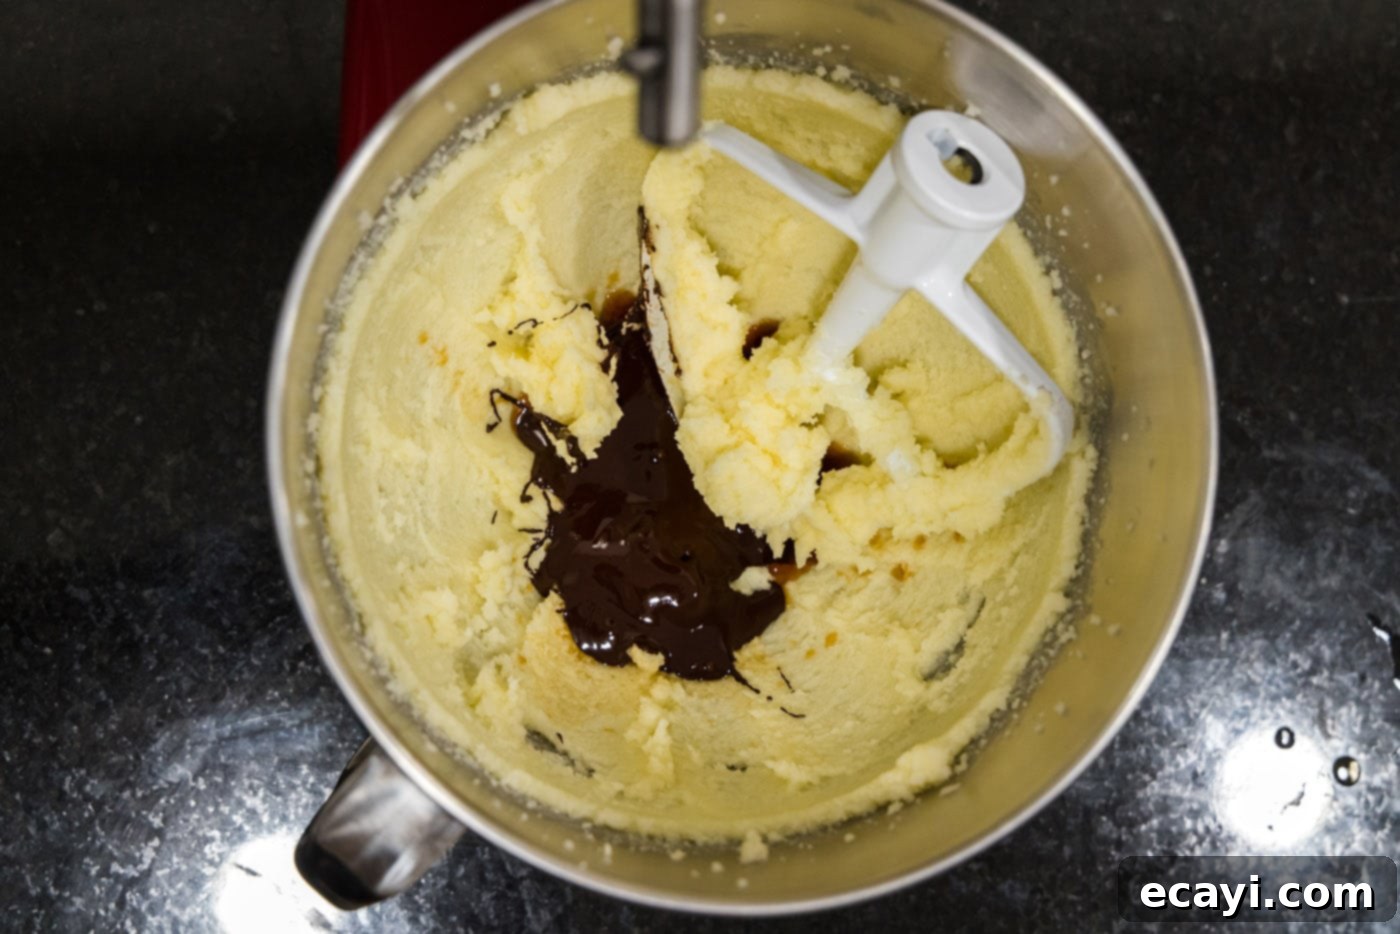
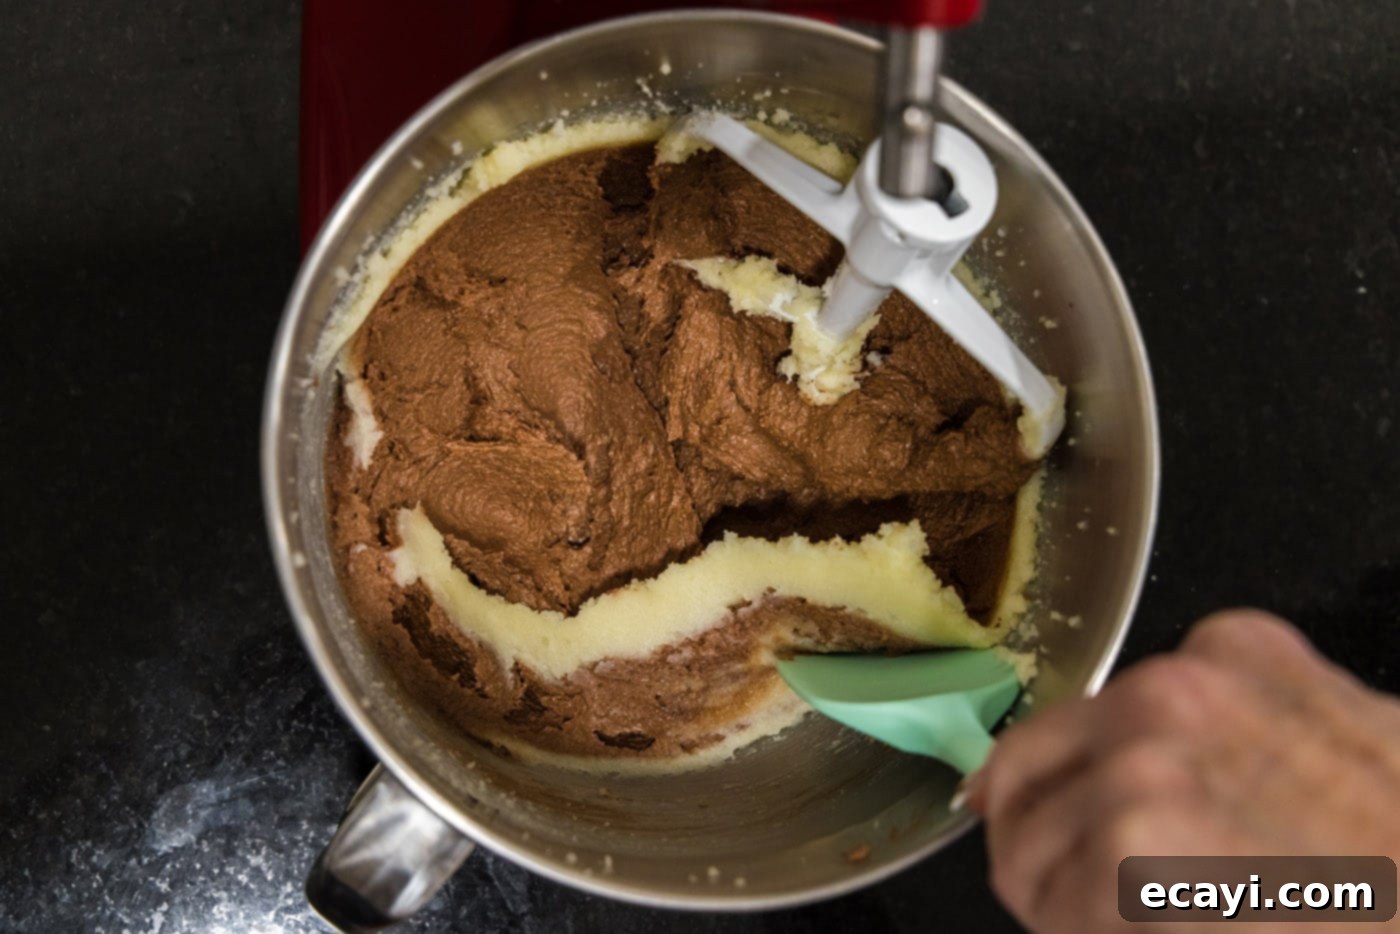
- Pour the completely cooled melted chocolate and vanilla extract into the butter and sugar mixture. Beat on medium speed until all ingredients are fully incorporated and the mixture is uniformly chocolatey and smooth. Scrape down the sides of the bowl as needed to ensure everything is well combined.


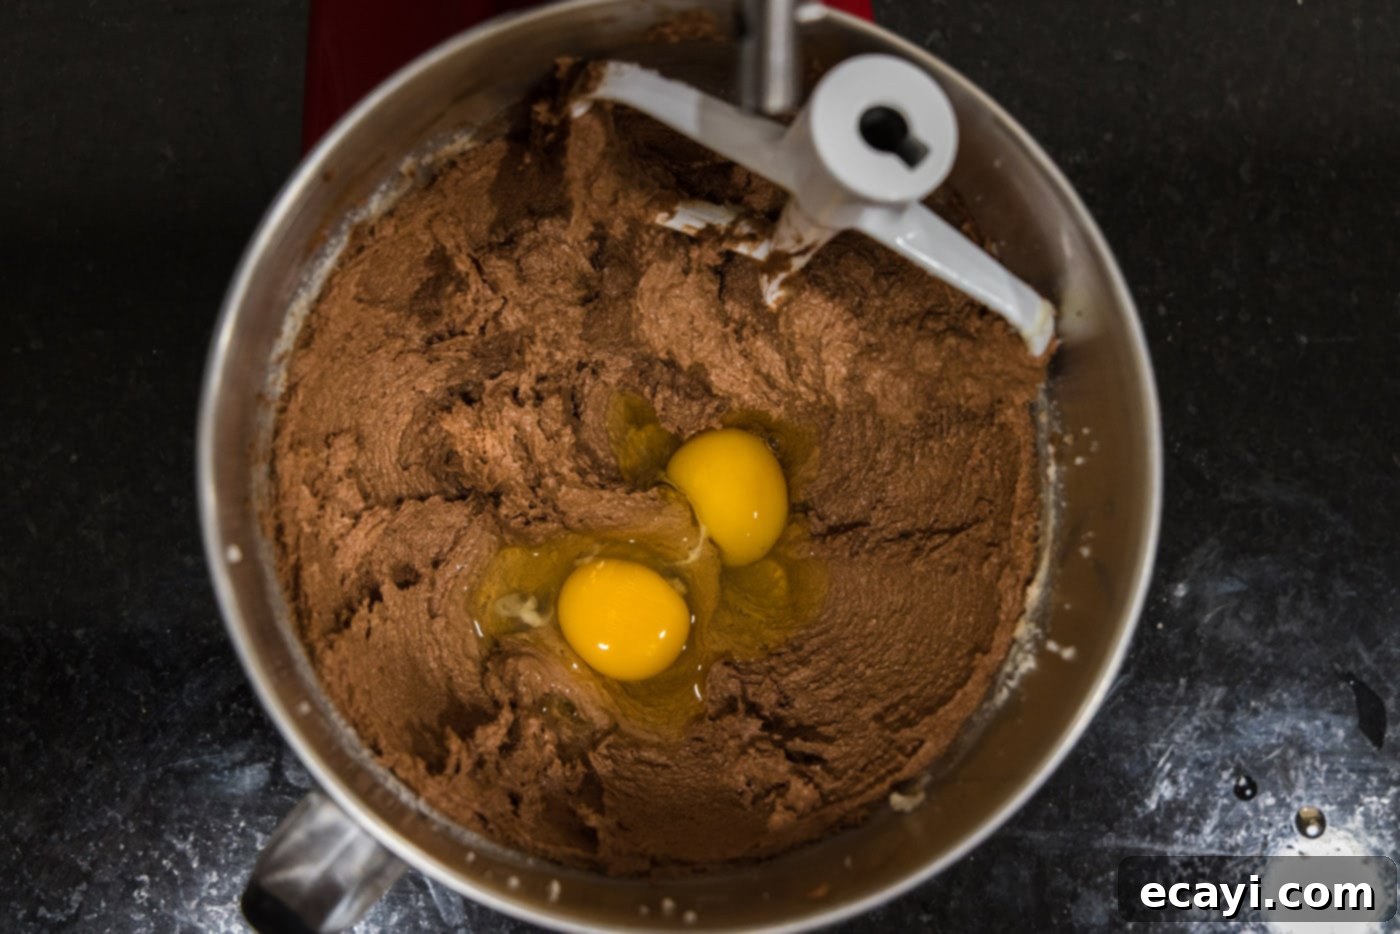
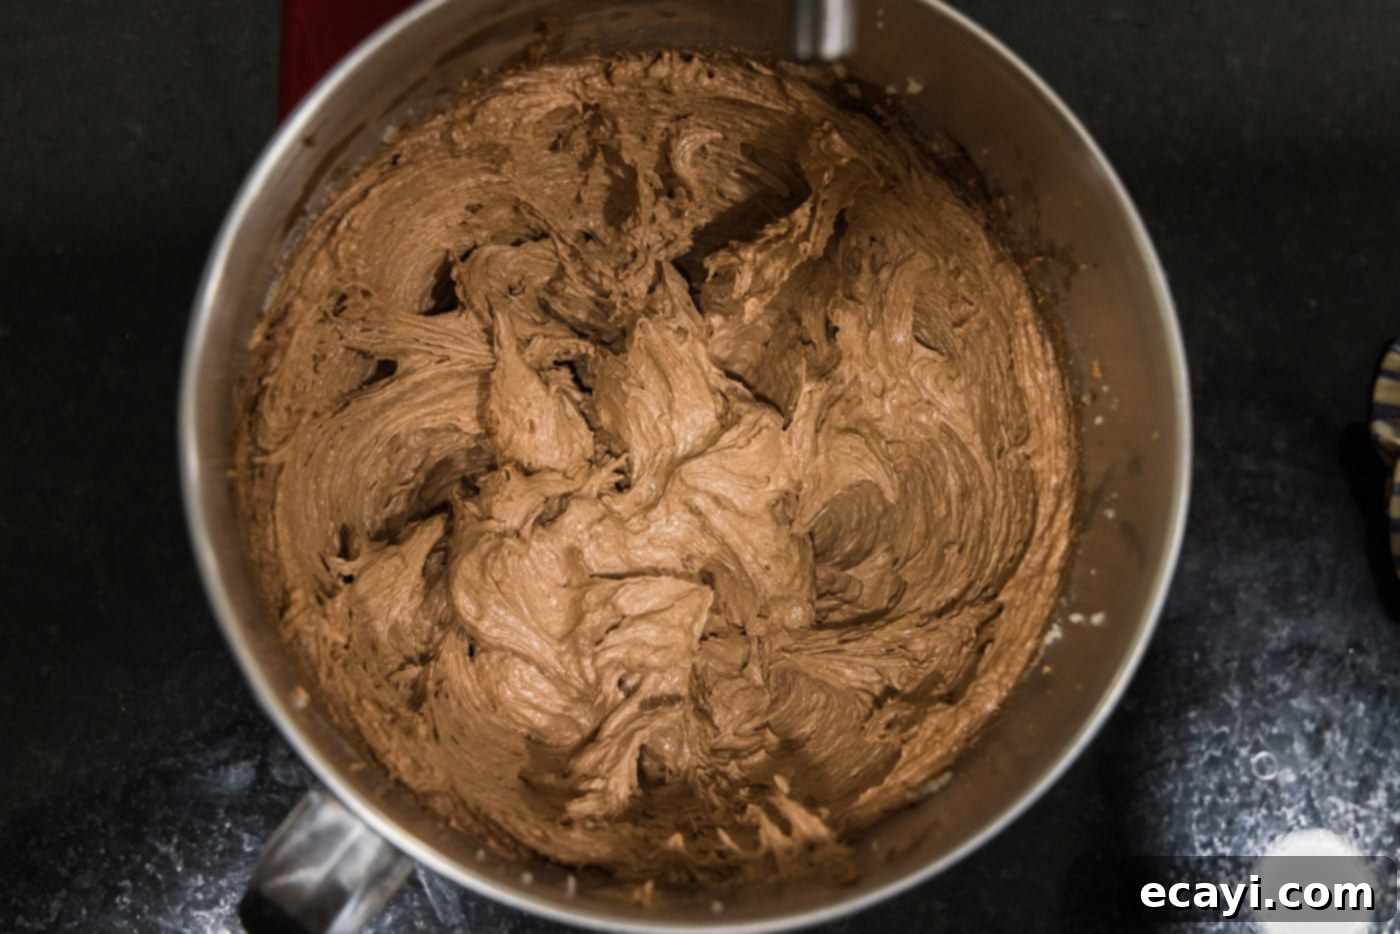
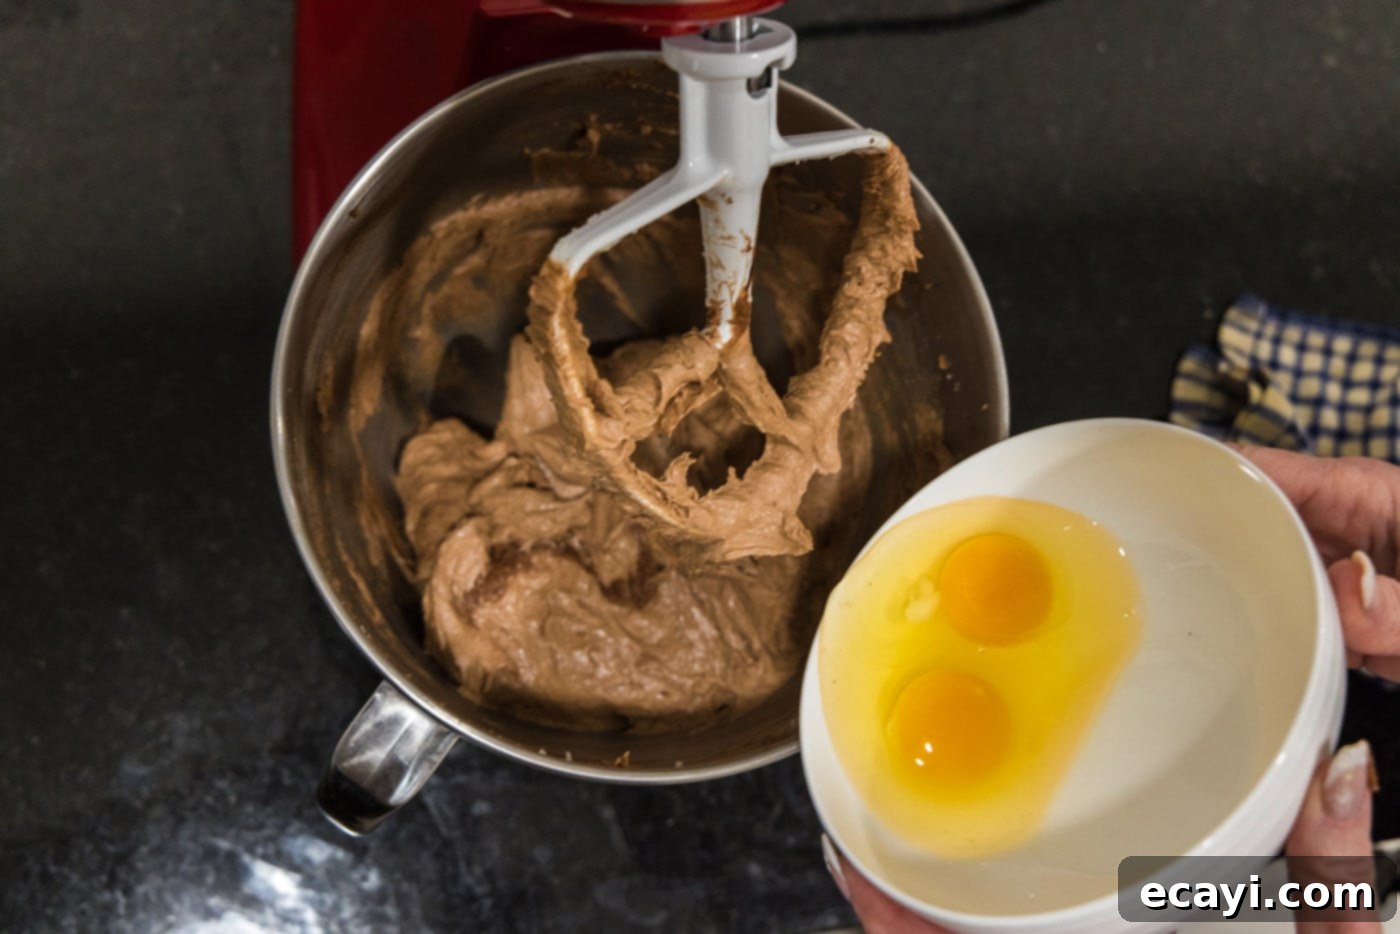
- Now, add the large eggs, two at a time, to the chocolate mixture. After each addition of two eggs, beat the mixture on medium-high speed for a full 5 minutes. This extended beating time after each egg addition is fundamental to achieving the characteristic light and silky smooth texture of French silk pie filling. Again, setting a timer will ensure you don’t cut this crucial step short. The mixture will become noticeably lighter and incredibly smooth.


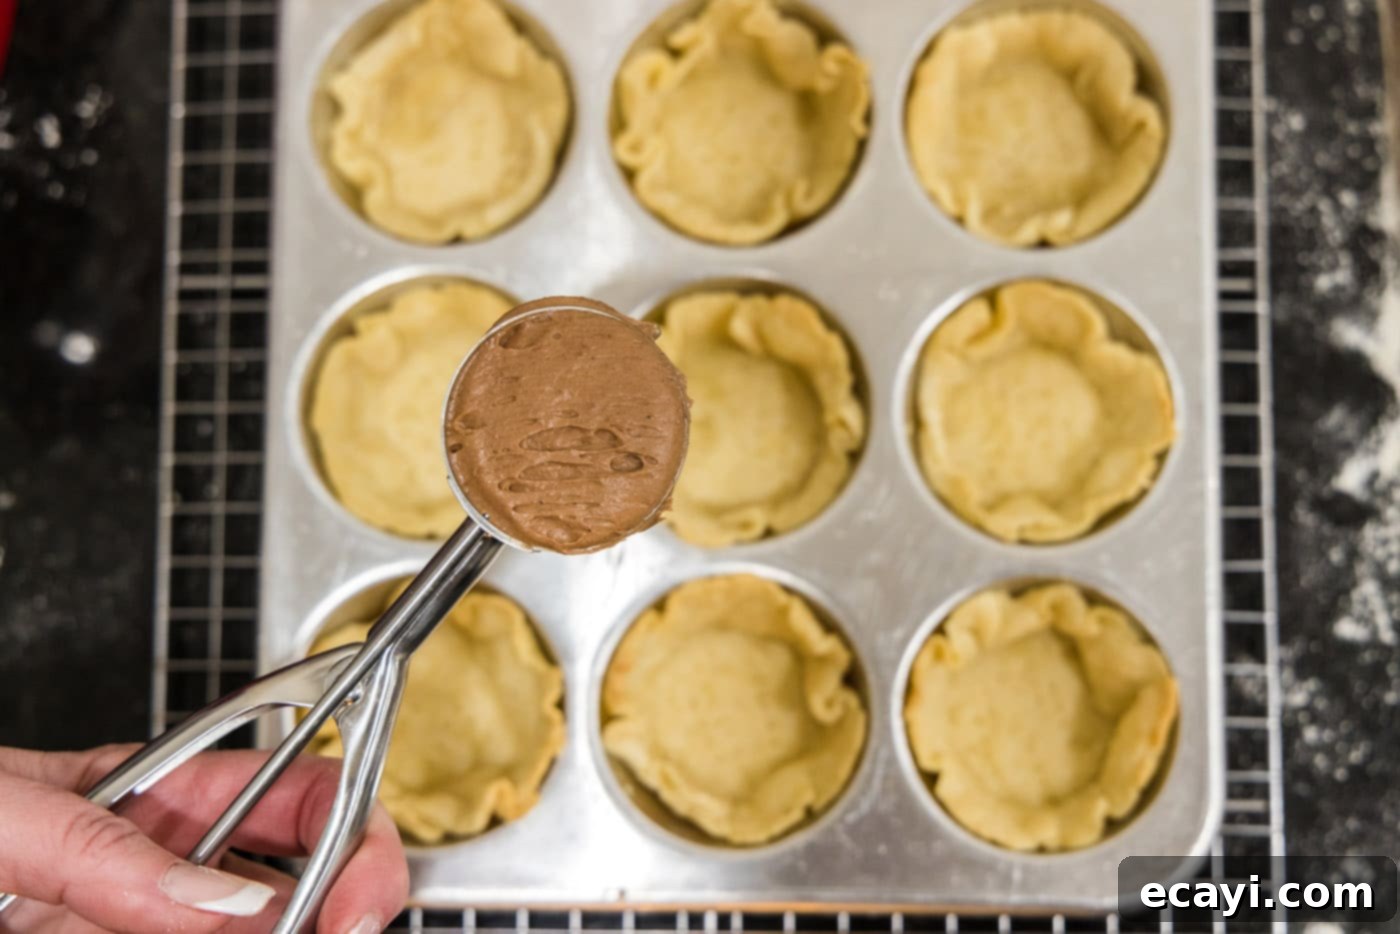
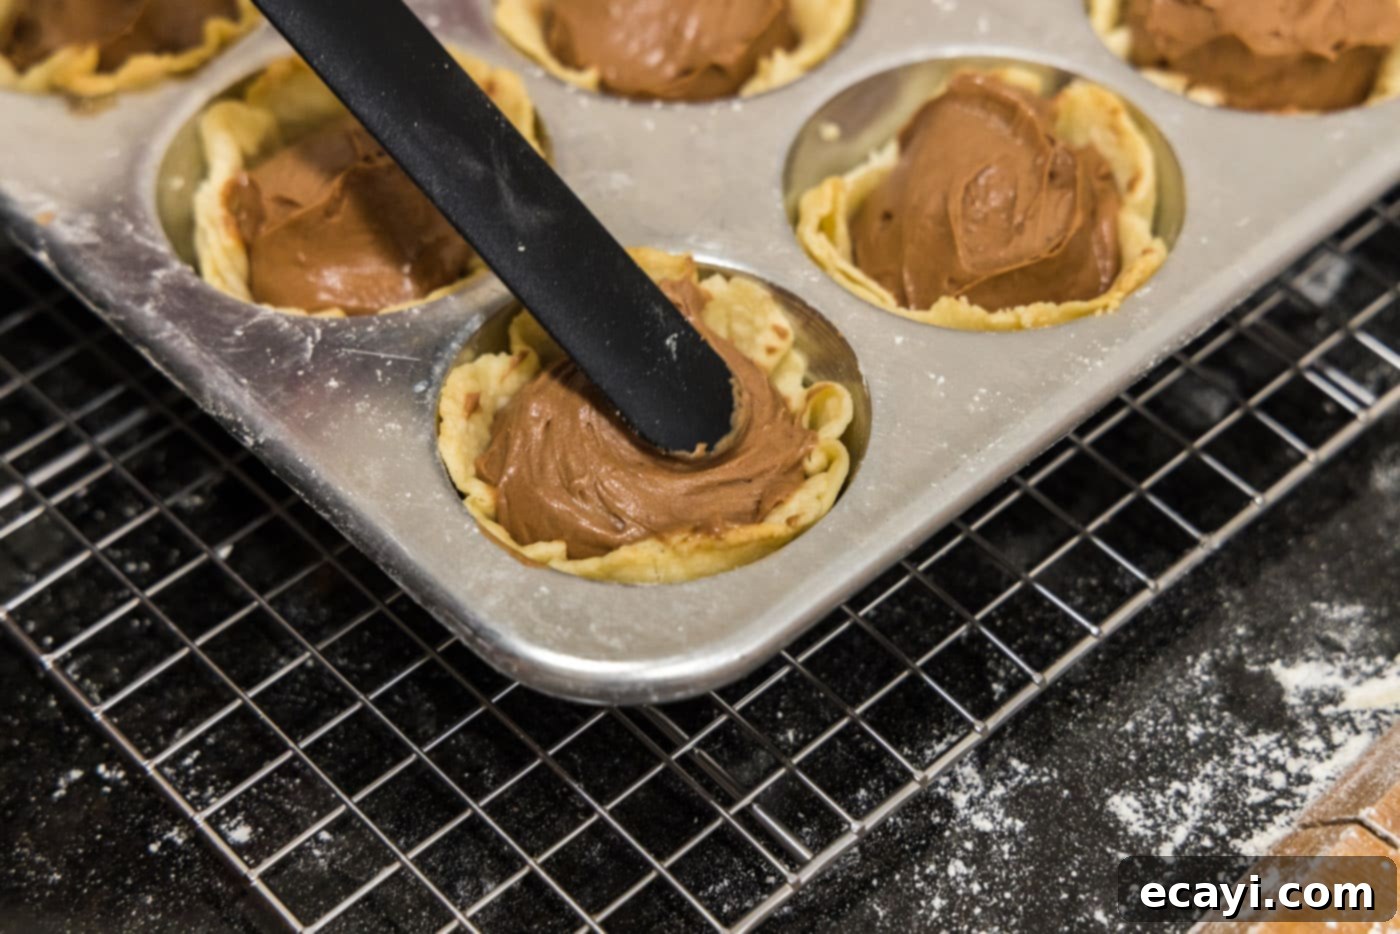
- Once the filling is prepared, use an ice cream scoop to evenly distribute it into each of the completely cooled pie crusts. Gently smooth the tops with the back of the scoop or a small offset spatula.


- To prepare the topping, attach a whisk attachment to your standing mixer. Pour the heavy whipping cream and powdered sugar into the bowl. Beat on medium-high speed until stiff peaks just begin to form. Be careful not to overbeat, or you’ll end up with butter.
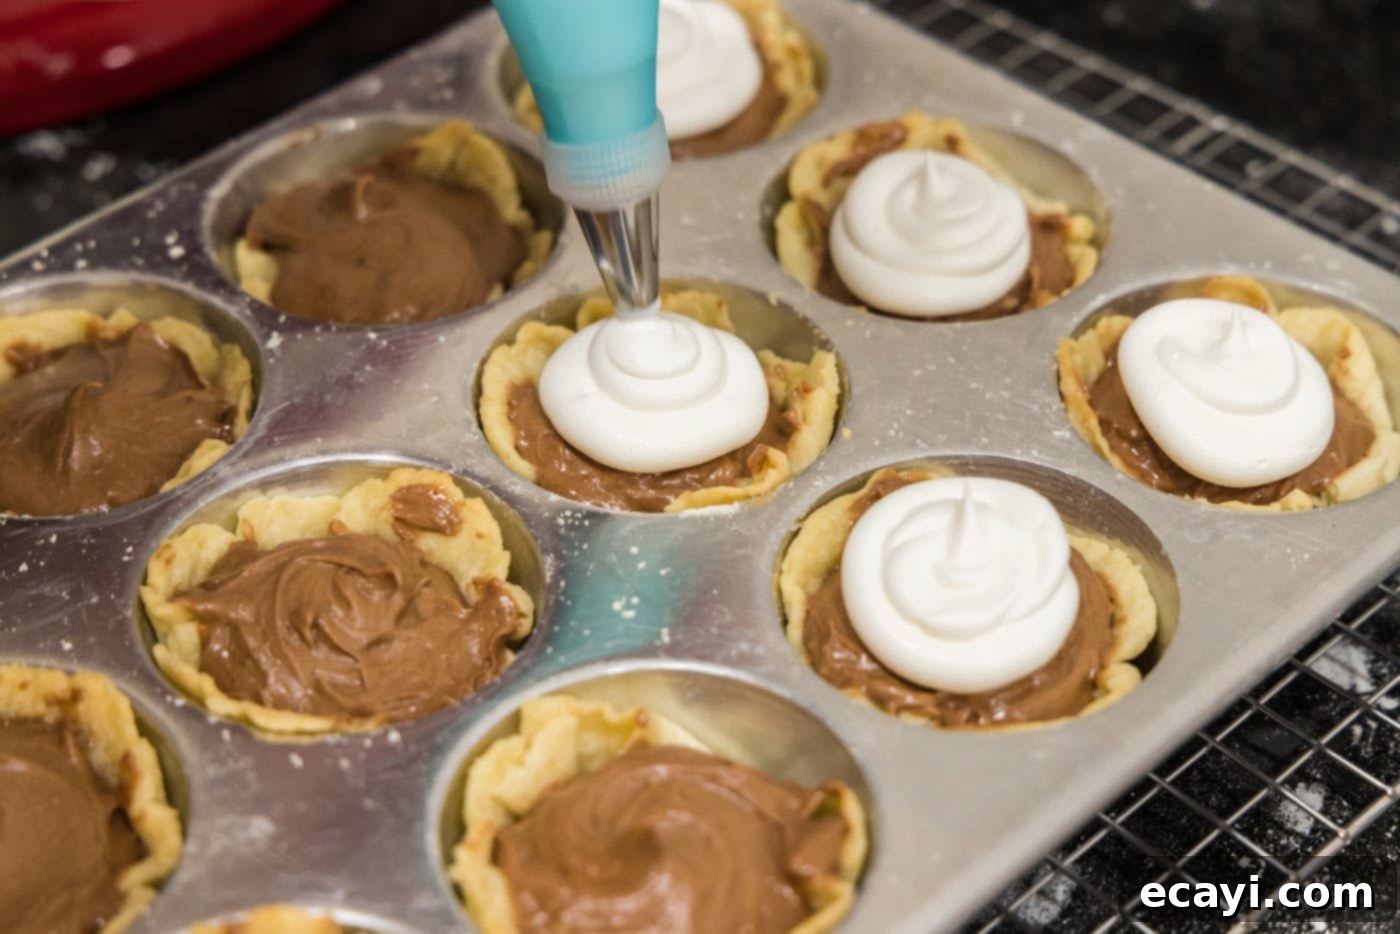
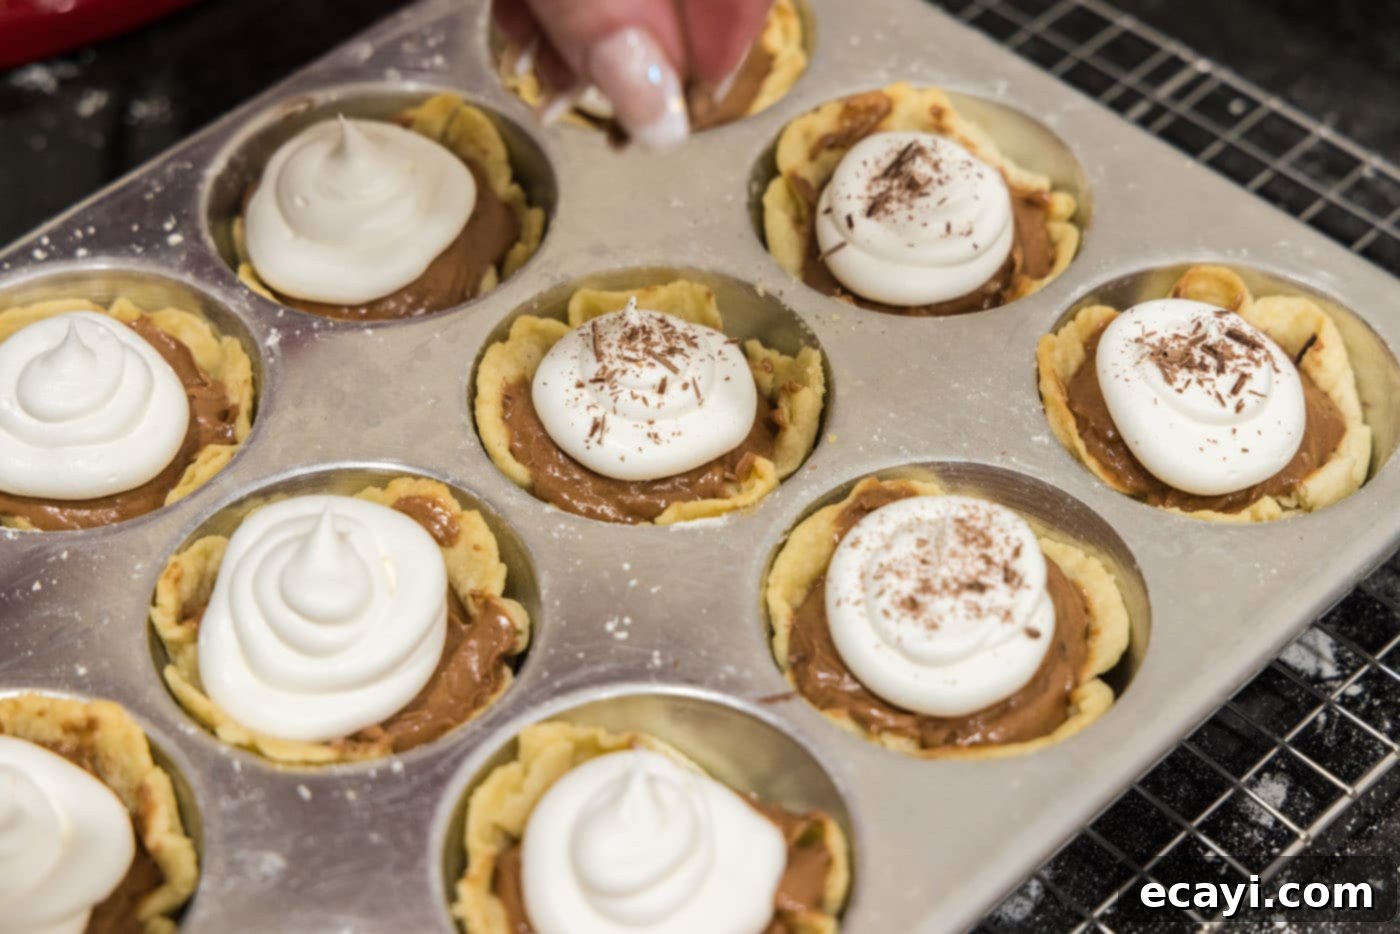
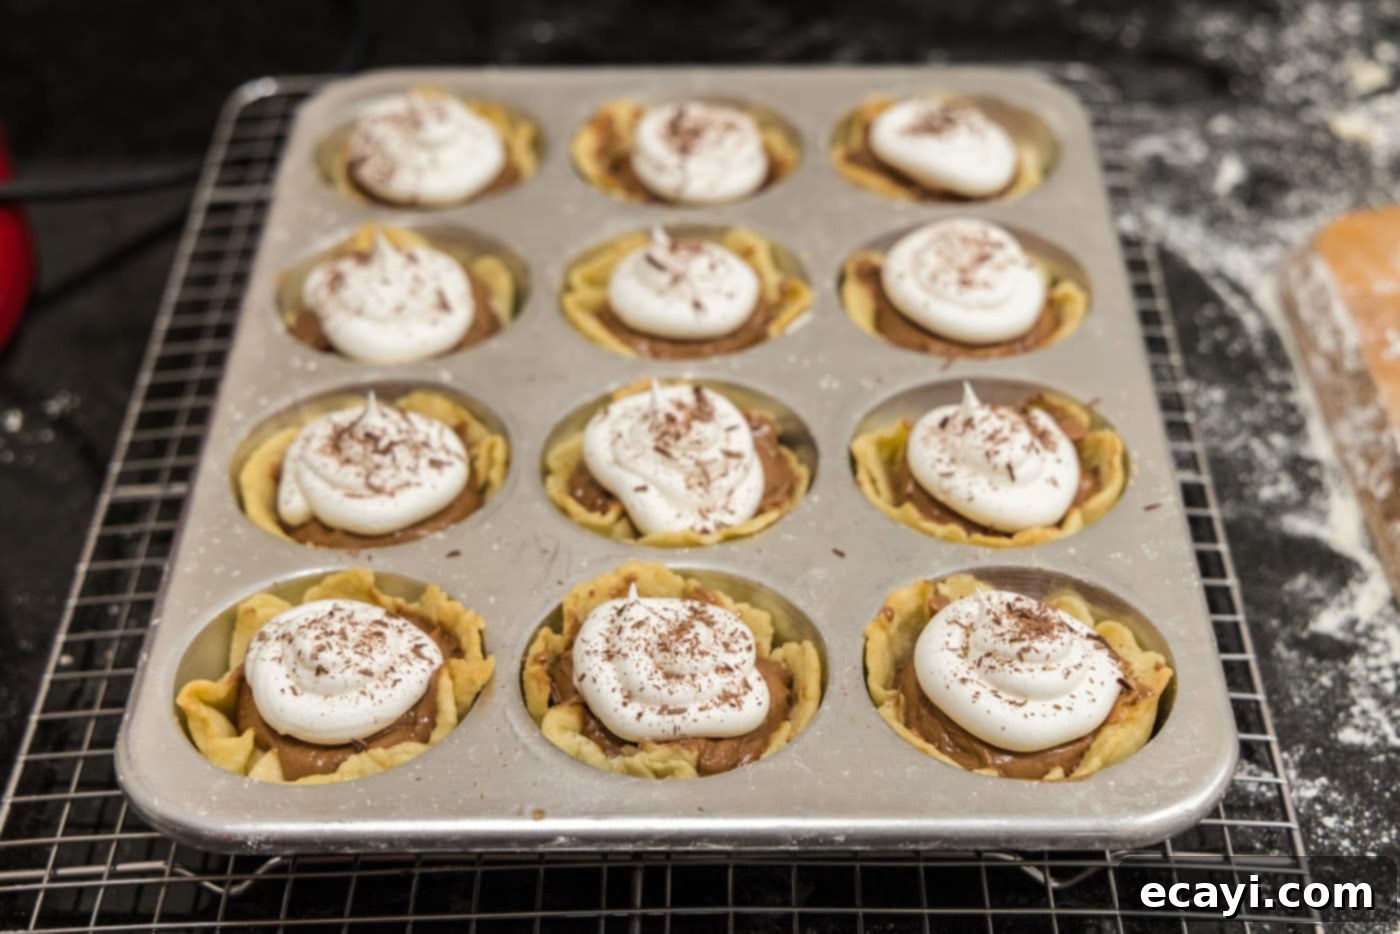
- Transfer the freshly whipped cream into a piping bag fitted with your desired tip (a round tip works beautifully for elegant swirls). Pipe a generous amount of whipped cream onto the center of each chocolate-filled mini pie.

- Finally, garnish each mini French silk pie with delicate shavings of bittersweet chocolate. This not only adds a beautiful visual appeal but also provides a delightful textural contrast and a hint of sophisticated bitterness that perfectly complements the sweet, rich filling.

- For the absolute best results, chill your assembled mini pies in the refrigerator overnight. This extended chilling time is crucial for the filling to fully set, allowing the flavors to meld beautifully and resulting in that impossibly silky smooth texture. Before serving, take the pies out of the refrigerator about 30 minutes in advance to allow the crust to come slightly closer to room temperature, enhancing its flakiness and overall enjoyment.

Frequently Asked Questions & Expert Tips for Perfect Mini French Silk Pies
Absolutely! In fact, preparing these pies a day ahead is highly recommended for optimal results. Giving the pies ample time to set up in the refrigerator overnight allows the luscious filling to reach its peak silky smooth texture and deepens the overall flavor profile. This also makes entertaining much less stressful!
It’s common for the filling to have a slightly grainy texture immediately after preparation due to the sugar not being fully dissolved. Do not worry! The magic happens during the chilling process. The filling requires time to properly set and for the sugar crystals to completely dissolve, transforming any initial graininess into an incredibly smooth, melt-in-your-mouth consistency. This is another significant reason why I strongly advocate making these mini French silk pies a day in advance and allowing them to chill sufficiently in the refrigerator overnight.
Yes, these mini French silk pies freeze beautifully, making them excellent for meal prep or saving for future indulgence. For best results, I recommend freezing them *without* the whipped topping. You can add fresh whipped cream just before serving. To freeze, arrange the unfrosted mini pies on a baking sheet and flash freeze them until they are completely solid (this prevents them from sticking together). Once solid, individually wrap each mini pie tightly with plastic wrap, then place them in a large freezer-safe zip-top bag or an airtight container. They can also be gently laid flat in a single layer inside a large zip-top bag without the individual plastic wrap if space is limited, though individual wrapping offers more protection against freezer burn. To thaw, remove the plastic wrap (if individually wrapped) and let them thaw at room temperature for a few hours if you plan to enjoy them that day. Alternatively, for a slower thaw, place them in the refrigerator overnight, again, without the plastic wrap to prevent condensation from making the crust soggy. They typically last well in the freezer for up to 1-2 months.
Once prepared and chilled, store any leftover mini French silk pies in an airtight container in the refrigerator. They will maintain their freshness, flavor, and delightful texture for 3-4 days. This ensures you can savor these delicious treats over several days or share them at various occasions.
Crust shrinkage is often caused by two main factors: using too much water in the dough or not chilling it sufficiently. Over-working the dough can also develop too much gluten, which then contracts during baking. Always ensure your butter is very cold, handle the dough minimally, use just enough ice water to bring it together, and give it ample chilling time. Blind baking with pie weights or pricking the bottom can also help prevent excessive puffing and shrinkage.
While unsweetened chocolate is traditional for French silk pie to control the sweetness, you can use bittersweet chocolate (70-85% cacao) for a slightly sweeter, less intense chocolate flavor. If you opt for semi-sweet chocolate (which contains more sugar), be aware that the overall pie will be noticeably sweeter, and the texture might be slightly different as the sugar content can affect the filling’s consistency. It’s best to stick to unsweetened for the classic rich, balanced taste, but experiment if you prefer a sweeter profile.
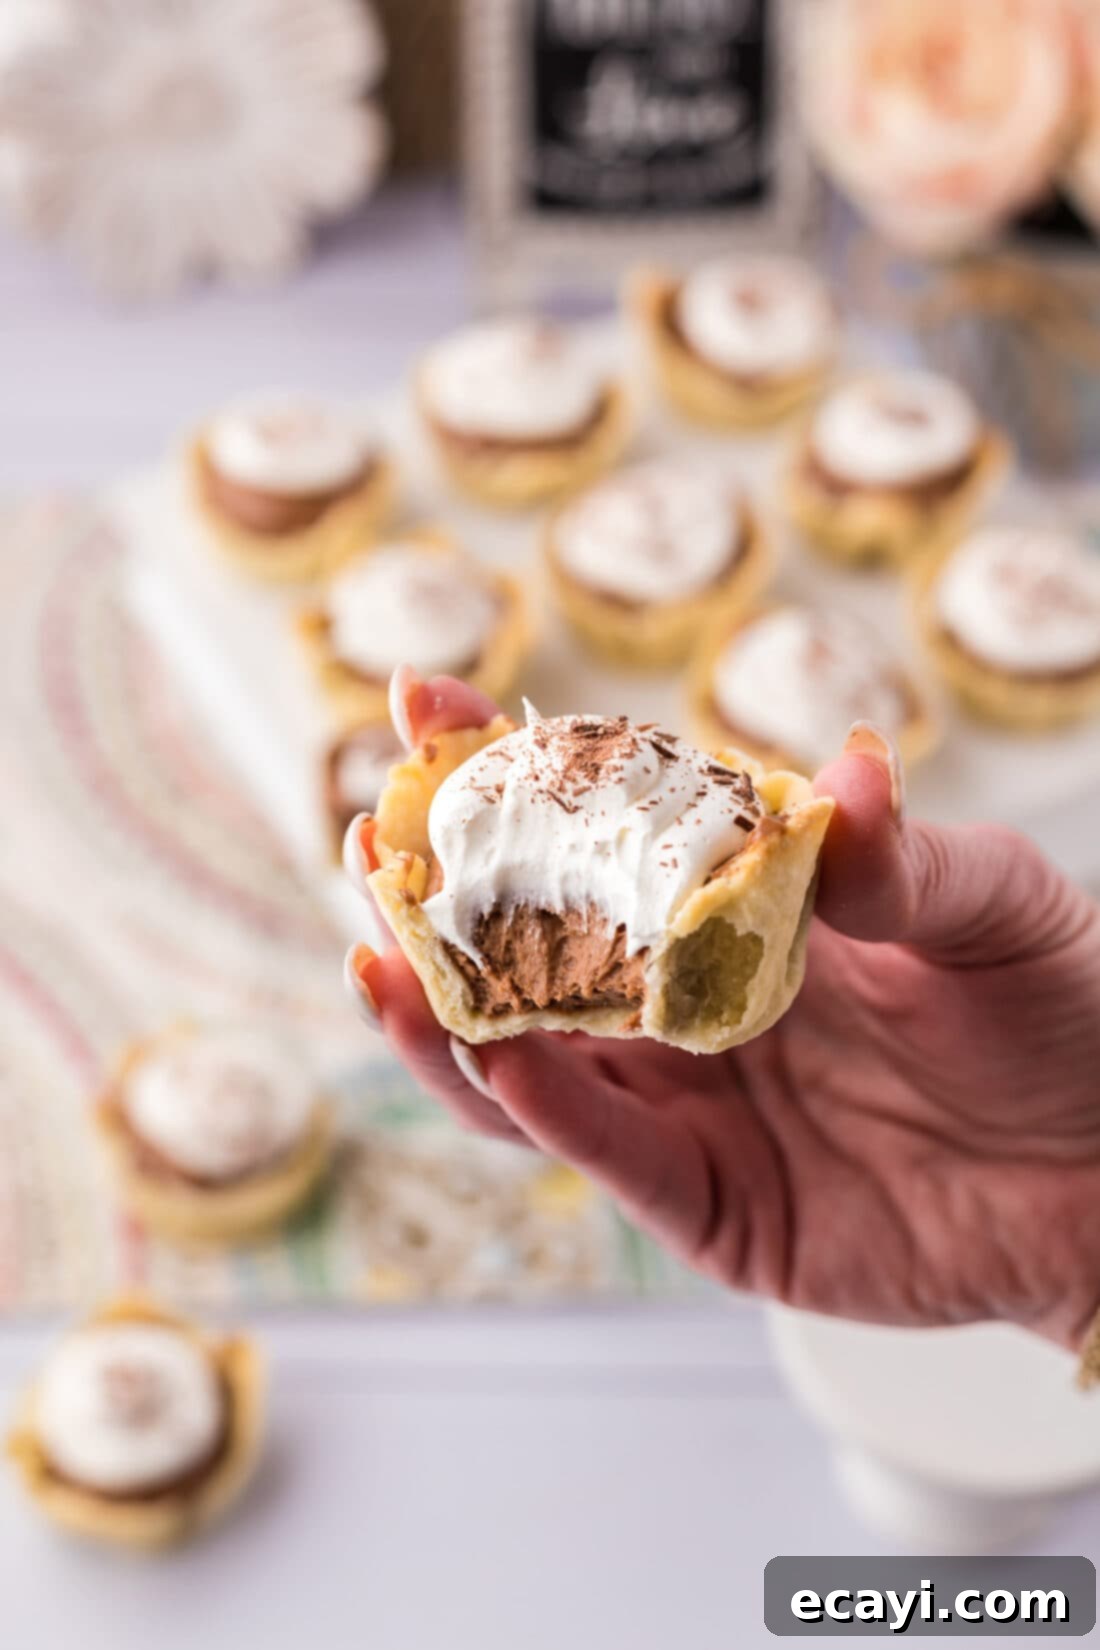
Elegant Serving Suggestions
The final presentation of your mini French silk pies can be just as delightful as their taste. For the perfect finishing touches, always garnish with a fresh dollop of homemade whipped cream, elegantly piped or simply spooned, and then sprinkle with delicate shaved chocolate. You can create beautiful chocolate shavings by drawing a vegetable peeler across the edge of a good quality chocolate bar. A dusting of cocoa powder or a few fresh raspberries or strawberries can also add a vibrant pop of color and a touch of tartness, perfectly complementing the rich chocolate.
Serve these individual treats chilled directly from the refrigerator for a firm and refreshing experience, or allow them to rest at room temperature for about 30 minutes before enjoying. This brief resting period allows the crust to soften slightly and the filling to become even more lusciously smooth, enhancing the overall sensory experience. Mini French silk pies are the sweetest little treats, making them absolutely ideal for a wide array of holiday gatherings such as Thanksgiving, Christmas, or Easter, where individual portions are always appreciated. They are equally perfect for bringing to potlucks, bridal showers, baby showers, or any special occasion where a charming and delicious dessert is desired. Truly, there’s never a bad time for these convenient and decadent individual French silk pies!
More Decadent Dessert Recipes You’ll Love
If you enjoyed making these delightful mini French silk pies, you’re in for a treat! Explore more of our fantastic dessert recipes that are perfect for any occasion:
- Mini Apple Pies: Classic comfort in a bite-sized package.
- Mini Pumpkin Pies: A fall favorite, perfectly portioned.
- Mini Key Lime Pies: Zesty and refreshing, an irresistible tropical treat.
- Cherry Pie Cookies: The deliciousness of pie in a convenient cookie form.
- Mini Cheesecakes: Creamy, rich, and utterly delightful individual cheesecakes.
- Creme Brulee: A sophisticated French classic with a crackling sugar crust.
I absolutely adore sharing my passion for baking and cooking, along with my kitchen adventures, with all of you! It can be challenging to remember to check back daily for new inspirations, which is why I offer a convenient newsletter delivered right to your inbox every time a new recipe is posted. Simply subscribe today and start receiving your free daily recipes, ensuring you never miss out on a delicious creation!

Mini French Silk Pies: Decadent Bite-Sized Chocolate Treats
IMPORTANT – Be sure to review the Frequently Asked Questions and Expert Tips sections within the blog post for helpful insights and troubleshooting advice. Simply scroll back up to read them!
Print It
Pin It
Rate It
Save ItSaved!
Ingredients
For the Flaky Pie Crust (Yields 2 Discs)
- 2 cups all-purpose flour
- 1 teaspoon kosher salt
- 1 Tablespoon granulated sugar
- 16 Tablespoons unsalted butter 2 sticks – must be very cold, cut into 1/2-inch cubes
- ¼ cup ice water start with 3-4 tablespoons and add more only as needed
For the French Silk Pie Filling
- 1 cup unsalted butter softened to room temperature (not melted)
- 1 ½ cups granulated sugar
- 2 ounces unsweetened chocolate melted and cooled completely (must be cool to touch)
- 2 teaspoons vanilla extract
- 4 large eggs (use pasteurized if concerned about consuming raw eggs)
For the Topping
- 8 ounces heavy whipping cream (well chilled)
- 1 Tablespoon powdered sugar
For Garnish
- 2 ounces bittersweet chocolate shavings
Essential Equipment
-
Food processor
-
Rolling pin
-
Muffin pan two 12-cavity pans
-
Stand mixer
-
Piping bag with preferred tip (a round tip is recommended)
Before You Begin: Key Considerations
- Regarding Eggs: This recipe uses uncooked eggs in the filling. If you have concerns about consuming raw eggs, please use pasteurized eggs or follow a method to pasteurize your eggs at home.
- Butter for Filling: Do NOT use margarine for the filling, as it will significantly alter the texture and flavor. The butter for the filling must be softened to room temperature, which typically takes 20-30 minutes out of the refrigerator. Do NOT melt the butter.
- Butter for Crust: The butter for the pie crust must be very cold and cut into small cubes for best results.
Instructions
Making the Flaky Pie Dough
-
In a food processor, combine the all-purpose flour, kosher salt, and granulated sugar. Process on high speed for 10 seconds to ensure the dry ingredients are thoroughly mixed.
-
Distribute the cold, cubed butter evenly over the flour mixture. Pulse the food processor for 1-2 seconds at a time until the mixture resembles coarse crumbs with some pea-sized pieces of butter still visible. This process will typically require about 14-16 pulses. Avoid over-processing.
-
Add the ice water, 1 tablespoon at a time, pulsing briefly after each addition. Continue until the mixture just barely comes together and forms a dough. You may not need to use all of the water.
NOTE: Adding too much water can cause significant shrinkage in your finished crust, so be careful to add only enough for the dough to form a cohesive ball.
-
Remove the dough from the processor and divide it into 2 equal pieces. Form each piece into a disc, wrap them tightly in plastic wrap, and chill in the refrigerator for at least 30 minutes, or up to a week.
NOTE: For accurate division, use a kitchen scale to weigh the dough and then divide it in half.
Baking the Mini Pie Crusts
-
Preheat your oven to 375°F (190°C). Bring out two 12-cup muffin pans; do not grease them.
-
Take one chilled dough disc, weigh it, and then separate it into 12 equal pieces to ensure uniform mini crusts.
-
Lightly flour your work surface. Roll one piece of dough in your hands to form a ball, then flatten it with the palm of your hand. Use a rolling pin to further flatten the dough into a circle roughly 4 1/2 inches in diameter.
-
Carefully place the dough circle into a well of a 12-cup muffin tin, gently pressing it to conform to the shape. Repeat for all 12 dough balls in the pan. Pierce the bottom of each dough cup a couple of times with a fork to prevent excessive puffing during baking.
-
Repeat the entire process for the second muffin pan, preparing another 12 mini pie crusts.
-
Bake for 14-16 minutes, or until the edges are lightly browned and the crusts are set. The dough will shrink slightly and puff up a bit.
TIP: For the most even baking and browning, I highly recommend baking one pan at a time. If you choose to bake both simultaneously, ensure they are staggered in the oven to allow for proper air circulation around the pans.
-
Remove the baked crusts from the oven and place them on a wire rack. Allow them to cool completely to room temperature before attempting to fill them. This is crucial to prevent the filling from melting.
Crafting the Velvety Filling & Assembling
-
Melt the unsweetened chocolate and set it aside to cool completely. It should be cool to the touch.
-
In the bowl of a stand mixer, beat the softened butter and granulated sugar on medium-high speed until the mixture is light and fluffy. Set a timer and beat for a full 7 minutes; this extended creaming is essential for the filling’s signature silky texture.
-
Add the completely cooled melted chocolate and vanilla extract to the butter mixture. Beat until all ingredients are thoroughly incorporated and the mixture is smooth and uniform. Scrape down the sides of the bowl as needed.
-
Add the large eggs, two at a time, to the chocolate mixture. After each addition of two eggs, beat on medium-high speed for a full 5 minutes. Again, use a timer for accuracy. This long beating process after adding the eggs is key to achieving the smooth, airy, and truly silky consistency of the French silk filling.
-
Once the filling is prepared, use an ice cream scoop to evenly distribute the velvety filling into each of the completely cooled mini pie crusts. Gently level the tops for a neat appearance.
-
To make the topping, beat the heavy whipping cream and powdered sugar with a whisk attachment on medium-high speed until stiff peaks just begin to form. Be careful not to overbeat.
-
Transfer the whipped cream to a piping bag (with a round tip if desired) and pipe a generous amount on top of the chocolate filling in each mini pie.
-
Garnish each mini pie with delicate shavings of bittersweet chocolate for an elegant finish and added texture.
-
Chill the assembled mini pies in the refrigerator overnight. This crucial step allows the filling to set perfectly and for the flavors to fully develop. Before serving, take the pies out about 30 minutes in advance to allow the crust to come slightly closer to room temperature, enhancing its flakiness.
Expert Tips & FAQs (Condensed for Recipe Card)
- Chill Overnight: For the best silky texture and flavor, patience is key. Allow the pies to chill in the refrigerator overnight. Any initial graininess in the filling will disappear after this resting period.
- Freezing Instructions: Freeze mini pies *without* whipped topping. Flash freeze on a baking sheet until solid, then individually wrap in plastic wrap or place in a freezer bag. Thaw at room temperature for a few hours or overnight in the refrigerator (without plastic wrap).
- Storage: Store leftover mini pies in an airtight container in the refrigerator for 3-4 days.
- Crust Shrinkage: To prevent crust shrinkage, ensure butter is very cold, don’t overwork the dough, and allow adequate chilling time.
- Eggs: Use pasteurized eggs if concerned about consuming raw eggs.
Nutrition
The recipes on this blog are meticulously tested with a conventional gas oven and gas stovetop to ensure reliability. Please note that oven performance can vary, especially with older appliances. Using an inexpensive oven thermometer is highly recommended to verify your oven is consistently reaching the target temperature. If you use a toaster oven or countertop oven, be aware that their heat distribution may differ from a full-sized conventional oven, potentially requiring adjustments to cooking and baking times. For recipes utilizing pressure cookers, air fryers, slow cookers, or other specialized appliances, a direct link to the specific models we use is provided within each respective recipe. In baking recipes where ingredient measurements are given by weight, it’s important to understand that using cup measurements may yield different results, and we cannot guarantee success with alternative measurement methods.
