Delightful Pineapple Dream Dessert: Your Ultimate No-Bake Potluck Favorite
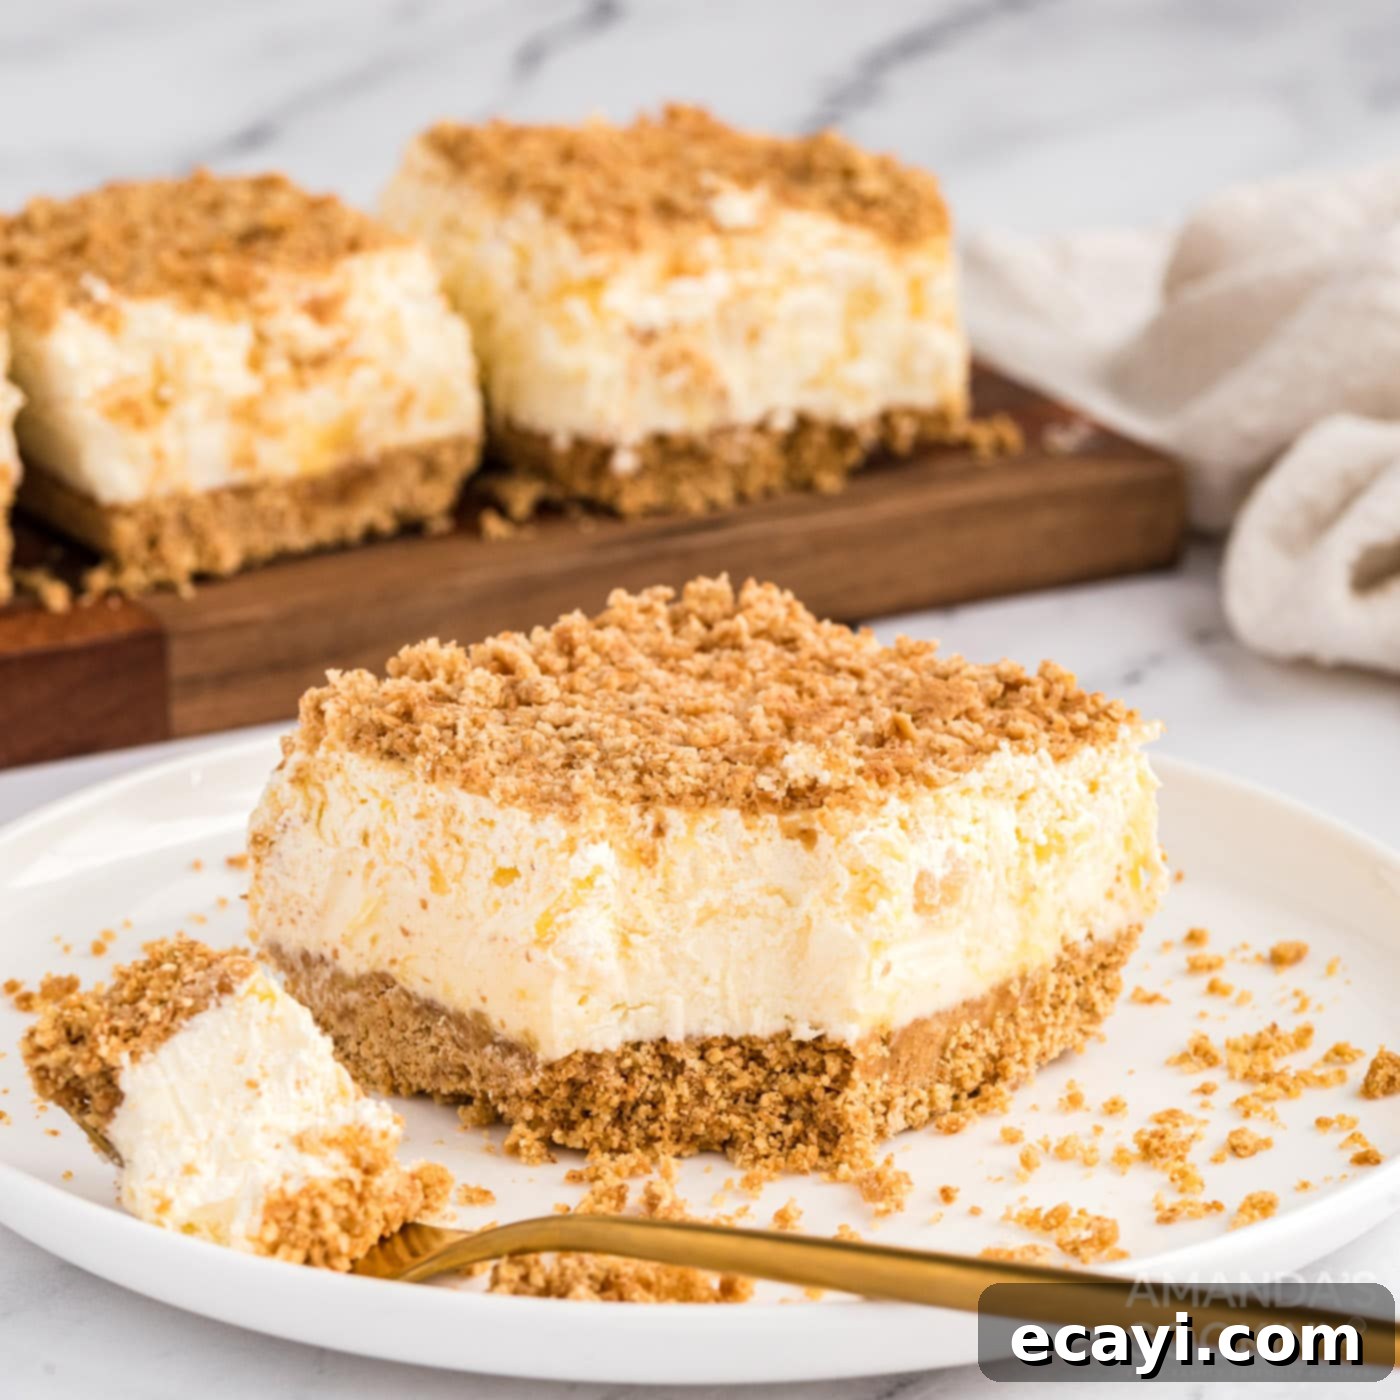
The Pineapple Dream Dessert is more than just a sweet treat; it’s a cherished family tradition, a symbol of joyful gatherings, and a dish that consistently disappears first at any potluck. You know those iconic desserts that have graced every family reunion, holiday celebration, and casual get-together for generations? The kind your grandmother perfected, like a classic Pineapple Upside Down Cake, a vibrant Ambrosia Salad, or a nostalgic Watergate Salad. This Pineapple Dream Dessert firmly holds its place among these beloved culinary legends.
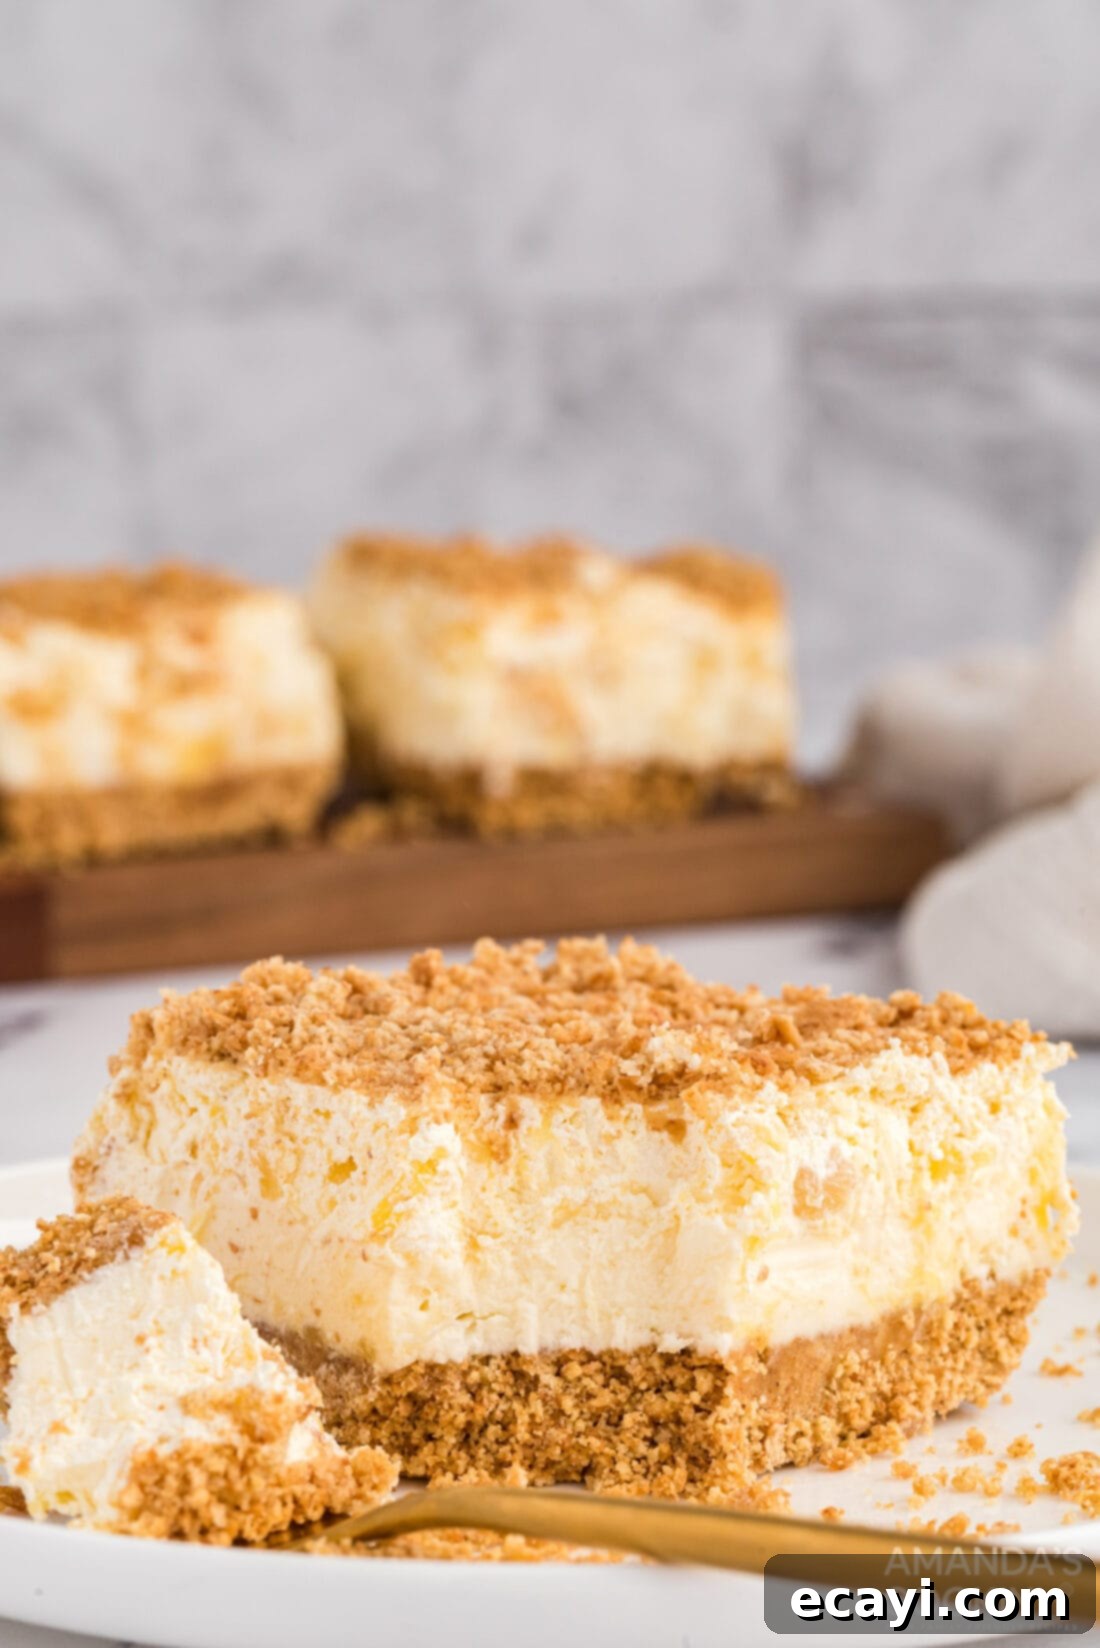
This light, airy, and incredibly refreshing pineapple cream cheese dessert is a true champion when it comes to portability, which is precisely why it makes an appearance at countless family functions. Its delicate balance of sweet and tangy flavors, coupled with a satisfying crunch from the graham cracker crust, ensures that it rarely, if ever, leaves any leftovers. It’s a dessert designed to be devoured!
ATTENTION! Yes, you’re in the right place! We’ve given our photos a fresh update to better showcase this timeless recipe, but rest assured, the delicious Pineapple Dream recipe itself remains exactly the same. Do these images spark a familiar memory?
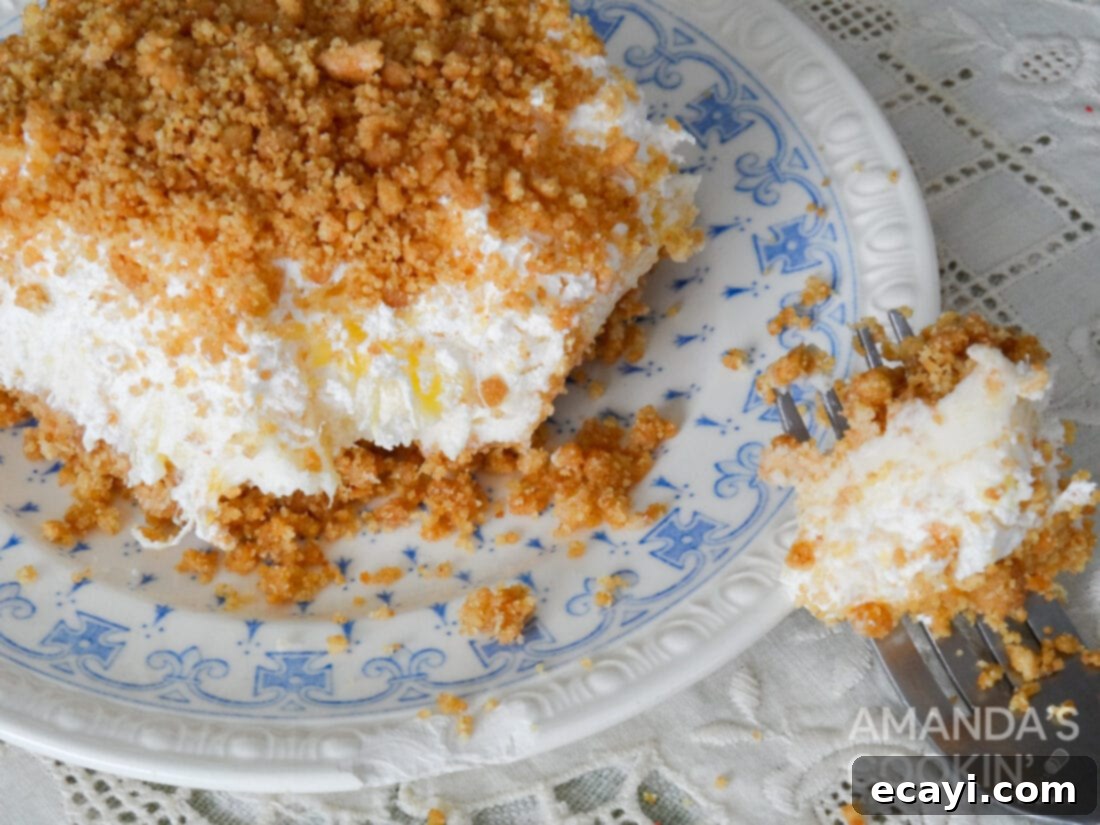
The universal appeal of this pineapple dessert reminds me of the overwhelming love for our Chocolate Lasagna recipe—everyone simply adores it. With a dessert this popular, the only thing you’ll be taking home is an empty, clean dish!
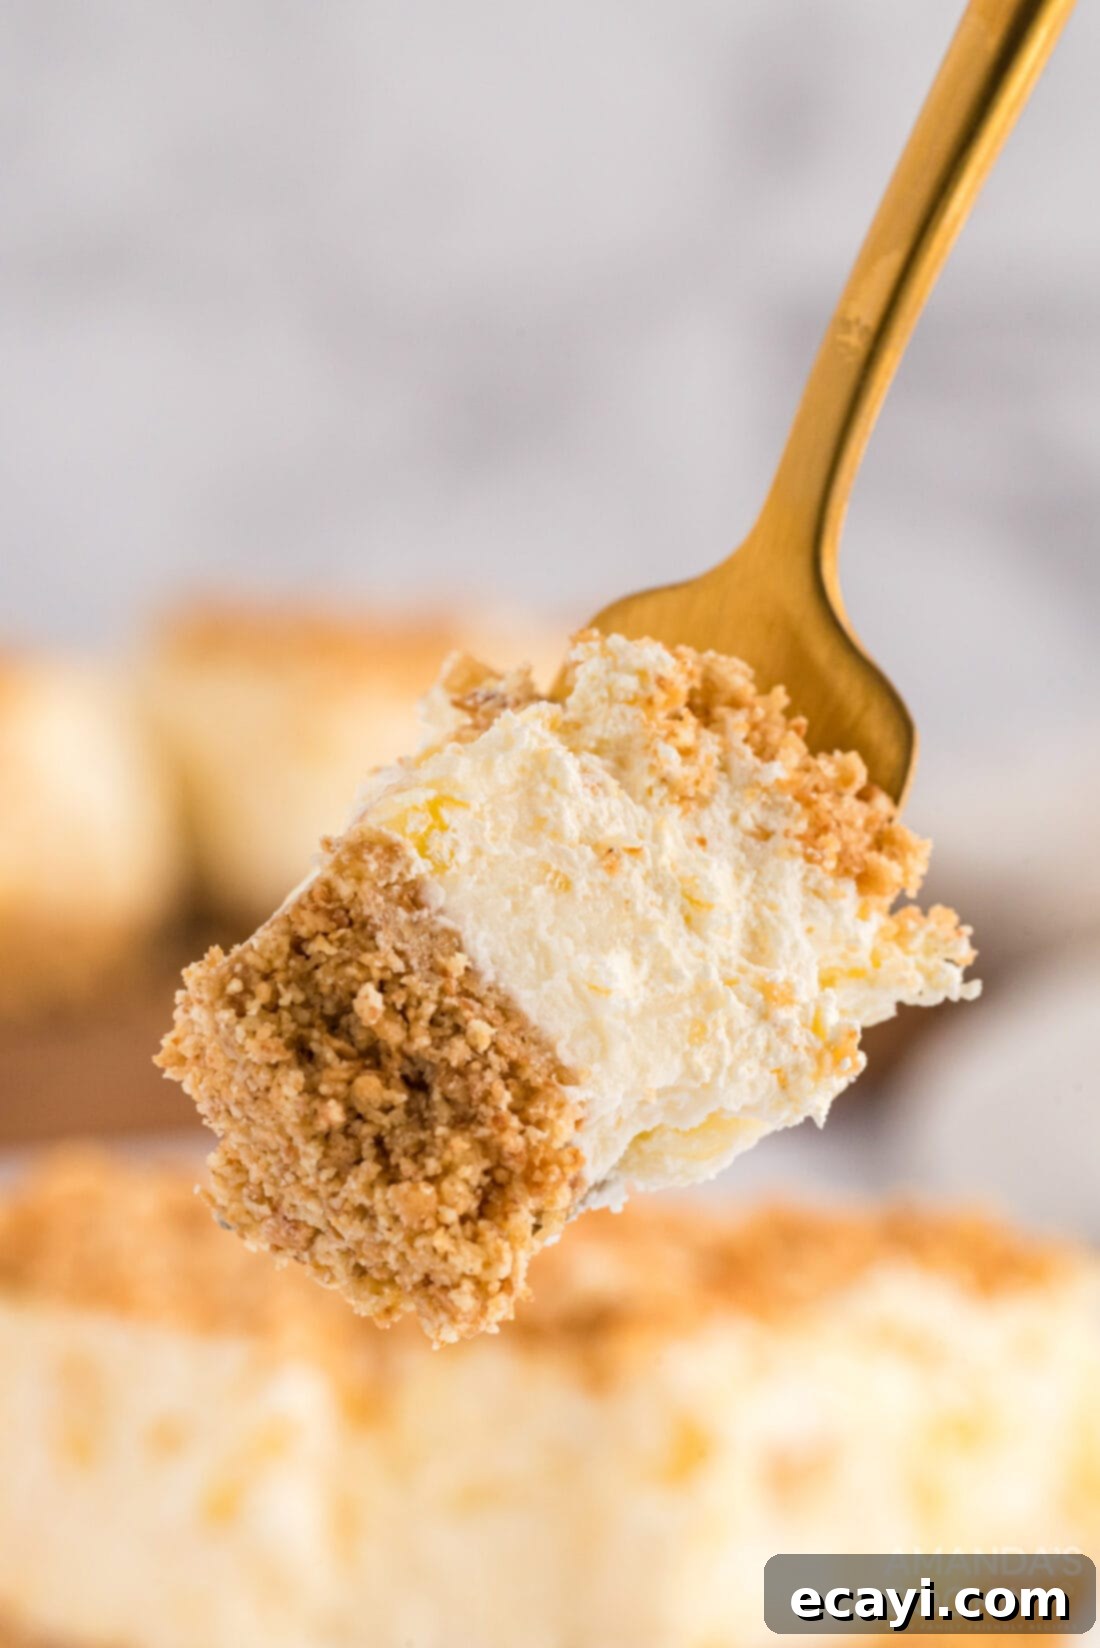
Why This Pineapple Dream Dessert is a Must-Try
There are countless reasons why this Pineapple Dream Dessert has earned its spot as a household favorite and a potluck legend. Its layers of creamy, tangy, and crunchy textures create a symphony of flavors that appeal to nearly everyone. It’s a fantastic recipe for beginners, yet impressive enough for seasoned bakers to appreciate its simplicity and delicious outcome.
- Effortlessly Delicious: The preparation is straightforward, requiring minimal baking and mostly assembly. It’s perfect for when you need a show-stopping dessert without spending hours in the kitchen.
- Perfect for Any Occasion: Whether it’s a casual BBQ, a holiday feast, a birthday party, or a simple family dinner, this dessert fits right in. Its refreshing taste makes it especially ideal for warmer months, but its rich layers are comforting year-round.
- Crowd-Pleasing Flavors: The combination of sweet pineapple, rich cream cheese, light whipped cream, and a buttery graham cracker crust creates a harmonious blend that is universally loved. It’s sweet, but not overly so, with a delightful tang from the pineapple.
- Make-Ahead Marvel: This dessert requires chilling time, making it an excellent make-ahead option. Prepare it the day before your event, and it will be perfectly set and ready to serve when you are.
- Easy to Transport: As a pan dessert, it’s incredibly stable and easy to cover and carry to any gathering, ensuring it arrives just as beautiful as when it left your kitchen.
Frequently Asked Questions About Pineapple Dream
The history of ingredients plays a fascinating role in many classic recipes. For instance, the beloved Cool Whip, a key component in this dessert, made its debut in the late 1960s. Within just two years, this convenient item had soared to become the company’s best-selling product. While Cool Whip has evolved over the years and the current version now includes milk and cream, its role in creating effortlessly fluffy desserts like our Pineapple Dream remains unmatched.
Absolutely! If you prefer a richer, homemade touch, you can certainly substitute freshly made whipped cream for the Cool Whip. To replace an 8-ounce tub of Cool Whip, you’ll need approximately 1 cup of heavy whipping cream, whipped until it forms soft peaks. However, it’s important to note that Cool Whip contains stabilizers that help it hold its shape for longer, making it ideal for layered desserts that need to sit for a while. Fresh whipped cream, without stabilizers, might soften more quickly. For a compromise, consider making a homemade stabilized whipped cream using a recipe designed to mimic Cool Whip’s structural integrity, ensuring your dessert layers remain distinct and firm.
While pineapple is the star of this “Pineapple Dream,” the basic structure of this no-bake dessert is incredibly versatile! If you love the concept, you’ll definitely enjoy variations with other fruits. Our Strawberry Dream Dessert, for example, is made by simply replacing the crushed pineapple with well-drained crushed strawberries. You could also experiment with well-drained canned peaches or mandarin oranges for different flavor profiles. The key is to ensure the fruit is thoroughly drained to prevent the dessert from becoming watery, maintaining that perfect creamy consistency.
Yes, you can use fresh pineapple for this recipe, but there are a few considerations. Canned crushed pineapple is often preferred because the canning process softens the fruit and its juices help to moisten the crust and blend seamlessly with the creamy layers. Fresh pineapple contains enzymes (like bromelain) that can sometimes break down dairy proteins, potentially making your cream cheese or whipped cream layers a bit watery or less stable over time. If using fresh pineapple, ensure it is very finely diced or crushed, and make sure it’s as dry as possible to prevent excess moisture. Pre-cut fresh pineapple stored in plastic containers often has some juice at the bottom, making it a good “in-between” option. While fresh pineapple adds a vibrant flavor, it may result in a slightly firmer texture in the dessert compared to its canned counterpart.
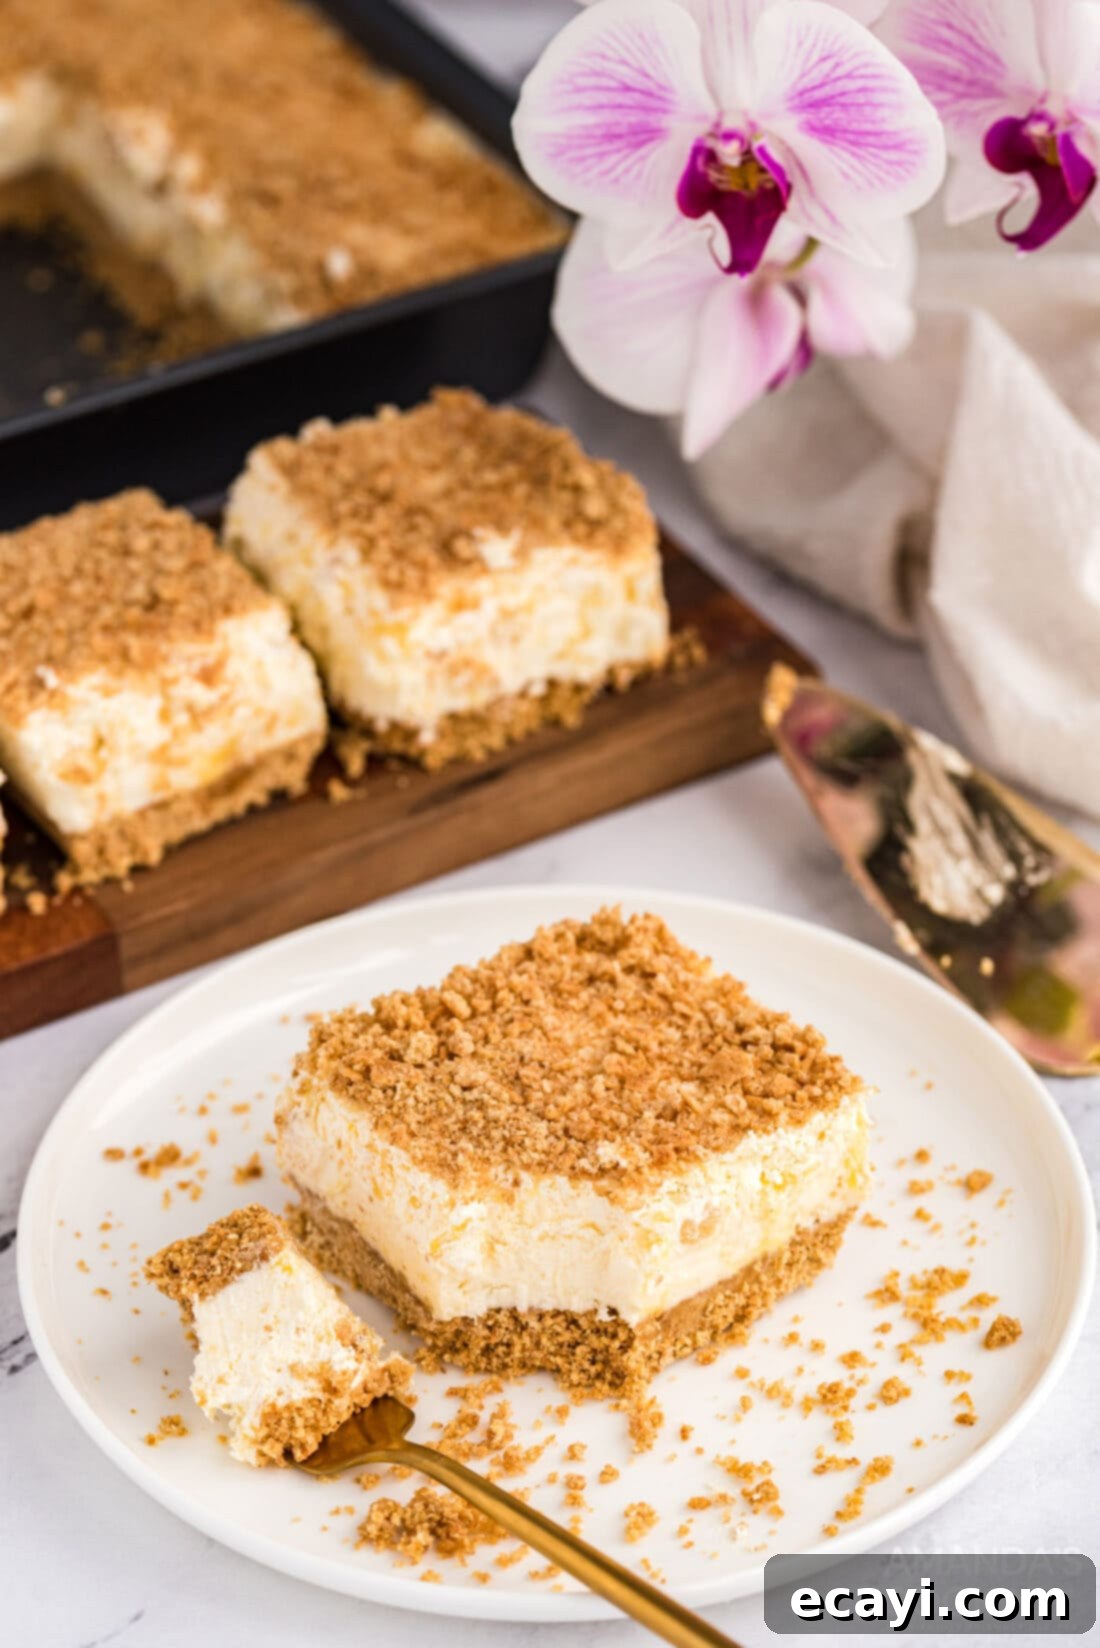
Much like our popular Strawberry Jello Pretzel Salad, this Pineapple Dream Dessert is an absolute winner for parties, holiday gatherings, or any potluck event. Its layered structure and refreshing taste make it a delightful end to any meal. Remember, it’s a chilled dessert, so it’s always best to ensure you have a spot in the refrigerator to keep this delicious pineapple whipped cream dessert cool until it’s time to serve. The colder it is, the better it sets and tastes!
Expert Tip for the Perfect Graham Cracker Crust
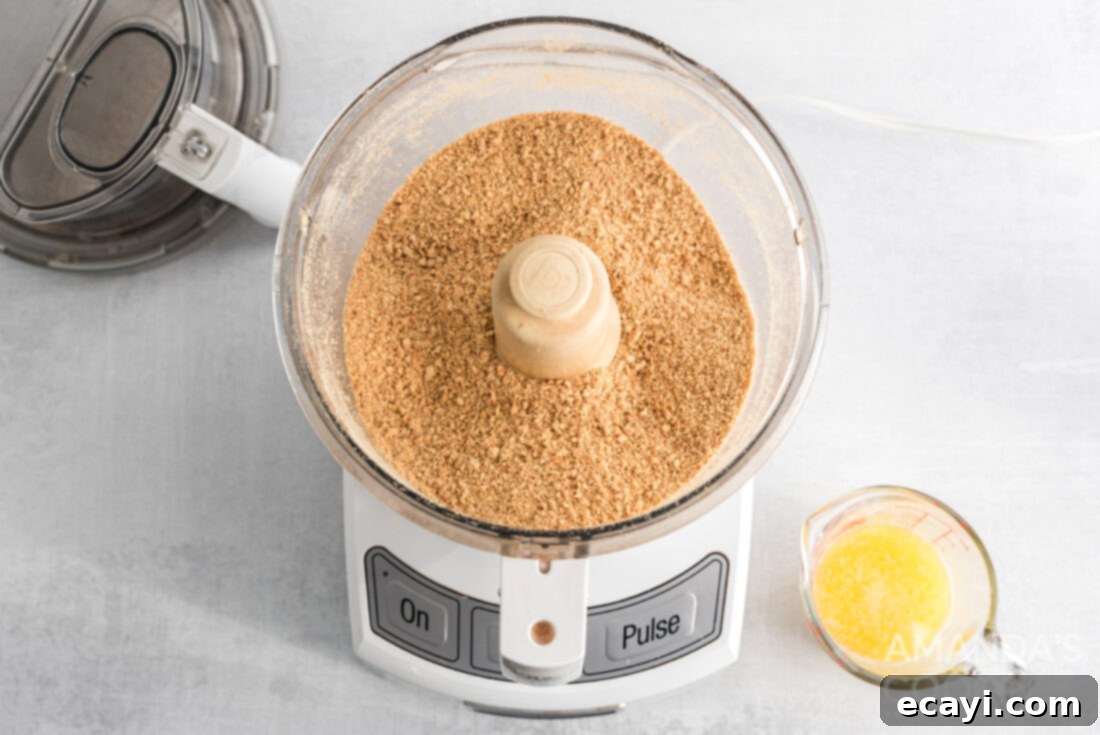
The foundation of any great layered dessert is its crust, and for our Pineapple Dream, that means perfectly crushed graham crackers. While you can often purchase pre-made graham cracker crumbs at the store for convenience, making your own ensures the freshest taste and texture. If you’re doing it yourself, simply place graham cracker sheets in a sealed plastic bag and crush them using a rolling pin until you achieve fine crumbs. For ultimate ease and a uniform texture, we highly recommend running them through your food processor. This method quickly transforms whole crackers into a consistent, sandy crumb that will form a sturdy and delicious crust.
Ingredients You Will Need for This Dreamy Dessert
Gathering your ingredients is the first step towards creating this incredible Pineapple Dream Dessert. Below is a detailed list of everything you’ll need. For exact measurements, step-by-step instructions, and a printer-friendly version, refer to the full recipe card at the end of this post.
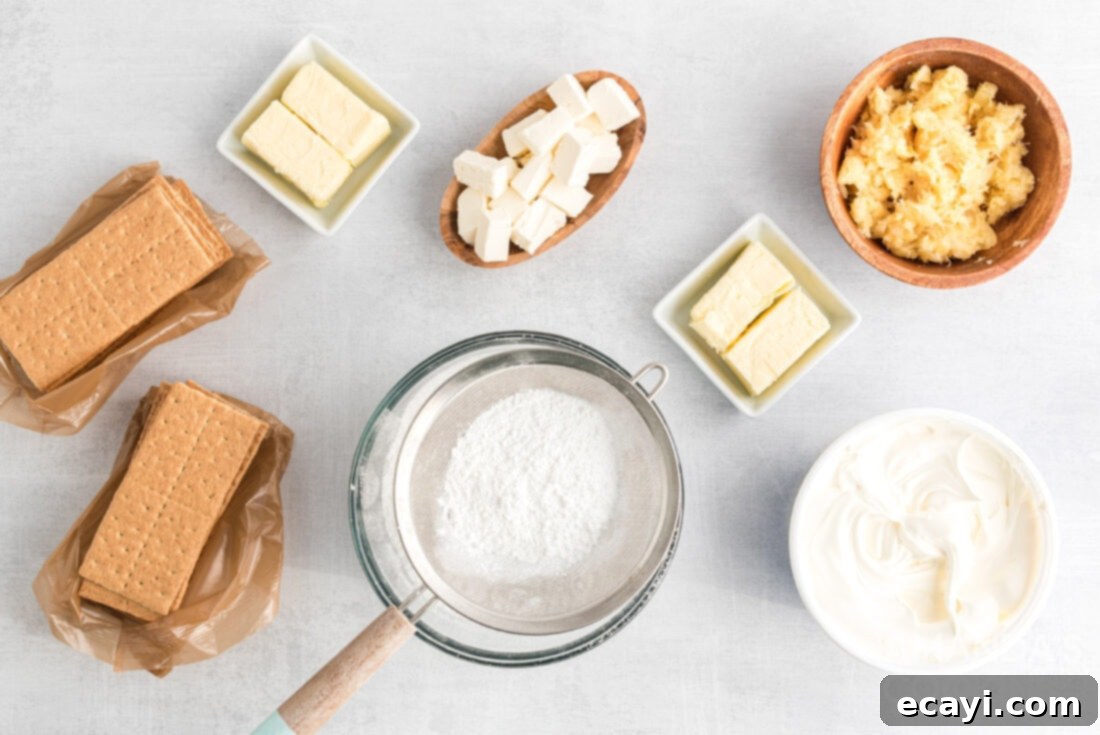
- 2 1/2 cups graham crumbs (equivalent to about 2 sleeves of graham crackers)
- 1/2 cup unsalted butter, melted (for the crust)
- 2 cups of powdered sugar, sifted (to prevent lumps in the creamy filling)
- 1/2 cup unsalted butter, softened (for the rich cream cheese layer)
- 4 oz cream cheese, softened (ensure it’s at room temperature for a smooth mixture)
- 8 oz container Cool Whip (or your preferred stabilized whipped topping)
- 20 oz can crushed pineapple, thoroughly drained (this is crucial for texture)
NO-BAKE CRUST OPTION: For those hot days when turning on the oven is simply not an option, you can easily make a delicious no-bake crust. Simply follow the instructions for combining the graham crumbs and melted butter. Instead of baking, firmly press the mixture into your 9×9 inch square pan and place it in the refrigerator. Allow the crust to chill for at least 20 minutes. The butter will solidify, effectively binding the crumbs together. While a no-bake crust might be slightly less firm than a baked one, especially after sitting out, it still delivers on flavor and makes for an equally delightful dessert!
How to Make This Heavenly Pineapple Dream Dessert
These step-by-step photos and detailed instructions are provided to help you visualize each stage of making this delectable recipe. For a convenient, printable version complete with all measurements and full instructions, please Jump to Recipe at the very bottom of this post.
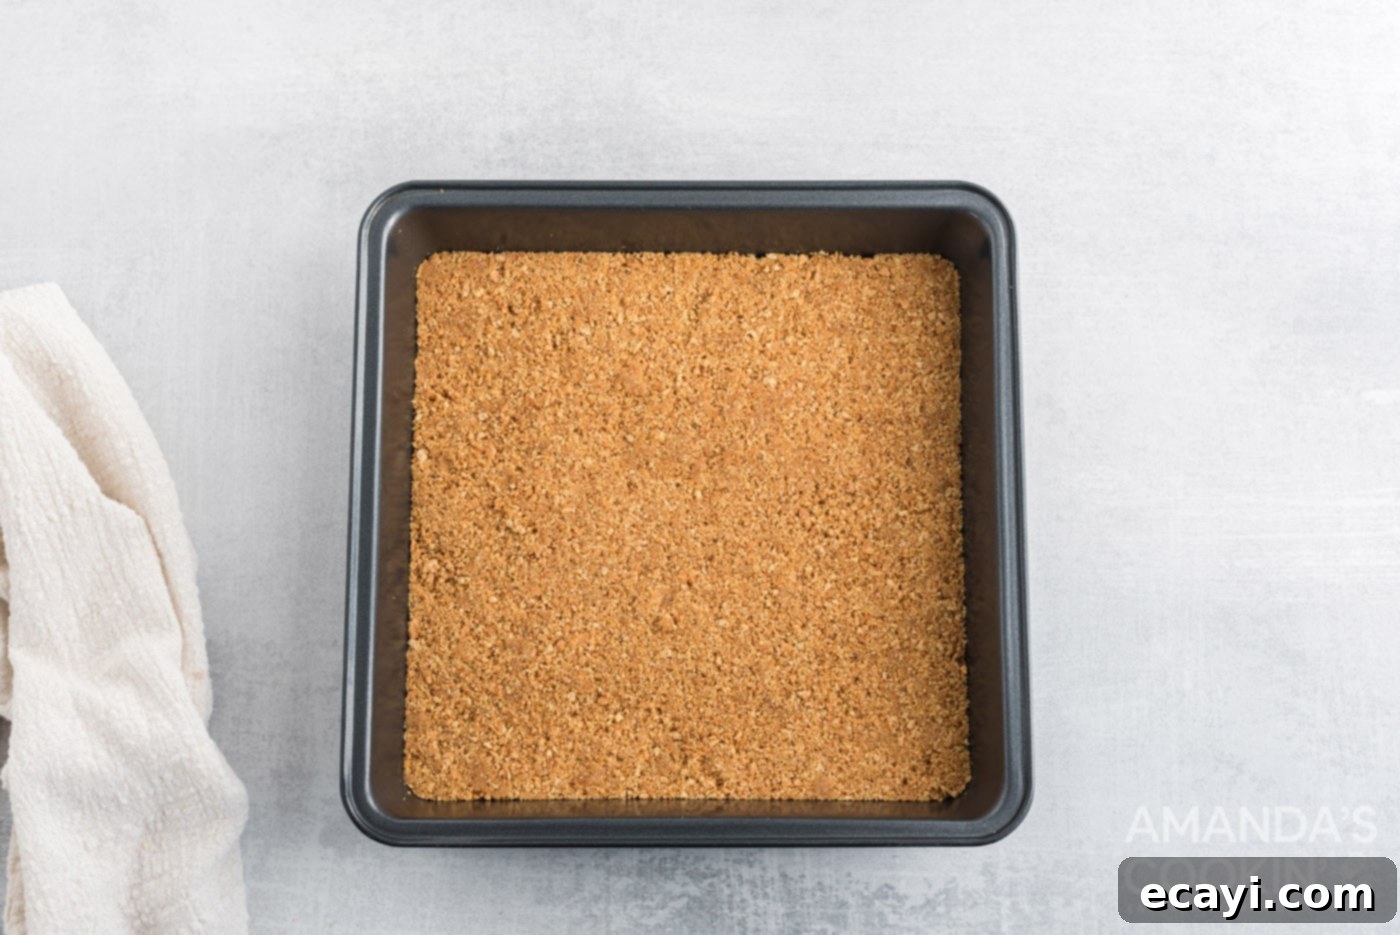
- First, preheat your oven to 300°F (150°C). If you’re opting for the no-bake crust, you can skip this step and proceed to chilling. Melt 1/2 cup of butter in the microwave until completely liquid, then set it aside to cool slightly. In a medium bowl, combine the graham cracker crumbs with the melted butter, mixing until the crumbs are evenly moistened. Press 2 cups of this crumb mixture firmly into the bottom of a 9×9 inch square baking pan. Bake for 8-10 minutes, or until the edges are lightly golden. Once baked, remove from the oven and place the pan on a wire rack to cool completely. This cooling step is crucial before adding the creamy layers.

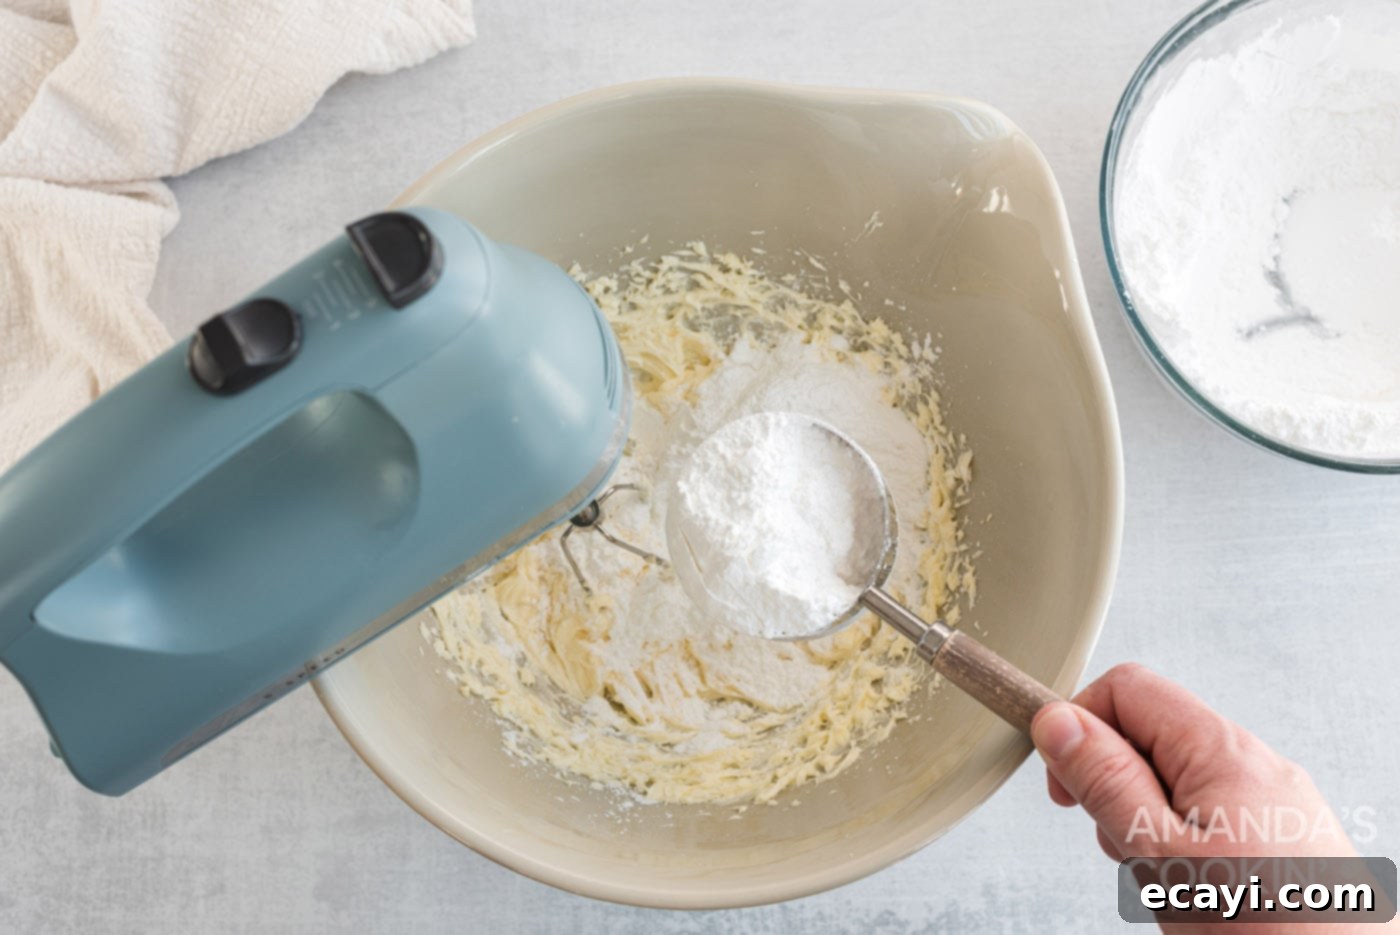
- While the crust cools, prepare the luscious cream cheese filling. In a large mixing bowl, beat the softened cream cheese and the remaining 1/2 cup of softened butter together until the mixture is light, fluffy, and completely creamy, with no lumps. Gradually reduce your mixer speed to low and begin to add the sifted powdered sugar, one cup at a time, mixing until each addition is fully incorporated. Once all the sugar is in, increase the speed and beat for another minute or so, ensuring a smooth and airy filling.

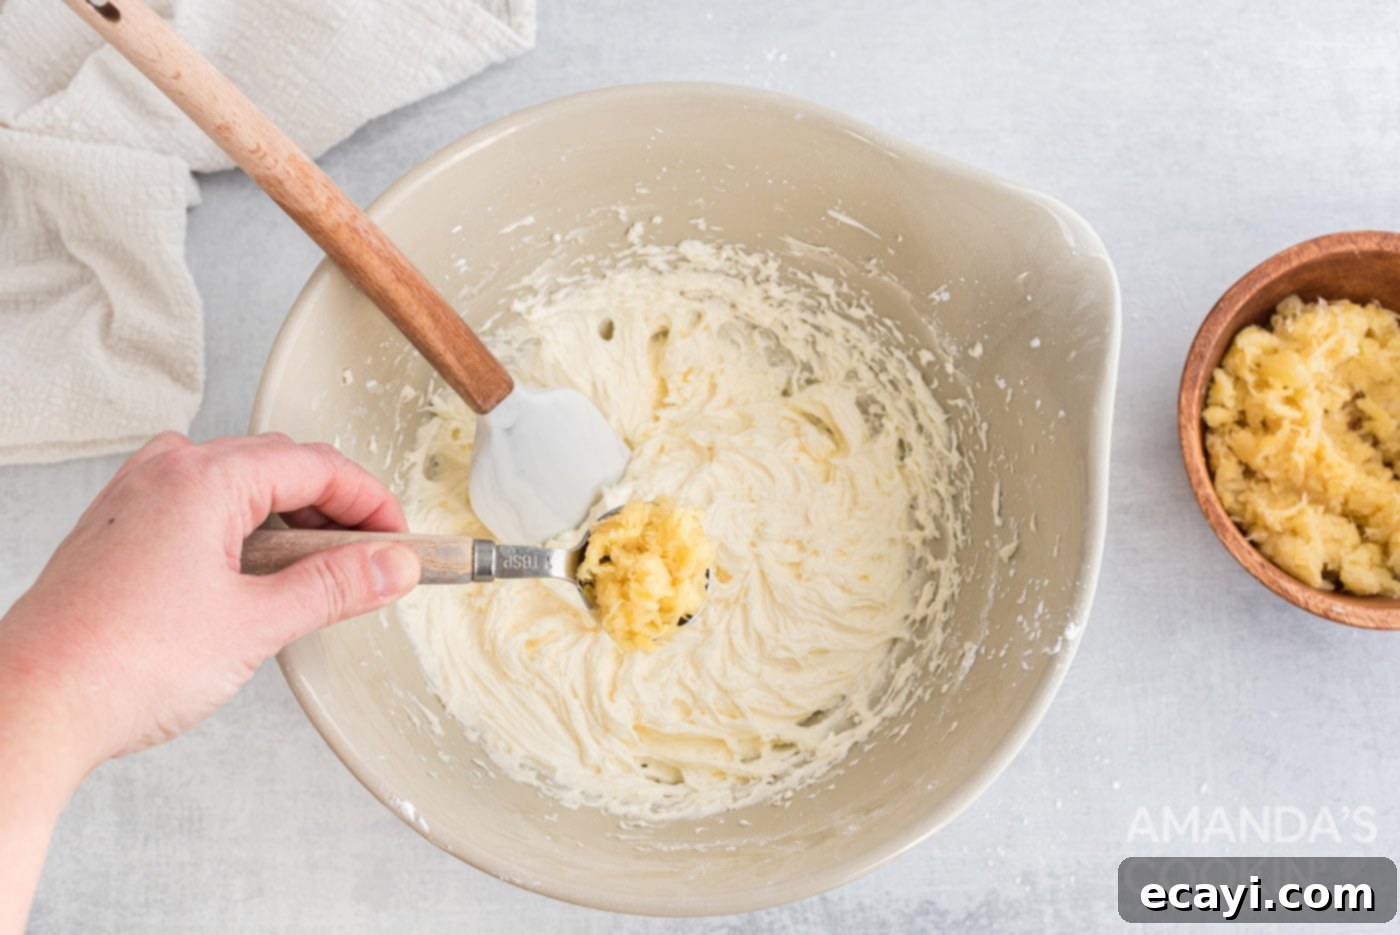
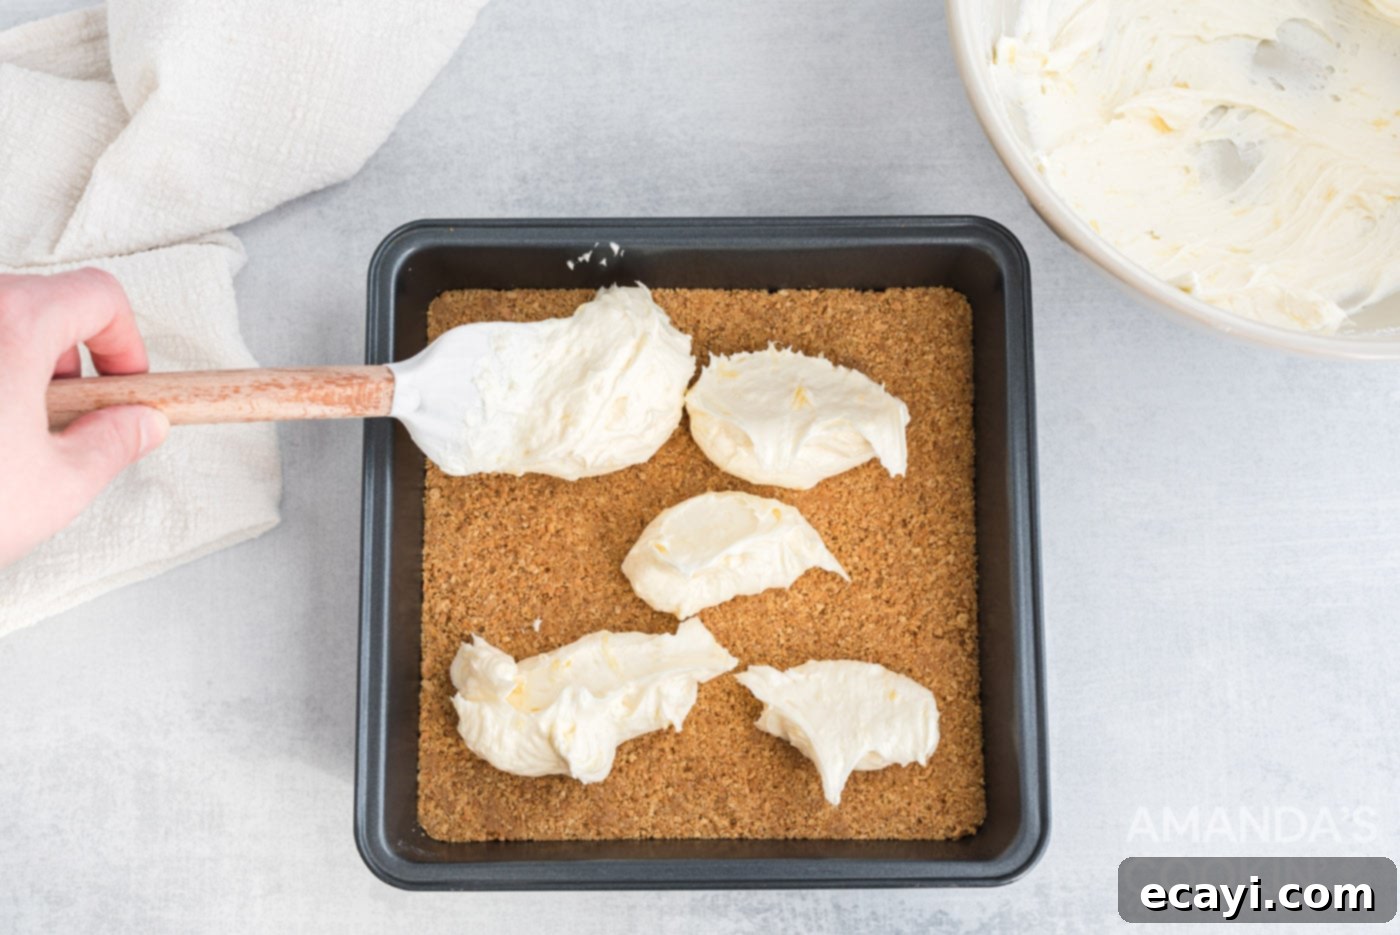
- Now, it’s time to infuse that delightful pineapple flavor into the cream cheese layer. Take a heaping tablespoon of the thoroughly drained crushed pineapple and gently fold it into the cream cheese mixture using a rubber spatula. This adds a subtle hint of pineapple throughout the creamy base. Once combined, carefully spread this pineapple-infused cream cheese mixture evenly over the cooled graham cracker crust. Ensure it reaches all edges for a beautiful, consistent layer.


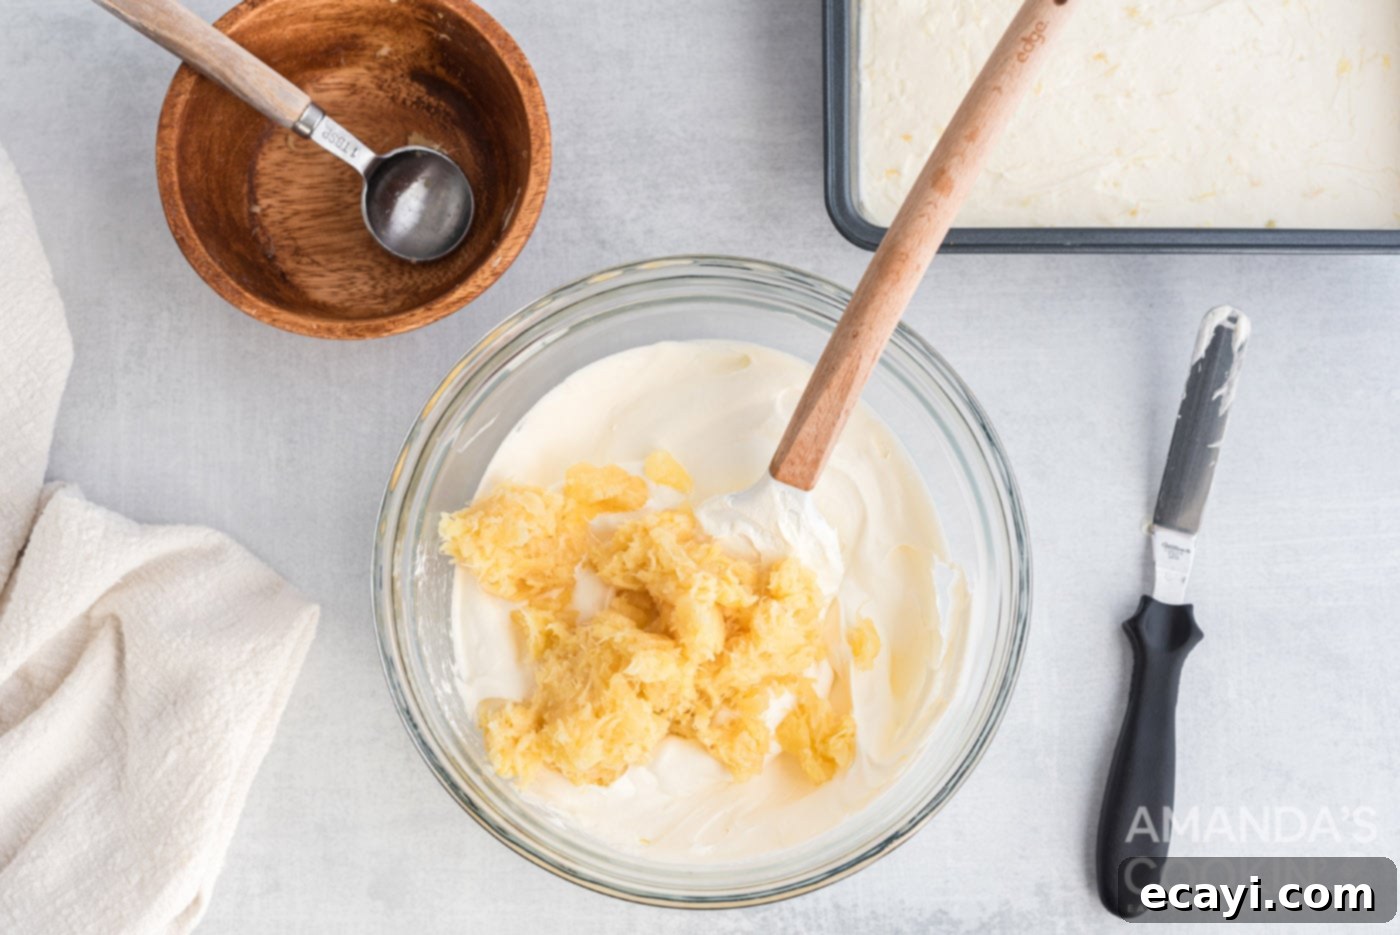
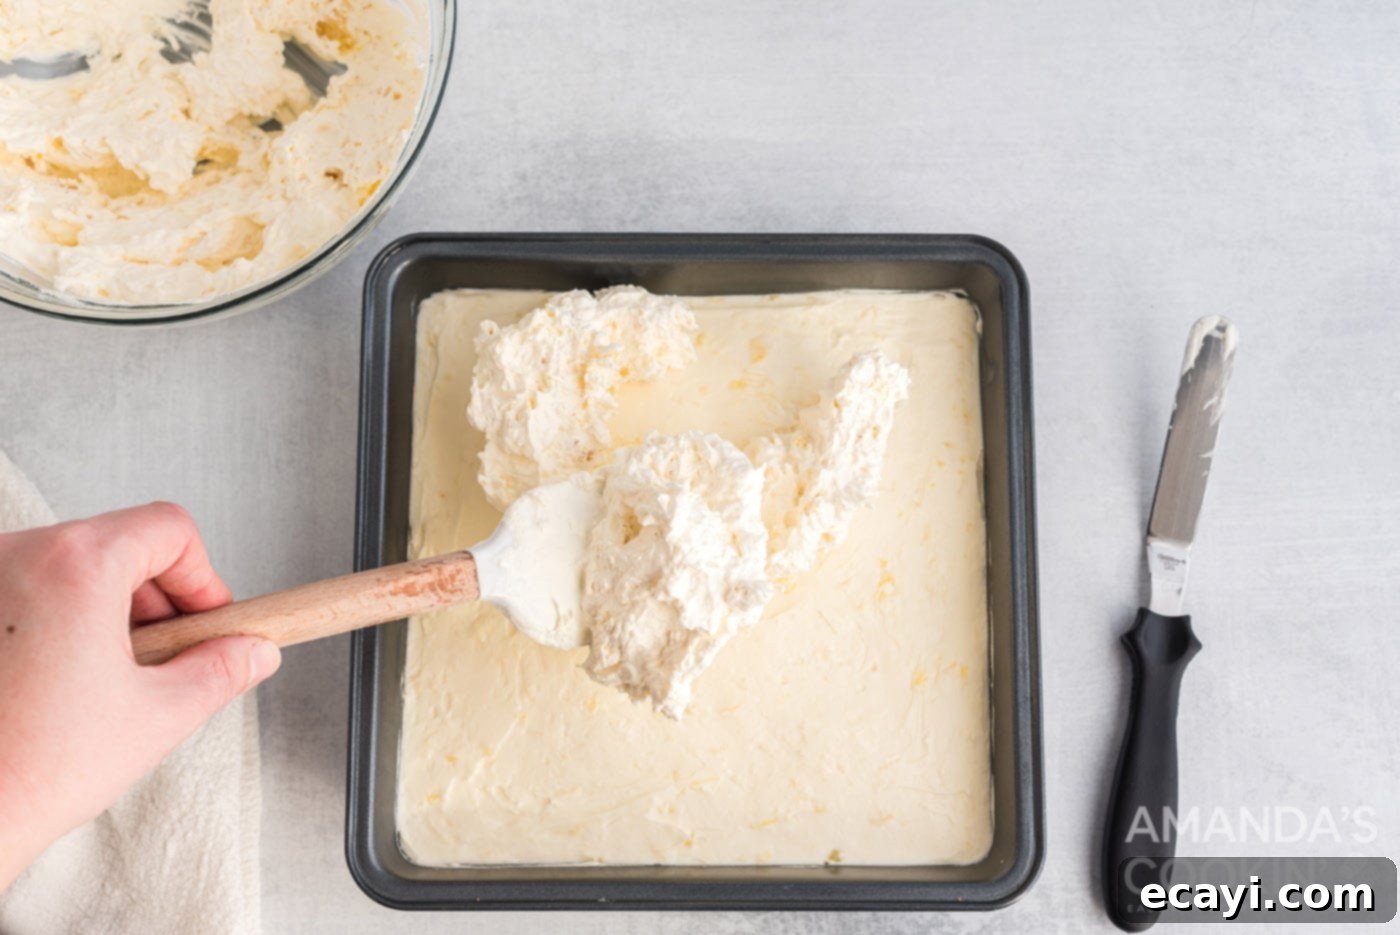
- For the top layer, fold the remaining well-drained crushed pineapple into the Cool Whip. Mix gently until the pineapple is evenly distributed throughout the whipped topping. Carefully spread this pineapple Cool Whip mixture over the cream cheese layer, creating a fluffy and inviting top. Use an offset spatula or the back of a spoon to ensure a smooth, even layer.


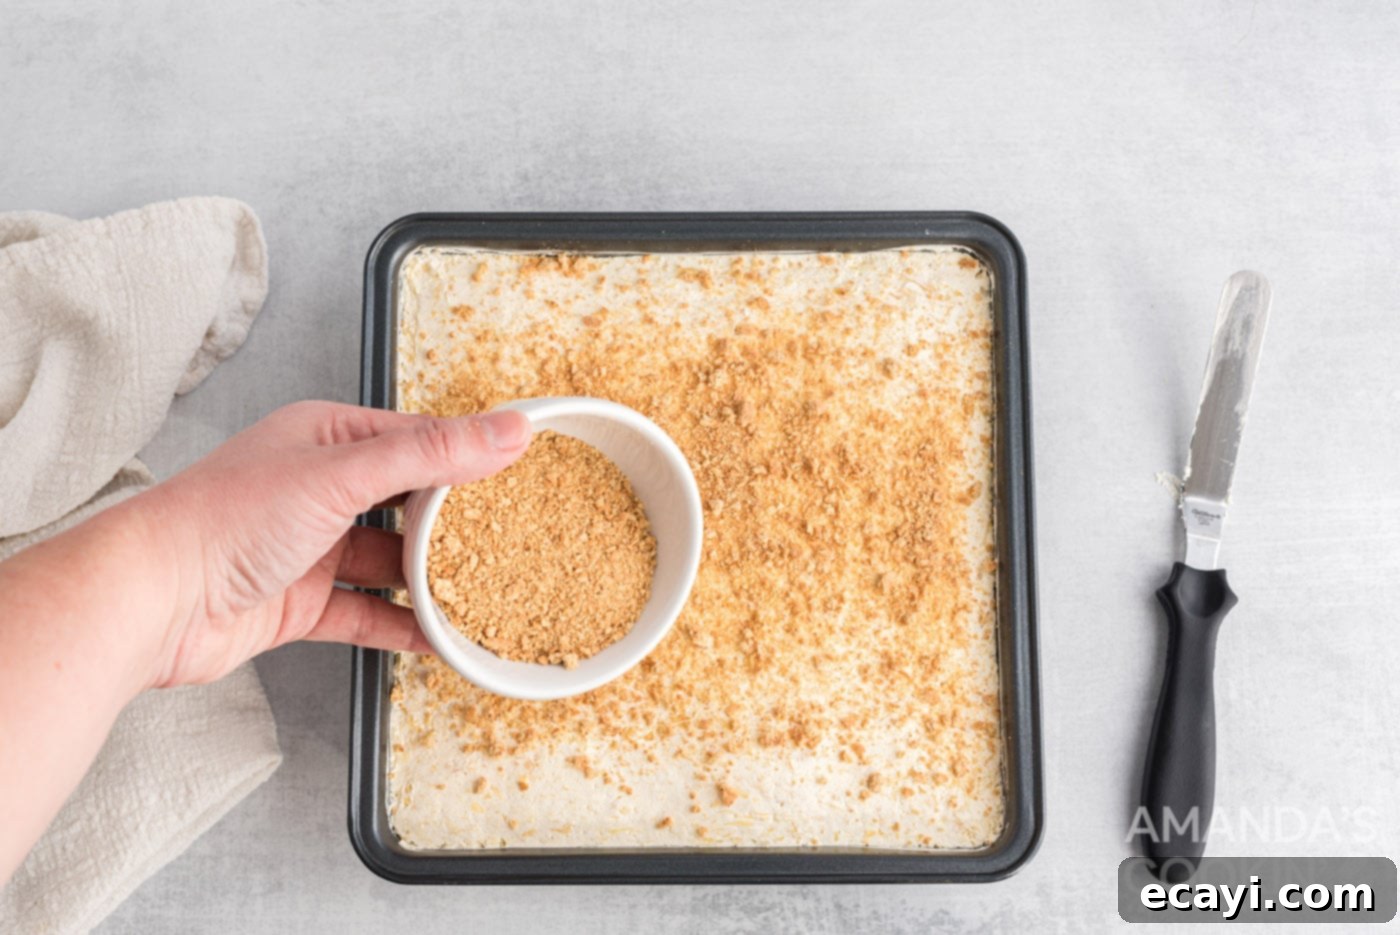
- To complete the dessert, sprinkle the remaining graham cracker crumb mixture generously over the top. This adds a beautiful visual finish and an extra layer of delightful crunch.

- Finally, and most importantly, cover the pan with plastic wrap and refrigerate the Pineapple Dream Dessert for at least 4 hours. For the best possible setting and flavor development, we highly recommend chilling it overnight. This allows all the layers to firm up and the flavors to meld together perfectly, resulting in a dessert that’s easy to slice and even more delicious to eat.
Serving and Storing Your Pineapple Dream Dessert
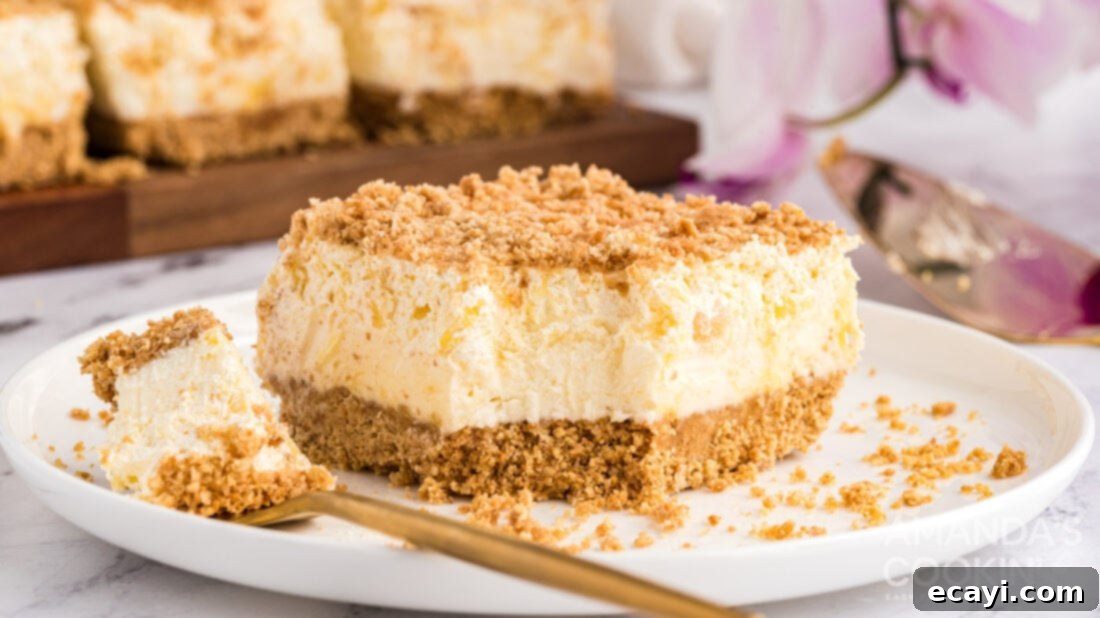
Once your Pineapple Dream Dessert has thoroughly chilled, it’s ready to be the star of your dessert table! To serve, simply cut into neat squares using a sharp knife. For an extra touch of elegance, you can garnish each slice with a small piece of fresh pineapple, a maraschino cherry, or a sprinkle of toasted coconut flakes. This dessert is best served cold, straight from the refrigerator, ensuring its refreshing quality and firm texture.
Should you be lucky enough to have leftovers (a rare occurrence with this popular treat!), store them in an airtight container in the refrigerator for up to 3-4 days. While the crust may soften slightly over time, the flavors will remain delightful. This dessert does not freeze well due to the whipped cream and cream cheese layers, which can separate upon thawing.
Does Your Family Have a Version of This Beloved Pineapple Dessert?
It’s fascinating how many variations and names exist for similar delightful desserts across different families and regions. This Pineapple Dream Dessert is a testament to that, often going by several different monikers. How do you make your family’s version, and what do you call it? These are some of the popular names I’ve encountered:
- Pineapple Cool Whip Dessert
- Pineapple Delight
- Pineapple Dream Squares
- Pineapple Surprise Dessert
- Pineapple Graham Cracker Dessert
- Pineapple Cream Dessert
Whatever name you know it by, one thing remains constant: it’s an absolutely amazing dessert, and there are almost always never any leftovers! It consistently ranks as a favorite, and you can almost guarantee that someone will ask you for the recipe. So, it’s a good idea to print a couple of extra copies to share with eager friends and family! 🙂
More Irresistible Potluck Dessert Ideas
If you’re a fan of easy, crowd-pleasing, one-pan (or largely one-pan) desserts that are perfect for sharing, you’ve come to the right place! Here are more fantastic dessert ideas that are guaranteed hits at any gathering:
- If this Pineapple Dream Dessert captured your heart, you’ll likely fall in love with my Cream Puff Chocolate Eclair Cake. This no-bake wonder is another potluck sensation that everyone craves. It’s not only incredibly creamy and decadent but also beautiful to behold, making it a perfect choice for your next friend or family gathering.
- Not everyone agrees on the name of this next recipe, leading to a variety of playful titles over the years. We affectionately call it Sex in a Pan, but you might also recognize it as Chocolate Dream, Robert Redford Dessert, or Better Than Anything Dessert. All I know is that its three layers—a rich cream cheese base, a smooth chocolate pudding, and a generous topping of whipped cream—create an explosion of flavor in every bite!
- Speaking of potluck favorites, our Strawberry Jello Pretzel Salad is always a huge hit! It’s so popular that some families consider it a mandatory item at every holiday celebration. The sweet and salty contrast is simply irresistible.
- For all the banana lovers out there, I have the ultimate dessert for you! Prepare this truly delicious Banana Pudding Poke Cake, and I promise you won’t be disappointed. It’s a moist cake infused with creamy banana pudding, topped with whipped cream and vanilla wafers.
- While not strictly a “one-pan” dessert, this Ambrosia Salad is undeniably a potluck staple and a vintage classic. Combining a vibrant mix of maraschino cherries, tangy mandarin oranges, sweet pineapple tidbits, fruit cocktail, and fluffy marshmallows, this ambrosia salad recipe is a nostalgic treat that’s hard to pass up.
- Explore more delightful options like the fabulous looking Lemon Delight from Happy Hooligans, perfect for sunny days. Get the kids involved with making Chessmen Banana Pudding from Kids Activities Blog, a fun and tasty activity. And who could possibly resist the allure of a Chocolate Banana Twinkie Cake from Today’s Creative Life? These are all guaranteed to bring smiles!
- Recently added to our collection is this refreshing Pineapple Yogurt Dessert, a lighter option perfect for warmer weather. A big thank you to Cathy for generously sharing this wonderful recipe with us!
- This irresistible no-bake Eclair Cake is truly the dessert of your dreams. Its rich, creamy layers and chocolate topping make it a decadent choice that will have your guests eagerly asking for second and even third servings!
- Our Orange Pineapple Cake is a moist and flavorful cake stuffed with sweet mandarin oranges and crowned with a fruity pineapple frosting that’s simply impossible to resist. It’s a bright and sunny dessert for any occasion.
Watch our quick video below to see the simple, step-by-step process of creating this absolutely delicious Pineapple Dream Dessert!

Pineapple Dream Dessert
IMPORTANT – There are often Frequently Asked Questions within the blog post that you may find helpful. Simply scroll back up to read them!
Print It
Pin It
Rate It
Save ItSaved!
Ingredients
Crust:
- 2 ½ cups graham crumbs (about 2 sleeves, finely crushed)
- ½ cup unsalted butter (melted)
Layers:
- 2 cups powdered sugar (sifted, to ensure no lumps)
- ½ cup unsalted butter (softened to room temperature)
- 4 oz cream cheese (softened to room temperature, preferably full-fat for richness)
- 8 oz Cool Whip (or a similar whipped topping, thawed if frozen)
- 20 oz crushed pineapple (canned, very well drained to prevent sogginess)
Before You Begin
Instructions
-
Preheat oven to 300°F (150°C). (See the no-bake crust option in the “Before You Begin” section above if you prefer not to bake).
-
Melt 1/2 cup unsalted butter in the microwave and allow it to cool slightly. In a bowl, combine the graham cracker crumbs and the melted butter, mixing until thoroughly incorporated. Press 2 cups of this graham cracker crumb mixture firmly into the bottom of a 9×9 inch square pan. Bake for 8-10 minutes, then place on a wire rack to cool completely.1/2 cup unsalted butter
-
In a large mixing bowl, beat the softened cream cheese and 1/2 cup unsalted butter together until the mixture is light, fluffy, and creamy. Reduce mixer speed to low and gradually add the powdered sugar, one cup at a time, mixing until fully incorporated. Increase speed and beat well for about one minute until smooth. Gently fold in 1 heaping tablespoon of the thoroughly drained crushed pineapple using a rubber spatula. Spread this creamy mixture evenly over the cooled crust.1/2 cup unsalted butter, 4 oz cream cheese, 2 cups powdered sugar
-
Gently fold the remaining drained crushed pineapple into the Cool Whip until combined. Spread this pineapple-infused Cool Whip mixture evenly on top of the cream cheese layer. Sprinkle the remaining 1/2 cup of graham cracker crumb mixture evenly over the top for garnish and added crunch. Cover the pan and refrigerate for at least 4 hours, or preferably overnight, to allow the dessert to set completely and for the flavors to fully meld.8 oz Cool Whip
Nutrition
The recipes on this blog are tested with a conventional gas oven and gas stovetop. It’s important to note that some ovens, especially as they age, can cook and bake inconsistently. Using an inexpensive oven thermometer can assure you that your oven is truly heating to the proper temperature. If you use a toaster oven or countertop oven, please keep in mind that they may not distribute heat the same as a conventional full sized oven and you may need to adjust your cooking/baking times. In the case of recipes made with a pressure cooker, air fryer, slow cooker, or other appliance, a link to the appliances we use is listed within each respective recipe. For baking recipes where measurements are given by weight, please note that results may not be the same if cups are used instead, and we can’t guarantee success with that method.
This recipe for Pineapple Dream Dessert was originally published here on July 9, 2013, and has since been updated with fresh photos and expanded details to enhance your cooking experience.
