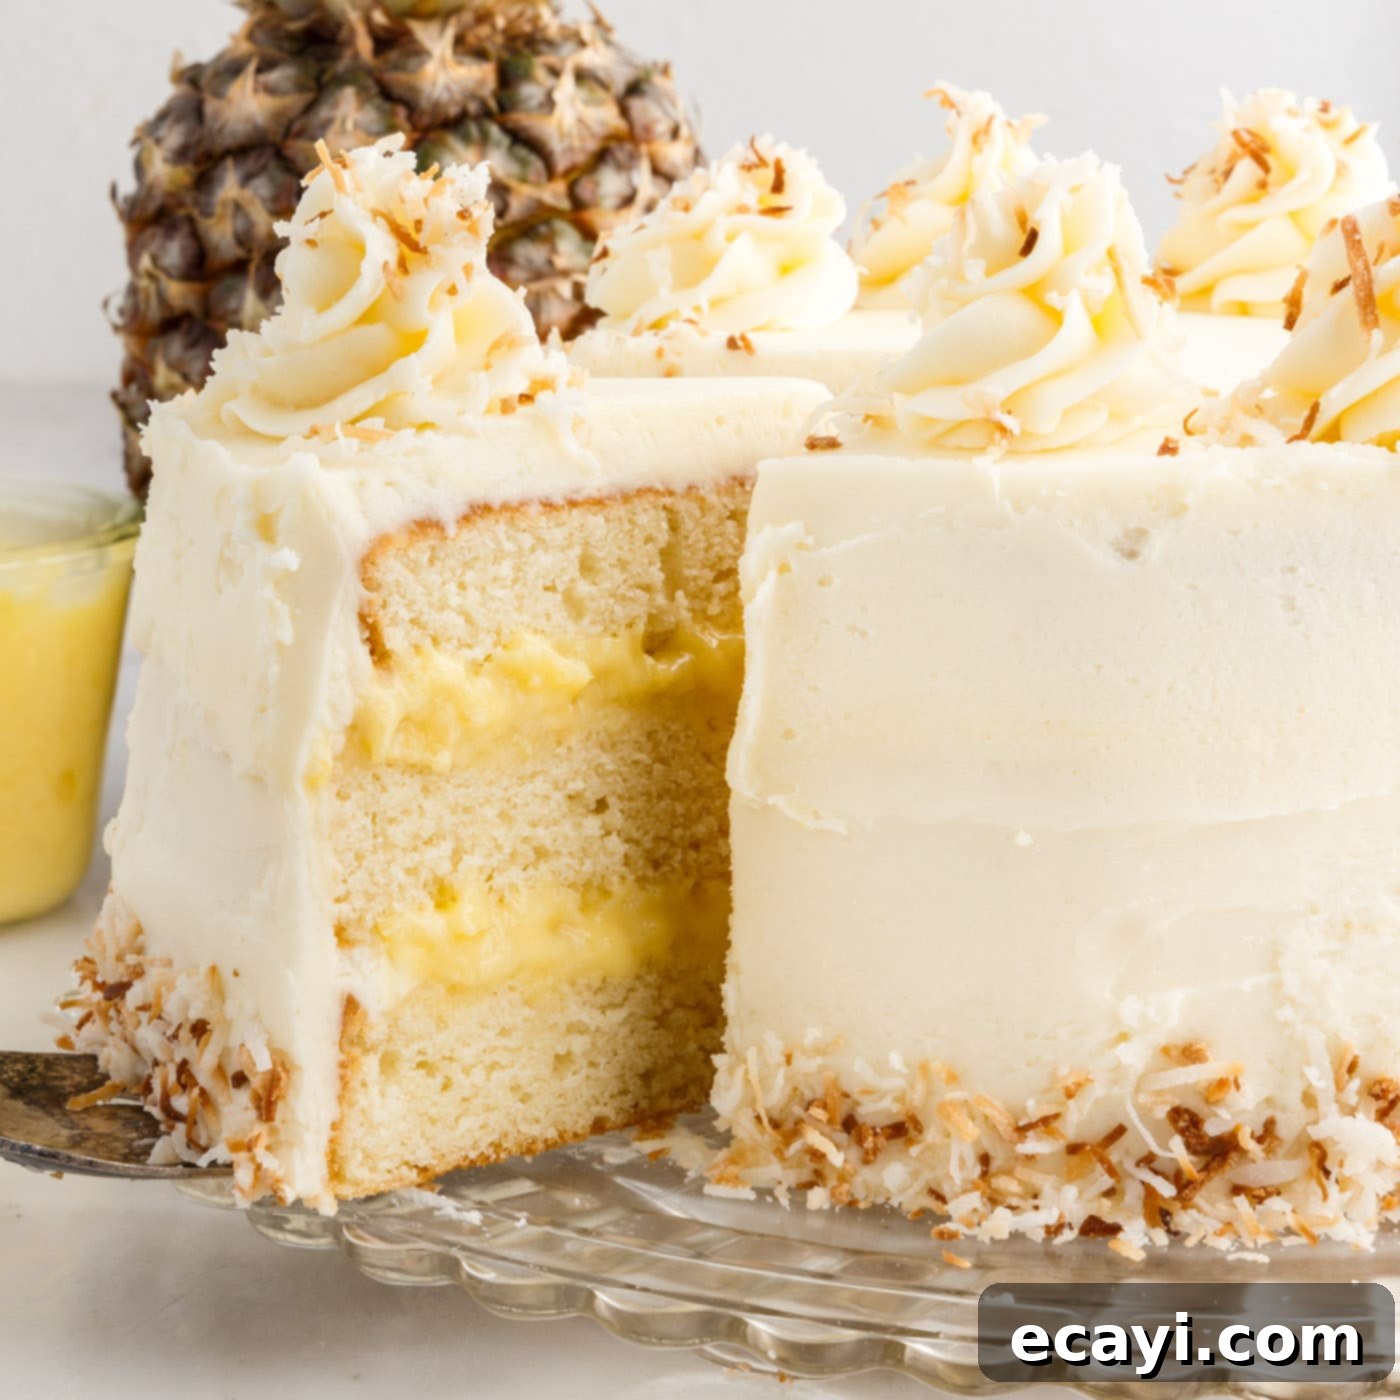
Exquisite Pineapple Coconut Cake: Your Ultimate Tropical Celebration Dessert
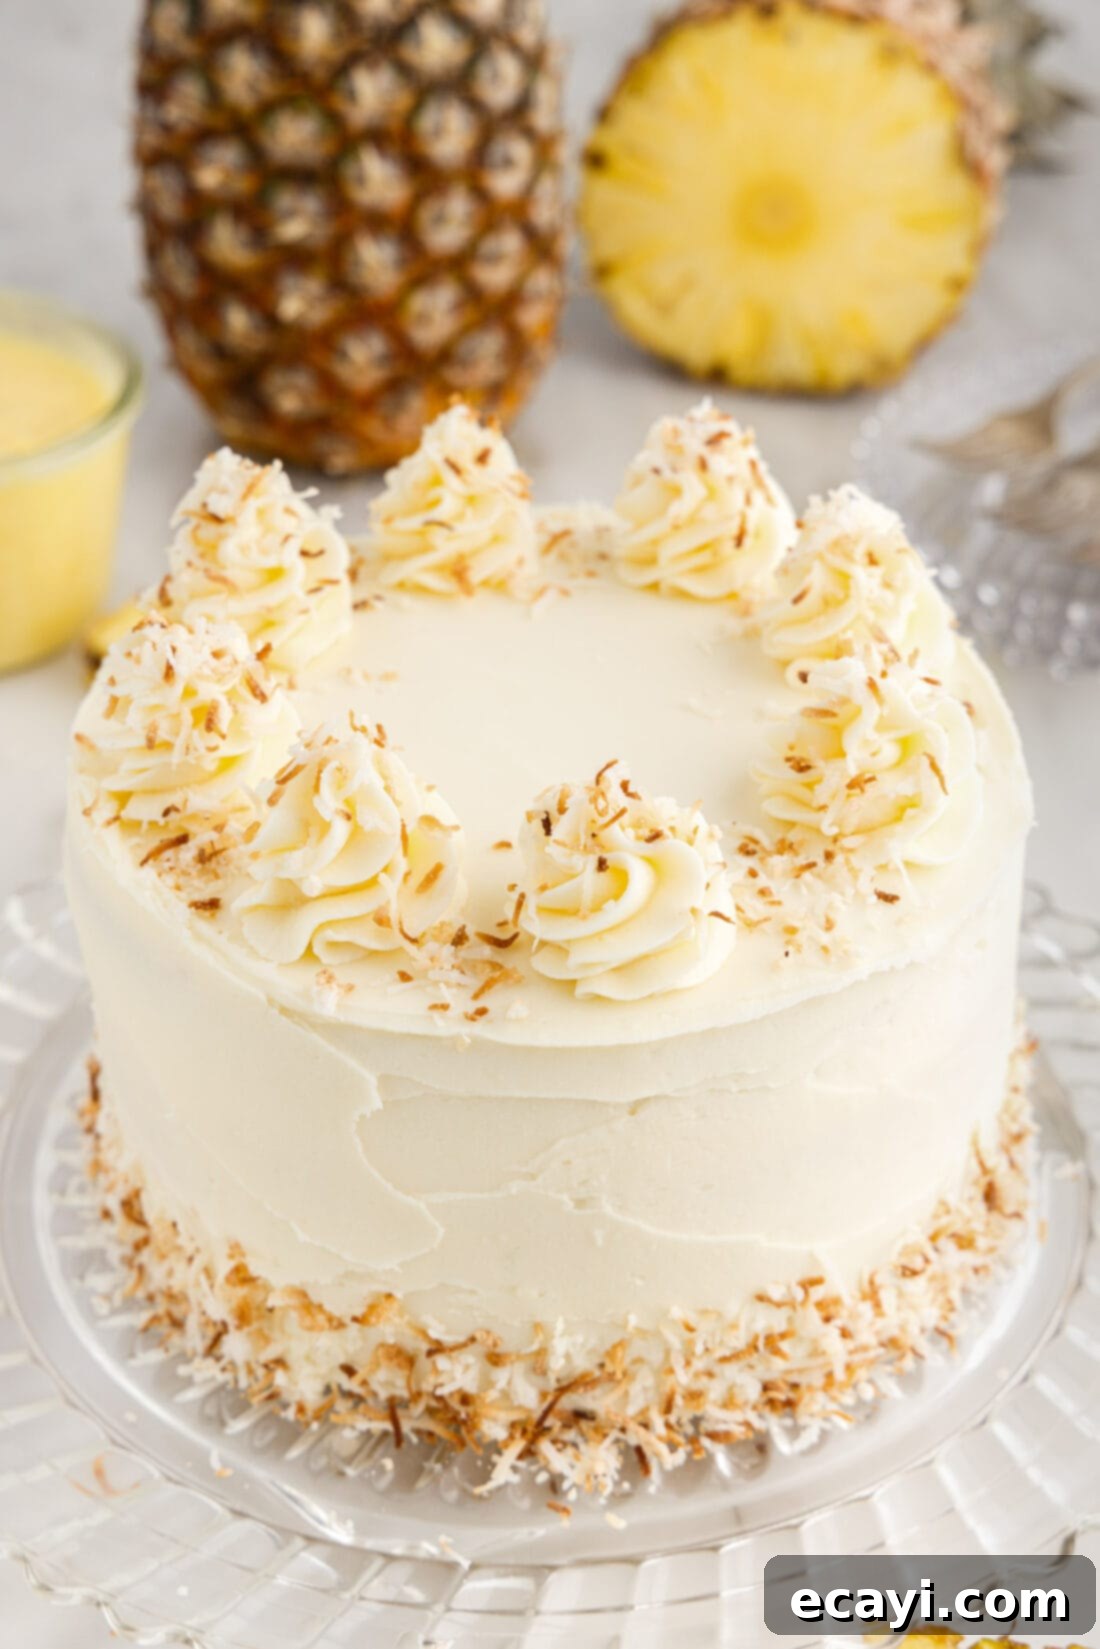
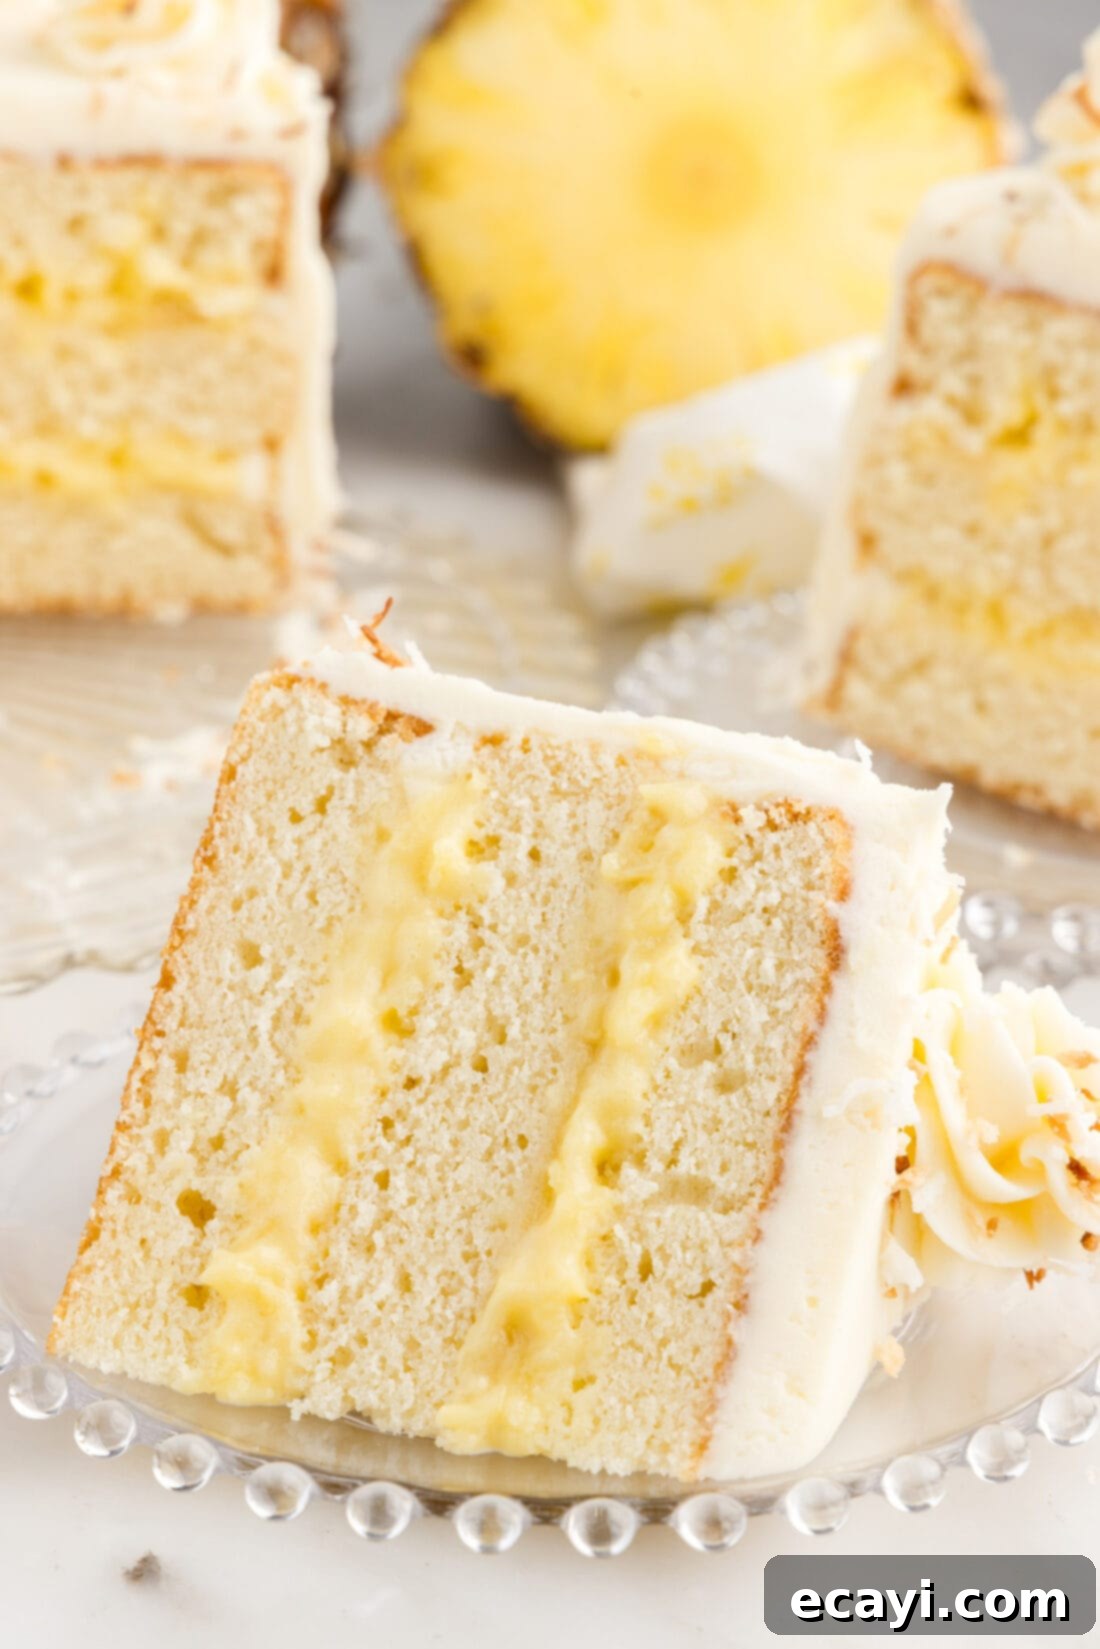
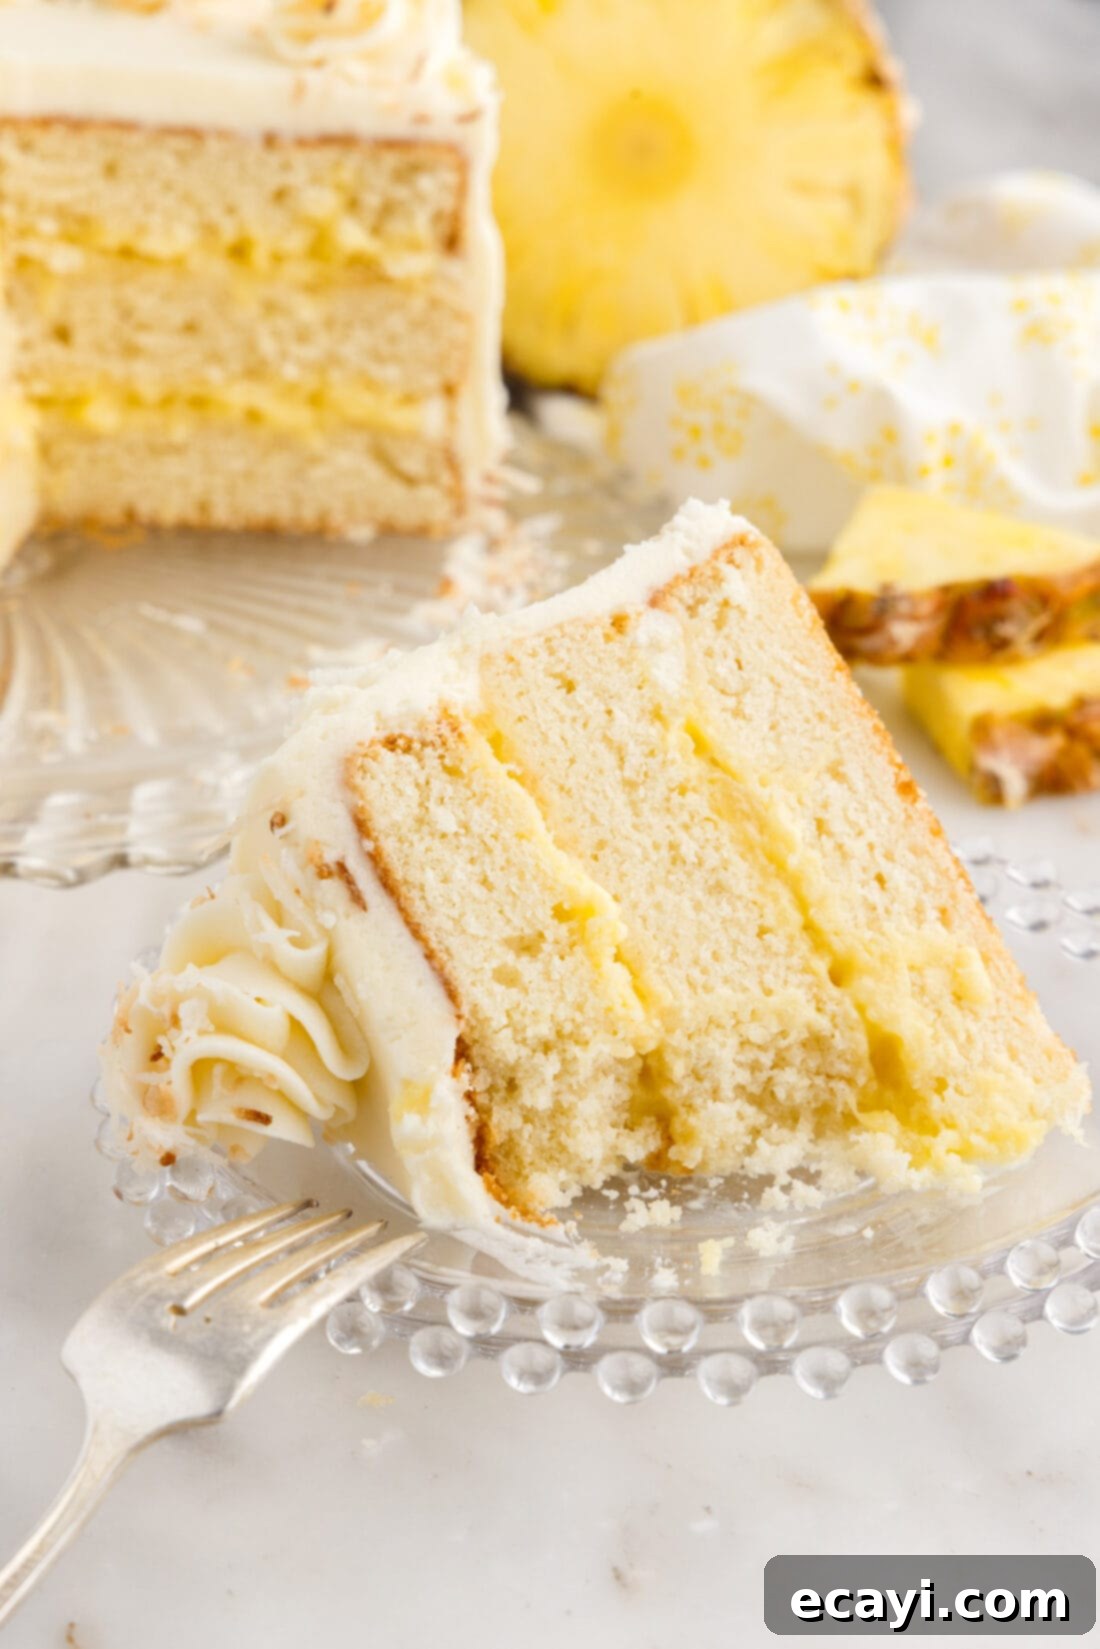
Prepare to be swept away to a tropical paradise with every single bite of this stunning tiered Pineapple Coconut Cake. This masterpiece features incredibly tender, moist coconut cake layers generously filled with a vibrant, homemade pineapple curd. Crowned with a luscious cream cheese frosting and adorned with perfectly toasted coconut flakes, it’s a dessert that not only looks magnificent but delivers an unforgettable symphony of flavors and textures. Ideal for any special occasion or simply a delightful treat, this cake promises a taste of sunshine.
Why This Pineapple Coconut Cake Recipe is a Must-Try
Our Pineapple Coconut Cake isn’t just another dessert; it’s a meticulously crafted experience designed to delight your senses. Here’s why this particular recipe stands out:
- Perfect Flavor Harmony: We’ve achieved a beautiful balance where neither the bright, tangy pineapple nor the sweet, aromatic coconut overpowers the other. Instead, they complement each other exquisitely, creating a truly harmonious tropical flavor profile.
- Unmatched Moisture and Texture: The secret to our incredibly moist coconut cake lies in the addition of cream of coconut directly into the batter. This ensures a delicate, tender crumb that practically melts in your mouth. Paired with the silky smoothness of the pineapple curd, every layer contributes to an irresistible texture.
- Irresistible Homemade Pineapple Curd: Forget canned fillings! Our homemade pineapple curd brings an intense burst of fresh, zesty pineapple flavor that tastes authentic and vibrant. It’s the star ingredient that elevates this cake from good to extraordinary.
- Creamy Dreamy Frosting: A generous blanket of smooth, tangy homemade cream cheese frosting perfectly cuts through the sweetness of the cake and curd, tying all the tropical elements together with its rich, creamy finish. It’s light, fluffy, and utterly delicious.
- A Show-Stopping Presentation: With its beautiful layers and decorative toasted coconut, this cake is a visual treat. It’s guaranteed to be the centerpiece of any dessert table, making it perfect for summer and spring celebrations, birthdays, or festive gatherings.
Each component of this recipe has been fine-tuned to ensure a memorable dessert that’s both impressive and surprisingly approachable to make at home.
Gather Your Ingredients for This Tropical Delight
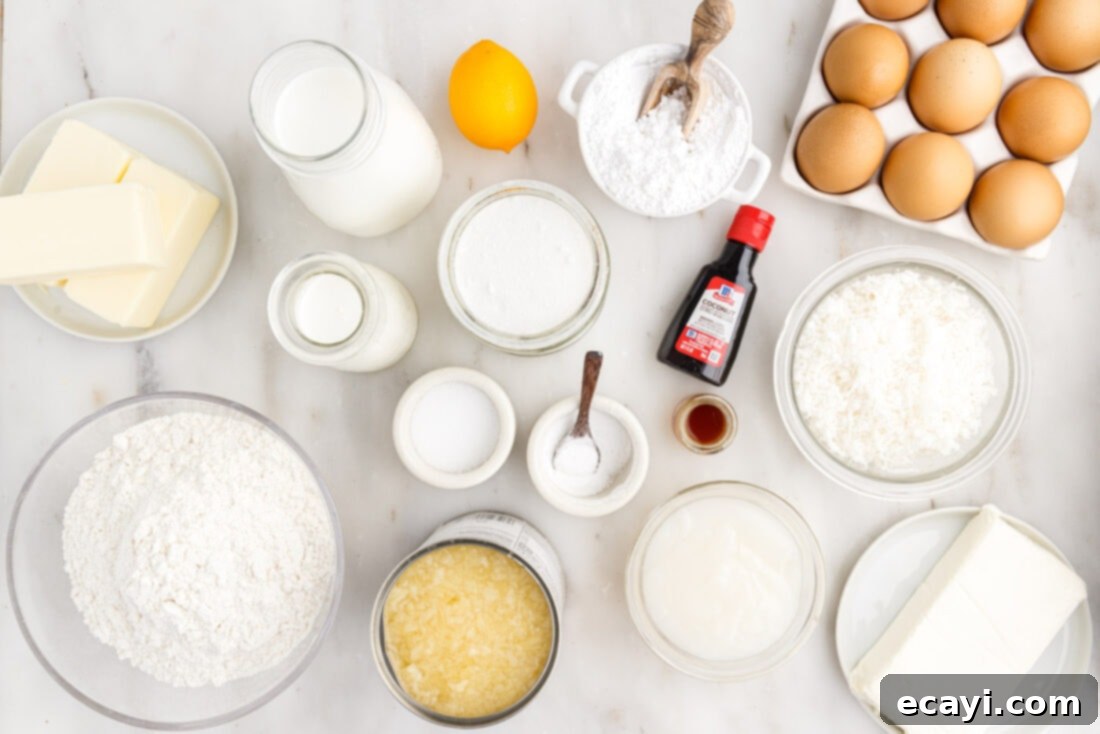
To embark on your journey to creating this magnificent Pineapple Coconut Cake, you’ll need a selection of high-quality ingredients for the cake layers, the luscious pineapple curd, and the delectable cream cheese frosting. While detailed measurements and a printable version of the recipe are available at the end of this post, here’s an overview of what you’ll need to prepare.
Ingredient Insights & Expert Tips
Understanding your ingredients is key to baking success. Here’s a closer look at some essential components of this Pineapple Coconut Cake and why certain choices are crucial:
Coconut: The Heart of the Cake
The cream of coconut used in the cake batter is absolutely vital for both flavor and moisture. It’s a sweetened, thick coconut product that infuses the cake with a deep, rich coconut essence and contributes to its incredibly tender crumb. It is NOT the same as coconut milk or coconut cream. Coconut milk is much thinner, and coconut cream is unsweetened and less concentrated. Using either of these as a substitute will significantly alter the cake’s flavor, sweetness, and texture, potentially leading to a dry or less flavorful result. Look for brands like Coco Lopez, which is widely available in most grocery stores, often in cans or squeeze bottles near the mixers or international foods aisle. Sticking to cream of coconut ensures the intended moistness and tropical punch.
Cream Cheese Frosting: The Perfect Complement
While store-bought frosting might be tempting for convenience, making your own homemade cream cheese frosting takes this cake to another level. The tangy sweetness of fresh cream cheese frosting provides the ideal counterpoint to the rich coconut cake and vibrant pineapple curd. This recipe yields enough frosting to generously cover all three layers and the entire exterior of the cake, with a little extra for any decorative piping you might desire. Ensure your cream cheese and butter are properly softened for a lump-free, silky-smooth frosting.
Garnish: Toasted Coconut Flakes
Toasted coconut flakes add a beautiful golden finish, an appealing texture, and an intensified coconut aroma. To toast coconut, simply spread your desired amount in a single, even layer on a baking sheet. Bake in a preheated 350°F (175°C) oven for just 3-5 minutes, watching closely, until the flakes turn a beautiful golden brown. Be vigilant, as coconut can go from perfectly toasted to burnt very quickly! Immediately remove the toasted coconut from the hot baking sheet to prevent further cooking. You can use either flaked or shredded coconut, and both sweetened or unsweetened varieties work well, depending on your preference for sweetness and crispness.
Step-by-Step: Crafting Your Tropical Pineapple Coconut Cake
These step-by-step photos and instructions are here to guide you through the process, helping you visualize each stage of making this delicious recipe. For a printable version with all exact measurements and detailed instructions, simply scroll down to the recipe card at the bottom of this post.
Making the Moist Coconut Cake Layers
- Prepare Pans: Preheat your oven to 350°F (175°C). Lightly spray three 7-inch round cake pans with non-stick baking spray and line the bottoms with parchment paper for easy release.
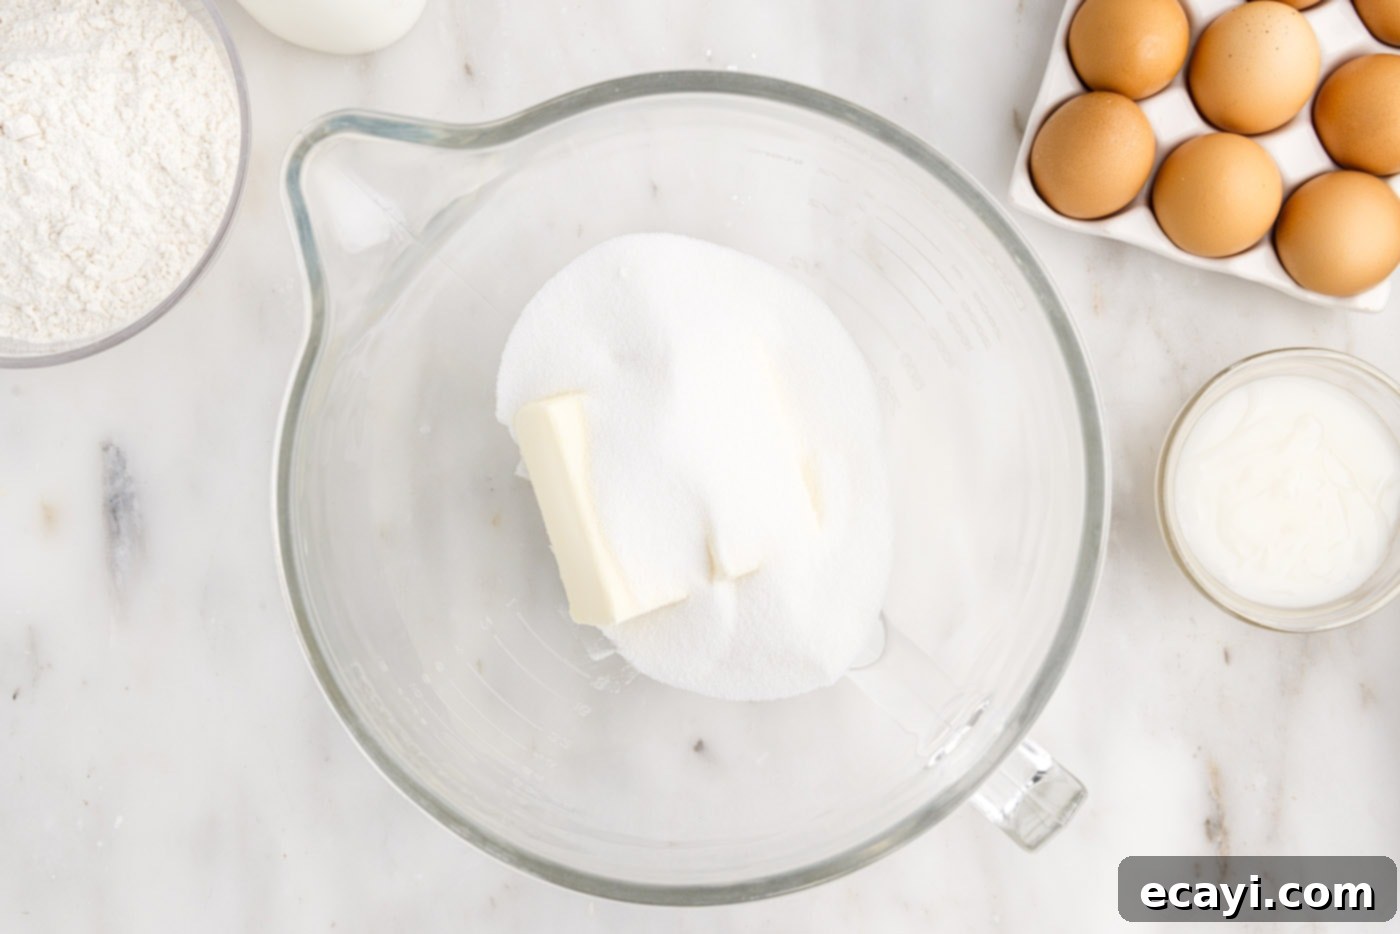
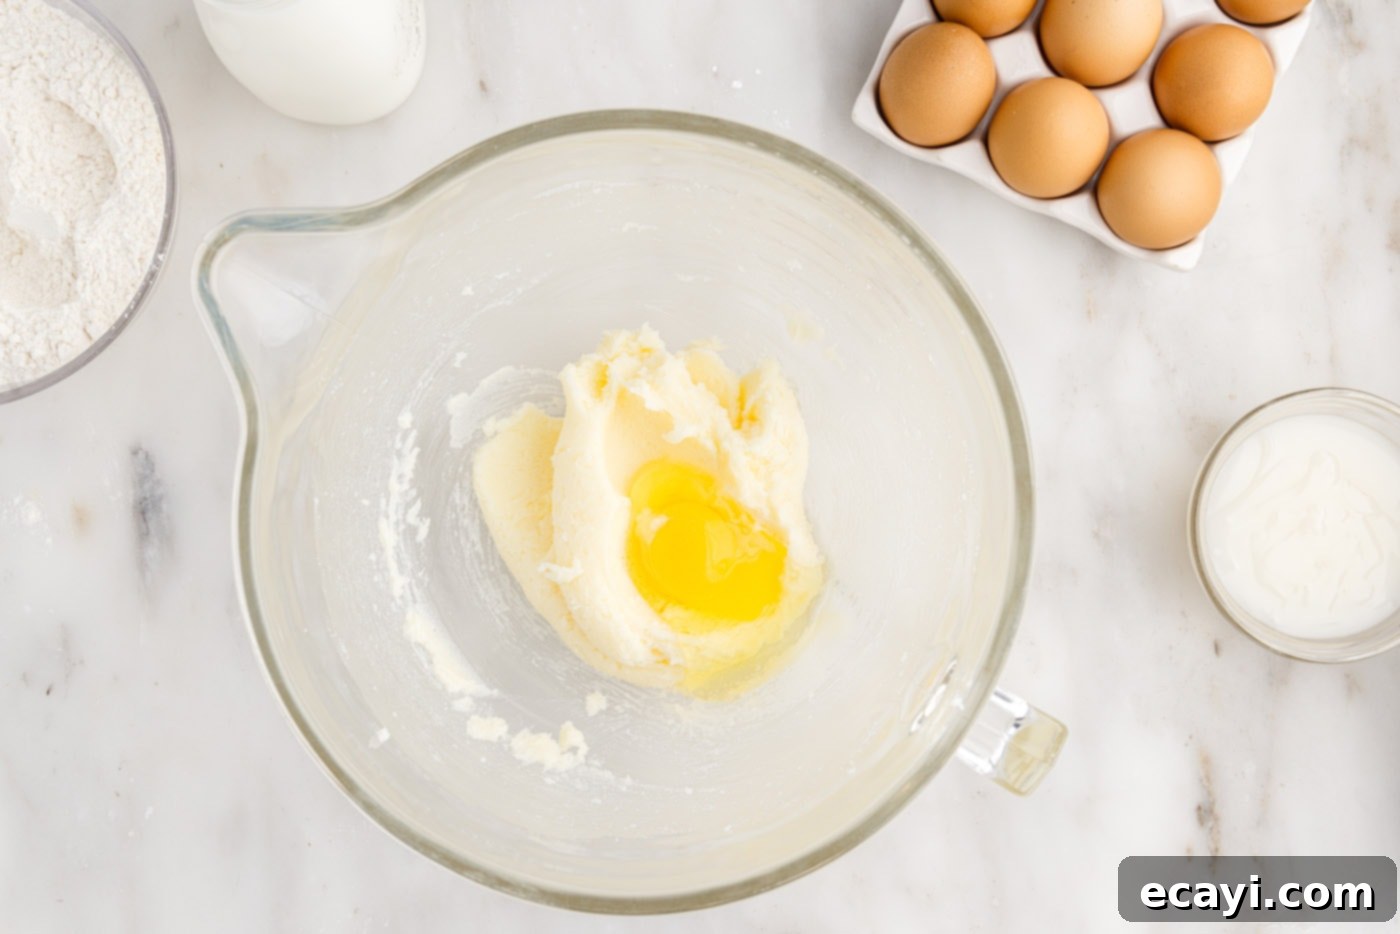
- Cream Butter and Sugar: In a large mixing bowl, using either a hand mixer or a standing mixer fitted with a paddle attachment, beat the softened unsalted butter and granulated sugar until the mixture is light, fluffy, and creamy. This process incorporates air, which is crucial for a tender cake. Add the large eggs one at a time, beating thoroughly after each addition until fully incorporated.
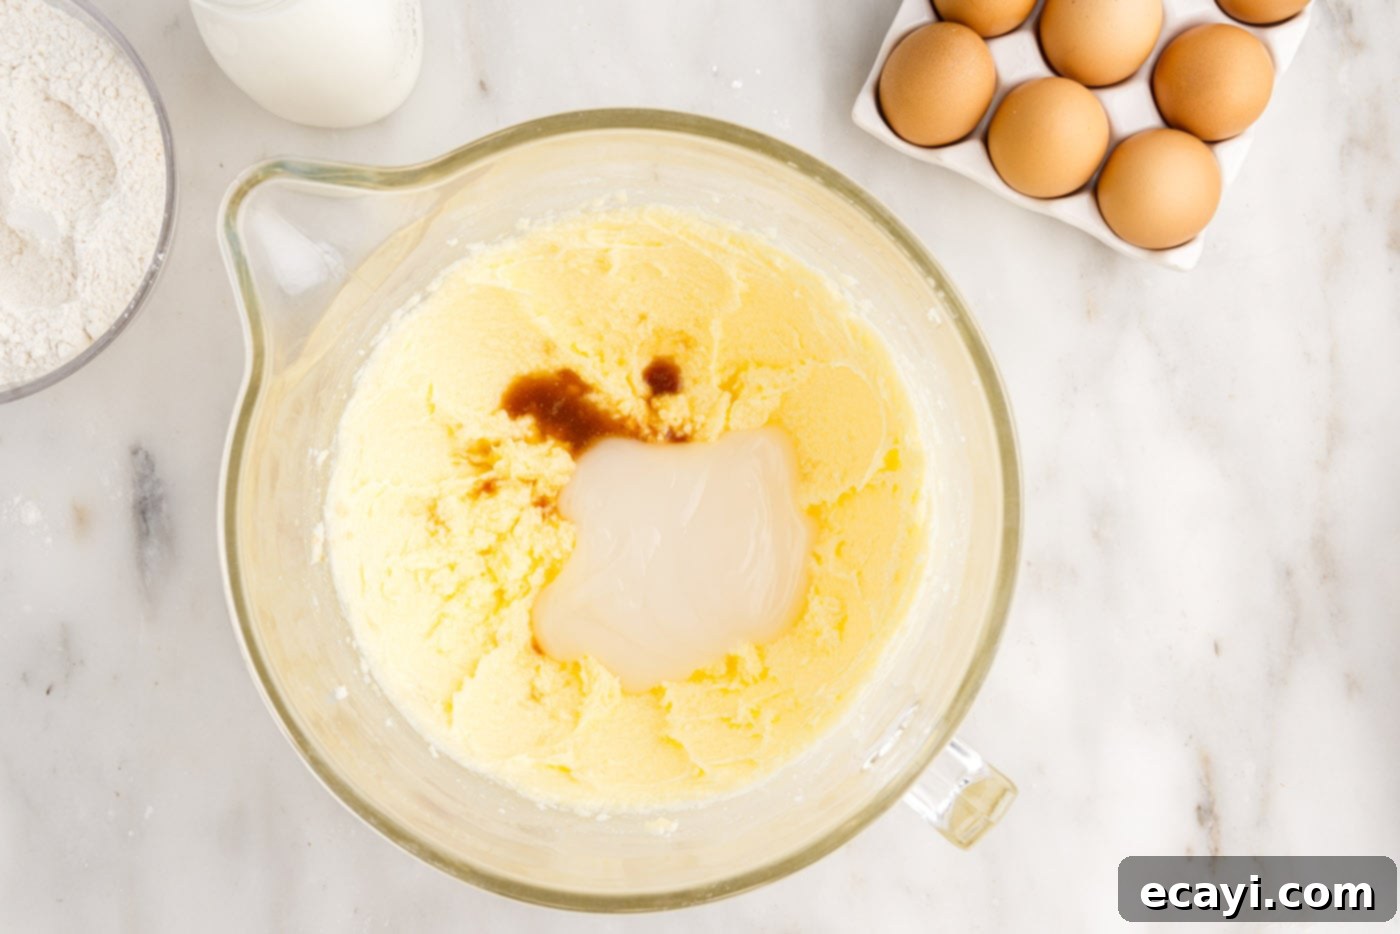
- Add Flavor Extracts: Stir in the vanilla extract, coconut extract, and the essential cream of coconut. Beat until these aromatic ingredients are well combined, ensuring an even distribution of their delightful flavors throughout the batter.
- Combine Dry Ingredients: In a separate, medium-sized bowl, whisk together the all-purpose flour, baking powder, and salt. This ensures that the leavening agents and salt are evenly dispersed throughout the flour.
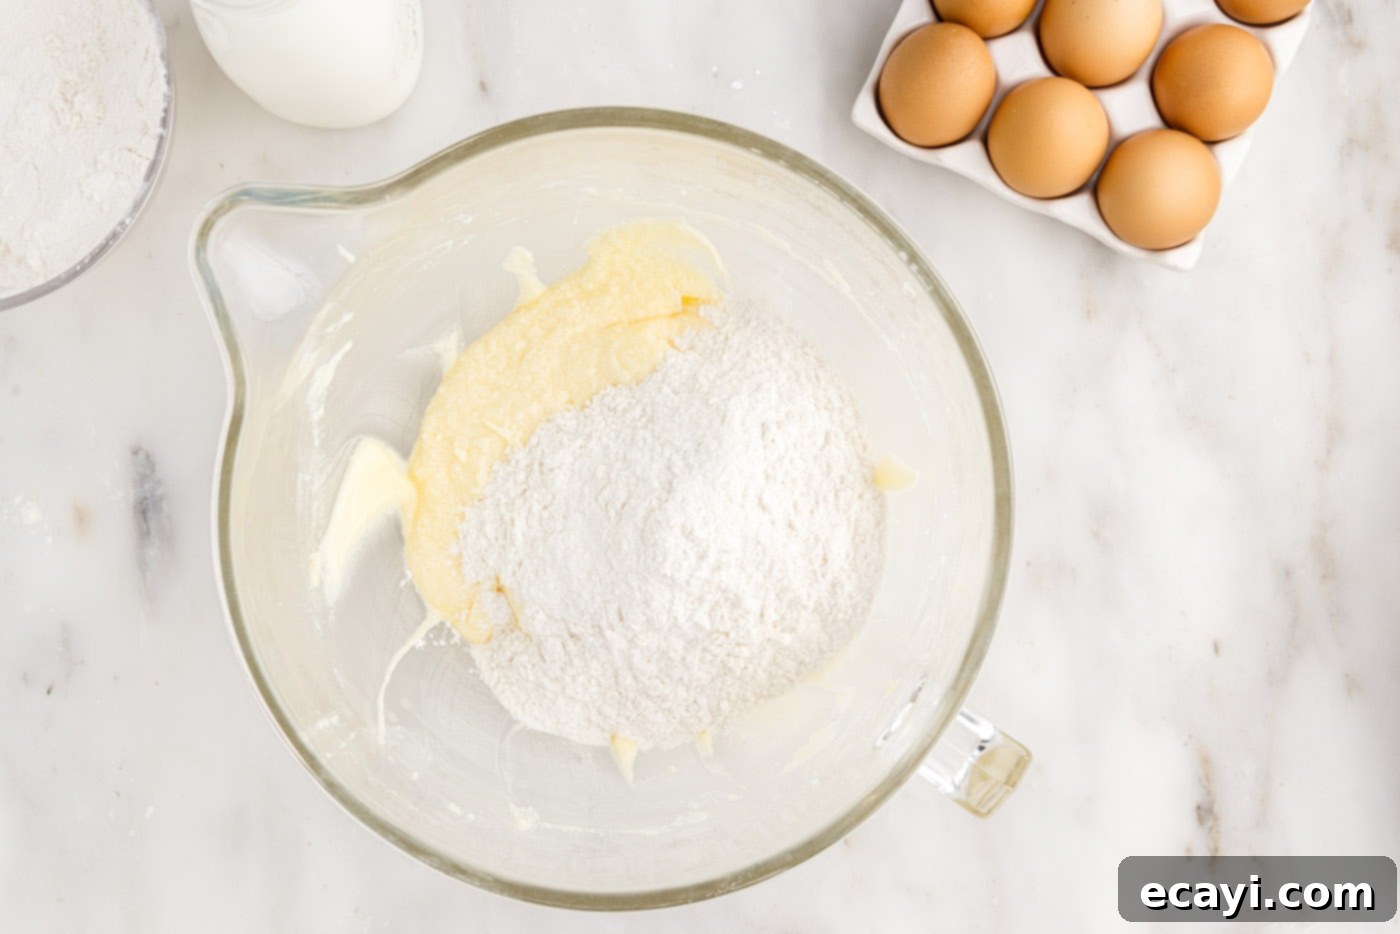
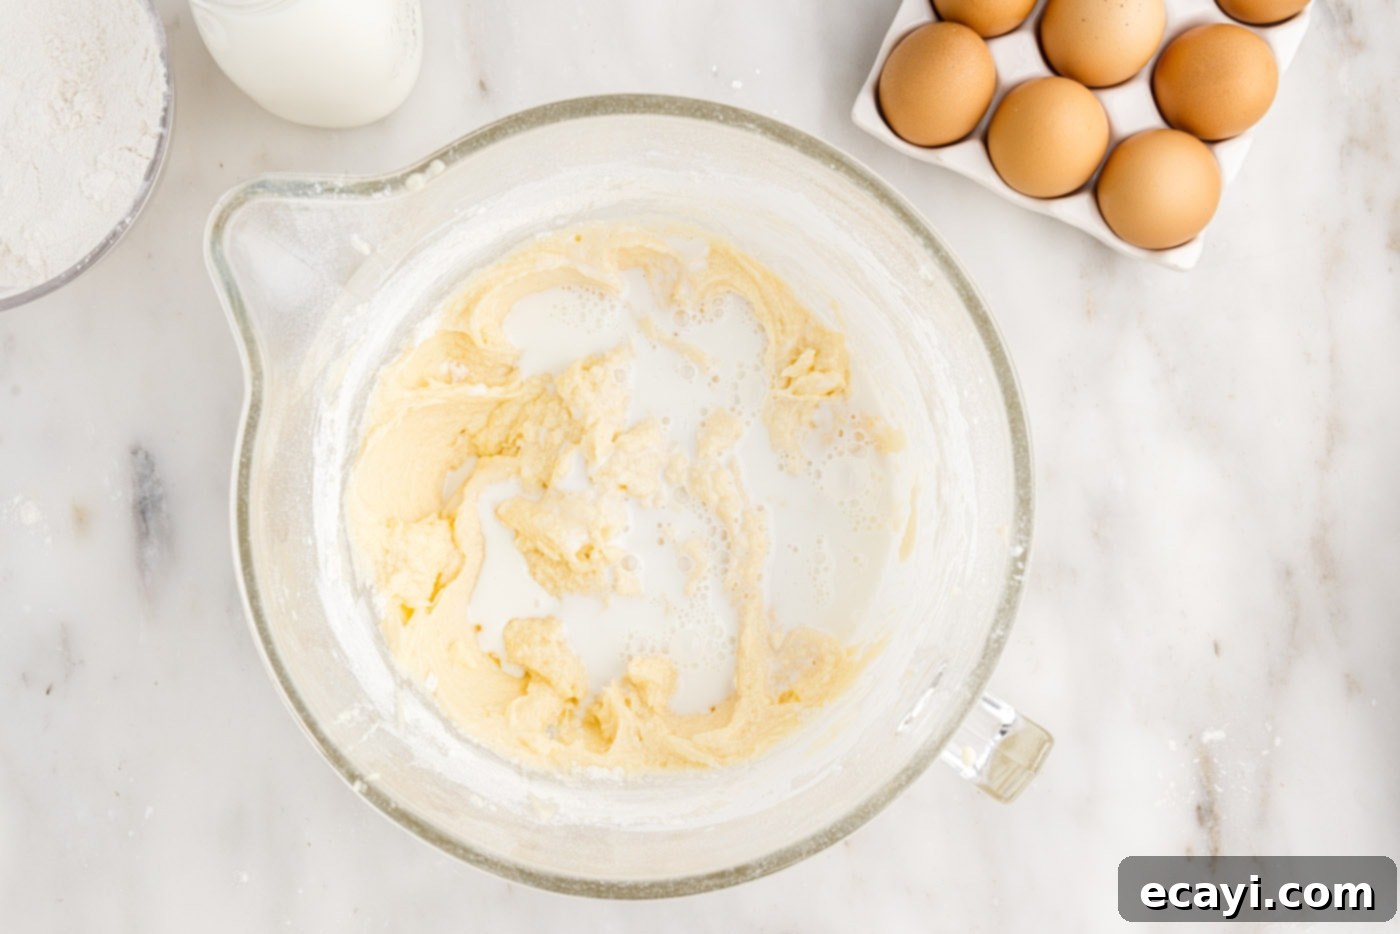
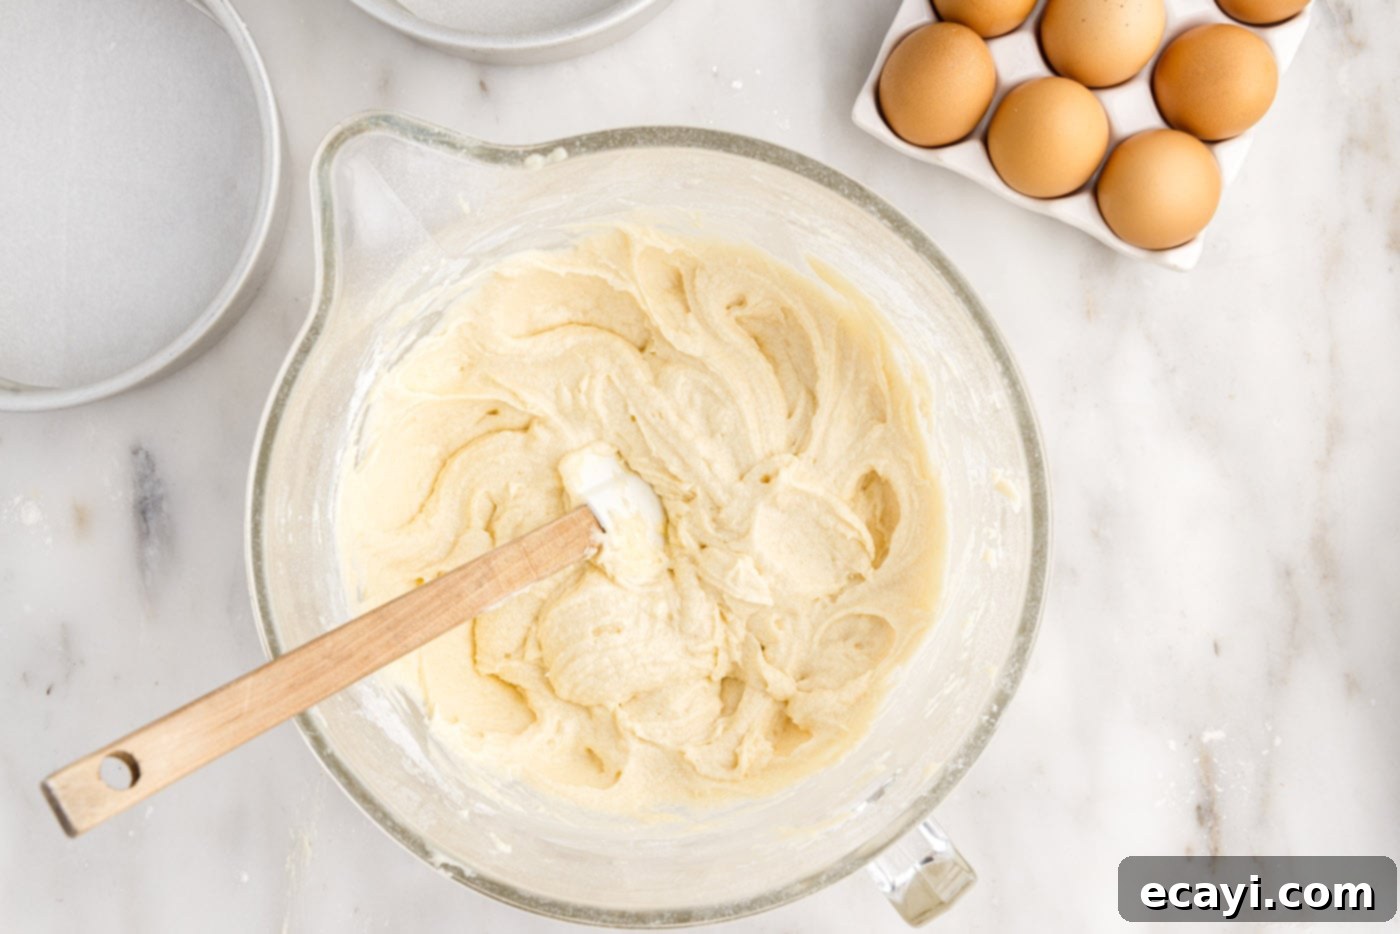
- Alternate Wet and Dry: Gradually add the dry ingredient mixture to the wet mixture, alternating with the milk. Start by adding half of the flour mixture, beating until just combined. Then add half of the milk, beating gently. Follow with the remaining flour mixture, and finally, the rest of the milk. Beat only until everything is just fully combined, being careful not to overmix, which can result in a tough cake.
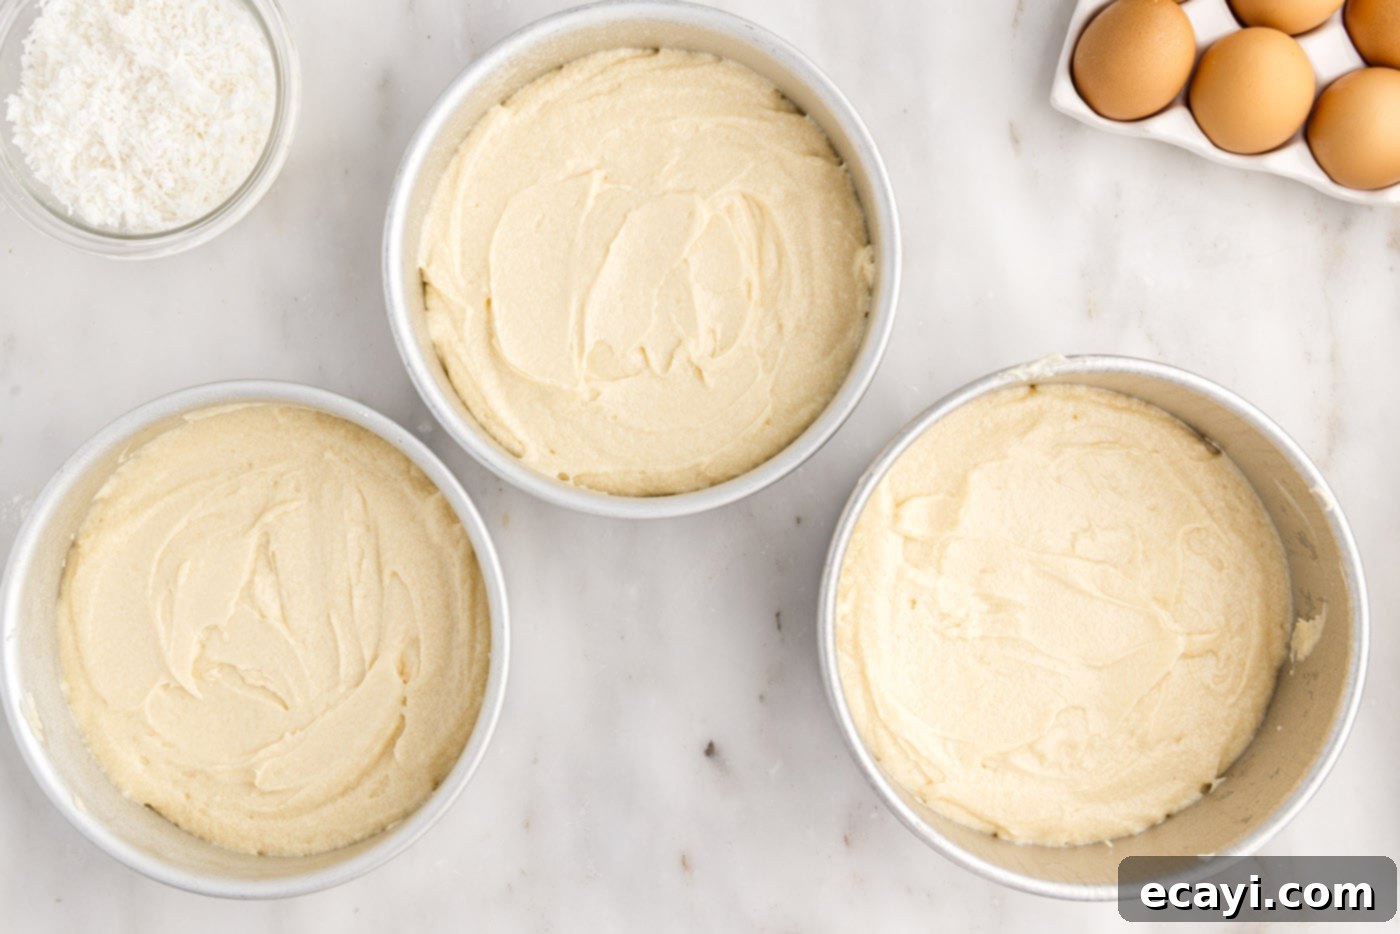
- Divide Batter: Evenly divide the prepared cake batter among the three lined 7-inch round cake pans. Smooth the tops with an offset spatula.
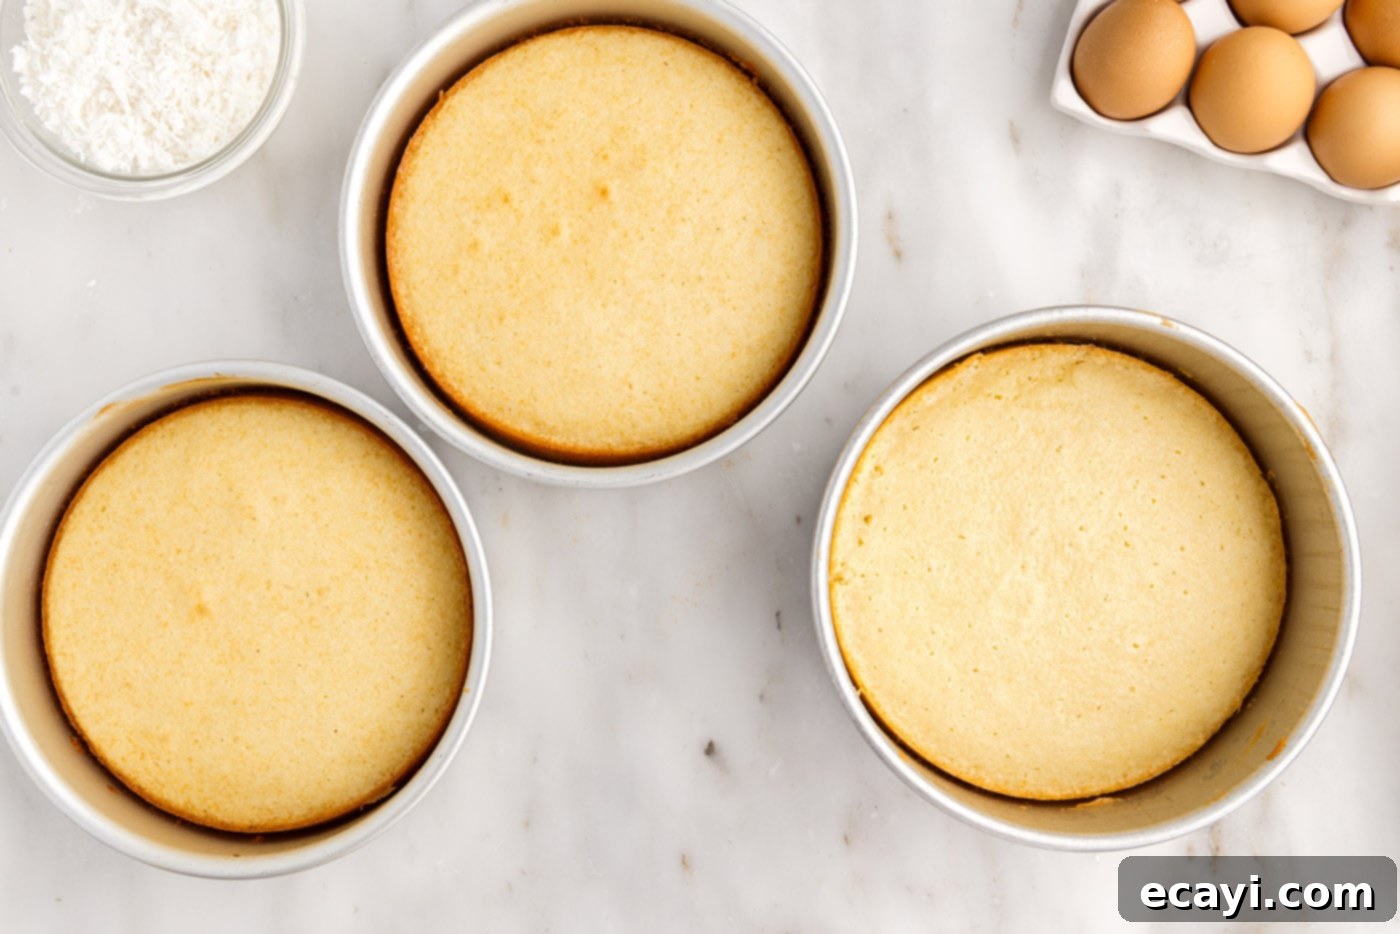
- Bake: Bake for 30-35 minutes, or until a wooden toothpick inserted into the center of a cake comes out with just a few moist crumbs attached. Avoid overbaking to maintain moisture.
- Cool Cakes: Allow the cakes to cool in their pans on a wire cooling rack for 10-15 minutes. This helps them firm up before handling. Then, carefully invert the cakes onto the cooling rack, remove the parchment paper, and let them cool completely to room temperature.
- Chill for Easy Assembly: For easier handling and frosting, wrap the completely cooled cake layers individually in plastic wrap and place them in the freezer until firm, about 30 minutes to an hour. This step makes leveling and frosting much simpler.
Crafting the Zesty Pineapple Curd
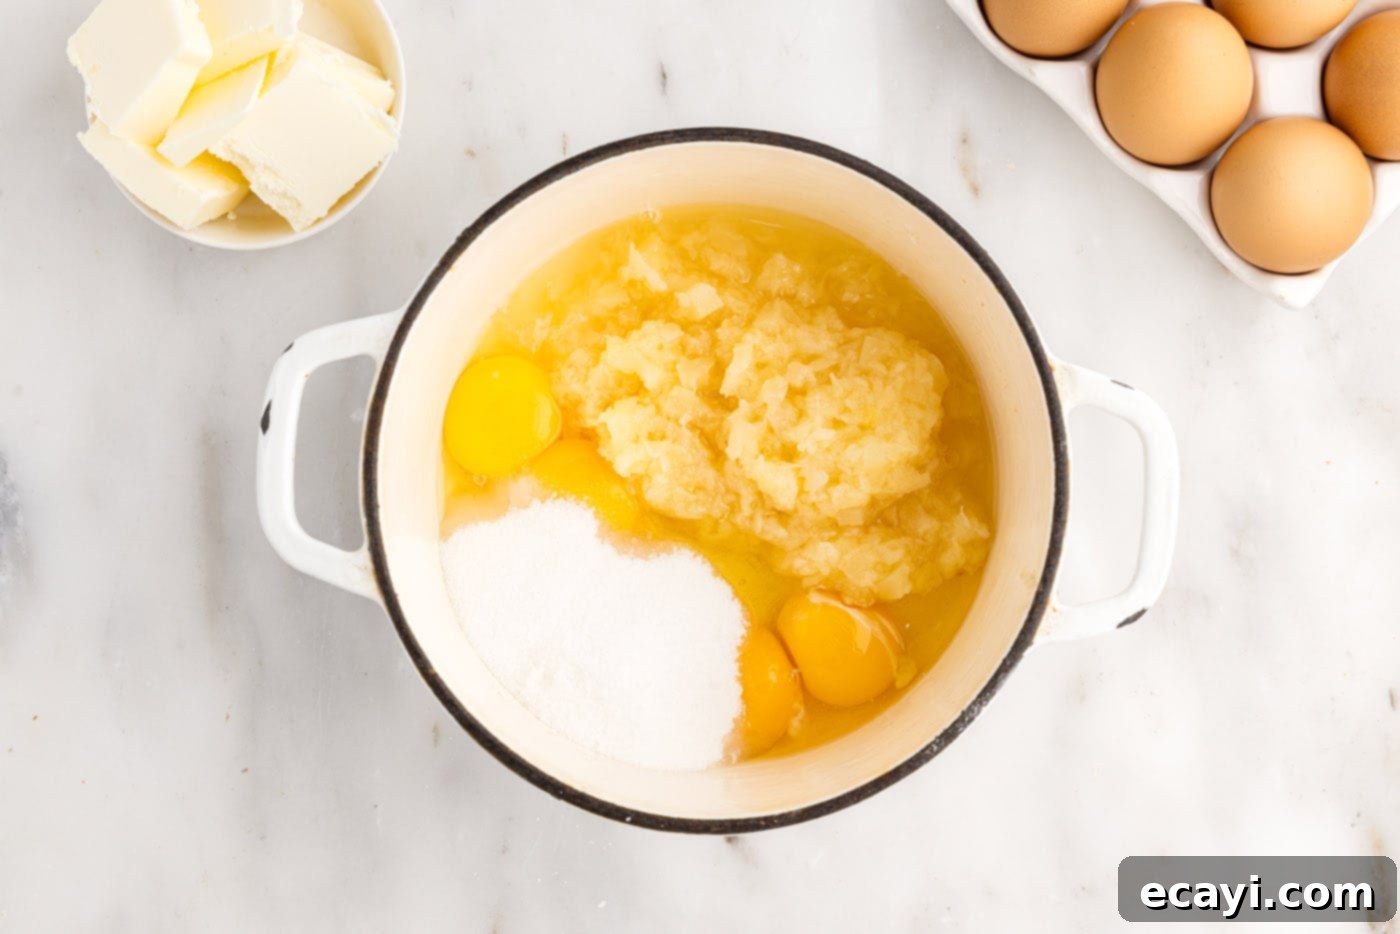
- Combine Curd Ingredients: In a cold saucepan, whisk together the whole eggs, egg yolks, crushed pineapple (undrained), granulated sugar, and fresh lemon juice. Whisk until thoroughly combined.
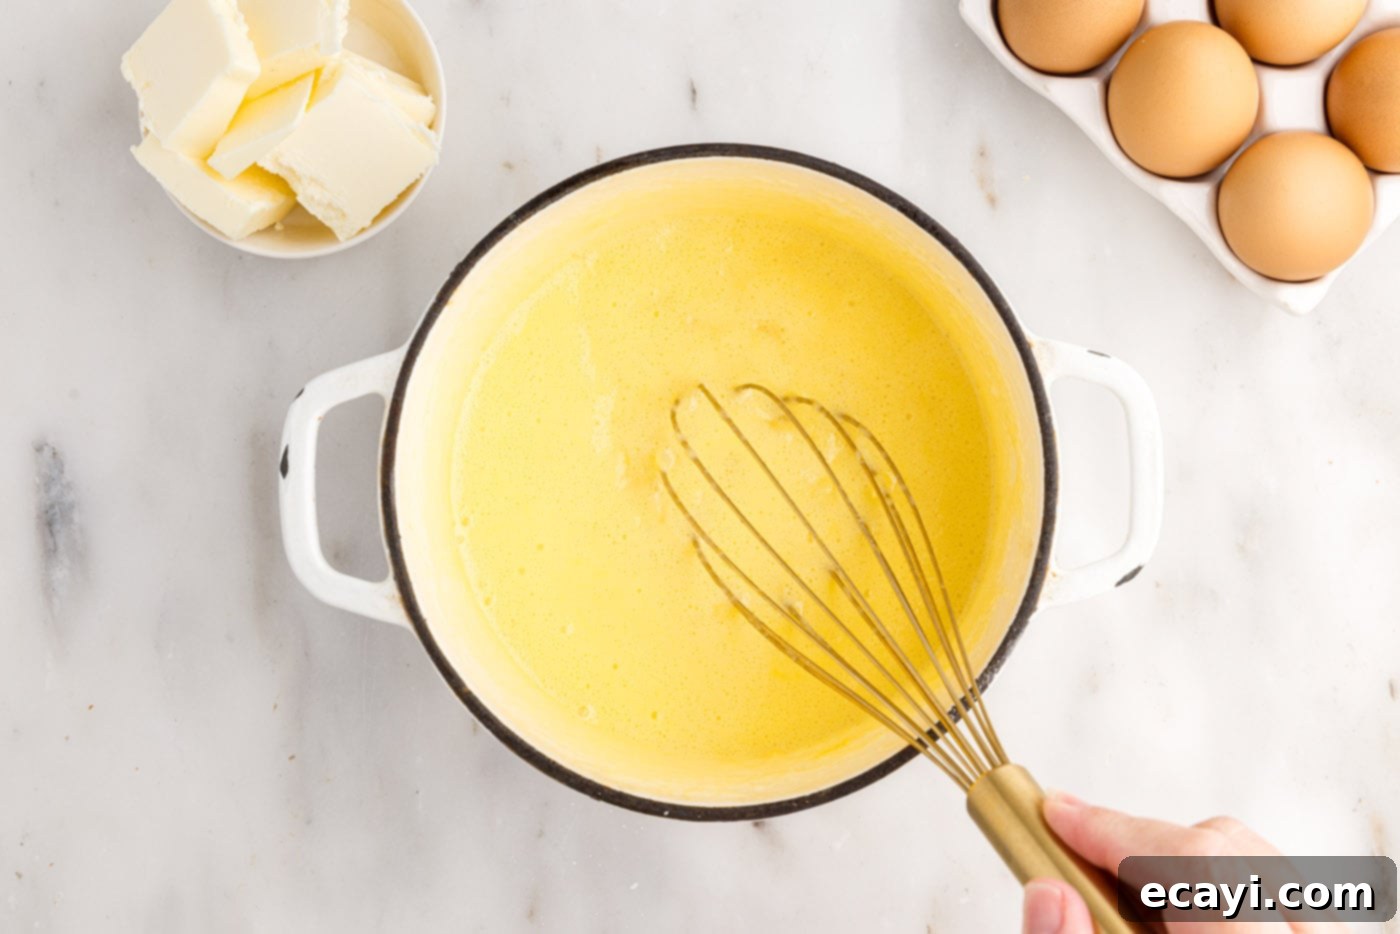
- Cook the Curd: Place the saucepan over medium-low heat. Whisk continuously for 7-10 minutes. The curd will initially appear foamy, then the foam will subside, and the mixture will thicken significantly and turn a paler yellow. It’s crucial not to increase the heat above medium, as this can scramble the eggs. The curd is ready when it coats the back of a spoon and leaves a clear path when a finger is drawn across it.
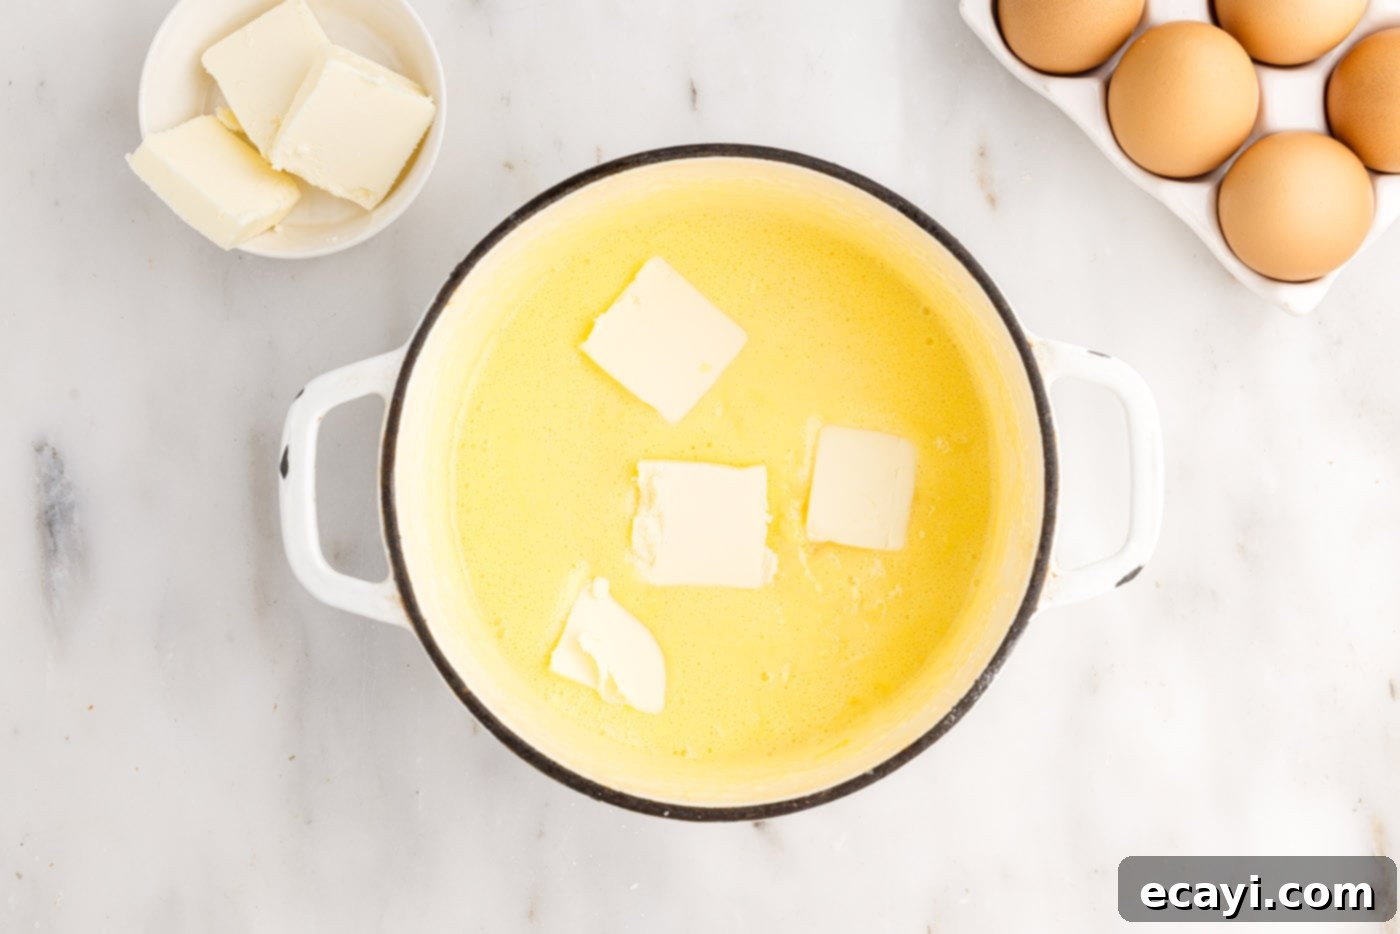
- Add Butter: Remove the curd from the heat and immediately whisk in the cold, cubed unsalted butter until it’s completely melted and smoothly incorporated into the curd. The butter adds richness and shine.
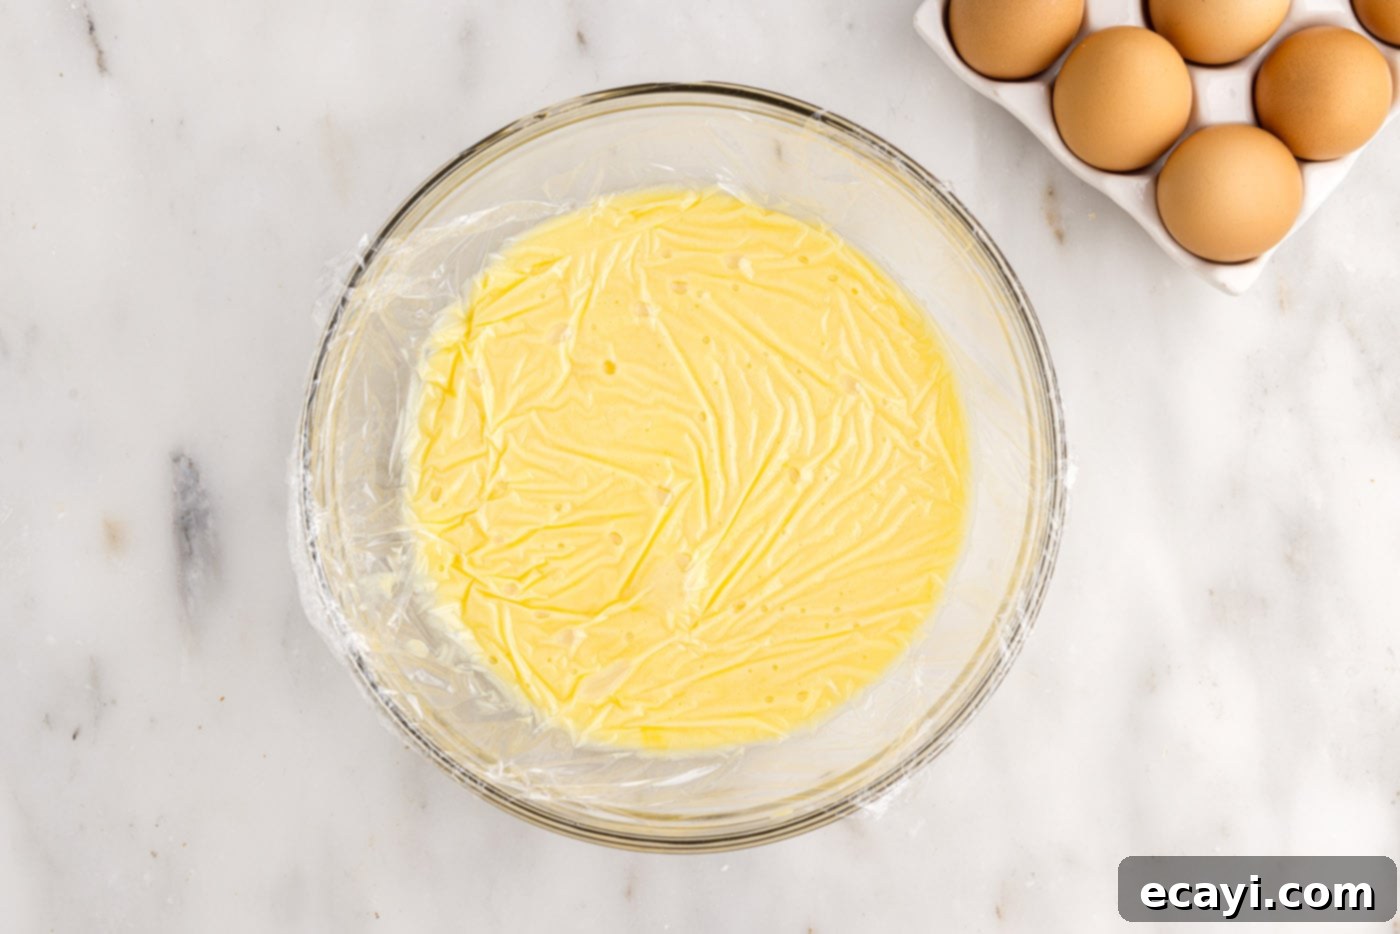
- Cool and Chill: Transfer the warm pineapple curd to a clean bowl. Press a sheet of plastic wrap directly onto the surface of the curd to prevent a skin from forming. Allow it to cool to room temperature, then chill it in the refrigerator for several hours (or preferably overnight) until it is thoroughly thickened and cold.
Preparing the Velvety Cream Cheese Frosting
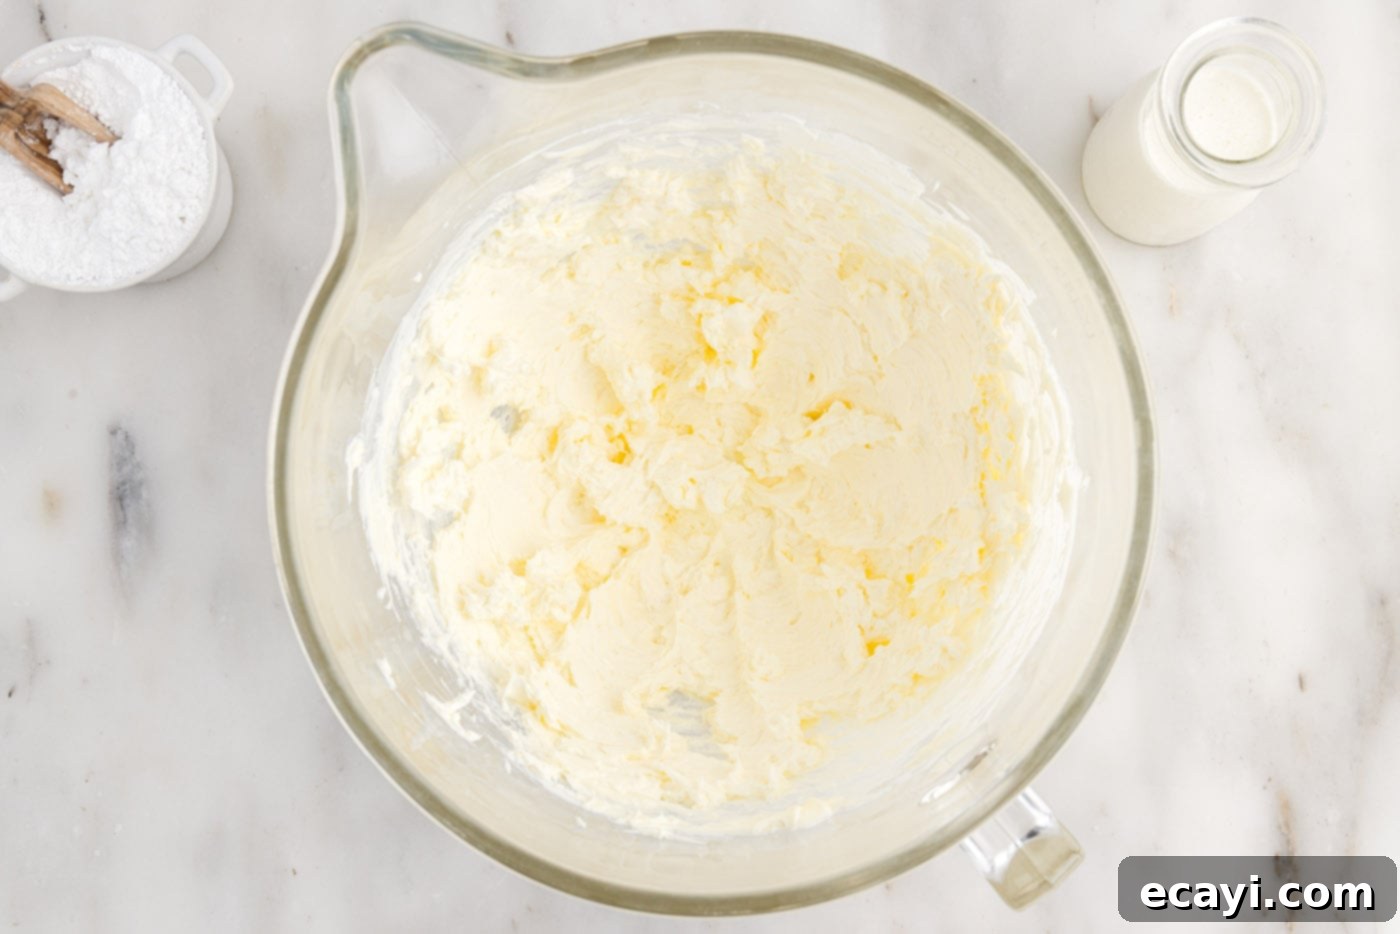
- Beat Cream Cheese and Butter: In the bowl of a standing mixer fitted with the paddle attachment (or using a hand mixer), beat the softened cream cheese and softened salted butter together until the mixture is light, smooth, and creamy. Ensure there are no lumps of cream cheese remaining.
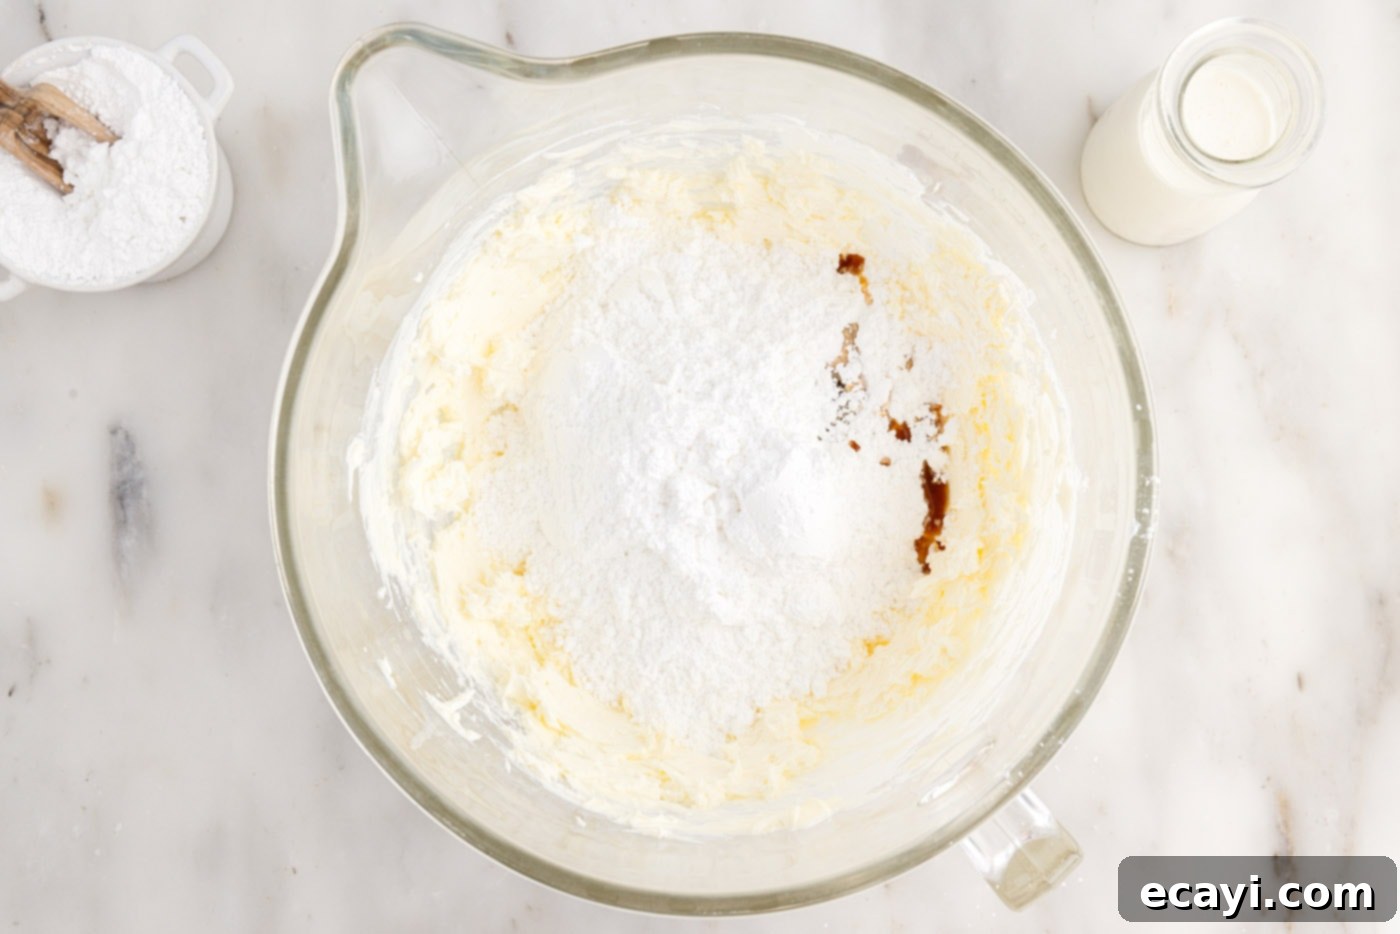
- Add Sugar and Vanilla: Gradually add the powdered sugar, one cup at a time, beating on low speed until fully incorporated. Once all the sugar is in, add the vanilla extract and beat until smooth.
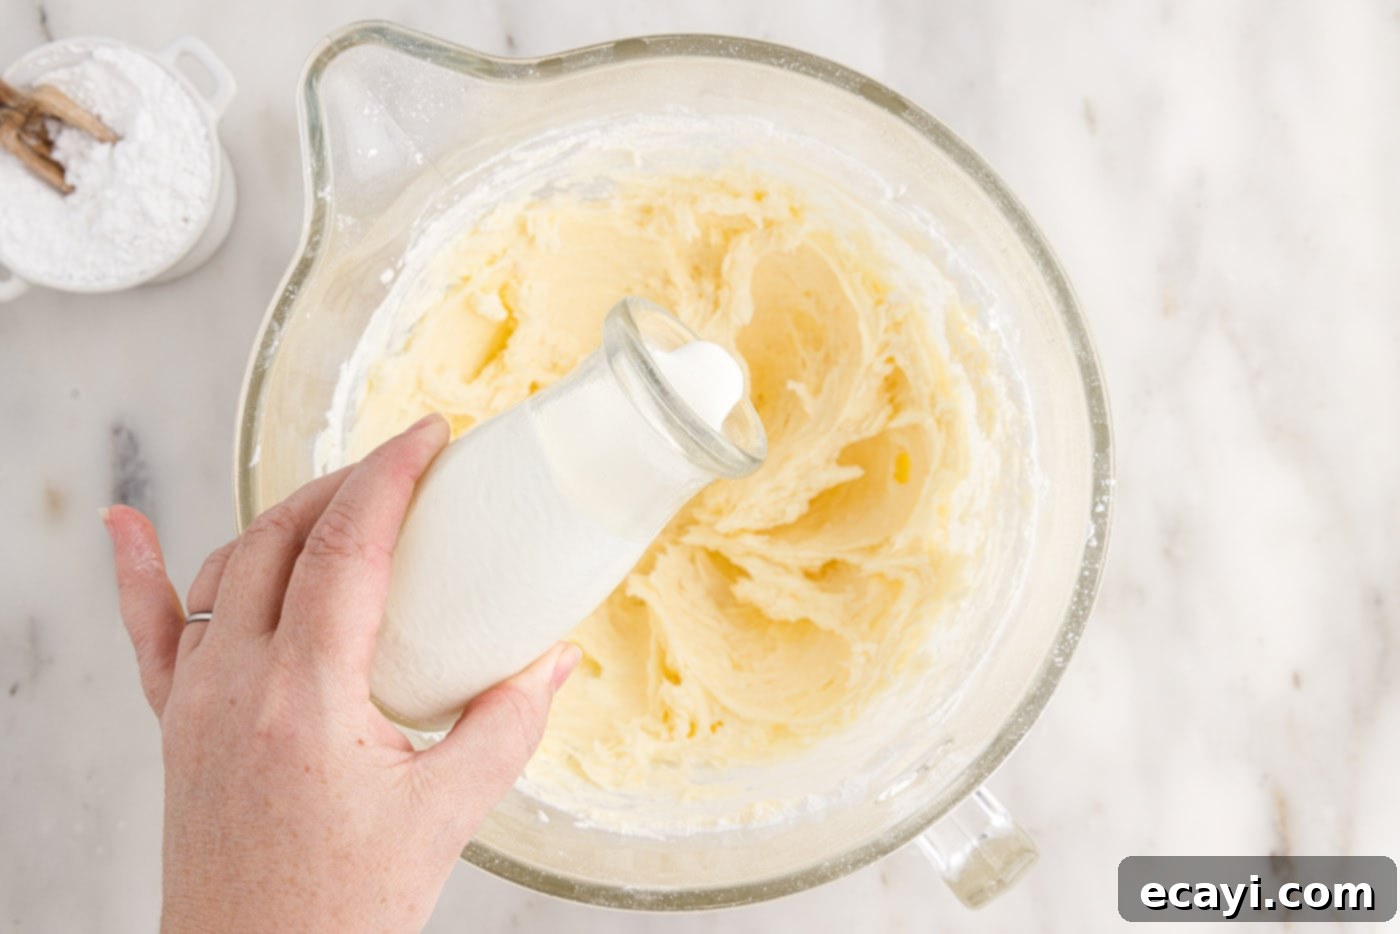
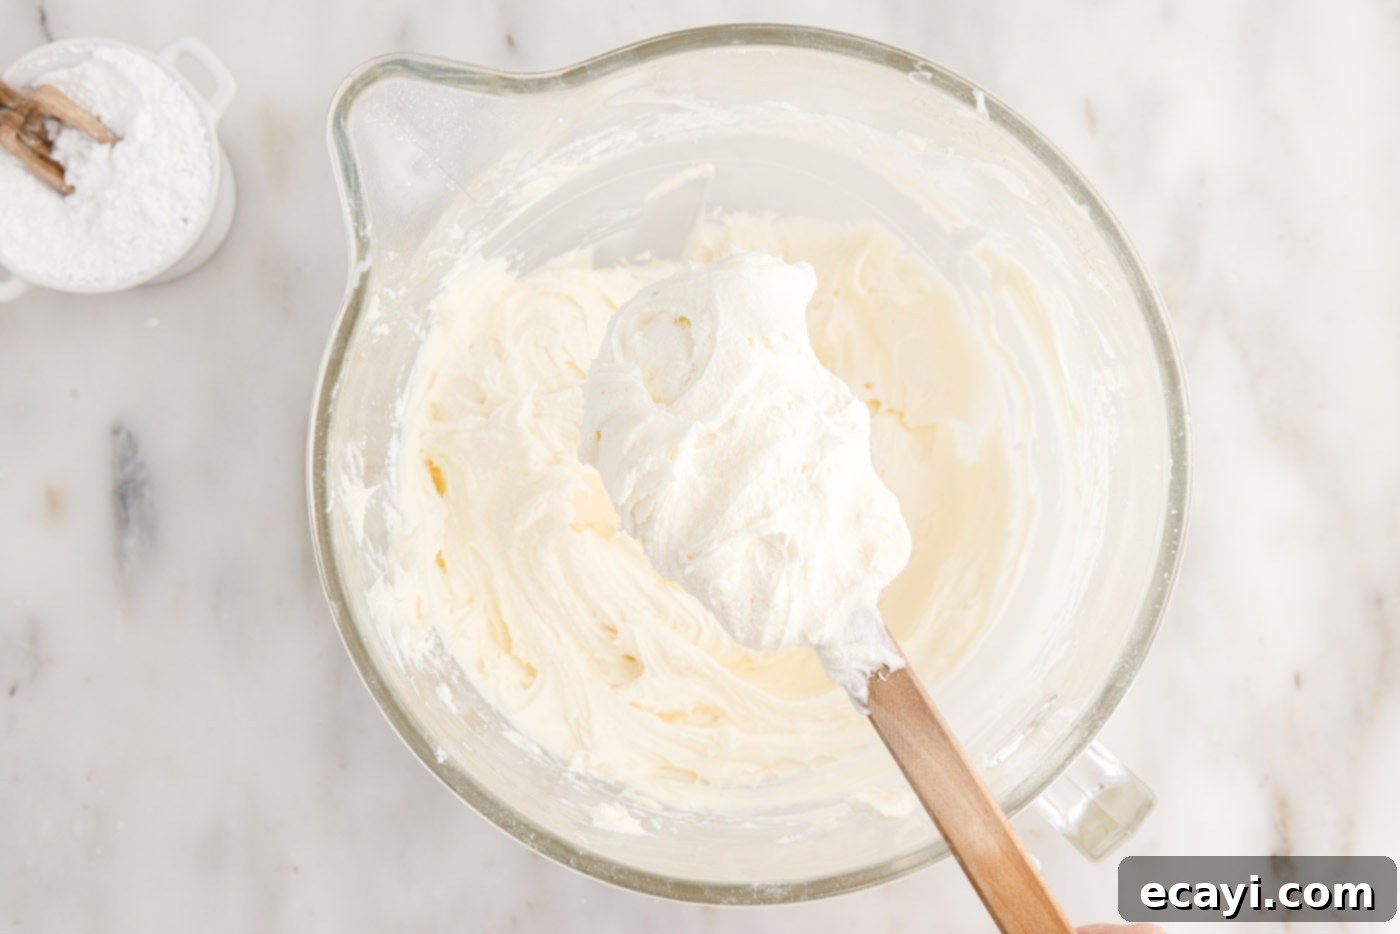
- Adjust Consistency: With the mixer running on medium-high speed, add the heavy whipping cream one tablespoon at a time until your desired frosting consistency is achieved. You want a frosting that is spreadable but firm enough to hold its shape.
- Keep Chilled: Keep the finished frosting covered with plastic wrap and chilled in the refrigerator until you are ready to assemble and frost the cake. This helps it maintain its texture.
Assembling Your Tiered Tropical Masterpiece
- Level Cake Layers: If necessary, use a serrated knife or a cake leveler to level the tops of your cooled cake layers, creating flat surfaces for stable stacking.
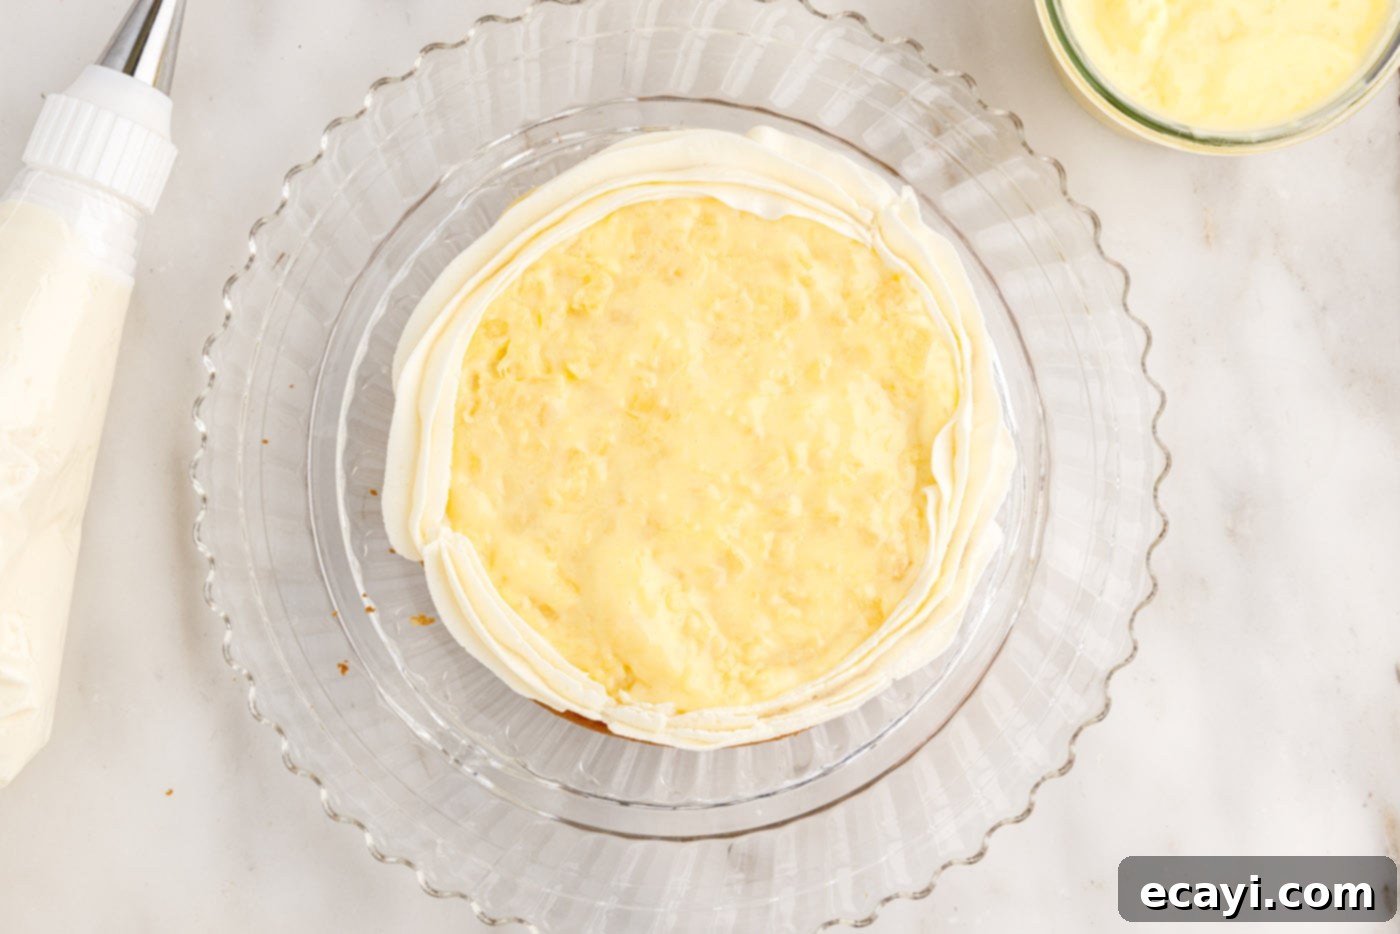
- First Layer & Curd Ring: Place the first cake layer on your serving plate or cake stand. Pipe a generous ring of cream cheese frosting around the top edge of this layer. This creates a “dam” to securely contain the pineapple curd.
- Fill with Curd: Carefully spoon about 1/2 cup of the chilled pineapple curd into the center of the frosting ring. Gently spread it evenly within the dam.
- Second Layer & Repeat: Place the second cake layer gently on top of the pineapple curd filling. Press down lightly to ensure it’s secure. Repeat the process: pipe another ring of cream cheese frosting around the edge, then fill with another 1/2 cup of pineapple curd.
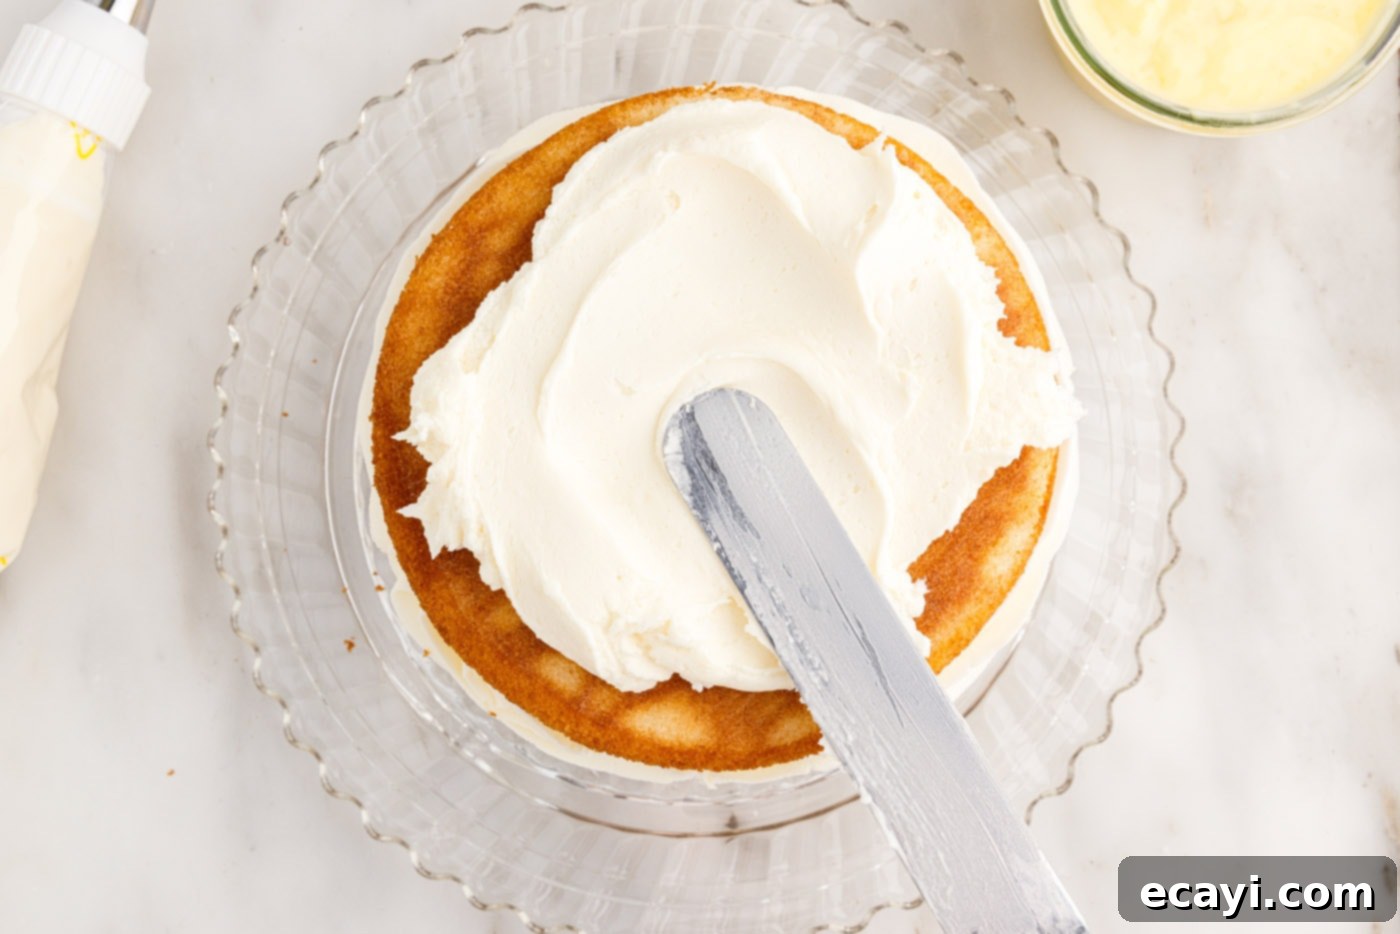
- Final Layer & Frosting: Top with the third and final cake layer. Now, generously frost the entire cake—sides and top—with the remaining cream cheese frosting. Use an offset icing spatula to create smooth sides and top.
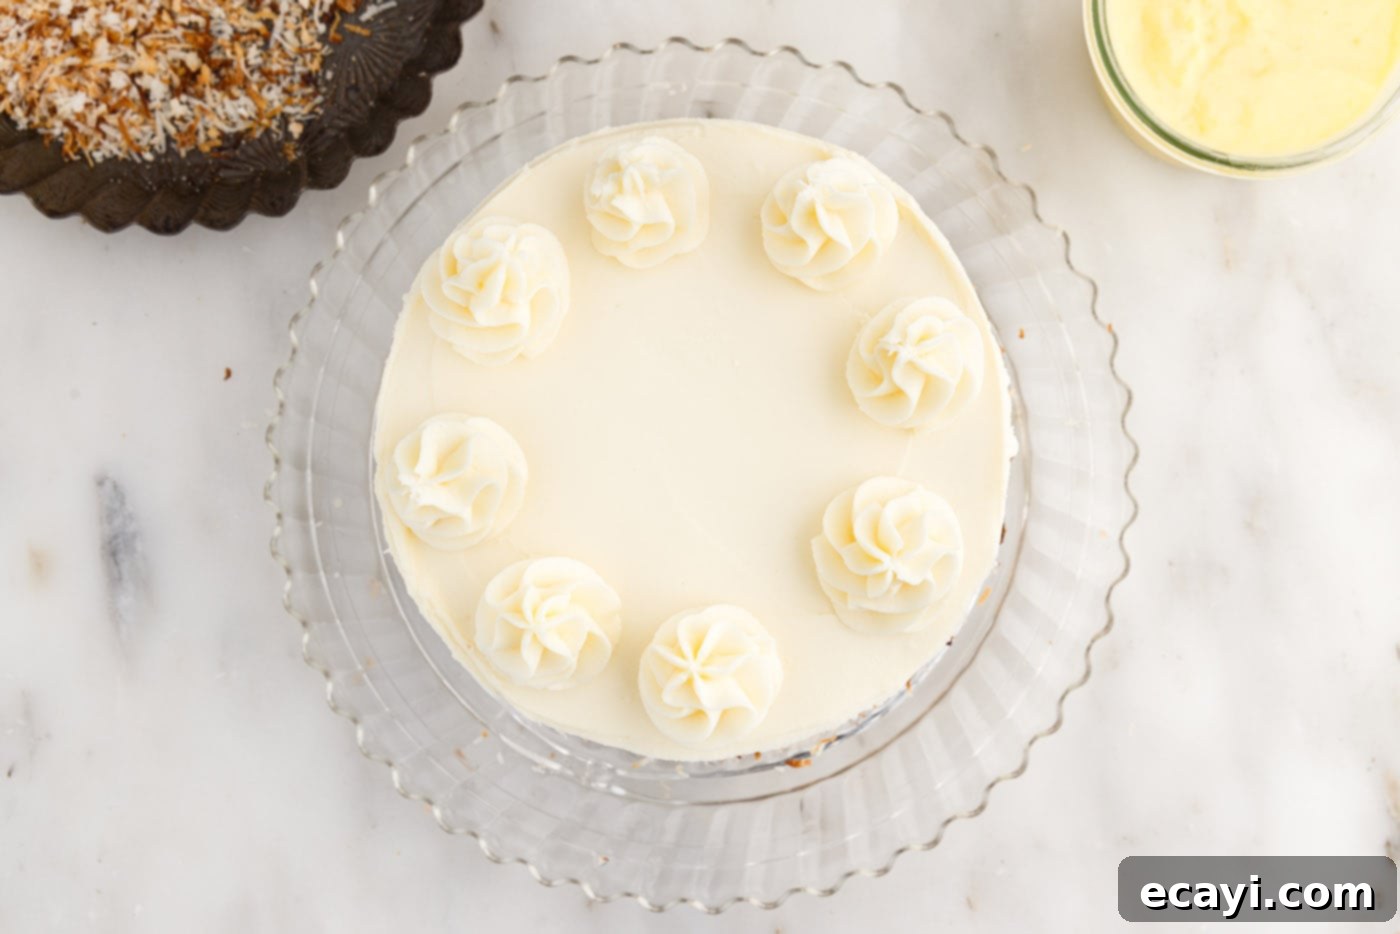
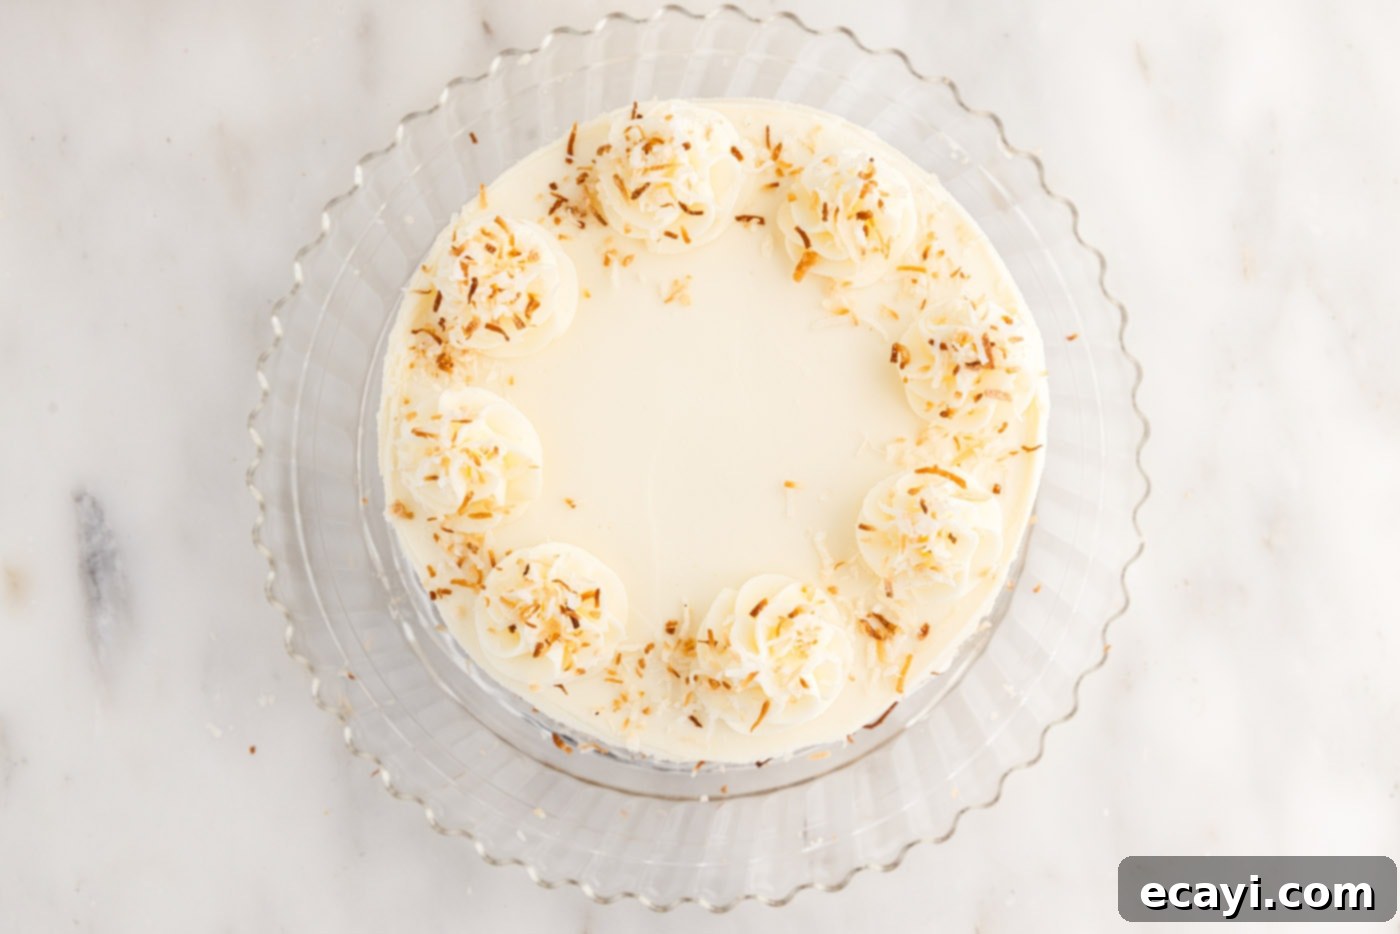
- Decorate with Toasted Coconut: Finish your beautiful cake by decorating it with the toasted coconut flakes. You can press them into the sides, sprinkle them on top, or pipe additional frosting rosettes and sprinkle coconut on those.
Frequently Asked Questions & Expert Tips for Success
I highly suggest sticking to cream of coconut for this recipe. Cream of coconut is a sweetened version of coconut cream and is much thicker and more flavorful than coconut milk. Substituting with coconut milk or unsweetened coconut cream will significantly impact the cake’s moisture, sweetness, and overall coconut flavor balance. While some adjustments might be possible for experienced bakers, for the best and most consistent results with this recipe, please use cream of coconut. It’s typically found in the baking aisle or international foods section of most grocery stores.
Due to the cream cheese frosting and pineapple curd, this cake must be stored in the refrigerator. Keep it covered to prevent it from drying out or absorbing other odors. A dedicated cake carrier is ideal for storing the whole cake. Once a slice has been cut, cover the exposed cake surface with plastic wrap to maintain freshness. It will keep beautifully for up to 5 days in the refrigerator.
Yes, absolutely! You can freeze the individual unfrosted cake layers once they are completely cooled. To do this, wrap each layer tightly in Press N Seal or a double layer of plastic wrap, followed by a layer of aluminum foil. This triple-layer protection prevents freezer burn. Place the wrapped layers in a large ziptop bag or an airtight container and freeze for up to 3 months. Thaw the frozen cake layers overnight in the refrigerator with the wrapping still on. It’s always best to frost the cake just before serving (or the night before) to ensure the freshest taste and appearance, as freezing a fully frosted cake can sometimes cause the frosting to crack or smudge. Leftover frosted slices can also be frozen using the same method, though be aware that the frosting’s appearance might be slightly compromised.
Expert Tips for Baking Success:
- Room Temperature Ingredients: For both the cake and frosting, ensure butter, eggs, milk, and cream cheese are at proper room temperature. This allows them to emulsify correctly, resulting in a smooth batter and creamy frosting.
- Don’t Overmix: Overmixing the cake batter develops gluten, leading to a tough, dense cake. Mix only until ingredients are just combined.
- Oven Thermometer: Ovens can vary widely in temperature. Using an inexpensive oven thermometer can help you verify your oven is heating accurately, ensuring consistent baking results.
- Cool Completely: Do not attempt to frost or assemble warm cake layers. They will crumble and melt the frosting. Patience is key!
- Chill Components: Chilling the cake layers and the pineapple curd makes them much easier to work with during assembly.
Serving Suggestions & Creative Uses
This Pineapple Coconut Cake is a showstopper on its own, but a few final touches can make it even more special:
- Elegant Garnish: Finish your cake with beautiful piped rosettes or swirls of cream cheese frosting on top, then sprinkle generously with additional toasted coconut flakes around the perimeter and across the top for an elegant presentation.
- Temperature Preference: Enjoy this cake at room temperature for the softest cake and creamiest frosting, or chilled for a firmer texture and a wonderfully refreshing treat, especially on a warm day.
- Pairing Perfection: For an extra decadent experience, serve each slice with a scoop of vanilla bean ice cream or a dollop of freshly whipped cream.
What to Do with Leftover Pineapple Curd?
You’ll likely have some delicious pineapple curd left over, and it’s too good to waste! Here are some creative ways to use it:
- Fill muffins or cupcakes for a burst of tropical flavor.
- Drizzle it over pancakes, waffles, or French toast for a vibrant breakfast.
- Swirl it into plain yogurt or Greek yogurt for a healthy, flavorful snack.
- Use it as a filling for tarts or as a garnish for cheesecake.
- Spread it on toast or scones for a delightful treat.
More Tropical & Coconut-Inspired Delights
If you adore the flavors of pineapple and coconut, you’ll love these other recipes:
- Classic Pineapple Cake
- Decadent Coconut Cream Pie
- Luscious Coconut Cream Lush Dessert
- Bright and Cheerful Pineapple Sunshine Cake
- Light and Airy Pineapple Angel Food Cake
I love to bake and cook and share my kitchen experience with all of you! Remembering to come back each day can be tough, that’s why I offer a convenient newsletter every time a new recipe posts. Simply subscribe and start receiving your free daily recipes!
Pineapple Coconut Cake
IMPORTANT – There are often Frequently Asked Questions within the blog post that you may find helpful. Simply scroll back up to read them!
Print It
Pin It
Rate It
Ingredients
Cake Ingredients
- 1 cup unsalted butter softened
- 1 cup granulated sugar
- 3 large eggs at room temperature
- 1 teaspoon coconut extract
- 1 teaspoon vanilla extract
- ½ cup cream of coconut
- 2 cups all-purpose flour
- 2 teaspoons baking powder
- ½ teaspoon salt
- ¾ cup milk
Pineapple Curd Ingredients
- 2 large eggs, whole at room temperature
- 2 large egg yolks at room temperature
- 1 cup crushed pineapple
- ½ cup granulated sugar
- 1 Tablespoon lemon juice
- ½ cup unsalted butter cut into pieces
Frosting Ingredients
- 1 cup salted butter softened
- 8 ounces cream cheese softened
- 1 teaspoon vanilla extract
- 3 cups powdered sugar
- 4 Tablespoons heavy whipping cream
Things You’ll Need
-
Stand mixer or hand mixer
-
three 7 inch round cake pans
-
Large saucepan
-
Measuring cups and spoons
-
Wire cooling racks
-
Offset icing spatula
Before You Begin
- You will have leftover pineapple curd, perfect for other treats!
- To toast coconut, spread it in a single layer on a baking sheet and bake for 3-5 minutes in a 350°F oven until golden brown. Remove from hot baking sheet immediately to prevent burning. Flaked or shredded coconut, sweetened or unsweetened, can be used.
- The cream of coconut in the cake batter is crucial for flavor and moisture. If omitted, it will significantly alter the balance of flavors and texture. It is NOT the same as coconut milk or coconut cream. Coco Lopez is a recommended brand.
- Store the completed pineapple coconut cake, covered, in the refrigerator for up to 5 days. A cake carrier is highly recommended. Once cut, ensure the exposed surfaces are covered with plastic wrap.
Instructions
Cake Instructions
-
Preheat the oven to 350°F (175°C). Spray three 7” round cake pans with non-stick baking spray and line the bottoms with parchment paper.
-
In a large mixing bowl, beat butter and sugar until light and creamy. Add one egg at a time, beating well after each addition.
-
Add vanilla extract, coconut extract, and cream of coconut and beat well.
-
In a separate bowl, mix together the flour, baking powder, and salt.
-
Add half of the flour mixture to the butter mixture and begin to beat. Add half of the milk, then the remaining flour mixture, then the rest of the milk. Beat just until fully combined.
-
Divide the batter evenly between the three prepared cake pans.
-
Bake for 30-35 minutes, until a toothpick inserted into the center comes out with just a few crumbs.
-
Cool cakes on a cooling rack for 10-15 minutes, then turn out from the pans and cool the rest of the way. To make assembly easier, wrap cooled cakes in plastic wrap and place in the freezer until firm.
Pineapple Curd Instructions
-
To make the curd, whisk together eggs, egg yolks, crushed pineapple, sugar, and lemon juice in a cold saucepan.
-
Heat over medium-low, whisking continuously, for 7-10 minutes. When the curd becomes foamy throughout and then pales and thickens, it is done. Do not turn the heat above medium at any time, as this will overcook the eggs.
-
Remove the curd from the heat and whisk in the butter until melted and fully combined.
-
Transfer curd to a bowl and press a sheet of plastic wrap over it. Cool to room temperature and then chill in the refrigerator until thickened and cold.
Cream Cheese Frosting Instructions
-
In the bowl of a standing mixer, beat together cream cheese and butter until light and creamy.
-
Add powdered sugar and vanilla and beat to combine.
-
Add in heavy cream 1 tablespoon at a time while beating on medium-high speed until desired consistency is reached.
-
Keep frosting chilled (and covered with plastic wrap) until ready to use.
Assembly
-
Level the tops of the cakes as needed. On the first layer, pipe a ring of cream cheese frosting around the top edge to contain the pineapple curd.
-
Fill the ring with about 1⁄2 cup of pineapple curd.
-
Gently press the second layer on top of the filling and add another ring of frosting and fill with pineapple curd.
-
Top with the final layer of cake. Frost with cream cheese frosting. Decorate with toasted coconut.
Nutrition
Calories: 828cal |
Carbohydrates: 85g |
Protein: 8g |
Fat: 52g |
Saturated Fat: 32g |
Polyunsaturated Fat: 2g |
Monounsaturated Fat: 13g |
Trans Fat: 2g |
Cholesterol: 236mg |
Sodium: 327mg |
Potassium: 214mg |
Fiber: 1g |
Sugar: 67g |
Vitamin A: 1697IU |
Vitamin C: 2mg |
Calcium: 103mg |
Iron: 2mg
The recipes on this blog are tested with a conventional gas oven and gas stovetop. It’s important to note that some ovens, especially as they age, can cook and bake inconsistently. Using an inexpensive oven thermometer can assure you that your oven is truly heating to the proper temperature. If you use a toaster oven or countertop oven, please keep in mind that they may not distribute heat the same as a conventional full sized oven and you may need to adjust your cooking/baking times. In the case of recipes made with a pressure cooker, air fryer, slow cooker, or other appliance, a link to the appliances we use is listed within each respective recipe. For baking recipes where measurements are given by weight, please note that results may not be the same if cups are used instead, and we can’t guarantee success with that method.
