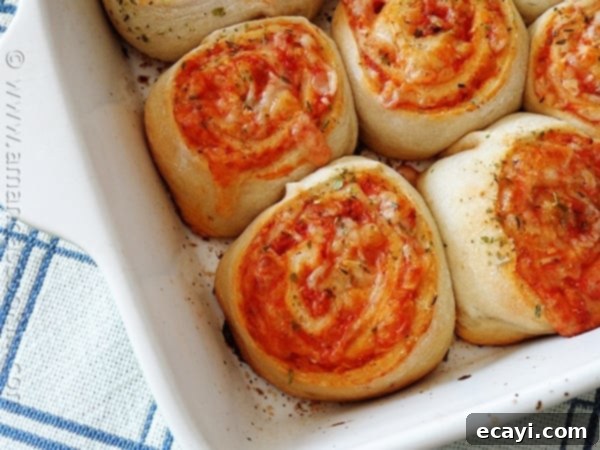
Easy & Cheesy Pizza Roll Ups: The Ultimate Kid-Friendly Snack!
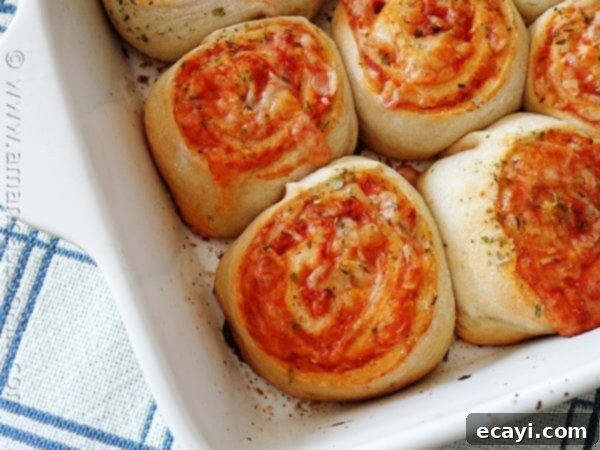
If you have teenagers at home, or really any kids at all, you know the magic words: “Let’s have pizza!” There’s an undeniable, almost universal appeal to pizza that captivates young and old alike, but especially those perpetually hungry teenage boys and girls. Always on the lookout for exciting new ways to enjoy classic flavors, I decided to venture beyond the traditional slice and experiment with a fun, portable twist: Pizza Roll Ups. And happily, my taste testers (my very own discerning teenagers) gave them an enthusiastic thumbs-up!
These aren’t just a simple snack; they’re a revelation in convenience and flavor. Imagine all the deliciousness of your favorite pizza, but in a perfectly portioned, handheld swirl, ready for dipping. This recipe transforms everyday refrigerated pizza dough into a culinary canvas, allowing for endless customization and delivering a satisfying burst of cheesy, saucy goodness with every bite.
Why You’ll Love These Easy Pizza Roll Ups
These homemade pizza roll ups are more than just a quick fix; they’re a versatile, delicious, and incredibly satisfying snack that will quickly become a family favorite. Their simplicity and adaptability make them perfect for a wide range of occasions, and they offer a fantastic alternative to ordering takeout.
The Irresistible Appeal of Homemade Pizza Rolls
There’s something uniquely satisfying about homemade snacks, and these pizza roll ups are no exception. They bring the comforting flavors of pizza right into your hands, but in a fun, spiralized form. The golden-brown crust, bubbly melted cheese, and tangy pizza sauce create a delightful texture and taste experience. Unlike frozen options, these freshly baked rolls offer a superior crispness and a melt-in-your-mouth cheese pull that truly elevates the snack. Plus, making them yourself means you control the ingredients, ensuring a fresher and often healthier option.
Perfect for Busy Weeknights & Hungry Teens
One of the biggest advantages of these pizza roll ups is how incredibly easy and quick they are to prepare. With just a few simple ingredients and minimal effort, you can have a warm, delicious snack or light meal on the table in under 35 minutes. This makes them an absolute lifesaver for those hectic after-school hours when hunger strikes hard, or when you need a fast dinner solution that everyone will enjoy. Teenagers can even get involved in the preparation, making it a fun, interactive kitchen activity that teaches basic cooking skills. Imagine the satisfaction of them creating their own delicious, personalized pizza treats!
Dipping Sauce: The Game Changer
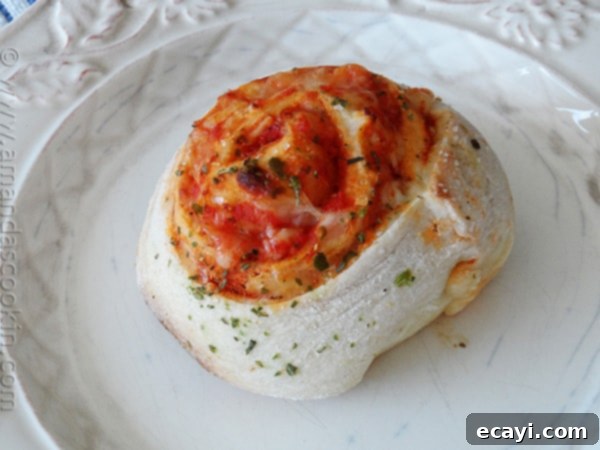
While these pizza roll ups are undeniably fabulous on their own, a good dipping sauce truly takes them from great to extraordinary. My initial batch was devoured without a second thought, but I couldn’t help but think how a dipping sauce would have pushed them “over the edge” into culinary bliss. The classic choice is, of course, a warm marinara or extra pizza sauce. Its sweet and savory notes perfectly complement the cheesy rolls. But don’t stop there! Consider a creamy ranch dressing for a cool contrast, a zesty garlic aioli, or even a simple side of melted garlic butter for an extra layer of richness. If you make your own homemade pizza sauce, having extra for dipping is never an issue. If you use store-bought jarred sauce, a half-cup is all you need for the rolls themselves, leaving plenty leftover for dipping or future culinary adventures.
Endless Customization Options
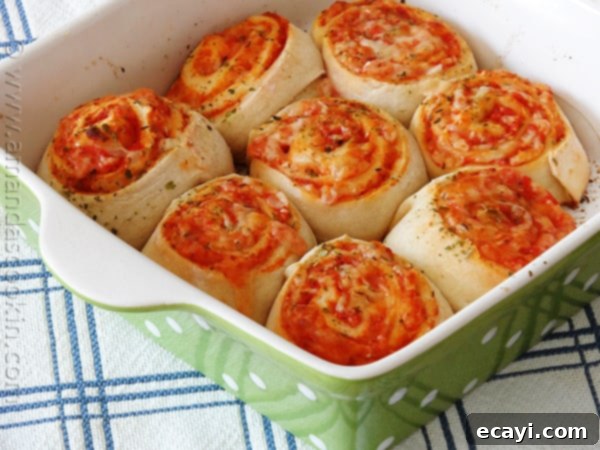
The beauty of these pizza roll ups lies in their incredible adaptability. While I first tried them as a simple cheese-only option, the possibilities for toppings are virtually limitless. Think beyond the basic pepperoni! You can easily incorporate cooked sausage, crumbled bacon, diced ham, or even miniature meatballs for a heartier snack. For veggie lovers, consider finely chopped bell peppers, onions, mushrooms, black olives, or even a sprinkle of fresh basil. Just remember to keep the toppings finely diced and not too wet, to ensure they roll up easily and bake evenly without making the dough soggy. Experimenting with different cheese combinations, such as adding provolone or a sharp cheddar, can also introduce exciting new flavor profiles.
Beyond the Snack: Serving Suggestions
These versatile pizza roll ups are perfect for almost any occasion. They shine as a fantastic after-school snack, providing a warm and satisfying treat to curb those afternoon hunger pangs. When friends come over, they’re an instant crowd-pleaser that requires minimal effort. Hosting a game night? These handheld bites are much easier to manage than traditional pizza slices, making them ideal for cheering on your favorite team. They’re also superb for casual gatherings, movie nights, or even as a fun and unexpected appetizer for a potluck. For busy families, they can even double as a light, informal dinner when paired with a fresh salad. The best part is their flexibility: you can involve your kids in making them, or prepare a batch ahead of time and store them in the fridge, ready to pop into the oven for a quick bake whenever hunger strikes!
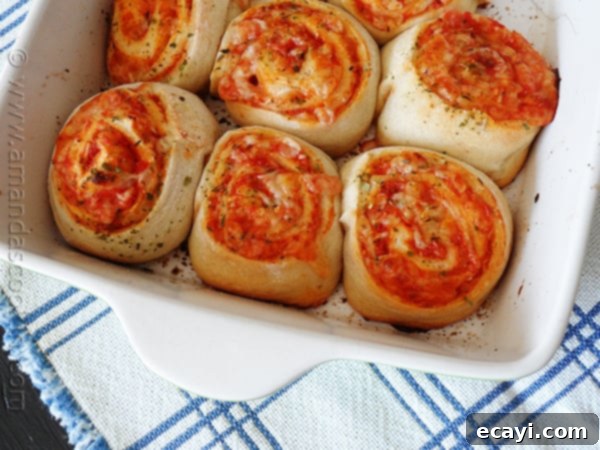
Getting Started: The Simple Ingredients
Crafting these delicious pizza roll ups requires only a handful of readily available ingredients. The key is to start with quality components that will melt together into a harmonious flavor explosion.
- Refrigerated Pizza Dough: This is your secret weapon for speed and convenience. A can of store-bought refrigerated pizza dough makes this recipe incredibly quick and easy. Simply unroll it, and you’re halfway there! While homemade dough is always an option, the refrigerated kind ensures this remains a truly effortless snack.
- Pizza Sauce: Whether you opt for homemade or your favorite jarred variety, the sauce forms the savory core of these rolls. You’ll need about ½ cup for the rolls themselves, which is just enough to spread a thin, even layer. If you’re a fan of making your own, like I am (my recipe is here), it’s easy to have extra on hand for dipping!
- Mozzarella Cheese: The quintessential pizza cheese! Shredded mozzarella melts beautifully, providing that classic gooey texture and mild, milky flavor. One cup is usually plenty to cover the dough generously.
- Parmesan Cheese: A sprinkle of shredded Parmesan adds a sharp, salty depth of flavor that complements the mozzarella perfectly. Just a tablespoon goes a long way.
- Melted Butter, Garlic Salt, and Italian Seasoning: These finishing touches are crucial for imparting a golden sheen and an irresistible aroma to the baked roll ups. Brushing with butter before baking helps achieve that perfect golden crust, while garlic salt and Italian seasoning infuse the exterior with savory, aromatic notes, echoing the flavors within.
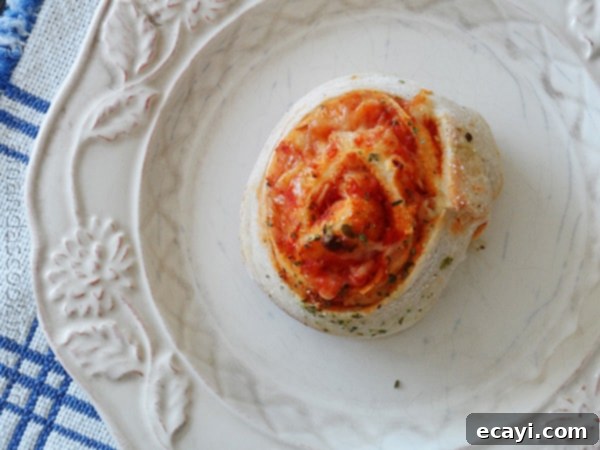
Step-by-Step: How to Make Pizza Roll Ups
These pizza roll ups are surprisingly simple to assemble, making them a fantastic recipe for beginner cooks or for getting kids involved in the kitchen. Follow these easy steps to create your own batch of cheesy, savory spirals.
Preparation is Key
First things first, preheat your oven to 400°F (200°C). While the oven heats up, lightly flour your work surface to prevent sticking. Then, grab your can of refrigerated pizza dough and gently unroll it into a rectangle. This forms the base for our delicious roll ups.
Assembling the Layers
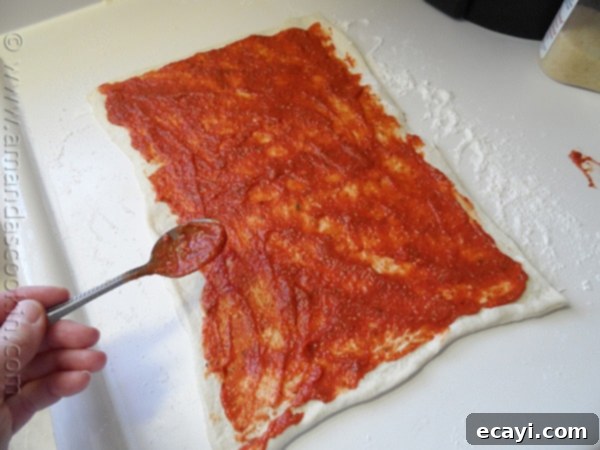
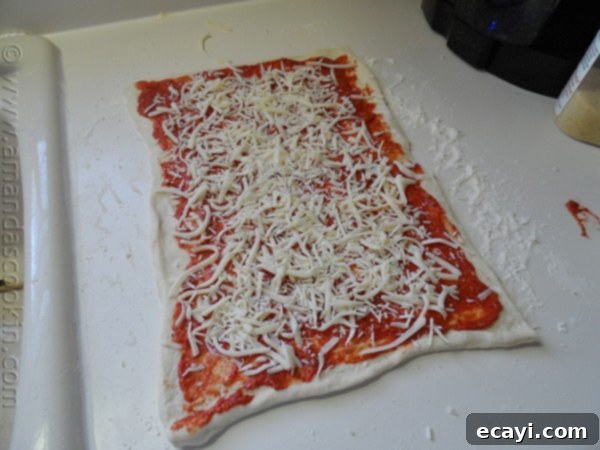
Once your dough is ready, it’s time for the good stuff! Spread your pizza sauce evenly over the entire surface of the dough, leaving a small border along one long edge. This will help seal the roll later. Next, generously sprinkle the shredded Mozzarella cheese over the sauce, followed by a lighter scattering of Parmesan cheese. If you’re adding additional toppings like pepperoni or cooked sausage, now is the time to add them in an even layer over the cheese, making sure they are finely diced to ensure a tight roll.
Rolling and Chilling for Perfection
Starting from one of the long ends, carefully and tightly roll up the dough into a log. Once rolled, wrap the entire log in parchment paper. This parchment paper is crucial for the next step: chilling. Place the wrapped dough log in the freezer for about 15 minutes. This chilling period helps firm up the dough, making it much easier to slice into neat, uniform discs without squishing the filling. Don’t skip this step for best results!
Slicing and Seasoning
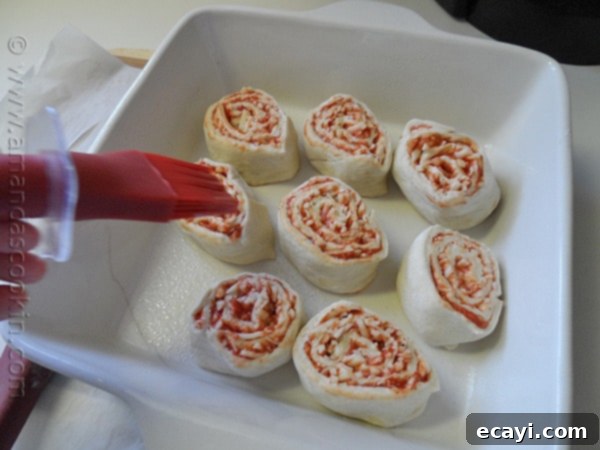
While your dough is chilling, melt the butter in a small bowl. Once the dough log is firm, remove it from the freezer and unwrap it. Using a sharp knife, slice the log into 1 ½-inch thick discs. Arrange these discs, cut-side up, in a prepared 9×9 inch square baking pan that has been lightly greased with cooking spray. Now, brush the tops of each roll up with the melted butter. Finish by seasoning lightly with garlic salt and a sprinkle of dried Italian seasoning. These seasonings will add a beautiful aroma and savory crust to your roll ups.
Baking to Golden Perfection
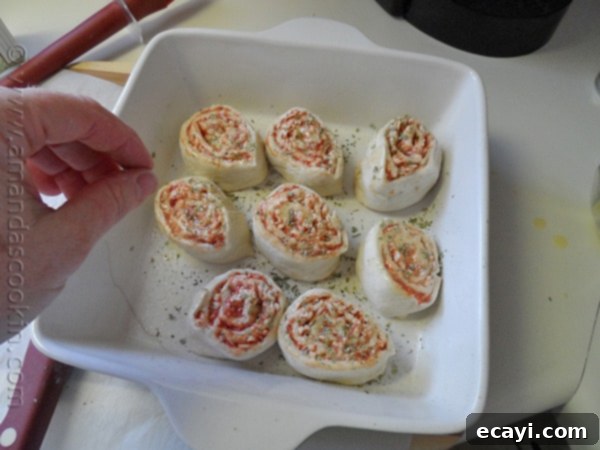
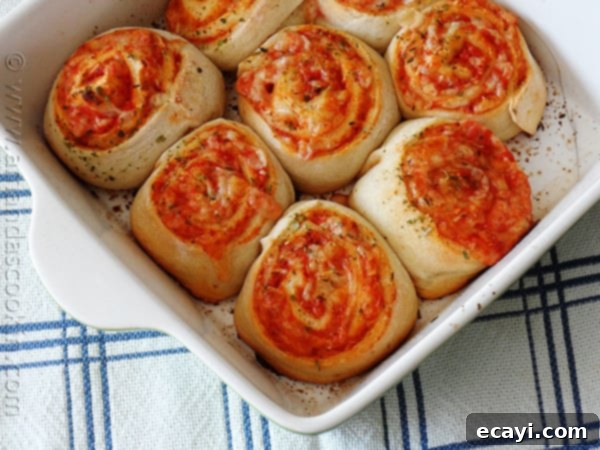
Place the pan in your preheated oven and bake for 22-27 minutes. The rolls are done when the crust is lightly browned, and the cheese and sauce are bubbly and golden. The exact baking time may vary slightly depending on your oven, so keep an eye on them. Once baked, let them cool slightly before serving. They are best enjoyed warm, when the cheese is still soft and gooey. Get ready to enjoy a fantastic, easy-to-make treat that’s guaranteed to be a hit!
Tips for Success & Variations
To ensure your pizza roll ups are consistently delicious, consider these helpful tips and feel free to explore different variations to suit your taste:
- Don’t Overfill: While it’s tempting to load up on cheese and toppings, an overly full roll can be difficult to roll tightly and may ooze out during baking. Stick to the recommended amounts for the best results.
- Seal the Edge: When rolling the dough, make sure the final seam is tucked underneath the roll to help it stay together while baking.
- Keep Toppings Dry and Small: If adding vegetables, ensure they are finely diced and as dry as possible to prevent excess moisture from making the dough soggy. Pre-cooking high-moisture vegetables like mushrooms can also help.
- Pre-bake Toppings: For meat toppings like sausage or bacon, ensure they are cooked and cooled before adding them to the dough. This ensures they are fully cooked and prevents any grease from making the dough soggy.
- Make-Ahead Instructions: You can assemble the pizza roll ups up to the point of slicing, wrap the log tightly in plastic wrap, and refrigerate for up to 24 hours. When ready to bake, simply slice, arrange in the pan, and proceed with brushing and seasoning. You might need to add a few extra minutes to the baking time if baking from cold.
- Freezing for Later: For longer storage, you can freeze the sliced, unbaked roll ups on a baking sheet until solid. Then transfer them to an airtight freezer bag. When you want to bake them, arrange them on a prepared baking pan (no need to thaw), brush with butter and seasonings, and bake from frozen, adding about 10-15 minutes to the total baking time until golden and bubbly.
- Reheating Leftovers: Leftover pizza roll ups can be reheated in a microwave for a quick warm-up, but for best crispness, reheat them in a toaster oven or conventional oven at 350°F (175°C) for 5-10 minutes.
More Pizza Recipes
- Pizza Dip
- Pizza Sliders
- Air Fryer Pizza
- French Bread Pizza
- Zucchini Pizza Bites
- Pizza Bites

Pizza Roll Ups
IMPORTANT – There are often Frequently Asked Questions within the blog post that you may find helpful. Simply scroll back up to read them!
Print It
Pin It
Rate It
Save ItSaved!
Ingredients
- 1 can refrigerator pizza dough
- ½ cup pizza sauce
- 1 cup shredded Mozzarella cheese
- 1 tablespoon shredded Parmesan cheese
- 1 teaspoon melted butter
- 1 teaspoon dried Italian seasonings
- garlic salt
Instructions
-
Preheat oven to 400 degrees F. Spray a 9×9 square baking pan with cooking spray.
-
Lightly flour work surface and remove pizza dough from can. Unroll to a rectangle and spread with pizza sauce. Sprinkle with Mozzarella cheese and then with the Parmesan cheese.
-
Starting from the long end, roll up dough and wrap in parchment. Place in freezer for 15 minutes to chill.
-
Meanwhile, melt the butter in a small bowl.
-
Remove dough log from freezer and slice into 1 1/2? discs. Place in prepared pan, slice side up. Brush tops with melted butter, then season lightly with garlic salt and sprinkle with Italian seasoning.
-
Place in oven and bake 22-27 minutes. Rolls are done when crust is lightly browned and cheese and sauce are bubbly.
The recipes on this blog are tested with a conventional gas oven and gas stovetop. It’s important to note that some ovens, especially as they age, can cook and bake inconsistently. Using an inexpensive oven thermometer can assure you that your oven is truly heating to the proper temperature. If you use a toaster oven or countertop oven, please keep in mind that they may not distribute heat the same as a conventional full sized oven and you may need to adjust your cooking/baking times. In the case of recipes made with a pressure cooker, air fryer, slow cooker, or other appliance, a link to the appliances we use is listed within each respective recipe. For baking recipes where measurements are given by weight, please note that results may not be the same if cups are used instead, and we can’t guarantee success with that method.
