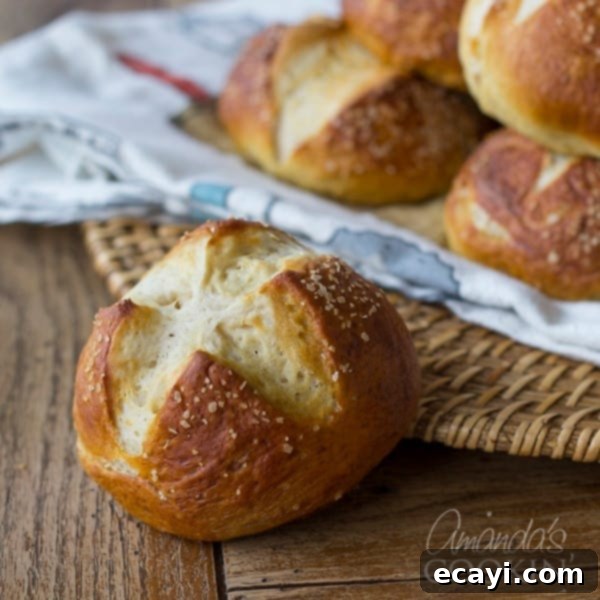
Homemade Bretzel Rolls: Soft & Delicious Pretzel Buns for Any Meal
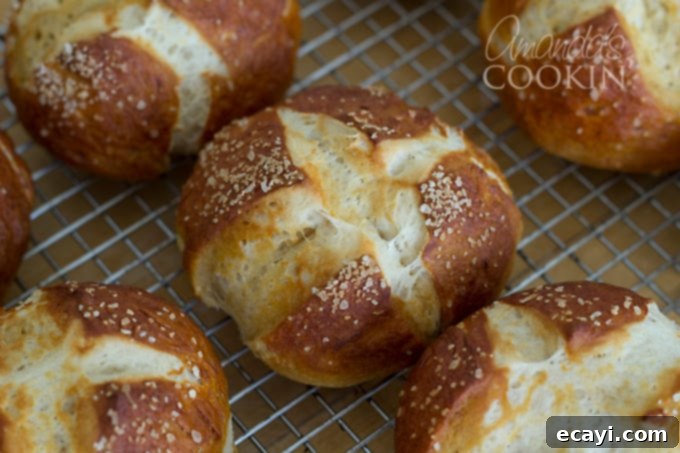
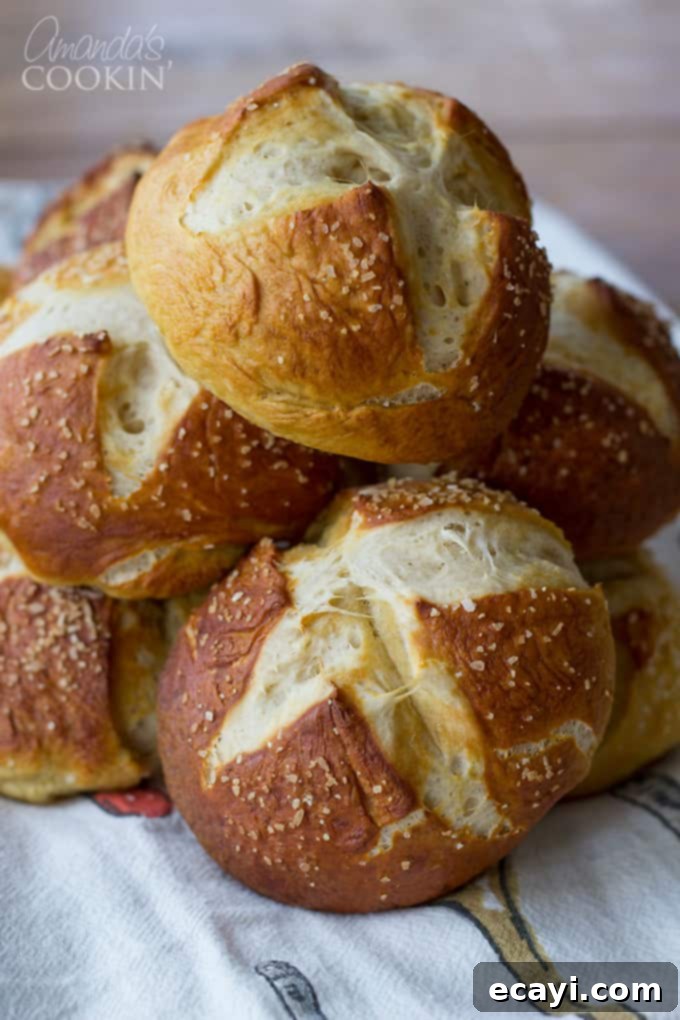
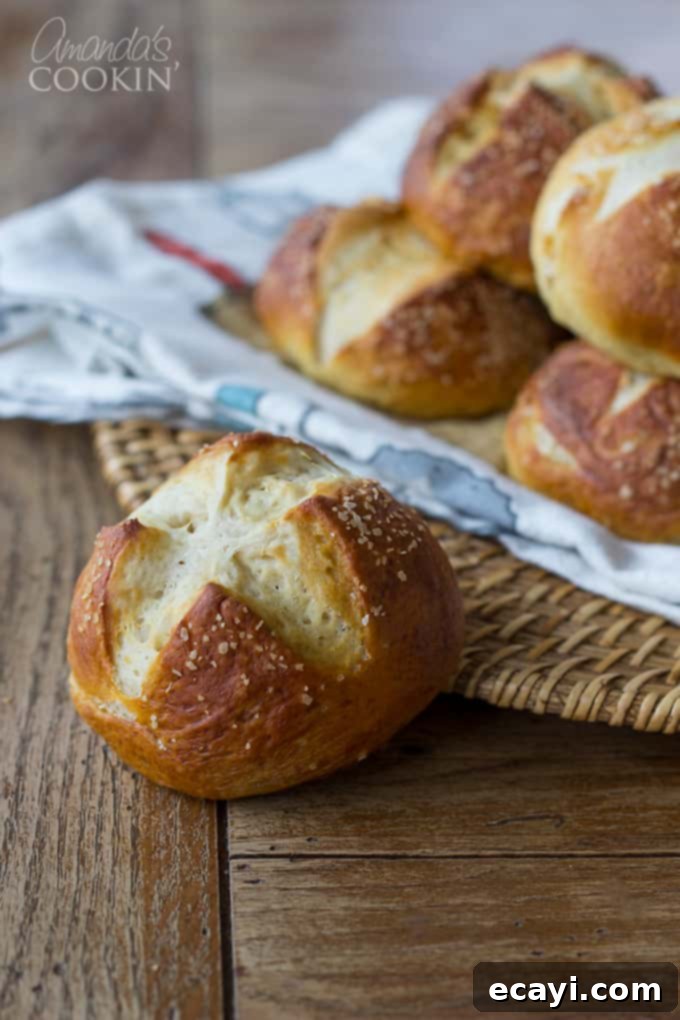
These homemade bretzel rolls are more than just a recipe; they are a delightful journey back to cherished memories. For years, when we lived in Las Vegas, there was a particular restaurant whose dark brown, soft pretzel buns were an absolute highlight of every meal. While those specific, smooth-crusted dinner rolls from Senoma Cellar hold a special place in my heart, this recipe delivers an equally extraordinary experience. These aren’t just any rolls; they are pillowy-soft, subtly sweet, and wonderfully salty, making them perfect companions for dinner, robust lunch sandwiches, or even a comforting bowl of soup.
You might have tried my authentic German pretzels before, but it’s important to note the distinction. Traditional German pretzels often boast a harder, chewier crust, achieved through a lye bath and specific baking techniques. These bretzel rolls, however, are designed for a softer exterior, retaining that characteristic pretzel flavor and deep brown hue without the formidable chew of a classic pretzel. They are the perfect middle ground: all the flavor, none of the fuss, and a texture that invites you to devour them quickly.
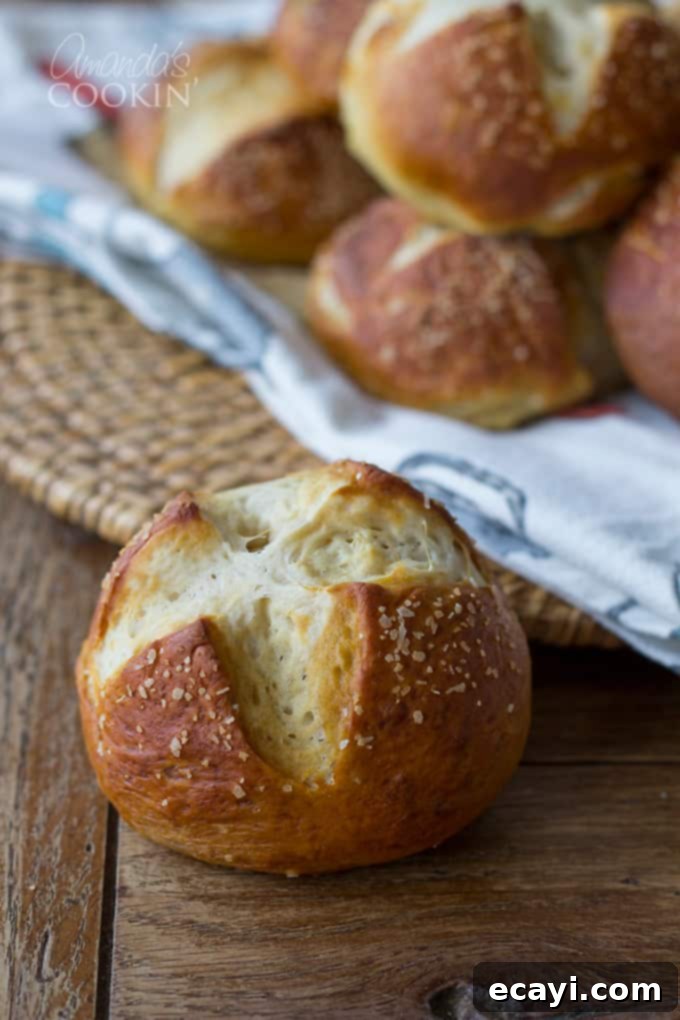
Why You’ll Love Making Your Own Soft Pretzel Rolls
There’s an undeniable satisfaction that comes from baking your own bread, and these homemade pretzel rolls are no exception. The aroma filling your kitchen as they bake is simply intoxicating, and the taste of a freshly baked, warm roll is incomparable. Beyond the sensory delight, making your own bretzel rolls gives you complete control over the ingredients, ensuring a wholesome and delicious product free from artificial additives. Plus, it’s a fantastic project for bakers of all skill levels, offering a rewarding experience that culminates in a treat everyone will adore.
Just today, I baked a fresh batch of these delectable rolls. Within hours, they had vanished! Eager teenagers, patiently (or perhaps not so patiently!) waiting for me to finish snapping photos, quickly made them disappear. This rapid consumption is a testament to their irresistible nature – they truly are gone as fast as they appear.
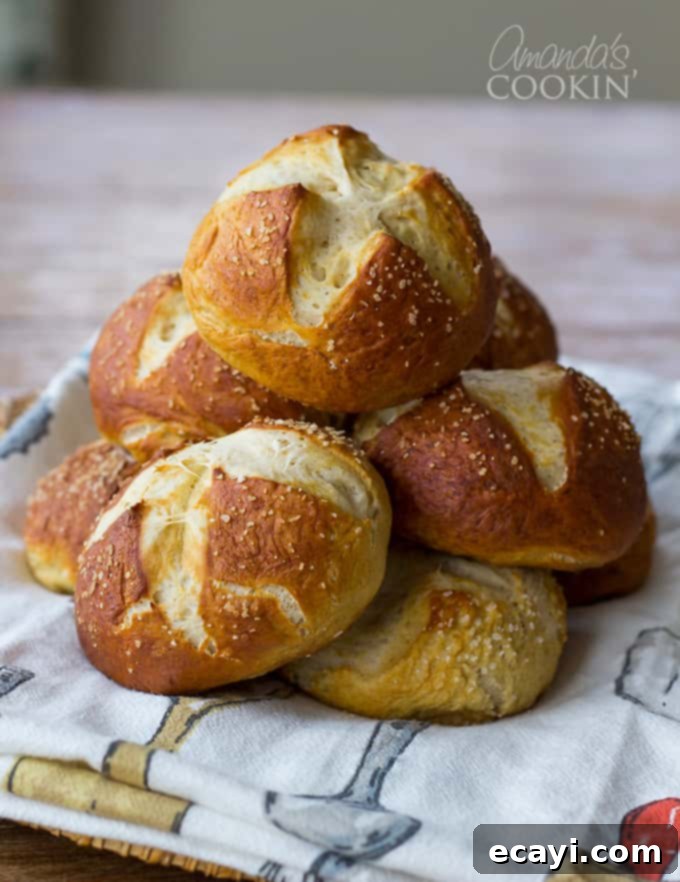
The Distinct Charm of Bretzel Rolls vs. Traditional Pretzels
While sharing a common lineage with their knotted cousins, bretzel rolls carve out their own niche in the world of baked goods. Traditional German pretzels, often referred to as “Laugenbrezel,” get their signature chewy texture and deep mahogany crust from a caustic lye solution. This powerful alkaline bath reacts with the dough, creating a unique Maillard reaction during baking that is responsible for their distinctive flavor and appearance. However, handling lye can be intimidating for home bakers.
Our soft pretzel rolls achieve a similar, appealing aesthetic and taste profile using a much safer and more accessible ingredient: baking soda. When added to boiling water, baking soda creates an alkaline bath that gives the rolls that classic pretzel sheen and flavor without the risks associated with food-grade lye. The result is a roll that is beautifully browned and seasoned, but with a much softer, more bread-like crumb, making it ideal for various culinary applications where a less dense texture is desired.
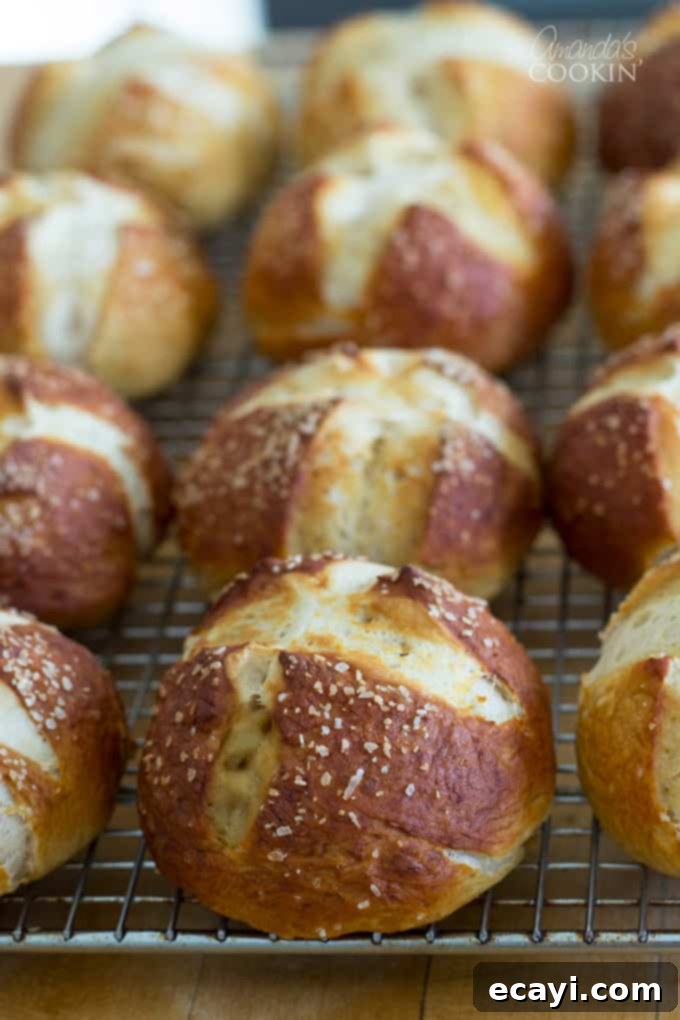
Versatile Serving Ideas for Your Homemade Pretzel Buns
The versatility of these pretzel sandwich buns is one of their greatest attributes. They are phenomenal served warm alongside dinner, especially with hearty stews or roasts. Imagine dipping one into a bowl of piping hot soup on a chilly afternoon – pure comfort! Beyond that, they make exceptional slider-sized sandwiches. Fill them with deli meats, cheese, pulled pork, or even a vegetarian patty for a gourmet touch to your casual meals. They also pair wonderfully with bratwurst and mustard, offering an authentic German-inspired experience. No matter how you choose to enjoy them, these rolls are sure to be a crowd-pleaser and disappear quickly!
Key Ingredients for Perfect Bretzel Rolls
Crafting these delicious pretzel dinner rolls requires a handful of common pantry staples. Each ingredient plays a crucial role in achieving the desired flavor and texture:
- Warm Water (divided): Essential for activating the yeast. The specific temperature range (105-115°F or 40-46°C) is key for yeast activity.
- Warm Milk: Adds richness and softness to the dough, contributing to a tender crumb.
- Active Dry Yeast: The leavening agent that makes your rolls light and airy. Ensure it’s fresh for optimal results.
- Light Brown Sugar: Provides a subtle sweetness that balances the saltiness of the pretzel and feeds the yeast, enhancing its activity.
- Melted Butter: Contributes to the tender texture and adds a wonderful flavor to the dough.
- All-Purpose Flour: The primary structural component of the rolls. Using the right amount is crucial for a pliable dough.
- Kosher Salt or Pretzel Salt: Essential for that authentic pretzel flavor and iconic crunchy topping. Kosher salt’s larger flakes cling well, while specialized pretzel salt offers an even coarser texture.
- Cold Water (for the bath): Used as the base for the alkaline bath.
- Baking Soda: This is the secret to the pretzel’s signature dark, shiny crust and distinct flavor. When boiled, it creates an alkaline environment similar to a lye bath but is safe for home use.
Helpful Kitchen Tools for Making Pretzel Rolls
Having the right tools can make the baking process smoother and more enjoyable:
- Stock Pot: A large pot is essential for the baking soda bath, ensuring enough space for the rolls to fully submerge and for the water to bubble safely.
- Slotted Spoon: Perfect for carefully removing the delicate rolls from the hot water bath, allowing excess liquid to drain away.
- Stand Mixer: While not strictly necessary (you can knead by hand), a stand mixer with a dough hook makes the dough-making process significantly easier and ensures consistent kneading.
- Insulated Baking Sheets: These help prevent the bottom of your rolls from browning too quickly, ensuring an evenly baked and golden product. Alternatively, regular baking sheets lined with parchment paper work well.
PRINT THE FULL RECIPE AND INSTRUCTIONS AT THE END
Mastering the Pretzel Roll Process: Tips for Success
Baking homemade bread might seem daunting, but these easy pretzel rolls are incredibly forgiving. The key is understanding each step. First, ensure your yeast is active by letting it foam in warm water. This “proof” confirms your yeast is alive and ready to work its magic. When mixing the dough, aim for a firm, pliable consistency. Resist the urge to add too much flour; a slightly sticky dough is often ideal and will become more manageable with kneading. The brief resting periods are crucial for the gluten to relax, making the dough easier to work with and resulting in a softer final product.
The most distinctive step in making pretzels is the alkaline bath. I’ve put together a video for you of the process, and I highly recommend watching it if you’ve never made pretzels before. The baking soda bath, while not hard, can be a bit surprising! When you add baking soda to boiling water, it will bubble up significantly. Don’t be alarmed; this is normal. The quick dip in this hot, alkaline solution is what gives these rolls their classic dark, shiny crust and unique flavor. Ensure each roll gets a quick, even bath, turning once, before transferring to the baking sheet and sprinkling with salt.
I hope you found the video helpful and be sure to let me know if you try them. We absolutely love them here, and I’m confident you will too!

Bretzel Rolls (Soft Pretzel Sandwich Rolls)
IMPORTANT – There are often Frequently Asked Questions within the blog post that you may find helpful. Simply scroll back up to read them!
Print It
Pin It
Rate It
Save ItSaved!
Ingredients
- 1 ⅓ cups warm water divided
- 2 tablespoons warm milk
- 2 ½ teaspoons active dry yeast (one envelope)
- ⅓ cup light brown sugar
- 2 tablespoons butter melted
- 4 cups all-purpose flour
- kosher salt or pretzel salt
- 2 quarts cold water
- ½ cup baking soda
Before You Begin
Instructions
-
In the bowl of a stand mixer fitted with a dough hook, combine 1/3 cup of the warm water (ensure it’s between 105-115 degrees F or 40-46 degrees C) with the active dry yeast. Let this mixture stand for 5-10 minutes until it becomes foamy, indicating the yeast is active.
-
To the yeast mixture, add the remaining 1 cup of warm water, warm milk, light brown sugar, and melted butter. Stir gently to ensure the sugar fully dissolves into the liquids.
-
Gradually add the all-purpose flour to the wet ingredients in the stand mixer. Mix on medium-low speed until a cohesive dough forms.
-
Continue mixing until the dough comes together into a nice, firm, and pliable ball. The dough should pull away from the sides of the bowl. Only add more flour if the dough is excessively sticky and difficult to handle.
-
Turn the dough out onto a lightly floured clean surface. Knead the dough by hand for an additional 2 minutes, ensuring it’s smooth and elastic.
-
Divide the dough into 12 even pieces. For best accuracy, use a kitchen scale to weigh the entire dough ball, then divide that weight by twelve to determine the precise weight for each individual roll. This ensures uniform size and even baking.
-
Loosely cover the dough pieces with plastic wrap and a damp cloth. Let them rest for 10 minutes. This allows the gluten to relax, making the dough easier to shape.
-
Gently pat and roll each dough piece into a smooth ball. Arrange these balls on a lightly floured surface, ensuring they are about an inch apart. Cover them again with lightly oiled plastic wrap (a quick spray of cooking spray works wonders to prevent sticking).
-
Allow the shaped dough balls to rest for an additional 30 minutes. This second rise will make them slightly puffier and contribute to their soft texture.
-
While the dough rests, preheat your oven to 425°F (220°C). Prepare two baking sheets by lightly oiling them or lining them with parchment paper. This prevents sticking and helps with easy cleanup.
-
In a large stockpot, bring the 2 quarts of cold water to a rapid, rolling boil. Ensure the pot is large enough to prevent overflow when the baking soda is added.
-
Carefully add the ½ cup of baking soda to the boiling water. The mixture will bubble up almost violently at first and then subside. Do not be alarmed; this is a normal reaction as the baking soda dissolves and increases the alkalinity of the water.
-
Drop two rolls into the boiling water, placing them upside down first. Boil each roll for no more than 30 seconds in total, turning it over once after about 15 seconds to ensure even coverage. Over-boiling can lead to a tougher crust.
-
Using a slotted spoon, carefully remove the rolls from the hot water. Hold them briefly above the pot to allow any excess water to drain off before placing them on the prepared baking sheet.
-
Once on the baking sheet, immediately sprinkle the tops of the rolls lightly with kosher salt or pretzel salt. The damp surface will help the salt adhere.
-
Repeat the boiling, draining, and salting process with the remaining rolls, working in batches of two.
-
Place the baking sheets on the upper and middle racks of your preheated oven. Bake for approximately 10-15 minutes, or until the rolls are deeply browned all over and cooked through. For more even baking, it’s a good idea to rotate the pans (top to bottom and front to back) halfway through the baking time.
-
Once baked, remove the rolls from the oven and let them cool on the baking sheets for about 5 minutes. This allows them to set slightly before handling. Then, transfer them to a wire rack to cool completely.
-
Serve your delicious homemade bretzel rolls warm for the best experience, or at room temperature. They are fantastic fresh out of the oven!
Nutrition
Frequently Asked Questions About Bretzel Rolls
1. Can I use rapid rise or instant yeast instead of active dry yeast?
Yes, you can! If using instant yeast, you can typically mix it directly with the dry ingredients without proofing it first. However, for best results and to ensure your yeast is still active, I recommend still proofing it in the warm water as described in step 1 of the recipe. This extra step helps confirm the yeast is alive and active before you commit to mixing the entire dough batch.
2. My dough is too sticky/too dry. What did I do wrong?
Dough consistency can vary slightly depending on factors like humidity and the exact flour you use. If your dough is too sticky after mixing, add flour one tablespoon at a time until it reaches a firm, pliable consistency that pulls away from the sides of the bowl. If it’s too dry and crumbly, add warm water or milk one teaspoon at a time until it becomes cohesive and kneadable. Always aim for a dough that is soft but not overly sticky.
3. Why is the baking soda bath important?
The baking soda bath is crucial for several reasons. First, it gelatinizes the starches on the surface of the dough, contributing to the distinct, slightly chewy crust of a pretzel. Second, the alkalinity of the bath promotes the Maillard reaction during baking, which is responsible for the deep golden-brown color and the characteristic pretzel flavor. Without it, your rolls would simply be regular bread rolls, lacking the unique pretzel attributes.
4. Can I prepare the dough ahead of time?
You can certainly prepare the dough in advance! After step 8 (when the dough balls have rested for 30 minutes), you can cover them tightly with plastic wrap and refrigerate for up to 24 hours. When you’re ready to bake, remove them from the fridge and let them come to room temperature for about 30-60 minutes before proceeding with the boiling and baking steps. This can be a great time-saver for busy schedules.
5. How should I store leftover bretzel rolls?
These rolls are best enjoyed fresh, ideally on the day they are baked. However, if you have leftovers, store them in an airtight container at room temperature for up to 2-3 days. For longer storage, you can freeze them for up to 2 months. To reheat, thaw frozen rolls at room temperature, then warm them in a preheated oven (around 350°F or 175°C) for 5-10 minutes, or until soft and heated through.
The recipes on this blog are tested with a conventional gas oven and gas stovetop. It’s important to note that some ovens, especially as they age, can cook and bake inconsistently. Using an inexpensive oven thermometer can assure you that your oven is truly heating to the proper temperature. If you use a toaster oven or countertop oven, please keep in mind that they may not distribute heat the same as a conventional full sized oven and you may need to adjust your cooking/baking times. In the case of recipes made with a pressure cooker, air fryer, slow cooker, or other appliance, a link to the appliances we use is listed within each respective recipe. For baking recipes where measurements are given by weight, please note that results may not be the same if cups are used instead, and we can’t guarantee success with that method.
This recipe for delicious bretzel rolls was originally published here on February 4, 2009. The original source of this recipe is attributed to Food.com. This updated and expanded version aims to provide even more helpful tips and details for home bakers.

