Irresistible 7-Layer Magic Bars: The Ultimate Easy Dessert Recipe
These truly magic bars are an absolute dream for anyone craving a delightfully chewy, sweet, and caramelized treat. Requiring minimal effort and just a handful of staple ingredients, they come together effortlessly in a single baking pan. No complicated steps, no multiple bowls – just pure dessert bliss ready to bake!
Why This Simple Layer Bar Recipe Is So Magical
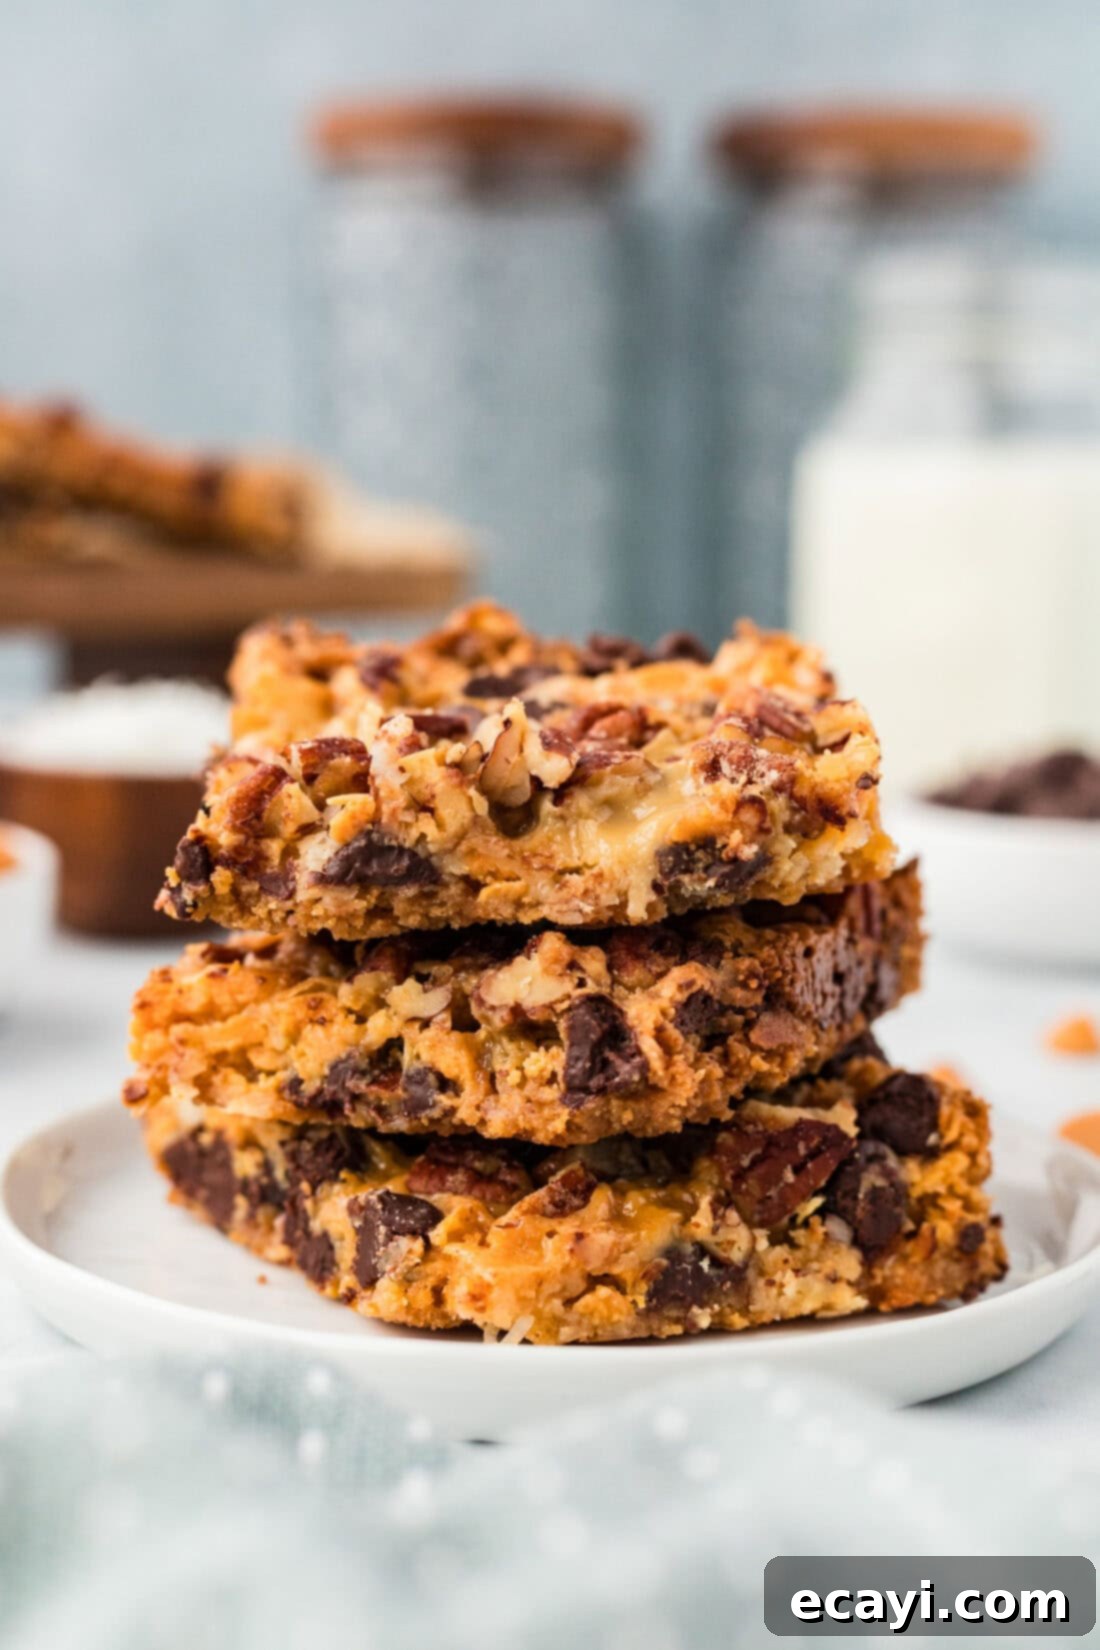
The genuine *magic* behind these seven-layer bars lies in their ingeniously simple construction. Unlike traditional baked goods that often demand a carefully mixed dough, this dessert sidesteps that requirement entirely. Instead, all the delightful ingredients — from crunchy pecans and rich chocolate chips to sweet butterscotch and toasted coconut flakes, all nestled on a buttery graham cracker crust — seamlessly meld together during baking. It’s truly an “everything-but-the-kitchen-sink” kind of dessert bar, where each layer contributes to a symphony of flavors and textures without any pre-mixing.
This beloved vintage dessert has been cherished for generations and goes by several affectionate names, including Hello Dolly bars, magic cookie bars, and most commonly, seven layer bars. What makes this particular recipe stand out is its incredible ease. You won’t need a stand mixer, a mixing bowl, or even a stirring spoon beyond melting butter. All it takes is a single baking pan and your carefully selected, high-quality ingredients to create a truly unforgettable dessert that impresses with minimal fuss.
The secret weapon in these bars is sweetened condensed milk. As it bakes, it caramelizes and binds all the disparate layers into one cohesive, wonderfully chewy, and sweet confection. This not only eliminates the need for a separate batter but also infuses the entire dessert with a rich, buttery toffee-like flavor that is absolutely irresistible. Each bite offers a delightful contrast: the crispness of the graham cracker crust, the chewiness of the coconut, the melt-in-your-mouth chocolate, and the satisfying crunch of pecans, all held together by that luscious, caramelized condensed milk.
Key Ingredients for Your Homemade Magic Bars
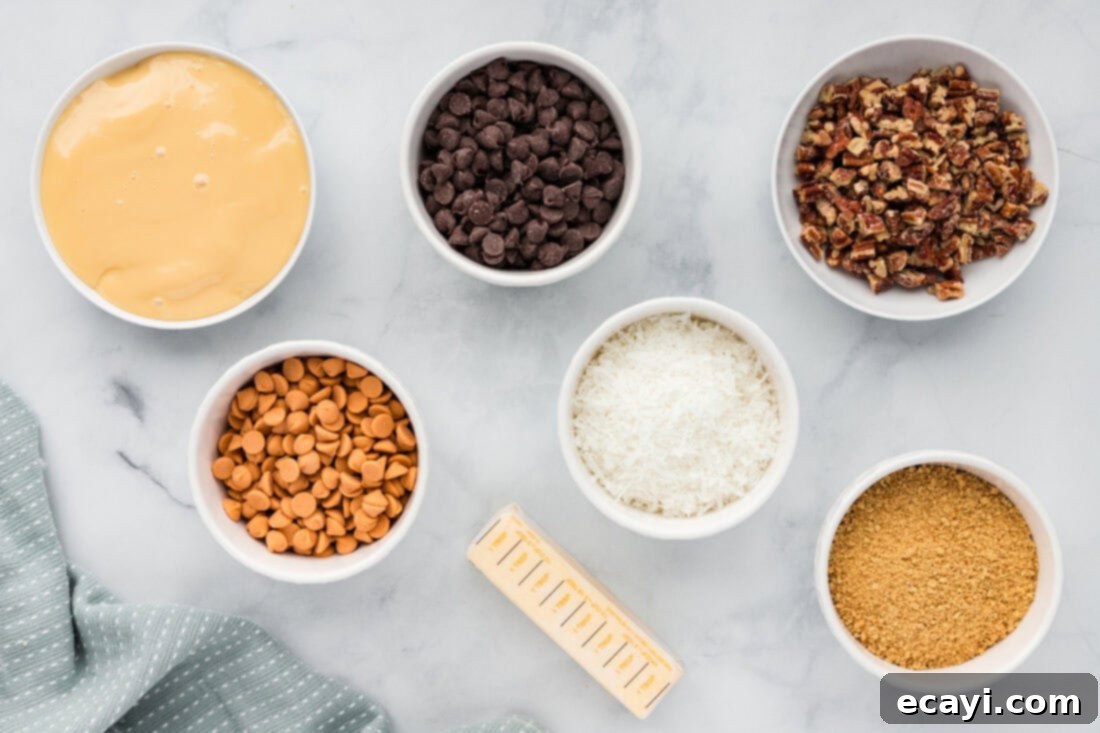
To embark on this delightful baking adventure, you’ll only need seven simple ingredients, most of which you likely already have in your pantry. For precise measurements and step-by-step instructions, make sure to refer to the printable recipe card located at the end of this comprehensive guide.
Ingredient Spotlight: Tips for Perfect 7-Layer Bars
Understanding each ingredient’s role is key to mastering these amazing dessert bars. Here’s a deeper dive into what you’ll need and how to customize them:
- Sweetened Condensed Milk: The Heart of the Magic
Sweetened condensed milk is not just an ingredient; it’s the binding agent and the flavor foundation for these magic bars. As it bakes, this thick, sugary milk undergoes a beautiful caramelization process, creating that signature chewy texture and rich, toffee-like flavor that defines the bars. It also ensures all the layers stick together perfectly, forming a cohesive, sliceable treat. Do not skip or substitute this ingredient, as it is truly the primary source of the “magic” and irreplaceable for achieving the authentic taste and texture. Evaporated milk or regular milk will not yield the same results. - Chocolate Chips: A Symphony of Sweetness
Traditionally, a delightful blend of semi-sweet and butterscotch chocolate chips is used, offering a classic flavor profile that many adore in magic cookie bar recipes. However, the beauty of this dessert lies in its versatility. Feel free to unleash your creativity! You can easily substitute with white chocolate chips, rich dark chocolate chips, creamy peanut butter chips, or classic milk chocolate chips. For an extra pop of color and fun, consider adding M&M’s or other small chopped candies. A mixture often provides the most depth of flavor and visual appeal. - Graham Cracker Crumbs: The Perfect Crunchy Base
You can find pre-crushed graham cracker crumbs conveniently located in most grocery stores, typically near the baking aisle or pie crusts. If they’re unavailable, or if you prefer a fresher taste, making your own is incredibly simple. You’ll need about one full sleeve (approximately 7-8 whole graham crackers) to yield one cup of crushed crumbs. Simply place the crackers in a large zip-top bag and crush them with a rolling pin until fine, or pulse them quickly in a food processor for a uniform consistency. For a twist, you could also experiment with crushed vanilla wafers, shortbread cookies, or even pretzel crumbs for a sweet and salty contrast. - Butter: The Foundation of Flavor
Unsalted butter is melted and forms the delicious, sturdy base for your graham cracker crust. It provides richness and helps the crumbs compress into a firm layer that holds up beautifully once baked. Using unsalted butter allows you to control the overall saltiness of your bars, ensuring a balanced flavor. - Shredded Sweetened Coconut: Tropical Chewiness
Sweetened shredded coconut adds a wonderful texture and tropical flavor that toasts slightly during baking, enhancing its natural sweetness and aroma. Ensure you use sweetened coconut for the best results, as it contributes to the overall moisture and sweetness of the bars. If you prefer less sweetness, unsweetened coconut can be used, but the overall flavor profile will be slightly different. - Nuts: The Essential Crunch
For an added layer of texture and nutty flavor, pecans or walnuts are both excellent choices and are traditionally found in these bars. Their earthy notes beautifully complement the sweetness of the other ingredients. You can chop them roughly or finely, depending on your preferred bite. To elevate their flavor even further, briefly toast the nuts in a dry pan or in the oven for a few minutes before adding them to the bars; this brings out their essential oils and deepens their taste. Feel free to use a mix of nuts or even almonds if you have them on hand.
Step-by-Step Guide: Crafting Your Easy Magic Bars
These step-by-step photos and detailed instructions are provided to help you visualize each stage of making this incredible recipe. For a convenient, printable version complete with all measurements and instructions, simply Jump to Recipe at the bottom of this post.
- Preheat your oven to 350 degrees F (175 degrees C). This ensures your oven is at the correct temperature for even baking from the moment you put the pan in.
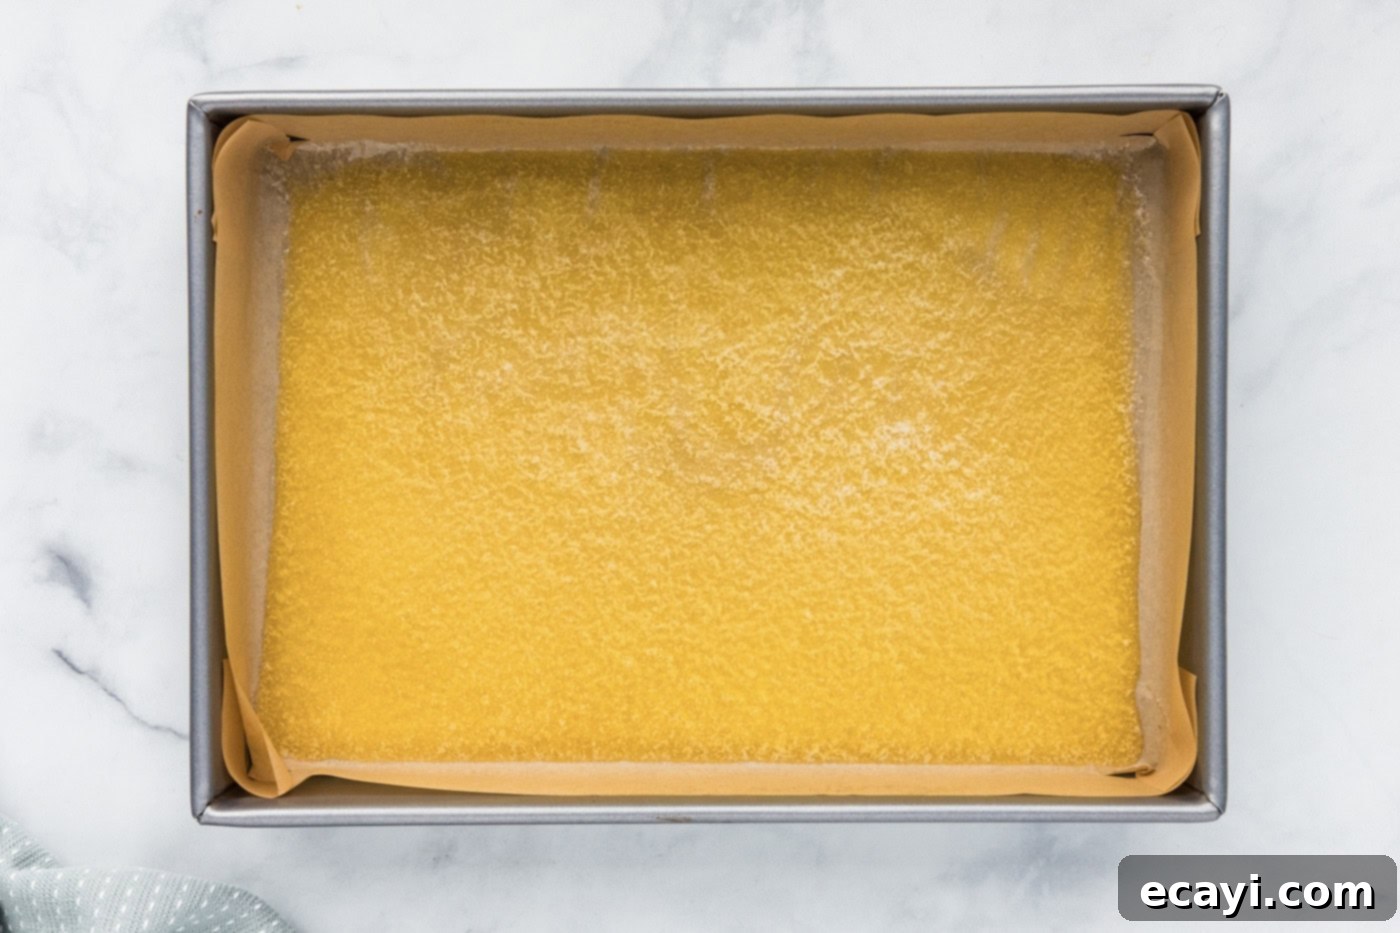
- Melt the butter in the microwave until fully liquid. Carefully pour the melted butter evenly into a 9×13-inch baking pan, ensuring it coats the entire bottom surface. This will form the rich foundation of your crust.

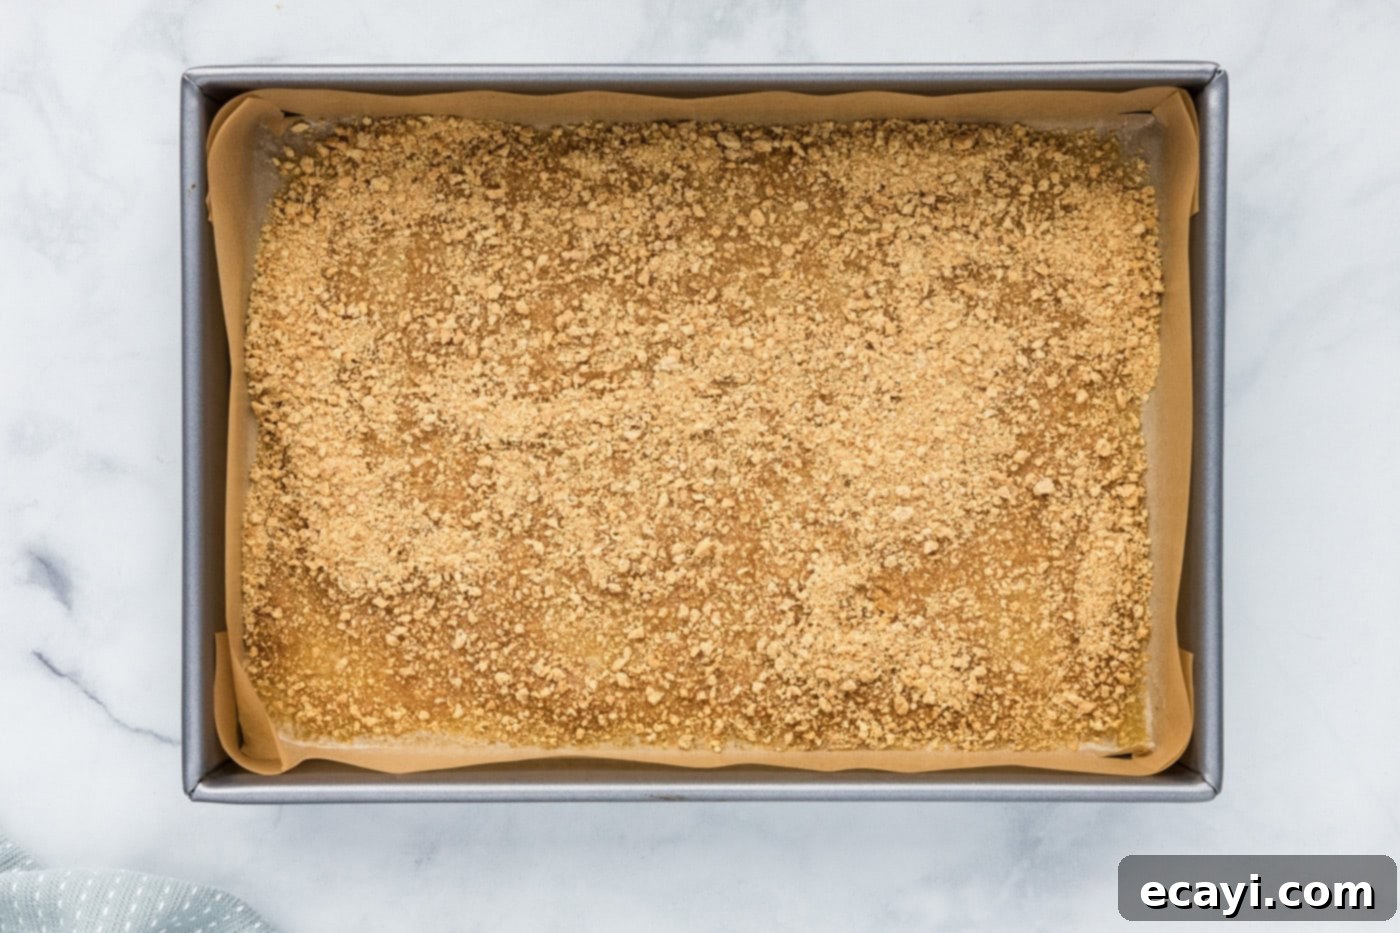
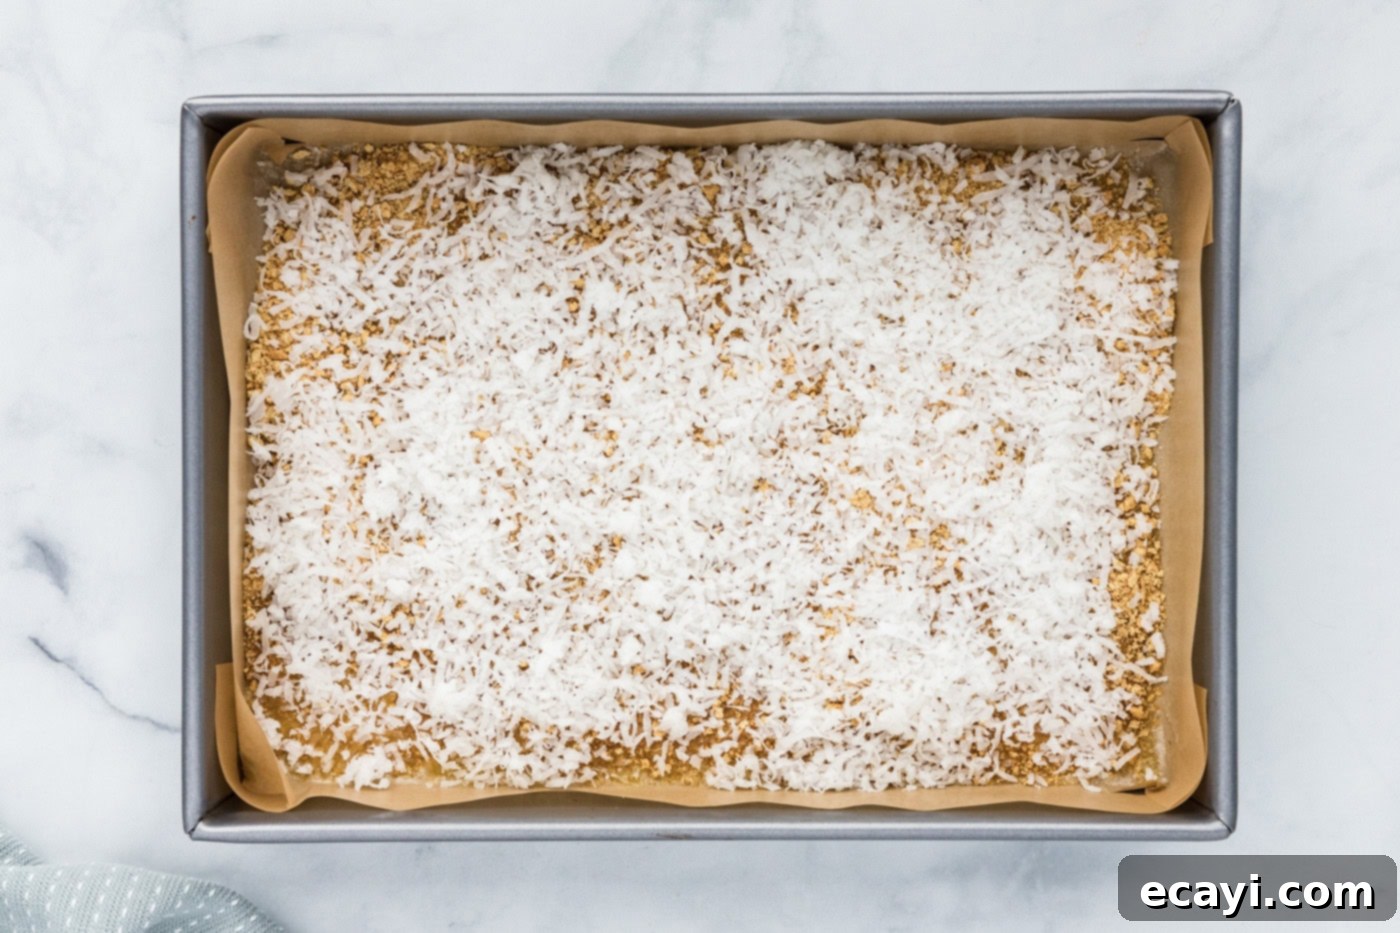
- Evenly sprinkle the graham cracker crumbs over the top of the melted butter. Gently press them down with the back of a spoon to form a compact crust. Next, generously sprinkle the shredded sweetened coconut over the graham cracker crumbs, creating an even, fluffy layer.


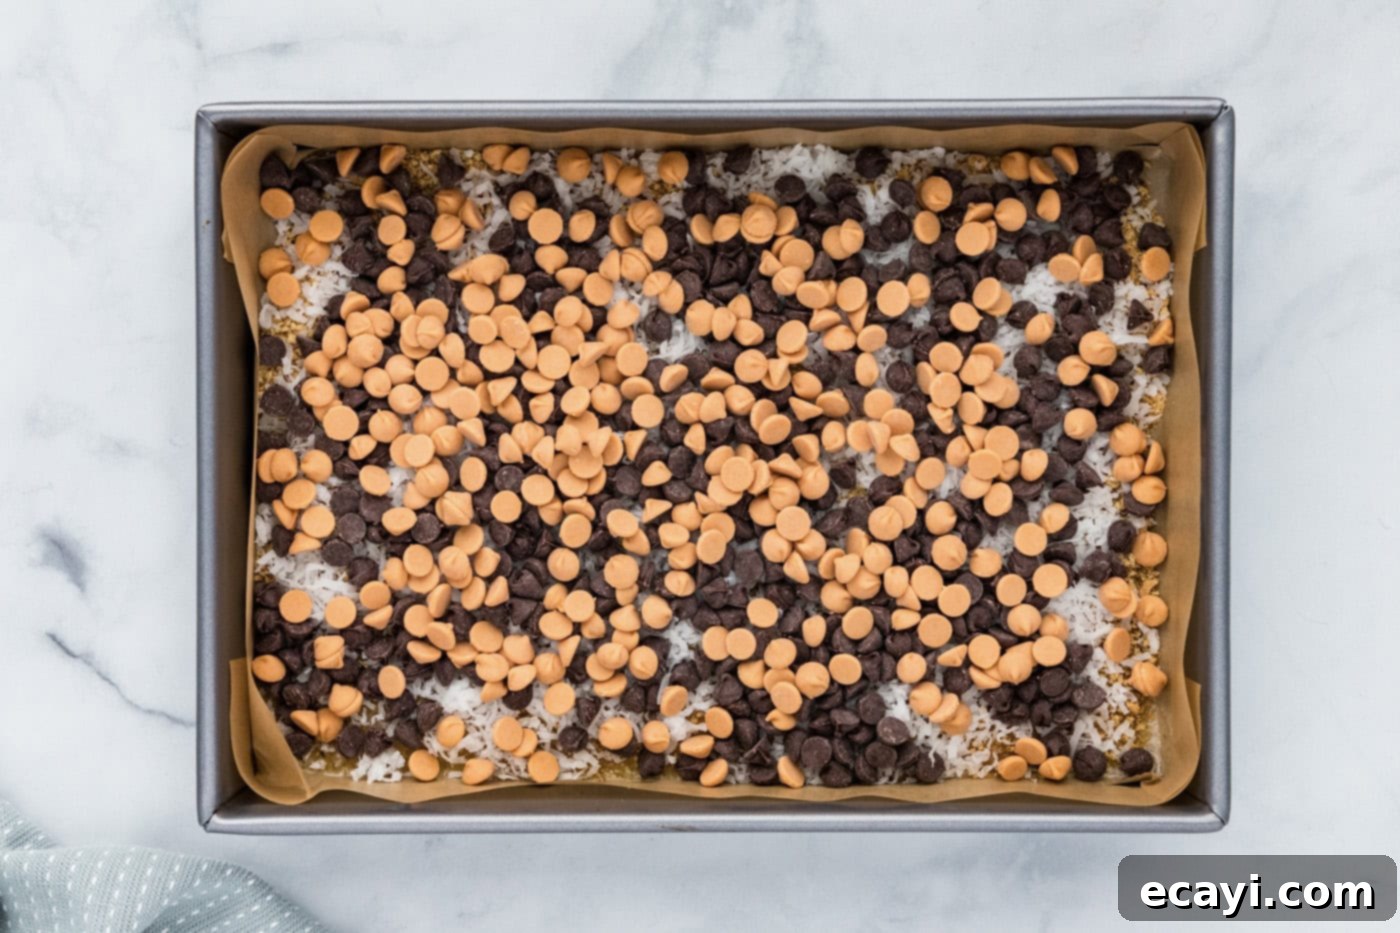
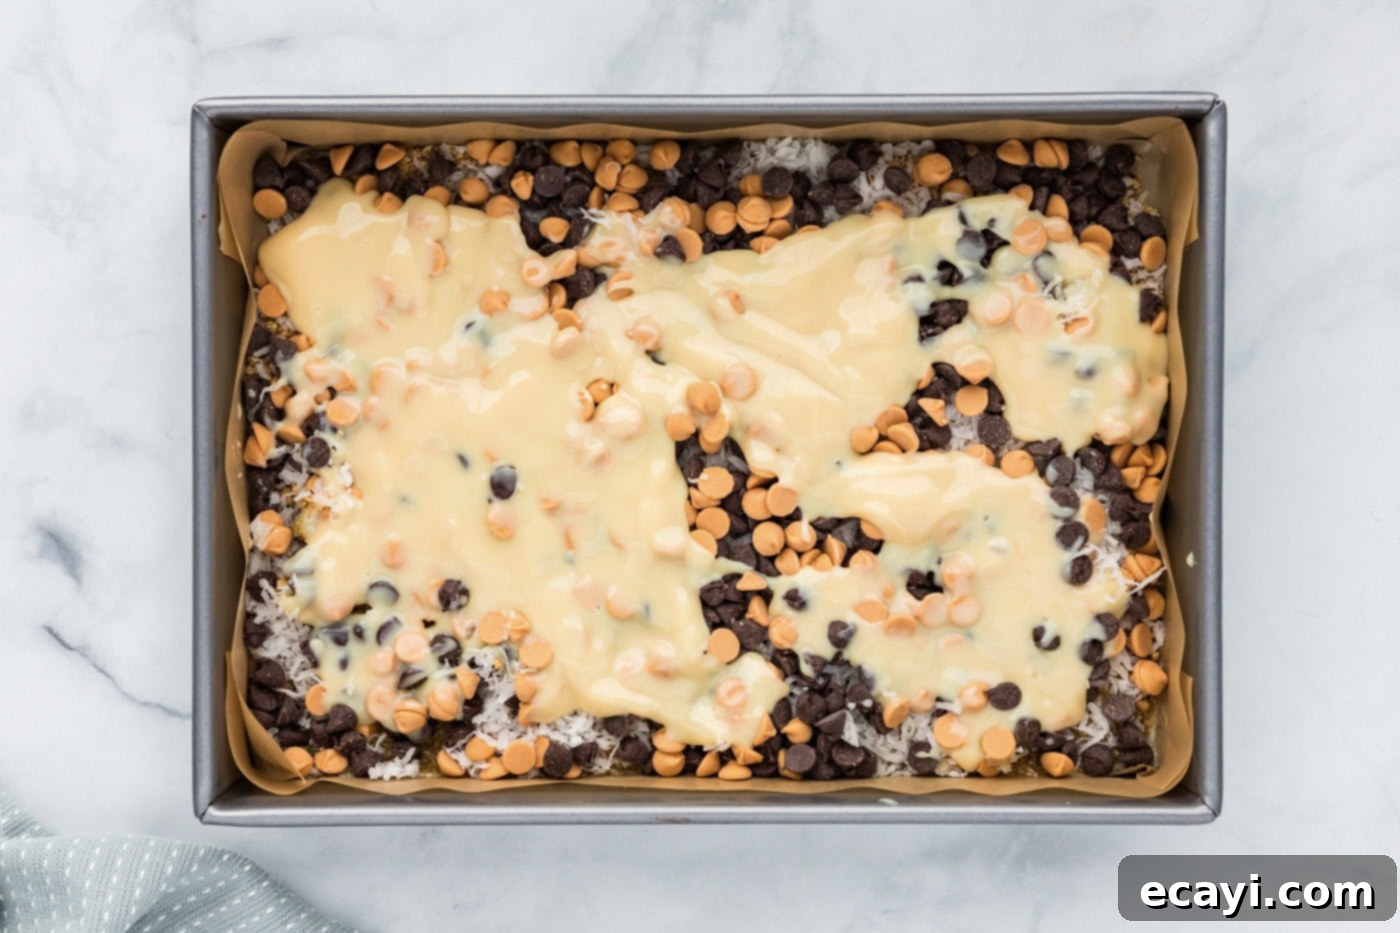
- Scatter the chocolate chips (semi-sweet and butterscotch, or your preferred combination) evenly over the coconut layer. Then, slowly and carefully pour the entire can of sweetened condensed milk over all the layered ingredients. Ensure the milk covers the chips as much as possible; it acts as the “glue” for all the magic!


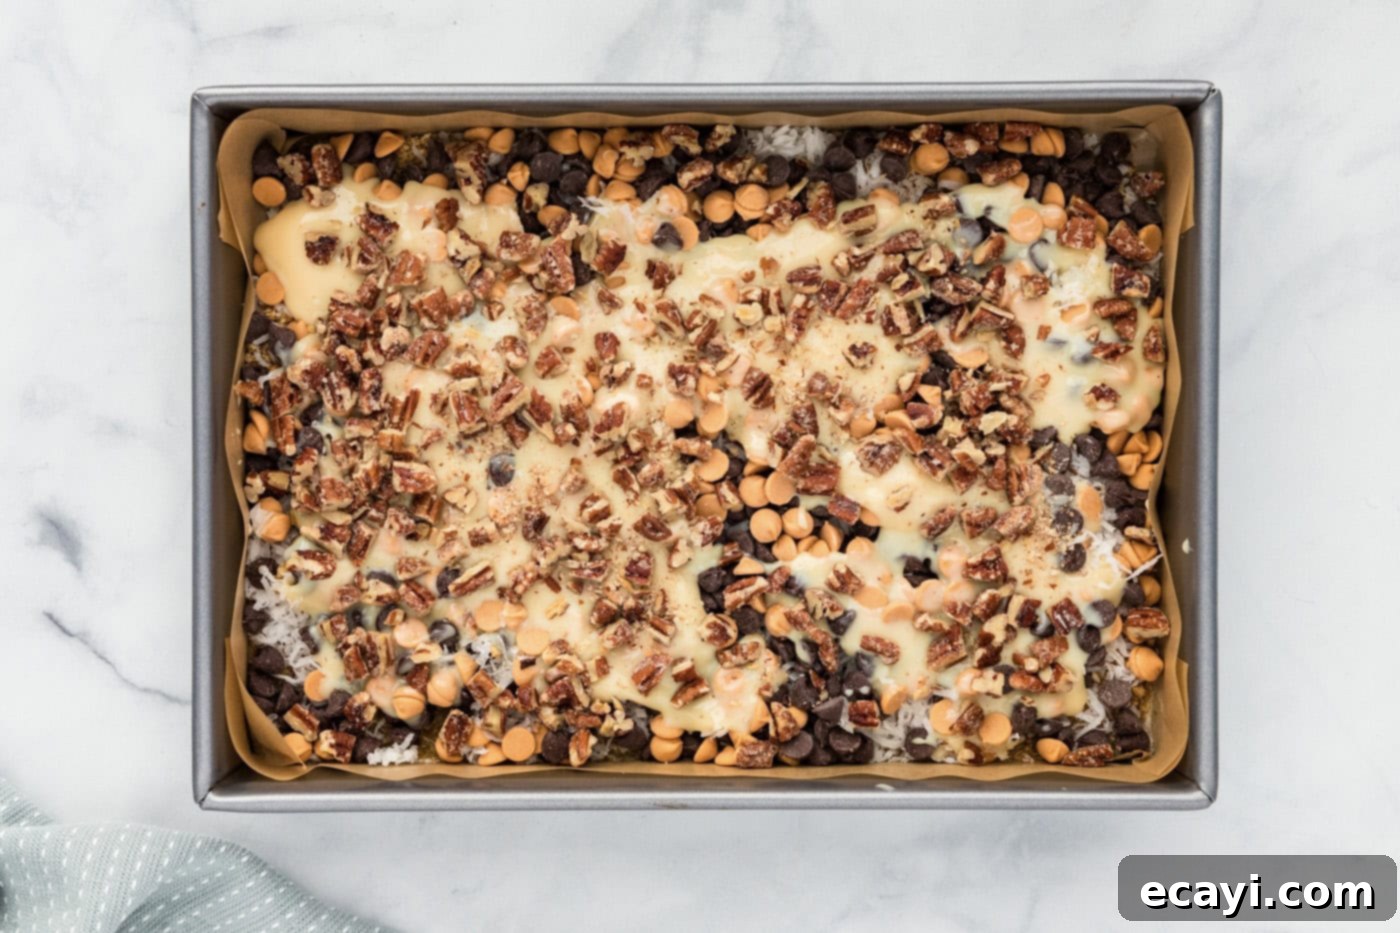
- Finally, sprinkle the chopped pecans (or walnuts) generously over the top of the sweetened condensed milk layer. This will provide a beautiful finish and a satisfying crunch.

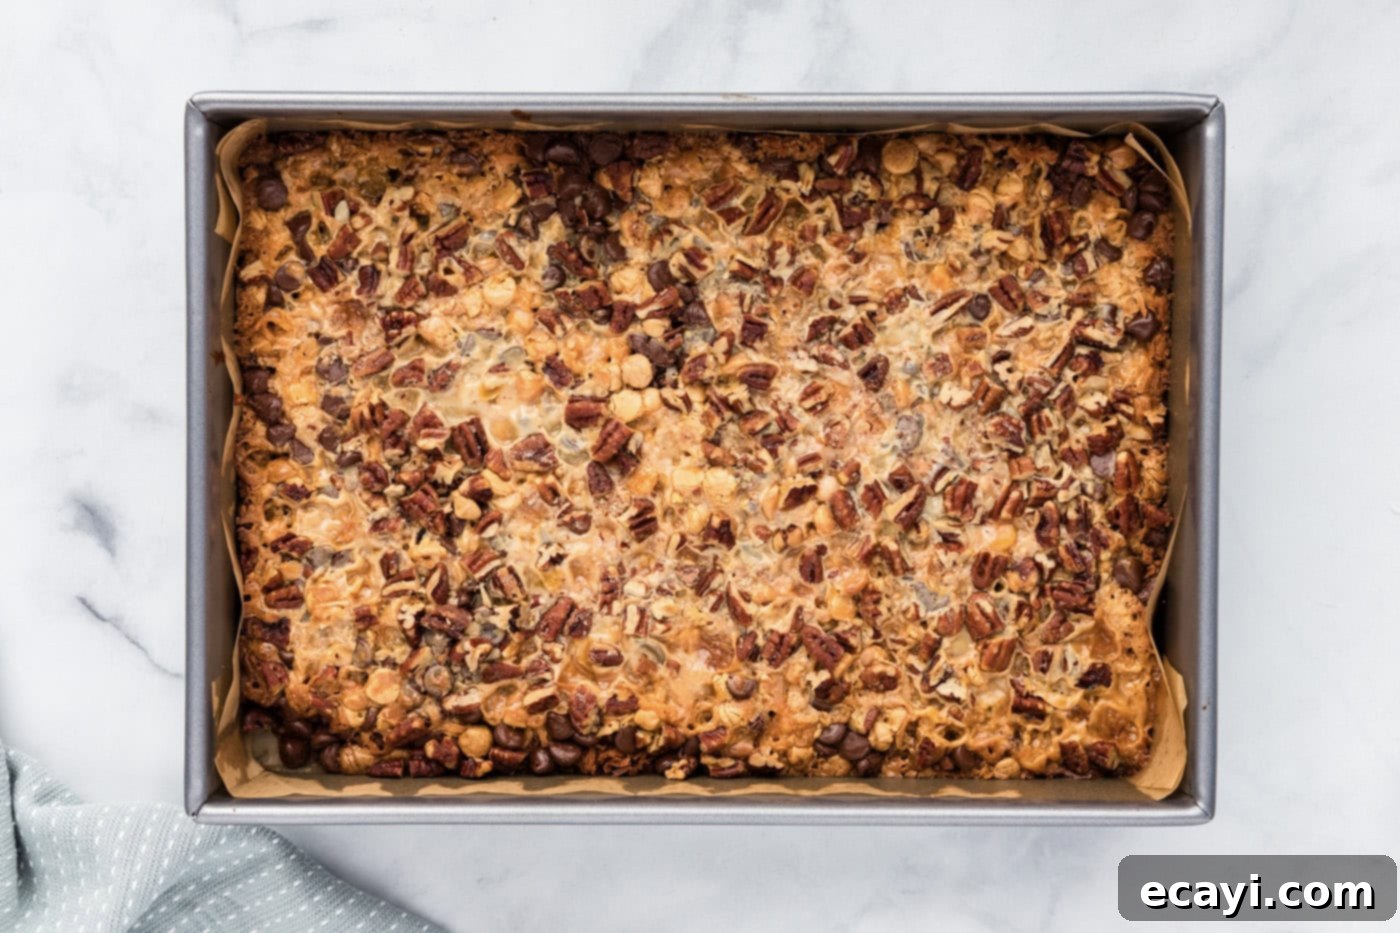
- Bake in the preheated oven for approximately 30 minutes, or until the top layer is golden brown and the edges are bubbling. Once baked, remove the pan from the oven and place it on a wire rack to cool completely. Allowing the bars to cool thoroughly, preferably for at least 2-3 hours or even chilling in the refrigerator, is crucial for clean, neat cuts.

Frequently Asked Questions & Expert Tips for Magic Bar Success
Absolutely! The “everything-but-the-kitchen-sink” nature of magic bars means they are highly adaptable. However, you’ll want to be mindful of the quantity you add. Too many additional dry ingredients can alter the texture due to the precise ratio of condensed milk to dry components. Instead of simply adding more, consider swapping out an existing ingredient. For instance, replace one type of chocolate chip with mini M&M’s, chopped pretzels, dried cranberries, or even crumbled cookies. Think about flavors that complement the existing sweet and nutty profile!
To maintain their freshness and chewy texture, store any leftover magic bars in an airtight container. They will keep well at room temperature for 3-4 days. For extended freshness, or if you live in a particularly warm climate, you can store them in the refrigerator for up to 7 days. Just be aware that refrigeration might make them slightly firmer.
Yes, magic bars freeze beautifully! Once your bars have fully cooled, slice them into individual squares. Then, transfer them to a large freezer-safe zip-top bag or an airtight container. To prevent them from sticking together, it’s advisable to individually wrap each bar in parchment paper or plastic wrap, especially if you plan to stack them. They can be frozen for up to 3 months. When you’re ready to enjoy them, simply thaw them at room temperature for a couple of hours.
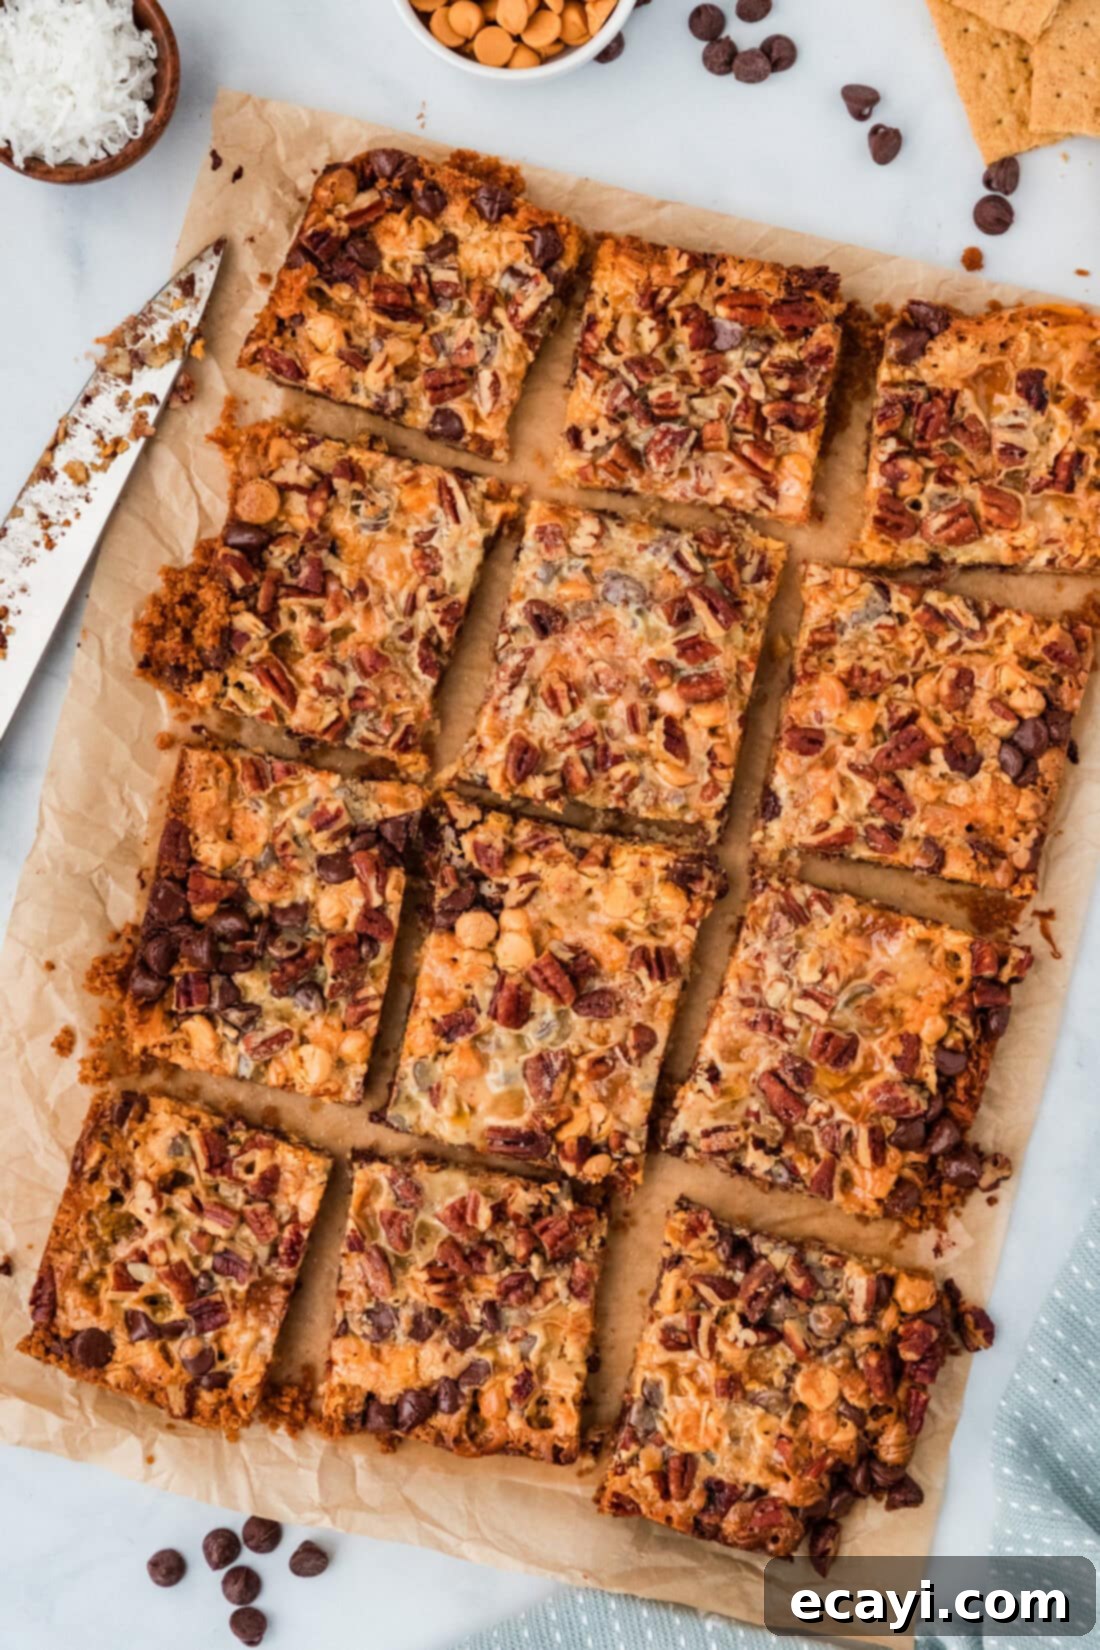
The key to perfectly neat squares is allowing your magic bars to cool completely before slicing. For the cleanest cuts, consider chilling the entire pan in the refrigerator for at least an hour (or even overnight). A sharp knife and wiping the blade clean between cuts will also significantly help prevent sticking and tearing, ensuring each bar looks as good as it tastes.
If your bars are greasy, you might have used too much butter for the crust, or the butter wasn’t fully incorporated with the graham crumbs before baking. For crumbly bars, the crust may not have been pressed firmly enough, or there wasn’t enough butter. If they’re too hard, it could be overbaking; the condensed milk can become very stiff when overcooked. Keep an eye on the edges turning golden and bubbling, and remember that they will firm up considerably as they cool.
Serving Suggestions for Your Delightful Magic Bars
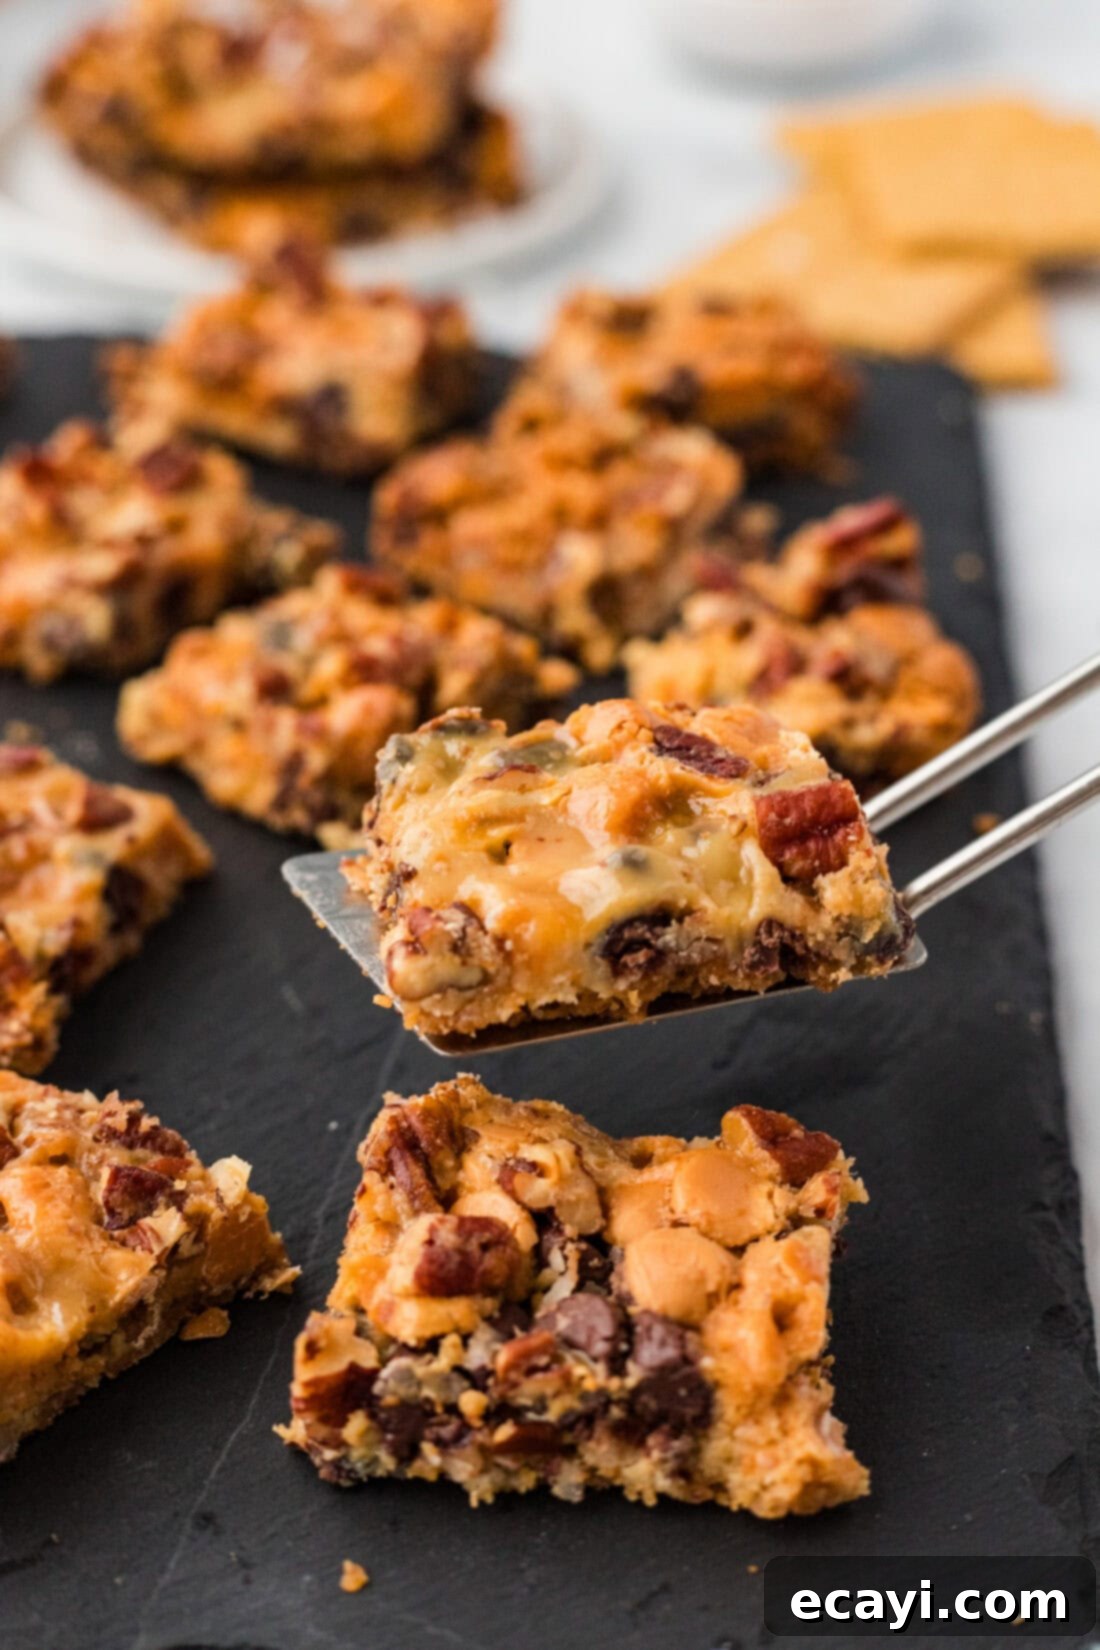
When I first introduced these incredible bars to my teenage sons and their friends back in 2014, the pan was half-empty in record time. So, be warned: these magic bars are an instant crowd-pleaser and disappear quickly! They’re truly a dessert that brings smiles to faces and keeps everyone coming back for more.
I believe these make the perfect bake sale treats, individually wrapped in clear cellophane bags with a pretty ribbon. Their irresistible charm also makes them a massive hit at potlucks, holiday parties, and any family get-together. Beyond their deliciousness, this is also a fantastic recipe to involve younger children in the kitchen due to its incredibly simple, layering-focused preparation. Enjoy the process as much as you enjoy the outcome!
For an extra indulgent experience, serve them slightly warm with a scoop of vanilla bean ice cream or a dollop of fresh whipped cream. They also pair wonderfully with a hot cup of coffee or a cold glass of milk, making them ideal for an afternoon treat or a satisfying end to any meal.
Discover More Irresistible Dessert Bar Recipes
If you’ve fallen in love with the simplicity and deliciousness of these magic bars, you’re in luck! We have an array of other fantastic dessert bar recipes that are just as easy to make and equally delightful. Explore these other favorites:
- Classic Nanaimo Bars
- Luxurious Millionaires Bars
- Effortless No-Bake Peanut Butter Bars
- Decadent Brown Butter Toffee Blondies
I absolutely adore baking and cooking, and my greatest joy is sharing my kitchen experiences and tried-and-true recipes with all of you! Remembering to check back every day for new delights can be a challenge, which is why I offer a convenient newsletter delivering a fresh recipe directly to your inbox every time a new one posts. Simply subscribe today and start receiving your free daily recipes, ensuring you never miss a delicious update!
Classic 7-Layer Magic Bars
IMPORTANT – There are often Frequently Asked Questions within the blog post that you may find helpful. Simply scroll back up to read them!
Print It
Pin It
Rate It
Pin It
Save It
Saved!
Prevent your screen from going dark
Course:
Desserts
Cuisine:
American
24
bars
35 minutes
246
Amanda Davis
Ingredients
-
½
cup
unsalted butter -
1
cup
graham cracker crumbs -
1
cup
shredded sweetened coconut -
1
cup
semisweet chocolate chips -
1
cup
butterscotch chips -
14
ounce
can sweetened condensed milk -
1 ½
cup
chopped pecans
Things You’ll Need
-
13×9 baking pan
Before You Begin
- You can purchase pre-crushed graham cracker crumbs from the grocery store, but if you can’t seem to find them, you can crush them yourself with a rolling pin and large ziptop bag (or pulse them in a food processor). You will need about 1 whole sleeve, or 7-8 whole graham crackers to yield 1 cup crushed.
- Sweetened condensed milk is a must when making magic bars. It works as the binding agent, caramelizing as it cooks with the other ingredients and helping everything stick together. Do not skip or substitute this ingredient; after all, it’s the main source of the magic.
- For the cleanest cuts, allow the bars to cool completely at room temperature, then chill in the refrigerator for at least 1 hour before slicing.
- Consider lining your baking pan with parchment paper, leaving an overhang on the sides, to easily lift the entire slab of bars out for cutting.
Instructions
-
Preheat oven to 350 degrees F (175 C).
-
Melt butter in the microwave and transfer to a 9 x 13 inch baking pan, ensuring it covers the bottom evenly.1/2 cup unsalted butter
-
Sprinkle graham cracker crumbs evenly over the melted butter. Then, sprinkle shredded sweetened coconut over the graham cracker crumbs.1 cup graham cracker crumbs,
1 cup shredded sweetened coconut -
Evenly sprinkle semisweet and butterscotch chocolate chips (or your preferred combination) over the coconut layer.1 cup semisweet chocolate chips,
1 cup butterscotch chips -
Carefully pour the entire can of sweetened condensed milk over the chocolate chip layer. Then, sprinkle the chopped pecans over the milk layer.14 ounce can sweetened condensed milk,
1 1/2 cup chopped pecans -
Bake for 30 minutes, or until the top is golden brown and bubbly. Remove from oven to a wire rack and allow to cool completely before cutting into squares for best results.
Expert Tips & FAQs
- Storage – Store leftover magic bars in an air-tight container at room temperature for 3-4 days, or in the refrigerator for up to 7 days for extended freshness.
- Freezing – To freeze, allow the bars to fully cool, then slice them into individual portions. Transfer them to a large zip-top bag or freezer-safe container. To prevent sticking, you can individually wrap each bar. Freeze for up to 3 months. Thaw at room temperature for optimal enjoyment.
- Even Layers – For beautiful, distinct layers, try to spread each ingredient as evenly as possible before adding the next. This ensures every bite has a bit of everything!
- Cooling is Key – Patience is a virtue when it comes to magic bars! Rushing the cooling process will result in messy, crumbly cuts. Let them cool completely before slicing.
Nutrition
Serving:
1
bar
|
Calories:
246
cal
|
Carbohydrates:
24
g
|
Protein:
3
g
|
Fat:
16
g
|
Saturated Fat:
8
g
|
Polyunsaturated Fat:
2
g
|
Monounsaturated Fat:
5
g
|
Trans Fat:
0.2
g
|
Cholesterol:
17
mg
|
Sodium:
74
mg
|
Potassium:
160
mg
|
Fiber:
2
g
|
Sugar:
19
g
|
Vitamin A:
177
IU
|
Vitamin C:
1
mg
|
Calcium:
62
mg
|
Iron:
1
mg
Tried this Recipe? Pin it for Later!
Follow on Pinterest @AmandasCookin or tag #AmandasCookin!
The recipes on this blog are tested with a conventional gas oven and gas stovetop. It’s important to note that some ovens, especially as they age, can cook and bake inconsistently. Using an inexpensive oven thermometer can assure you that your oven is truly heating to the proper temperature. If you use a toaster oven or countertop oven, please keep in mind that they may not distribute heat the same as a conventional full sized oven and you may need to adjust your cooking/baking times. In the case of recipes made with a pressure cooker, air fryer, slow cooker, or other appliance, a link to the appliances we use is listed within each respective recipe. For baking recipes where measurements are given by weight, please note that results may not be the same if cups are used instead, and we can’t guarantee success with that method.
This post was thoughtfully updated with new photos, expanded expert tips, and enhanced details, building upon the original version that first appeared here on May 19, 2014.
