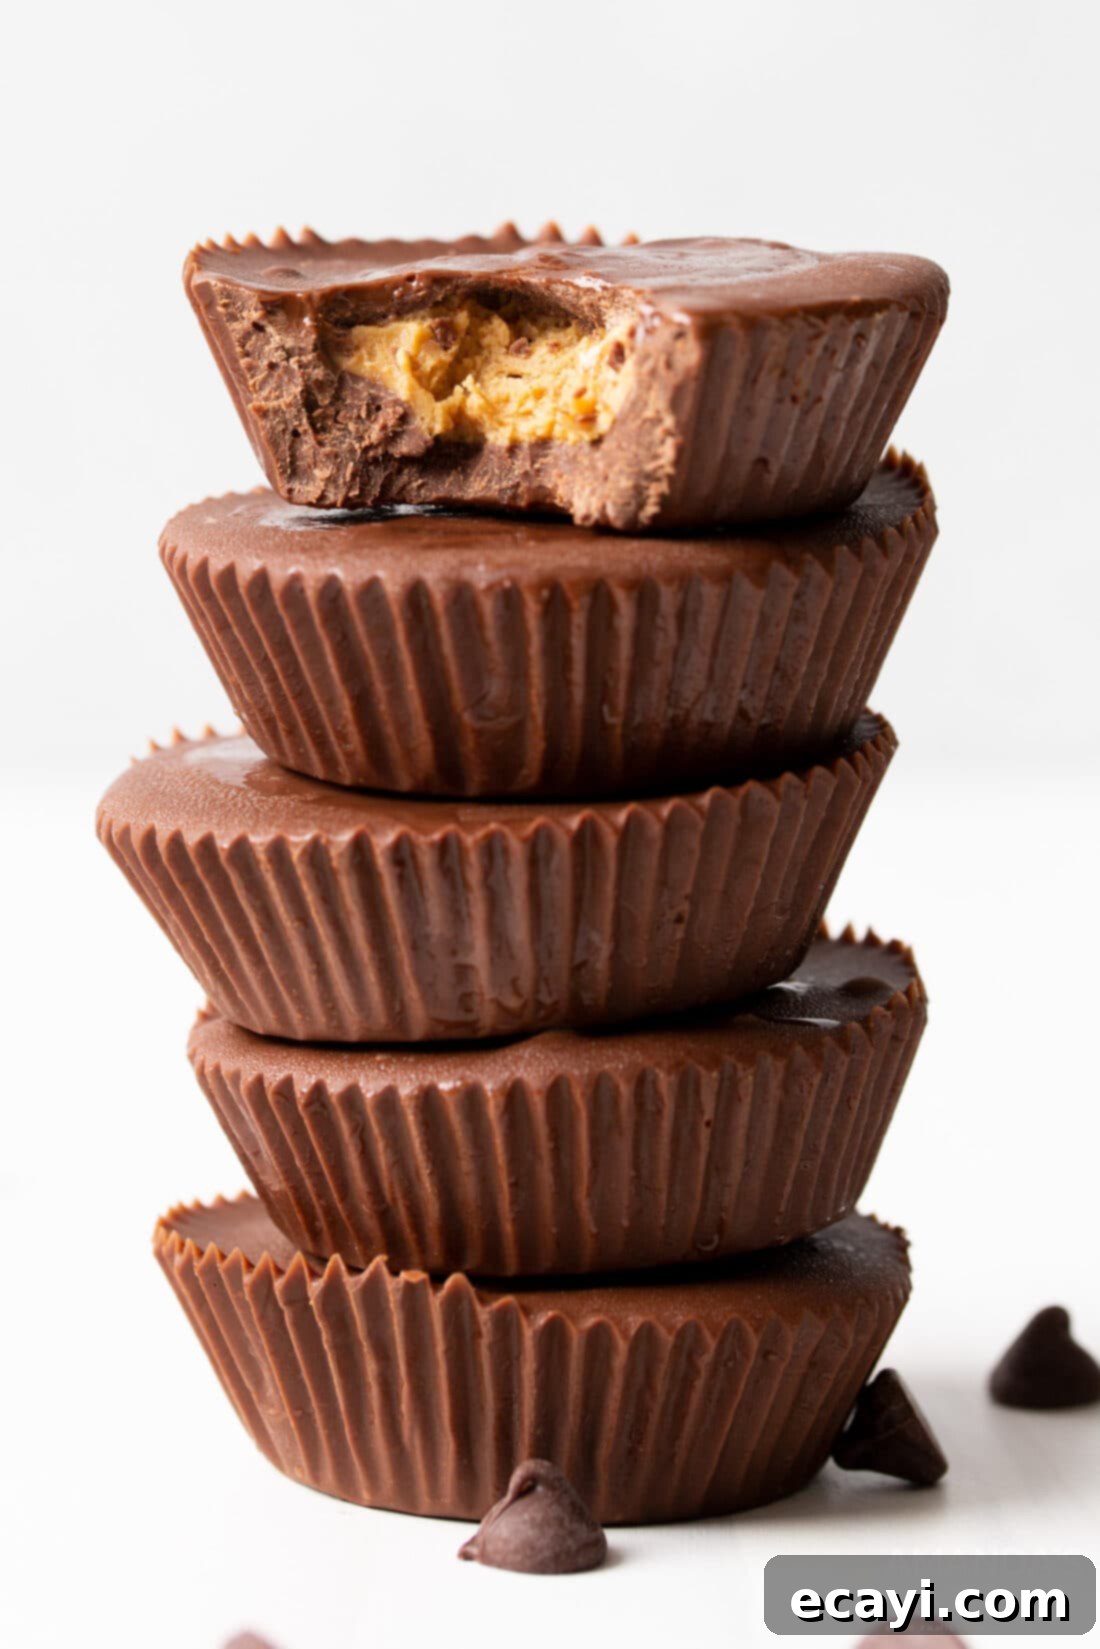
Ultimate 3-Ingredient Homemade Peanut Butter Cups: Easy & Irresistible Candy Recipe
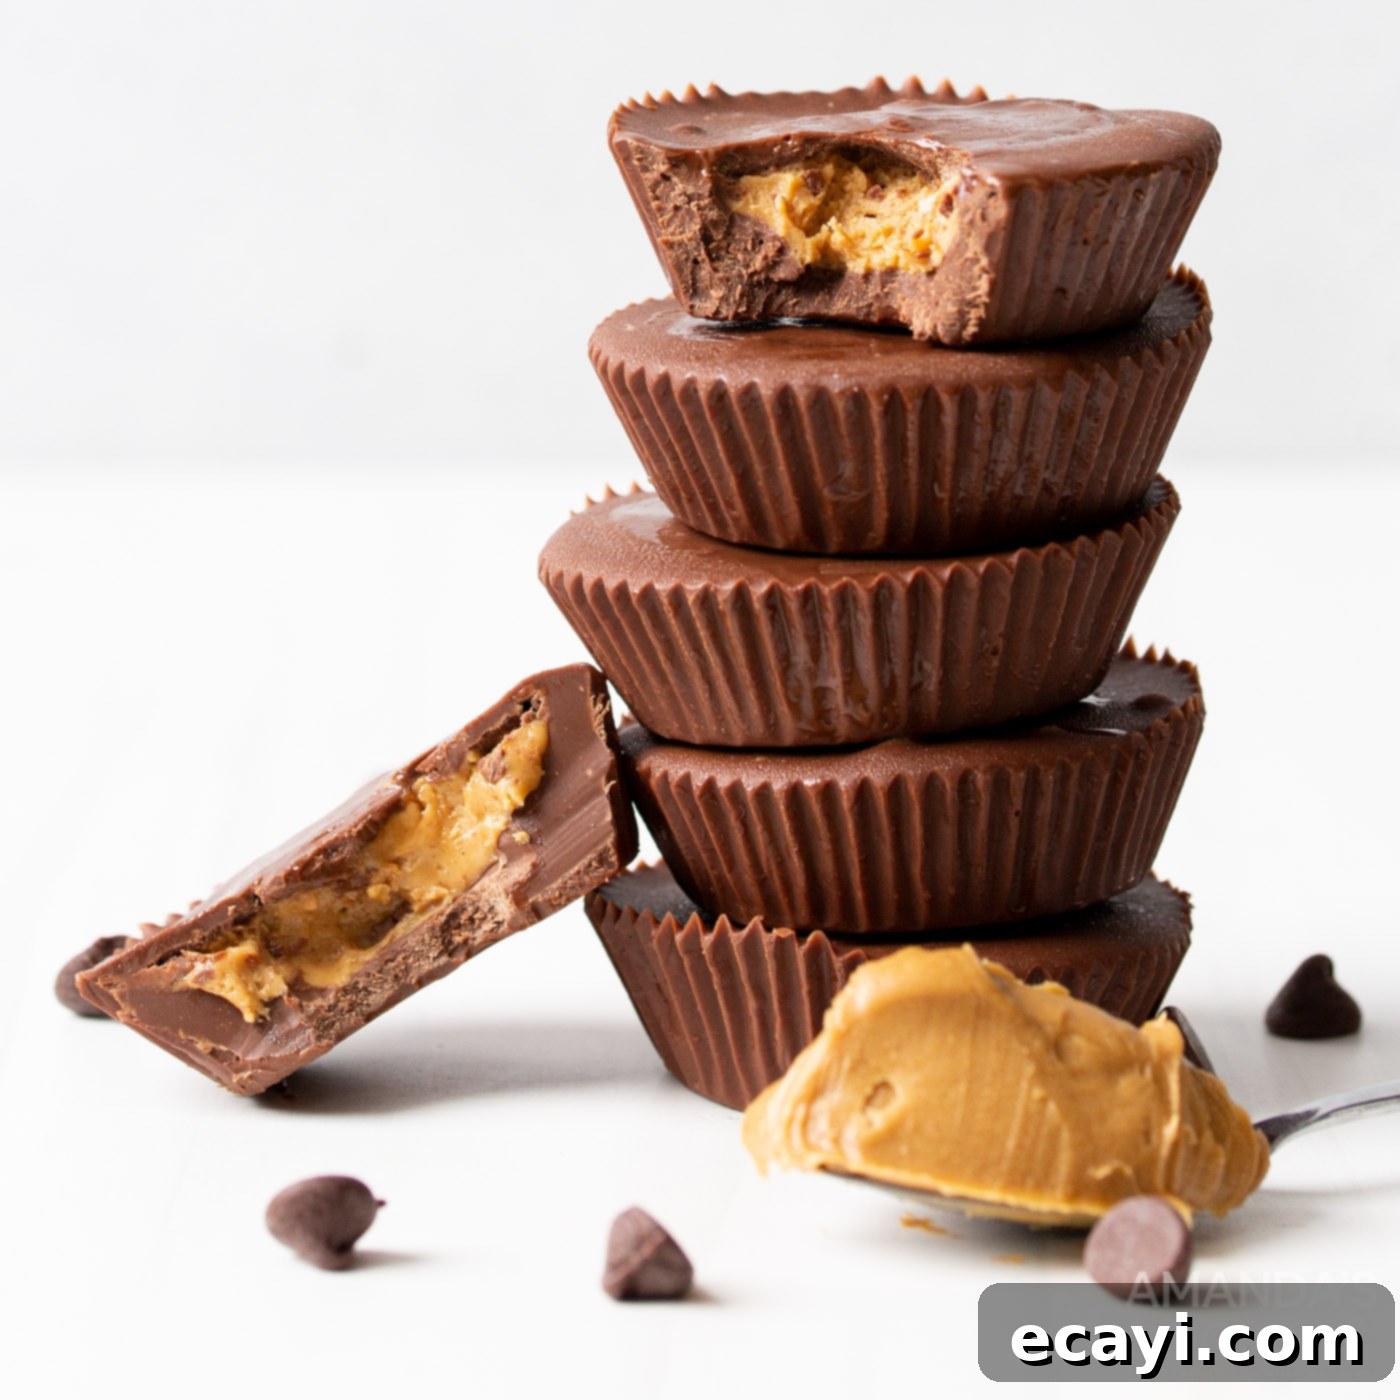
Craving that classic combination of rich chocolate and creamy peanut butter? Look no further! This simple, 3-ingredient homemade peanut butter cups recipe delivers an incredibly satisfying treat, featuring a decadent milk chocolate shell generously filled with a velvety smooth blend of peanut butter and powdered sugar. Forget the store-bought versions; these DIY delights are quick to make, taste divine, and are perfect for satisfying your sweet tooth or sharing as thoughtful gifts.
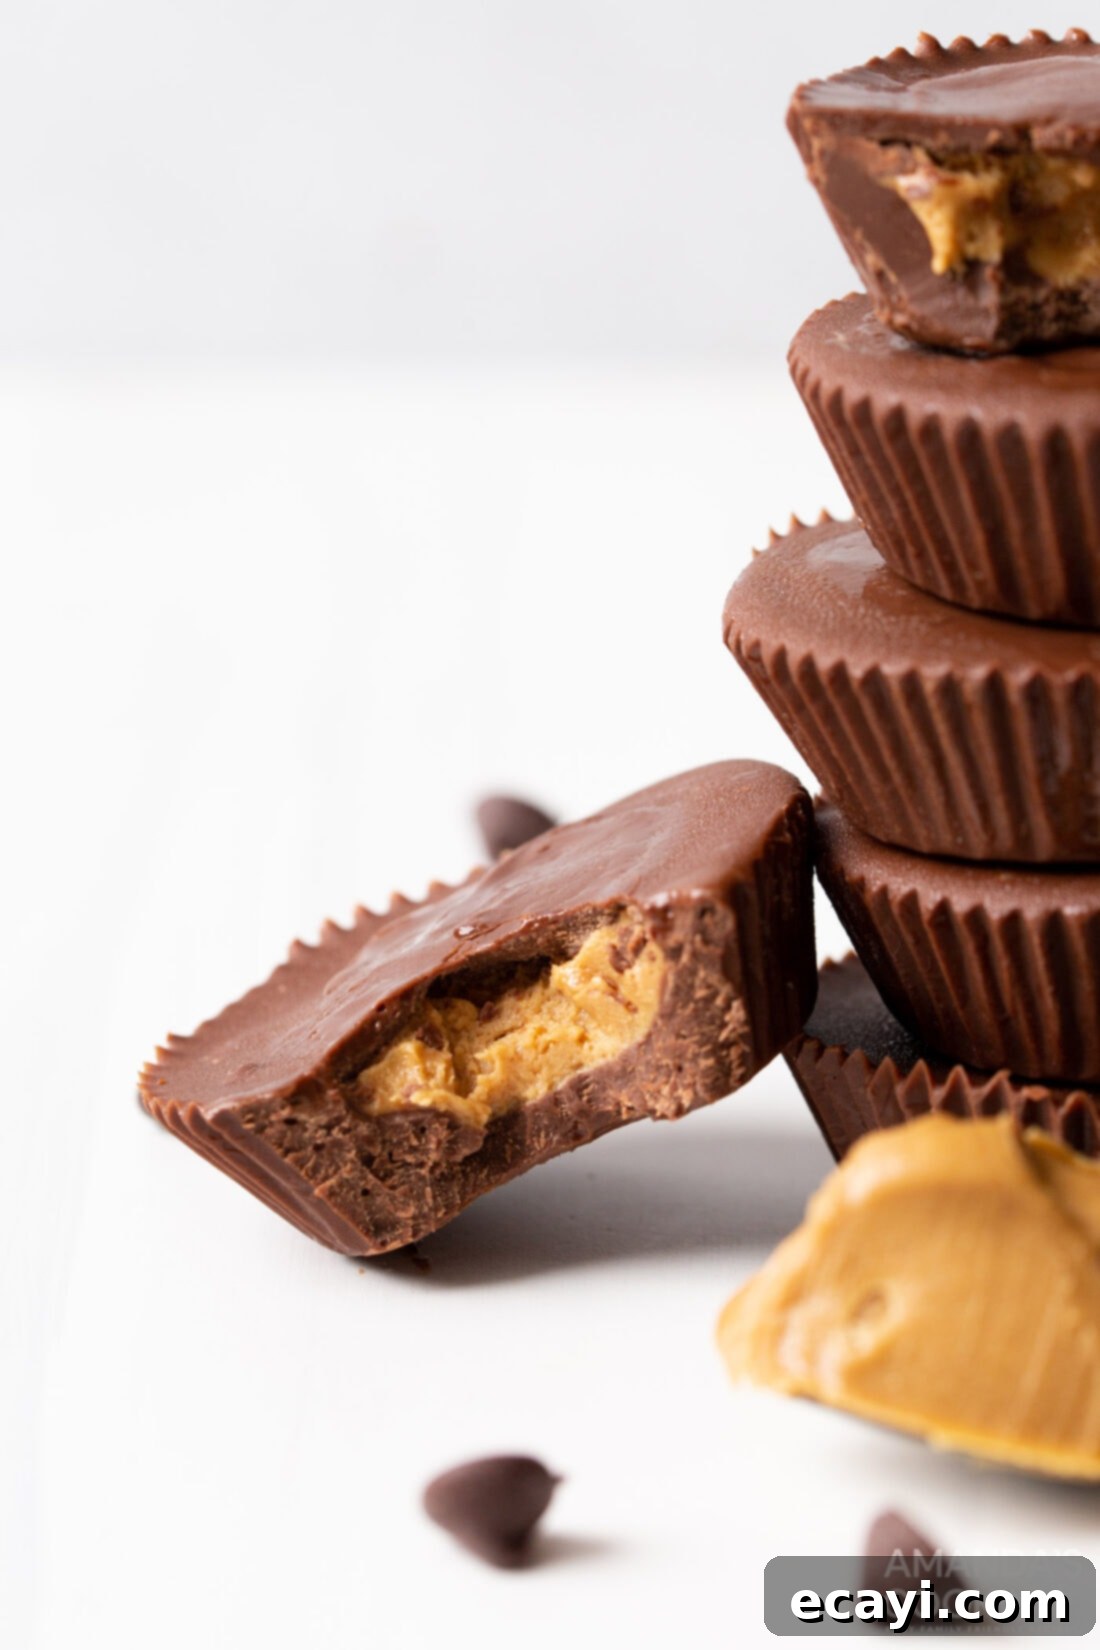
Why This Recipe Works: The Magic of Homemade Perfection
There’s an undeniable charm to homemade candies, and these peanut butter cups are no exception. They capture the beloved essence of their famous store-bought counterparts but with the added warmth and satisfaction of a dessert made right in your own kitchen. This recipe stands out for its incredible simplicity and accessibility, requiring minimal ingredients and equipment. Unlike more complex baking projects, these peanut butter cups come together in mere minutes of active prep time, with the freezer doing most of the heavy lifting.
Essentially, these homemade treats are quite similar to popular chocolate peanut butter balls, but instead of rolling them by hand, you get to create that iconic cup shape effortlessly within cupcake liners. This not only streamlines the process but also yields a perfectly uniform and visually appealing candy. With just three core ingredients – chocolate, peanut butter, and powdered sugar – you’ll be amazed at how easily you can replicate and even surpass the flavor and texture of your favorite candy bar. It’s a foolproof method that guarantees creamy, dreamy results every time, making it an ideal project for beginner bakers and seasoned confectioners alike. Plus, controlling the quality of ingredients means a fresher, more personalized taste.
Essential Ingredients for Your Peanut Butter Cups
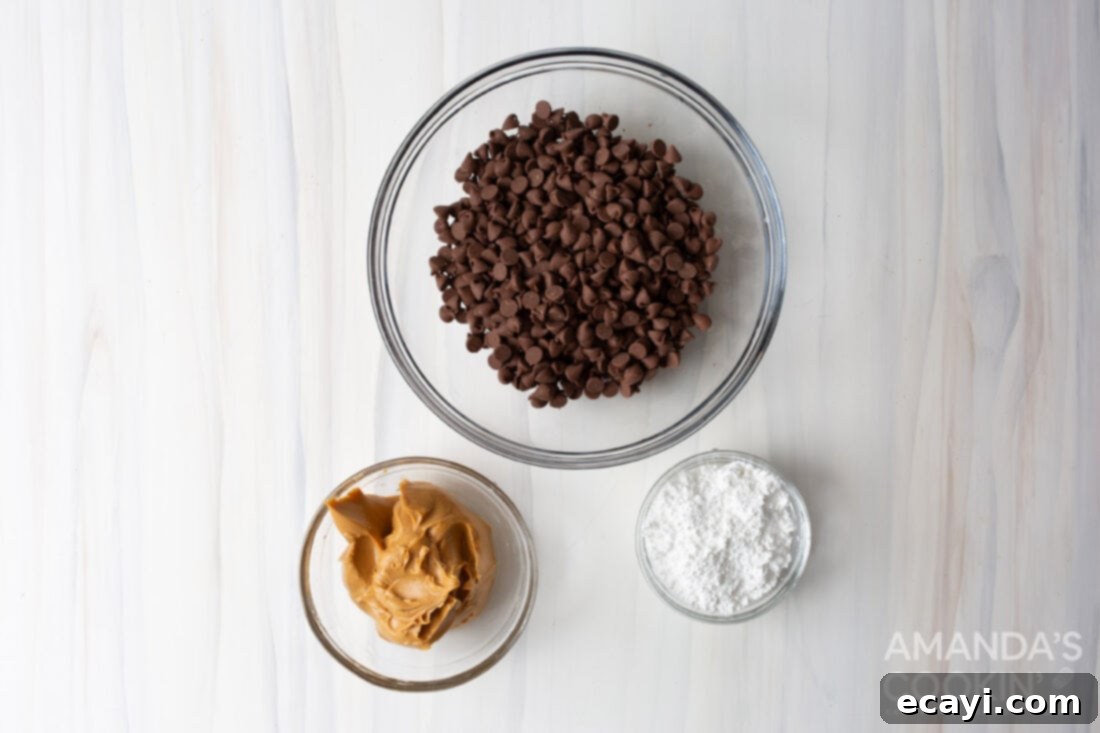
Crafting these delectable homemade peanut butter cups requires only three simple ingredients, proving that sometimes, less is truly more when it comes to incredible flavor. Each component plays a crucial role in achieving that perfect balance of sweet, salty, and utterly irresistible. While the recipe is straightforward, the quality of your ingredients will shine through, so opt for your favorites. You can find all specific measurements, quantities, and detailed instructions in the printable recipe card located at the very end of this blog post.
Ingredient Info and Smart Substitution Suggestions
Let’s dive a little deeper into the star ingredients and explore some options to customize your homemade peanut butter cups to perfection:
CHOCOLATE – Our recipe calls for milk chocolate chips, which provide a wonderfully sweet and creamy coating that perfectly complements the peanut butter filling. However, feel free to personalize your chocolate experience. If you prefer a richer, less sweet taste, you can easily replace the milk chocolate with dark chocolate chips or a chopped dark chocolate bar. For those who enjoy a subtle bitterness to cut through the sweetness, semi-sweet chocolate is also an excellent option. When melting, whether you use chips or a chopped bar, ensuring a smooth, lump-free consistency is key for that professional finish. High-quality chocolate will always yield superior results in terms of both flavor and texture. For an extra touch of decadence, consider using a mix of different chocolate types for a marbled effect or a combination of flavors.
PEANUT BUTTER – The heart of these cups is, of course, the peanut butter. For this recipe, we highly recommend using a regular, creamy peanut butter, such as Jif or Skippy, rather than natural peanut butters. Natural peanut butters tend to have a higher oil content and separate more easily, making them a bit too runny for creating a firm, stable filling that holds its shape within the chocolate shell. The consistency of regular creamy peanut butter helps achieve that desired smooth yet firm texture for the center of your cups. However, if you’re feeling adventurous or have dietary preferences, you could certainly experiment with other nut butters like cashew butter or almond butter. Just be aware that their consistency might vary, and you may need to adjust the amount of powdered sugar slightly to achieve the right firmness. We haven’t personally tested these variations, so a small batch trial would be wise.
POWDERED SUGAR – Also known as confectioners’ sugar, this ingredient is vital for creating the perfect texture and sweetness for your peanut butter filling. It mixes seamlessly with the peanut butter, making it smooth and pliable, while also adding the necessary sweetness. Unlike granulated sugar, powdered sugar dissolves instantly, ensuring a no-grainy texture in your filling. There’s generally no direct substitute for powdered sugar in this recipe if you want to achieve the same smooth consistency.
How to Make Delicious Homemade Peanut Butter Cups
Embarking on the journey to make your own peanut butter cups is a truly rewarding experience. The process is straightforward, and these step-by-step photos and detailed instructions are designed to help you visualize each stage, ensuring your success. You’ll be amazed at how quickly these come together. For the complete, printable version of this recipe, including exact measurements and comprehensive instructions, simply Jump to Recipe at the bottom of the page.
- **Prepare the Peanut Butter Filling:** In a medium-sized mixing bowl, combine the creamy peanut butter and confectioner’s sugar. Using a handheld mixer (or a stand mixer with a paddle attachment), beat the ingredients together until they are thoroughly combined and form a smooth, thick, and uniform “frosting” consistency. The mixture should be firm enough to hold its shape when scooped.
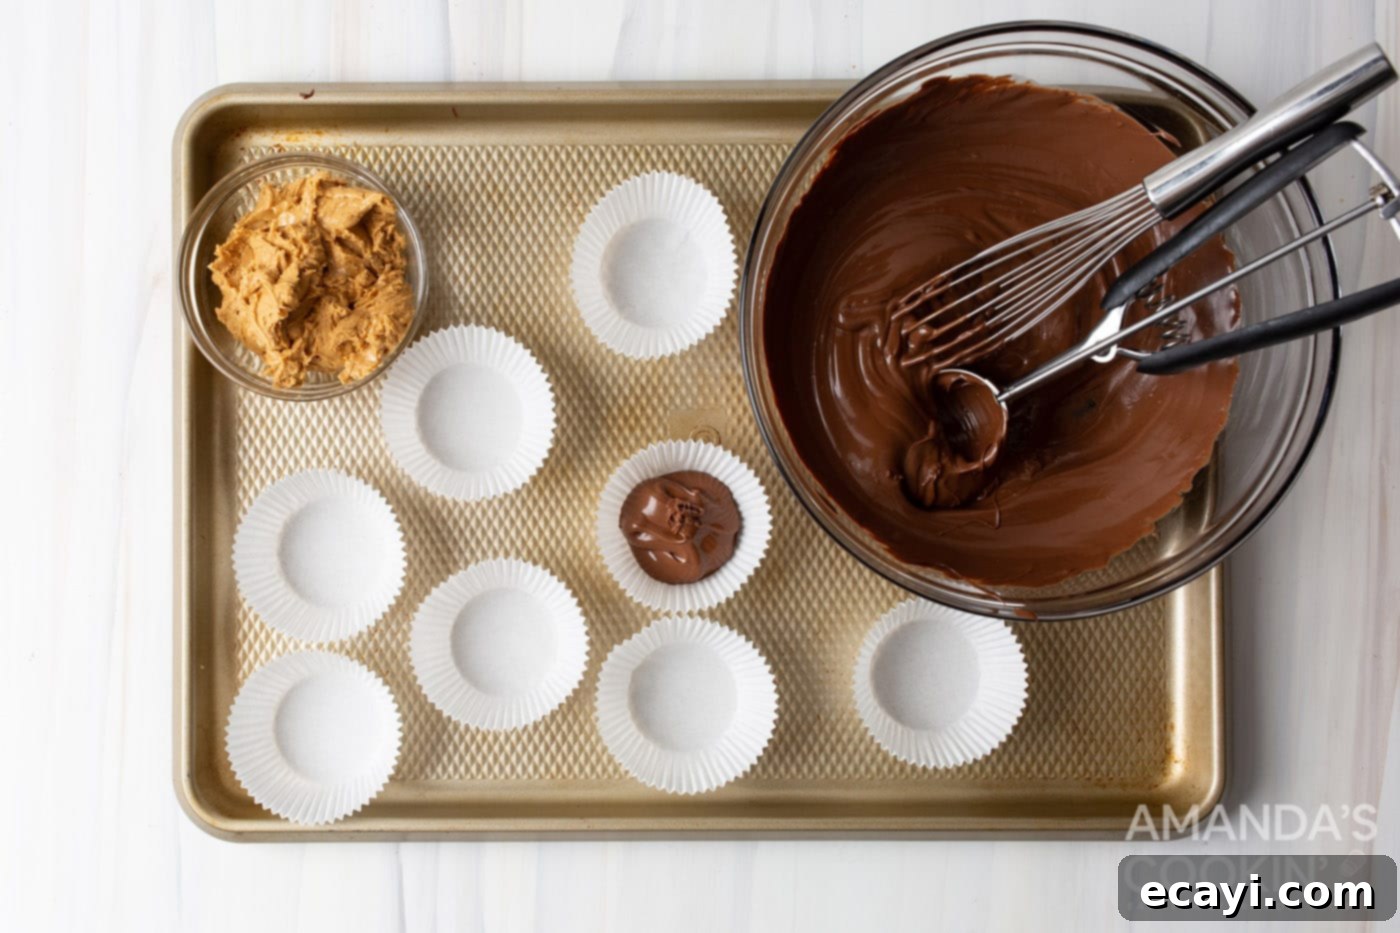
- **Melt the Chocolate and Form the Base:** Carefully melt the chocolate in a microwave-safe bowl. Heat in 30-second intervals, stirring thoroughly with a whisk after each interval to prevent burning, until the chocolate is completely smooth and melted. Alternatively, you can use a double boiler for a more controlled melting process. Once melted, use a cookie scoop (approximately 1.5-2 tablespoons) to spoon a generous layer of melted chocolate into the bottom of each of nine standard-sized cupcake liners, which should be placed in a muffin tin for stability. Spread the chocolate evenly across the bottom of each liner to form the base of your cups.

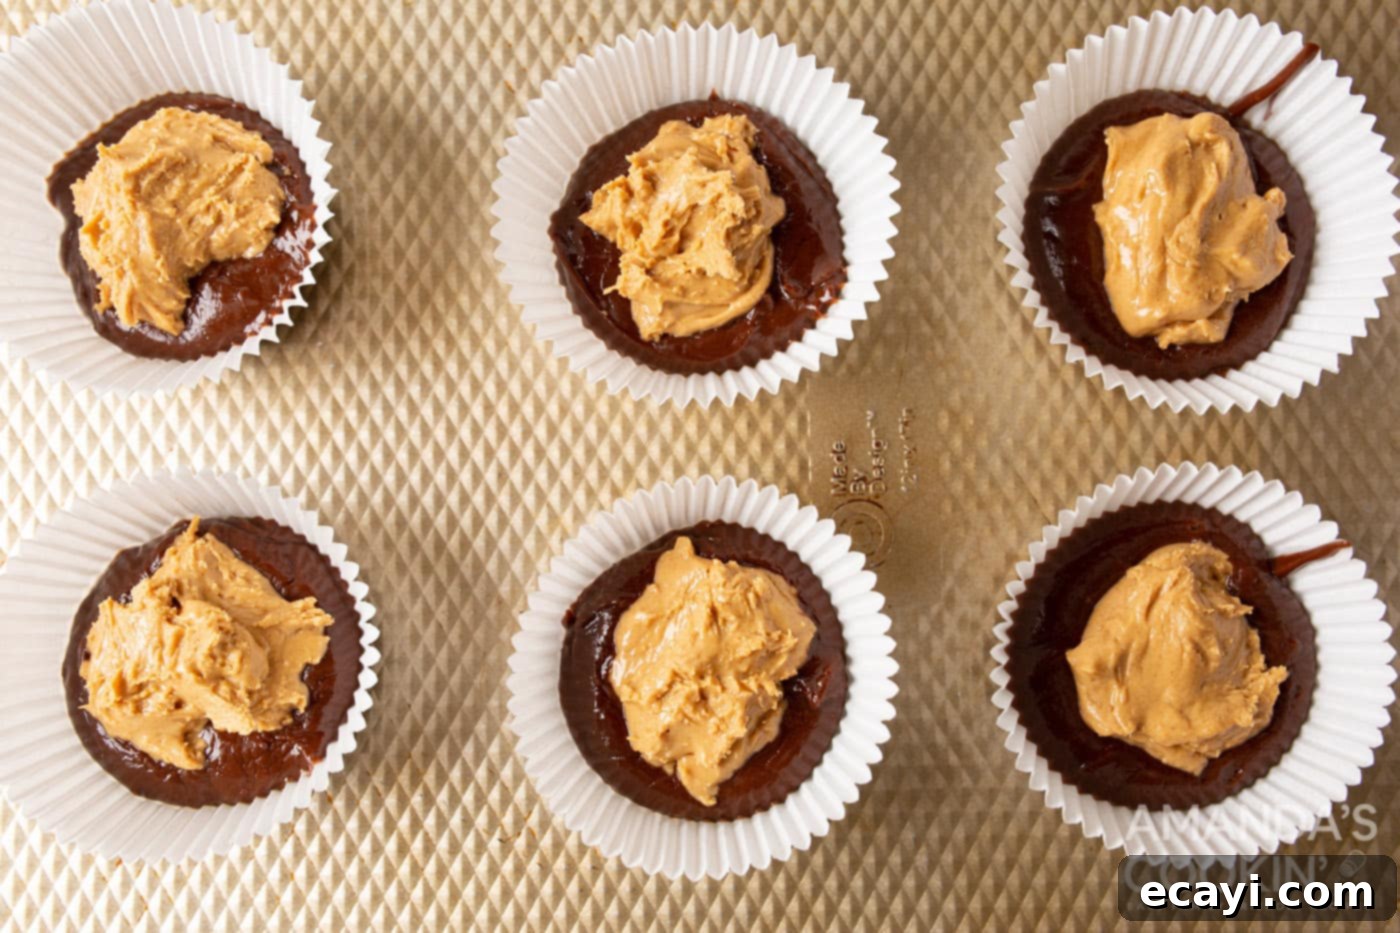
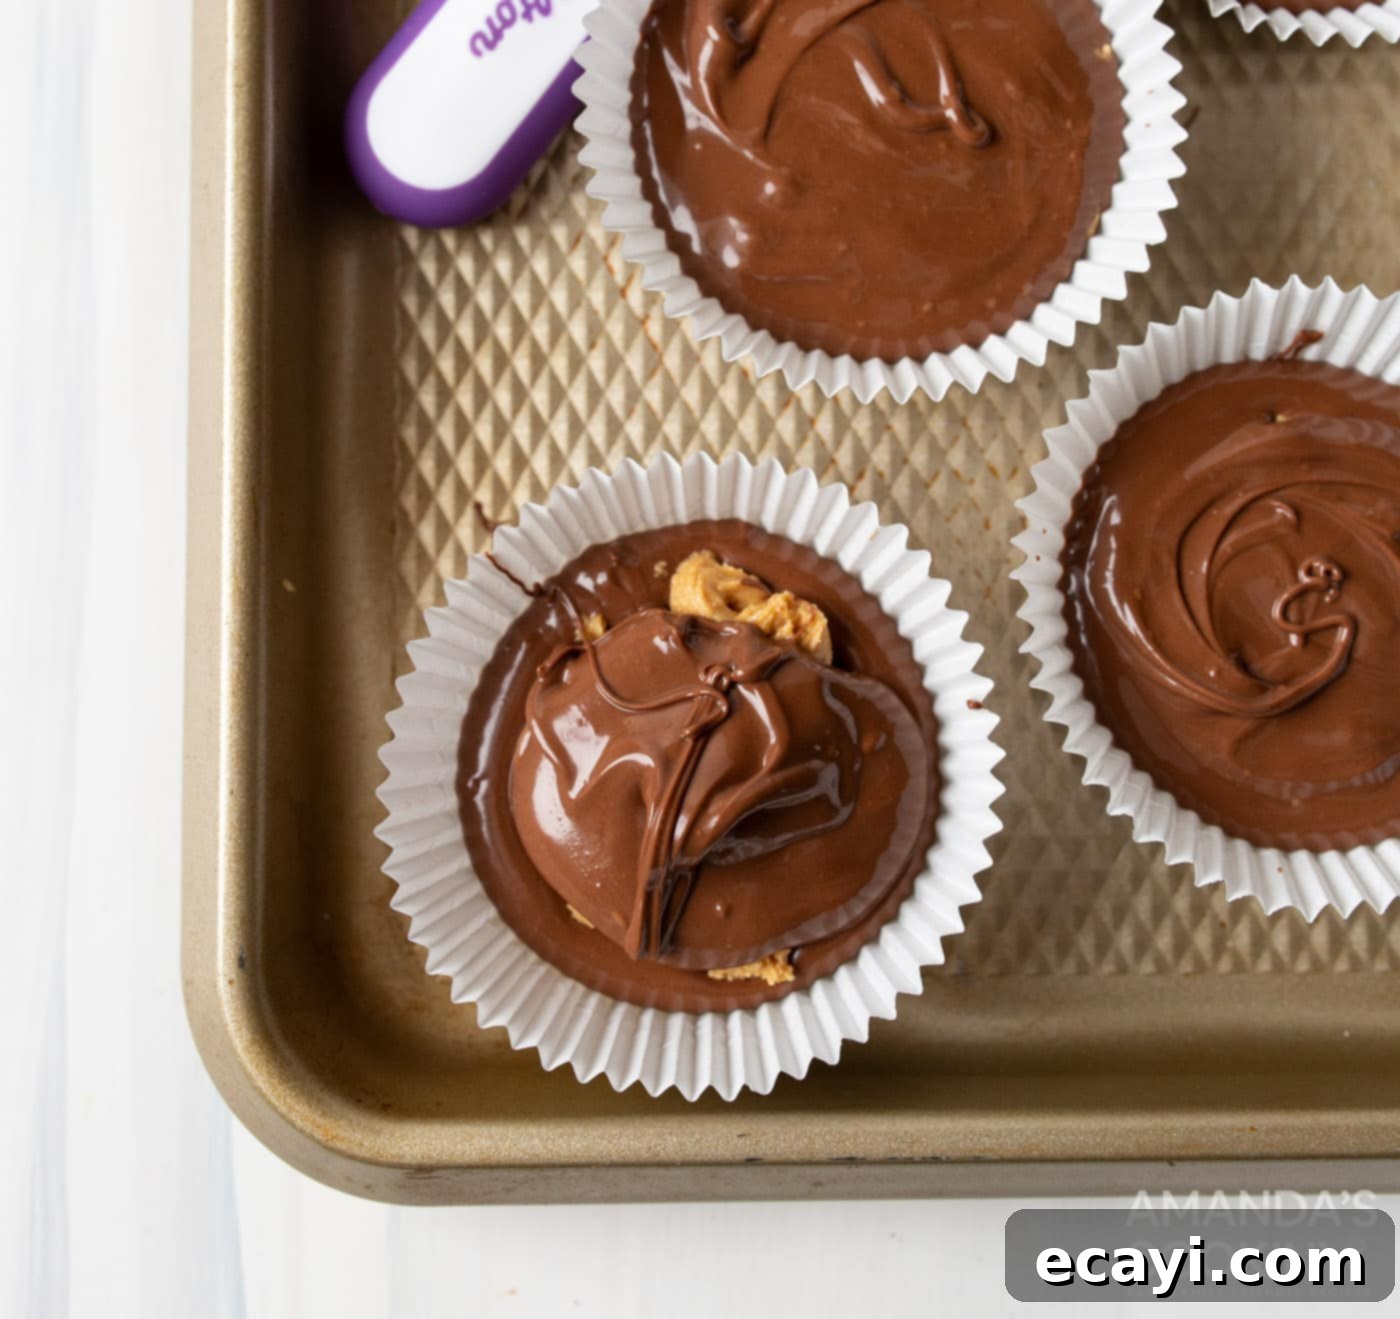
- **Add the Peanut Butter Center and Top with Chocolate:** Take a 2-teaspoon scoop of the prepared peanut butter filling and carefully place it directly into the middle of the melted chocolate base in each cupcake liner. Gently flatten the peanut butter mound slightly. Then, spoon the remaining melted chocolate over the peanut butter filling, ensuring that the peanut butter is completely covered. Use a small frosting knife or the back of a spoon to smooth the top layer of chocolate, creating a neat and even surface. This step is crucial for achieving that classic peanut butter cup appearance.


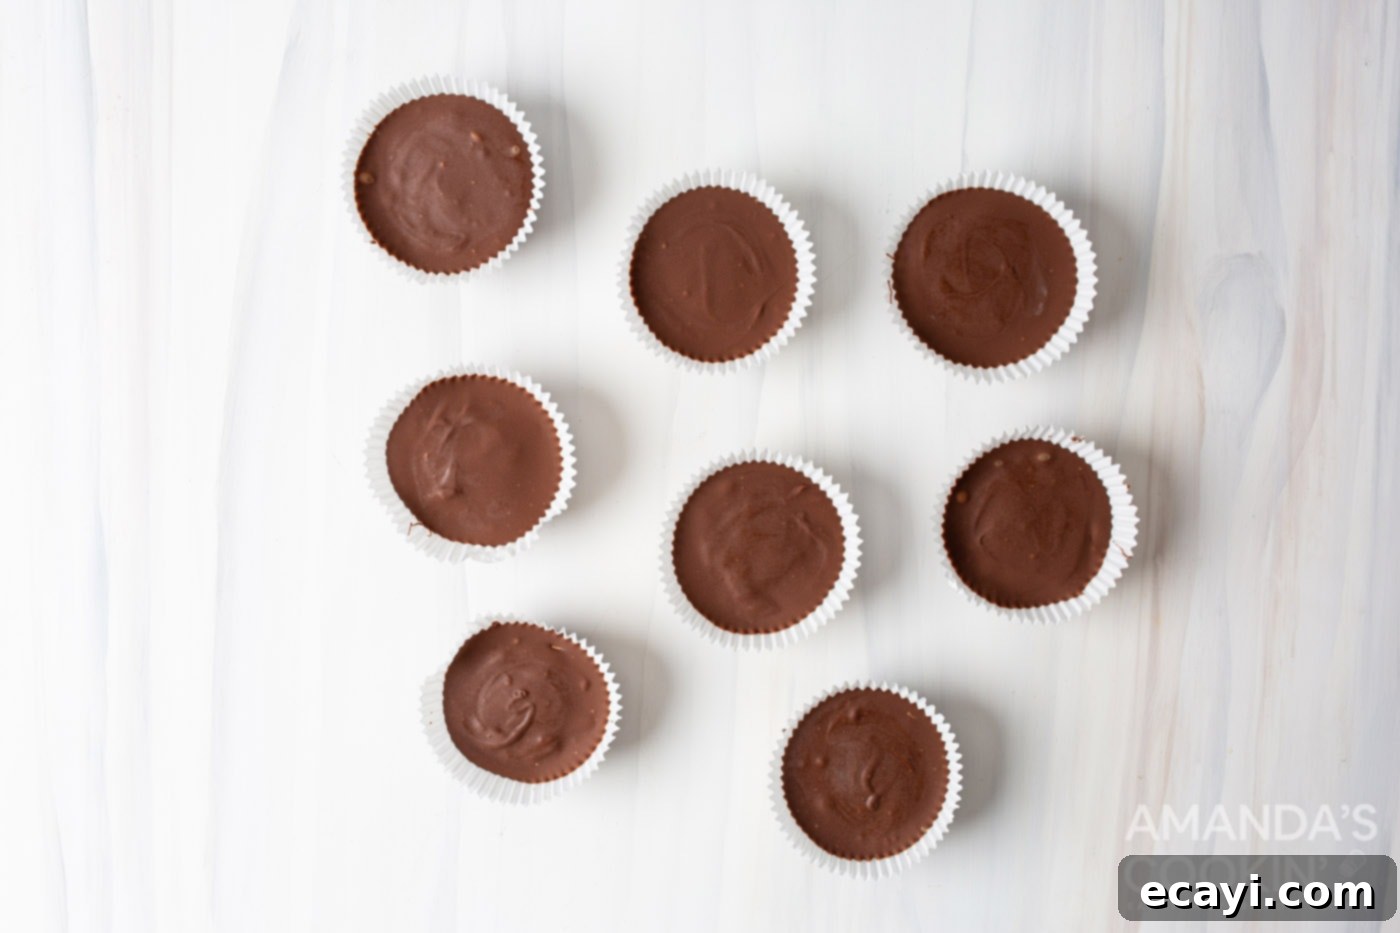
- **Chill to Set:** Once all the cups are assembled, transfer the muffin tin to the freezer. Allow them to chill for at least 2 hours. This crucial step ensures that the chocolate sets completely and the peanut butter filling becomes firm, making the cups easy to handle and enjoy. Once firm, they can be removed from the liners and are ready to be devoured!

Frequently Asked Questions & Expert Tips for Perfect Peanut Butter Cups
Achieving perfect homemade peanut butter cups is easy with a few insider tricks. Here are some common questions and expert advice to guide you:
To maintain their freshness, texture, and prevent the chocolate from melting, always store your homemade peanut butter cups in an airtight container. They can be kept in the refrigerator for up to 5 days. For longer storage, you can freeze them for up to 1 month. When freezing, place them in a single layer on a baking sheet until solid, then transfer them to an airtight freezer-safe bag or container, separating layers with parchment paper to prevent sticking.
The main reason chocolate cracks excessively is often due to it being too cold. While chilling is essential for setting, try letting your peanut butter cups sit at room temperature for about 5-10 minutes before serving, especially if they’ve been in the freezer or deep in the fridge. This slight warming allows the chocolate to become a bit more pliable, leading to a cleaner bite. Using good quality chocolate also helps, as it tends to have a smoother melt and set.
Absolutely! To make these peanut butter cups vegan or dairy-free, simply substitute regular milk chocolate chips with a high-quality vegan or dairy-free chocolate alternative. Many brands offer delicious options made with oat milk or dark chocolate without dairy. The peanut butter and powdered sugar are typically vegan-friendly, but always check labels to be sure.
If your peanut butter filling seems too soft after mixing, gradually add a little more powdered sugar, a tablespoon at a time, until it reaches a firm yet pliable consistency. If it’s too firm, you can add a tiny amount of milk (dairy or non-dairy) or a neutral oil (like coconut oil or vegetable oil), half a teaspoon at a time, until it loosens up to your desired texture. Remember, the consistency of your peanut butter brand can influence this.
Yes, you can! This recipe uses standard-sized cupcake liners. If you opt for mini cupcake liners, you’ll yield more cups and they will set faster, requiring less chocolate and peanut butter per cup. For larger cups, like jumbo muffin liners, you’ll need to increase the ingredient quantities accordingly and they will take longer to set. Adjust chilling times based on the size of your cups.
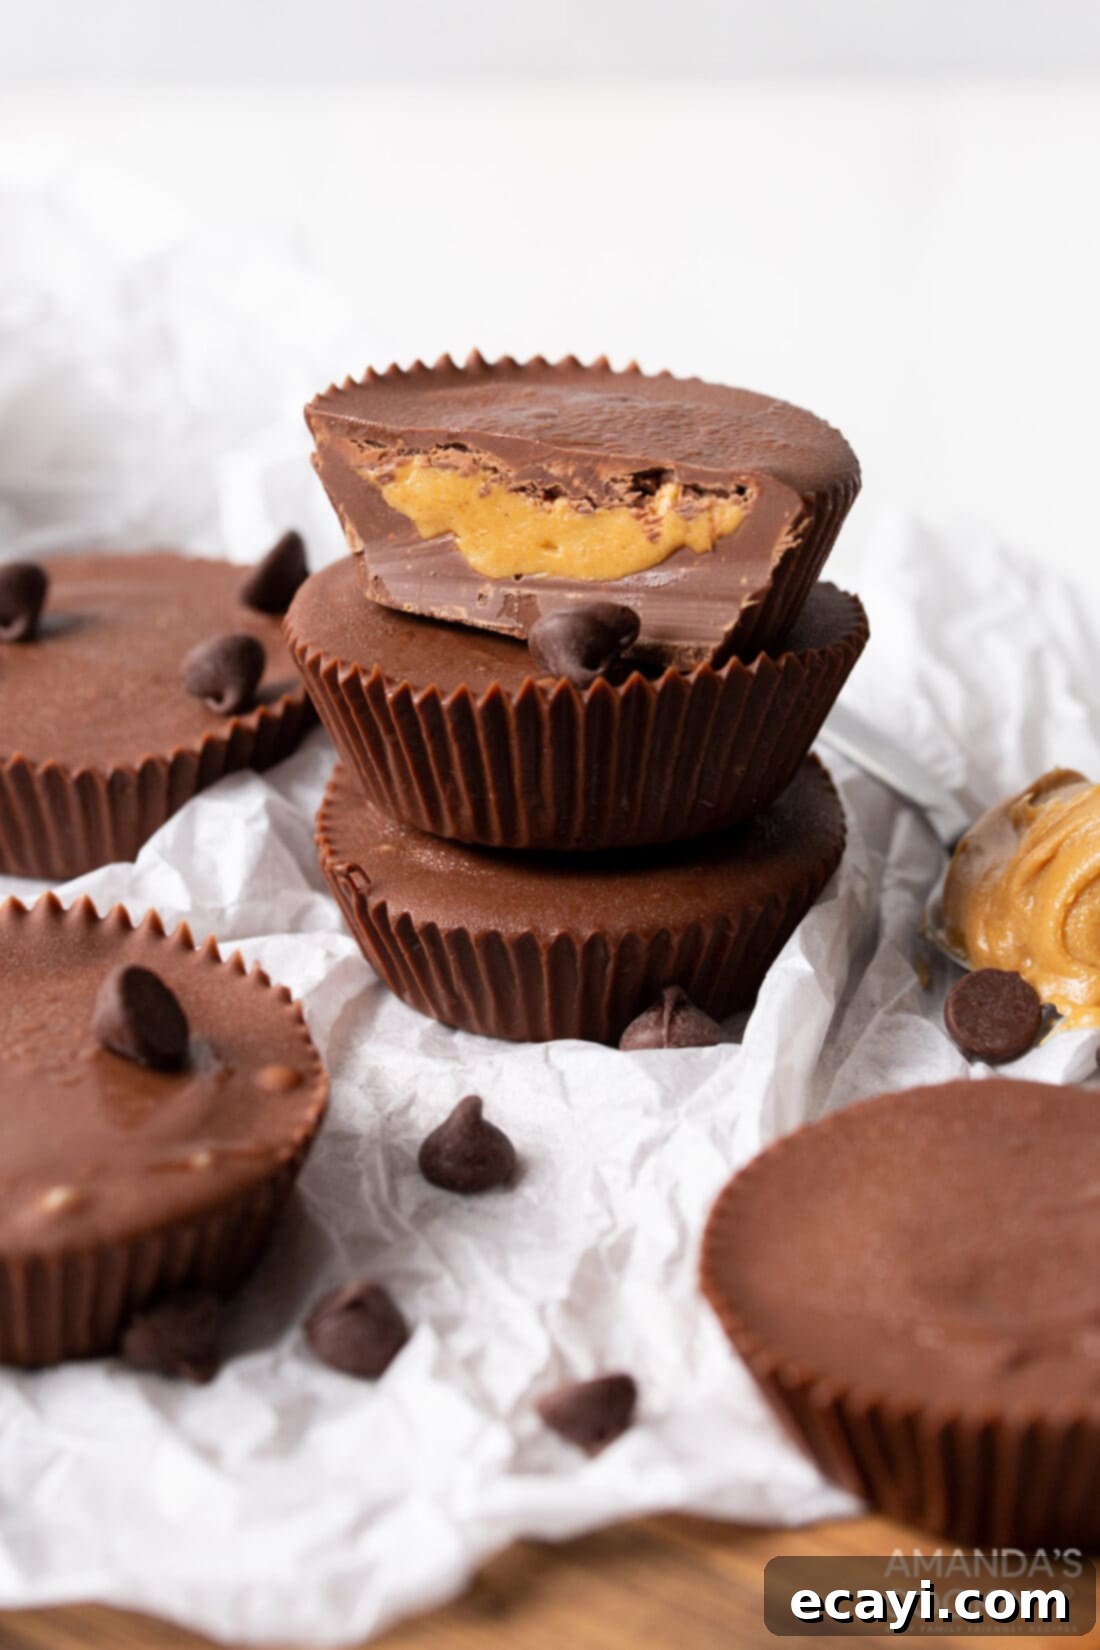
Serving Suggestions: Elevate Your Peanut Butter Cups
These homemade peanut butter cups are a treat on their own, but with a little creativity, you can elevate them for any occasion. They make delightful edible gifts, perfect for holidays, birthdays, or just because. Simply wrap individual cups in cellophane bags, tie them with a festive ribbon, or arrange them neatly in a decorative box alongside other homemade goodies. A personalized tag can add an extra special touch.
For an enhanced flavor profile and visual appeal, consider adding a sprinkle of flaky sea salt on top of the chocolate before it fully sets. The contrast of sweet chocolate, salty peanut butter, and the subtle crunch of salt is truly exquisite. Alternatively, you could drizzle the finished cups with a contrasting chocolate, such as white chocolate or even extra melted peanut butter, for a gourmet touch. A dusting of cocoa powder or powdered sugar can also add a simple, elegant finish.
While these cups are delicious served chilled, frozen, or even at room temperature, it’s crucial to remember that they contain chocolate. To prevent the chocolate from melting, especially in warmer environments, always store them in the refrigerator until ready to serve. If serving at room temperature, simply take them out of the fridge about 10-15 minutes beforehand to allow the chocolate to soften slightly for a creamier bite, but don’t leave them out for too long. Enjoy the versatility and incredible flavor of these easy homemade treats!
More Irresistible Chocolate Peanut Butter Recipes
If you’re anything like us, the combination of chocolate and peanut butter is pure culinary magic. Once you’ve mastered these easy peanut butter cups, you might find yourself craving more of this dynamic duo. Here’s a selection of other fantastic recipes that celebrate the harmonious flavors of chocolate and peanut butter:
- Chocolate Peanut Butter Fudge
- Chocolate Peanut Butter Balls
- Chocolate Peanut Butter Lasagna
- Peanut Butter Chocolate Chunk Bars
- Chocolate Peanut Butter Cookies
- Chocolate Cake with Peanut Butter Frosting
- Chocolate Peanut Butter Cupcakes
- Reeses Pie
I absolutely adore spending time in the kitchen, experimenting with new recipes, and perfecting classic favorites. Sharing my culinary experiences and creations with all of you brings me immense joy! It can be tricky to remember to check back every day for new delights, which is why I offer a convenient newsletter delivered straight to your inbox every time a new recipe is published. Simply subscribe today and start receiving your free daily recipes, ensuring you never miss out on delicious inspiration!
Peanut Butter Cups
IMPORTANT – There are often Frequently Asked Questions within the blog post that you may find helpful. Simply scroll back up to read them!
Print It
Pin It
Rate It
Save ItSaved!
Ingredients
- 1 cup creamy peanut butter
- ½ cup confectioners sugar
- 11.5 oz milk chocolate chips
Things You’ll Need
-
Hand mixer
-
Mixing bowl
-
Cookie scoop
Before You Begin
- To keep the frosting knife from sticking to the chocolate, lightly spray it with non-stick cooking spray before smoothing the chocolate layer. This will ensure a clean, seamless finish.
Instructions
-
In a spacious mixing bowl, combine the creamy peanut butter and confectioner’s sugar. Beat them together using a handheld mixer until the mixture is uniform, thick, and resembles a smooth, firm frosting.
-
Melt the chocolate in a microwave-safe bowl, heating in 30-second bursts and stirring with a whisk after each, until fully smooth. Then, use a cookie scoop to portion and spoon a base layer of melted chocolate into each of 9 cupcake liners.
-
Carefully place a 2-teaspoon scoop of the peanut butter filling into the center of the chocolate base in each liner. Cover the peanut butter layer with the remaining melted chocolate, ensuring it’s fully encased, then smooth the top with a frosting knife for an even finish.
-
Transfer the assembled peanut butter cups to the freezer and chill for a minimum of 2 hours, or until completely firm. Once set, they are ready to enjoy!
Nutrition
The recipes on this blog are tested with a conventional gas oven and gas stovetop. It’s important to note that some ovens, especially as they age, can cook and bake inconsistently. Using an inexpensive oven thermometer can assure you that your oven is truly heating to the proper temperature. If you use a toaster oven or countertop oven, please keep in mind that they may not distribute heat the same as a conventional full sized oven and you may need to adjust your cooking/baking times. In the case of recipes made with a pressure cooker, air fryer, slow cooker, or other appliance, a link to the appliances we use is listed within each respective recipe. For baking recipes where measurements are given by weight, please note that results may not be the same if cups are used instead, and we can’t guarantee success with that method.
