Irresistible Chewy Chocolate No-Bake Cookies: Your Ultimate Quick Dessert Recipe
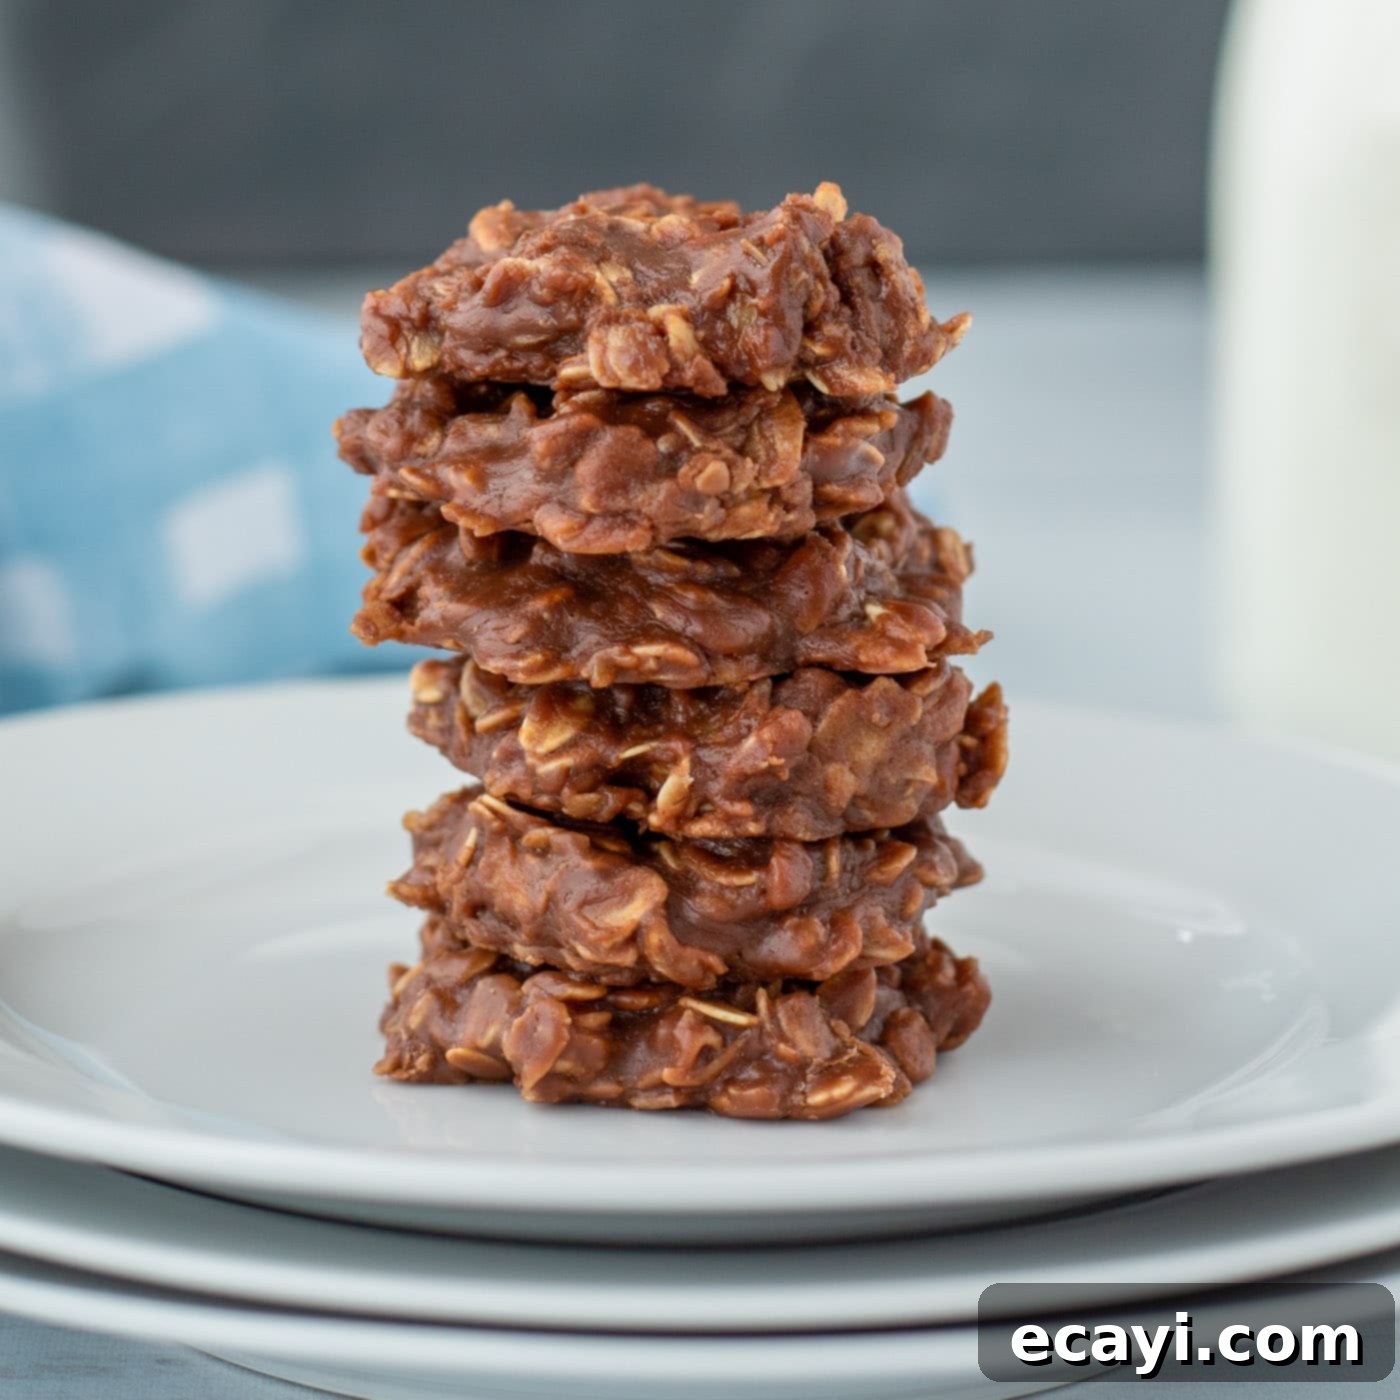
Craving a delightful sweet treat that comes together in a flash? Look no further than these incredibly easy and utterly delicious chewy chocolate no-bake cookies! Perfect for busy days or when you just don’t want to turn on the oven, this classic recipe delivers rich chocolate, creamy peanut butter, and satisfyingly chewy oats in every bite. In just about 30 minutes from start to finish, you can whip up a batch of these timeless favorites, though we can’t promise they’ll last much longer than that! Their simple preparation and universally loved flavor make them a go-to dessert for any occasion, from casual family gatherings to last-minute potlucks.
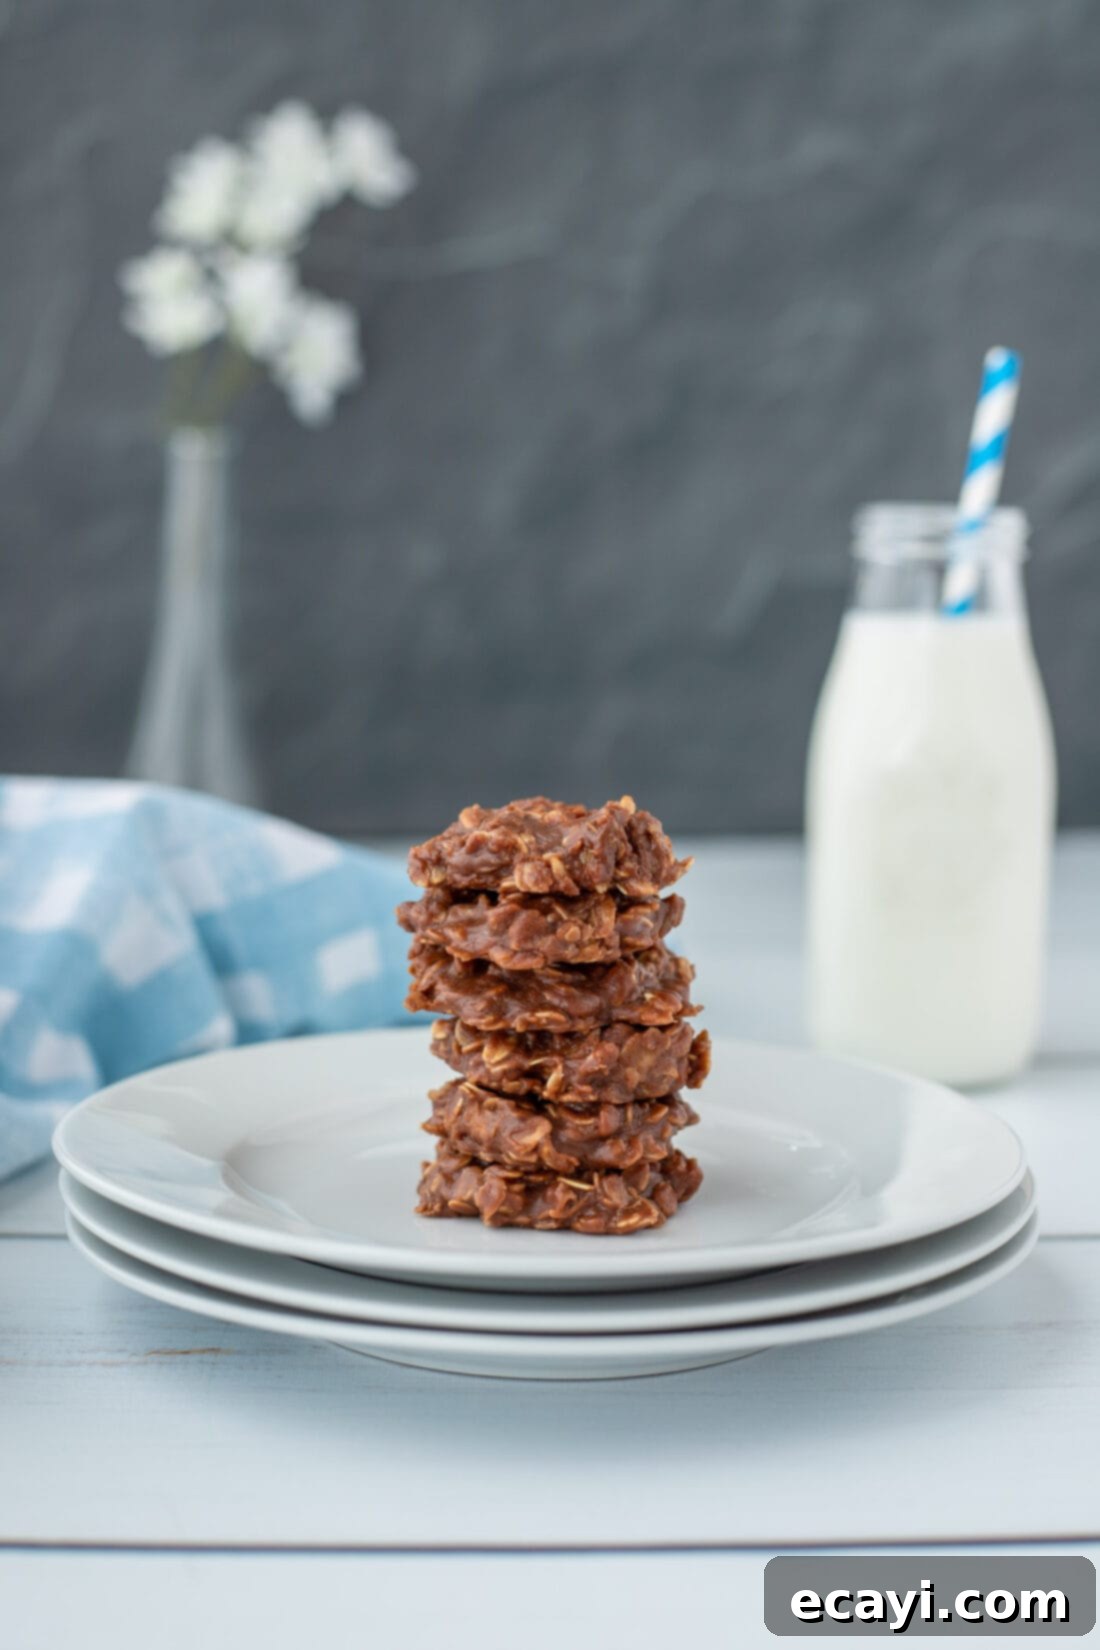
Why This No-Bake Cookie Recipe Is a Game-Changer
There’s a reason chocolate no-bake cookies have been a beloved staple in kitchens for generations: they truly are effortless, delicious, and incredibly satisfying. This particular recipe stands out for its perfect balance of textures and flavors, combining hearty oats with smooth peanut butter and a rich chocolate base. The genius lies in its simplicity – no oven required, no complicated steps, just a saucepan and a few minutes of stirring before setting them to cool. It’s the ideal solution for satisfying a sweet tooth without the fuss of traditional baking.
Beyond their ease, these cookies offer a delightful chewy texture thanks to the rolled oats, perfectly complemented by the creamy and slightly salty notes of peanut butter, all bound together by a luscious chocolate mixture. They are somewhat similar to our popular no-bake cornflake cookies in their quick preparation and rich base, but here we swap the crispy cornflakes for wholesome oats, creating a unique and comforting chewiness. This makes them not just a quick dessert, but a truly enjoyable and nostalgic treat that brings a smile to everyone’s face. Whether you’re a seasoned baker or a complete novice, you’ll find this recipe foolproof and incredibly rewarding.
Essential Ingredients for Your Delicious No-Bake Cookies
Gathering your ingredients is the first step to creating these delightful chocolate no-bake cookies. You’ll likely find most of these staples already in your pantry! For precise measurements and a printable version of the full recipe, please refer to the detailed recipe card at the end of this post. Having all your ingredients measured and ready before you start cooking will make the process even smoother and quicker.
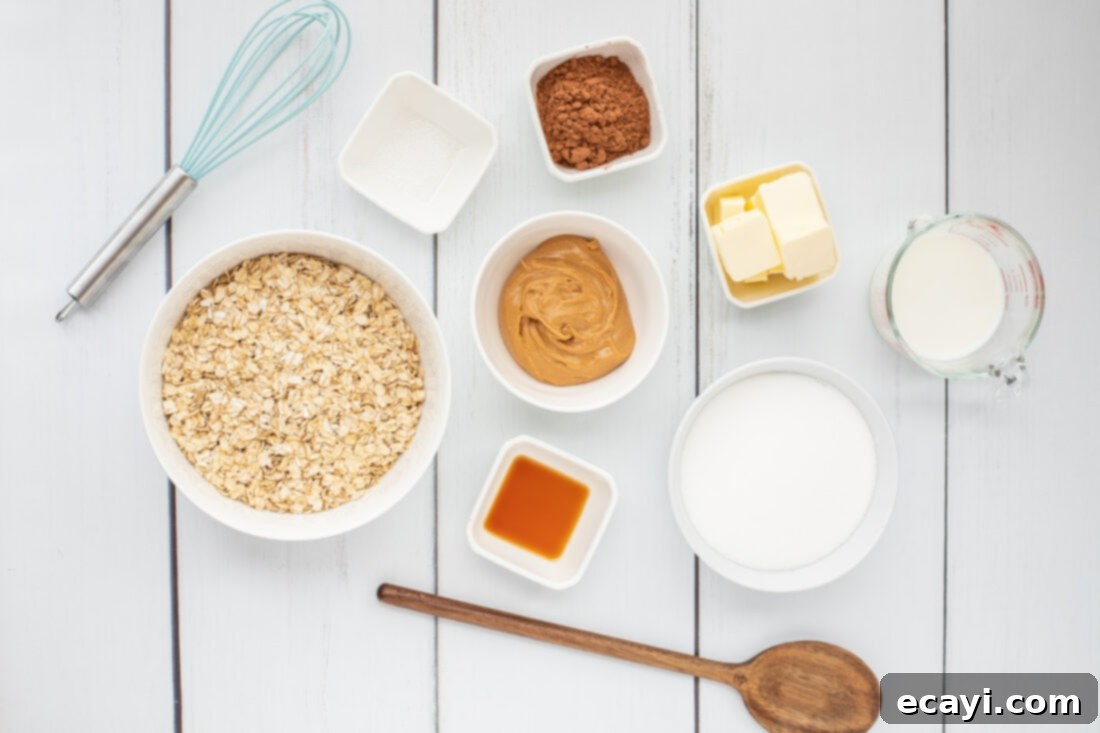
Ingredient Information & Smart Substitution Options
Understanding each ingredient’s role and knowing what substitutions you can make will help you achieve the perfect no-bake cookie every time, or adapt the recipe to your dietary needs and preferences.
- OATS: We highly recommend using old-fashioned rolled oats for this recipe. Their thicker texture is key to achieving that wonderfully chewy, substantial bite that defines these cookies. The larger flakes absorb the chocolate mixture beautifully without becoming mushy. If you prefer a slightly softer cookie or only have them on hand, quick-cooking or instant oats can be substituted. However, be aware that they will absorb liquid more quickly, so you might need to work a little faster when stirring and scooping, and the final texture will be less chewy and more tender. Avoid using steel-cut oats, as they are too firm and won’t soften sufficiently in this recipe.
- PEANUT BUTTER: Creamy peanut butter provides a smooth, rich base that complements the chocolate perfectly. For an added layer of texture and a pleasant crunch, feel free to use crunchy peanut butter. If you have peanut allergies or simply prefer another nut butter, almond butter or cashew butter can be excellent substitutes, offering a similar creaminess and flavor profile. For a nut-free option, sunflower seed butter (SunButter) works well, just be mindful that some brands can have a slightly greener hue when mixed with chocolate, though the flavor will still be delicious. Using natural peanut butter might result in a slightly different consistency due to oil separation, so be sure to stir it very well before adding.
- SUGAR: Granulated sugar is essential for both sweetness and contributing to the texture of the chocolate base. It helps create the necessary binding consistency when boiled with the other wet ingredients. You could experiment with brown sugar for a deeper, molasses-like flavor, but it might alter the cookie’s final texture slightly.
- UNSWEETENED COCOA POWDER: This is where the rich chocolate flavor comes from. Using unsweetened cocoa powder allows you to control the sweetness of the cookies. Both natural cocoa powder and Dutch-processed cocoa powder will work, though Dutch-processed typically yields a darker color and a smoother, less acidic chocolate flavor.
- MILK: Any type of milk (whole, 2%, skim, or even a non-dairy milk like almond or oat milk) can be used. The fat content of the milk will slightly affect the richness of the cookies, with whole milk providing the creamiest result.
- UNSALTED BUTTER: Butter is crucial for flavor and helps bind the mixture. Unsalted butter gives you control over the overall saltiness of the cookies. If you only have salted butter, you might want to reduce the added salt in the recipe by about half a pinch to avoid overly salty cookies. Coconut oil can sometimes be used as a dairy-free alternative, but it may slightly alter the flavor and setting time.
- PURE VANILLA EXTRACT: A touch of vanilla extract is a flavor enhancer, adding depth and warmth to the chocolate and peanut butter. Don’t skip it!
- KOSHER SALT: A small amount of salt is vital for balancing the sweetness and enhancing the other flavors. It truly makes the chocolate and peanut butter pop. Fine sea salt can also be used.
Effortless Steps to Craft Your Own Chocolate No-Bake Cookies
These step-by-step photos and detailed instructions are provided to help you visualize each stage of making this delectable recipe. For a convenient printable version, complete with precise measurements and comprehensive instructions, simply Jump to Recipe at the bottom of this post.
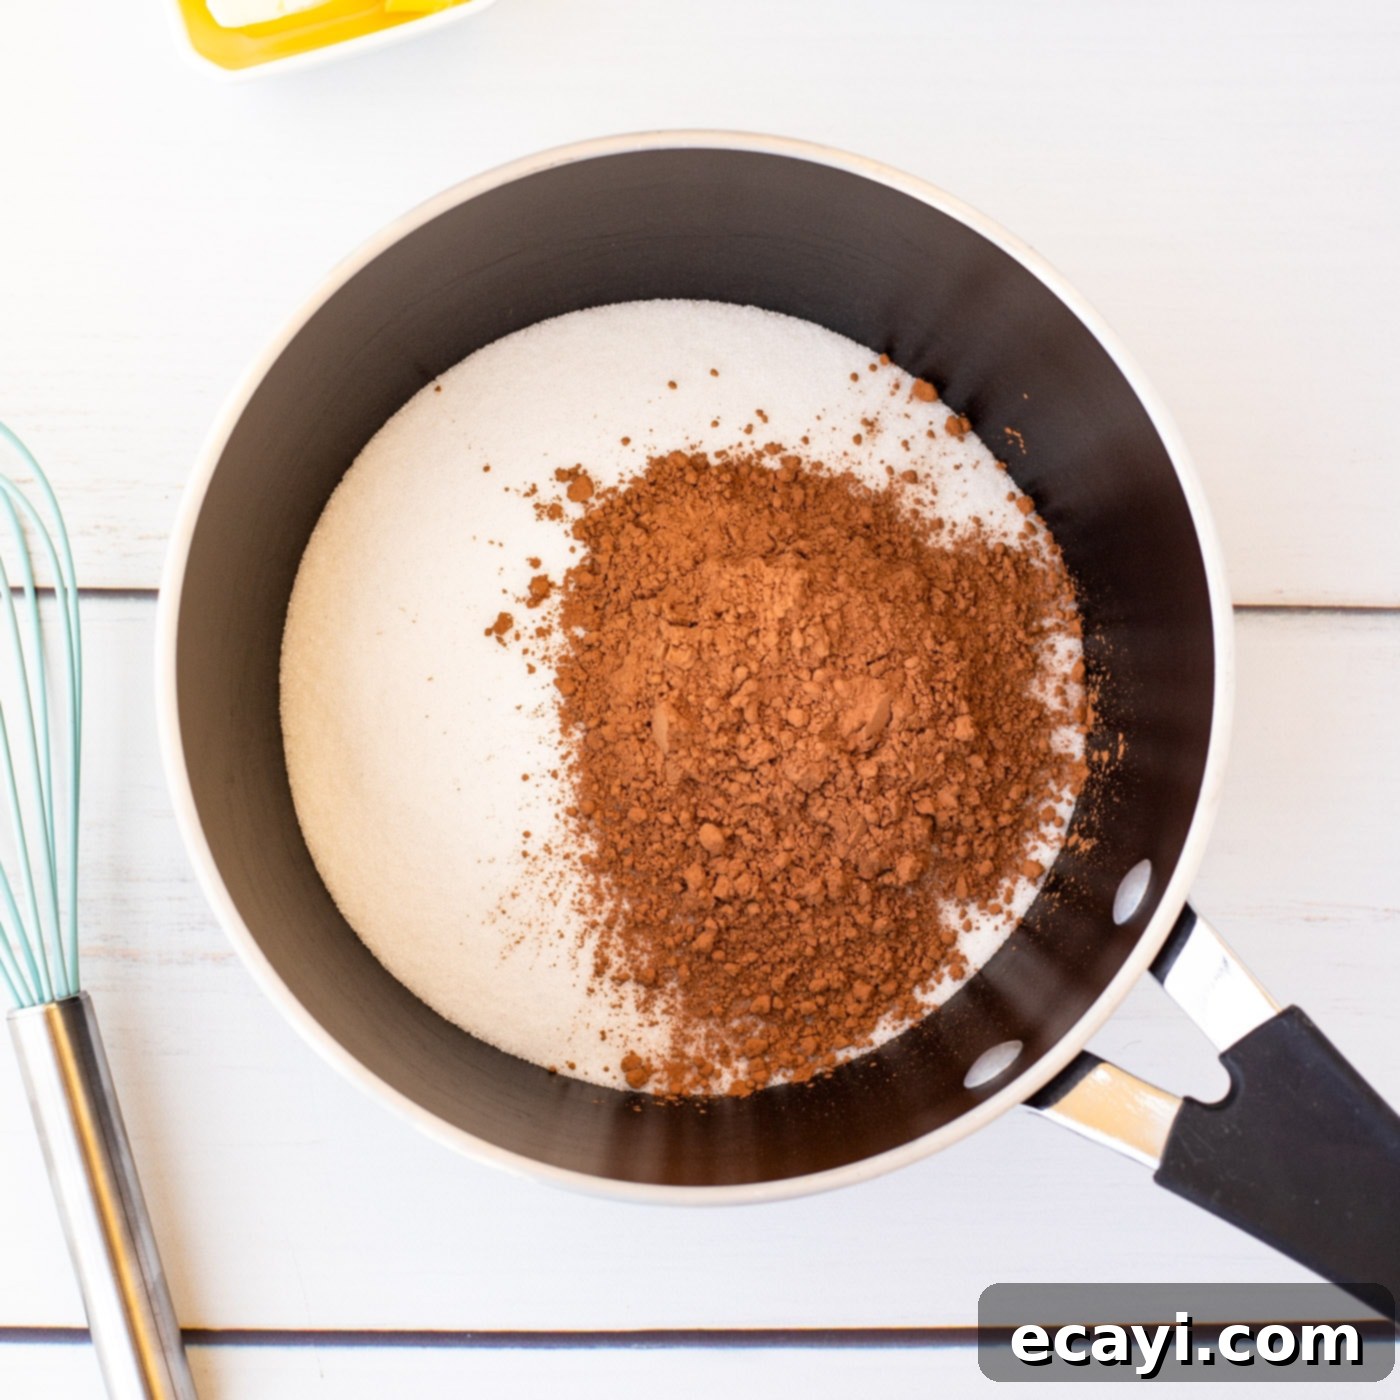
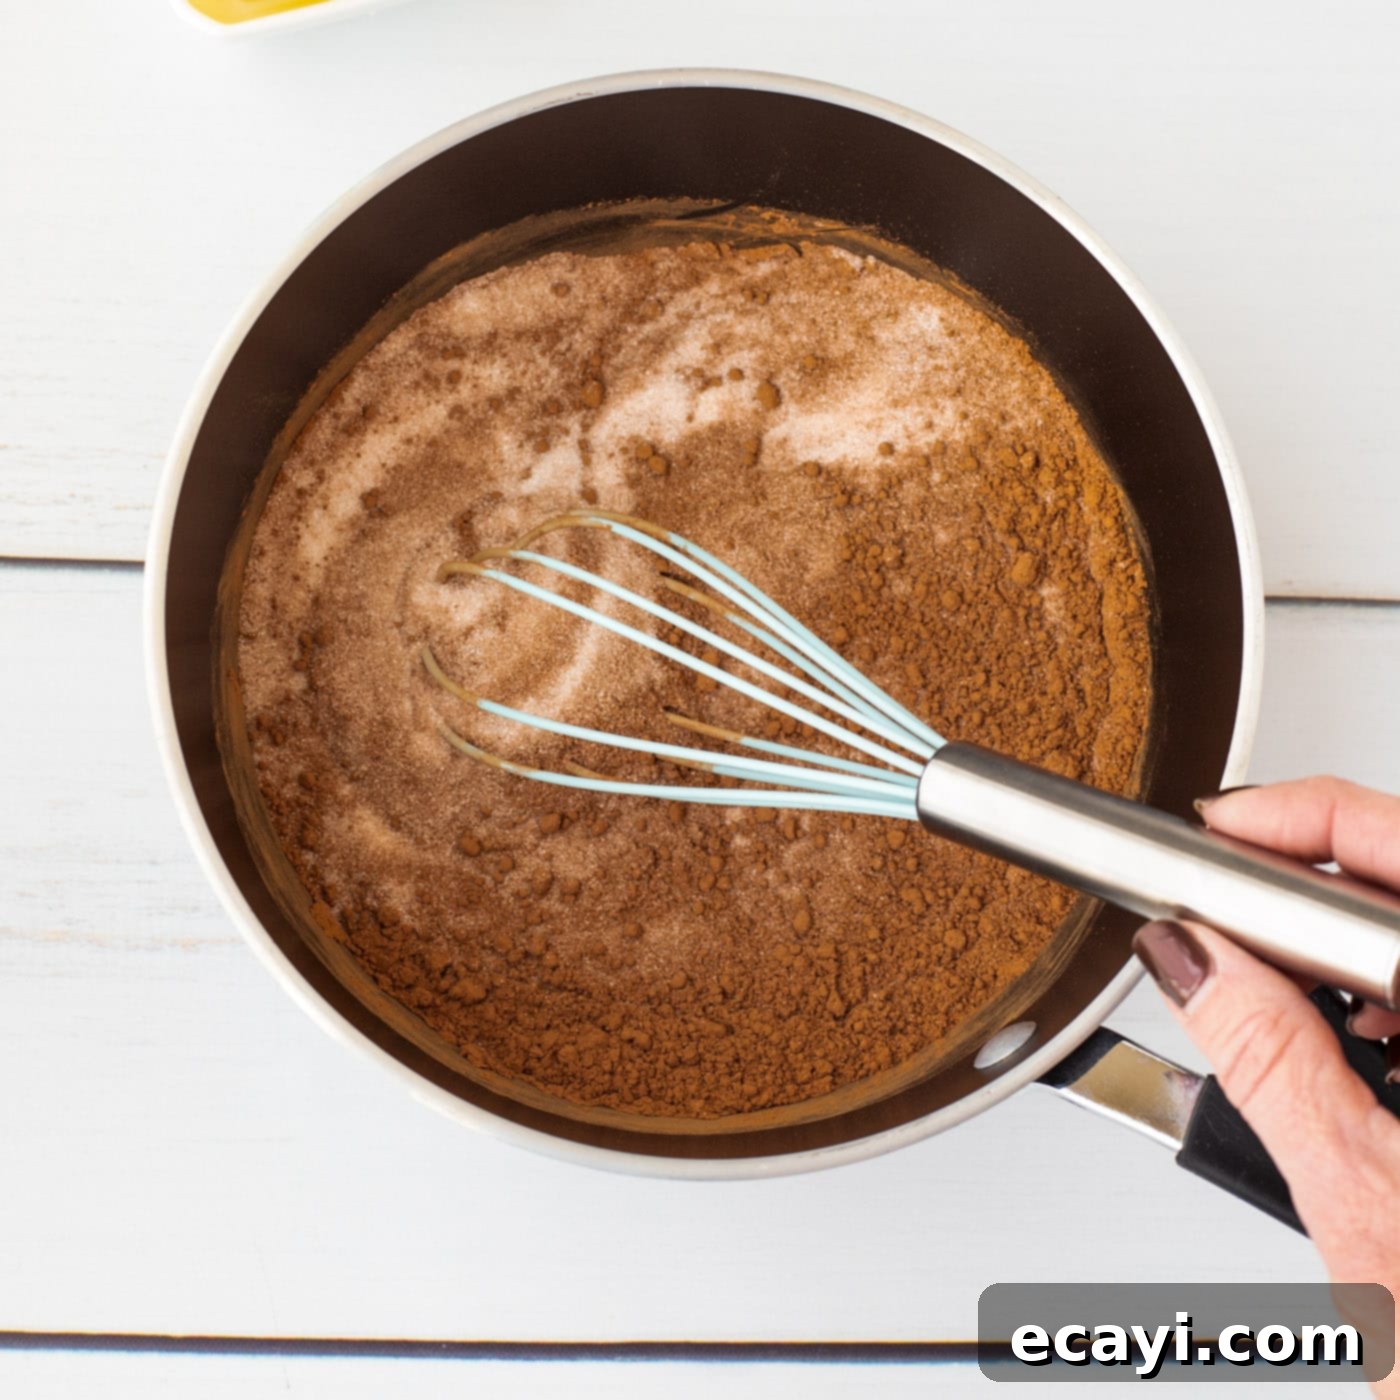
- **Prepare Your Base:** In a heavy-bottomed saucepan – which is essential for even heat distribution and preventing scorching – thoroughly whisk together the granulated sugar and unsweetened cocoa powder. This step ensures that the cocoa is fully incorporated and prevents lumps in your final chocolate mixture.


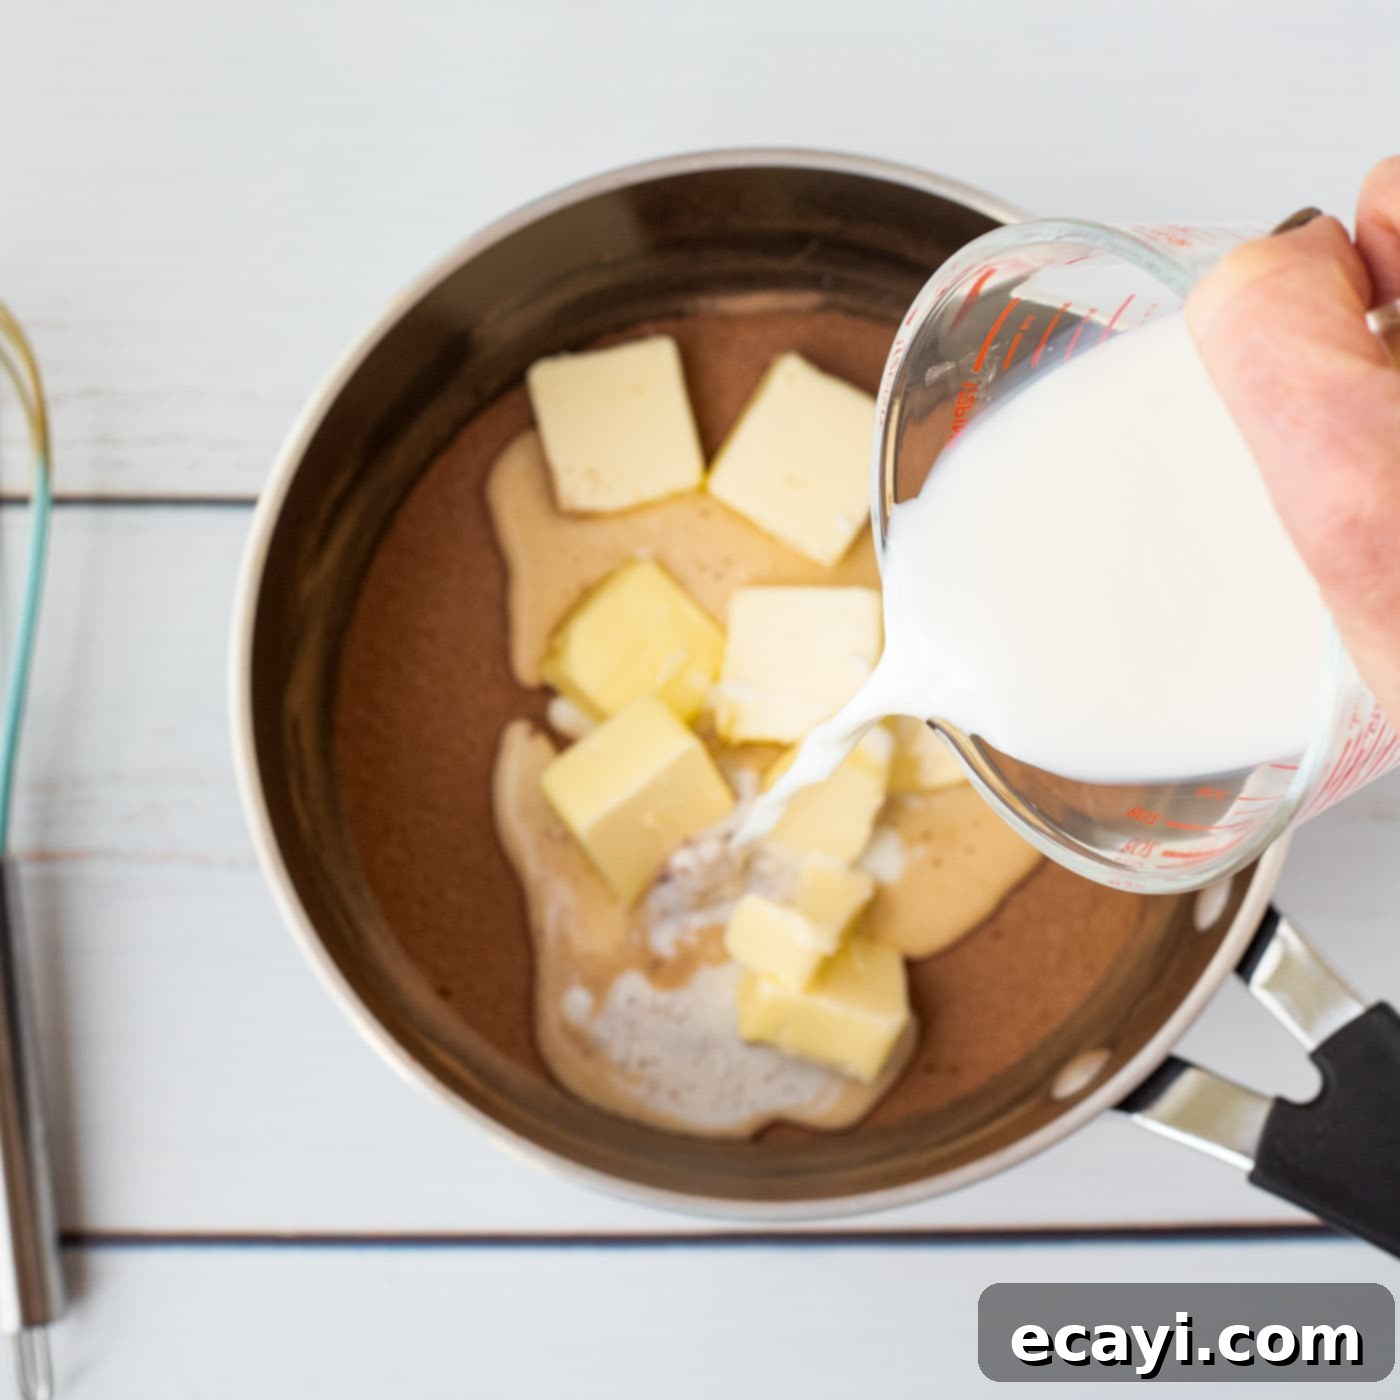
- **Add Wet Ingredients:** Pour the milk into the saucepan with the sugar and cocoa mixture, then add the unsalted butter.

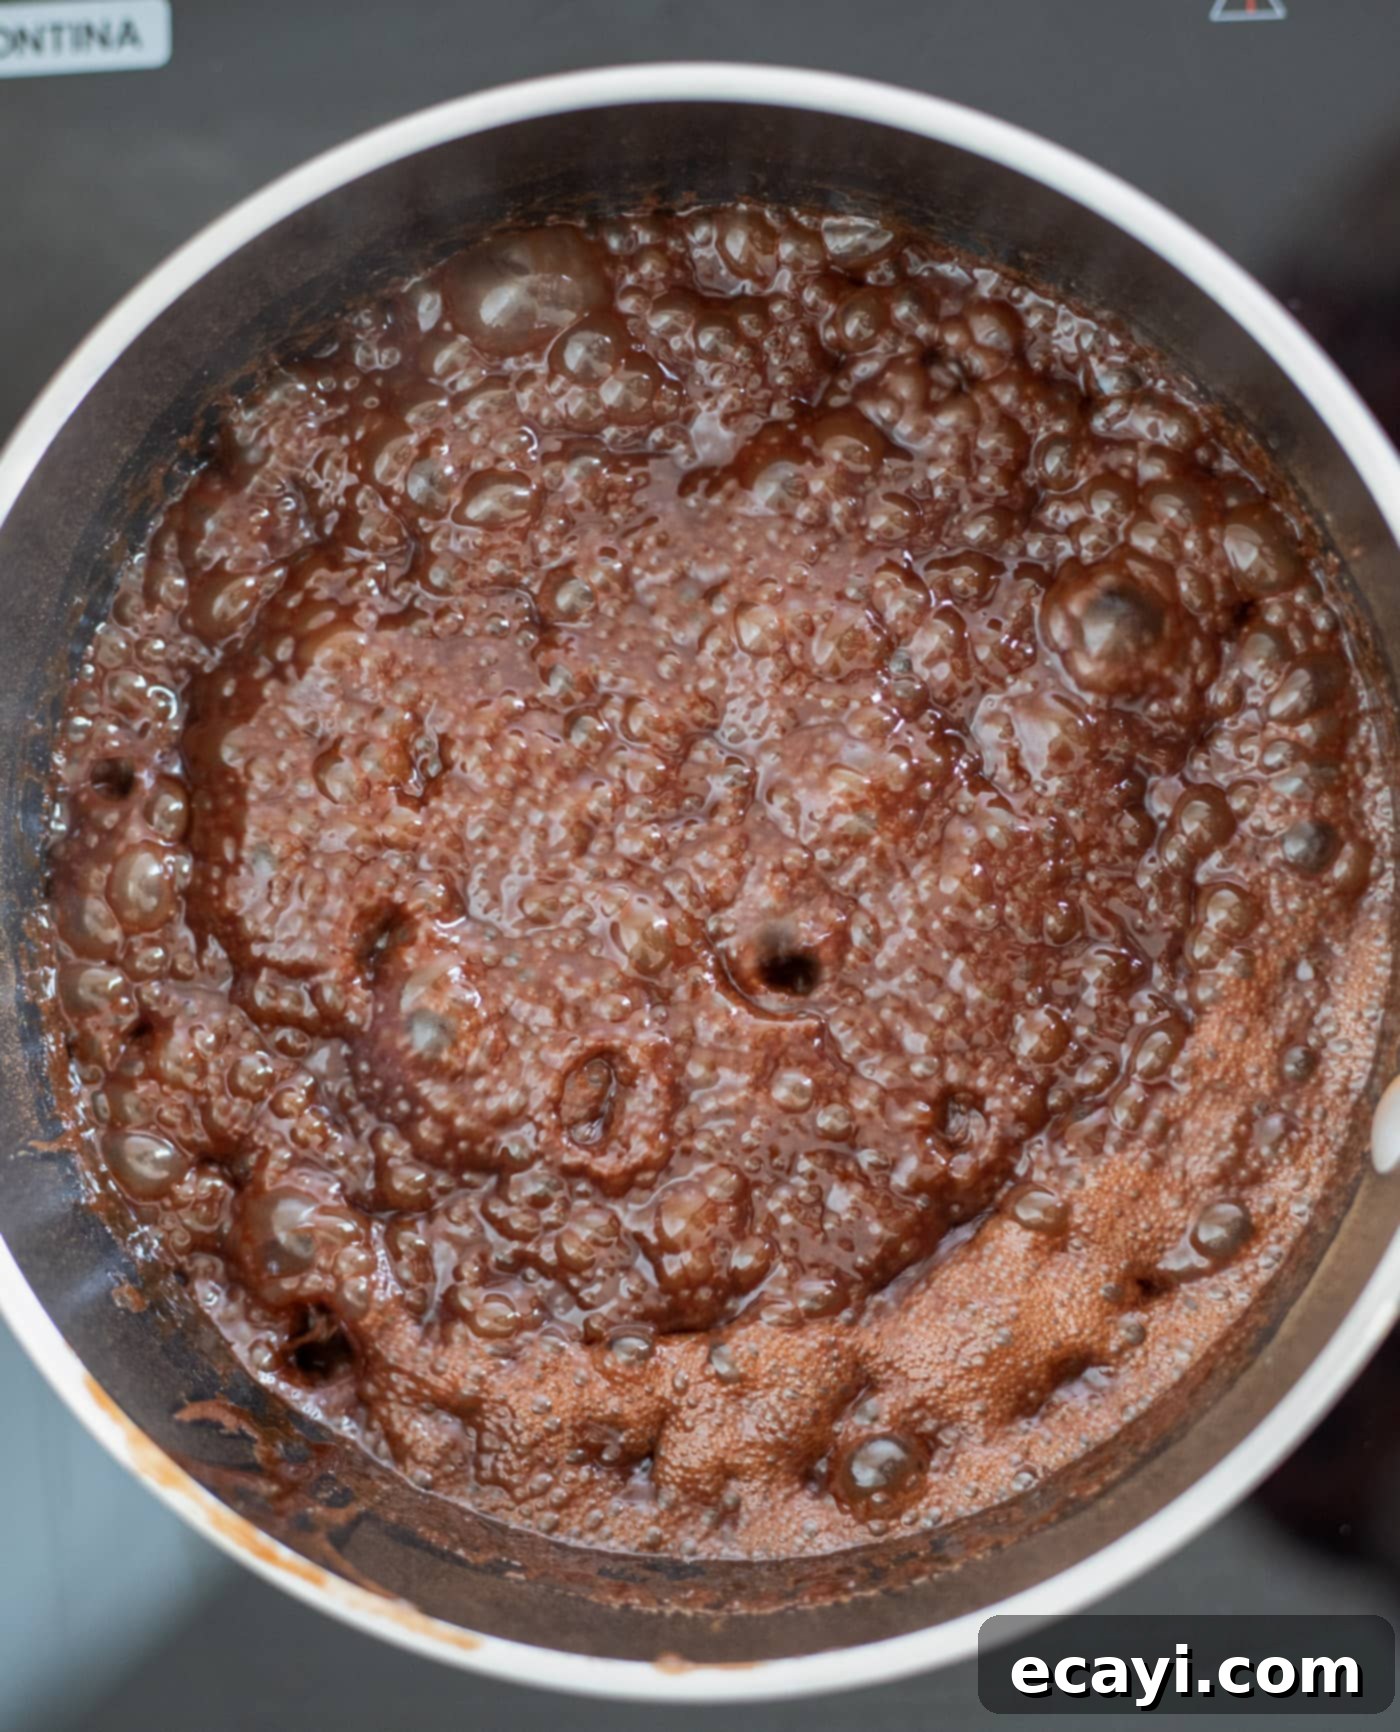
- **Achieve a Rolling Boil:** Place the saucepan over medium-high heat. Stir the mixture frequently to prevent it from sticking to the bottom and burning, and to ensure the sugar dissolves evenly. Continue stirring until the mixture reaches a vigorous rolling boil – this means it should continue to boil even when stirred. Once it reaches this point, set a timer and continue boiling for exactly one minute. This precise boiling time is crucial for the cookies to set properly later. Do not shorten or extend this time significantly.

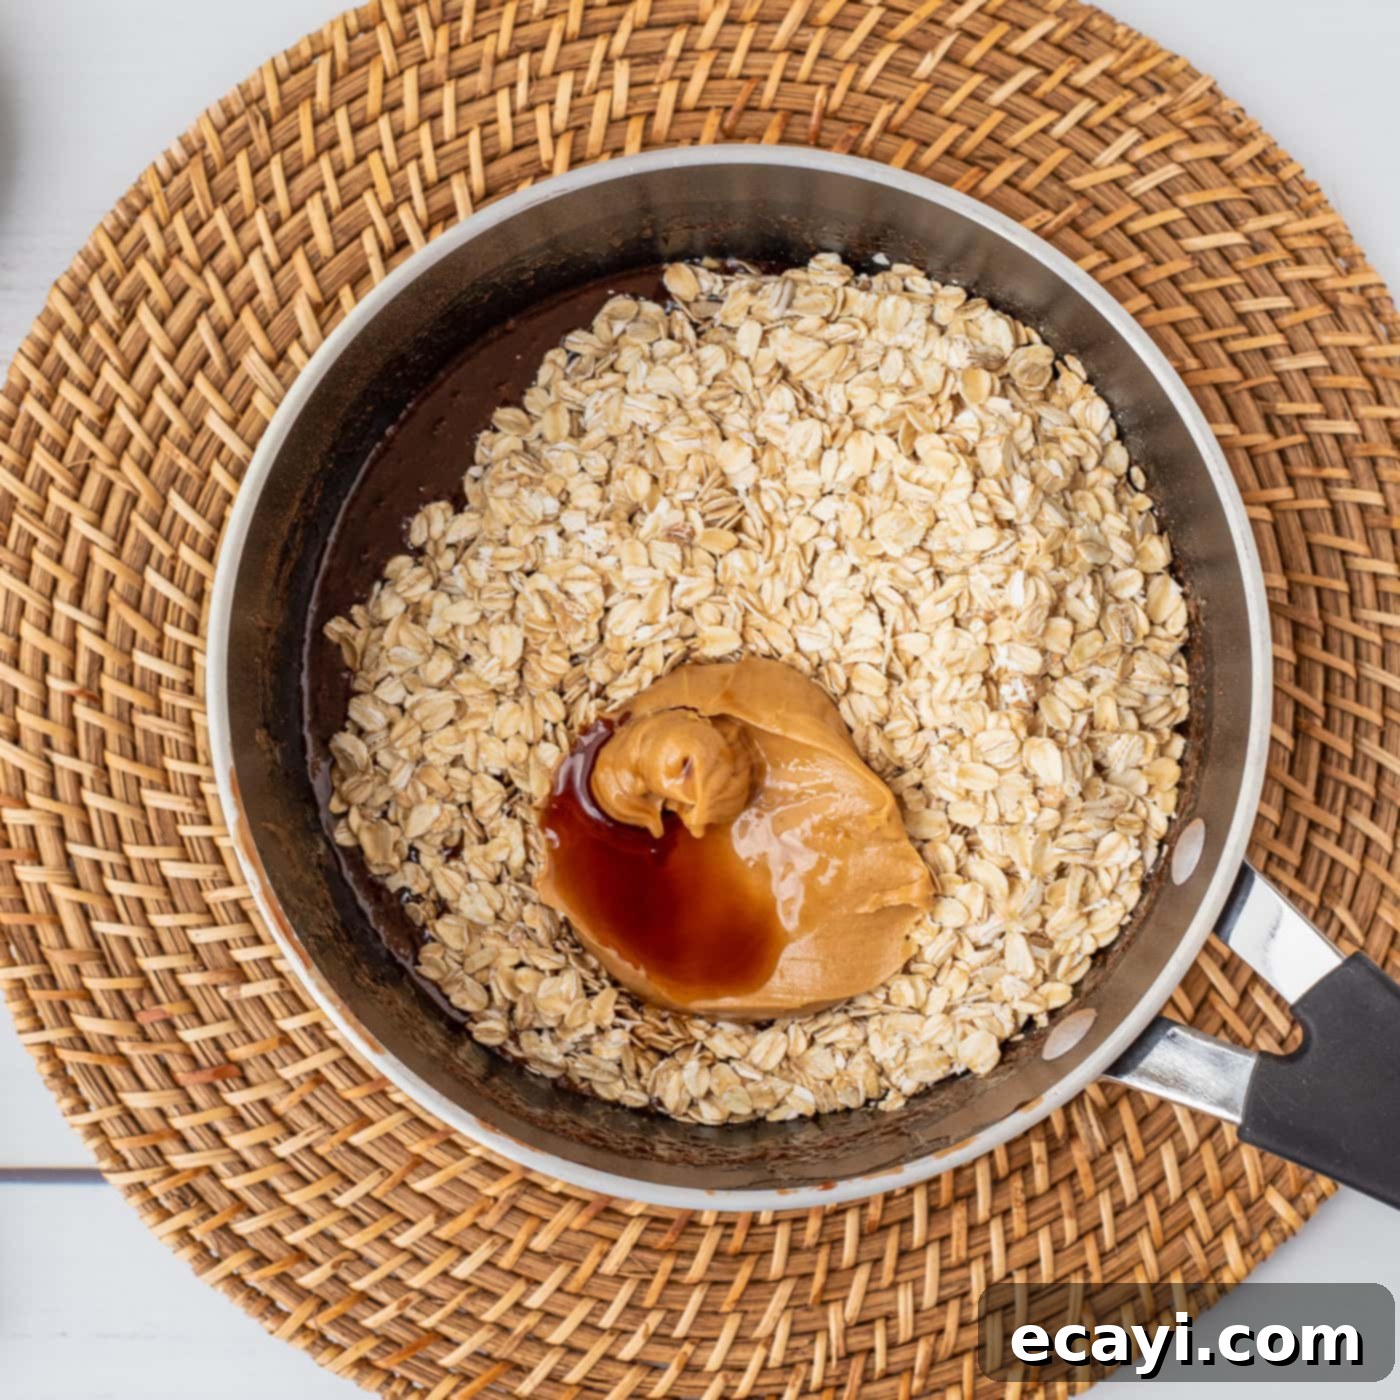
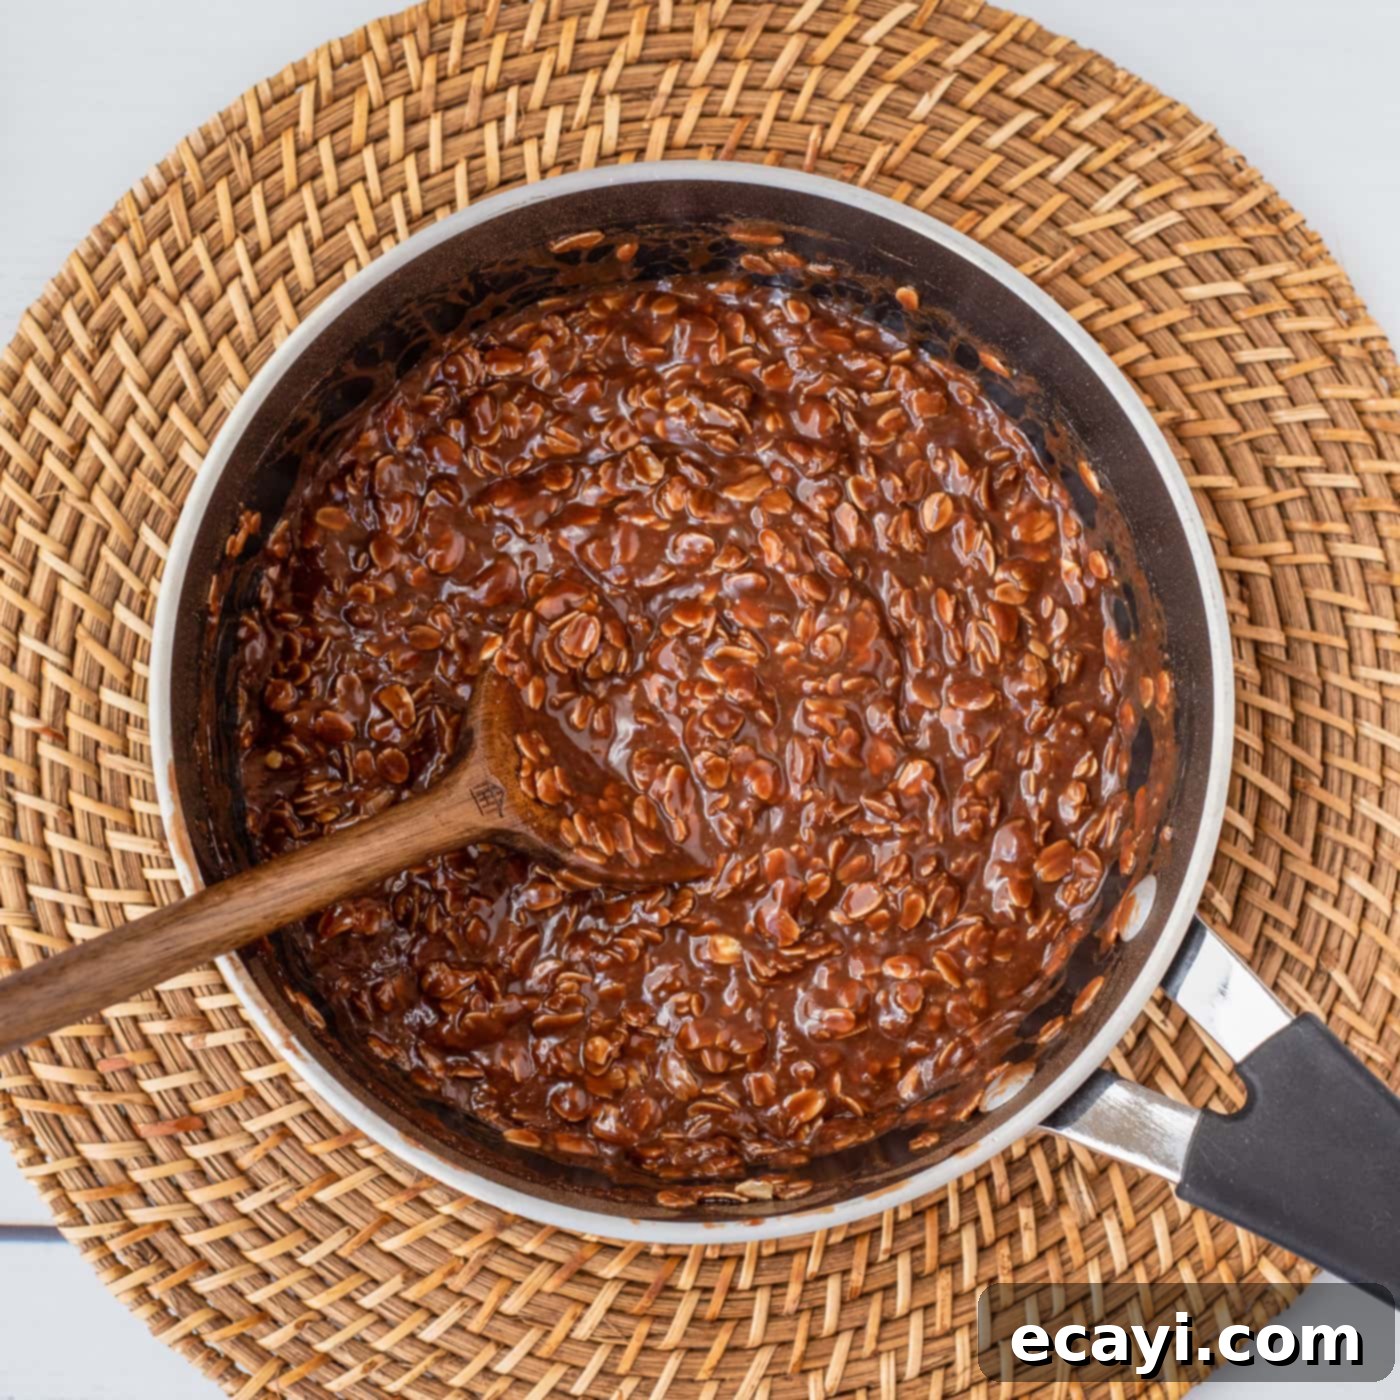
- **Incorporate Final Flavors:** Immediately remove the saucepan from the heat once the one-minute boil is complete. Quickly stir in the old-fashioned oats, peanut butter, pure vanilla extract, and Kosher salt. Mix thoroughly until all ingredients are well combined and the oats are fully coated in the luscious chocolate peanut butter mixture. Work relatively quickly here, as the mixture will start to thicken as it cools.


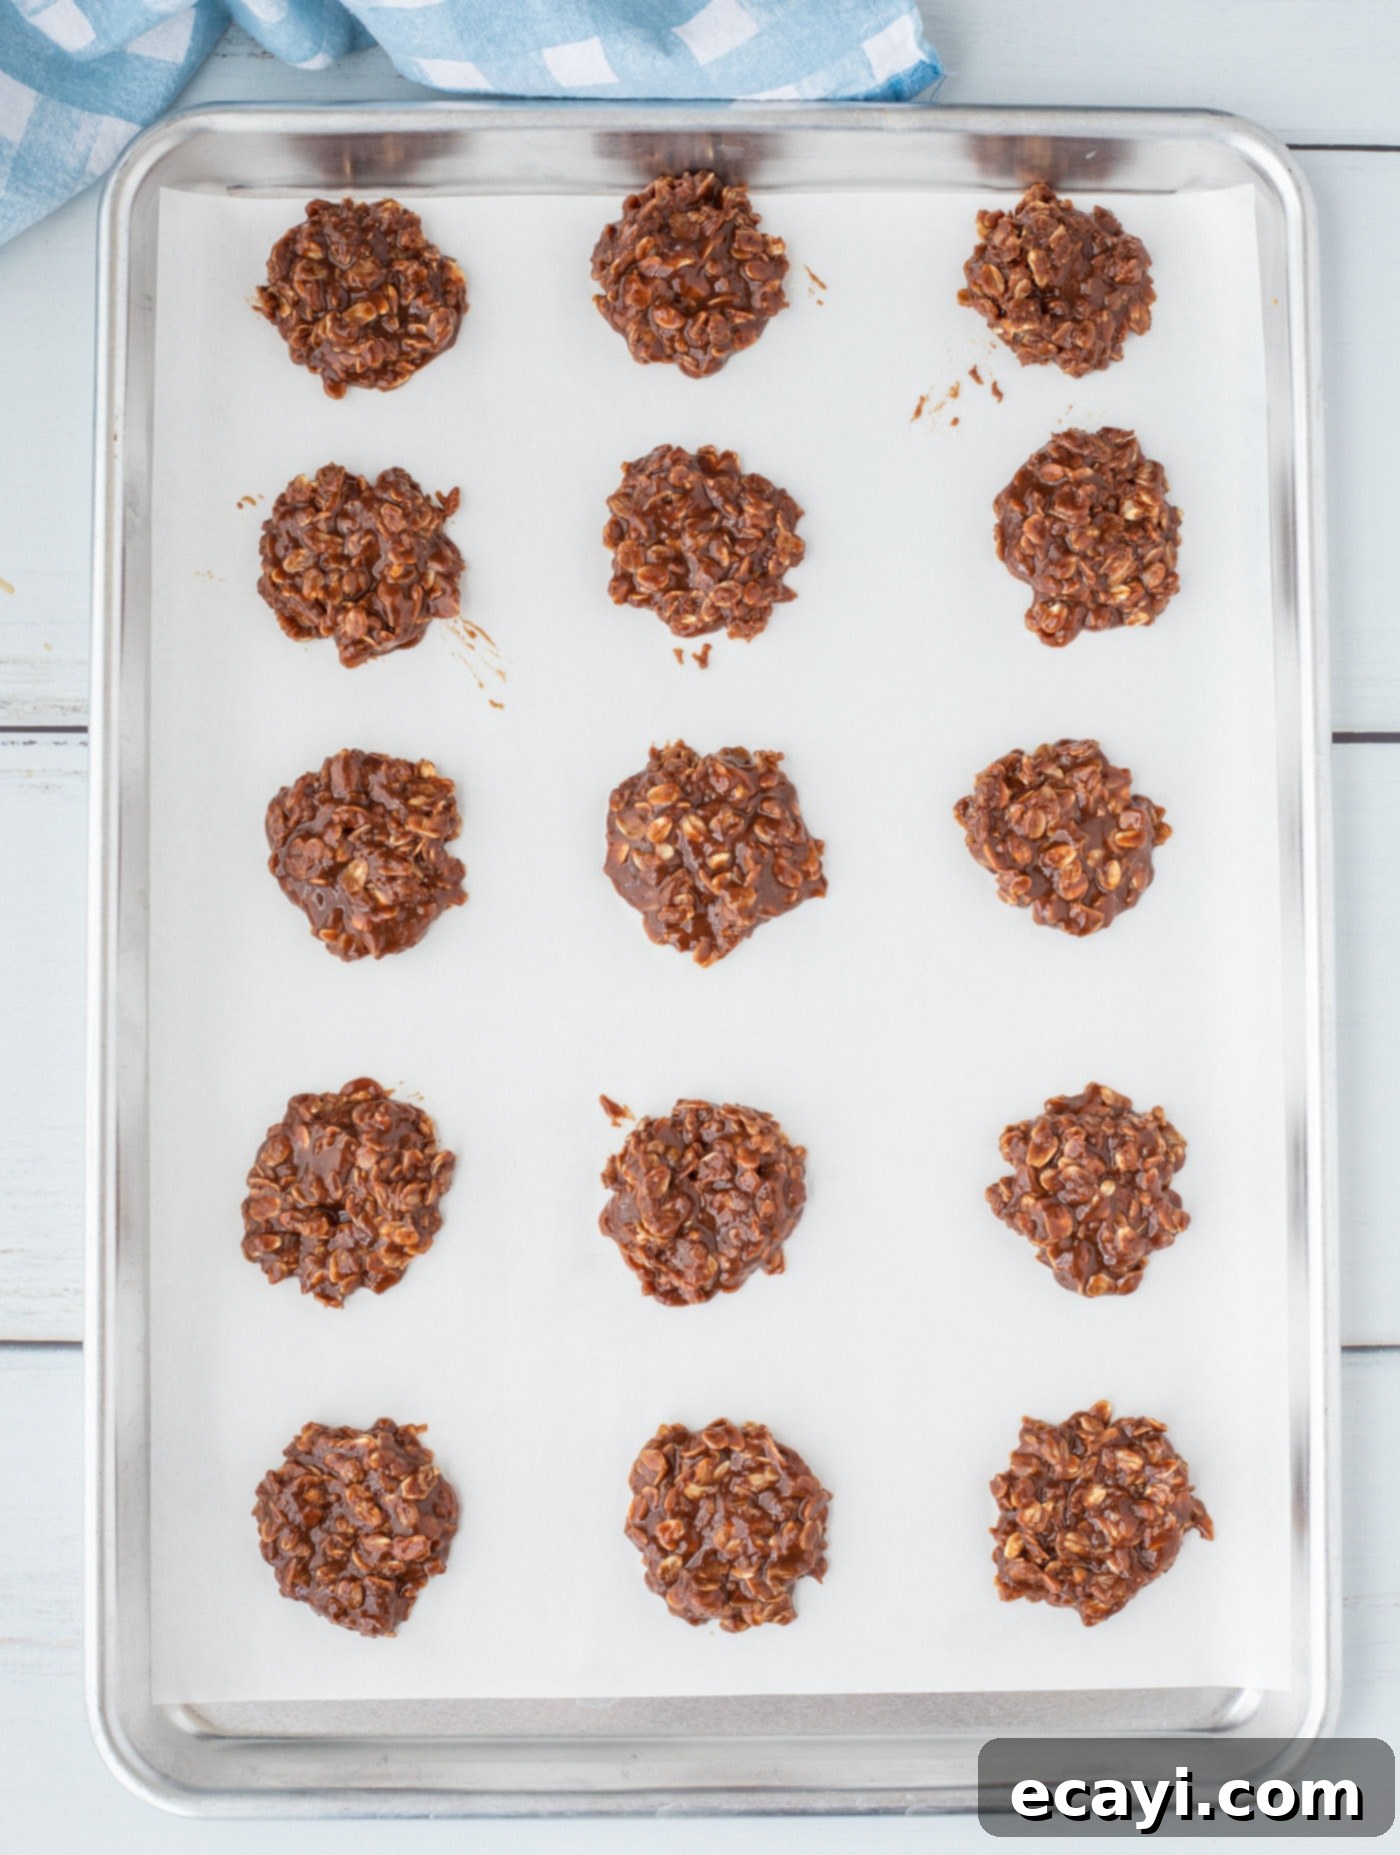
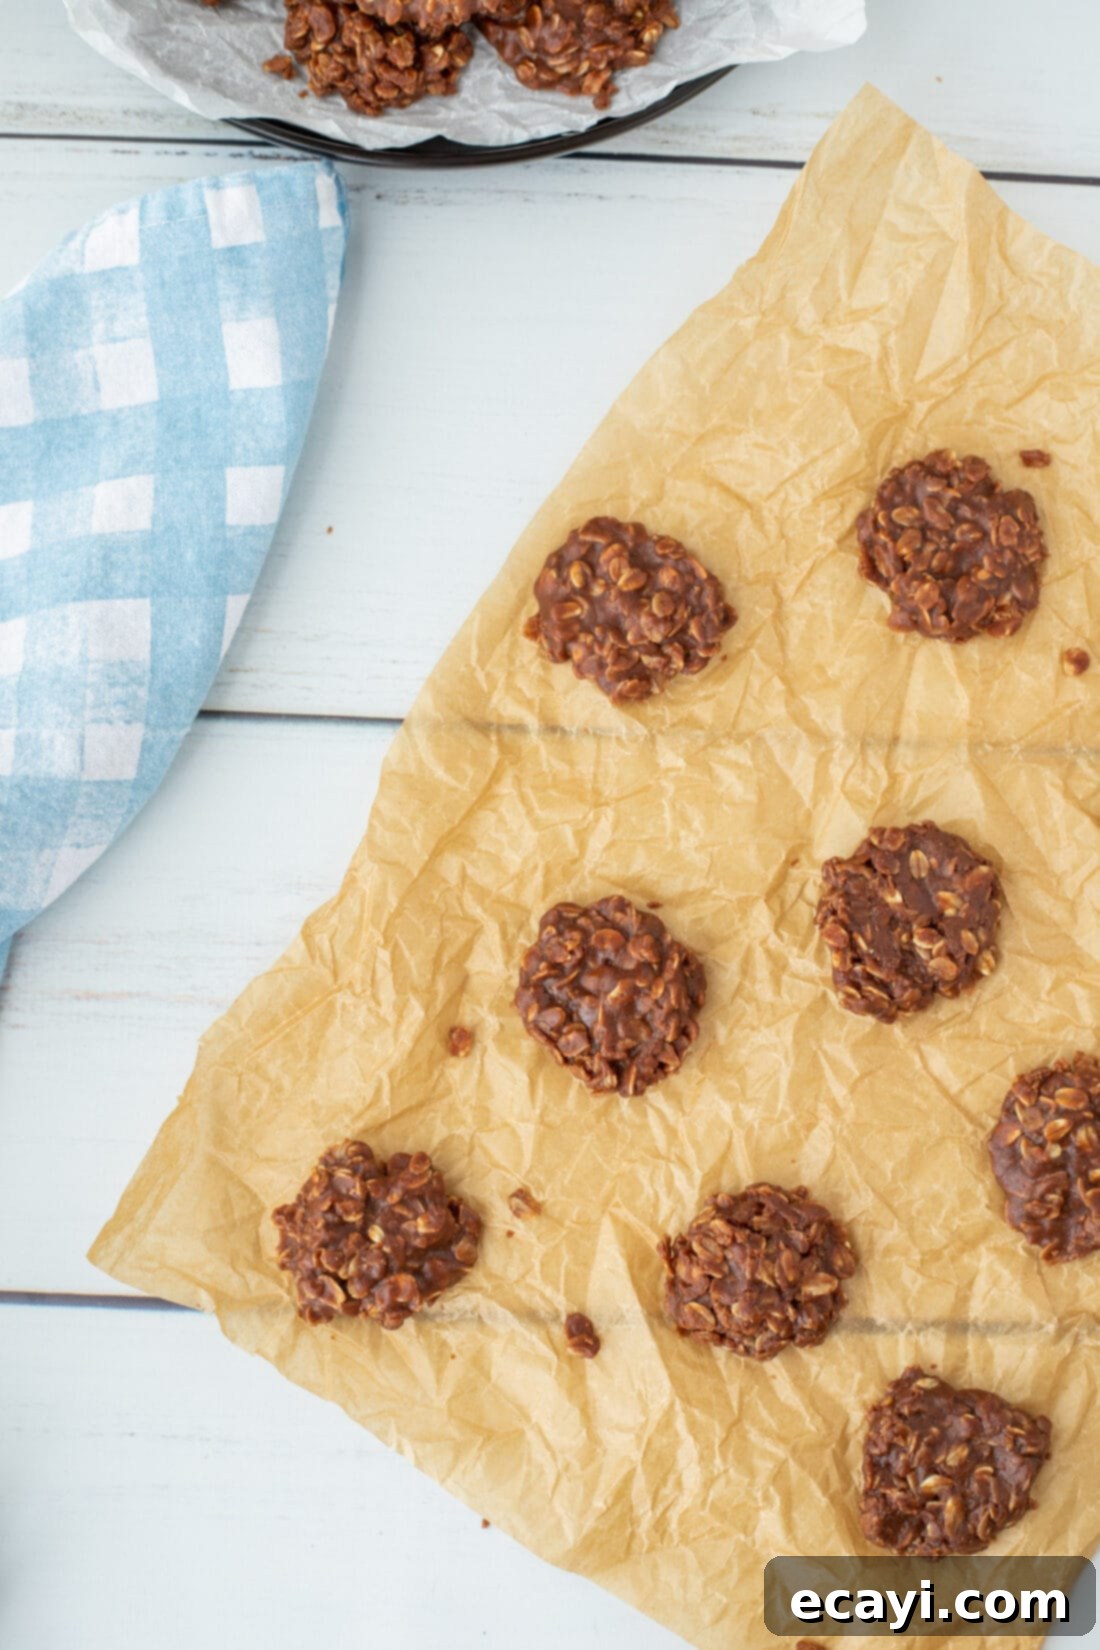
- **Cool and Scoop:** Allow the mixture to cool in the pan for about 3-4 minutes. This brief cooling period helps the mixture to thicken slightly, making it easier to scoop. Using a tablespoon or a small cookie scoop, drop rounded tablespoonfuls of the mixture onto baking sheets lined with parchment paper. Parchment paper is essential to prevent sticking and makes for easy removal.

- **Set and Enjoy:** Let the cookies set at room temperature for at least 15 minutes. The setting time can vary, taking up to 30 minutes or even longer, depending on the size of your cookies and the humidity in your environment. For faster setting, especially in warmer climates, you can place the baking sheets in the refrigerator. Once firm, they are ready to be devoured!
Frequently Asked Questions & Expert Tips for No-Bake Success
This is by far the most common issue, and it almost always comes down to the boiling time. The mixture of cocoa, sugar, milk, and butter *must* reach a full rolling boil and be maintained at that boil for a precise one minute. This high heat allows the sugar to dissolve completely and reach a specific temperature and consistency (a soft-ball stage for candy making, though we don’t need a thermometer here). This process is what enables the mixture to bind the oats and peanut butter together and harden as it cools. If you don’t boil it long enough, the sugar solution won’t be concentrated enough, and your cookies will remain soft and sticky. It’s highly recommended to use a timer once you see that continuous rolling boil.
To maintain their delicious texture and flavor, store your no-bake cookies in an airtight container at room temperature. They will remain fresh and enjoyable for 3-4 days. Always keep them in a cool, dry place, away from direct sunlight or any heat sources, which could cause them to soften or melt.
Absolutely! These cookies freeze beautifully. Once the cookies have fully set and are firm, transfer them to an airtight freezer-safe container or a large resealable freezer bag. Layer them with parchment paper between layers to prevent sticking. They can be stored in the freezer for up to 3 months. When you’re ready to enjoy them, simply take them out and let them thaw at room temperature for about 15-30 minutes, or enjoy them slightly chilled for a firmer bite.
Yes, you can! If you have a peanut allergy or simply don’t like peanut butter, you can substitute it with another nut butter like almond butter or cashew butter. For a completely nut-free option, sunflower seed butter (SunButter) is an excellent choice. The flavor profile will change slightly, but the structural integrity of the cookie should remain consistent.
If your mixture seems too dry, it could be that your oats absorbed liquid too quickly, or perhaps the boiling time was slightly too long. You can try adding a tiny splash of milk (a teaspoon at a time) and stirring vigorously. If it’s too wet and not firming up, it’s usually due to insufficient boiling. In this case, there’s not much you can do to fix the batch once the oats are added, but for future batches, ensure a full rolling boil for the entire minute.
Expert Tips for Perfect No-Bake Cookies:
- Prep Your Ingredients: Before you even turn on the stove, have all your oats, peanut butter, vanilla, and salt measured and ready to go. Once the chocolate mixture comes off the heat, you’ll need to work quickly, and having everything at arm’s reach prevents the mixture from cooling and setting prematurely.
- Don’t Rush the Boil: As mentioned in the FAQ, the one-minute rolling boil is critical. Don’t let it just simmer or lightly bubble. It needs to be a full, vigorous boil for the entire duration.
- Work Quickly After Boiling: Once the chocolate mixture is boiled and removed from heat, immediately add your remaining ingredients and stir them in. The mixture cools and thickens rapidly, so prompt incorporation is key.
- Cooling Surface Matters: Always use parchment paper on your baking sheets. This prevents the cookies from sticking and makes for easy cleanup and removal once they’re set. Wax paper can also work in a pinch.
- Size Consistency: Using a cookie scoop (about 1-tablespoon size) will help you create uniformly sized cookies. This ensures they all set at roughly the same rate and look appealingly consistent. Smaller cookies will set faster.
- Refrigerate to Expedite Setting: If you’re short on time or making these in a warm environment, placing the scooped cookies in the refrigerator or even the freezer for 10-15 minutes can significantly speed up the setting process.
Delightful Serving Suggestions for No-Bake Cookies
These versatile chocolate no-bake cookies can be enjoyed in a variety of ways, each offering a slightly different experience. They are perfectly delicious at room temperature, offering a soft, chewy texture. For a firmer, almost fudge-like consistency, try them chilled straight from the refrigerator. If you prefer a slightly softer, melt-in-your-mouth experience, you can enjoy them slightly warm, though be mindful that they may be a bit stickier. Pair them with a cold glass of milk, a hot cup of coffee, or even crumbled over vanilla ice cream for an extra special treat. Their rich flavor also makes them a fantastic addition to any dessert platter or cookie exchange.
Explore More Easy No-Bake Dessert Recipes
If you’ve fallen in love with the convenience and deliciousness of no-bake desserts, you’re in luck! There’s a whole world of treats you can make without ever turning on your oven. Here are some more fantastic no-bake recipes to inspire your next kitchen adventure:
- Frozen S’mores
- Refreshing Lemon Icebox Cake
- Creamy No-Bake Cheesecake Bars
- Luscious Strawberry Dream Dessert
- Decadent Chocolate Peanut Butter Balls
- Classic No-Bake Peanut Butter Cornflake Cookies
I absolutely adore cooking and baking, and there’s nothing I love more than sharing my culinary adventures and tested recipes with all of you! Remembering to check back daily for new delicious ideas can be a challenge, which is why I offer a convenient newsletter delivered straight to your inbox every time a new recipe is posted. Simply subscribe here and start receiving your free daily recipes to inspire your next meal or dessert!
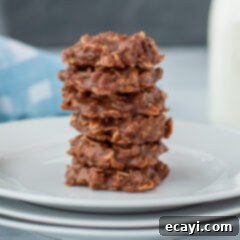
Classic Chewy Chocolate No-Bake Cookies
IMPORTANT – Don’t miss the Frequently Asked Questions and Expert Tips sections within the blog post above; they are packed with helpful advice for perfect cookies!
Print Recipe
Pin It
Rate It
Save ItSaved!
Ingredients
- 1 ¾ cup granulated sugar
- ¼ cup unsweetened cocoa powder
- ½ cup milk (any kind)
- ½ cup unsalted butter
- 3 cups old fashioned rolled oats
- ½ cup peanut butter (creamy or crunchy)
- 1 tsp pure vanilla extract
- ¼ tsp Kosher salt
Equipment You’ll Need
-
Heavy-bottomed saucepan
-
Parchment-lined baking sheets
Before You Begin: Important Tips
- Organize Your Ingredients: Ensure all your “mix-in” ingredients (oats, peanut butter, vanilla, and salt) are measured out and ready to be added immediately after the chocolate mixture is removed from the heat. This prevents the hot mixture from beginning to set up prematurely.
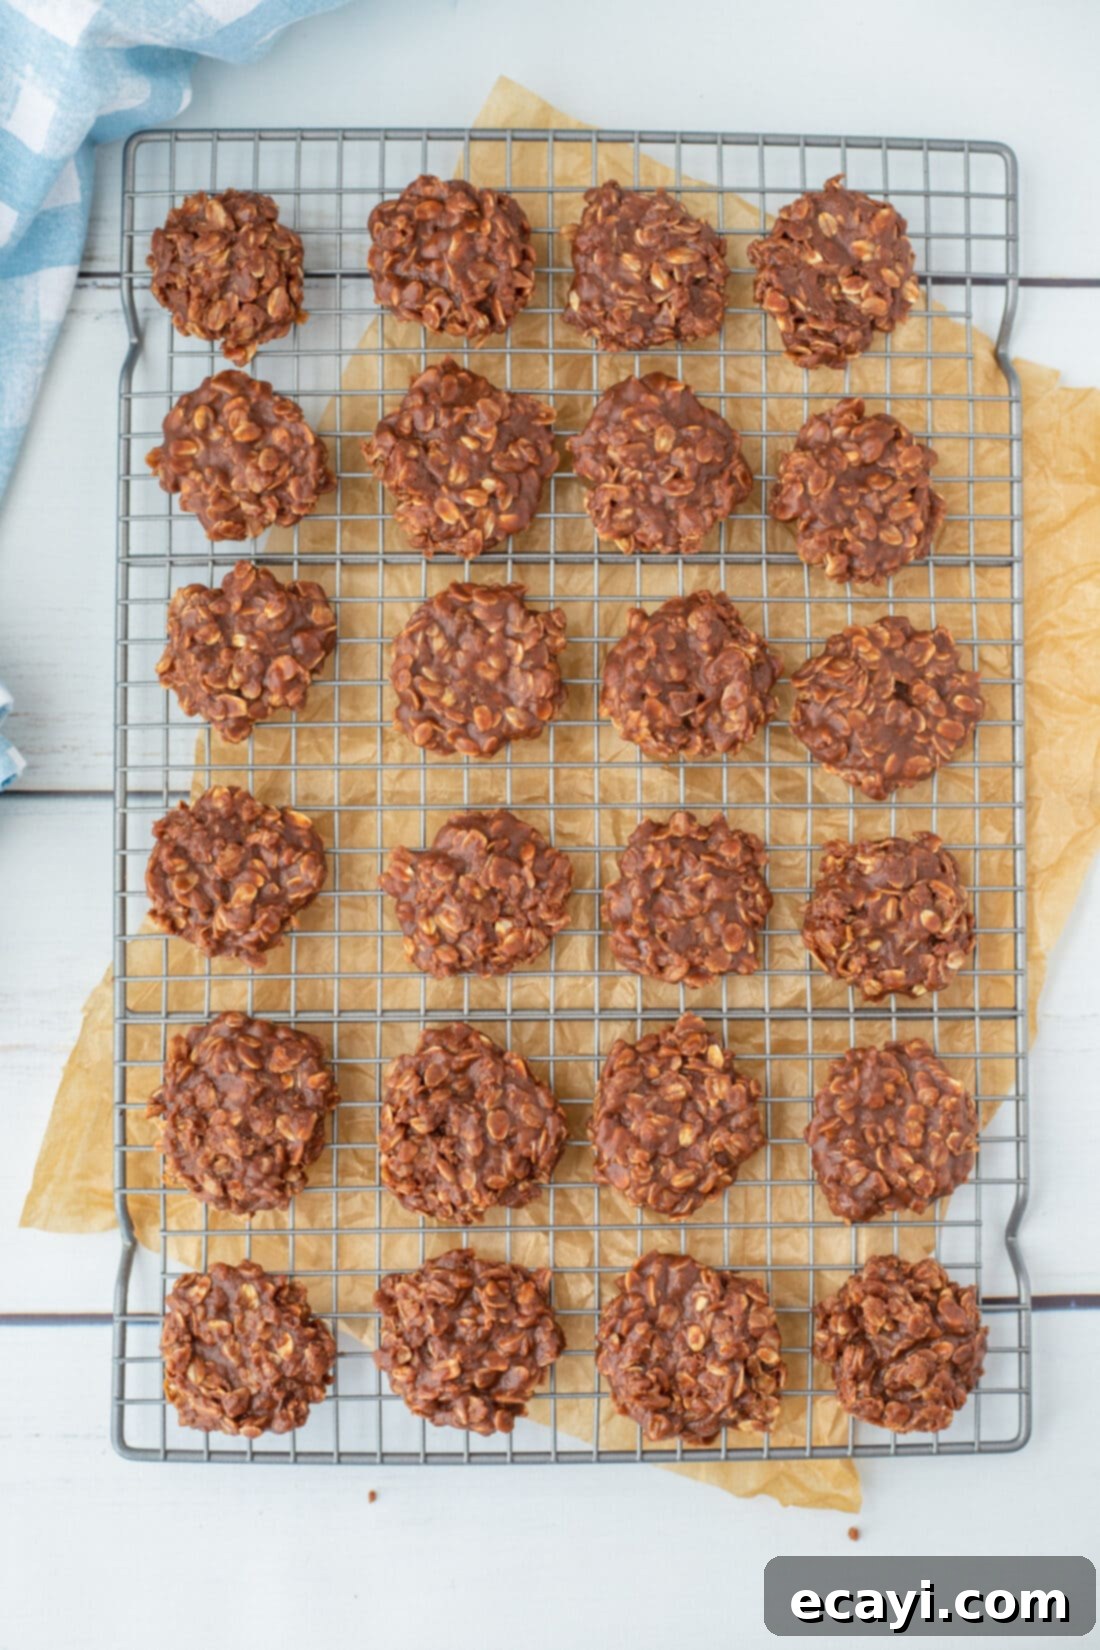
- Consider Cookie Size: You can adjust the size of your cookies. Keep in mind that larger cookies will naturally require a longer time to set completely. For example, using a teaspoon to scoop yields around 36 cookies that set in about 15 minutes. If you use a tablespoon, allow for 30-40 minutes of setting time to ensure they are firm.
- Don’t Skimp on the Boil: A full, rolling boil for one minute is paramount for proper setting. This step cannot be rushed or cut short.
Instructions
-
In a sturdy, heavy-bottomed saucepan, whisk together the granulated sugar and unsweetened cocoa powder until thoroughly combined.
-
Add the milk and unsalted butter to the saucepan with the sugar and cocoa mixture.
-
Heat the mixture over medium-high heat, stirring consistently. Bring the mixture to a full, rolling boil, ensuring it bubbles continuously even while being stirred. Once a rolling boil is reached, continue boiling for exactly one minute.
-
Immediately remove the saucepan from the heat. Quickly stir in the old-fashioned rolled oats, peanut butter, pure vanilla extract, and Kosher salt until all ingredients are fully incorporated and coated.
-
Allow the mixture to cool slightly in the pan for 3-4 minutes to thicken. Then, using a tablespoon or a small cookie scoop, drop rounded portions onto baking sheets lined with parchment paper.
-
Let the cookies set at room temperature for at least 15 minutes, or until firm. For quicker setting, place the baking sheets in the refrigerator. Enjoy!
Nutrition Information (Per Serving)
Please note that all recipes on this blog are tested using a conventional gas oven and stovetop. Oven temperatures can vary, especially with older appliances, so an inexpensive oven thermometer is recommended for accuracy. If using a toaster oven or countertop oven, adjustments to cooking/baking times may be necessary due to different heat distribution. For recipes involving pressure cookers, air fryers, slow cookers, or other specific appliances, links to the models we use are provided within their respective recipes. For baking recipes where ingredients are measured by weight, using cup measurements instead may result in different outcomes, and we cannot guarantee success with alternative measurement methods.
