Authentic Roman-Style Pizza at Home: Recreate the Iconic Forno Campo de Fiori Crisp
This comprehensive guide will teach you how to make Roman-style pizza from scratch, bringing the unforgettable flavors of Rome’s renowned Forno Campo de Fiori directly to your kitchen.

This post contains affiliate links. Full disclosure is at the bottom of the article.
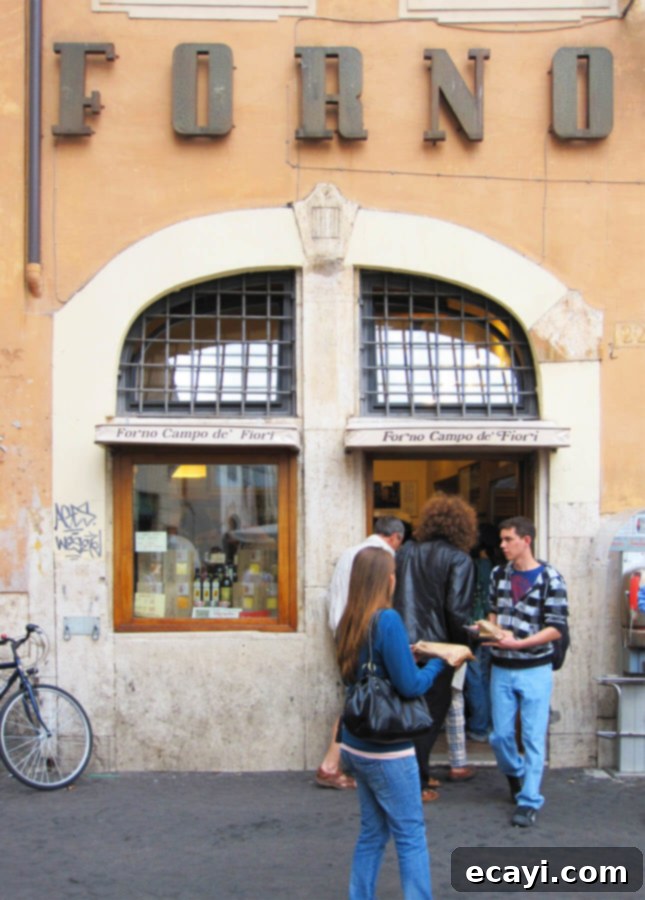
Looking back at my travels, amidst a vibrant tapestry of culinary delights, it’s the Roman-style pizza that truly stands out from my recent trip to Italy’s captivating capital. While Rome is famous for its incredible food scene, I never expected pizza to be the dish that would leave such an indelible mark on my memory, igniting a passionate quest to recreate it at home. My partner E and I sampled various pizzas from numerous trattorias across the city, yet the one that consistently beckoned us back, and still sparks cravings months later, was the unassuming yet extraordinary pizza sold by weight at a bustling take-out counter: Forno Campo de Fiori.
Forno Campo de Fiori was a constant hub of activity. Navigating the perpetually packed space, especially keeping my place in line amidst locals accustomed to its wonderfully chaotic ordering and payment system, always felt like a minor sport. However, the ultimate prize—a slice of their incredible pizza—was undeniably worth every bit of the delightful struggle. The sheer simplicity and perfection of their pizza elevated it beyond mere food; it was a true experience.
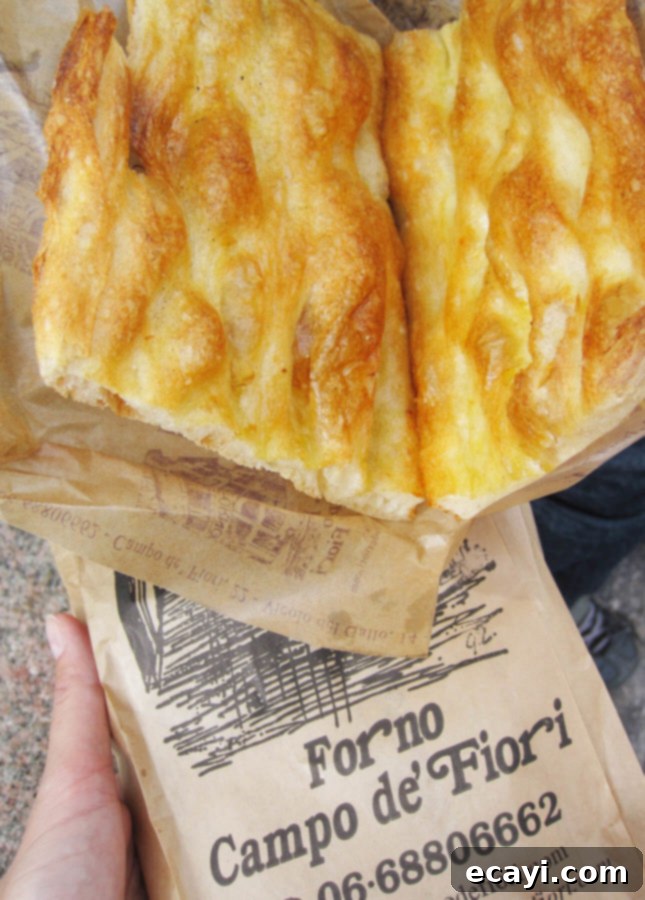
At Forno, pizzas are baked in impressive six-foot-long rectangular pies, adorned with a variety of toppings that adhere strictly to the principle of simplicity. Typically, two or three carefully selected, high-quality ingredients are all that’s needed to grace the wonderfully crunchy dough. The establishment is particularly renowned for its minimalist *pizza bianca*, a true testament to culinary elegance. Topped only with a generous drizzle of the finest olive oil and a sprinkle of coarse sea salt, the *pizza bianca* embodies the essence of “less is more,” serving as a perfect example of how extraordinary flavors can emerge from basic, quality ingredients. This iconic Roman flatbread should be celebrated globally for its sublime simplicity and exceptional taste.
Forno Campo de’ Fiori’s Pizza Bianca:
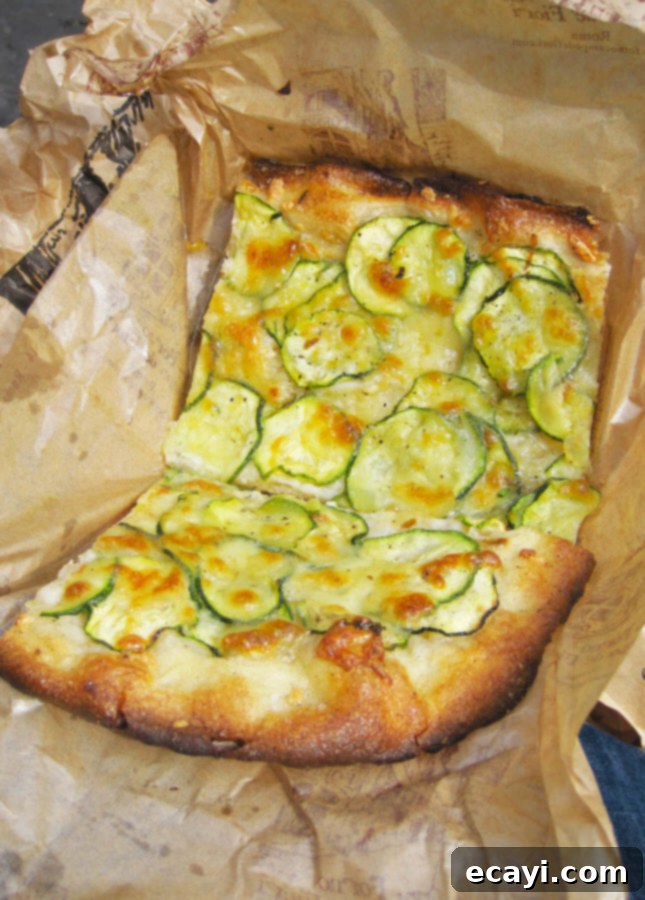
Our admiration for Forno was so profound that we returned repeatedly to sample its many delectable varieties. Among them all, the zucchini pizza emerged as our absolute favorite. The delicate, almost nutty flavor of thinly sliced zucchini, perfectly complemented by the creamy richness of fresh mozzarella, created a harmonious contrast with the crust’s distinct saltiness. It was an undeniable *chef d’oeuvre*, and we were utterly captivated by it. I genuinely believe I could have savored that specific pizza every day for a week without tiring of its exquisite taste. Of course, the experience was undoubtedly enhanced by the idyllic setting: enjoying our affordable €2 slices while perched on the rim of Campo de Fiori’s historic fountain under the warm autumn sun, observing the elegant and bustling Roman daily life unfold around us. Such moments are etched permanently into memory, intertwined with the sensory pleasure of the food.
Campo de Fiori’s Zucchini Pizza:
Picture-Perfect Campo de Fiori, Rome:

The Quest for the Perfect Crispy Roman Pizza Crust
Upon returning home, I was determined to replicate that incredible Roman pizza experience. My culinary experiments began, driven by a desire to get as close as possible to Forno Campo de Fiori’s distinctive taste and texture. The most significant challenge lay in achieving the crust’s characteristic crispiness, a quality that proved surprisingly difficult to master in a standard home oven. My early attempts, often using my bread machine for dough preparation, consistently yielded a crust that rose excessively during baking, even when meticulously rolled out to be paper-thin. While delicious in its own right, it simply wasn’t the authentic Roman crisp I was striving for.
Then, a breakthrough arrived with the “new” Bon Appetit magazine’s first Italy-focused issue. Driven by a renewed sense of curiosity and hope, I purchased it, and nestled within its pages, I discovered a recipe for Roman pizza that immediately resonated as being remarkably close to my culinary goal. I couldn’t resist putting it to the test just a few days later. As I kneaded the dough by hand, I noticed an immediate difference: it stretched effortlessly and maintained its incredibly thin shape, even after being rolled out to an extreme degree. This newfound malleability filled me with optimism. I decided to garnish the first pie with a classic combination of fresh tomato, creamy mozzarella di bufala, and fragrant basil. The result was nothing short of astonishing in its deliciousness; I had finally achieved the elusive texture and flavor I had been chasing. We devoured the first pizza with gusto, and I eagerly promised to make the zucchini variety—my absolute favorite from Rome—a couple of days later, which met with equally triumphant success.
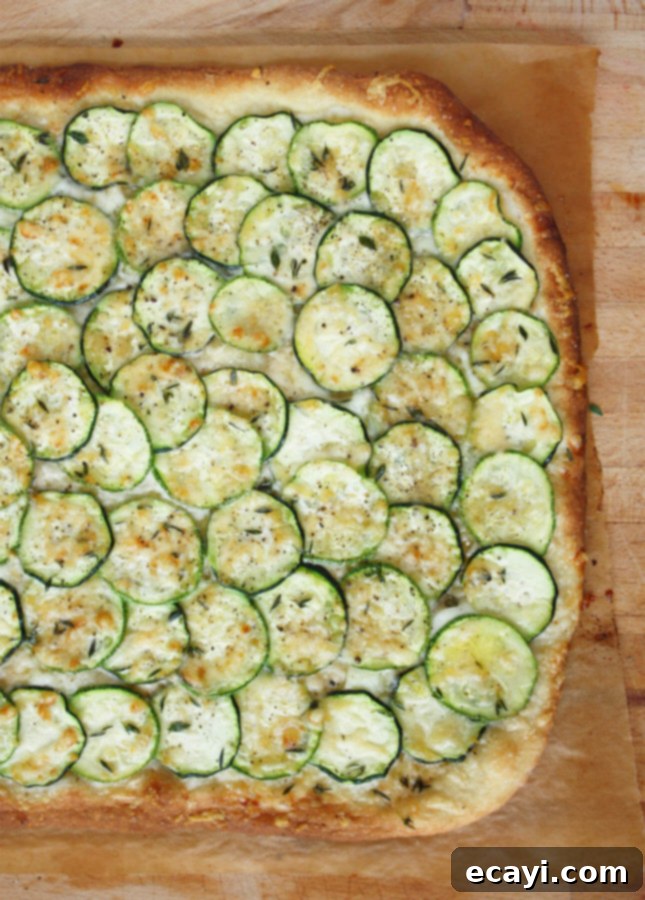
I am now confident that I have discovered the perfect Roman-style pizza dough recipe. If your preference leans towards thin, supremely crispy pizza, I believe you too will fall head over heels for this method. Don’t be deterred by the prospect of making your own dough by hand; it’s surprisingly quicker and less demanding than you might imagine. Trust me, I possess a limited amount of patience for dough-making, but this particular recipe proved incredibly manageable and rewarding. Once you’ve mastered the dough, the secret to creating truly exceptional Roman pizza lies in adhering to minimalist toppings and sourcing the absolute finest ingredients available. This is the moment to reach for your best extra-virgin olive oil, to indulge in the luxurious creaminess of mozzarella di bufala, and to liberally sprinkle your masterpiece with precious *fleur de sel*. Your taste buds will undoubtedly express their profound gratitude for this authentic culinary experience.
Helpful Tips for Mastering Roman-Style Pizza Dough
Achieving that signature crispy Roman-style crust hinges on two crucial elements: rolling the dough to an almost unbelievably thin consistency and utilizing a preheated pizza stone for baking. This recipe specifically focuses on crafting the perfect dough. Once you have this foundational element, you can unleash your creativity with various toppings (refer to the suggested recipes below for inspiration). Remember to carefully review your chosen topping recipes to efficiently multi-task while your pizza dough is resting, maximizing your kitchen efficiency and ensuring a smooth pizza-making process.

Pin Recipe
Roman-Style Pizza Dough
Ingredients for Roman Pizza Dough
- 2 tsp granulated sugar
- 1 ½ tsp active dry yeast
- 2 ½ tbsp extra-virgin olive oil, divided for dough and bowl greasing
- 1 tsp kosher salt
- 2 ¼ cups all-purpose flour, plus additional for dusting work surface
Instructions for Roman-Style Pizza Dough
Make the Roman Pizza Dough
-
In a large mixing bowl, combine ¾ cup warm water (at a temperature of 100°-115°F / 38-46°C) with the granulated sugar and active dry yeast. Allow this mixture to sit undisturbed until it becomes foamy and spongy, which typically takes about 4-5 minutes. Next, stir in 1 ½ tablespoons of the measured extra-virgin olive oil along with the kosher salt. Gradually incorporate 2 ¼ cups of all-purpose flour into the wet ingredients. Turn the shaggy dough out onto a clean work surface and knead it until it is smooth and elastic. Add more flour as needed to prevent sticking, continuing to knead for approximately 6 minutes in total. Lightly grease another large bowl with the remaining 1 tablespoon of olive oil. Transfer the dough into this greased bowl, cover it tightly with plastic wrap, and let it rise in a warm place until it has doubled in size, which should take about 90 minutes.
-
While the dough is rising, prepare your oven for baking. Position one oven rack in the top third of your oven and a second rack in the bottom third. Place a pizza stone on the top rack. Preheat your oven to a high temperature of 500°F (260°C). Allow the oven and pizza stone to preheat for a substantial duration of 45 to 60 minutes to ensure the stone absorbs ample heat for a crispy crust.
-
Once the dough has risen, gently divide it into two equal portions. At this stage, each dough ball can be individually wrapped in plastic wrap and stored in the refrigerator for up to a couple of days if not using immediately. Alternatively, for longer storage, place them in a freezer-safe plastic storage bag and freeze for 1 to 2 months. Thaw frozen dough in the refrigerator overnight before use.
Roll out the Roman Pizza Dough to Perfection
-
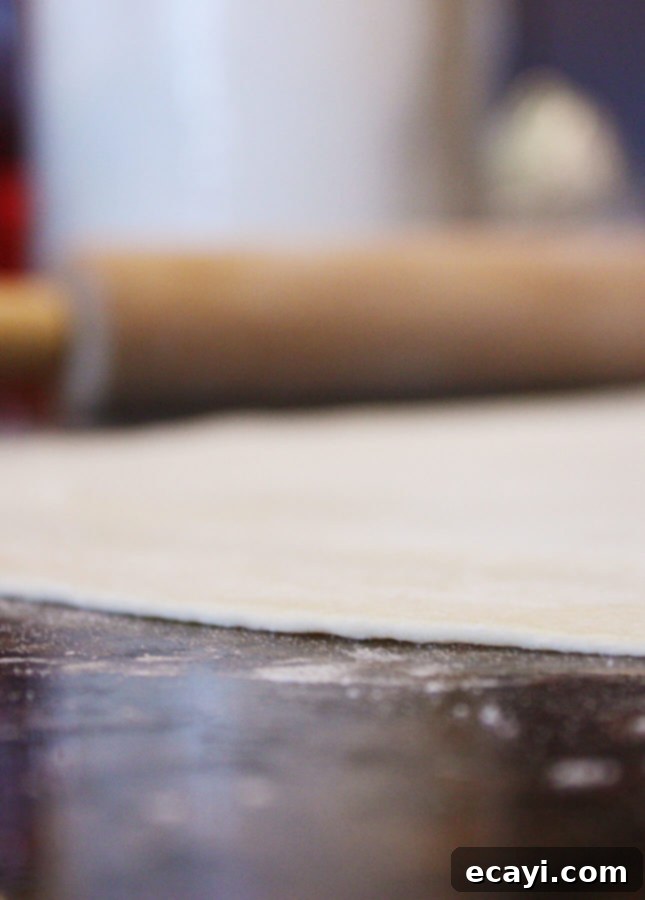
Generously sprinkle a clean, dry work surface and one of the dough balls with all-purpose flour. Using a rolling pin, roll out the dough into a very thin, large rectangular shape with slightly rounded corners. Don’t worry about achieving perfect symmetry; a rustic, authentic shape is part of its charm! The key to achieving the signature Roman crunch is to roll the crust as thinly as possible. I personally aim for a thickness of about 1/4-inch (0.6 cm), but you can adjust this to your preference if you desire a slightly thicker base.
-
Cut a piece of parchment paper large enough to comfortably hold your rolled-out pizza dough. Carefully fold the thin dough in half and transfer it onto the prepared parchment paper. The parchment paper is crucial here, as the extreme thinness of the crust would make it nearly impossible to slide the pizza directly onto the hot pizza stone without tearing. Cover the dough on the parchment paper with a clean kitchen towel and allow it to rest for an additional 15 minutes. This brief rest helps relax the gluten, making the dough easier to handle and preventing it from snapping back during baking.
-
Once rested, garnish your Roman-style pizza crust as desired with your chosen toppings. Using a pizza peel or a large flat baking sheet, carefully transfer the entire pizza (still on its parchment paper) directly onto the preheated pizza stone in the oven. Bake for approximately 8 minutes, or until the crust achieves a beautiful golden brown color and the cheese and toppings are visibly bubbly and cooked through.
-
Recipe Credit: This Roman pizza dough recipe has been thoughtfully adapted from a featured recipe in Bon Appétit Magazine.
Did you make this?
Tell me how you liked it! Leave a comment or take a picture and tag it with @foodnouveau on Instagram.

Pin Recipe
Roasted Cherry Tomatoes, Basil, and Arugula Roman-Style Pizza
Ingredients for Roasted Cherry Tomatoes, Basil, and Arugula Pizza
- 1 ball homemade Roman-style pizza dough (half of a batch prepared above)
- ¾ lb cherry tomatoes, ripe and sweet
- High-quality extra-virgin olive oil
- Fleur de sel, or any flaky sea salt
- Freshly ground black pepper
- ¼ cup finely grated Parmigiano-Reggiano cheese
- 1 small ball Mozzarella di Bufala (about 5 oz / 140 g), thinly sliced for even melting
- 2 large handfuls fresh arugula
- Fresh basil leaves (optional, for a burst of freshness)
Instructions for Roasted Cherry Tomatoes, Basil, and Arugula Pizza
To roast the cherry tomatoes
-
Begin by preparing your oven for optimal pizza baking. Position one rack in the lower third of your oven. Place a pizza stone directly on this rack. Preheat the oven to a high temperature of 500°F (260°C). It is crucial to allow the oven and, more importantly, the pizza stone to preheat for an extended period of 45 to 60 minutes. This ensures the stone reaches a sufficiently high temperature to create an intensely crispy crust.
-
While the oven is preheating, prepare your cherry tomatoes. Cover a baking sheet with aluminum foil for easy cleanup. Scatter the cherry tomatoes evenly across the foil-lined baking sheet. Drizzle them with approximately 1 tablespoon (15 ml) of extra-virgin olive oil, then season generously with salt and freshly ground black pepper. Carefully place the baking sheet directly over the preheated pizza stone in the oven. Roast the tomatoes until their skins burst and become beautifully blackened in spots, which typically takes between 10 to 12 minutes. Remove the roasted tomatoes from the oven and allow them to cool slightly. Leave the oven on, maintaining its high temperature for the pizza.
Roll out the Roman pizza dough
-
Dust a clean, dry working surface and one of the prepared balls of pizza dough with a light coating of flour. Using a rolling pin, roll out the dough into a very thin, large rectangle, aiming for rounded corners. The thinner you roll it, the crispier your final pizza will be.
-
Cut a piece of parchment paper that is generously sized to hold your rolled-out pizza crust. Carefully fold the thin crust in half and transfer it to the parchment paper. This parchment paper is essential for effortlessly transferring the delicate, thin pizza into the hot oven, as sliding it directly off a peel might prove difficult. Cover the crust with a clean kitchen towel and let it rest for 15 minutes.
Garnish and bake the pizza
-
Generously brush the entire pizza crust with your finest extra-virgin olive oil. Evenly sprinkle with the finely grated Parmigiano-Reggiano cheese. Next, distribute the thinly sliced buffalo mozzarella over the crust, ensuring good coverage. Finally, nestle the slightly cooled roasted cherry tomatoes in between the mozzarella slices. Season the entire pizza with an additional sprinkle of salt and freshly ground black pepper to taste.
-
Using a pizza peel or a large, flat cutting board, carefully slide the pizza (with the parchment paper still underneath) directly onto the preheated pizza stone in the oven. Bake until the crust is beautifully browned and wonderfully crisp, and the cheese is melted, bubbly, and slightly golden, which should take approximately 10 minutes.
-
SERVING: Once baked to perfection, carefully pull the pizza out of the oven. For a final touch of freshness and flavor, sprinkle generously with fresh arugula and, if desired, a scattering of fresh basil leaves. Slice and serve immediately to enjoy the ultimate crispy Roman-style pizza experience.
Did you make this?
Tell me how you liked it! Leave a comment or take a picture and tag it with @foodnouveau on Instagram.
Pin Recipe
Roman-Style Zucchini Pizza
Ingredients for Roman-Style Zucchini Pizza
- 1 ball homemade Roman-style pizza dough (half of a batch prepared above)
- ¼ cup extra-virgin olive oil
- 1 clove garlic, finely minced or grated
- ⅓ cup finely grated Parmigiano-Reggiano cheese
- 2 small zucchini (about 7 oz / 200 g), for thin slices
- Fleur de sel, or high-quality sea salt flakes
- Freshly ground black pepper
- 1 small ball Mozzarella di Bufala (about 5 oz / 140 g), thinly sliced
- 1 tbsp fresh thyme leaves
Instructions for Roman-Style Zucchini Pizza
Prepare the ingredients and preheat the pizza stone
-
Pour the extra-virgin olive oil into a small bowl. Very finely mince or grate the garlic clove, then thoroughly mix it into the oil. Set this garlic-infused oil aside to allow the flavors to meld. You can prepare this garlic oil well in advance and refrigerate it until you’re ready to use it for your pizza.
-
Prepare the zucchini by slicing both small zucchini into extra-thin rounds. A mandoline slicer is highly recommended for achieving consistent, paper-thin slices, which are essential for this recipe.
-
Position a rack in the lower third of your oven. Place a pizza stone on this rack. Preheat the oven to a blazing 500°F (260°C). Allow the oven and pizza stone to preheat for a full 45 to 60 minutes. This extended preheating time is critical for the stone to absorb maximum heat, ensuring your pizza crust bakes up incredibly crispy, just like in Rome.
Roll out the Roman pizza dough
-
Dust a clean, dry work surface and one of your prepared Roman pizza dough balls with a light dusting of flour. With a rolling pin, roll out the dough as thinly as possible into a large, rectangular shape with slightly rounded corners. Remember, thinness equals crispiness!
-
Cut a piece of parchment paper large enough to hold your rolled-out pizza crust. Carefully fold the thin crust in half and transfer it onto the parchment paper. This paper acts as a crucial aid for transferring the delicate pizza to the oven, making it virtually impossible for the thin crust to slide off a peel onto the hot stone. Cover the crust with a clean kitchen towel and allow it to rest for 15 minutes.
Garnish and bake the zucchini pizza
-
Generously brush the entire pizza crust with the aromatic garlic-infused olive oil, ensuring even coverage for maximum flavor.
-
Sprinkle approximately one-third of the finely grated Parmigiano-Reggiano cheese over the brushed crust. Then, artfully distribute the thinly sliced buffalo mozzarella across the pizza base.
-
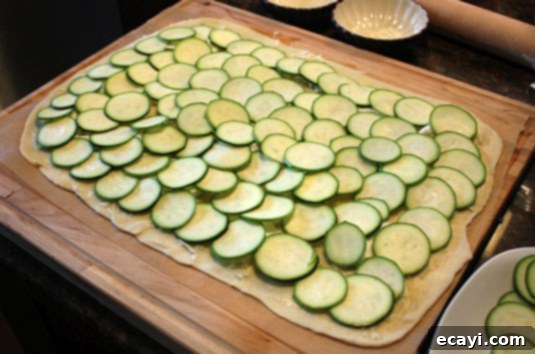
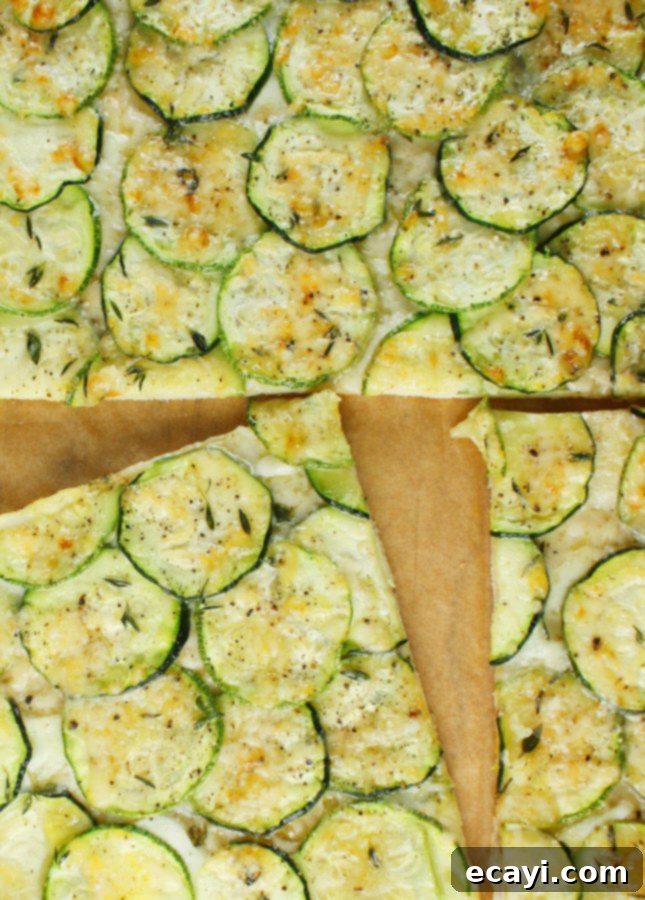
Arrange the paper-thin zucchini slices over the pizza in an elegant, slightly overlapping pattern. This not only looks beautiful but ensures each bite gets a delicate taste of zucchini.

-
Season the zucchini generously with a good pinch of *fleur de sel* (or your chosen sea salt flakes), ensuring the salt is distributed evenly over the entire pizza. Follow with a sprinkle of freshly ground black pepper. Finally, sprinkle the remaining Parmigiano-Reggiano and drizzle with the rest of the garlic-infused olive oil for an extra layer of flavor.
-
Using a pizza peel or a large, sturdy cutting board, carefully transfer the entire pizza (with the parchment paper still underneath) onto the preheated pizza stone in the oven. Bake until the crust is beautifully browned and exceptionally crisp, and the cheese is melted and bubbly, typically around 10 minutes.
-
SERVING: Once the pizza is perfectly baked, carefully pull it out of the oven. Sprinkle generously with fresh thyme leaves for an aromatic finish and serve immediately. Enjoy this taste of Roman tradition!
Did you make this?
Tell me how you liked it! Leave a comment or take a picture and tag it with @foodnouveau on Instagram.
This site is a participant in the Amazon Associates Program, an affiliate advertising program designed to provide a means for the site to earn fees by linking to Amazon and affiliated sites.
If you click on an affiliate link, I may earn advertising or referral fees if you make a purchase through such links, at no extra cost to you. This helps me creating new content for the blog–so thank you! Learn more about advertising on this site by reading my Disclosure Policy.

