The Ultimate Two-Tiered Red Velvet Cake with Decadent Cream Cheese Frosting
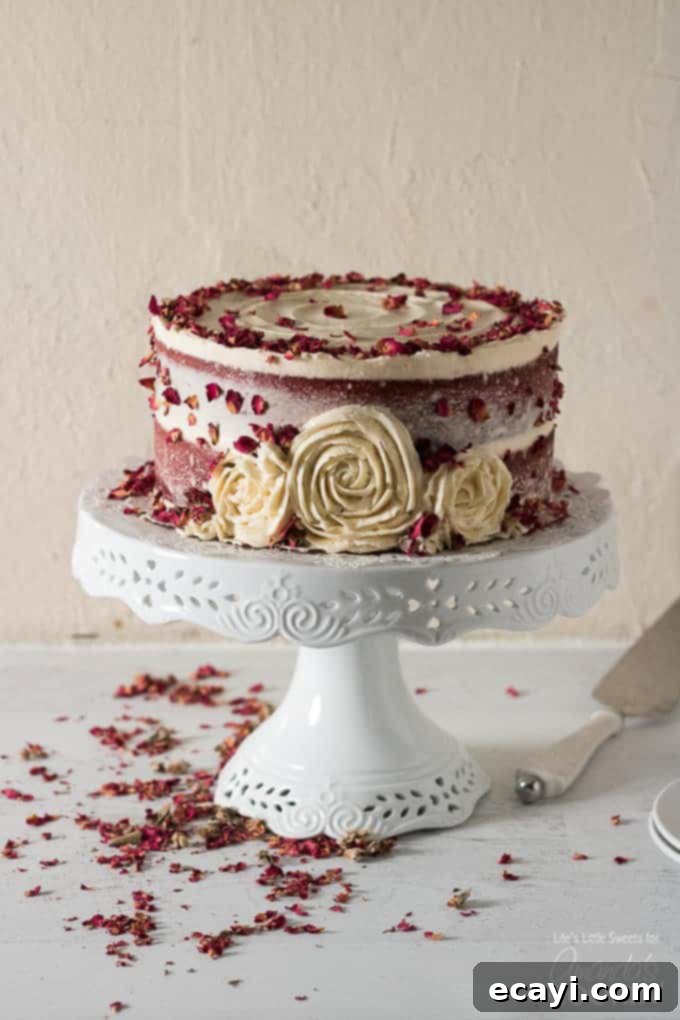
Welcome to the world of classic baking, where we celebrate one of the most iconic and visually stunning desserts: Red Velvet Cake. This particular recipe presents a magnificent, dramatic, and tall two-tiered cake, guaranteed to be the star of any occasion. Crafted with a unique blend of red Dutch-process cocoa and a hint of espresso powder, its distinct flavor profile is perfectly complemented by a rich, tangy, and incredibly smooth cream cheese frosting. Whether you’re planning for year-round celebrations, a memorable birthday, or simply a delightful gathering, this festive and attractive cake is sure to impress both the eyes and the palate.
Embracing the Allure of Red Velvet Cake
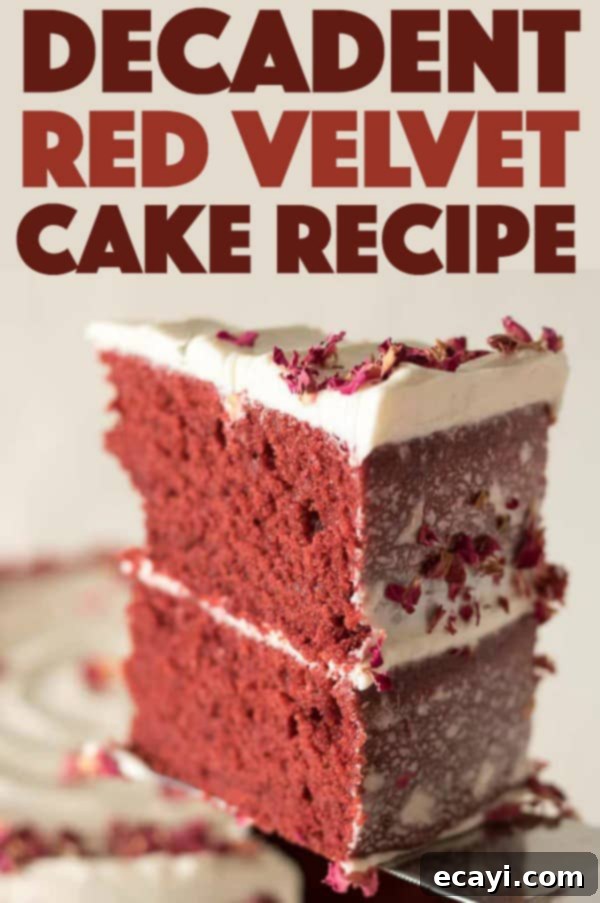
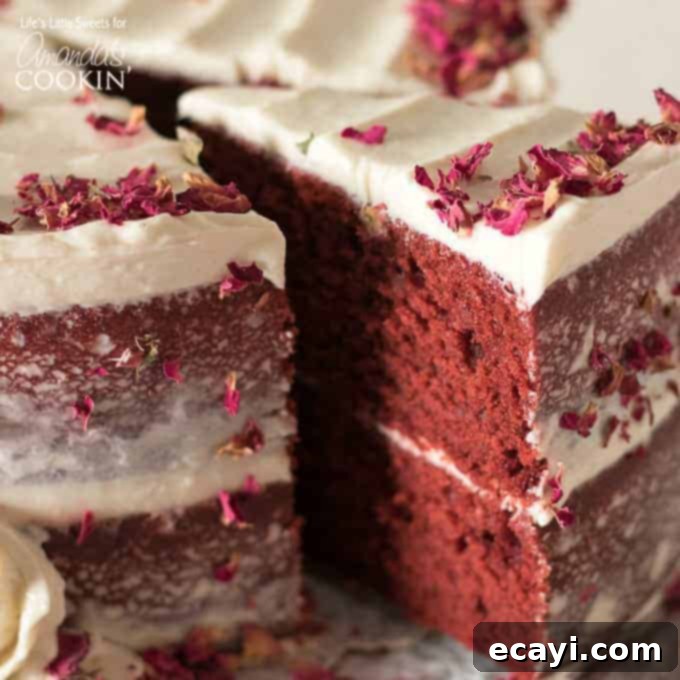
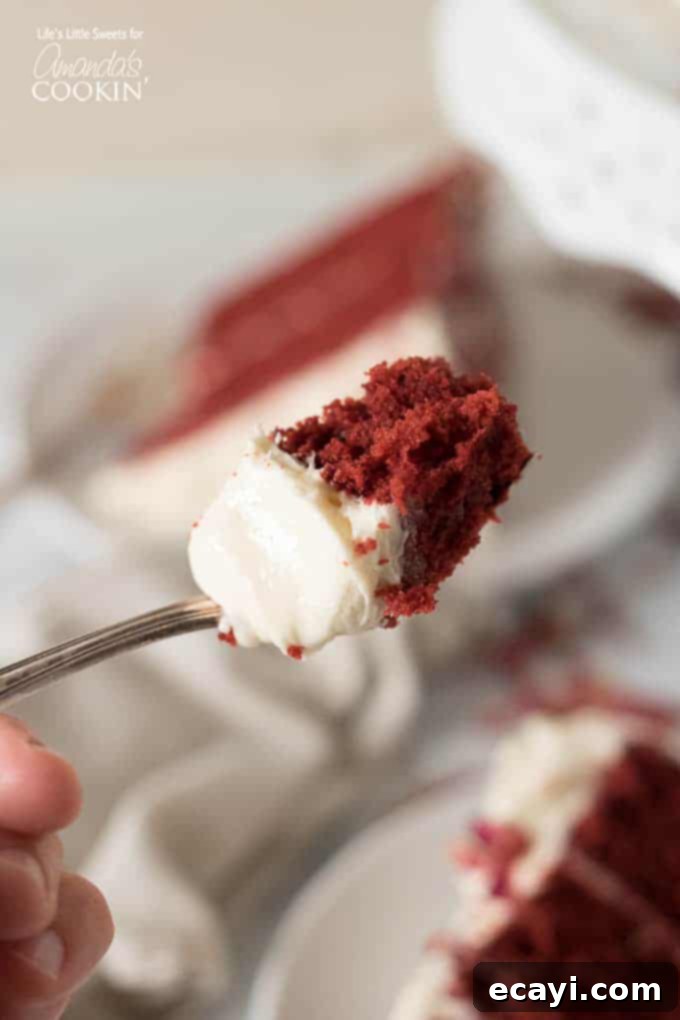
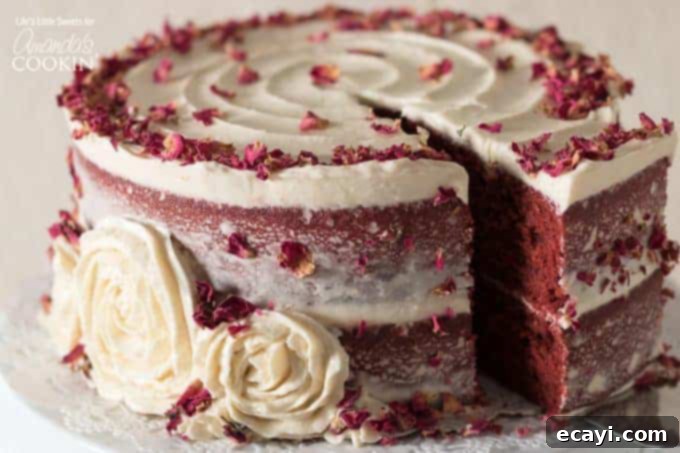
Red Velvet Cake has long been a dessert shrouded in a bit of mystery and a lot of adoration. It’s one of those elusive and special cakes that boasts countless versions, each with its own loyal following. Today, we’re diving deep into *this* particular rendition – a recipe perfected over time to deliver an unforgettable experience. Our two-tiered masterpiece stands tall and proud, showcasing its gorgeously crimson red layers, a color that naturally evokes feelings of warmth and celebration. Beyond its striking appearance, this cake offers a subtly complex and deliciously flavored profile, thanks to the careful incorporation of red Dutch-process chocolate and the bright notes of buttermilk. Fragrant vanilla extract further enhances the taste, contributing to a truly exquisite dessert that is both moist and boasts a remarkably fine cake crumb and delightful texture.
What truly sets this Red Velvet Cake apart is the synergy of its components. The buttermilk reacts with the cocoa and baking soda to create its signature tender crumb, while a secret ingredient, a touch of instant espresso powder, deepens the chocolate notes without making the cake taste like coffee. The vibrant red hue, so characteristic of this cake, is achieved through a combination of the red cocoa and a professional bakery emulsion, ensuring a consistent and appealing color throughout. This isn’t just a cake; it’s a celebration in itself, designed to bring joy and a touch of elegance to any event.
The Art of Cream Cheese Frosting
No Red Velvet Cake is complete without its iconic companion: a luscious cream cheese frosting. Traditionally, Red Velvet Cake is adorned with either a stark white cream cheese frosting or a buttercream. For this recipe, we elevate the experience with a rich cream cheese frosting that incorporates a generous amount of unsalted butter. This blend creates a frosting that is not only smooth and easy to spread but also delivers a deeply rich, buttery flavor that perfectly balances the subtle tang of the cream cheese. The result is a frosting that melts in your mouth, providing the ideal counterpoint to the cake’s tender layers.
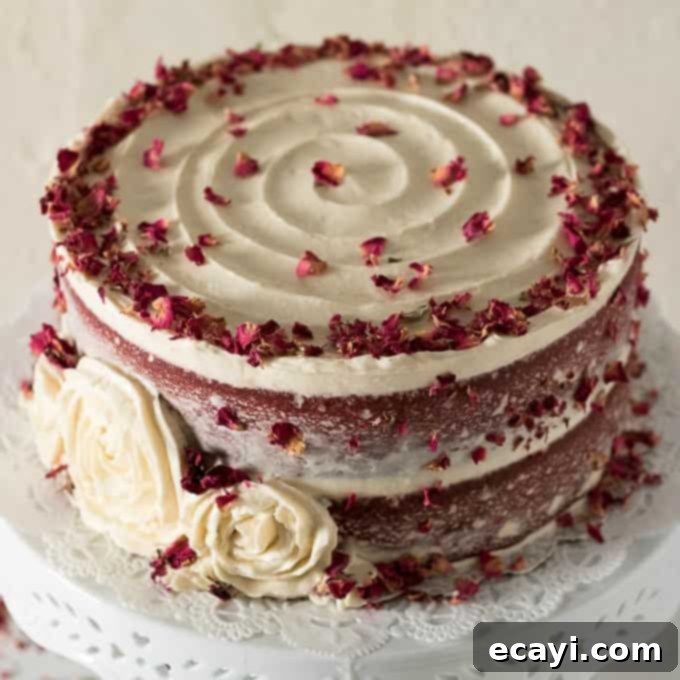
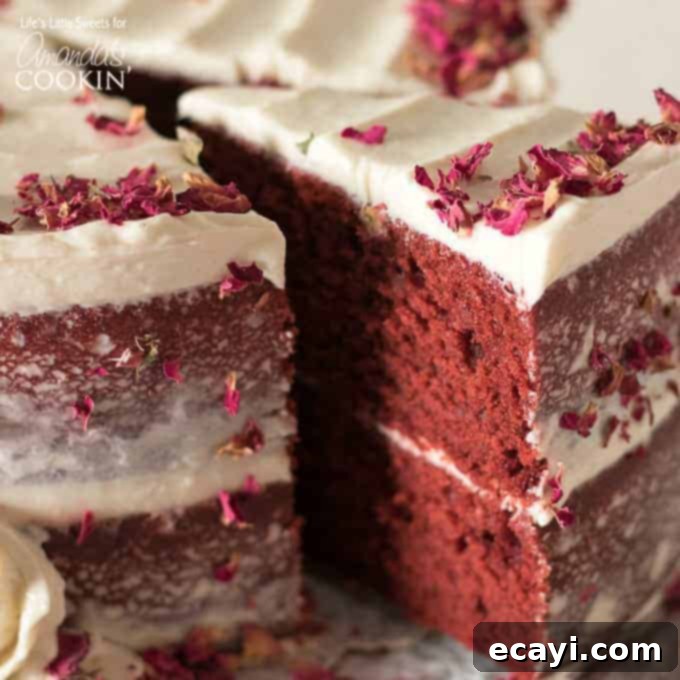
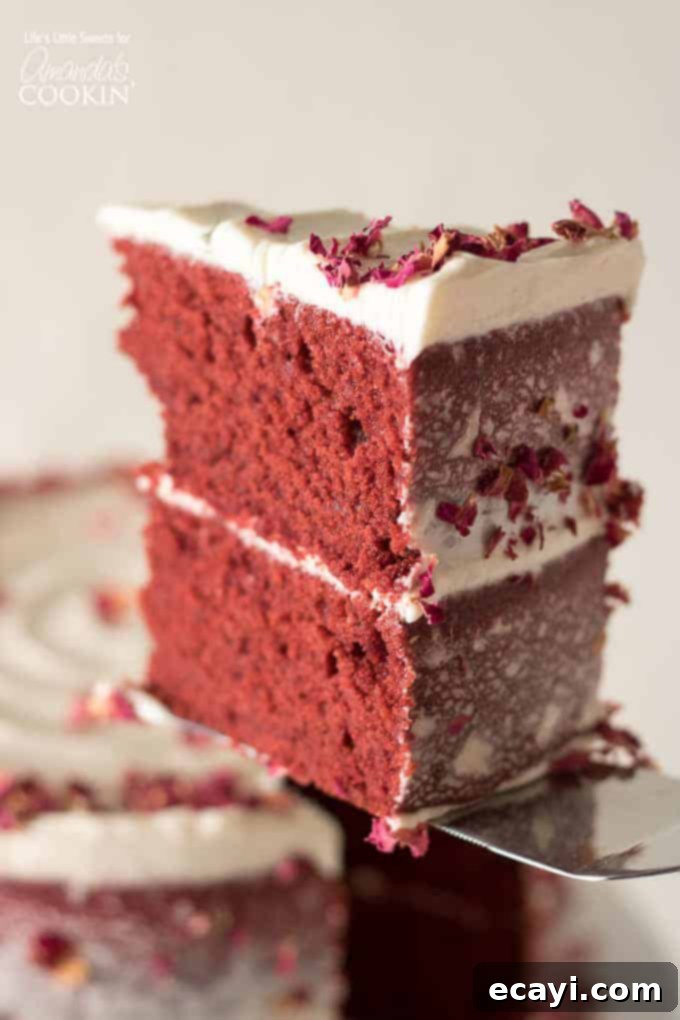
One of the beautiful aspects of a tiered Red Velvet Cake is the opportunity to showcase its striking red layers. While a full covering of frosting is always an option, our version employs a “naked cake” style for the sides. This modern technique involves applying a thin layer of frosting, allowing tantalizing peeks of those lovely red layers to show through. It’s a charming and sophisticated way to frost a cake, adding to its dramatic appeal and hinting at the deliciousness within, just to tease! This semi-naked approach highlights the cake’s vibrant color, making it an even more attractive centerpiece for your table.
Creative Cake Decoration Ideas
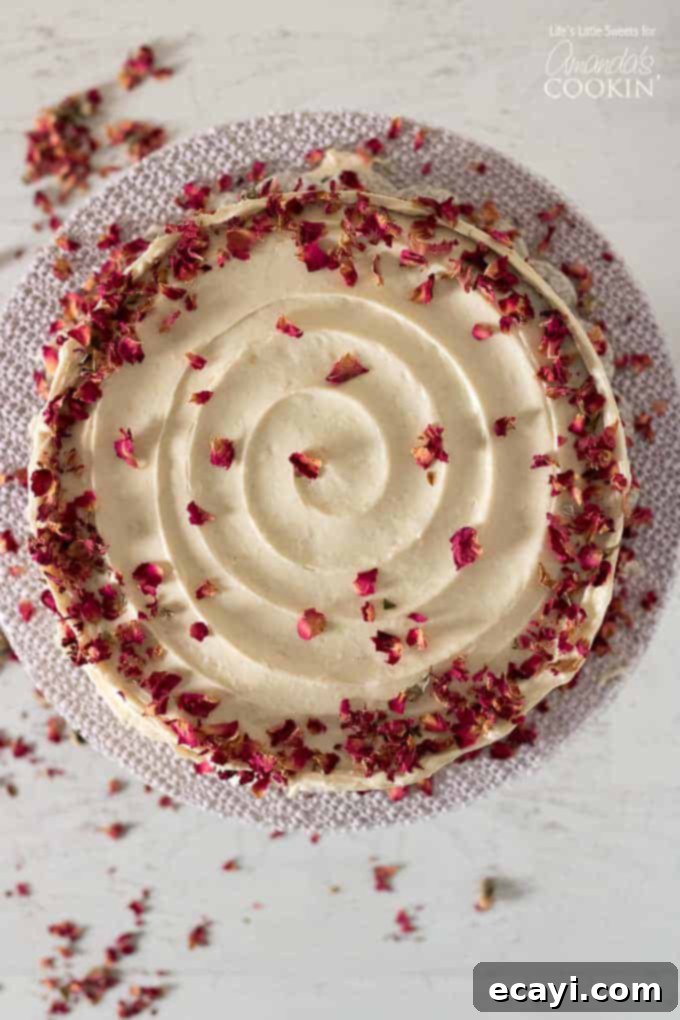
Decorating your Red Velvet Cake is where you can truly let your creativity shine and personalize it for your specific event. For this cake, we chose to adorn it with delicate, food-grade red rose petals, adding an elegant and sophisticated touch. These can be sourced from specialty baking stores or online (details below). However, the possibilities are endless!
Consider using fresh red fruits like vibrant strawberries, raspberries, or even pomegranate seeds for a burst of color and a fresh, tart contrast. Other fresh flowers, such as different colored roses or baby’s breath, can create a stunning visual. For a simpler yet equally charming look, you can decorate with grated cake crumbs. To achieve this, simply level your cooled cake layers by carefully slicing off any domed tops. Then, use a fine cheese grater to transform these trimmings into delicate, fluffy red crumbs. These crumbs can then be sprinkled artfully over the top and sides of the cake, offering a lovely texture and reinforcing the cake’s signature color. Edible sprinkles, in various shapes and colors, can also add a playful and celebratory touch, perfect for birthday parties or festive gatherings. Remember, the decoration is your final artistic flourish, making your Red Velvet Cake uniquely yours.
Essential Ingredients for Red Velvet Cake
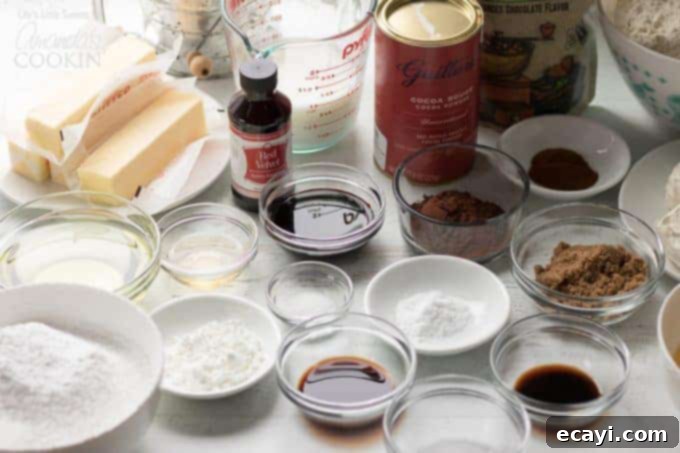
Crafting the perfect Red Velvet Cake begins with selecting the right ingredients. Each component plays a vital role in achieving its signature flavor, color, and texture. Here’s a detailed list of what you’ll need for the cake batter:
- cooking spray or unsalted butter, for greasing the pan
- 4 cups cake flour (you can substitute the same amount all-purpose flour), sifted to remove any clumps and ensure a light texture. Sifting is crucial for a fine crumb.
- 1 1/2 tablespoons cornstarch, which helps tenderize the cake and contribute to a softer crumb.
- 1 teaspoon baking soda, a leavening agent that reacts with the buttermilk to create rise.
- 1 teaspoon Kosher salt, to balance the sweetness and enhance overall flavor.
- 1 teaspoon instant espresso powder (I used Anthony’s, available on Amazon.com) – this secret ingredient deepens the cocoa flavor without imparting a coffee taste.
- 1 cup buttermilk, essential for the cake’s moistness, tenderness, and slight tang.
- 1 tablespoon apple cider vinegar, which further activates the baking soda and helps achieve the vibrant red color.
- 1 tablespoon pure vanilla extract, for its classic warm and aromatic notes.
- 3 tablespoons Lorann Professional Kitchen Red Velvet Bakery Emulsion (Amazon.com and at Michael’s) – this emulsion provides consistent color and flavor without the need for excessive liquid food coloring.
- 2 tablespoons unsweetened red Dutch-process cocoa powder (I use “Guittard Chocolate Cocoa Rouge Cocoa Powder, Unsweetened“, you can substitute regular Dutch process cocoa powder). Dutch-process cocoa helps to achieve a richer color and smoother chocolate flavor.
- 2 sticks (1 cup) unsalted butter, softened to room temperature for proper creaming.
- 1/2 cup brown sugar, adding depth and moisture.
- 2 cups granulated white sugar, for sweetness and structure.
- 3/4 cup Canola oil (can substitute vegetable oil), contributing to a very moist cake.
- 4 large eggs, at room temperature, for emulsification and structure.
Ingredients for the Cream Cheese Frosting
The frosting is just as important as the cake itself, providing the perfect creamy, tangy counterpoint. Here are the simple yet essential ingredients for our luscious cream cheese frosting:
- 16 ounces (2 blocks) regular cream cheese, at room temperature, for a smooth, lump-free frosting.
- 1 cup (2 sticks) unsalted butter, at room temperature, to achieve that rich, luxurious texture and flavor.
- 2 cups confectioner’s sugar, sifted to remove any lumps, ensuring a silky-smooth finish.
- 1 teaspoon pure vanilla extract, organic, for an aromatic depth.
- 1/4 teaspoon Kosher salt, to enhance the flavors and cut through the sweetness.
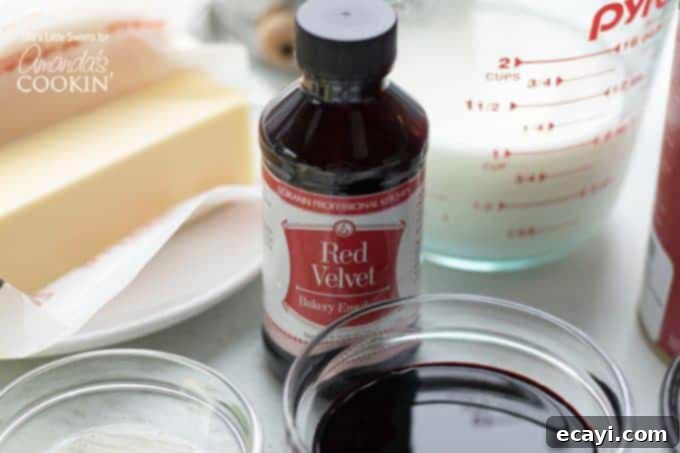
Pro Tip: Achieving that vibrant, true red velvet color can sometimes be a challenge. After experimenting with several different types of food coloring, I highly recommend Lorann Professional Kitchen Red Velvet Bakery Emulsion. It delivers an absolute best, consistent, and beautiful red hue, and is readily available on Amazon.com and at craft stores like Michael’s.
Optional Decoration Ingredients
Add the final festive touch with these optional decorations:
- Sprinkles, in any color or shape, to taste.
- Cake crumbs, grated finely with a cheese grater from leveled cake tops, for an authentic and textural decoration.
- Fresh or dried flowers – for this recipe, I used beautiful food-grade dried red roses from bMAKER (Amazon.com). Ensure any flowers used are explicitly food-safe.
- Red berries, such as strawberries or raspberries, to taste, for a fresh and juicy element.
Essential Kitchen Tools for Red Velvet Cake Success
Having the right tools can make your baking process much smoother and more enjoyable. Here’s a list of recommended kitchen tools for preparing your stunning Red Velvet Cake:
- 2, 9 x 2 inch round cake pans, for baking even layers.
- 2 round sheets of parchment paper for the pans, to prevent sticking and ensure easy release.
- Measuring spoons and cups, for accurate ingredient portions.
- Multiple mixing bowls, to keep wet and dry ingredients separate until combined.
- A wet measure, specifically for liquids.
- A sifter (for sifting flour and confectioner’s sugar), essential for a light, airy cake and smooth frosting.
- A baking spatula, for scraping bowls and folding ingredients.
- A large offset spatula, indispensable for spreading batter and frosting smoothly.
- Baking strips (I used Wilton Bake Even Cake Strips, which come in a 2-pack) – these are optional but highly recommended. Instead of “domed” cake layers, baking strips help to create even, flat layers, which makes assembling and frosting the cake significantly easier and more professional-looking.
- A cake decorating comb (you can also just use an offset spatula and/or a dough/bench scraper) for creating textured sides, especially for the “naked cake” look.
- A cake spinner (optional, but incredibly helpful for frosting the cake, I use one by Ateco, available on Amazon.com), allowing you to rotate the cake easily for smooth, even frosting.
Key Tips for a Flawless Red Velvet Cake
Baking a showstopping Red Velvet Cake is immensely rewarding, and these crucial tips will help ensure your success:
- Complete Cooling is Essential: This is paramount! Make sure you allow both cake layers to cool completely before even thinking about frosting them. Attempting to frost warm or even slightly warm cakes will result in a melted, runny mess as the frosting will simply slide off. For best results, consider baking your cake layers a day ahead of time. This allows them to cool thoroughly and firm up, making them much easier to handle and frost. If baking ahead, once cooled, ensure they are stored properly to retain moisture. Transfer them into an air-tight container or wrap them tightly in plastic wrap or reusable beeswax-coated cloth (beeswax wrap) to keep them fresh and moist.
- Frosting in Stages for Clean Results: When applying the frosting, it’s often best to do it in stages. Allow the first, thin “crumb coat” layer of frosting to set up in the refrigerator before you apply the final, thicker layers. This initial thin layer traps any loose cake crumbs, preventing them from mixing into your pristine frosting and ensuring a much neater and more professional-looking finished cake. Patience here truly pays off.
- Achieve Even Layers with Cake Strips: For perfectly flat and even cake layers, which are ideal for stacking and frosting, try using cake strips (like Wilton Bake Even Cake Strips). These strips, soaked in water and wrapped around your cake pans, help insulate the edges of the pan, causing the cake to bake more evenly and rise flat across the top rather than doming in the center. Remember to soak them thoroughly in water before placing them on the pans, as this is how they work their magic. Even layers make the assembly and frosting process significantly easier and yield a much more polished final product.
- Room Temperature Ingredients: Always ensure your butter, cream cheese, and eggs are at room temperature for both the cake batter and the frosting. This allows for better emulsification, resulting in a smoother batter and a creamier, lump-free frosting.
- Do Not Overmix: Overmixing the cake batter can develop the gluten in the flour too much, leading to a tough and dense cake. Mix just until the ingredients are combined.
- Know Your Oven: Ovens can vary widely in temperature. An inexpensive oven thermometer can confirm your oven is heating accurately. Adjust baking times as needed based on your oven’s performance.
Serving and Storing Your Red Velvet Cake
Once your magnificent Red Velvet Cake is complete, slicing and serving it to eager guests is the final joy. To ensure everyone gets a perfect slice, use a sharp, warm knife, wiping it clean between each cut. For storage, this cake can be refrigerated in an airtight container for up to 3 days, maintaining its moistness and flavor. If you’ve opted for fresh fruit or flower decorations, it’s best to add them closer to serving time for optimal freshness and appearance. Allow refrigerated cake to come to room temperature for about 30 minutes before serving to enjoy its best texture and flavor.
If you embark on the delightful journey of making this Red Velvet Cake recipe, please share your experience! Let me know how it turned out in the comments below – I love hearing from you!
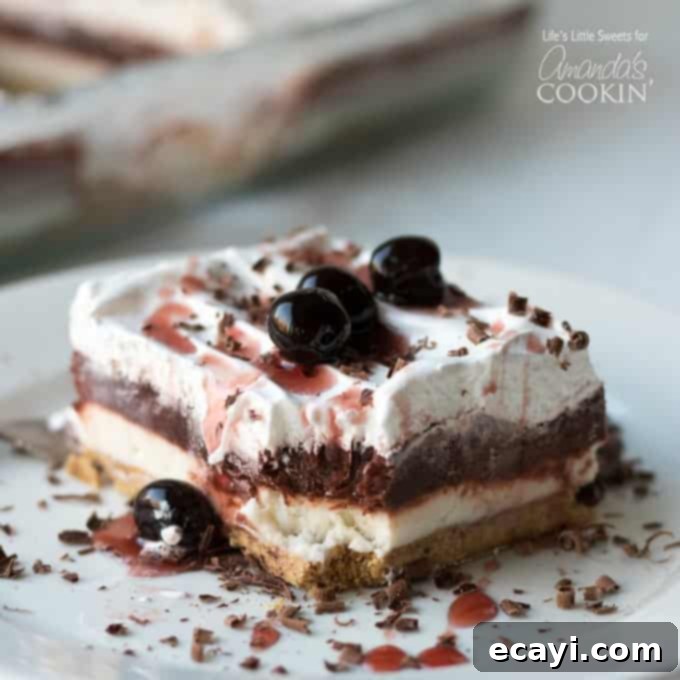
Speaking of delicious red velvet treats, we also have a scrumptious Red Velvet Lasagna dessert and delightful Red Velvet Cake Balls available on the blog. These recipes are perfect for expanding your dessert repertoire, ideal for BBQs, potlucks, or any type of gathering where you need to feed a crowd.
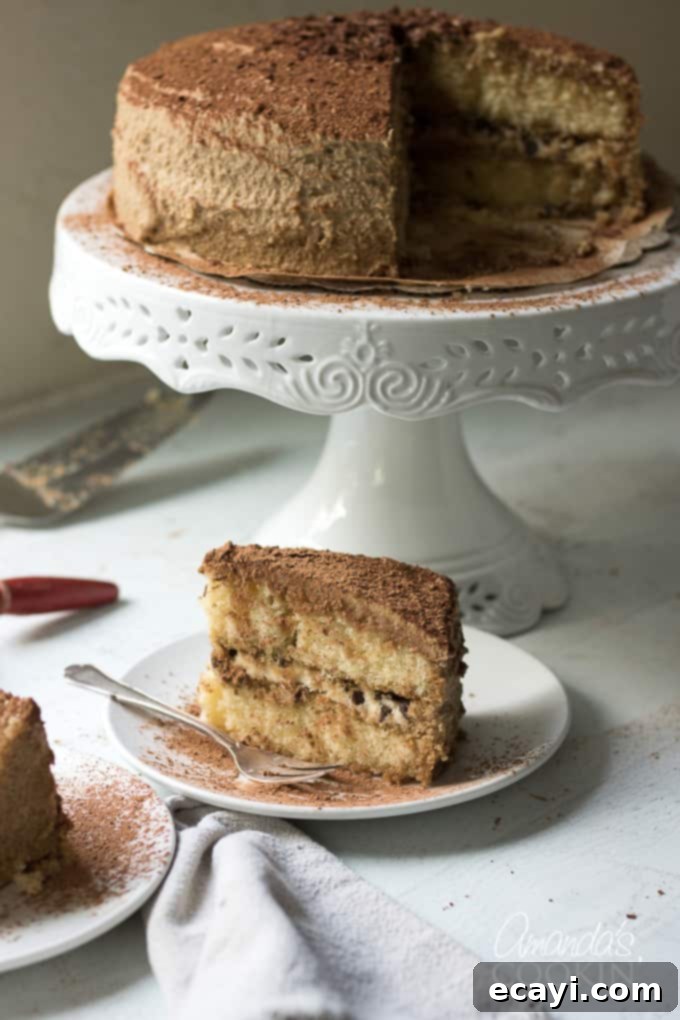
If you’re looking for another statement cake that’s equally impressive, this Tiramisu Cake is the perfect solution. It features layers of delicious espresso-flavored cake, a rich mascarpone cheese filling, and a coffee-infused frosting – a true delight for coffee and dessert lovers alike!
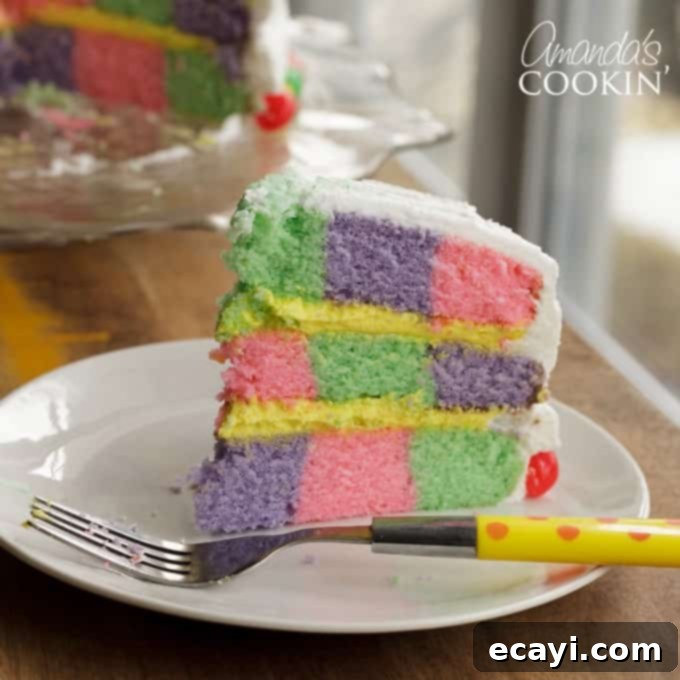
And lastly, for a dessert that’s as fun to make as it is to eat, this Checkerboard Cake is the perfect treat for Easter (or you can easily switch up the colors for any time of the year!). Impress your friends and family with its colorful, unexpected interior that reveals itself with every slice!
Red Velvet Cake
IMPORTANT – There are often Frequently Asked Questions within the blog post that you may find helpful. Simply scroll back up to read them!
Print It
Rate It
Save ItSaved!
Ingredients
Red Velvet Cake Batter
- cooking spray or unsalted butter for greasing the pan
- 4 cups cake flour you can substitute the same amount all-purpose flour, sifted to remove any clumps
- 1 ½ tablespoons cornstarch
- 1 teaspoon baking soda
- 1 teaspoon Kosher salt
- 1 teaspoon espresso powder I used Anthony’s, available on Amazon.com
- 1 cup buttermilk
- 1 tablespoon apple cider vinegar
- 1 tablespoon pure vanilla extract
- 3 tablespoons Red Velvet Bakery Emulsion Lorann Professional Kitchen Red Velvet Bakery Emulsion- Amazon.com and at Michael’s
- 2 tablespoons unsweetened red Dutch process cocoa powder I use “Guittard Chocolate Cocoa Rouge Cocoa Powder, Unsweetened”, you can substitute the same amount regular Dutch process cocoa powder
- 1 cup unsalted butter (2 sticks)
- ½ cup dark brown sugar
- 2 cups granulated white sugar
- ¾ cup Canola oil can substitute the same amount vegetable oil
- 4 large eggs
Cream Cheese Frosting
- 16 ounces cream cheese (2 blocks) room temperature
- 1 cup unsalted butter room temperature (2 sticks)
- 2 cups confectioner’s sugar sifted to remove any lumps
- 1 teaspoon pure vanilla extract organic
- ¼ teaspoon Kosher salt
Toppings for decoration (optional)
- food grade edible red roses I used food grade dried red roses from bMAKER (Amazon.com) to decorate this cake
- sprinkles
- fresh fruit, red berries
- fresh flowers
- cake crumbs grated with a fine cheese grater
Before You Begin
- You can refrigerate this cake in an airtight container for up to 3 days.
- If you are adding optional toppings, make sure to add them when the frosting is room temperature, so that they adhere well to the frosting and do not just fall off.
Instructions
To Make Red Velvet Cake
-
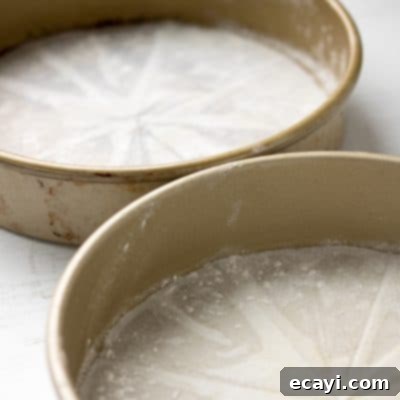
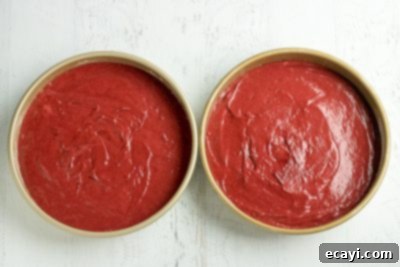
Preheat the oven to 350 degrees F. Grease 2 9 x 2 inch cake pans with cooking spray, line with parchment paper rounds and grease.

-
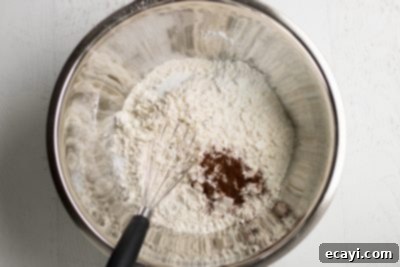
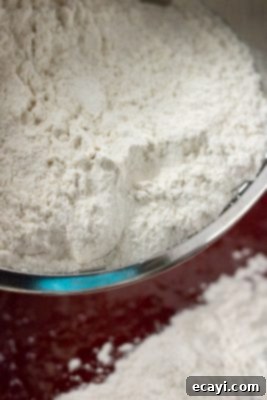
In a large mixing bowl, add the flour, cornstarch, baking soda, Kosher salt, espresso powder and whisk together. Set aside.

-
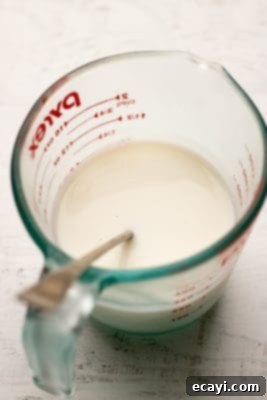
Combine the apple cider vinegar and buttermilk in a wet measure, set aside in the refrigerator.

-
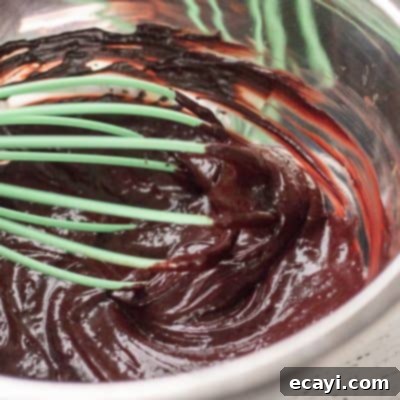
In a small-medium bowl, combine the Red Velvet Bakery Emulsion, red cocoa powder, and vanilla. Set aside.

-
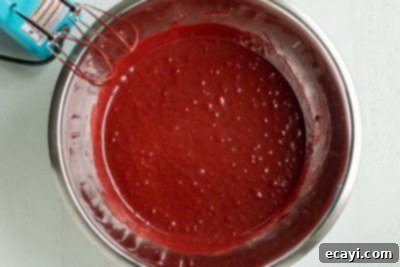
In a large mixing bowl (or stand mixing bowl) and a hand held electric mixer, cream unsalted butter and both sugars until fluffy and combined, scrape down sides, if necessary. Add the eggs and combine completely. Add the Canola oil and combine. Add the red cocoa powder mixture and combine completely.

-
Gradually add the flour and buttermilk in parts (about 3-4 additions each) and mix until combined. Do not over mix.

-
Put an even amount in each prepared baking pan. Bake both in the 350 degree preheated oven for 45-55 minutes or until you can insert a toothpick or butter knife into the center and it should come out clean. Do not over bake.

-
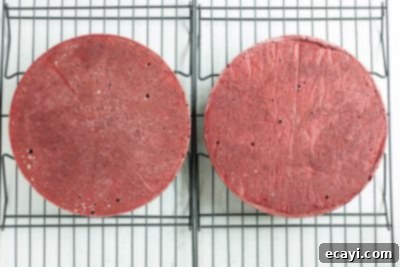
When the cakes are done, allow to cool in the pans on a wire rack for 5-10 minutes and then turn the cakes out onto the wire racks and allow them to cool completely before frosting.

To Make Cream Cheese Frosting
-
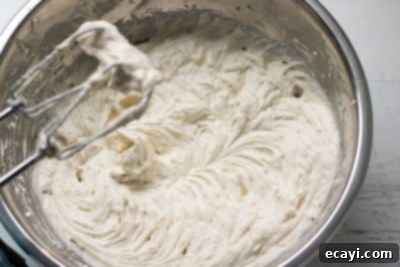
In a large mixing bowl, combine the room temperature cream cheese, unsalted butter, pure vanilla extract, and Kosher salt. Gradually add in the confectioner’s sugar.

-
You can use it right away or refrigerate the frosting – just make sure that the frosting is brought to room temperature when applying.
Assembling the Red Velvet Cake
-
Using a cake spinner or stand (preferably with a non-slip pad), place a 10-inch card board cake circle (optional) in the center. Place the first layer. Put a thin layer of frosting in the middle and spread evenly with an offset spatula. Place the 2nd layer on top. Add more cream cheese frosting and spread evenly with the offset spatula. Frost the sides or leave them blank. To get the “naked cake” look, frost the sides, spread evenly and then use a cake decorating comb or just a flat bench scraper to gently remove the frosting leaving a thin layer over the sides of the cake. Decorate with optional toppings, for example, in this case, food grade edible dried flowers. Slice and enjoy!
Nutrition
The recipes on this blog are tested with a conventional gas oven and gas stovetop. It’s important to note that some ovens, especially as they age, can cook and bake inconsistently. Using an inexpensive oven thermometer can assure you that your oven is truly heating to the proper temperature. If you use a toaster oven or countertop oven, please keep in mind that they may not distribute heat the same as a conventional full sized oven and you may need to adjust your cooking/baking times. In the case of recipes made with a pressure cooker, air fryer, slow cooker, or other appliance, a link to the appliances we use is listed within each respective recipe. For baking recipes where measurements are given by weight, please note that results may not be the same if cups are used instead, and we can’t guarantee success with that method.
