Refreshing Homemade Fruit Popsicles: Your Guide to Easy, Healthy, and Delicious Summer Treats
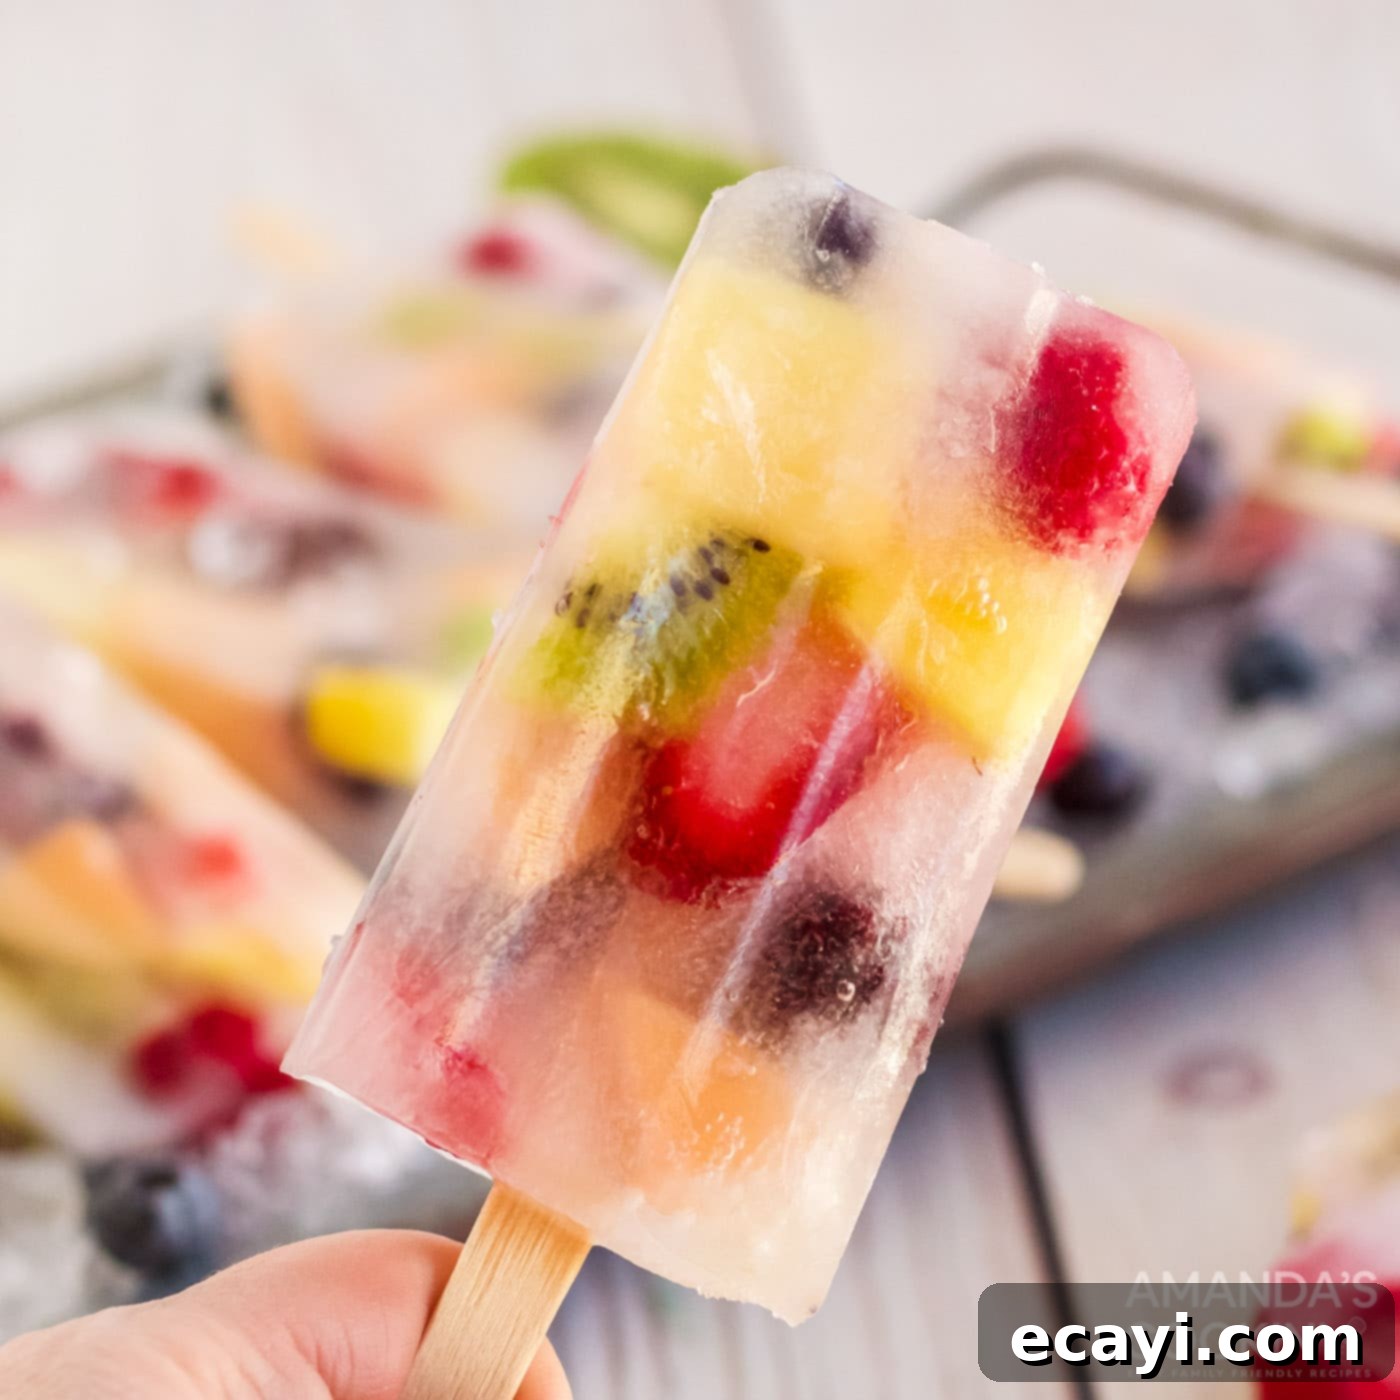
There’s nothing quite like a chilled, sweet treat to beat the summer heat, and these homemade fruit popsicles are the perfect solution. Bursting with the natural flavors of fresh fruits, these vibrant ice pops offer a delightful and healthy alternative to store-bought varieties. They are incredibly simple to prepare, requiring just a few minutes of active time and a handful of wholesome ingredients. Whether you’re planning a backyard BBQ, a pool party, or simply seeking a refreshing snack for yourself and your family, these fruit popsicles are an irresistible choice that brings joy with every lick.
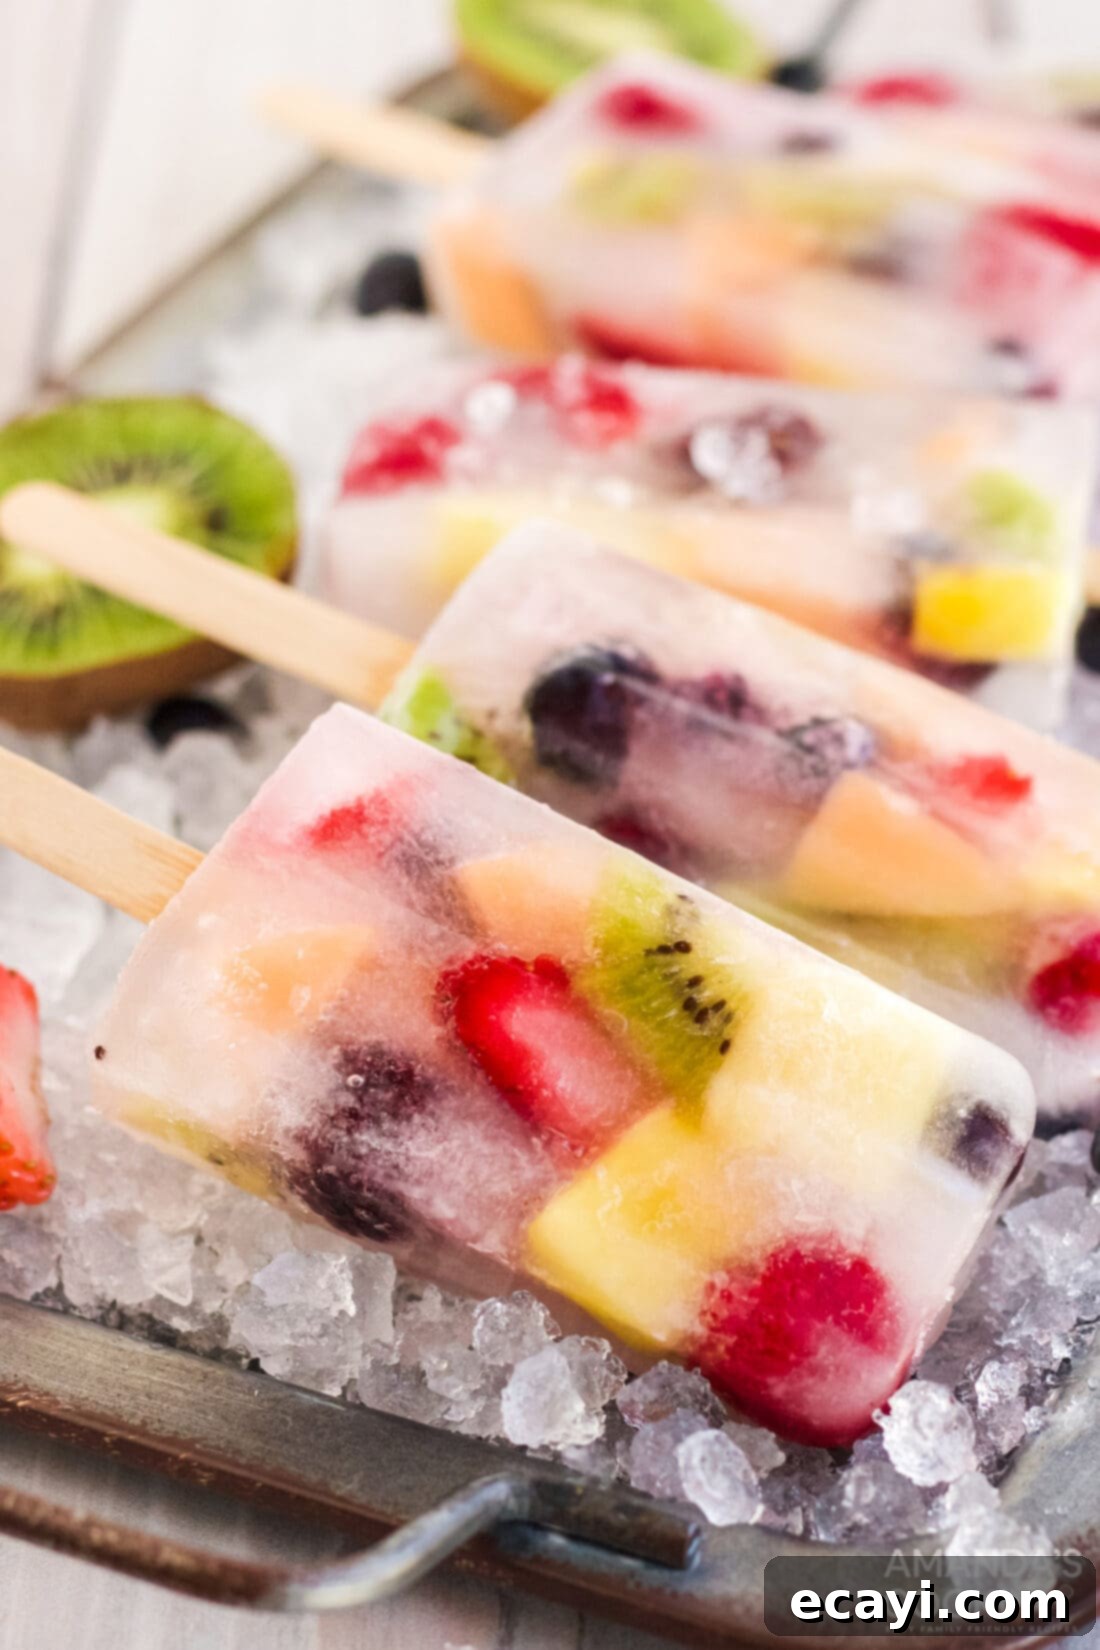
Why This Easy Fruit Popsicle Recipe is a Summer Must-Have
This fruit popsicle recipe stands out as a summer favorite for several compelling reasons, making it a brilliant addition to your warm-weather culinary repertoire. First and foremost, its incredible versatility allows you to customize each batch to your exact preferences. You’re not limited to a single fruit or juice combination; instead, you can experiment with a rainbow of seasonal produce and your favorite clear juices, ensuring a unique and exciting flavor profile every time.
Beyond the customizable flavors, the preparation process is remarkably quick and straightforward. You can have these refreshing summer ice pops prepped and ready for the freezer in under 10 minutes, making them perfect for spontaneous cravings or last-minute party planning. Once they’re in the freezer, the hard work is done – simply let them solidify, and you’ll have a healthy, homemade treat ready to enjoy. This minimal effort for maximum deliciousness is truly the beauty of this recipe.
Compared to many commercially produced popsicles, these homemade versions are inherently healthier. By selecting fresh fruits and natural juices, you control the ingredients, avoiding artificial colors, flavors, and excessive added sugars. This makes them a guilt-free indulgence that both kids and adults can appreciate. They are packed with vitamins and antioxidants from the real fruit, offering a nutritional boost along with a delightful chill. It’s an excellent way to encourage fruit consumption, especially for picky eaters, disguised as a fun dessert.
Summer is synonymous with an abundance of luscious, ripe fruits, and this recipe provides a fantastic opportunity to showcase nature’s candy. From succulent berries to juicy melons and tangy citrus, the possibilities are endless. These colorful fruit popsicles are not just tasty; they’re also visually appealing, making them a fantastic addition to any summer gathering. Serve them at backyard parties, BBQs, or simply enjoy them as a refreshing cool-down after a sunny day outdoors. Their vibrant appearance and delightful taste are sure to be a hit with everyone.
RELATED: For another delightful summer snack, you might also like this recipe – Watermelon Pizza
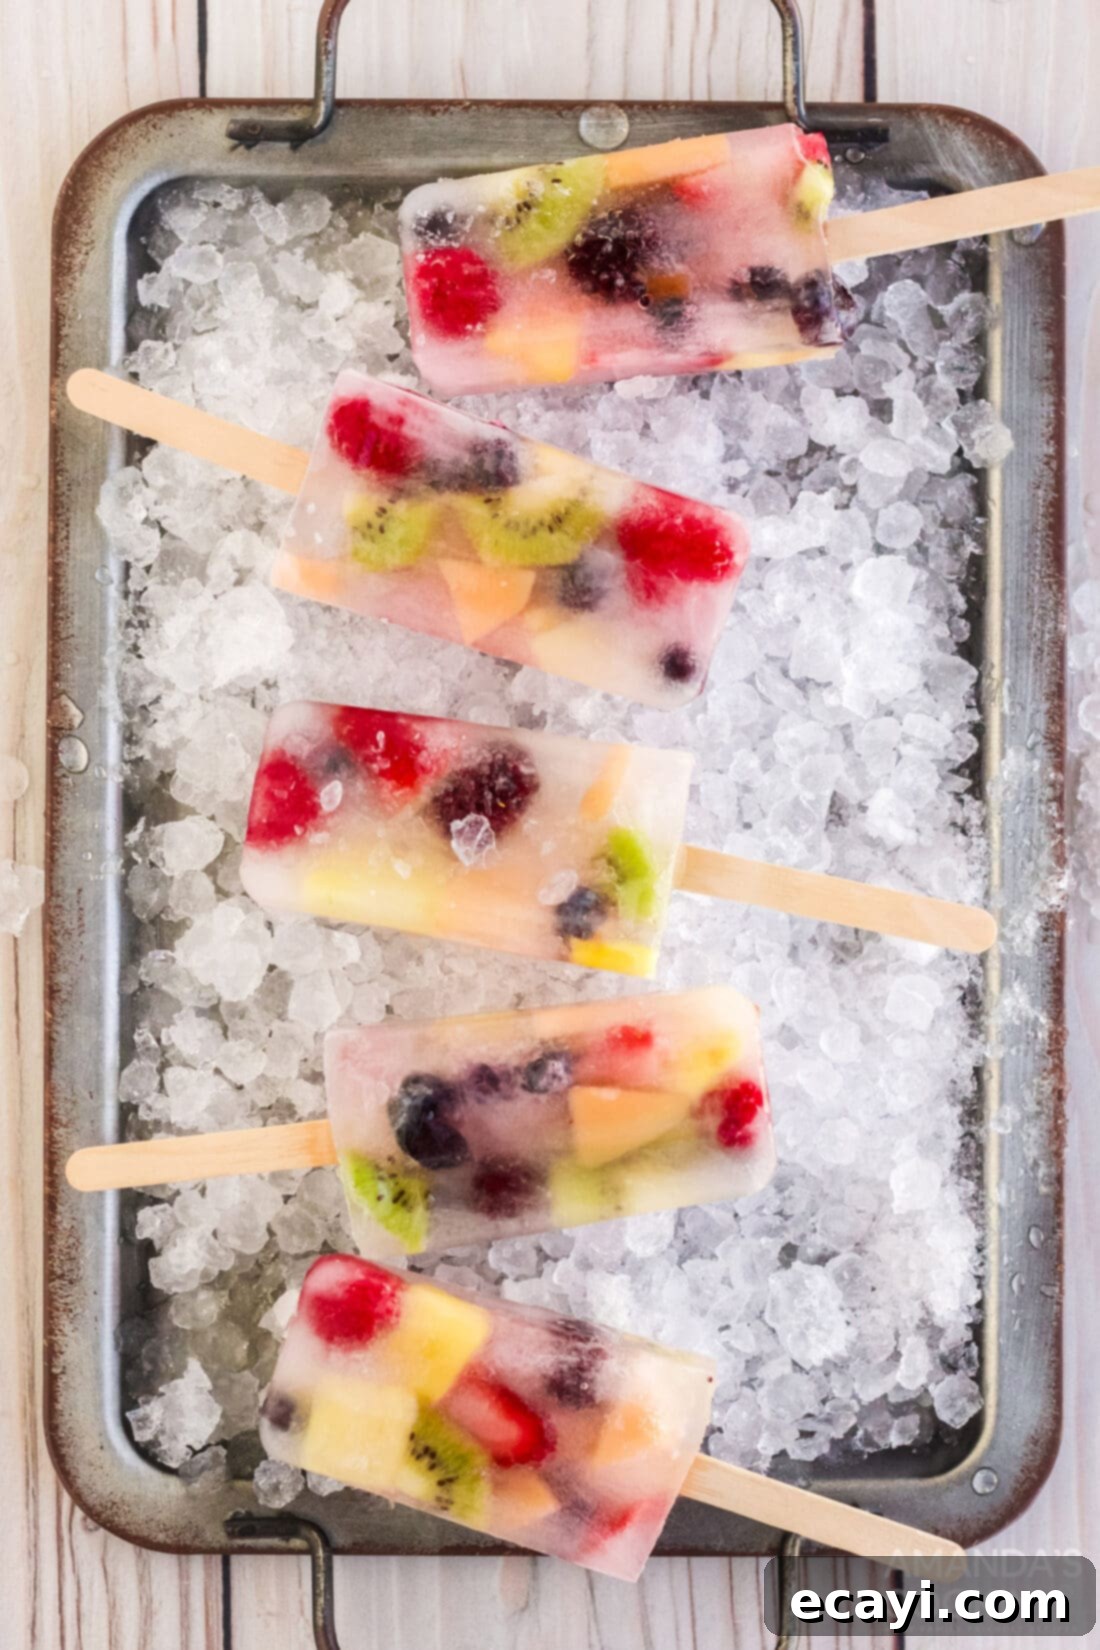
Simple Ingredients for Delicious Fruit Popsicles
Making homemade fruit popsicles is incredibly straightforward, thanks to a minimal ingredient list. The core of this recipe relies on two main components: fresh fruit and juice. The beauty is in the customization, allowing you to tailor these treats to your taste preferences or whatever seasonal produce you have on hand. For precise measurements, the full printable recipe card is available at the end of this post.
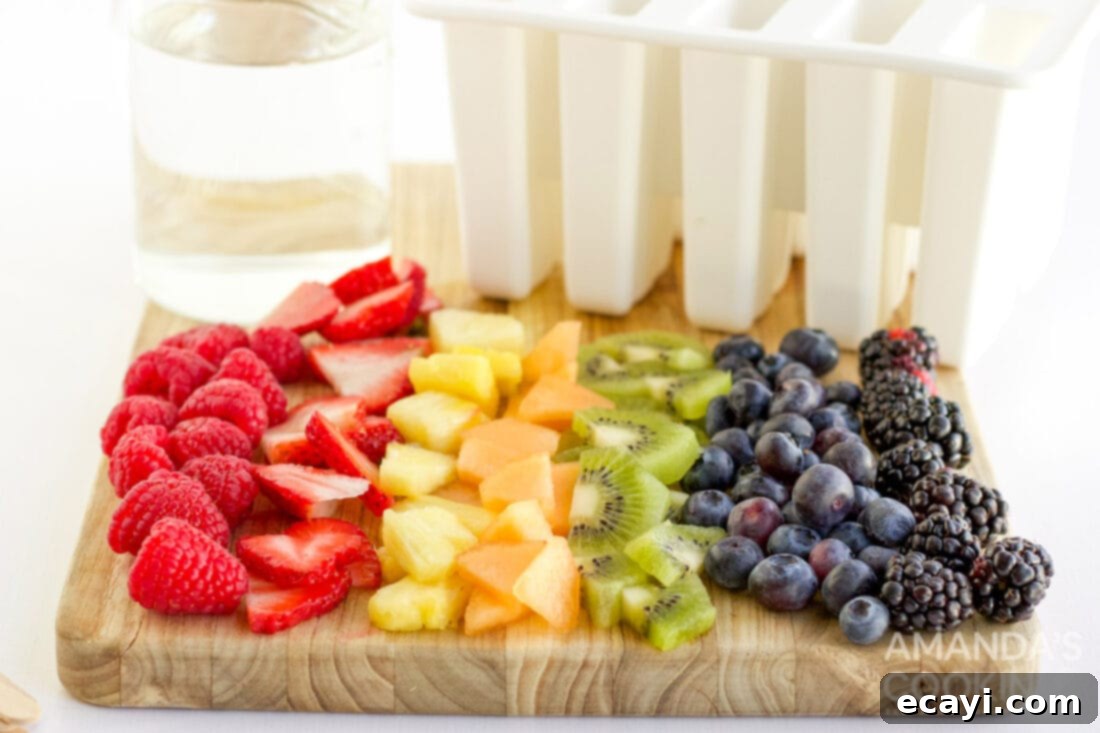
FRUIT – The fruit is the star of these healthy popsicles, providing natural sweetness, texture, and a burst of flavor. We love a vibrant mix of fresh raspberries, sliced strawberries, chunks of pineapple, diced melon (like cantaloupe or honeydew), kiwi slices, plump blueberries, and juicy blackberries. This combination creates a beautiful rainbow effect and a complex flavor profile. However, this recipe is incredibly forgiving, and you can truly use any fruit or fruit combination you desire. Other fantastic options include mango, peaches, grapes, or even pitted cherries. If fresh fruit isn’t readily available or in season, frozen fruit works just as wonderfully and can even help the popsicles freeze a bit faster. Just ensure you chop any larger frozen fruits into smaller pieces before adding them to the molds. Consider the colors and textures you want to achieve for the most appealing homemade fruit popsicles.
JUICE – The choice of juice plays a crucial role in both the flavor and appearance of your fruit popsicles. For a visually stunning effect where your colorful fruit bounty shines through, we often recommend sticking with a clear or light-colored juice. Excellent choices include white grape juice, white grapefruit juice, crisp apple juice, or even a refreshing lemonade. These translucent juices allow the vibrant hues of the embedded fruit to be clearly seen, making for an extra appealing treat. However, if aesthetics are less of a concern, or if you prefer a bolder flavor, darker juices like cranberry, grape, or even orange juice work beautifully, imparting their own unique taste to the popsicles. For those looking to reduce sugar content, unsweetened clear juices, coconut water, or even sparkling water (for a subtle fizzy texture when frozen) are great alternatives. You could also experiment with clear sodas for a sweeter, more dessert-like popsicle, or even a diluted herbal tea for a more sophisticated, less sugary option.
How to Make Delicious Homemade Fruit Popsicles
These step-by-step photos and detailed instructions are provided to help you visualize each stage of making this delightful recipe. For a convenient printable version of the complete recipe, including all precise measurements and comprehensive instructions, simply Jump to Recipe at the bottom of this page.
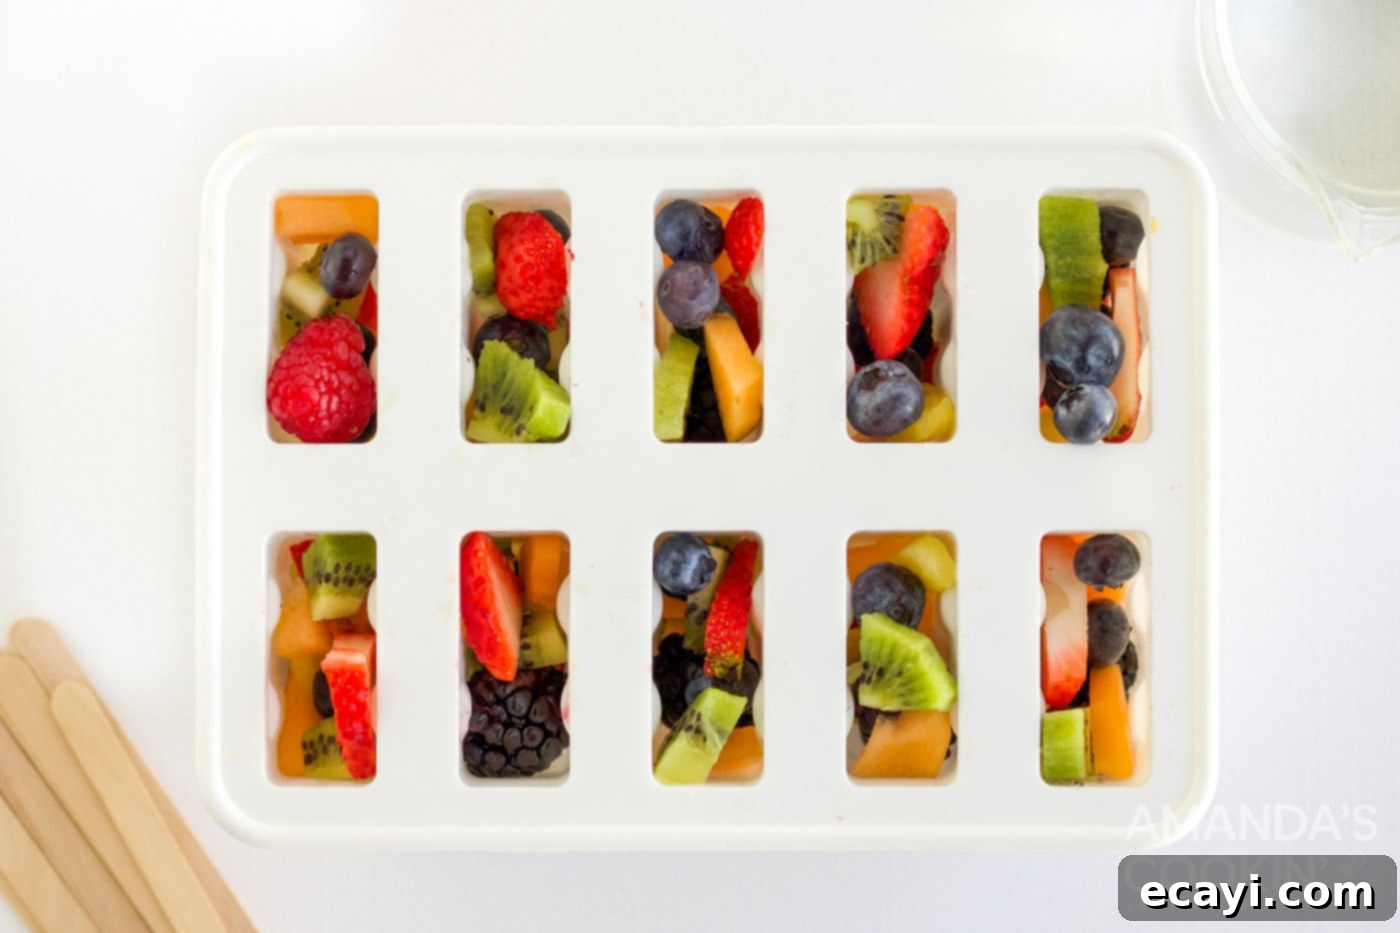
- **Prepare Your Molds with Fruit:** Begin by carefully placing your chosen fresh fruit inside the popsicle mold. To create an attractive presentation where the fruit is visible on the outside of your finished popsicles, make sure to gently press some of the fruit pieces directly against the inner sides of the mold. Distribute the fruit evenly amongst all cavities. It’s important not to overpack the fruit, as this can prevent the juice from adequately filling the mold and making it difficult for the popsicle stick to insert properly or for the popsicle to freeze solid.

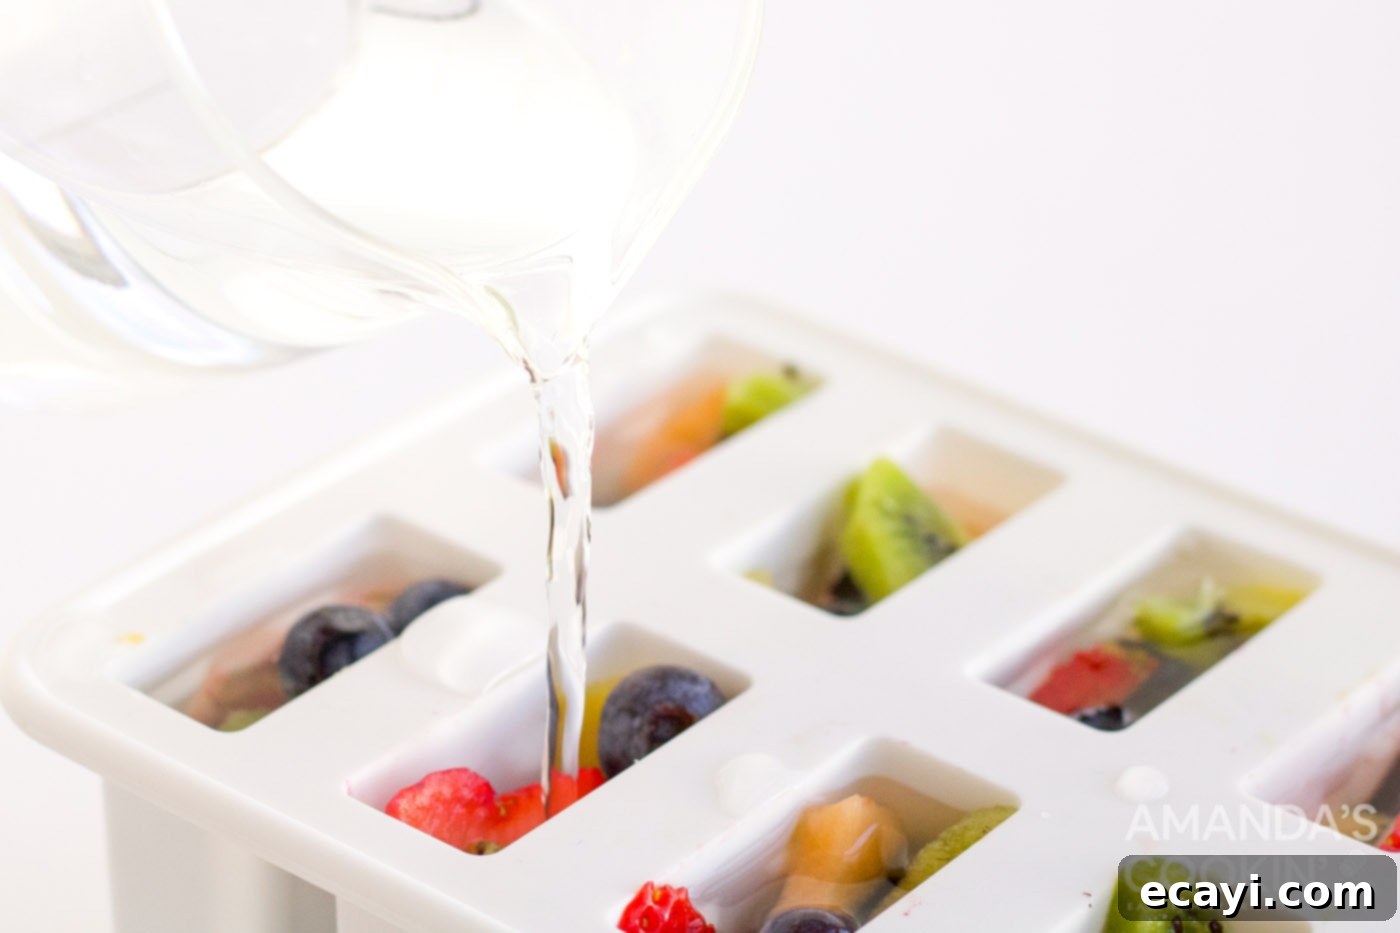
- **Add the Juice:** Once the fruit is arranged to your liking, slowly pour your selected clear juice over the fruit in each mold. Fill the molds nearly to the top, leaving a small amount of space (about 1/4 inch) at the very top to allow for expansion as the liquid freezes. After pouring the juice, insert your popsicle sticks according to your mold’s specific directions. Some molds have built-in stick holders, while others require you to add the sticks after a partial freeze. If using separate sticks, ensure they stand as upright and centered as possible.

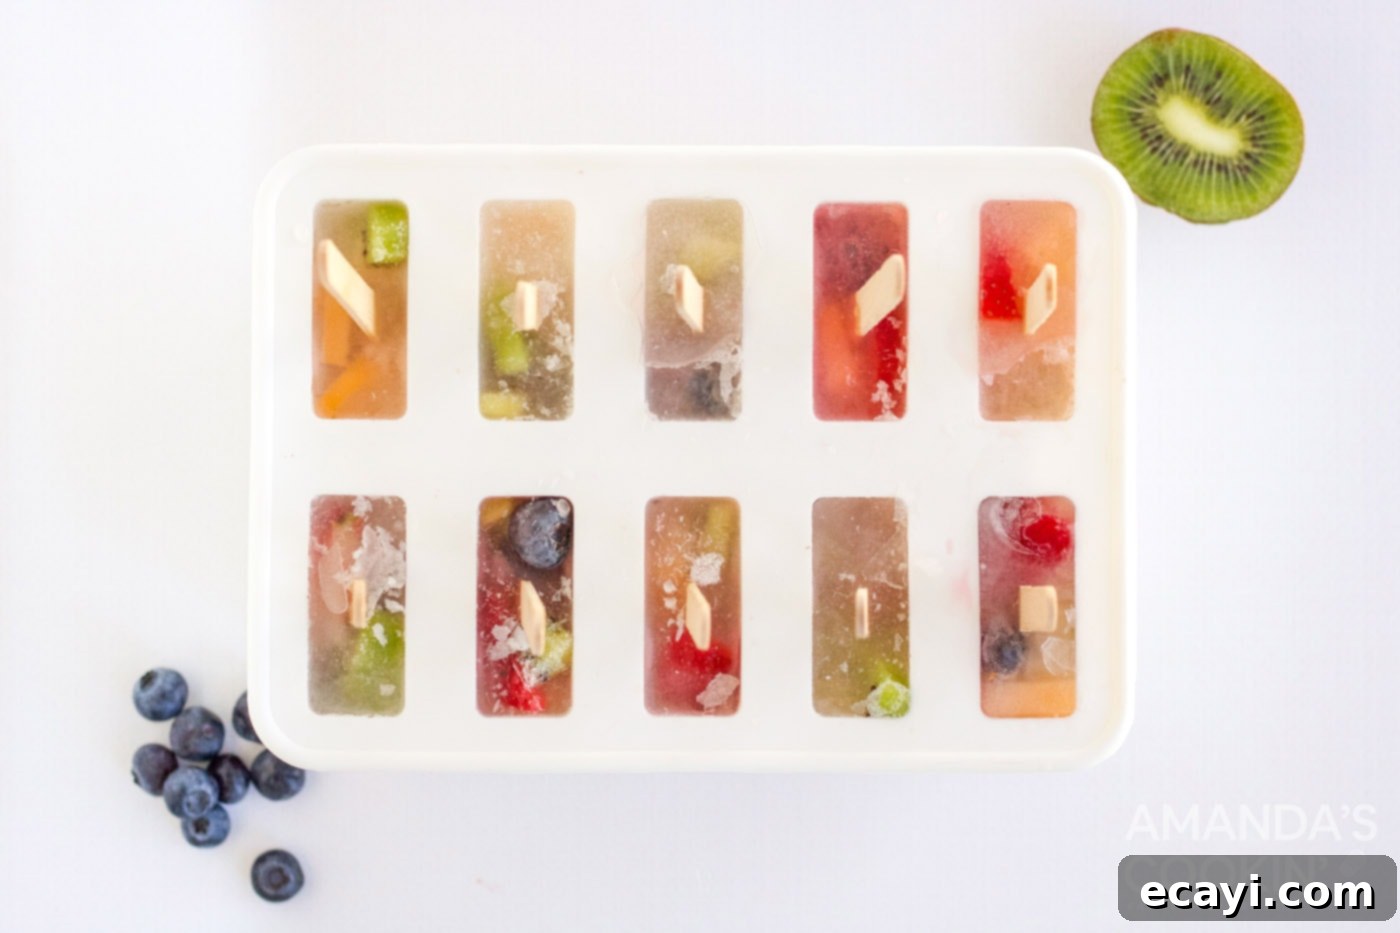
- **Freeze to Perfection:** Transfer the filled popsicle molds to the freezer. For optimal freezing and to ensure the popsicles are firm and solid throughout, freeze them for at least 5 hours. For best results, especially with larger molds or denser fruit combinations, we recommend freezing them overnight. This extended freezing time guarantees a perfectly solid and refreshing treat.
- **Remove and Serve:** Once completely frozen, carefully remove the popsicles from their molds. If you find them difficult to release, you can run the molds under warm water for 10-20 seconds. This slight warmth helps to loosen the edges, allowing the homemade fruit popsicles to slide out smoothly without breaking. Serve immediately and enjoy your vibrant, healthy, and delicious summer treat!

Frequently Asked Questions About Fruit Popsicles
The beauty of homemade fruit popsicles lies in their adaptability! Almost any fruit works wonderfully. Popular choices include an array of berries such as blueberries, blackberries, and raspberries, which add a lovely tartness and vibrant color. For sweeter options, consider juicy watermelon, succulent mango, ripe peaches, and pineapple chunks. Melon varieties like kiwi, cantaloupe, and honeydew also create fantastic flavor and texture. Don’t be afraid to mix and match to create your own unique fruit combinations!
Proper storage ensures your homemade fruit popsicles stay fresh and delicious for longer. After carefully removing them from the molds, you have a few excellent options. You can place them on a baking sheet lined with parchment paper and freeze them for an additional hour to firm up completely, then transfer them to individual Ziploc storage bags or an airtight container. This method helps prevent them from sticking together and developing freezer burn. Stored this way, your healthy fruit popsicles can last in the freezer for up to 6 months, making them perfect for meal prepping your summer snacks!
No popsicle mold? No problem! You can easily get creative and make these homemade fruit popsicles using items you likely already have. Small disposable paper or plastic cups (like Dixie cups) work perfectly. Simply fill them with fruit and juice as you would a mold. To help your popsicle stick stand upright and centered as it freezes, cover the top of the cup with plastic wrap or aluminum foil and cut a small slit in the middle. Insert your popsicle stick through this slit, ensuring it stays in place. Other alternatives include ice cube trays (for mini pops) or even small yogurt containers. Just remember to adjust freezing times for smaller sizes.
When crafting fresh fruit popsicles, the juice choice can significantly impact both flavor and visual appeal. For a vibrant, colorful display where the fruit truly pops, we often recommend clear juices such as white cranberry, white grapefruit, white grape, or classic apple juice. Lemonade is another fantastic clear option that adds a refreshing tang. For those who enjoy a bit of fizz, clear sodas can also be used. If you’re open to a different look or bolder flavors, pink lemonade, tropical pineapple juice, or even traditional cranberry and orange juices create delicious results. To keep these treats on the lighter side and low in sugar, consider using a clear sugar-free juice, unflavored sparkling water for a subtle effervescence, or nutrient-rich coconut water for a hydrating twist.
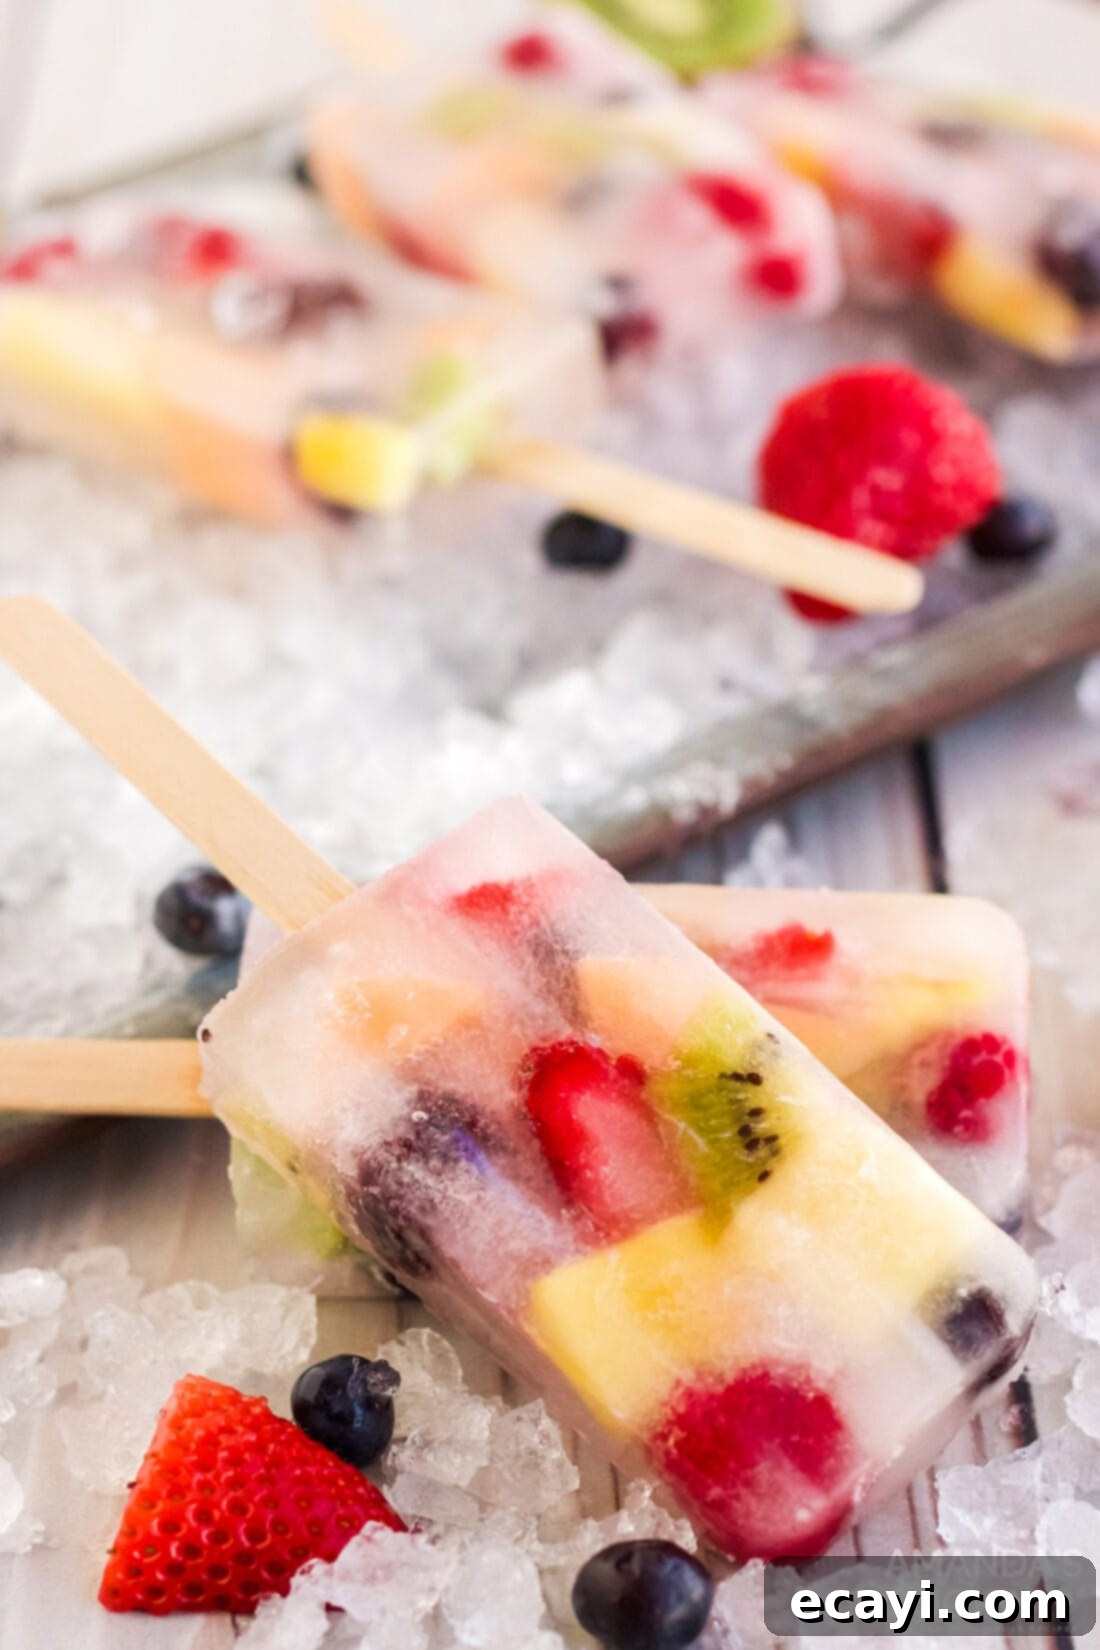
Crafted with a delightful and colorful assortment of seasonal fruits suspended in your favorite refreshing juice, these homemade fruit popsicles are the ideal way to satisfy your sweet tooth and cool down on a hot summer day. They are not just a treat for your taste buds but also a feast for your eyes, making them a joyful addition to any warm-weather moment.
Explore More Delicious Popsicle Recipes
- Creamsicle Popsicles
- Cherry Yogurt Popsicles
- Green Smoothie Popsicles
- Mint Chocolate Popsicles
- Mango Yogurt Popsicles
- Raspberry Mango Popsicles
- Strawberry Banana Popsicles
- Blueberry Cheesecake Popsicles
I love to bake and cook and share my kitchen experience with all of you! Remembering to come back each day can be tough, that’s why I offer a convenient newsletter every time a new recipe posts. Simply subscribe and start receiving your free daily recipes!
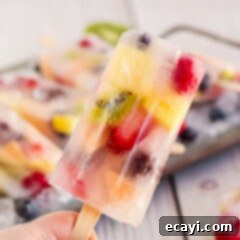
Fruit Popsicles
IMPORTANT – There are often Frequently Asked Questions within the blog post that you may find helpful. Simply scroll back up to read them!
Print It
Pin It
Rate It
Save ItSaved!
Ingredients
- 3 cups white grape juice you can also use white grapefruit juice, apple juice, lemonade, or clear soda
- 2 cups fresh fruit about 1/4 cup each of strawberries, blueberries, pineapple, melon, kiwi, raspberries, and blackberries.
Things You’ll Need
-
Popsicle mold
-
Popsicle sticks
Before You Begin
- This recipe should make 10-12 popsicles depending on the size of your mold.
- Store your popsicles kept in the mold or in individual Ziploc baggies in the freezer for up to 6 months.
- Our nutrition calculation is based on mixed fruit and white grape juice- calories will vary depending on what type of fruit and juice you use.
Instructions
-
Carefully place fresh fruit inside the popsicle mold, making sure to place some fruit directly against the sides of the mold.
-
Pour clear juice over the fruit to fill the mold and place your sticks according to your molds directions.
-
Freeze for at least 5 hours or overnight.
-
Carefully remove popsicles from the molds and serve.
Nutrition
The recipes on this blog are tested with a conventional gas oven and gas stovetop. It’s important to note that some ovens, especially as they age, can cook and bake inconsistently. Using an inexpensive oven thermometer can assure you that your oven is truly heating to the proper temperature. If you use a toaster oven or countertop oven, please keep in mind that they may not distribute heat the same as a conventional full sized oven and you may need to adjust your cooking/baking times. In the case of recipes made with a pressure cooker, air fryer, slow cooker, or other appliance, a link to the appliances we use is listed within each respective recipe. For baking recipes where measurements are given by weight, please note that results may not be the same if cups are used instead, and we can’t guarantee success with that method.
