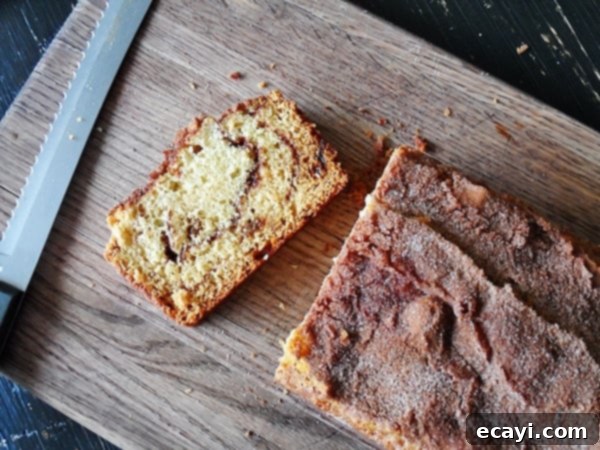
Homemade Cinnamon Raisin Swirl Quick Bread: A Cozy, No-Yeast Delight
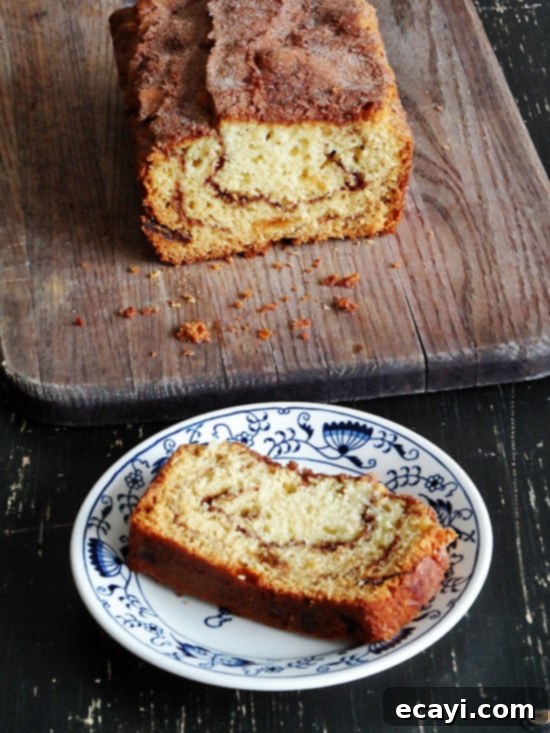
There are certain flavors that instantly transport you back to childhood, and for me, cinnamon holds that special power. One of my fondest memories revolves around my mother making cinnamon toast – simple, yet utterly comforting. It was usually just plain white bread, perfectly toasted, generously buttered, and then sprinkled with a delightful mix of cinnamon and sugar. She also had an enduring love for cinnamon raisin bread, often bringing home the iconic red-bagged Sun Maid brand, its sweet aroma filling the kitchen. This beloved flavor profile, with its warm spice and juicy fruit, has always been a staple in our home, shaping my appreciation for baked goods that evoke a sense of warmth and nostalgia.
That comforting embrace of cinnamon and raisins is precisely what inspired me to create this spectacular Cinnamon Raisin Swirl Quick Bread. While I truly enjoy the process of making traditional yeast breads – the kneading, the waiting for the dough to rise, the anticipation – there’s something uniquely satisfying and much less intimidating about a quick bread. Quick breads, as their name suggests, are fast and straightforward, requiring no yeast and no lengthy proofing times. They are perfect for those moments when you crave fresh, homemade goodness but are short on time or simply prefer a less demanding baking project. This quick bread recipe delivers all the familiar flavors of a classic cinnamon raisin loaf with a fraction of the effort, making it an ideal choice for busy mornings or an impromptu treat.
Related Recipe – Cinnamon Honey Butter (This butter would be an absolutely divine accompaniment to a warm slice of this quick bread!)
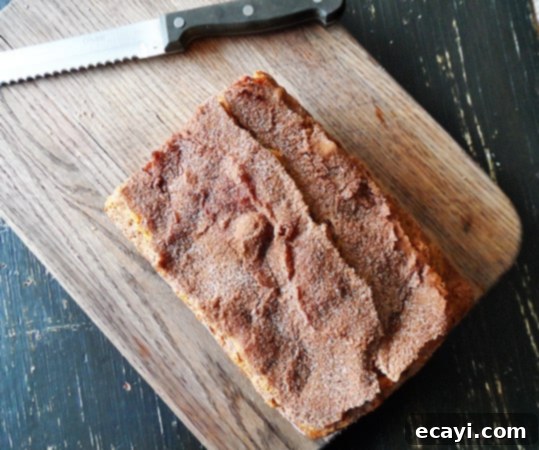
Developing this easy cinnamon raisin quick bread recipe was a labor of love, involving a couple of test runs to get it just right. I started with a base recipe, but through experimentation, I made some key adaptations to achieve the perfect texture and flavor profile I envisioned. Specifically, I added an extra egg, which contributes to a richer, more tender crumb, ensuring the bread stays moist and flavorful. I also incorporated an additional teaspoon of baking powder, working in tandem with the baking soda to give the loaf a beautiful lift and a lighter, airier consistency. These subtle adjustments made all the difference, transforming a good recipe into a truly great one that I’m excited to share with you. The goal was to create a loaf that wasn’t just quick to make, but also delivered on taste and texture, providing that delightful balance between a soft interior and a perfectly golden crust.
One amusing anecdote from the recipe’s origin involves a site called Honest Kitchen. I initially found inspiration there, but when I later returned to link back to them, their entire website had vanished! In its place was an online pet food store – quite the unexpected pivot. While the original source disappeared into the digital ether, the essence of that initial idea, combined with my own creative tweaks, led to this wonderful creation. It’s a reminder that sometimes the most delicious discoveries come from unexpected places and a bit of culinary improvisation. The important thing is that the spirit of a fantastic homemade quick bread lives on, now perfected and ready for your baking adventures.
Why Choose Quick Bread Over Yeast Bread?
For many home bakers, the thought of making yeast bread can be daunting. The precise measurements, the temperature control, the multiple proofing stages – it all sounds a bit like a science experiment. This is where quick breads shine! They are the perfect entry point for beginner bakers and a comforting go-to for seasoned pros. Here’s why this cinnamon raisin no-yeast bread is such a winner:
- **Simplicity:** No yeast means no waiting for the dough to rise. You mix, pour, and bake. It’s that simple.
- **Speed:** From mixing bowl to oven in under 20 minutes, and baking time is typically less than an hour. Perfect for a spur-of-the-moment craving.
- **Less Intimidation:** Without the need to activate yeast or worry about dough elasticity, quick breads are forgiving and almost always turn out beautifully.
- **Versatility:** Once you master a basic quick bread recipe, the possibilities for variations are endless – different fruits, nuts, spices, and glazes.
- **Instant Gratification:** There’s nothing quite like the smell of fresh-baked bread filling your home, and with quick bread, you get to enjoy that aroma and the delicious results much faster.
Ingredients Spotlight: What Makes This Quick Bread Special?
Each ingredient in this easy quick bread recipe plays a crucial role in creating its delectable texture and flavor:
- **Unbleached All-Purpose Flour:** This provides the primary structure for the bread. Unbleached flour tends to have a slightly higher protein content, which can contribute to a more tender crumb.
- **Sugar:** Beyond sweetness, sugar helps with browning and keeps the bread moist.
- **Baking Soda & Baking Powder:** These are your leavening agents, responsible for the bread’s rise. They react with the acidic buttermilk to create carbon dioxide bubbles, resulting in a light and airy texture. The addition of extra baking powder, as I mentioned, enhances this lift.
- **Salt:** A pinch of salt balances the sweetness and enhances all the other flavors.
- **Buttermilk:** This is a star ingredient in quick breads. Its acidity reacts with the baking soda, creating tenderness. It also adds a subtle tang and keeps the bread incredibly moist. If you don’t have buttermilk, you can easily make a substitute by adding 1 tablespoon of white vinegar or lemon juice to a measuring cup, then filling the rest of the cup with regular milk and letting it sit for 5-10 minutes until it slightly curdles.
- **Large Eggs:** Eggs act as a binder, provide moisture, and contribute to the richness and structure of the bread. My adaptation to include an extra egg ensures a more luxurious crumb.
- **Canola Oil:** A neutral-flavored oil like canola keeps the bread moist without imparting any unwanted taste. You could also use vegetable oil or melted coconut oil.
- **Vanilla Extract:** This enhances the overall flavor profile, adding a warm, aromatic note that complements the cinnamon beautifully.
- **Golden Raisins:** These sweet, chewy morsels are essential for a classic cinnamon raisin bread. Golden raisins tend to be a bit plumper and juicier than dark raisins, but either works. For an extra plump and juicy texture, you can soak the raisins in warm water or even a splash of rum for about 10-15 minutes, then drain thoroughly before folding them into the batter.
- **Cinnamon Mixture (Sugar & Ground Cinnamon):** This is where the magic happens! The generous amount of cinnamon sugar creates that iconic swirl and infuses every bite with fragrant spice. Don’t be shy with it – it really does make the bread shine.
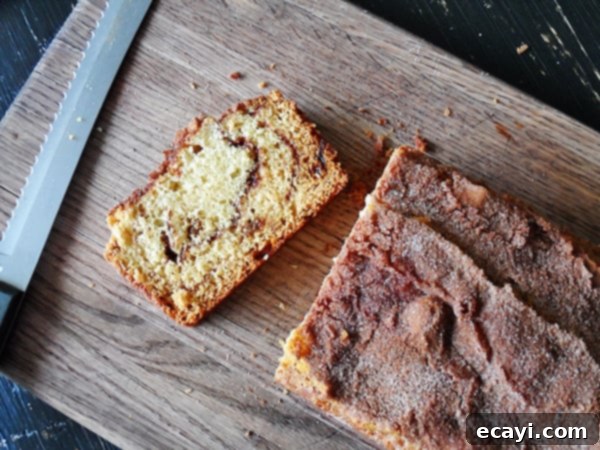
The Art of the Swirl: Crafting Your Cinnamon Masterpiece
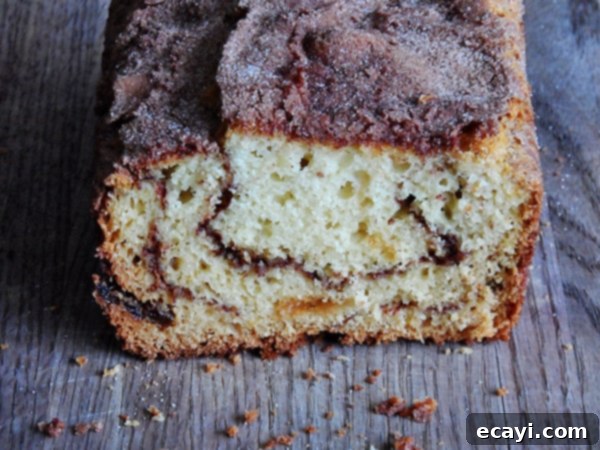
The visually appealing and utterly delicious cinnamon swirl is a hallmark of this quick bread. It’s surprisingly simple to achieve and makes the bread feel extra special. The trick is to layer the batter and the cinnamon sugar mixture, allowing the flavors to meld beautifully during baking. When you add the cinnamon sugar in three stages – sprinkling it over each third of the batter in the pan – you ensure that the cinnamon flavor is distributed throughout the loaf, not just on top. And yes, as I noted, the amount of cinnamon sugar might seem like a lot, but trust me, it truly does the trick! It creates distinct ribbons of spicy sweetness that are heavenly in every slice. Don’t panic at the quantity; embrace the flavor explosion it creates.
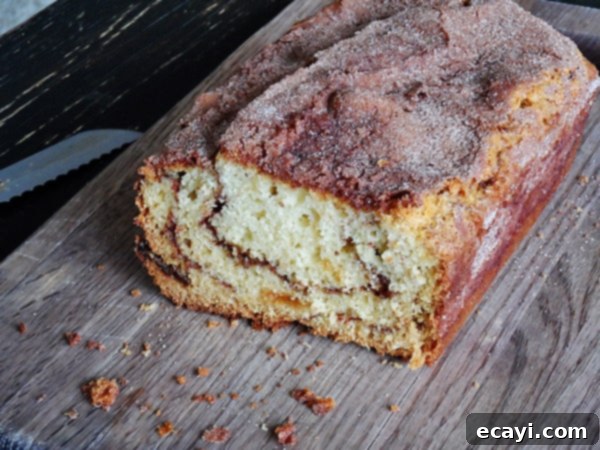
This cinnamon raisin quick bread is incredibly easy to make and yields fantastically tasty results. While it’s delightful at any temperature, in my humble opinion, it’s truly best served warm. The warmth enhances the aroma of the cinnamon and softens the raisins, making each bite an absolute dream. Imagine a slice with your morning coffee, a midday snack with a cup of tea, or even a simple dessert. It’s a versatile treat that fits many occasions. The process is straightforward, the ingredients are common, and the payoff is immense. You’ll love the simple pleasure of baking this quick bread and the joy it brings to your kitchen.
Baking Tips for Success
Even though quick breads are forgiving, a few tips can help ensure your homemade cinnamon bread turns out perfectly every time:
- **Don’t Overmix:** Overmixing the batter develops the gluten in the flour too much, leading to a tough, dense bread. Mix just until the dry ingredients are moistened and no streaks of flour remain. Lumps are perfectly fine!
- **Grease Your Pan Well:** A lightly greased loaf pan prevents sticking and ensures easy removal. Greasing the bottom and halfway up the sides is usually sufficient for quick breads. Placing the loaf pan on a baking sheet also helps catch any potential drips and makes transferring it in and out of the oven easier.
- **Oven Temperature Matters:** Quick breads rely on the chemical reaction of leavening agents, which are very sensitive to temperature. Make sure your oven is fully preheated to 350°F (175°C) before putting the bread in. An oven thermometer can be a baker’s best friend.
- **Test for Doneness:** The toothpick test is reliable. Insert a toothpick into the center of the loaf; if it comes out clean or with a few moist crumbs attached (but no wet batter), your bread is ready.
- **Cooling is Crucial:** Allow the loaf to cool in the pan for about 10 minutes before transferring it to a wire rack. This helps the bread set and prevents it from crumbling when you remove it. Cooling completely on a wire rack allows air to circulate, preventing sogginess.
Cinnamon Raisin Swirl Quick Bread
IMPORTANT – There are often Frequently Asked Questions within the blog post that you may find helpful. Simply scroll back up to read them!
Print It
Pin It
Rate It
Save ItSaved!
Ingredients
- 2 cups unbleached all purpose flour
- 1 cup sugar
- 1 teaspoon baking soda
- 1 teaspoon baking powder
- ½ teaspoon salt
- 1 cup buttermilk
- 2 large eggs
- ¼ cup canola oil
- 1 teaspoon vanilla extract
- ½ cup golden raisins
For the cinnamon mixture
- ⅓ cup sugar
- 2 ½ teaspoons ground cinnamon
Instructions
-
Preheat oven to 350 degrees F. Lightly grease the bottom and halfway up the sides of a 9×5 inch loaf pan. Place prepared loaf pan onto a baking sheet.
-
In a large bowl, whisk together flour, baking soda, baking powder, and salt.
-
In another bowl, combine milk, oil, eggs, and vanilla. Mix thoroughly. Beat sugar into mix until it is thoroughly creamed.
-
Add wet ingredients to the dry ingredients all at once. Stir just until moistened and there are no more traces of flour. Batter may be lumpy, do not over mix. Gently fold in the raisins.
-
Combine sugar and ground cinnamon to make the cinnamon swirl.
-
Add 1/3 of the batter to the pan then sprinkle with cinnamon sugar. Add another 1/3 of batter and sprinkle with cinnamon sugar. Finally add remaining batter and top with remaining cinnamon sugar.
-
Bake in preheated oven for 40 to 50 minutes, until a toothpick inserted into center of the loaf comes out clean. Allow loaf to cool in pan for 10 minutes then remove to a wire rack to cool completely.
Frequently Asked Questions About Cinnamon Raisin Quick Bread
Here are some common questions you might have when making this delicious quick bread:
- **Can I use regular milk instead of buttermilk?** Yes, you can. As mentioned above, you can make your own “soured milk” by adding 1 tablespoon of white vinegar or lemon juice to a measuring cup, then filling the rest of the cup with regular milk to equal 1 cup. Let it sit for 5-10 minutes until it slightly curdles. This will provide the necessary acidity to react with the baking soda.
- **What if I don’t have golden raisins?** Dark raisins will work perfectly fine. If using dark raisins, you might consider soaking them as described in the ingredients section to plump them up.
- **Can I add nuts to this quick bread?** Absolutely! Chopped walnuts or pecans would be a fantastic addition. Fold about ½ cup of chopped nuts into the batter along with the raisins.
- **How do I store leftover quick bread?** Once completely cooled, wrap the loaf tightly in plastic wrap or aluminum foil, or store it in an airtight container at room temperature for up to 3-4 days. For longer storage, see the freezing tips below.
- **Can I freeze cinnamon raisin quick bread?** Yes, this quick bread freezes beautifully! Once completely cooled, wrap the entire loaf or individual slices tightly in plastic wrap, then again in aluminum foil. Freeze for up to 2-3 months. Thaw at room temperature, or gently warm slices in a toaster or microwave.
- **My quick bread is dry. What went wrong?** Overmixing the batter is a common culprit for dry quick bread, as it develops too much gluten. Ensure you mix just until combined. Also, overbaking can lead to dryness, so keep an eye on your baking time and use the toothpick test.
The recipes on this blog are tested with a conventional gas oven and gas stovetop. It’s important to note that some ovens, especially as they age, can cook and bake inconsistently. Using an inexpensive oven thermometer can assure you that your oven is truly heating to the proper temperature. If you use a toaster oven or countertop oven, please keep in mind that they may not distribute heat the same as a conventional full sized oven and you may need to adjust your cooking/baking times. In the case of recipes made with a pressure cooker, air fryer, slow cooker, or other appliance, a link to the appliances we use is listed within each respective recipe. For baking recipes where measurements are given by weight, please note that results may not be the same if cups are used instead, and we can’t guarantee success with that method.
