Decadent Chocolate Pound Cake Recipe: Ultra-Moist and Fudgy Perfection
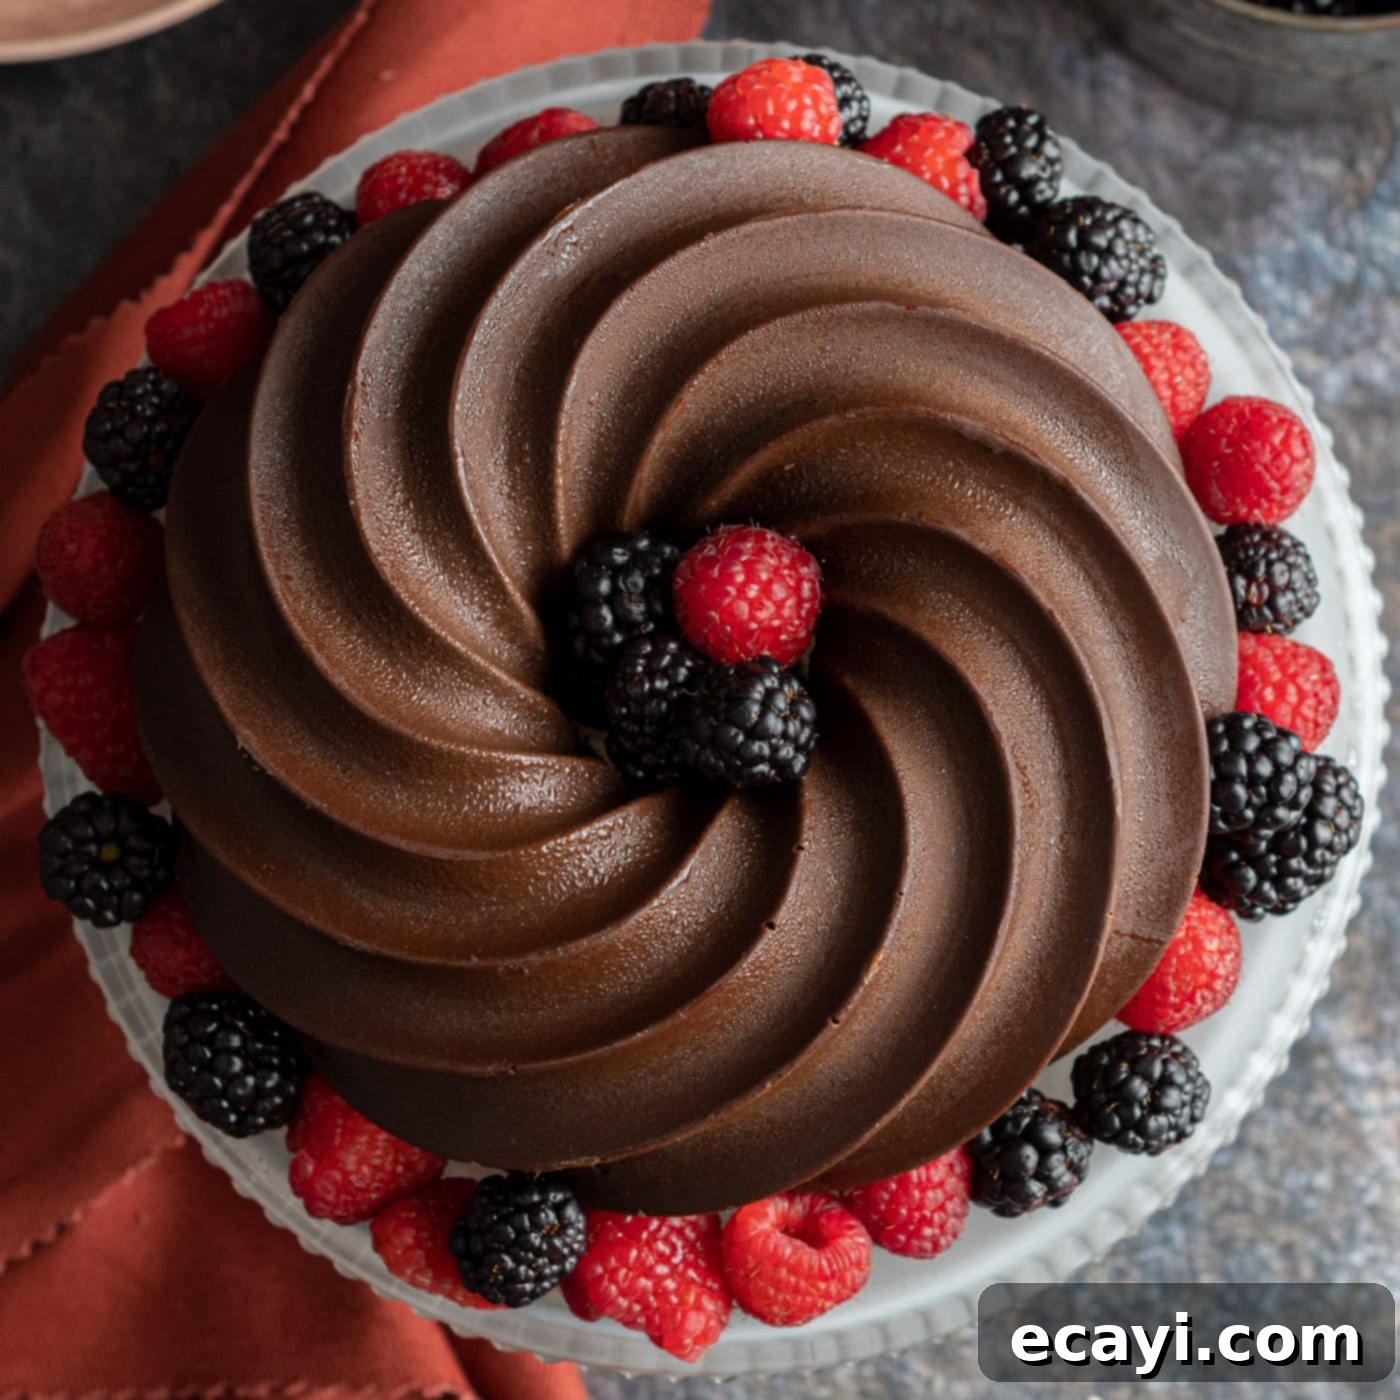
Prepare to be amazed by this extraordinary chocolate pound cake. Far from your typical bundt cake, this recipe delivers an intensely rich, incredibly dense, and supremely moist chocolate cake, elevated by a thick, luxurious fudgy chocolate coating. It’s a true celebration of chocolate, designed to impress with its deep flavor and irresistible texture. Whether you’re a seasoned baker or looking for a show-stopping dessert, this chocolate pound cake promises a delightful experience, both in the making and the tasting.
Why This Chocolate Pound Cake Recipe Works So Well
What sets this chocolate pound cake apart from other recipes? It’s a carefully crafted blend of ingredients and techniques that ensures an exceptionally moist and deeply flavored cake, crowned with a truly decadent, fudgy chocolate shell. This isn’t just a regular chocolate cake; it’s a pound cake that goes the extra mile, offering a robust structure that holds its shape beautifully while remaining incredibly tender. The secret lies in the precise balance of fats, sugars, and leavening agents, alongside quality cocoa, which contributes to its signature dense texture and rich crumb. The exterior chocolate coating isn’t just an afterthought; it adds a glorious snap of texture that perfectly contrasts with the soft, melt-in-your-mouth interior, transforming each slice into an unforgettable indulgence. This recipe truly works because every component is designed to enhance the chocolate experience, delivering a dessert that is both familiar and remarkably sophisticated.
Key Ingredients You Will Need to Create This Masterpiece
Crafting this exquisite chocolate pound cake requires a selection of common baking ingredients, thoughtfully combined to produce its signature taste and texture. High-quality components are always recommended for the best results, ensuring every bite is as delicious as intended. For exact measurements, a comprehensive ingredient list, and detailed instructions, please refer to the printable recipe card located at the conclusion of this post. Gathering all your ingredients and having them at the correct temperature (especially butter and eggs) before you begin will streamline the baking process and contribute significantly to the success of your pound cake.
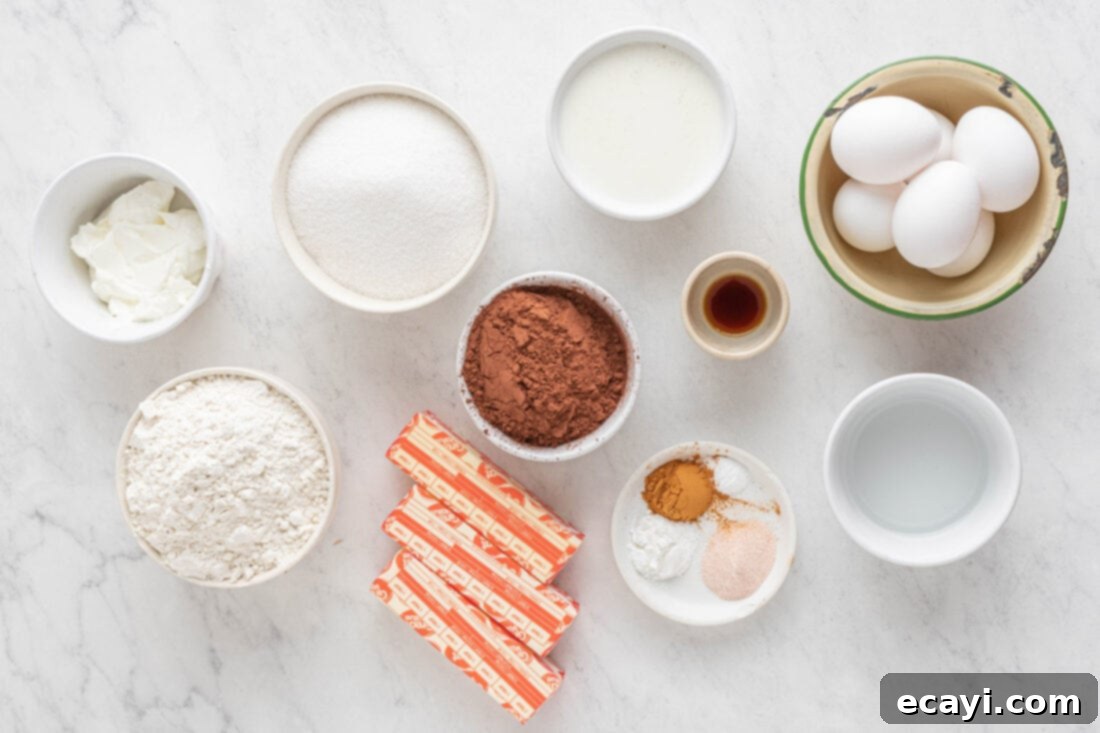
Ingredient Insights and Smart Substitution Suggestions
Understanding the role of each ingredient can elevate your baking, allowing for confident substitutions and a deeper appreciation of the process.
For the CAKE:
- Cocoa Powder: Our recipe specifically calls for Hershey’s Dutch cocoa. Dutch-processed cocoa powder is alkalized, which neutralizes its acidity, resulting in a darker color and a smoother, less bitter chocolate flavor. This process also means it reacts differently with leavening agents. While we prefer Dutch cocoa for its rich, deep hue and intense chocolate profile, you can certainly use regular unsweetened cocoa powder if that’s what you have on hand. Just be aware that the cake might be slightly lighter in color and have a subtly different flavor complexity.
- Leavening Agents (Baking Powder & Baking Soda): These two work in perfect harmony to give our dense pound cake the ideal lift without making it overly airy. Baking soda requires an acid to activate, which it finds in the sour cream and, to some extent, in natural cocoa (if using). Baking powder, on the other hand, is double-acting, meaning it reacts once when mixed with wet ingredients and again when exposed to heat in the oven. Together, they create a beautifully risen and tender crumb.
- Cinnamon: This is an optional but highly recommended addition. A touch of cinnamon doesn’t make the cake taste explicitly like cinnamon; instead, it subtly enhances and deepens the chocolate flavor, adding a warm, complex note that elevates the entire profile. It’s a classic pairing that we absolutely adore in this recipe.
- Sour Cream: This ingredient is crucial for the ultra-moist and tender texture of the pound cake. Its acidity reacts with the baking soda, and its fat content contributes to a rich mouthfeel. If sour cream isn’t available, plain full-fat yogurt (Greek or regular) makes an excellent substitute, providing similar moisture and tang. Buttermilk can also work, but you might need to slightly adjust the liquid content to maintain the batter consistency.
- Butter: Using good quality, room temperature salted butter is key for creaming effectively with sugar, which incorporates air and creates a tender crumb. If you use unsalted butter, simply add an extra ½ teaspoon of salt to the dry ingredients to balance the flavors.
- Eggs: Eggs provide structure, richness, and additional moisture to the cake. Adding them one at a time ensures they are fully incorporated without overmixing the batter.
- Hot Water: Adding hot water to the batter at the end “blooms” the cocoa powder, intensifying its chocolate flavor and ensuring it fully dissolves and distributes evenly throughout the batter.
For the FUDGY TOPPING:
- Semi-Sweet Chocolate Chips: We opt for semi-sweet chocolate chips to complement the dark chocolate profile of the cake, creating a harmonious and deeply chocolatey experience. However, feel free to use regular milk chocolate chips if you prefer a sweeter, milder topping. For an even richer, slightly less sweet coating, you could experiment with dark chocolate chips (around 60-70% cocoa).
- Crisco/Butter: The addition of a small amount of Crisco (shortening) or butter is vital for achieving a smooth, glossy chocolate coating that melts beautifully without seizing. It helps thin the melted chocolate to a pourable consistency and provides that attractive sheen once set, making the cake look as exquisite as it tastes. Coconut oil can also be used as an alternative for a similar effect.
How to Make This Incredible Chocolate Pound Cake
These step-by-step photos and instructions are designed to help you visualize each stage of making this delicious recipe. For a complete printable version, including all measurements and instructions, you can Jump to Recipe at the bottom of this post.
- Prepare Your Oven and Bundt Pan: Begin by preheating your oven to 350°F (175°C). Next, prepare your silicone baking bundt mold. While silicone is inherently nonstick, it’s always best practice to lightly spray it with baking spray. This extra step ensures that the intricate details of the bundt pan translate into perfectly crisp, clean edges on your finished cake, which is especially important for the chocolate coating to adhere flawlessly.
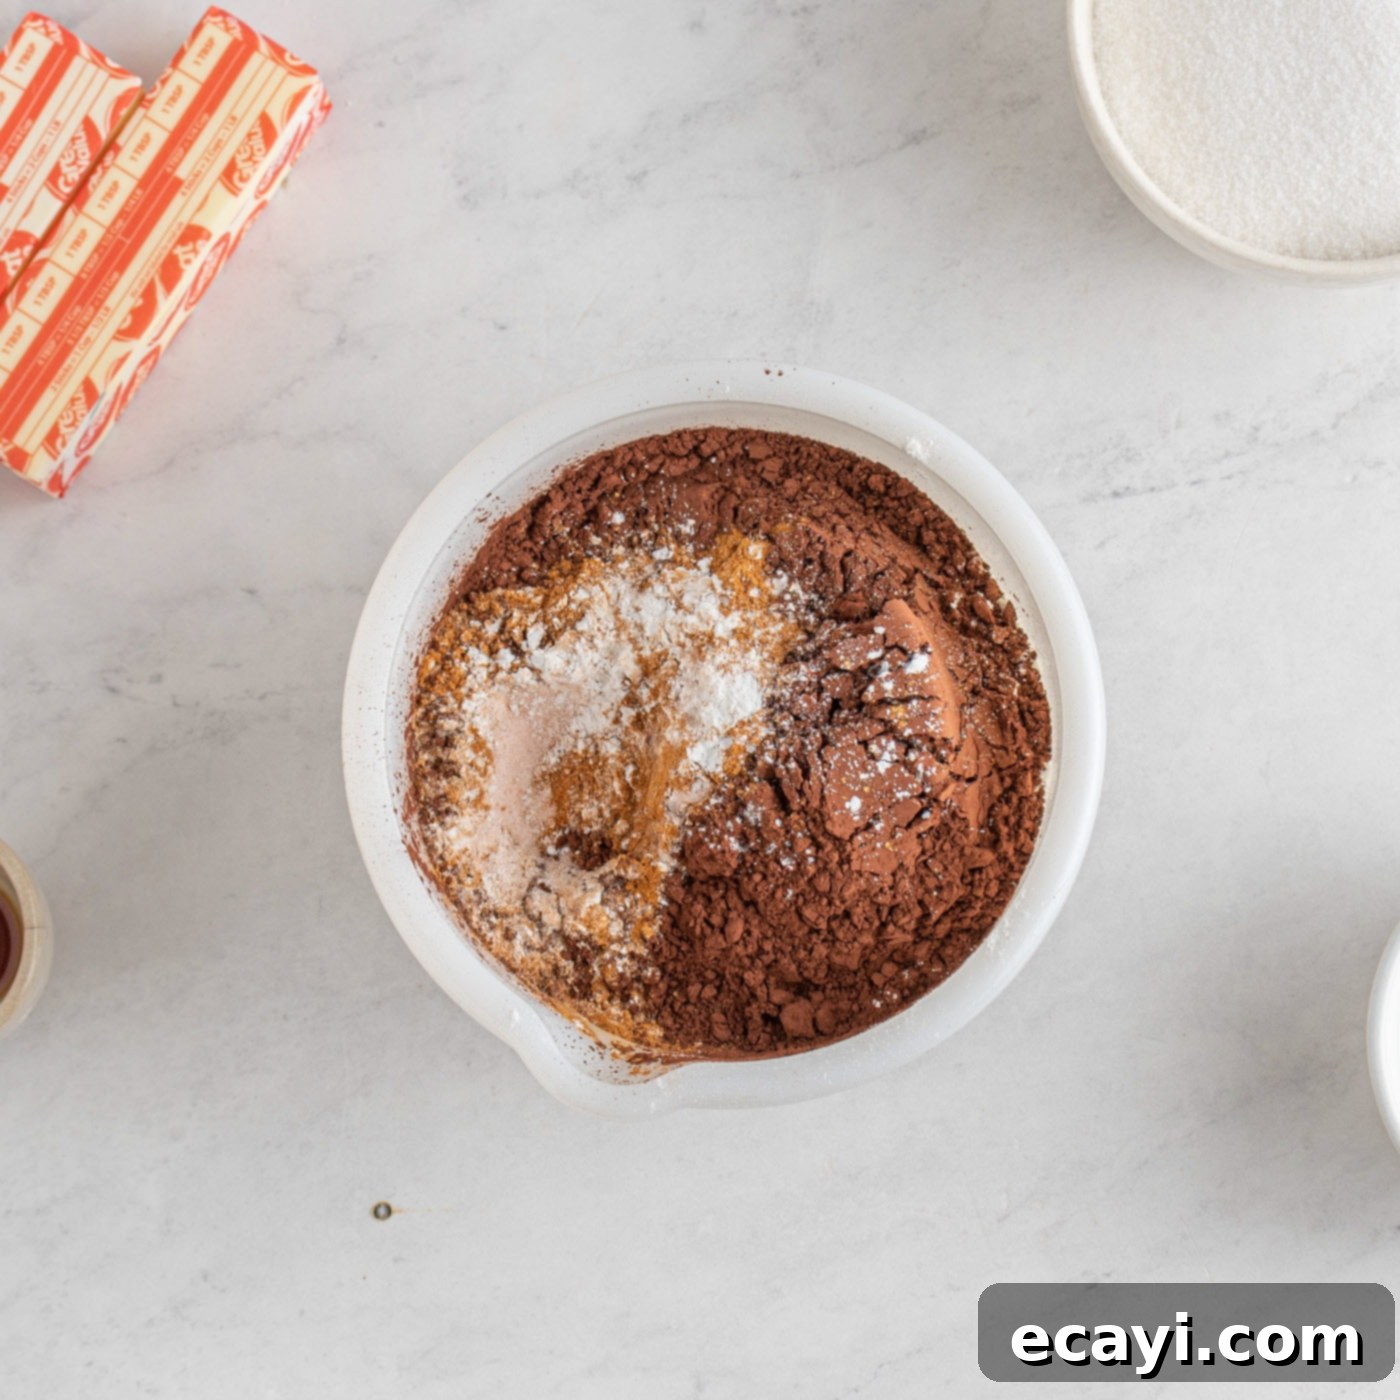
- Combine Dry Ingredients: In a medium-sized mixing bowl, thoroughly whisk together the all-purpose flour, cocoa powder, baking powder, baking soda, salt, and the optional cinnamon. Whisking ensures these dry ingredients are well combined and evenly distributed, preventing pockets of leavening agents or salt in the finished cake. Set this mixture aside.

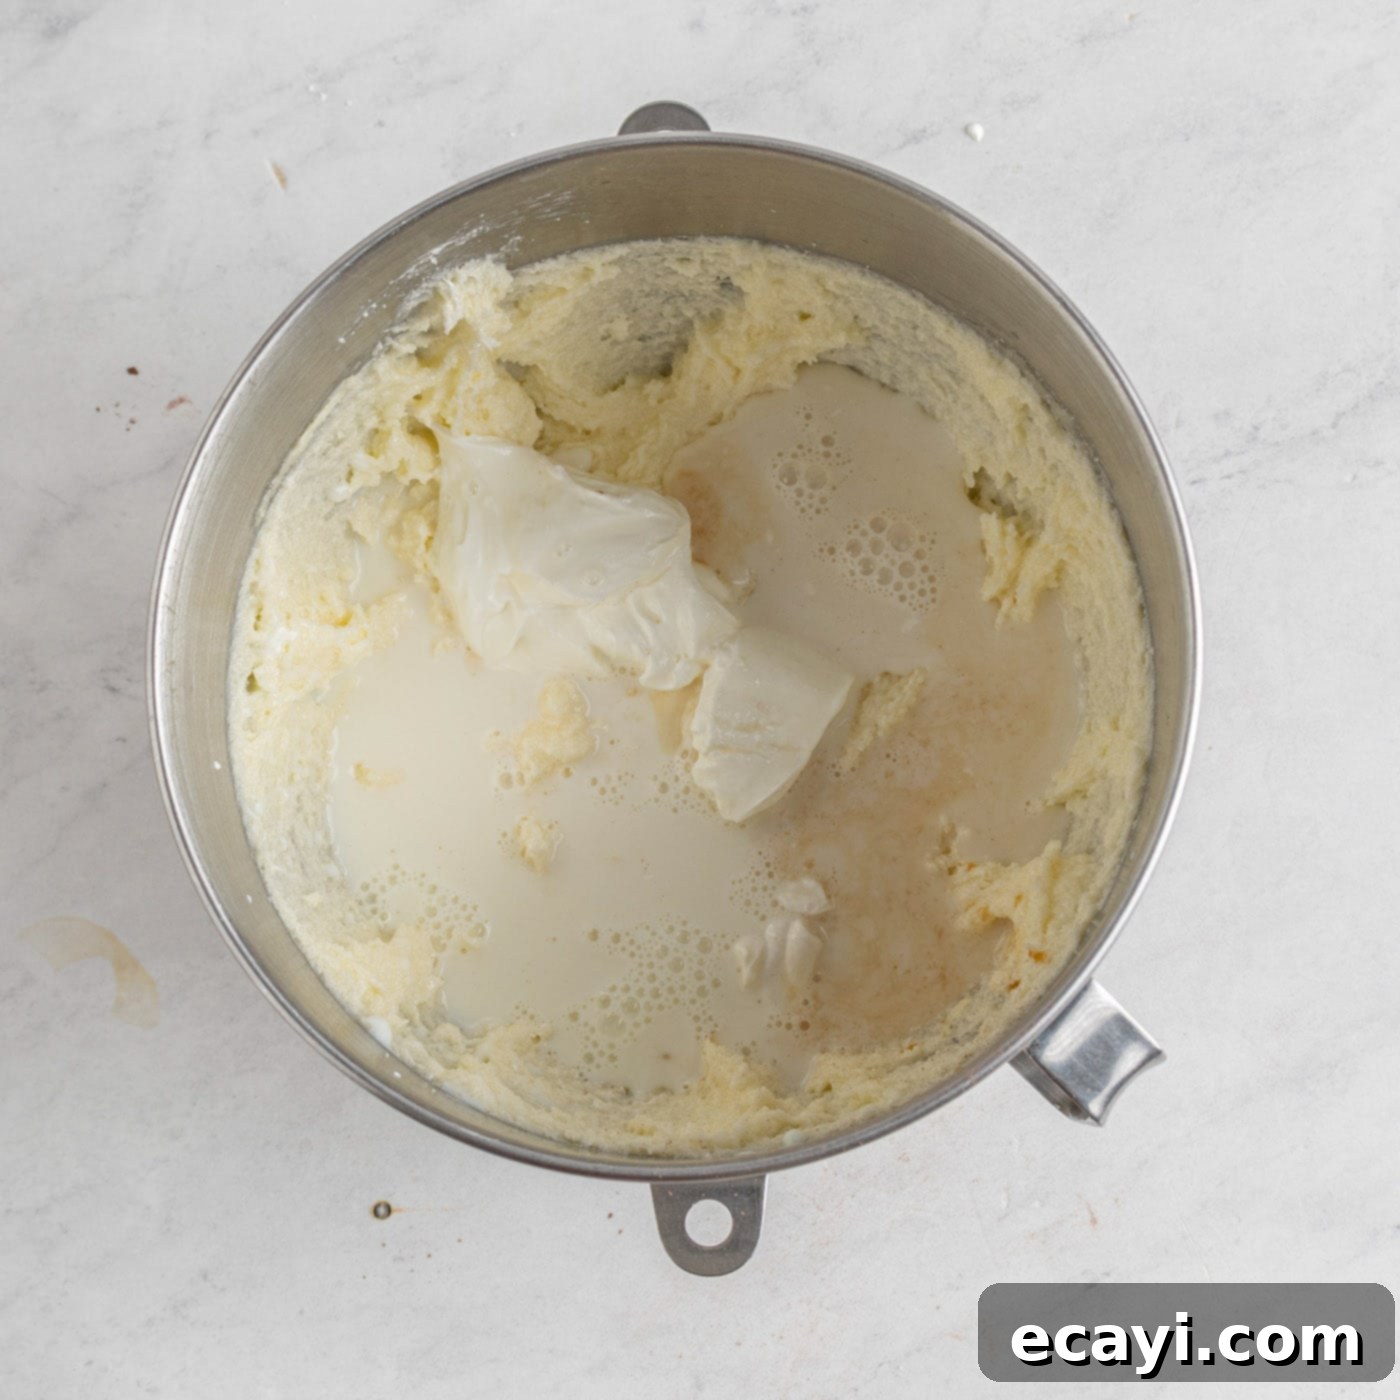
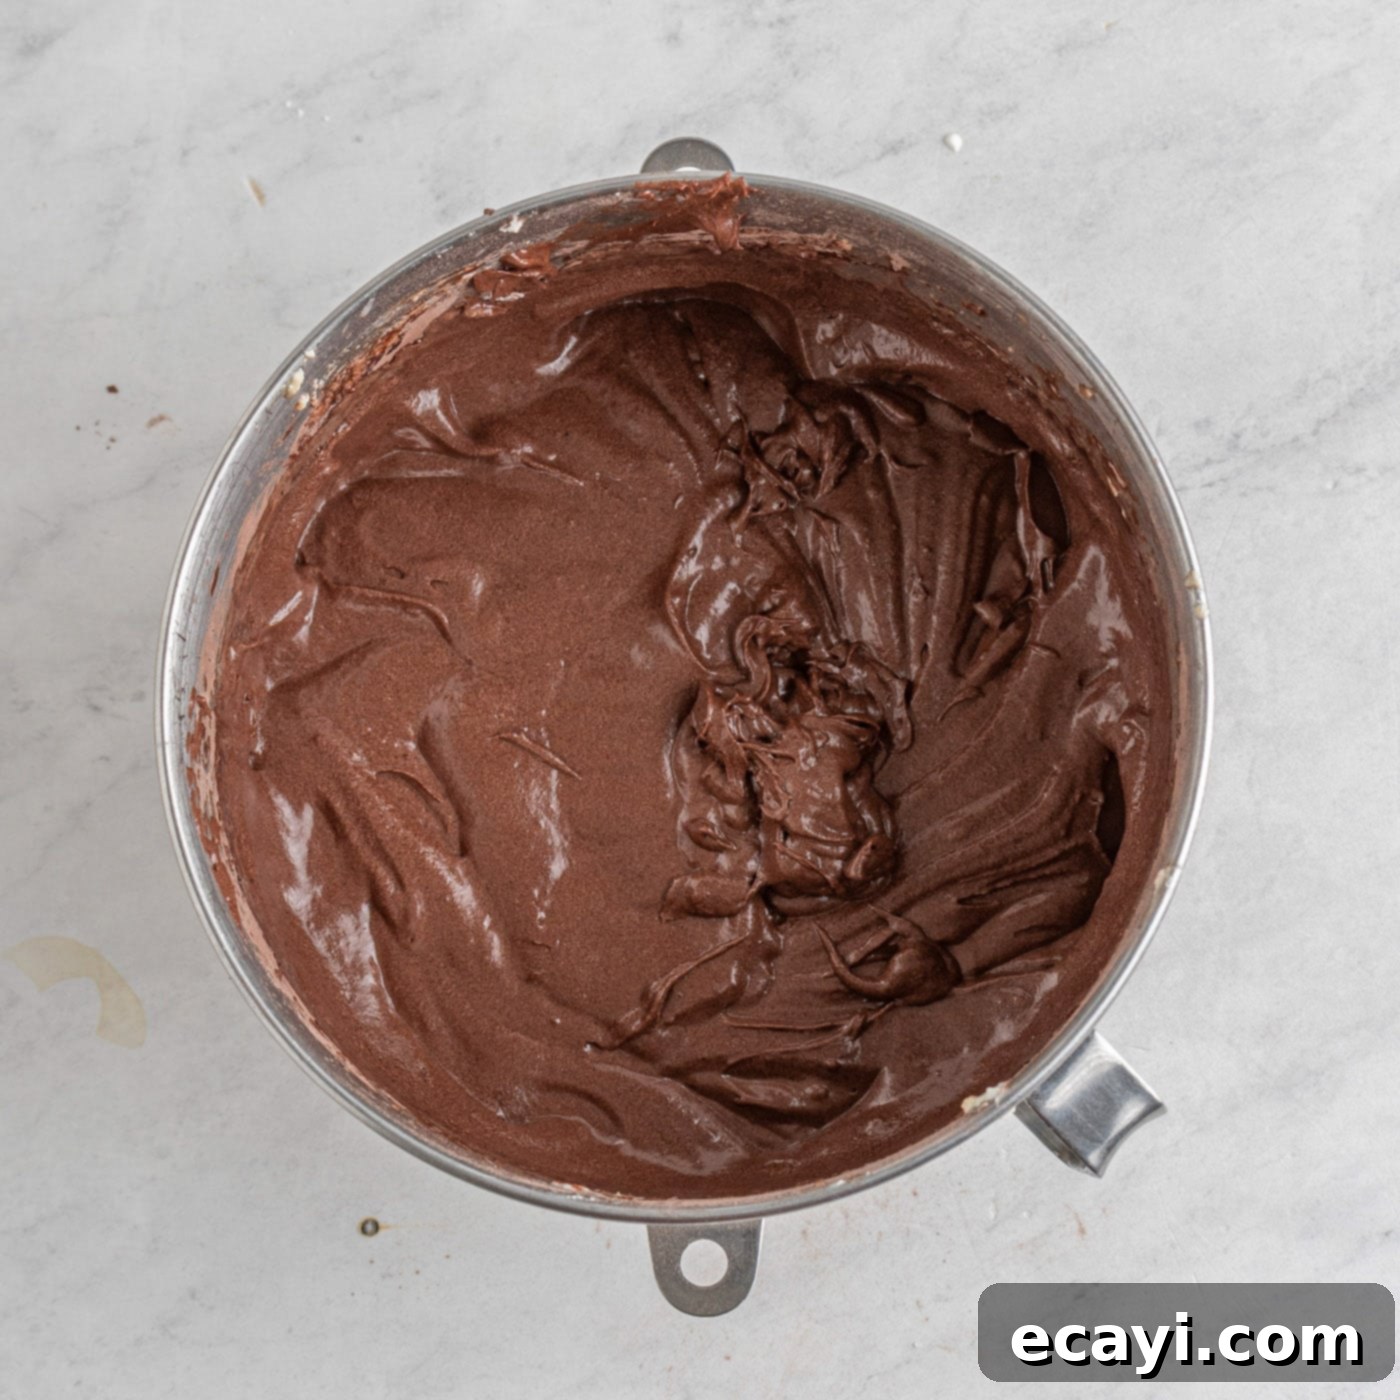
- Mix Wet Ingredients and Form Batter: In the bowl of a stand mixer fitted with the paddle attachment, cream together the softened butter and granulated sugar on medium speed for about 1 minute until light and fluffy. This creaming process incorporates air, which is vital for the cake’s texture. Reduce the mixer speed to low and gradually add the milk, sour cream, and vanilla extract, beating until just combined. Next, crack in the eggs one at a time, allowing each egg to fully incorporate into the batter before adding the next. Once the wet ingredients are well-blended, gradually add the reserved flour mixture and mix on low speed for 1 minute, scraping down the sides of the bowl as needed, until barely combined. Finish by adding the hot water and mixing for another 30 seconds. Be careful not to overmix, as this can lead to a tough cake.


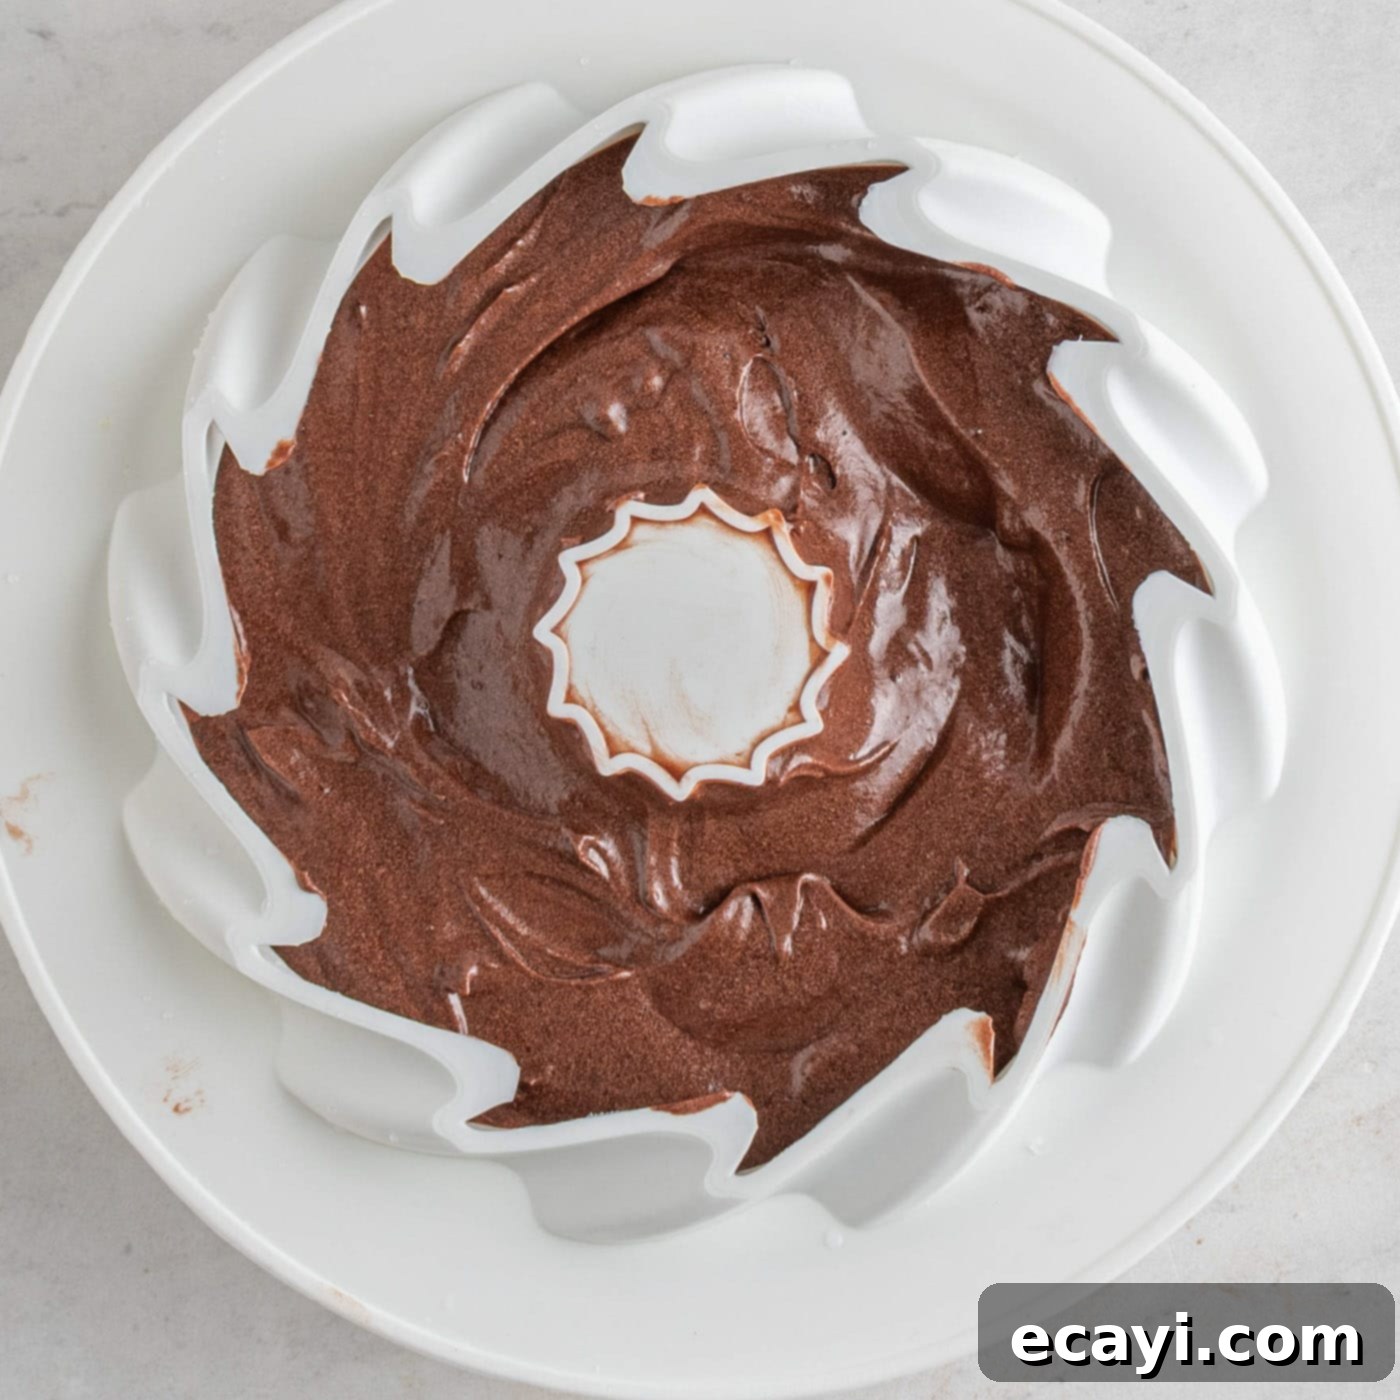
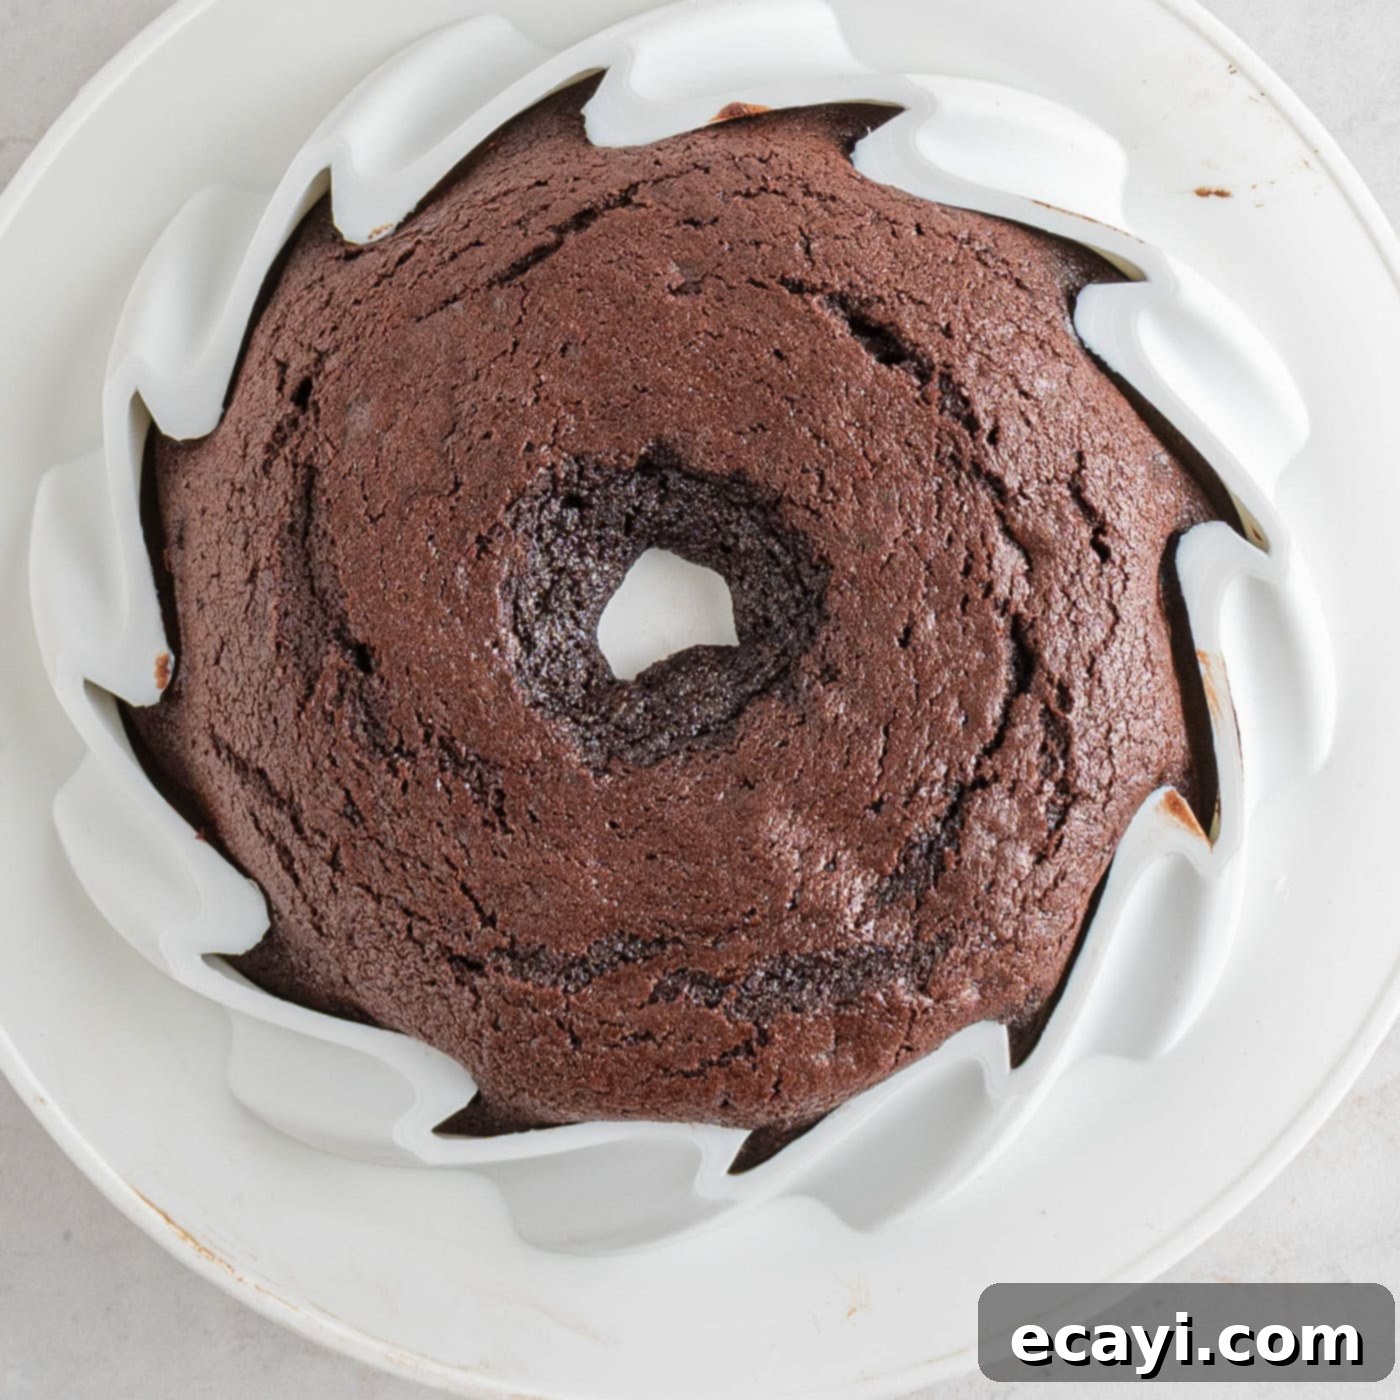
- Bake and Cool the Cake: Carefully pour the rich chocolate cake batter into your prepared silicone bundt mold, ensuring it’s evenly distributed. Bake for 70-80 minutes, or until a wooden skewer or toothpick inserted into the thickest part of the cake comes out clean, or with only moist crumbs attached. Once baked, remove the cake from the oven and allow it to cool completely in the mold on a wire rack. During cooling, I found my cake sometimes rose slightly in the center; if this happens, gently flip it onto a plate to cool, allowing the top to flatten and settle, which makes for a more stable and level presentation on a cake stand.
EXPERT TIP: Silicone molds can sometimes be flexible. To prevent your cake from losing its shape during baking, place the silicone mold onto a flat, sturdy baking sheet before transferring it to the oven. This provides crucial support and ensures an even bake.


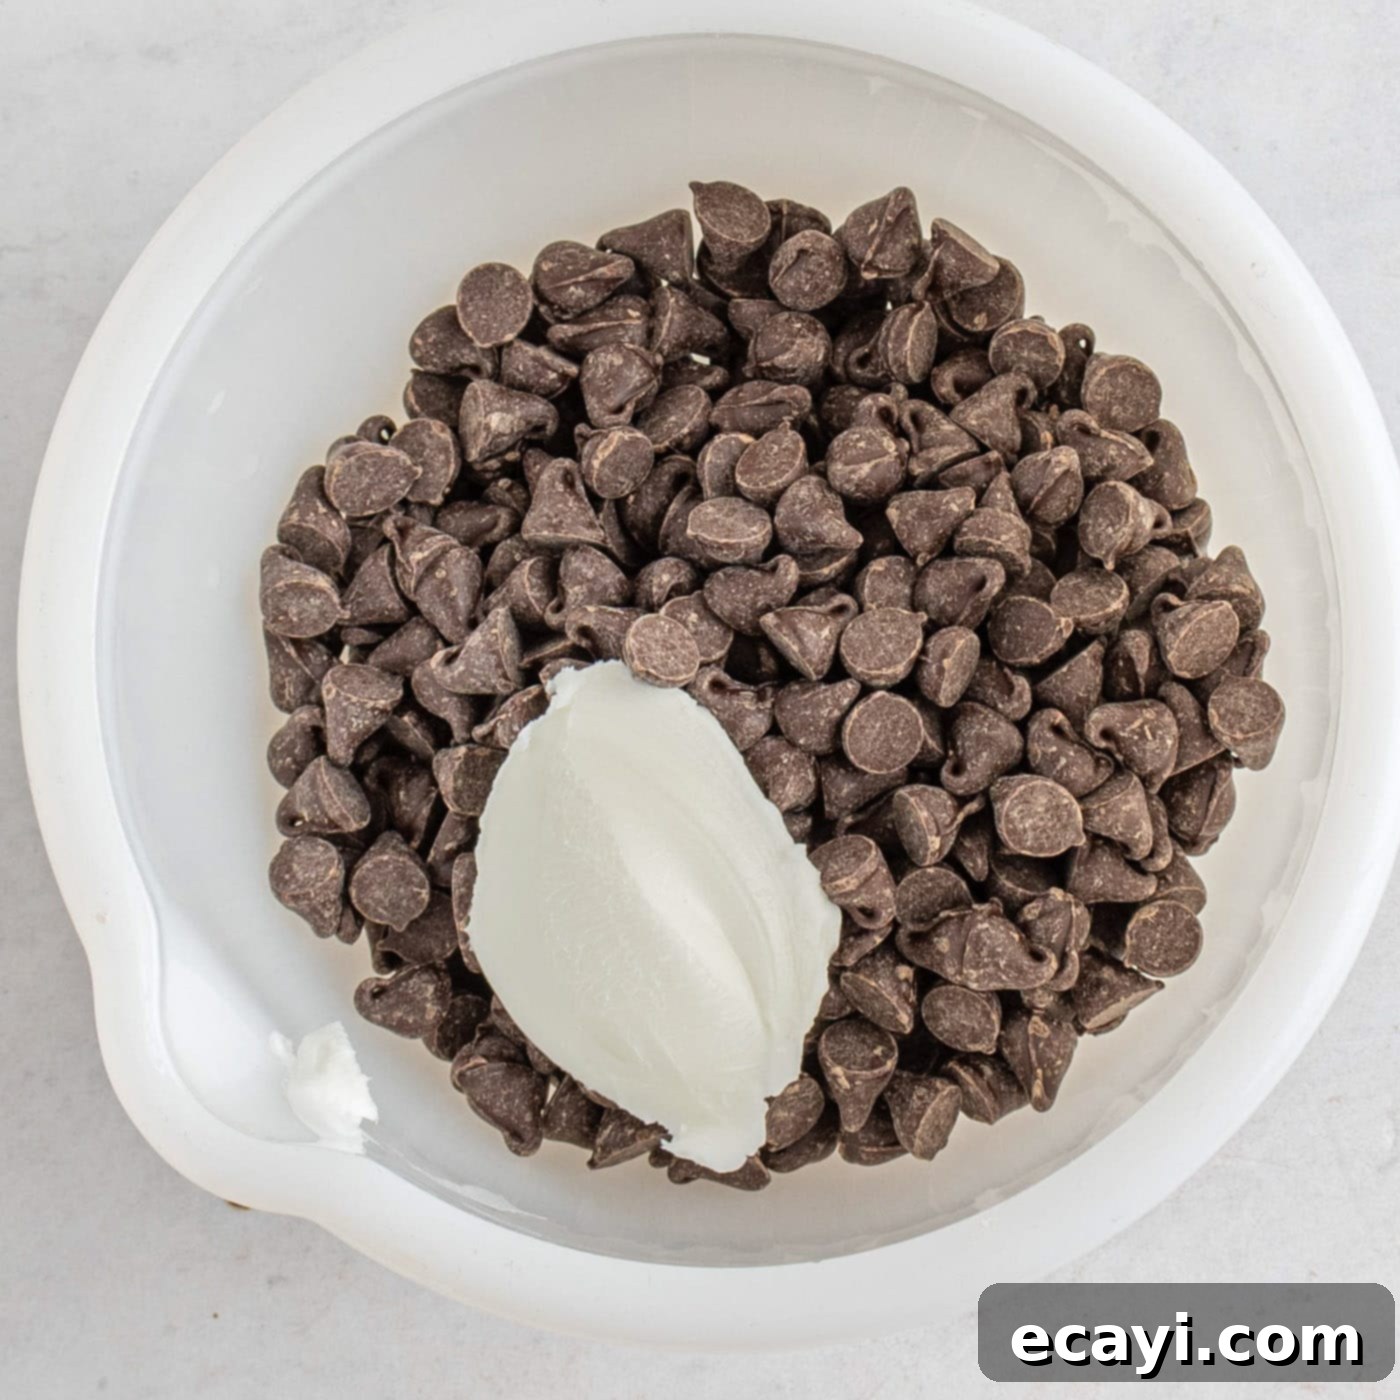
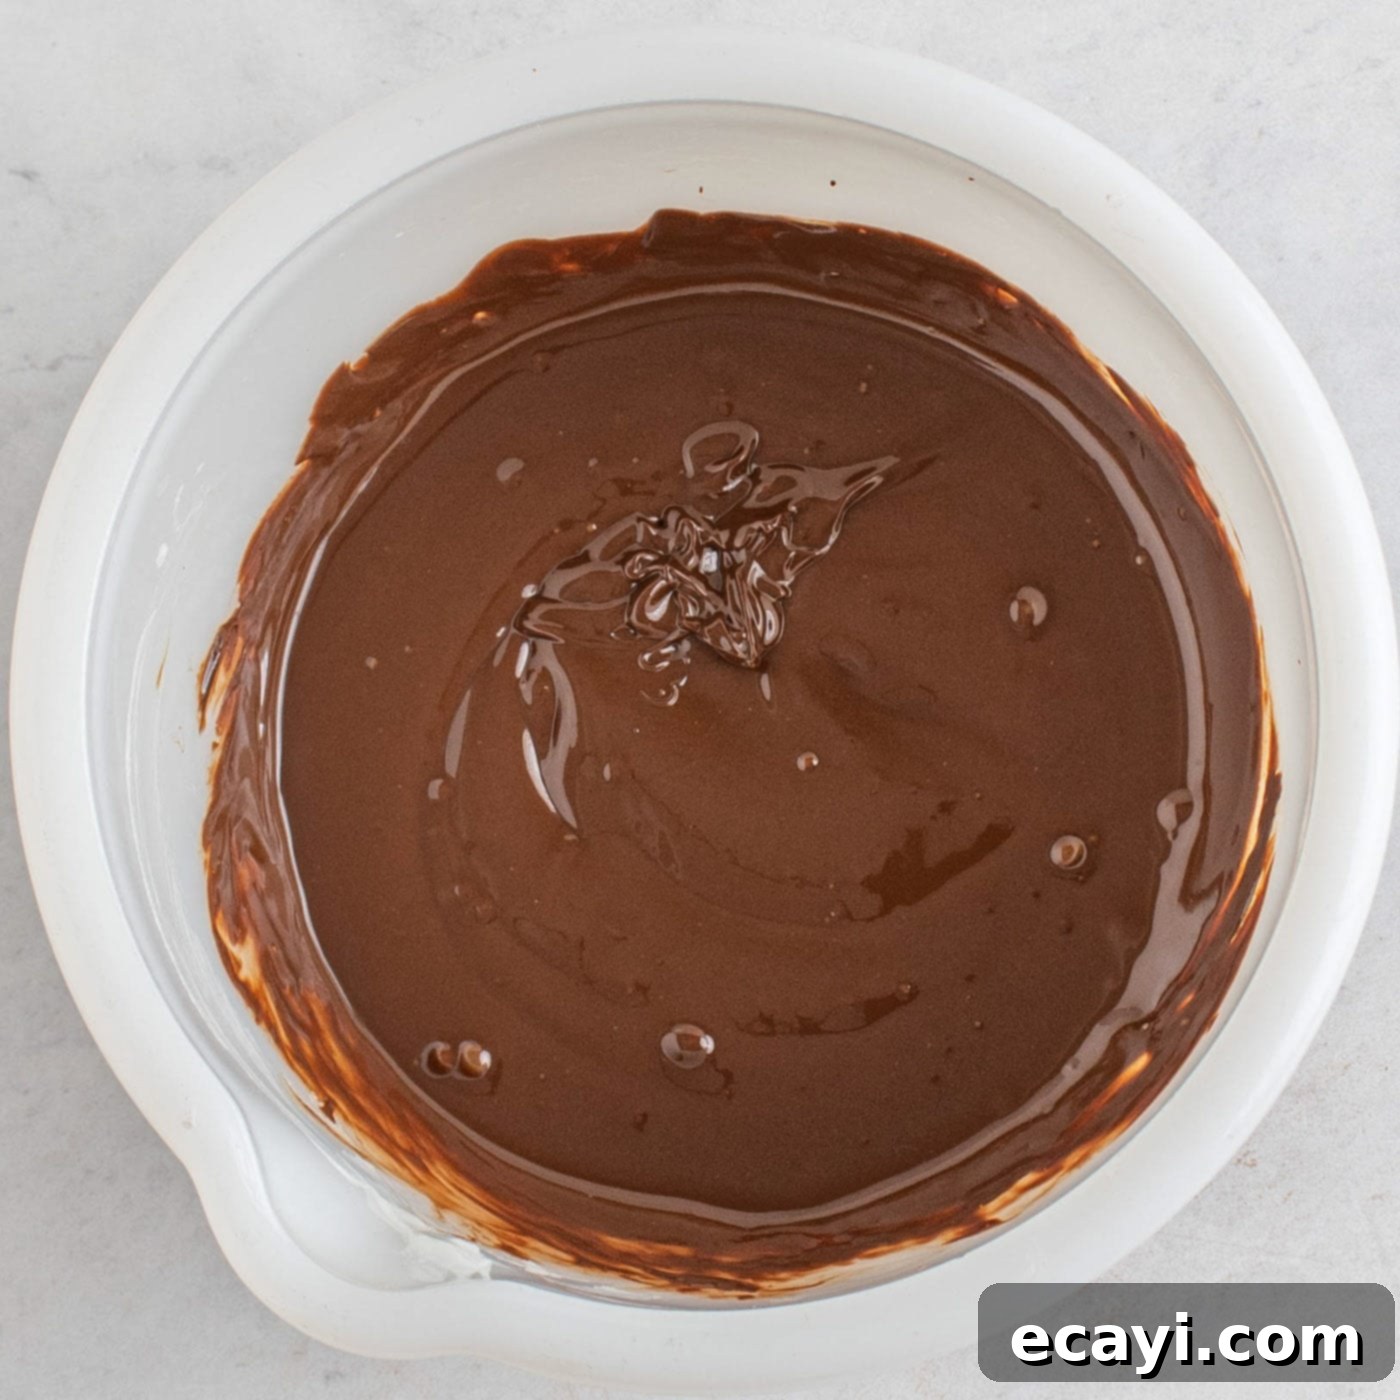
- Prepare the Fudgy Chocolate Topping: While your cake is cooling, prepare the luscious chocolate coating. Place the semi-sweet chocolate chips and Crisco (or butter) into a medium-sized, microwave-safe bowl. Heat the mixture in 30-second intervals, stirring thoroughly between each interval. It’s essential to stir all the way to the bottom of the bowl to ensure even melting and prevent the chocolate from burning or seizing. This process typically takes between 1 ½ to 2 minutes until the chocolate is smooth and fully melted.


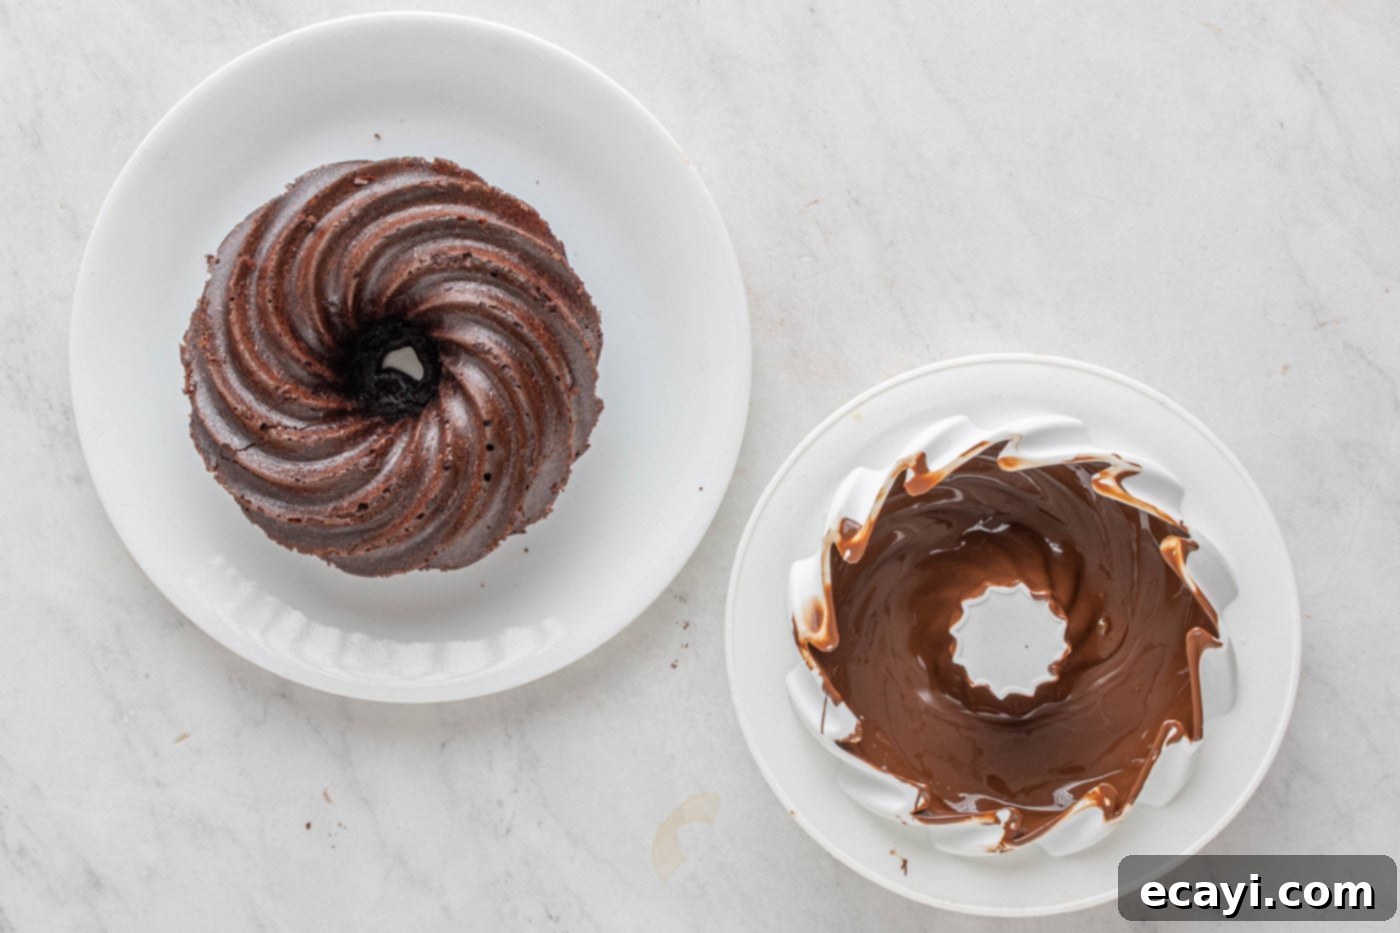
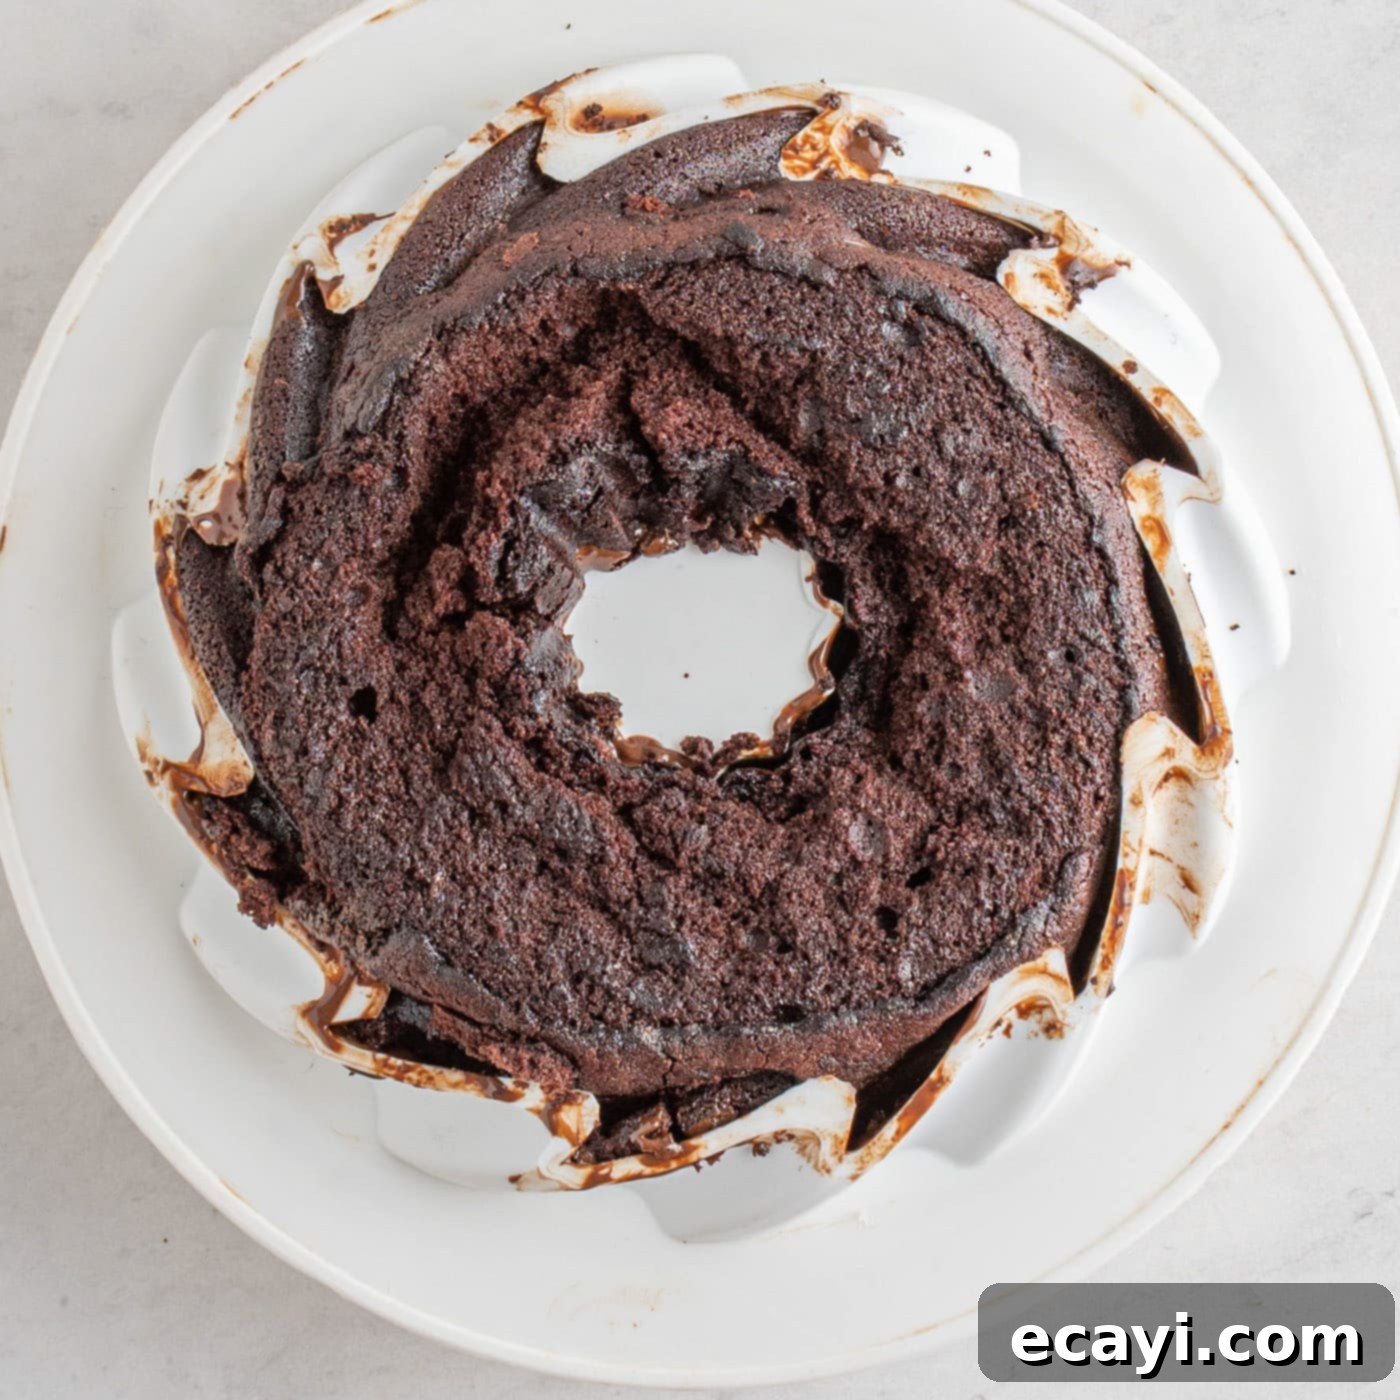
- Coat the Cake and Chill: Once the cake is completely cooled, gently remove it from the silicone mold. You might need to rinse or wipe out the mold to ensure it’s clean and free of crumbs. Pour the melted chocolate topping into the clean mold. Using a pastry brush or the back of a spoon, carefully spread the chocolate evenly around the entire interior surface of the mold, ensuring all crevices are coated. If you find any excess chocolate pooled at the bottom, simply pour it back into the bowl. Carefully place your cooled pound cake back into the chocolate-lined mold, aligning it perfectly with its original grooves. Place the entire mold into the freezer for at least 2 hours to allow the chocolate coating to firm up completely.


- Final Layer (Optional) & Presentation: Once thoroughly chilled and the chocolate is firm, remove your beautifully coated chocolate pound cake from the silicone mold and carefully invert it onto a serving plate. Inspect the chocolate shell for any thin spots, small holes, or cracks. If needed, you can apply a second thin layer of melted chocolate by brushing it onto the mold again, then placing the cake back into the mold and freezing it for another hour to set. This ensures a flawless, robust chocolate shell.
- Serve and Indulge: Your decadent chocolate pound cake is now ready to be sliced and enjoyed! The rich, moist interior and the crisp, fudgy exterior create a truly memorable dessert.
Frequently Asked Questions & Expert Baking Tips
For achieving the signature chocolate coating on the outside of this pound cake, using a silicone bundt pan is absolutely essential. The flexible nature of silicone allows for easy removal of the cake once the chocolate coating has set, preventing it from sticking or cracking. Attempting this method with a rigid metal bundt pan would be extremely difficult, if not impossible, to remove the chocolate-covered cake without damage. However, if you plan to omit the chocolate coating and simply dust the cake with powdered sugar or drizzle a simple glaze, then a traditional metal bundt pan will work perfectly fine. We highly recommend this silicone bundt cake mold, and this recipe yields enough batter for approximately three cakes using this specific pan.
To maintain its freshness and decadent texture, store any leftover chocolate pound cake in an airtight container or a dedicated cake carrier. Place it in the refrigerator, where it will remain delicious for up to 1 week. Allowing it to come to room temperature for about 15-20 minutes before serving can enhance its flavor and soften the chocolate coating slightly.
Absolutely, this chocolate pound cake freezes exceptionally well! For best results, we suggest flash freezing the cake first. This means placing the naked cake (after step 6, with the chocolate coating already set hard) uncovered in the freezer for about an hour or until the chocolate is completely firm. Once solid, wrap the cake tightly in a layer of plastic wrap, followed by a layer of aluminum foil. For extra protection against freezer burn, you can then place the wrapped cake into a large freezer-safe bag. Stored this way, your chocolate pound cake can be kept in the freezer for up to 4 months. Thaw it overnight in the refrigerator before bringing it to room temperature to serve.
Yes, this chocolate pound cake is an excellent make-ahead dessert, perfect for entertaining or when you want to get a head start. You can bake and assemble the cake a day or two in advance. Store it properly in an airtight container in the refrigerator. The flavors often deepen and meld beautifully over a day or two, making it even more delicious.
Preventing your cake from sticking begins with thorough pan preparation (greasing and flouring, or using baking spray). If your cake does stick, try chilling it slightly; sometimes the cake contracts enough to release. For bundt cakes, ensure it cools completely before attempting to invert. For this recipe specifically, the silicone mold and chilling steps are designed to prevent sticking, but always be gentle during removal.
The most reliable method is the toothpick test. Insert a wooden skewer or toothpick into the thickest part of the cake. If it comes out clean or with only a few moist crumbs attached, the cake is done. If it’s wet with batter, continue baking in 5-10 minute increments. The top of the cake should also be firm to the touch and spring back when lightly pressed. Keep in mind that oven temperatures can vary, so an inexpensive oven thermometer can be a valuable tool to ensure your oven is truly at the set temperature.
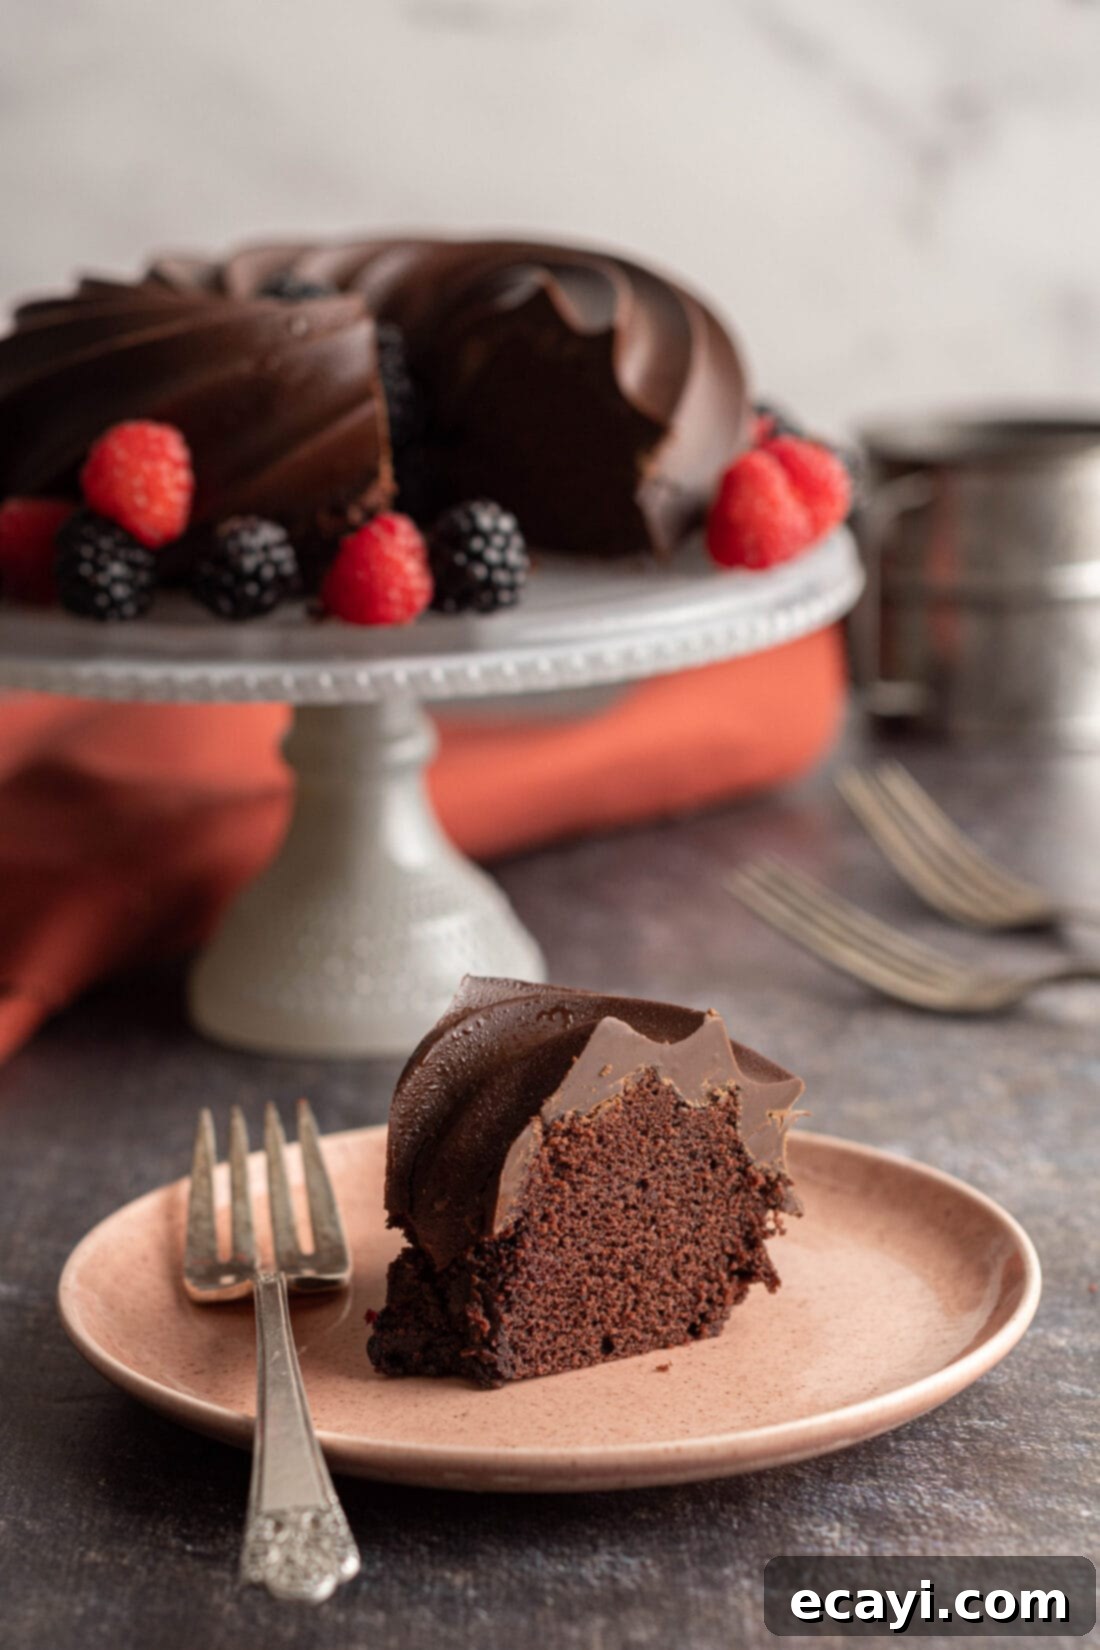
Delicious Serving Suggestions for Your Chocolate Pound Cake
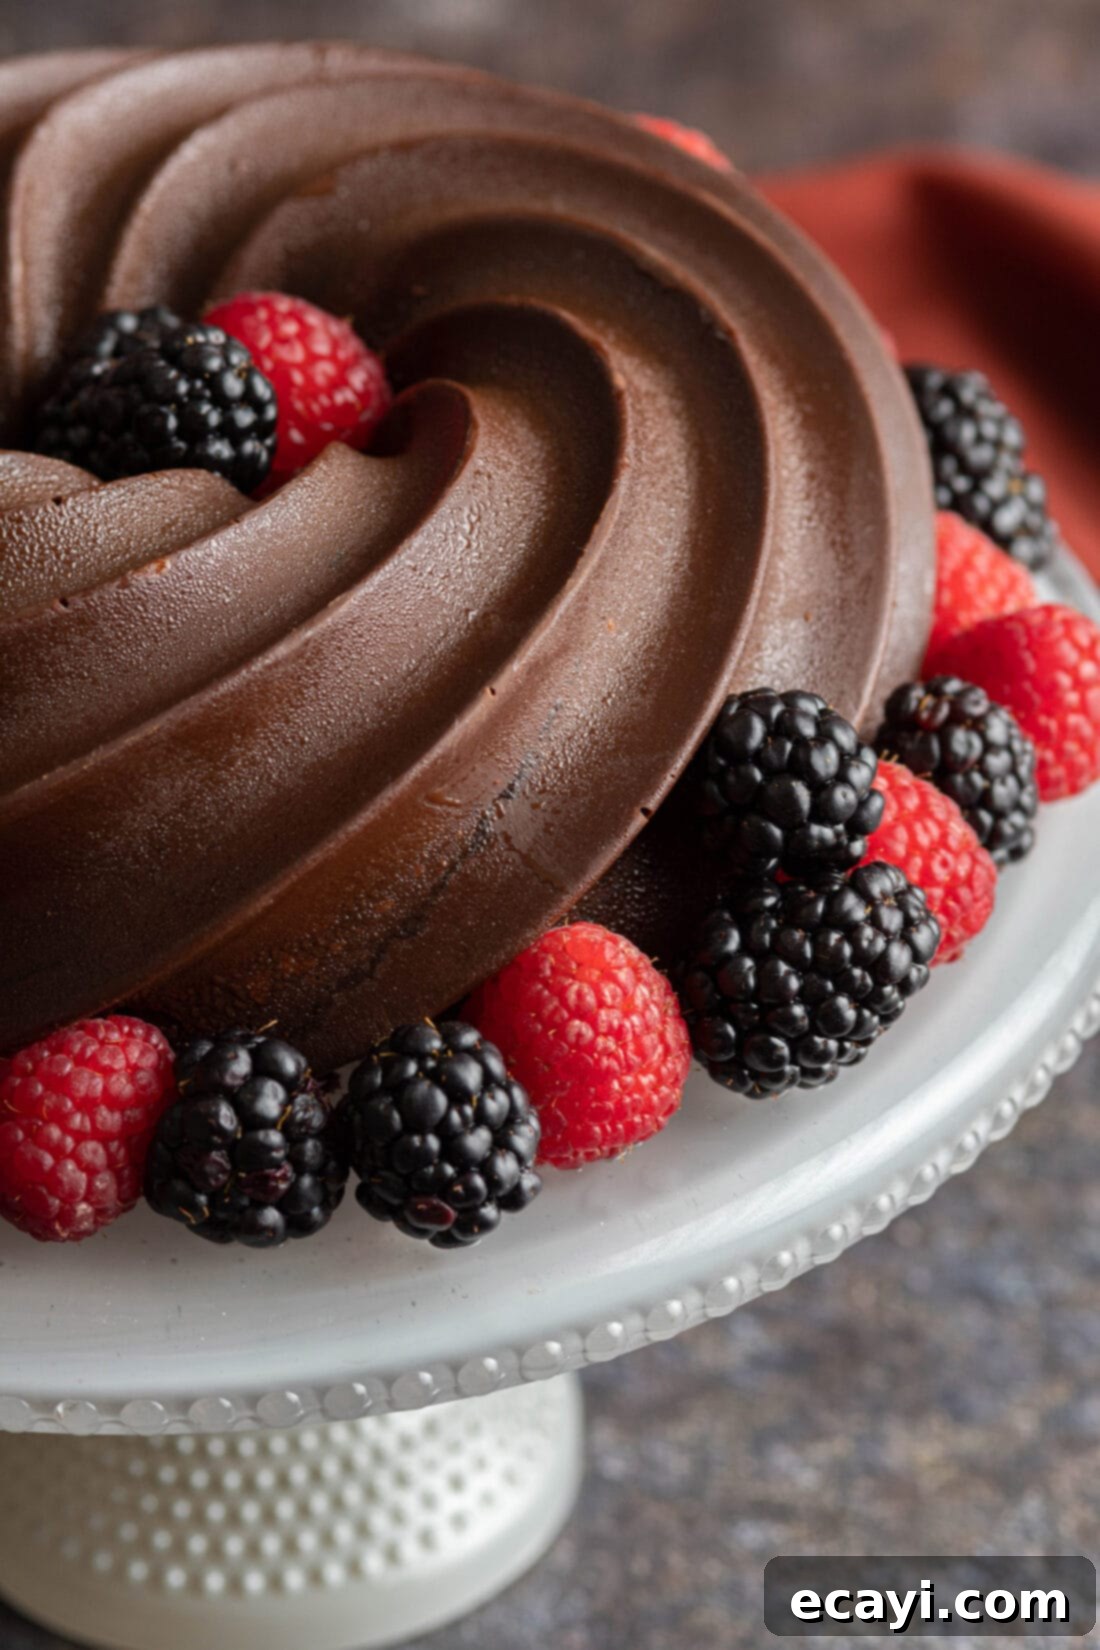
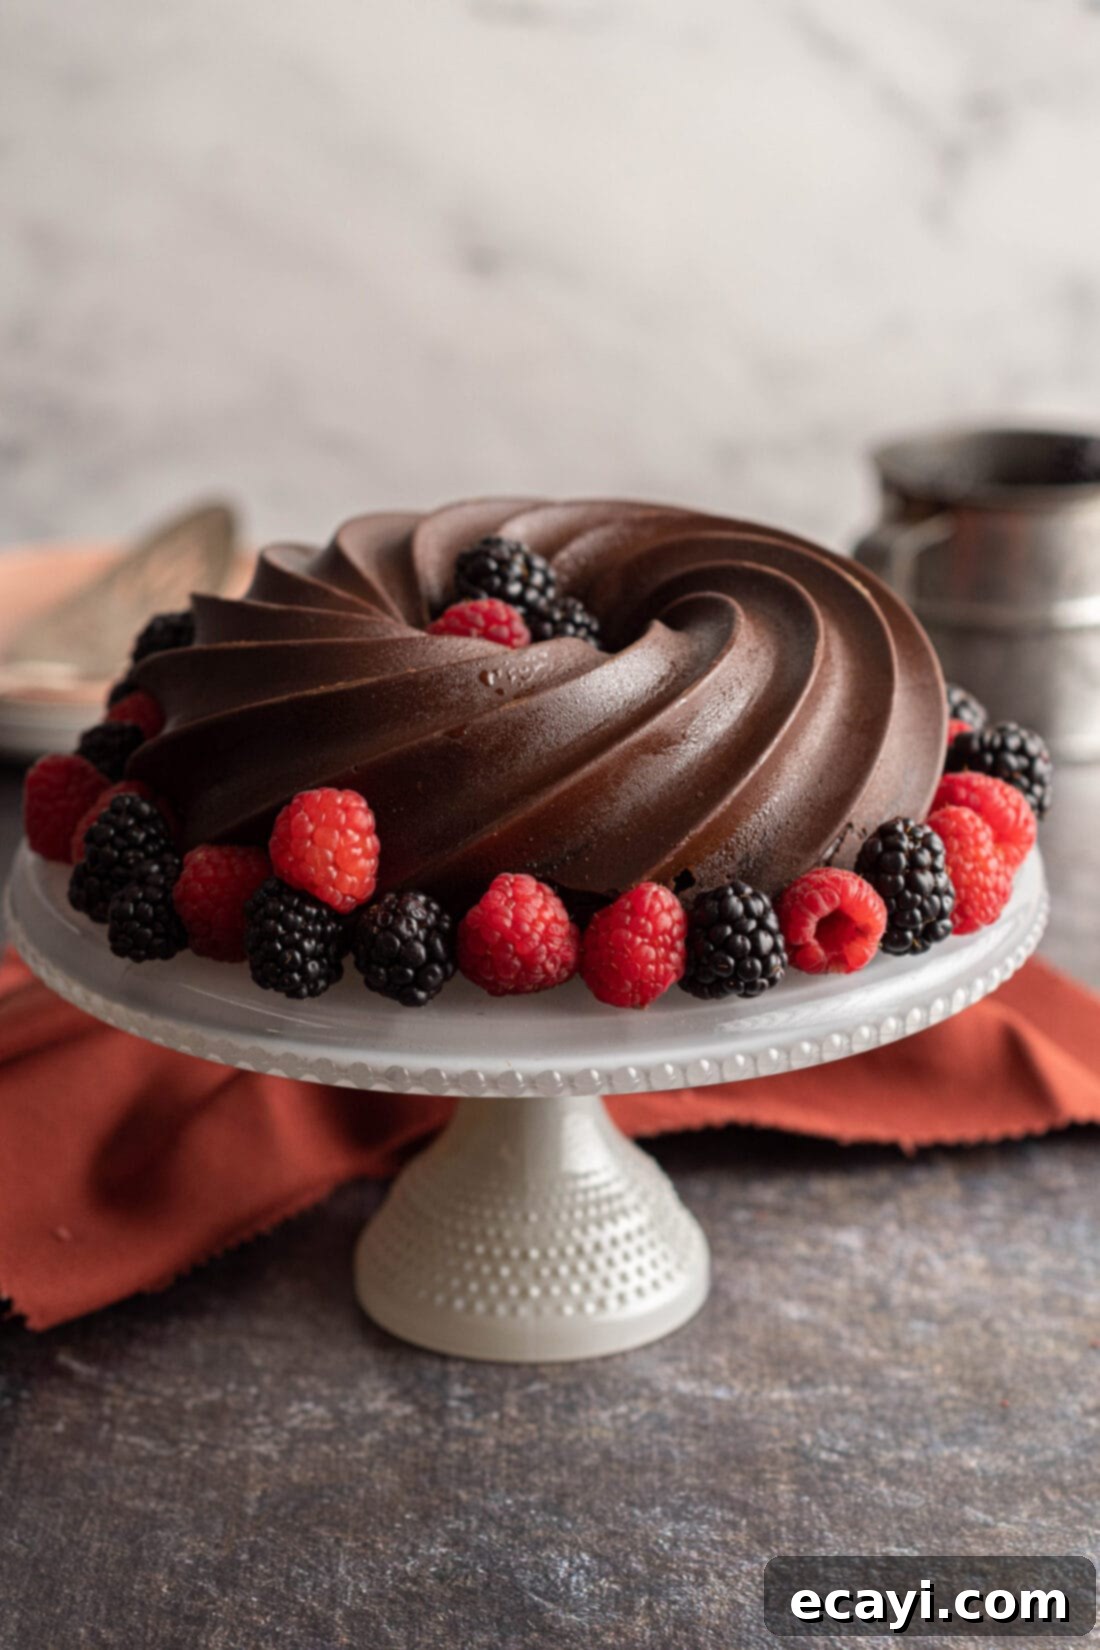
This decadent chocolate pound cake is a star on its own, but it also shines with a variety of accompaniments. For a classic pairing, serve it with a generous scoop of creamy vanilla bean ice cream or a dollop of freshly whipped cream. The cool, light textures provide a wonderful contrast to the dense, rich cake. Enhance its visual appeal and add a burst of freshness by topping it with a medley of fresh berries like raspberries, strawberries, or blueberries, as beautifully demonstrated in the photos. If you decide to forgo the fudgy chocolate coating, a simple dusting of powdered sugar makes for an elegant finish. For an even more indulgent treat, consider drizzling a warm chocolate ganache or a salted caramel sauce over each slice. And for the ultimate chocolate lover, feel free to fold in an additional cup of mini chocolate chips into the batter before baking – a delightful surprise in every bite!
More Irresistible Cake Recipes to Explore
If you loved this rich chocolate pound cake, you’re in for a treat! Here are more delicious cake recipes that are perfect for any occasion:
- Pound Cake Cupcakes
- Blueberry Bundt Cake
- Strawberry Bundt Cake
- Whipping Cream Pound Cake
- Maraschino Cherry Bundt Cake
- Orange Poppyseed Pound Cake
- Chocolate Texas Sheet Cake
I love to bake and cook and share my kitchen experience with all of you! Remembering to come back each day can be tough, that’s why I offer a convenient newsletter every time a new recipe posts. Simply subscribe and start receiving your free daily recipes!
Chocolate Pound Cake
IMPORTANT – There are often Frequently Asked Questions within the blog post that you may find helpful. Simply scroll back up to read them!
Print It
Pin It
Rate It
Save ItSaved!
Ingredients
- 2 ¼ cup all-purpose flour
- 1 cup unsweetened cocoa dutch cocoa or regular unsweetened
- 1 tsp baking powder
- ¼ tsp baking soda
- 1 ¼ tsp salt
- 1 tsp cinnamon optional
- 2 cup granulated sugar
- 1 ½ cup salted butter at room temperature
- ¾ cup milk whole or 2%
- ⅓ cup sour cream or plain yogurt
- 1 Tbsp vanilla extract
- 6 eggs
- ⅓ cup hot water
Chocolate Coating
- 2 cups semi-sweet chocolate chips
- 1 tsp crisco or butter
Things You’ll Need
-
Electric mixer
-
Mixing bowls
-
Silicone bundt pan
Before You Begin
- I used salted butter for this recipe. If you use unsalted butter, simply add an extra ½ tsp of salt.
- This recipe has only been tested with all-purpose flour, however, it may be attempted with good results using a gluten-free flour blend such as Pillsbury or Bob’s Red Mill.
- It’s also worth noting that you can add chocolate chips to the batter before baking if desired!
- This is the bundt cake mold we used, this recipe will make about 3 cakes using this pan.
Instructions
-
Preheat your oven to 350F. Prep a silicone baking bundt mold by lightly spraying it with baking spray. Silicone is usually nonstick, however, sometimes the corners still stick and since we want crisp edges on this cake, it’s best to spray it for good measure.
-
In a medium sized bowl, combine the flour, cocoa, baking powder, baking soda, salt and cinnamon. Set aside.
-
In the bowl of a stand mixer, combine the butter and sugar. Using the paddle attachment, cream them together on medium speed for 1 minute. Add in the milk, sour cream and vanilla and beat together. Add in the eggs one at a time while the mixer is still running. Once everything is well incorporated, add in the flour mixture and mix for 1 minute. Add in the hot water and mix for another 30 seconds.
-
Pour cake batter into prepared silicone mold. Bake for 70-80 minutes or until a toothpick inserted comes out clean or with moist crumbs. Remove from the oven and let cool completely down. Mine rose a bit in the center so I flipped it onto a plate to cool allowing the top to deflate so it would sit more level with a cake stand. TIP – If your silicone mold is wobbly and does not hold its shape well, you may want to put it onto a flat baking sheet before placing it into the oven so it retains its shape while baking.
-
Once your cake is cooled, prep the chocolate topping by placing the chocolate chips and crisco in a medium size, microwave safe bowl. Heat in 30 second increments, stirring in between. Be sure to stir well all the way to the bottom so it does not burn or seize. This should take about 1 ½ – 2 minutes.
-
Gently remove the cake from the silicone mold. You may need to rinse or wipe out your mold to ensure it is clean. Pour the chocolate into the mold and using a pastry brush or the back of a spoon, spread the chocolate around the entire mold as evenly as possible. If you have excess chocolate pooled in the bottom once you are done, simply pour it back into the bowl. Carefully place your cooled cake back into the mold ensuring that you line it up with it’s initial grooves. Place into the freezer for at least 2 hours to firm.
-
Remove your chocolate covered cake from the silicone mold and place onto a plate. If there are any holes or cracks where the chocolate is too thin, you may do another layer of chocolate by brushing the mold and placing the covered cake back into it and into the freezer to freeze again.
-
Serve and enjoy!
Nutrition
The recipes on this blog are tested with a conventional gas oven and gas stovetop. It’s important to note that some ovens, especially as they age, can cook and bake inconsistently. Using an inexpensive oven thermometer can assure you that your oven is truly heating to the proper temperature. If you use a toaster oven or countertop oven, please keep in mind that they may not distribute heat the same as a conventional full sized oven and you may need to adjust your cooking/baking times. In the case of recipes made with a pressure cooker, air fryer, slow cooker, or other appliance, a link to the appliances we use is listed within each respective recipe. For baking recipes where measurements are given by weight, please note that results may not be the same if cups are used instead, and we can’t guarantee success with that method.
