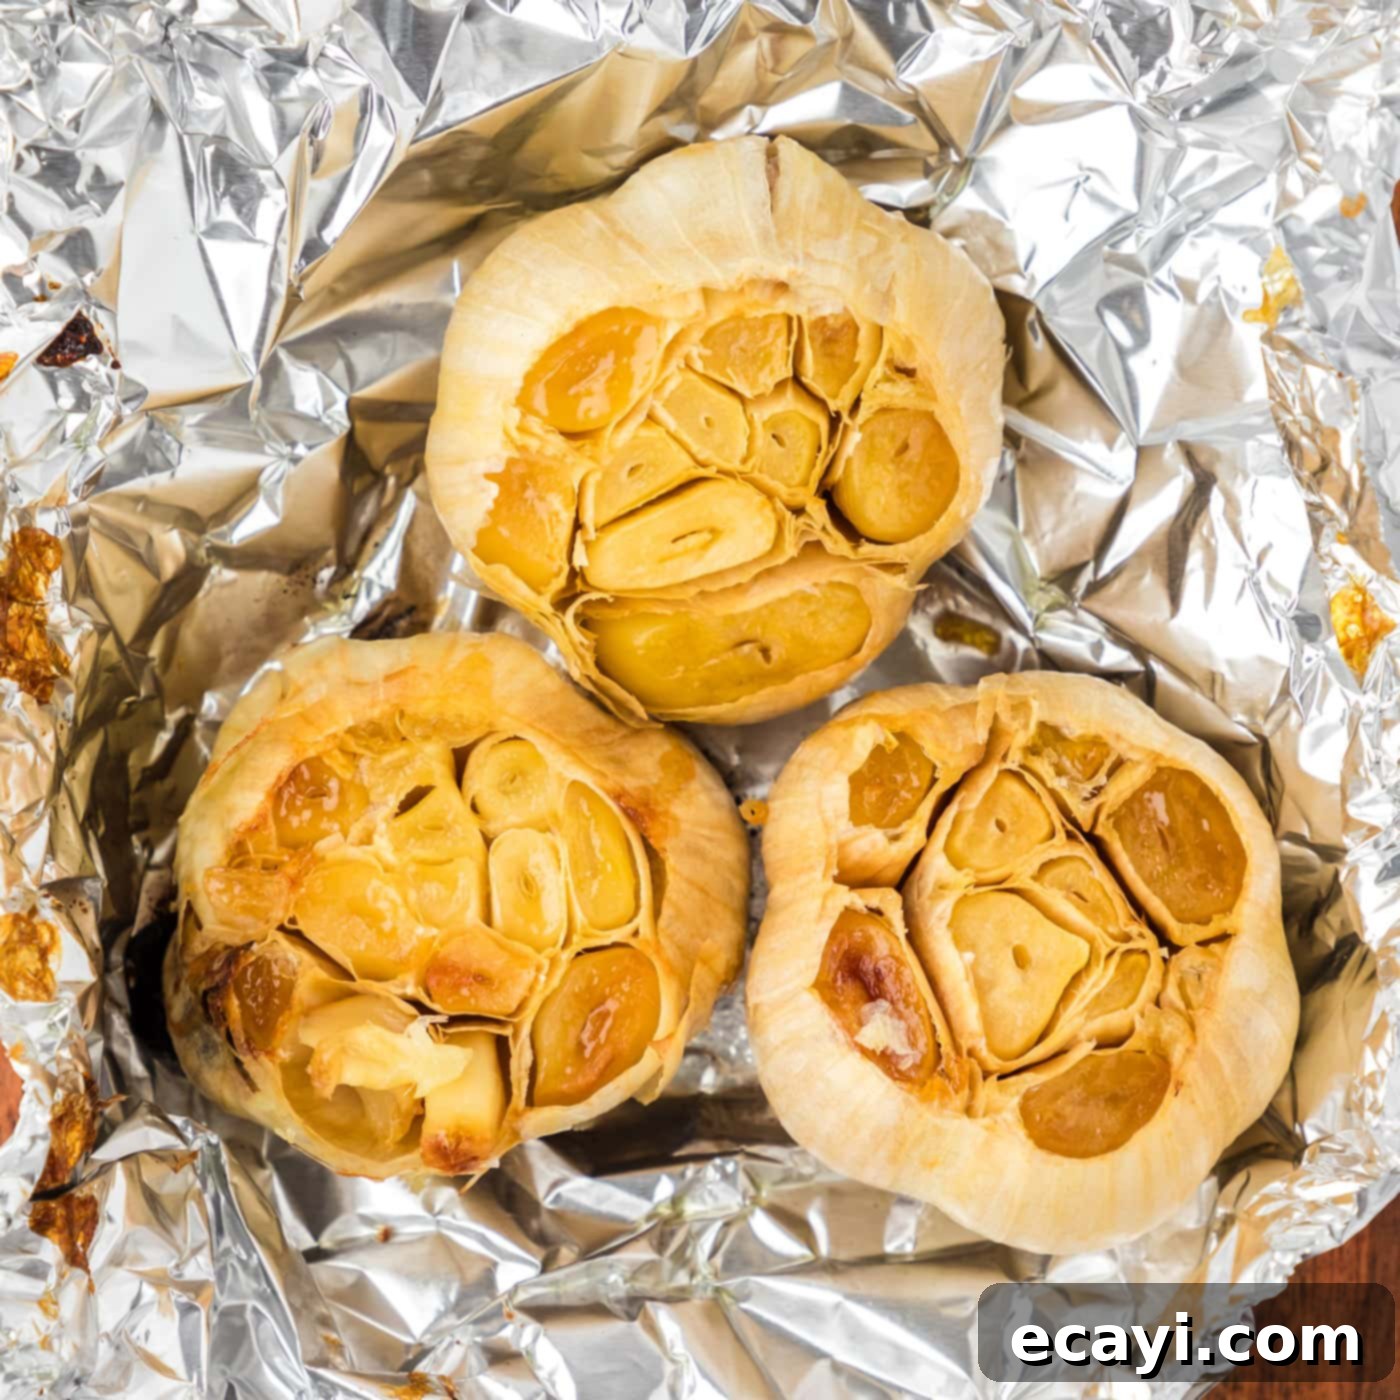
Perfect Roasted Garlic: An Easy Guide to Sweet, Mellow, and Irresistible Flavor
Discover the magic of perfectly roasted garlic, transforming pungent raw bulbs into a soft, sweet, and unbelievably creamy delicacy. With just a few simple steps, a drizzle of olive oil, and the warmth of your oven, you’ll create golden-brown, caramelized garlic that will elevate every dish imaginable. This versatile ingredient is not only easy to prepare but also becomes an addictive addition to countless recipes, making it a staple for any home cook looking to infuse rich, deep flavor into their meals.
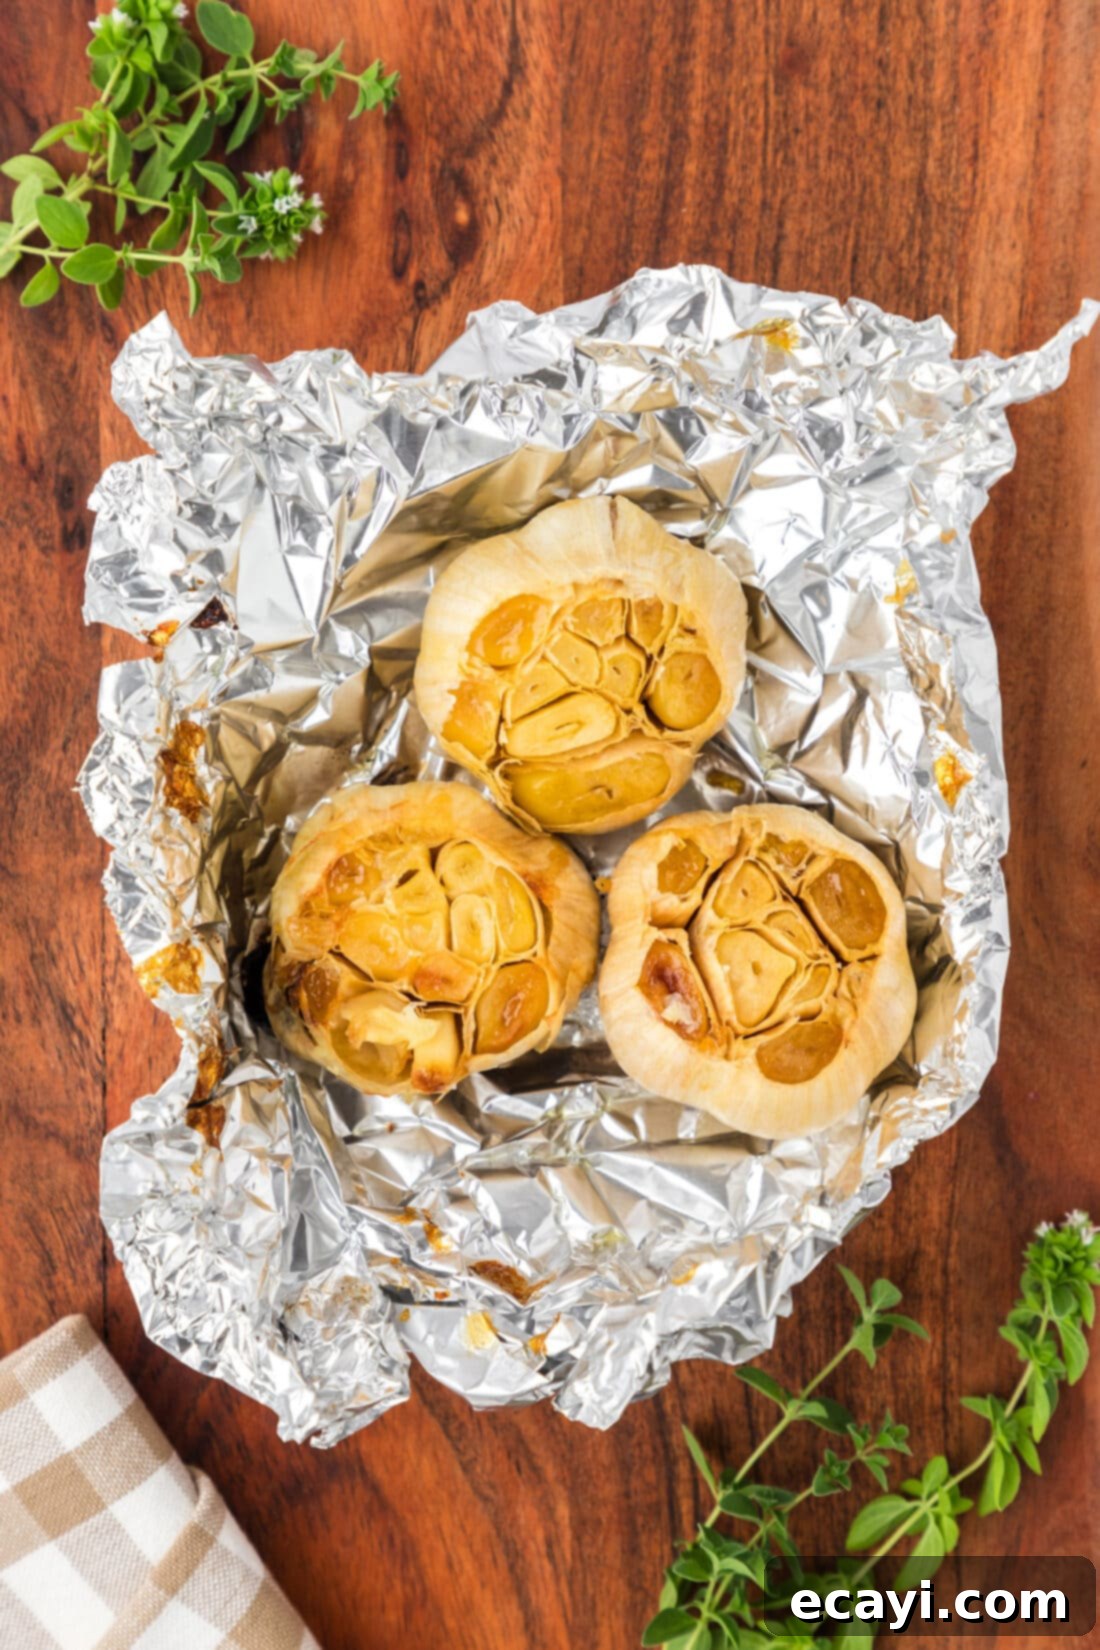
Why You’ll Love This Easy Roasted Garlic Recipe
This roasted garlic recipe stands out for its simplicity and the incredible depth of flavor it yields with minimal effort. You only need two core ingredients – fresh garlic bulbs and a good quality olive oil – along with a sheet of aluminum foil and a warm oven. The beauty of roasting garlic lies in its transformation: the intense, sharp bite of raw garlic mellows into a buttery, spreadable paste with a subtly sweet and rich aroma. This caramelization process unlocks complex flavors that are simply irresistible.
Unlike raw garlic, which can sometimes overpower a dish, roasted garlic offers a delicate, nutty undertone that complements rather than dominates. Its creamy texture makes it perfect for incorporating into a wide array of recipes, from creamy mashed potatoes and savory hummus to hearty soups and luxurious sauces. You can even spread it directly onto a thick, juicy steak or a slice of warm crusty bread for a truly gourmet experience.
The roasting time offers flexibility, allowing you to control the final consistency and intensity of flavor. A shorter roast (around 40-45 minutes) will yield slightly firmer, yet still soft, cloves with a pronounced garlic flavor, while a longer roast (up to 60 minutes) results in a profoundly creamy, almost jam-like paste that is deeply caramelized and wonderfully sweet. Mastering this technique is incredibly easy, making it accessible for cooks of all skill levels, and the delicious payoff is immense.
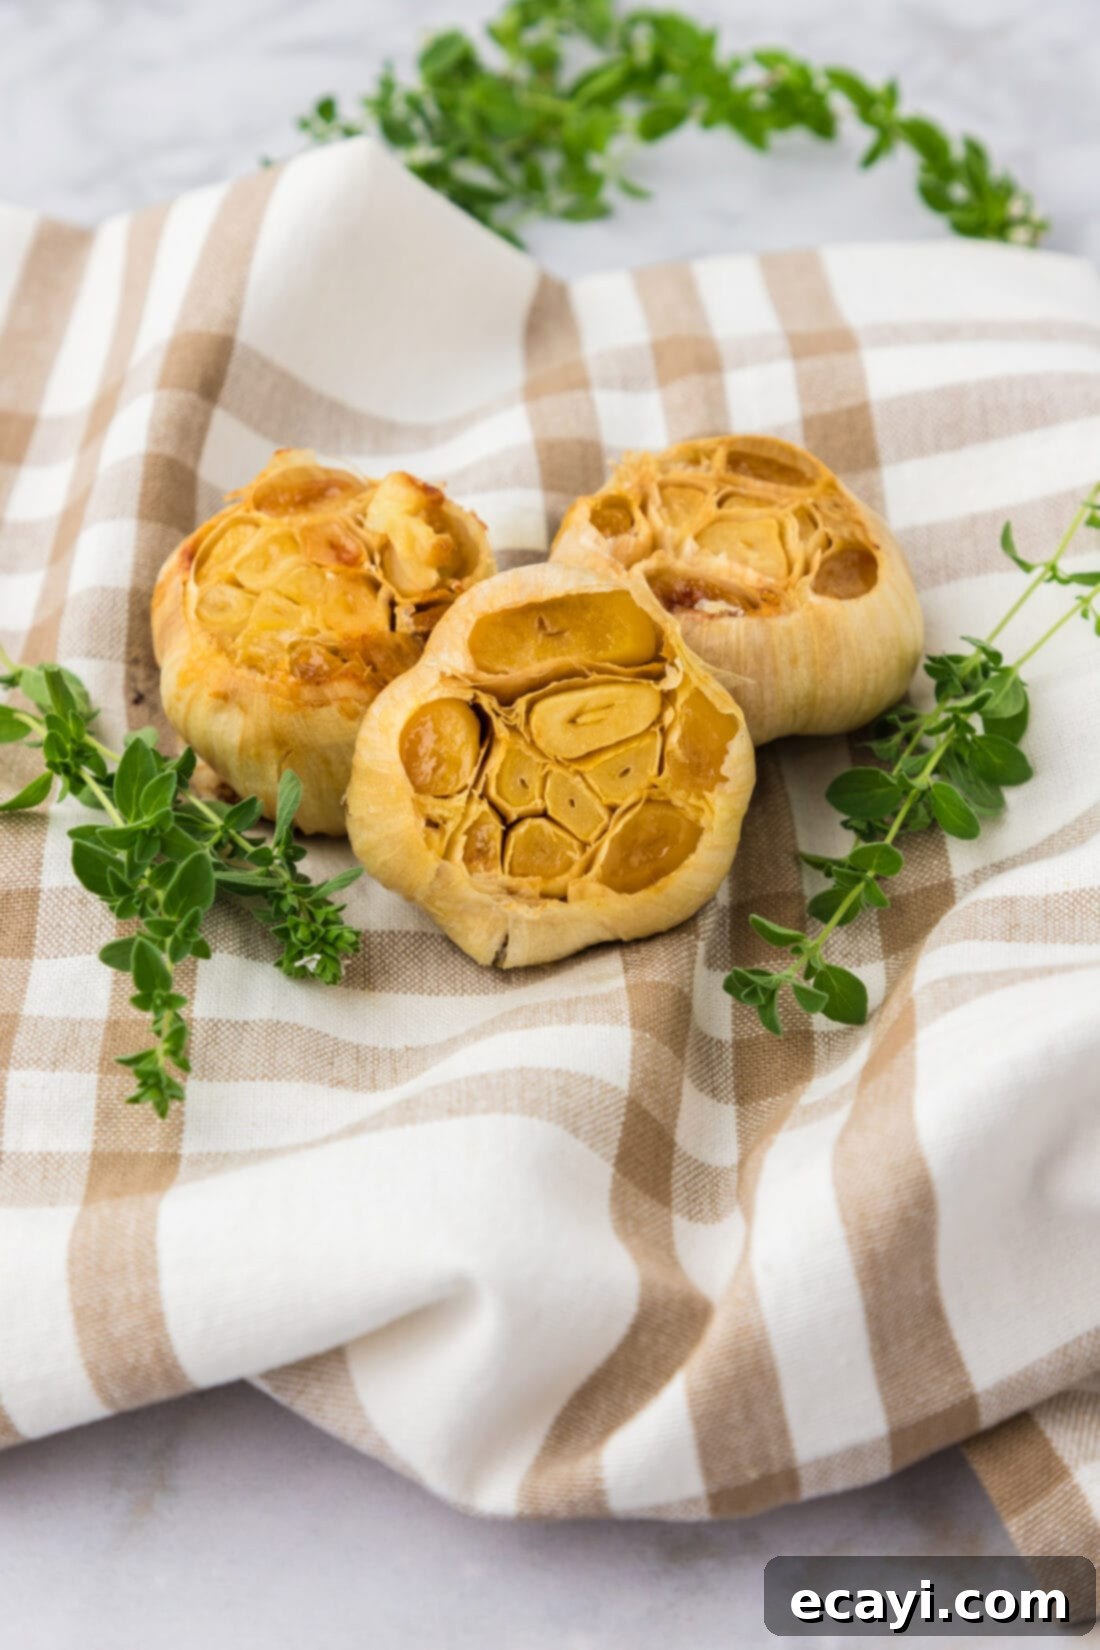
Essential Ingredients for Roasting Garlic
While the full printable recipe with precise measurements and detailed instructions can be found at the end of this post, let’s dive into the core ingredients that make this roasted garlic so exceptional.
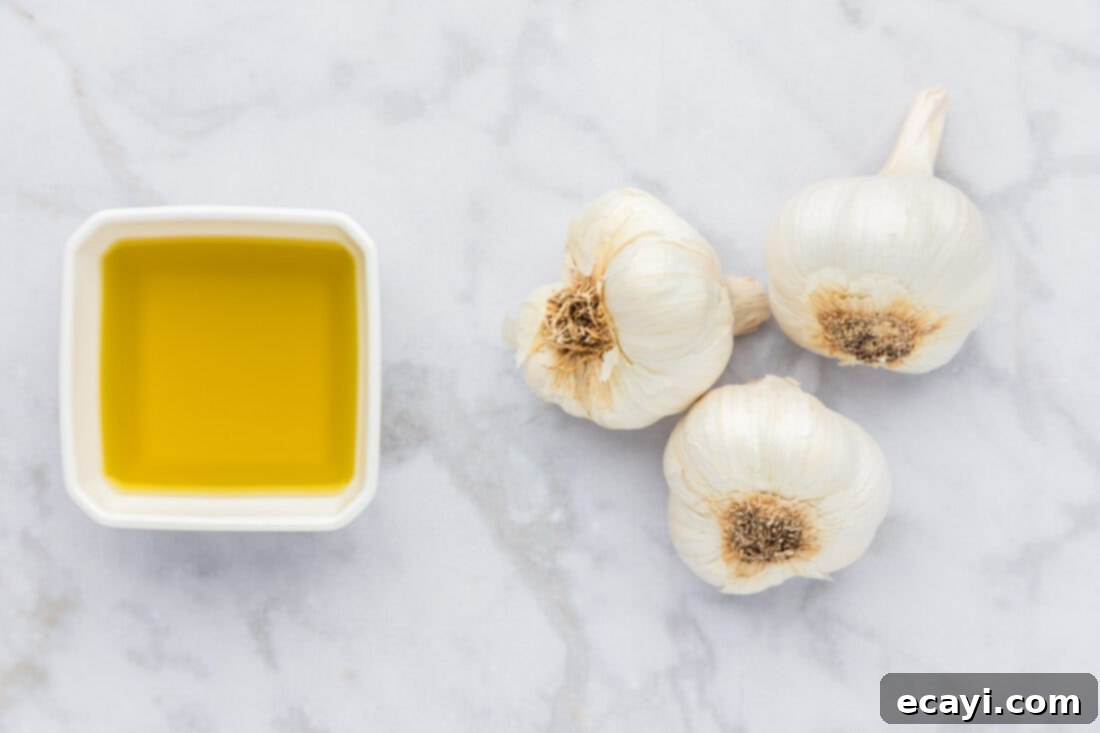
Ingredient Deep Dive & Expert Tips
Garlic Selection and Roasting Times
For this recipe, we typically roast whole bulbs of **fresh garlic**. The quality of your garlic will significantly impact the final flavor. Look for firm, plump bulbs with tight, unbroken papery skins. Avoid any bulbs that feel soft, spongy, or show signs of sprouting, as these may indicate older garlic that has lost some of its moisture and sweetness.
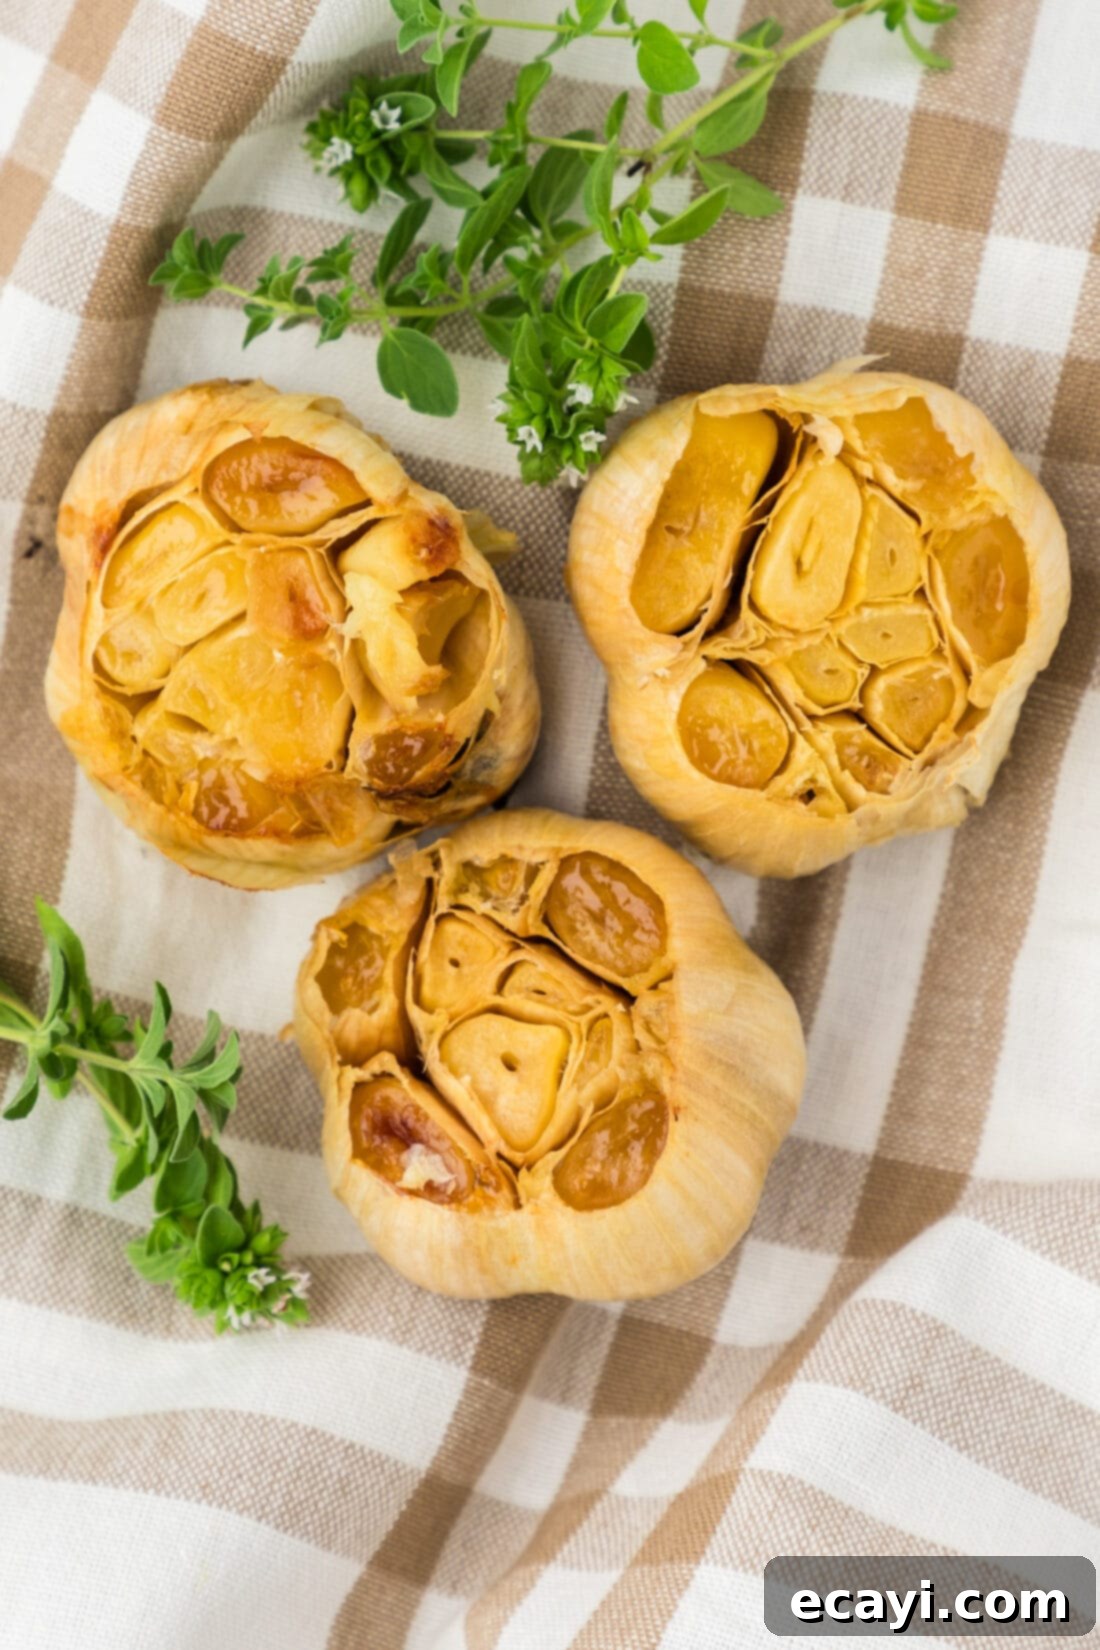
We recommend roasting the bulbs for approximately 60 minutes to achieve that wonderfully soft, paste-like consistency that is so desirable. However, the roasting time can be adjusted to suit your preference. If you prefer a slightly firmer, yet still tender texture, you can reduce the roasting time to 40-45 minutes. The key indicator that your garlic is done is when the cloves are golden brown on top and can be easily pierced with a fork or a small knife. Don’t be afraid to experiment with roasting times to find your perfect level of tenderness and caramelization. Remember, the longer the bulbs roast, the richer the flavor and the creamier the consistency will become.
Choosing Your Oil
Olive oil is the preferred choice for roasting garlic due to its robust flavor profile that beautifully complements the sweetness of the roasted garlic, and its relatively high smoke point. It plays a crucial role in the roasting process by helping to retain moisture within the garlic bulbs. This prevents them from drying out or becoming brittle during the long bake, ensuring they turn out delicate and tender.
Simply drizzle a generous amount of olive oil over the cut side of the garlic bulbs before wrapping them in foil. This creates a steamy, oily environment that encourages the cloves to soften and caramelize evenly. If you don’t have olive oil on hand, or prefer a more neutral flavor, you could substitute with other oils like avocado oil, grapeseed oil, or even a light vegetable oil. However, extra virgin olive oil often adds an extra layer of flavor complexity that is highly recommended for the best results.
Optional Flavor Enhancers
While garlic and olive oil are a perfect pairing, you can easily enhance the flavor profile of your roasted garlic with a few simple additions. A sprinkle of sea salt and freshly cracked black pepper before roasting can boost the overall taste. For an aromatic twist, consider tucking a sprig of fresh rosemary or a few thyme sprigs into the foil packet alongside the garlic bulbs. These herbs will infuse their subtle essence into the garlic as it roasts, creating an even more fragrant and delicious result. A tiny splash of balsamic vinegar can also add a delightful tangy-sweet note, deepening the caramelization.
How to Make Roasted Garlic: Step-by-Step Instructions
These step-by-step photos and instructions are designed to help you visualize each stage of making this incredibly delicious roasted garlic. For the complete printable recipe, including specific measurements and a concise instruction list, please Jump to Recipe at the bottom of this post.
- Preheat Your Oven: Begin by preheating your oven to 400°F (200°C). Allowing your oven to reach the correct temperature ensures even cooking and proper caramelization of the garlic.
- Prepare the Garlic Bulbs: Gently remove the outermost, loose papery layers from the garlic bulbs. You don’t need to peel every single layer; leaving some of the inner papery skin intact helps protect the cloves during the roasting process and keeps them from drying out too quickly. The goal is to expose just enough of the top to drizzle with oil.
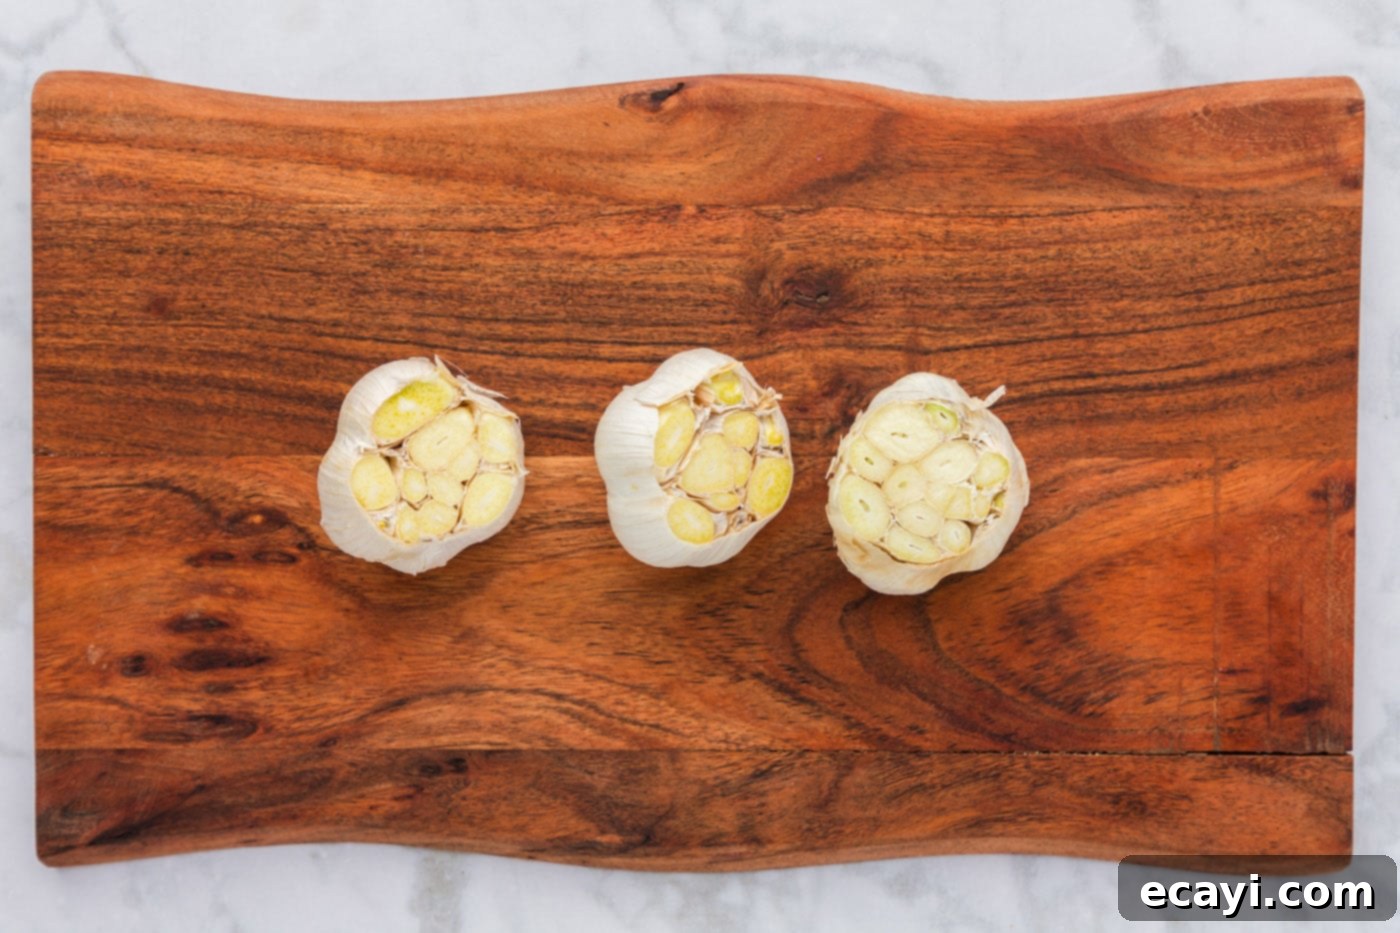
- Slice the Tips: Lay each garlic bulb sideways on a cutting board. Using a sharp knife, carefully slice off the top ½ to ¾ inch of the garlic bulbs, exposing the tips of the individual cloves. Be sure to cut off just the very top, not the root end, as you want to keep the bulb intact and allow the oil to penetrate the cloves.
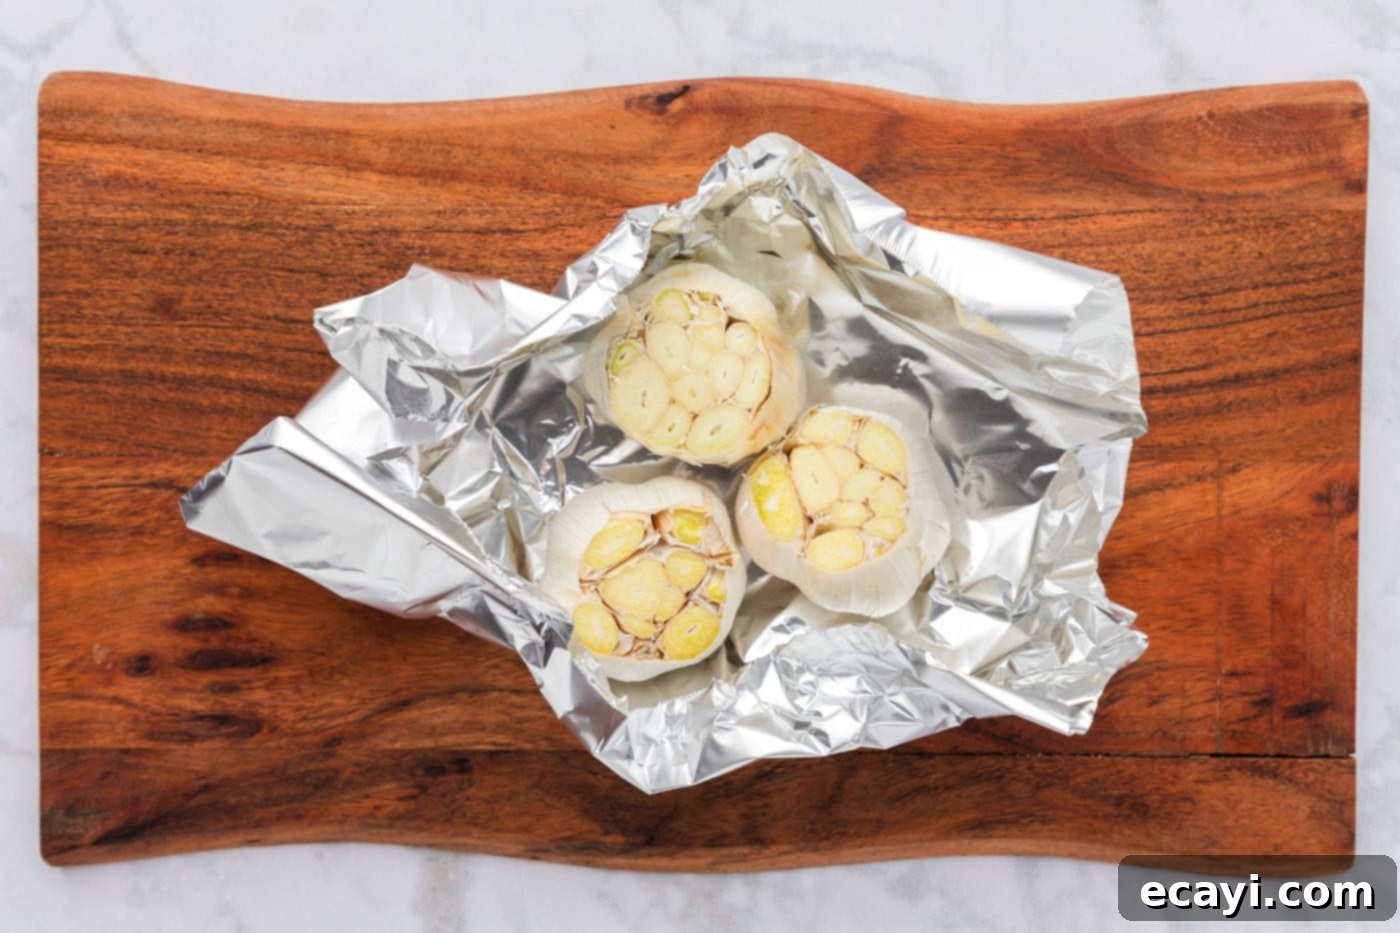
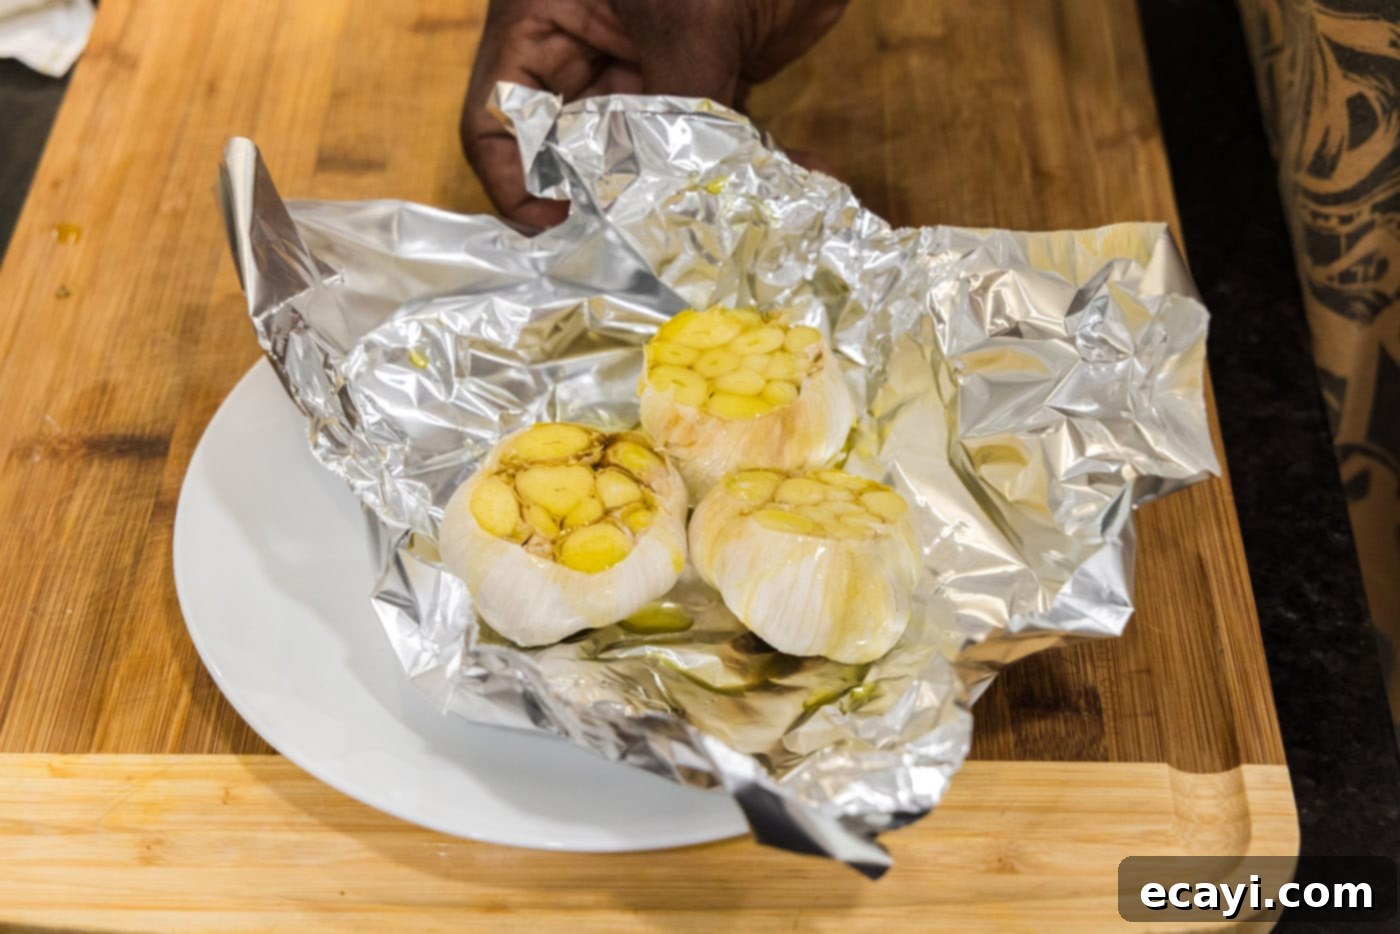
- Drizzle with Olive Oil: Place the prepared garlic bulbs, cut-side up and root-side down, onto a large piece of aluminum foil. Ensure the foil is large enough to completely enclose the bulbs. Drizzle a generous amount of olive oil over the exposed cut surfaces of each garlic bulb. Make sure to get some oil into each exposed clove for optimal moisture and flavor.
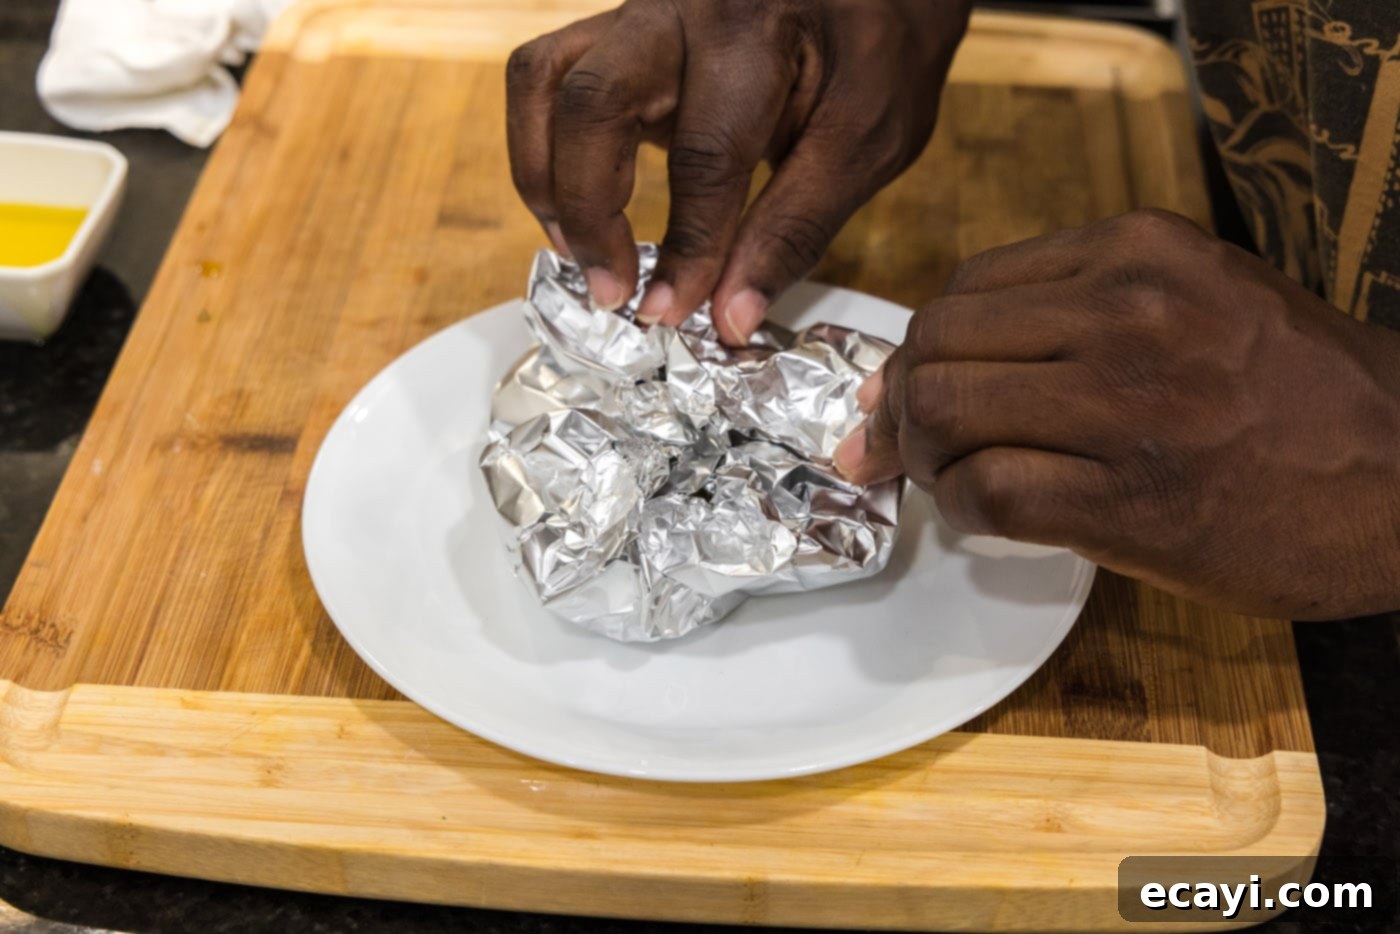
- Wrap and Roast: Carefully bring the edges of the aluminum foil together and tightly close it around the garlic bulbs, creating a sealed packet. This foil packet acts like a small steam oven, allowing the garlic to soften and caramelize without burning. Place the foil-wrapped garlic bulbs onto a baking sheet. This makes it easier to transfer to and from the oven and catches any potential drips. Bake in the preheated oven for 45-60 minutes, or until the cloves are golden, tender, and easily pierced with a fork.
Frequently Asked Questions & Expert Tips
Once cooled, roasted garlic can be stored in an airtight container in the refrigerator for up to 5 days. For best results and easier use, we recommend separating the cloves from the head, or mashing them into a paste, before storing. If you wish to extend their shelf life beyond 5 days, place the separated cloves (whole or mashed) in a shallow container or jar and completely cover them with fresh olive oil. This layer of oil helps retain moisture and protect the garlic, allowing it to keep for closer to 2 weeks. Always ensure the garlic is fully submerged in oil to minimize air exposure.
To roast individual garlic cloves, first, peel away all the papery skin from each clove. Then, place the peeled cloves on a foil-lined baking sheet or directly into a small aluminum foil packet. Drizzle them generously with olive oil and wrap the cloves completely in the aluminum foil to form a sealed pouch. Roast in a 400°F (200°C) oven for approximately 30-40 minutes. The exact time depends on the size of your cloves and your desired consistency. They should be soft, golden, and easily pierced with a fork or knife when done.
Freezing roasted garlic is an excellent way to preserve its delicious flavor for longer. First, remove the soft, roasted cloves from their heads. You can choose to leave them as whole individual cloves or mash them into a smooth paste, depending on how you plan to use them later. Store them in an airtight container or a sealed zip-top freezer bag, removing as much air as possible. Roasted garlic can be frozen for up to 2 months. For convenient, pre-portioned amounts, you can mash the roasted garlic and scoop tablespoon portions into ice cube trays, freeze until solid, then transfer the frozen cubes to a freezer bag. Thaw roasted garlic at room temperature or gently warm it before use.
Hardneck garlic varieties often have a more complex and robust flavor, while softneck varieties are more commonly found in supermarkets and are excellent for roasting. Regardless of the type, choose bulbs that are firm, plump, and free from soft spots, mold, or sprouting. Fresh, healthy bulbs will yield the sweetest and most tender roasted garlic.
Your roasted garlic is perfectly done when the cloves are deeply golden brown on top, soft to the touch, and can be easily squeezed out of their papery skins with gentle pressure. They should feel tender and buttery when pierced with a fork or knife. If they still feel firm, continue roasting for another 5-10 minutes, checking periodically.
While oven roasting in foil is the most common and arguably best method for whole bulbs, you can also achieve similar results with an air fryer or even a slow cooker. For an air fryer, follow similar steps but cook at 350°F (175°C) for 20-30 minutes, checking for doneness. In a slow cooker, you can place foil-wrapped bulbs in a small amount of water on low for 4-6 hours, though the caramelization will be less pronounced.
Delicious Ways to Enjoy Your Roasted Garlic
Now that you’ve mastered the art of roasting garlic, the possibilities for incorporating its sweet, mellow flavor into your cooking are endless. Because we roast our garlic until it reaches a soft, spreadable paste consistency, it makes a truly mouth-watering spread. Imagine it slathered generously over warm, crusty bread, smeared onto a perfectly cooked steak or tender chicken breast, or even mixed into scrambled eggs. It’s also divine when combined with softened butter to create an exquisite compound butter, perfect for melting over vegetables or grilled meats.
Beyond spreads, roasted garlic is an incredibly versatile ingredient for enhancing a wide range of dishes. Stir it into creamy soups, hearty stews, or rich pasta sauces for an instant flavor boost. Blend it into salad dressings, vinaigrettes, or homemade mayonnaise for a gourmet touch. Mix it into dips like guacamole, sour cream-based dips, or even a simple cream cheese spread. It’s also fantastic in marinades, rubs for roasting vegetables, or as a flavorful addition to pizza before baking. What’s your favorite way to use a bounty of freshly roasted garlic?
Explore More Garlic Recipes
If you love garlic as much as we do, you’re in for a treat! Discover even more delicious ways to incorporate this flavorful ingredient into your cooking with these popular recipes:
- Garlic Knots
- Garlic Chicken
- Garlic Butter Sauce
- Garlic Green Beans
- Cheesy Garlic Bread
- Garlic Mashed Potatoes
I love to bake and cook and share my kitchen experience with all of you! Remembering to come back each day can be tough, that’s why I offer a convenient newsletter every time a new recipe posts. Simply subscribe and start receiving your free daily recipes!

How to Roast Garlic
IMPORTANT – There are often Frequently Asked Questions within the blog post that you may find helpful. Simply scroll back up to read them!
Print It
Pin It
Rate It
Save ItSaved!
Ingredients
- 3 bulbs fresh garlic
- olive oil
Things You’ll Need
-
Baking sheet
-
Aluminum foil
Before You Begin
- We roasted our bulbs for 60 minutes to get a soft paste consistency. Depending on your desired consistency, you can roast the garlic for closer to 40-45 minutes as well. The bulbs are done roasting when they are golden on top and easily pierced with a fork or knife.
- The olive oil helps retain moisture so the bulbs don’t end up dry or brittle. Simply drizzle it on top of the cut side of the bulbs before roasting.
Instructions
-
Preheat oven to 400 F.
-
Remove the loose papery layer from the garlic bulbs. Leave some on for the roasting process.
-
Lay bulbs sideways and slice off the tips of the garlic cloves (not at the root end).
-
Place garlic cloves root side down onto a large piece of aluminum foil. Drizzle cut side of bulbs with olive oil.
-
Close up aluminum foil around the garlic bulbs and place on a baking sheet. Bake in the oven for 45-60 minutes.
Expert Tips & FAQs
- Store roasted garlic in an air-tight container kept in the refrigerator for up to 5 days. I would recommend separating the cloves from the head, or mashing them, before storing them. If you plan on storing them longer than 5 days, place the cloves in a shallow container or jar and cover them completely with olive oil to help retain moisture. This will help them keep for closer to 2 weeks.
- To roast individual garlic cloves, you’ll want to peel them first then place them on a foil-lined baking sheet. Drizzle with oil and wrap the cloves in the aluminum foil. Roast in a 400F oven for up to 40 minutes, depending on desired consistency. As stated above, the cloves should be soft and easily pierced with a fork or knife.
- To freeze, remove the cloves from the head of the garlic. You can either mash them or leave them as whole individual cloves for freezing. Store in an air-tight container or sealed ziptop bag and freeze for up to 2 months. You can easily freeze mashed roasted garlic in tablespoon portions scooped into ice cube trays. Thaw at room temperature.
Nutrition
The recipes on this blog are tested with a conventional gas oven and gas stovetop. It’s important to note that some ovens, especially as they age, can cook and bake inconsistently. Using an inexpensive oven thermometer can assure you that your oven is truly heating to the proper temperature. If you use a toaster oven or countertop oven, please keep in mind that they may not distribute heat the same as a conventional full sized oven and you may need to adjust your cooking/baking times. In the case of recipes made with a pressure cooker, air fryer, slow cooker, or other appliance, a link to the appliances we use is listed within each respective recipe. For baking recipes where measurements are given by weight, please note that results may not be the same if cups are used instead, and we can’t guarantee success with that method.
