Easy Raspberry Upside Down Cake: A Sweet-Tart Delight with Box Mix Simplicity
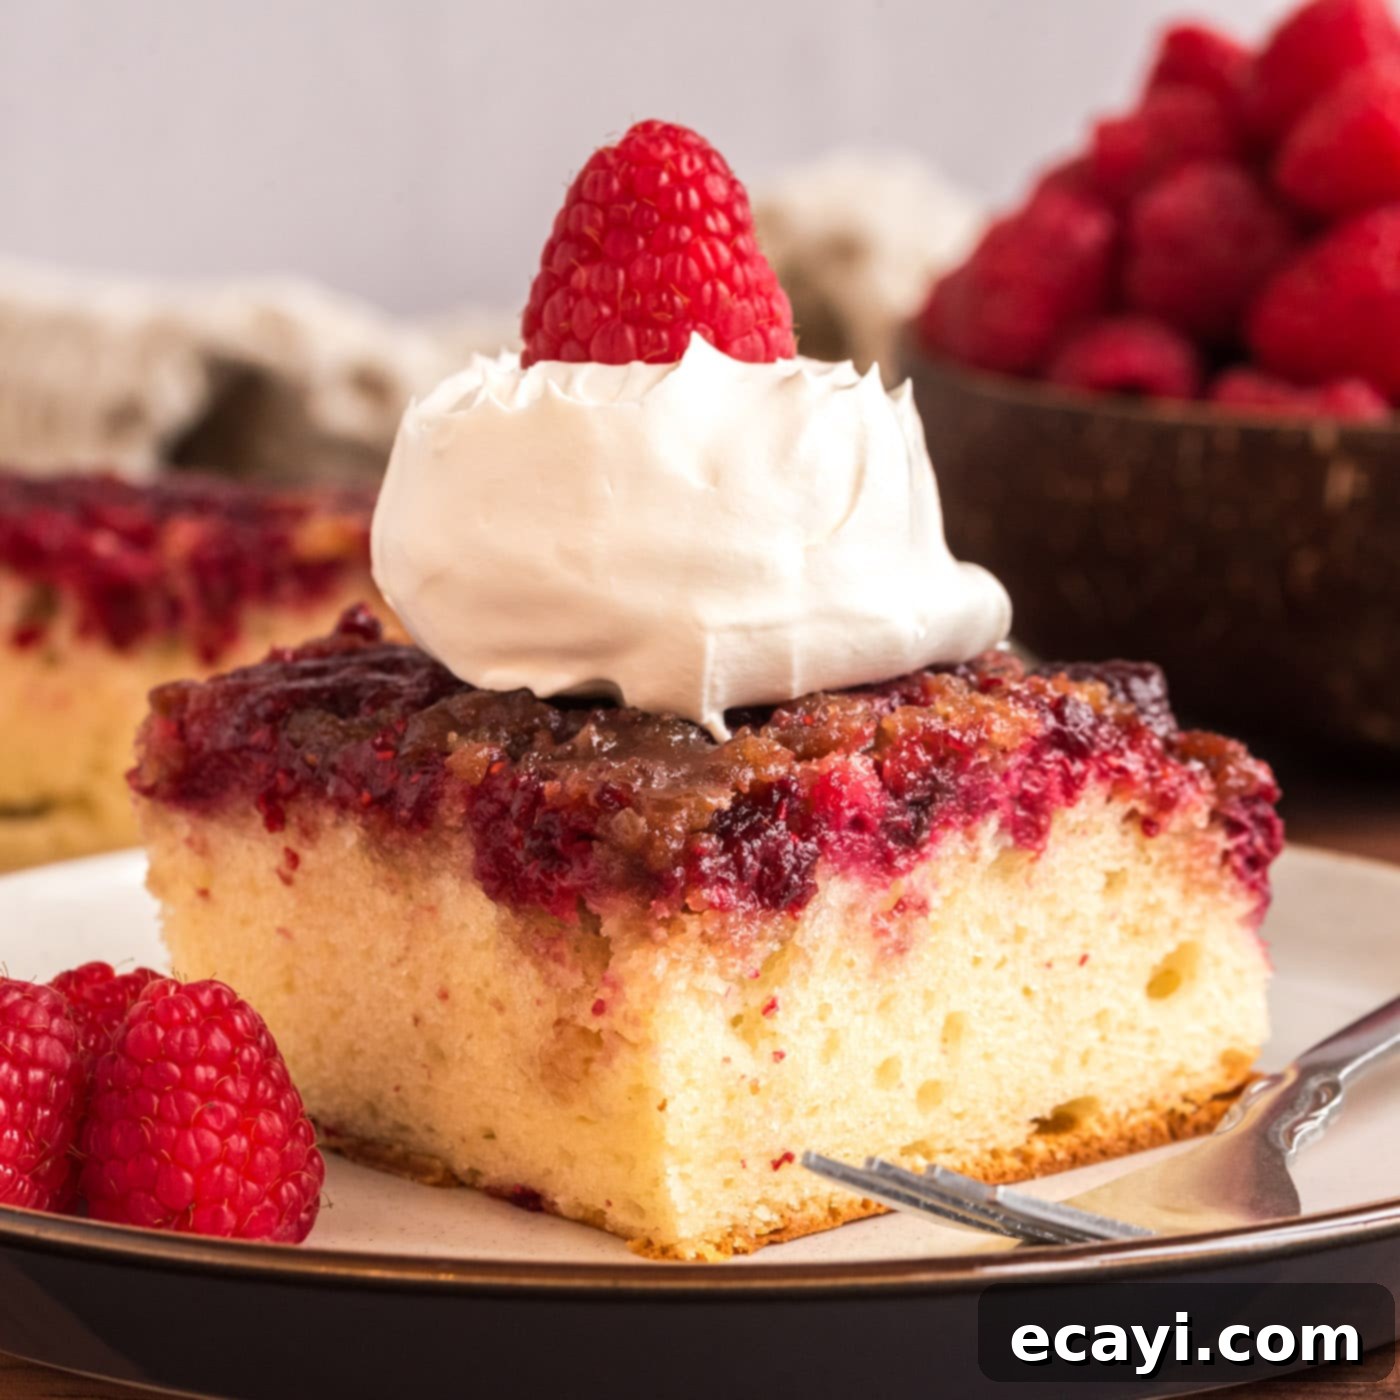
Indulge in the vibrant flavors of this incredibly easy Raspberry Upside Down Cake! This delightful dessert marries the perfect balance of sweet and tart, showcasing luscious raspberries nestled atop a rich, tender cake. The best part? It comes together effortlessly using a simple box of cake mix, making it an ideal choice for both novice bakers and seasoned pros looking for a quick yet impressive treat. Whether you use fresh or frozen raspberries, this recipe guarantees a stunning presentation and an unforgettable taste that will have everyone asking for a second slice.
Why This Raspberry Upside Down Cake Recipe is a Must-Try
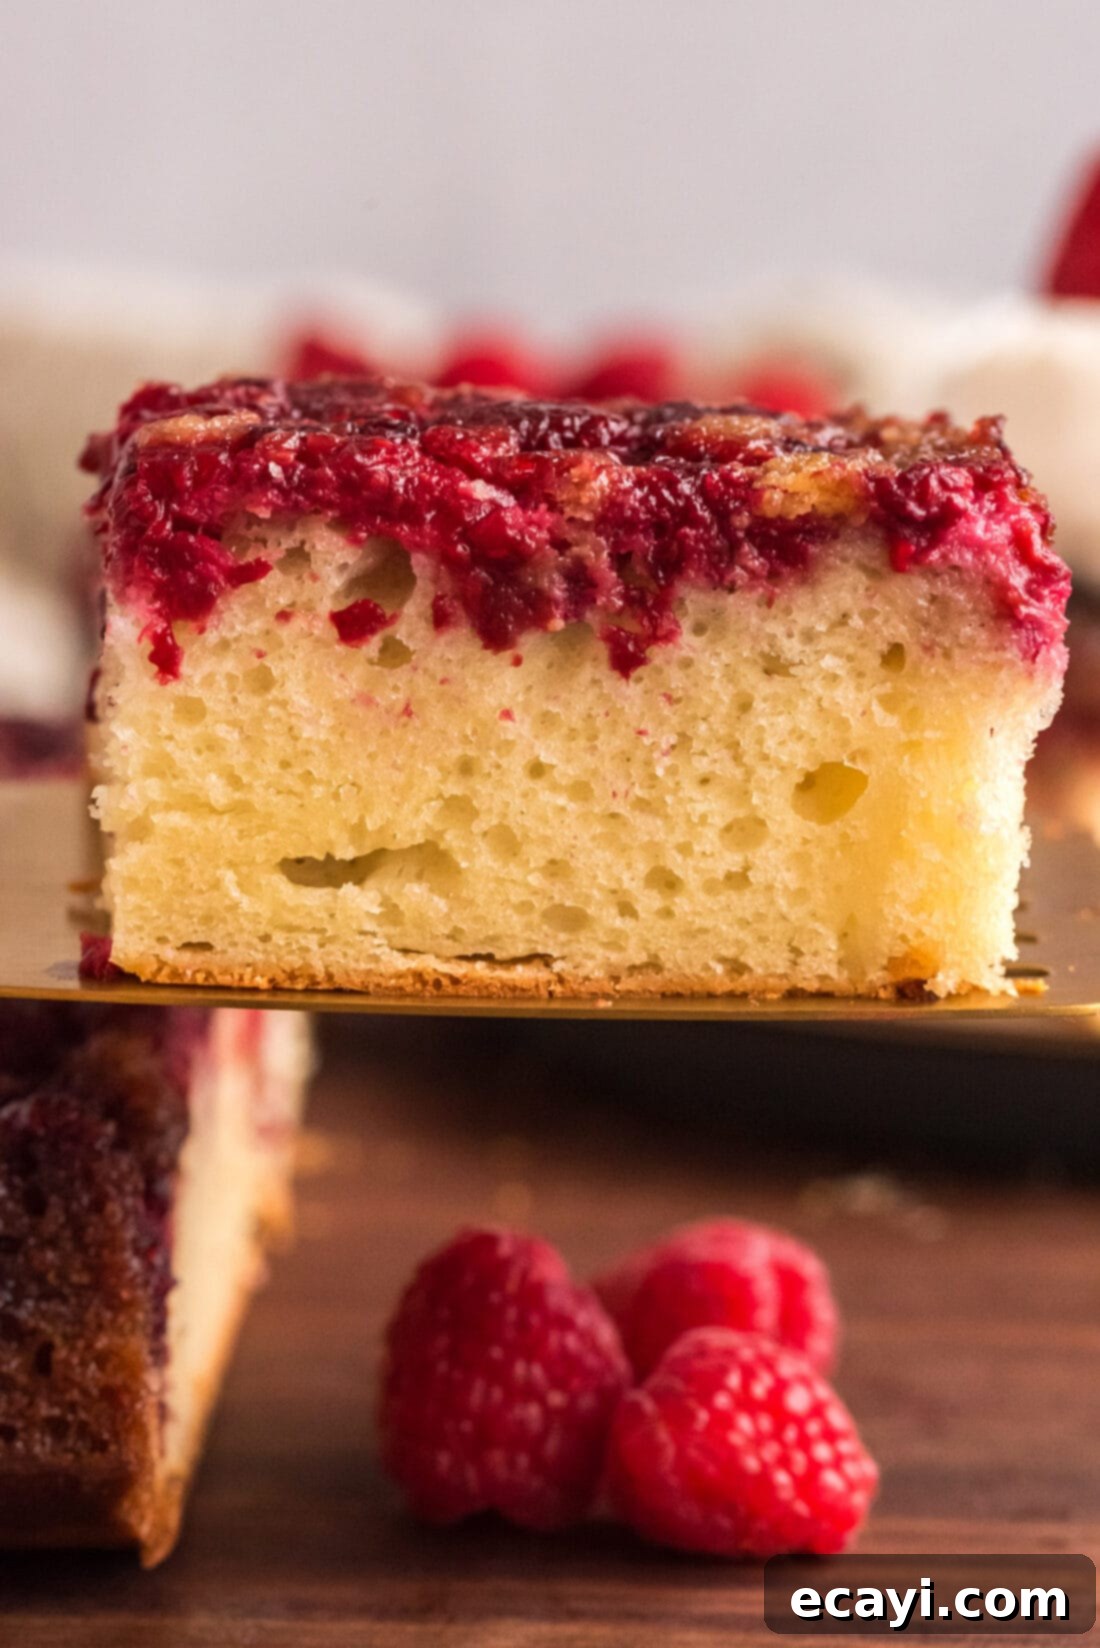
This Raspberry Upside Down Cake isn’t just a dessert; it’s a showstopper that effortlessly combines stunning visual appeal with an explosion of delectable flavors. The secret lies in the beautifully caramelized raspberry topping, which delivers a delightful “twang” that perfectly complements the rich sweetness of the brown sugar and the moist cake base. Unlike more complicated baking projects, this recipe leverages the convenience of a cake mix, transforming everyday ingredients into an extraordinary treat with minimal fuss. It’s truly a testament to how simple ingredients can create something spectacular.
The magic of an upside down cake lies in its ability to elevate simple fruit to the star of the show. While classic pineapple upside down cake is beloved, experimenting with other fruits like blueberry or, in this case, vibrant raspberries, opens up a world of delightful possibilities. Raspberries bring their unique bright, tangy notes, creating a complex flavor profile that’s both comforting and exciting. This cake is not only easy to make but also incredibly versatile, allowing you to achieve bakery-quality results right in your own kitchen. It’s perfect for family dinners, potlucks, or simply satisfying that sweet craving with a homemade touch.
Key Ingredients for Your Delicious Raspberry Upside Down Cake
Crafting this irresistible raspberry upside down cake requires just a few basic ingredients, many of which you likely already have in your pantry. The beauty of this recipe is its simplicity and adaptability, relying on a box cake mix to streamline the process without sacrificing flavor or texture. This approach makes it accessible for bakers of all skill levels, ensuring a delicious outcome every time. Remember to refer to the printable recipe card at the end of this post for precise measurements and a complete list of ingredients, including those needed for your chosen cake mix.
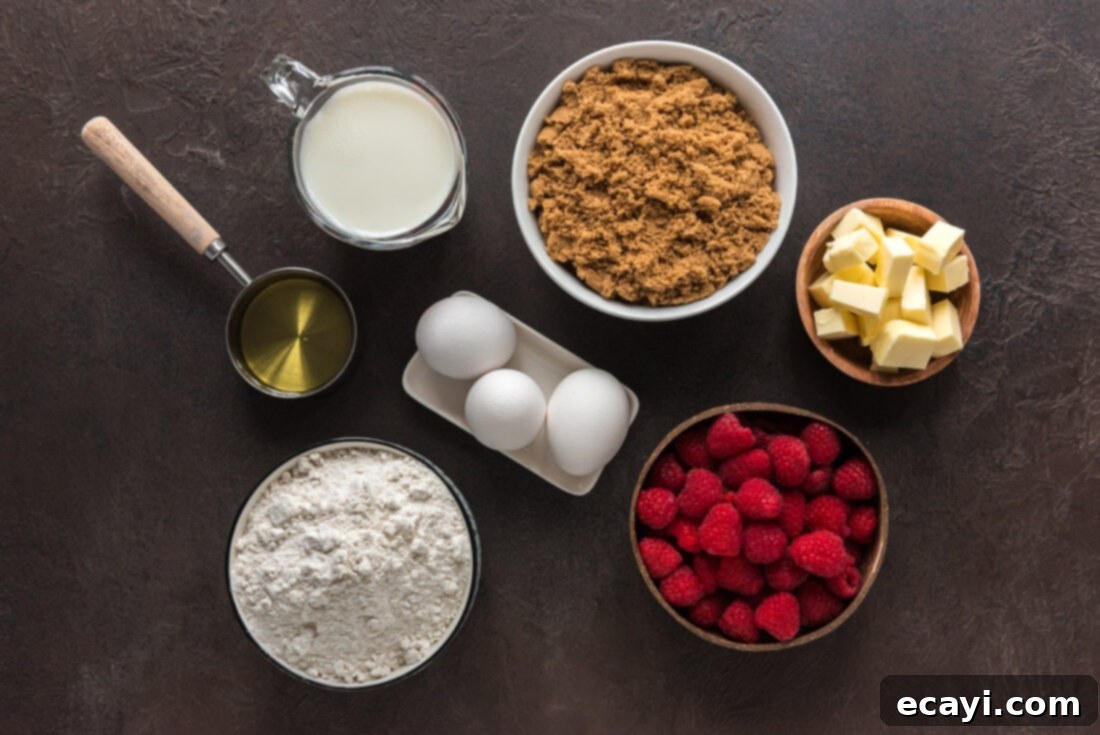
Ingredient Spotlight & Expert Substitution Advice
- CAKE MIX: The cornerstone of our easy upside down cake! While the recipe suggests a vanilla cake mix for its classic appeal, don’t hesitate to get creative. Yellow, white, French vanilla, or even a lemon cake mix would work beautifully, each adding its own subtle nuance to the overall flavor profile. A lemon mix, in particular, would brilliantly enhance the tartness of the raspberries, creating a more zesty dessert. Always prepare the cake mix according to the package instructions (which means you will also need the additional ingredients listed on the back of the box, typically eggs, oil, and water or milk). For an extra rich and tender cake that tastes more homemade, try substituting milk for water and adding an extra egg yolk or a tablespoon of sour cream to the batter.
- RASPBERRIES: The star of the show! Both fresh and frozen raspberries are perfectly suitable for this recipe, offering fantastic flexibility regardless of the season. If using fresh, look for plump, firm berries with a vibrant red color, avoiding any that are soft or moldy. If opting for frozen, there’s no need to thaw them beforehand; they can be spread directly over the brown sugar mixture, though they might release a bit more juice, which only adds to the delicious caramel sauce. The natural tartness of raspberries is crucial here, as it provides a delightful contrast to the sweet caramelized topping and the moist, tender cake beneath, preventing the dessert from being overly sweet.
- UNSALTED BUTTER: Essential for creating that rich, glossy, and buttery caramel base that will become the stunning top of your cake. Using unsalted butter allows you to control the overall sodium content of your cake, ensuring the flavors are perfectly balanced. It melts effortlessly and combines with the brown sugar, forming the sticky, luscious layer that makes upside down cakes so irresistible.
- LIGHT BROWN SUGAR: This ingredient is absolutely key to achieving the signature caramelized topping. Light brown sugar, with its fine texture and hint of molasses, brings a deep, complex sweetness and moisture that granulated sugar simply cannot replicate. When it melts with the butter, it creates a golden-brown, slightly chewy, and wonderfully sweet-tart crust once the cake is inverted. Be sure to pack it tightly when measuring to ensure you have the correct amount for that perfect, gooey layer.
Step-by-Step Guide: Crafting Your Raspberry Upside Down Cake
These step-by-step photos and detailed instructions are designed to help you visualize each stage of making this delightful recipe. For a convenient printable version, complete with precise measurements and full instructions, simply Jump to Recipe at the bottom of this post.
- Prepare Your Workspace and Oven: Begin by preheating your oven to 350°F (175°C). Proper preheating is crucial for even baking and a perfectly risen cake. Place a standard 13×9 inch baking dish onto a sturdy cookie sheet. Using a cookie sheet underneath is a helpful trick to catch any potential drips from the caramelizing butter and sugar, which can happen during baking, thereby making oven cleanup significantly easier.
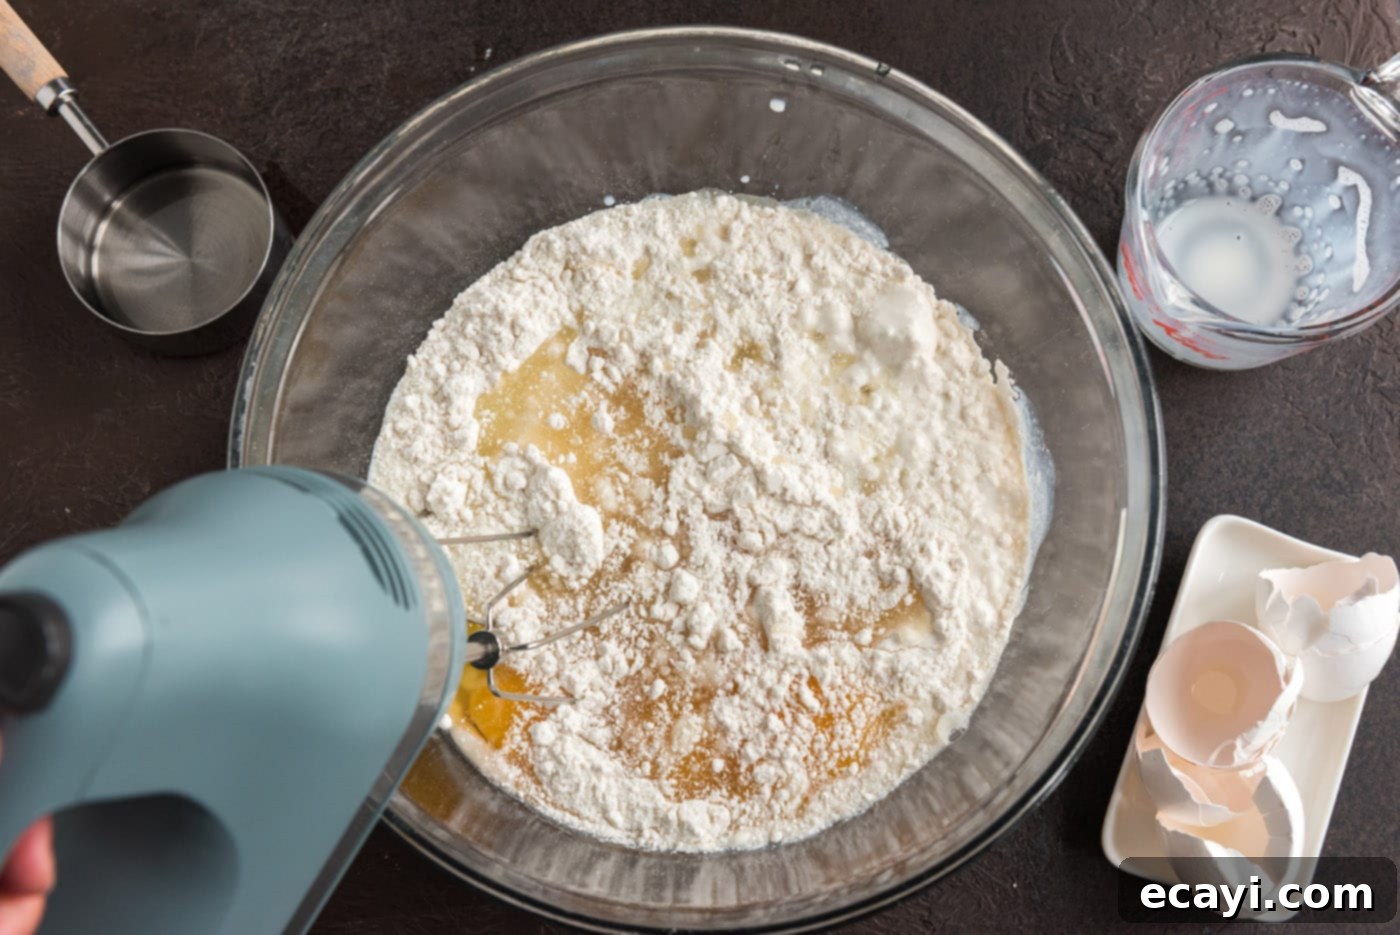
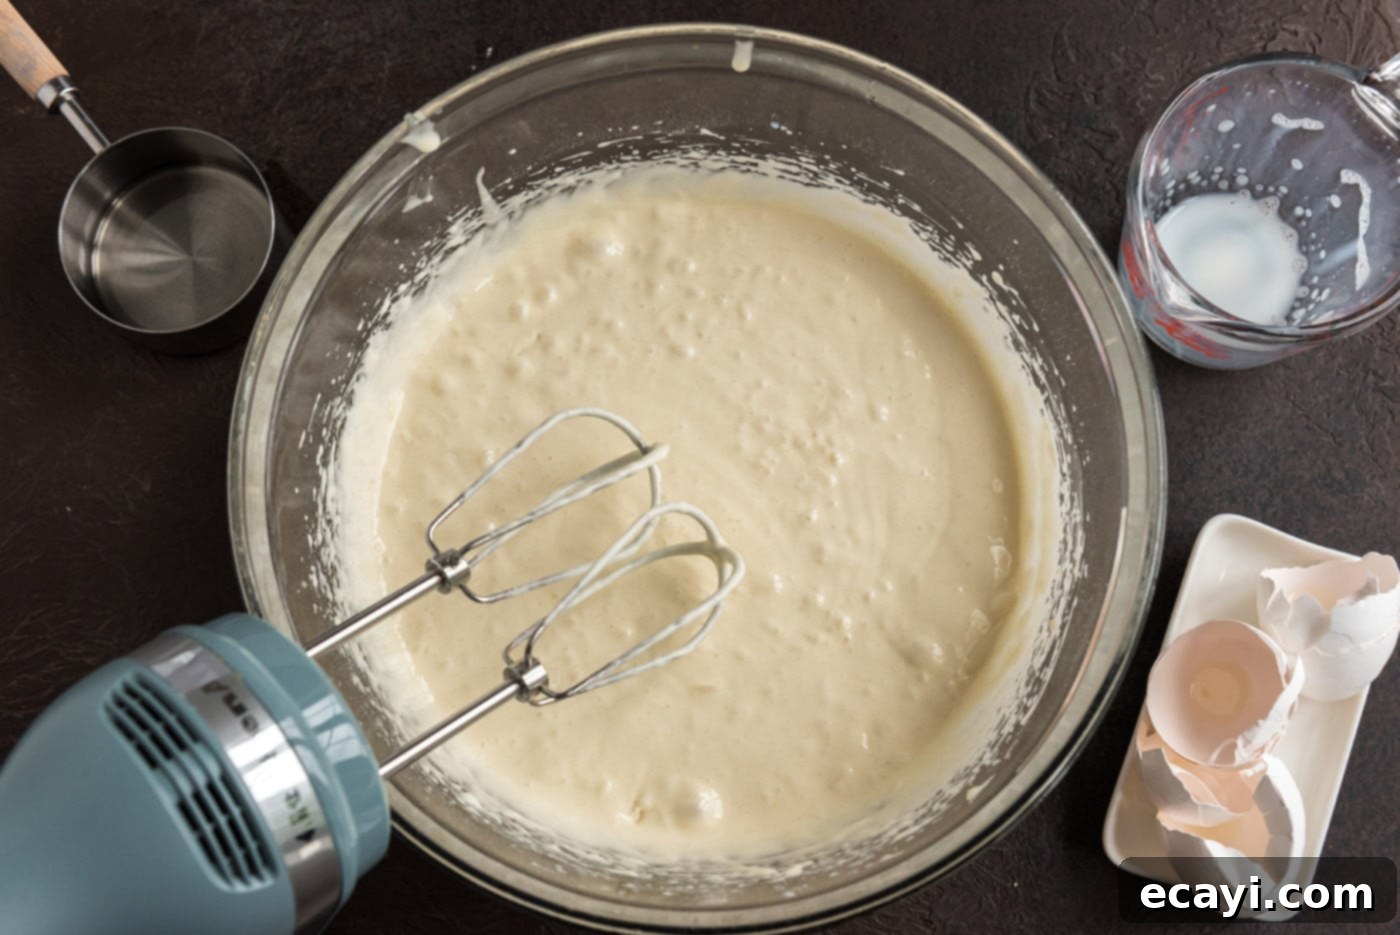
- Whip Up the Cake Batter: Following the instructions on your chosen box of cake mix, prepare the batter. This typically involves combining the dry cake mix with liquid ingredients like water (or milk), oil, and eggs. Mix until the batter is smooth and well-combined, but be careful not to overmix it. Overmixing can develop the gluten in the flour too much, leading to a tougher, less tender cake texture. Once prepared, set the batter aside.


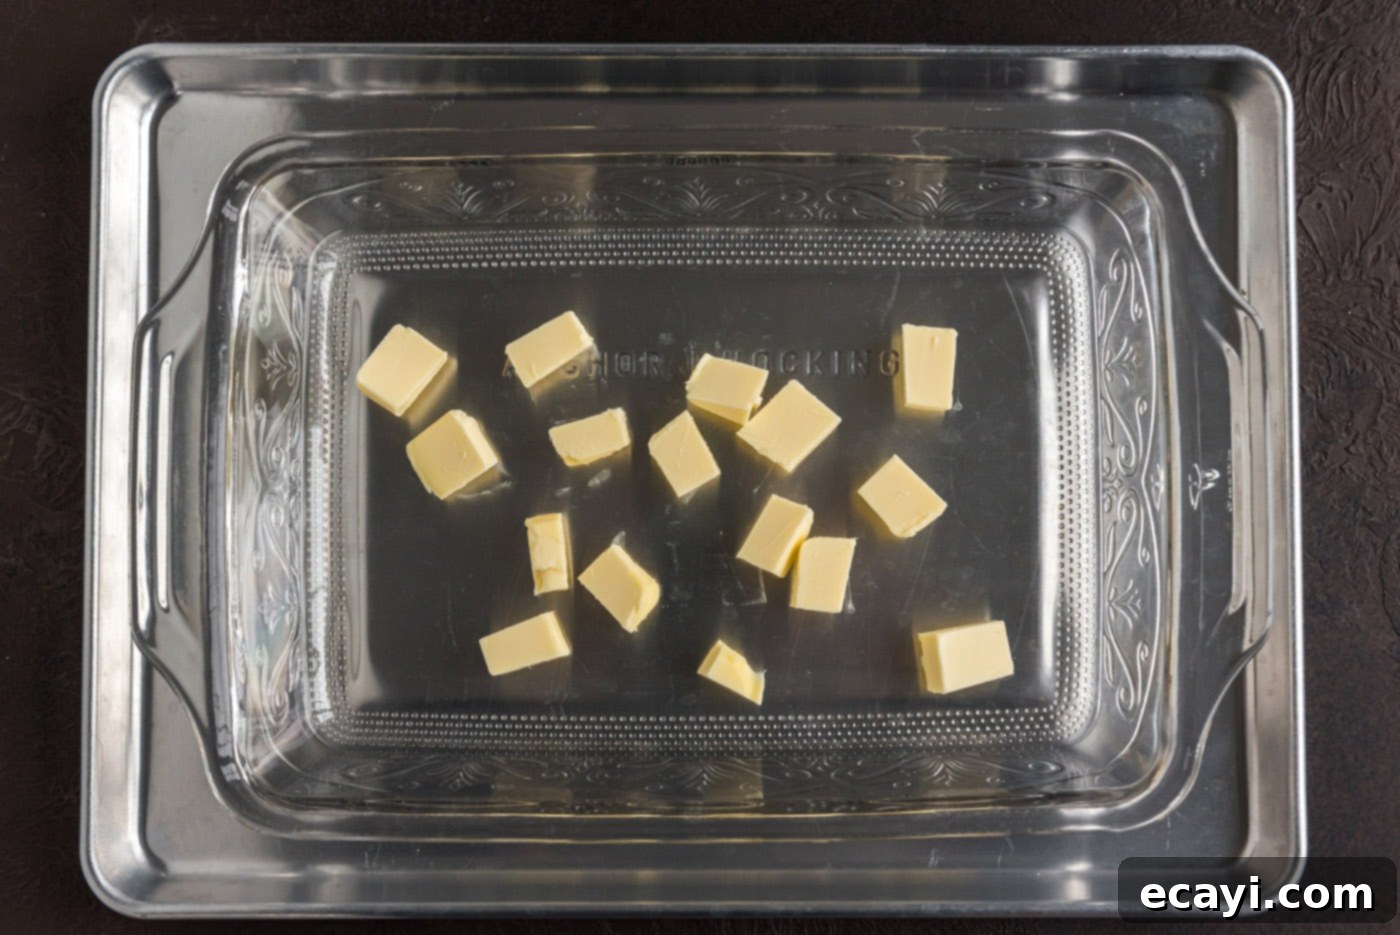
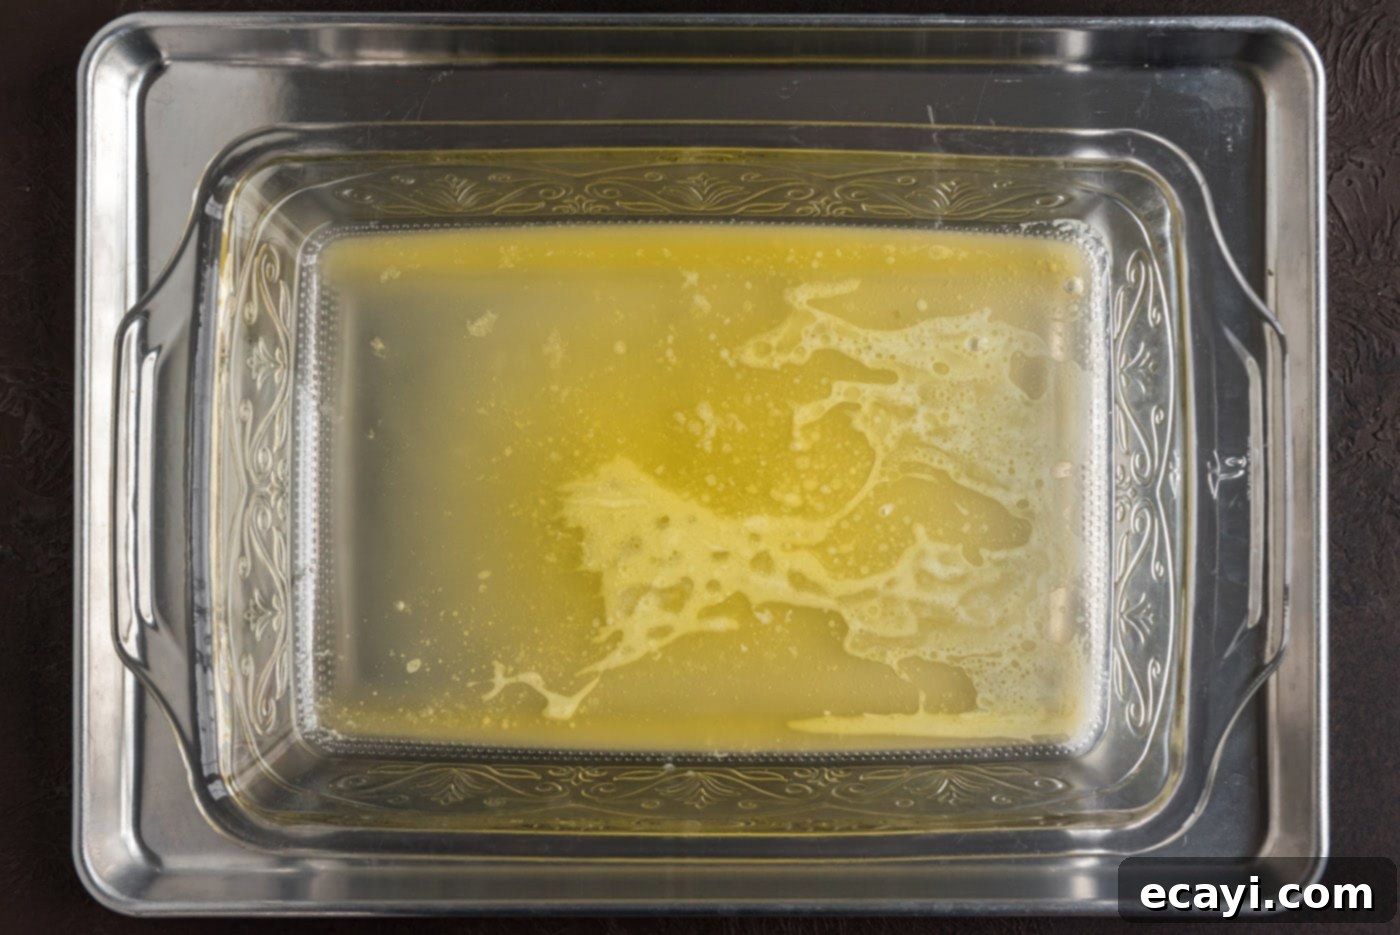
- Melt the Butter for the Topping: Cut the unsalted butter into several smaller pieces and distribute them evenly across the bottom of your 13×9 inch baking dish. This helps the butter melt quickly and uniformly. Place the baking dish (still on the cookie sheet) into your preheated oven for approximately 3-4 minutes, or just until the butter is completely melted and shimmering. Once melted, carefully remove the hot dish from the oven.


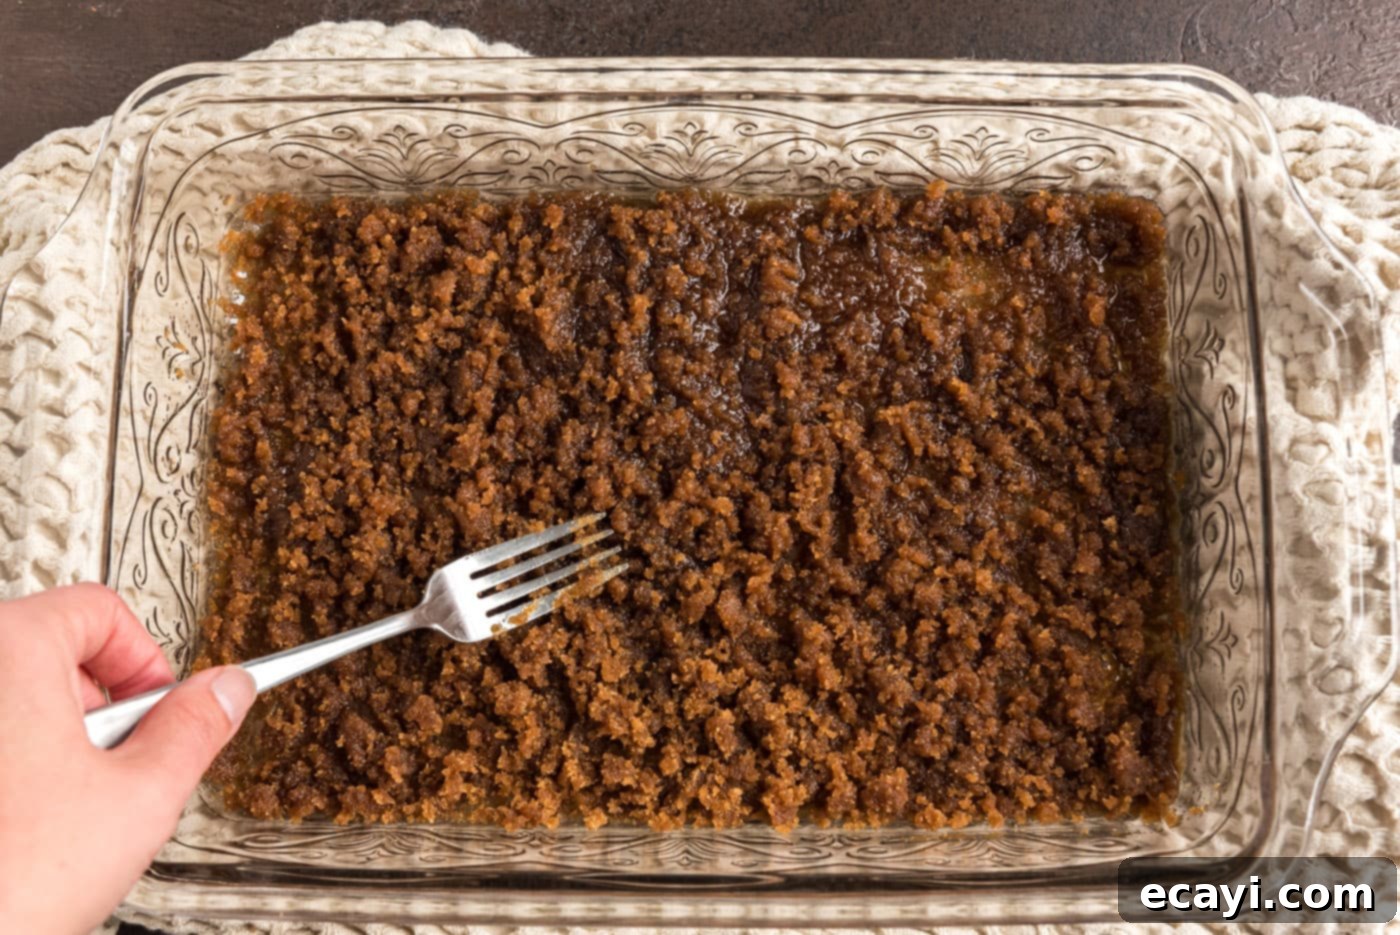
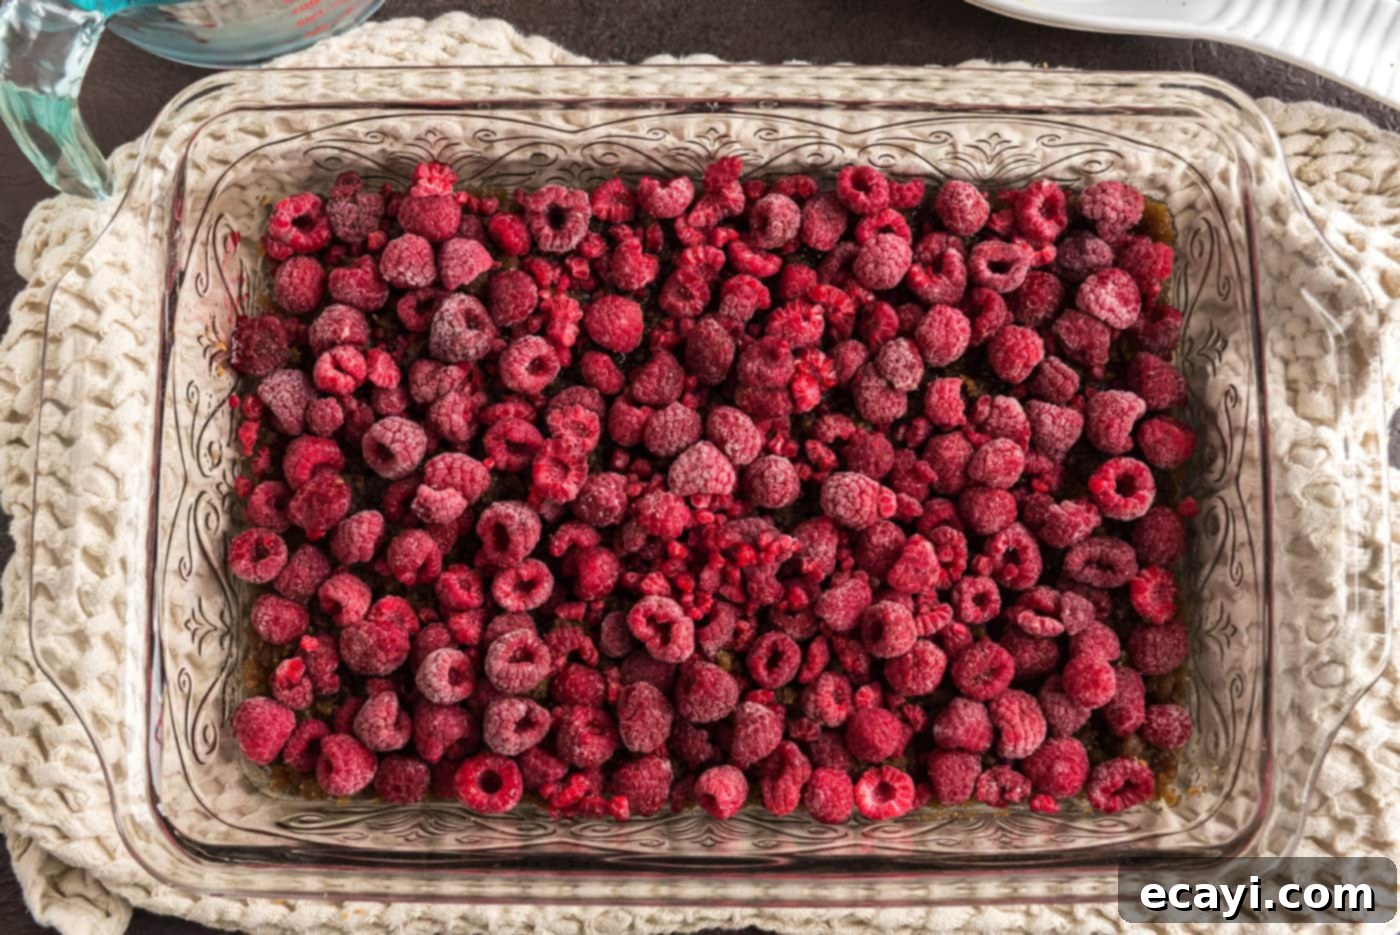
- Create the Caramelized Raspberry Layer: Generously sprinkle the packed light brown sugar evenly over the melted butter in the baking dish. Use a fork to gently swirl and distribute the brown sugar, ensuring it combines well with the butter to form a consistent, sticky base for your fruit. Next, carefully arrange your fresh or frozen raspberries over the brown sugar mixture, spreading them out in a single, even layer. This layer will become the beautiful, glossy, and fruit-filled top of your cake, so take a moment to arrange them appealingly.


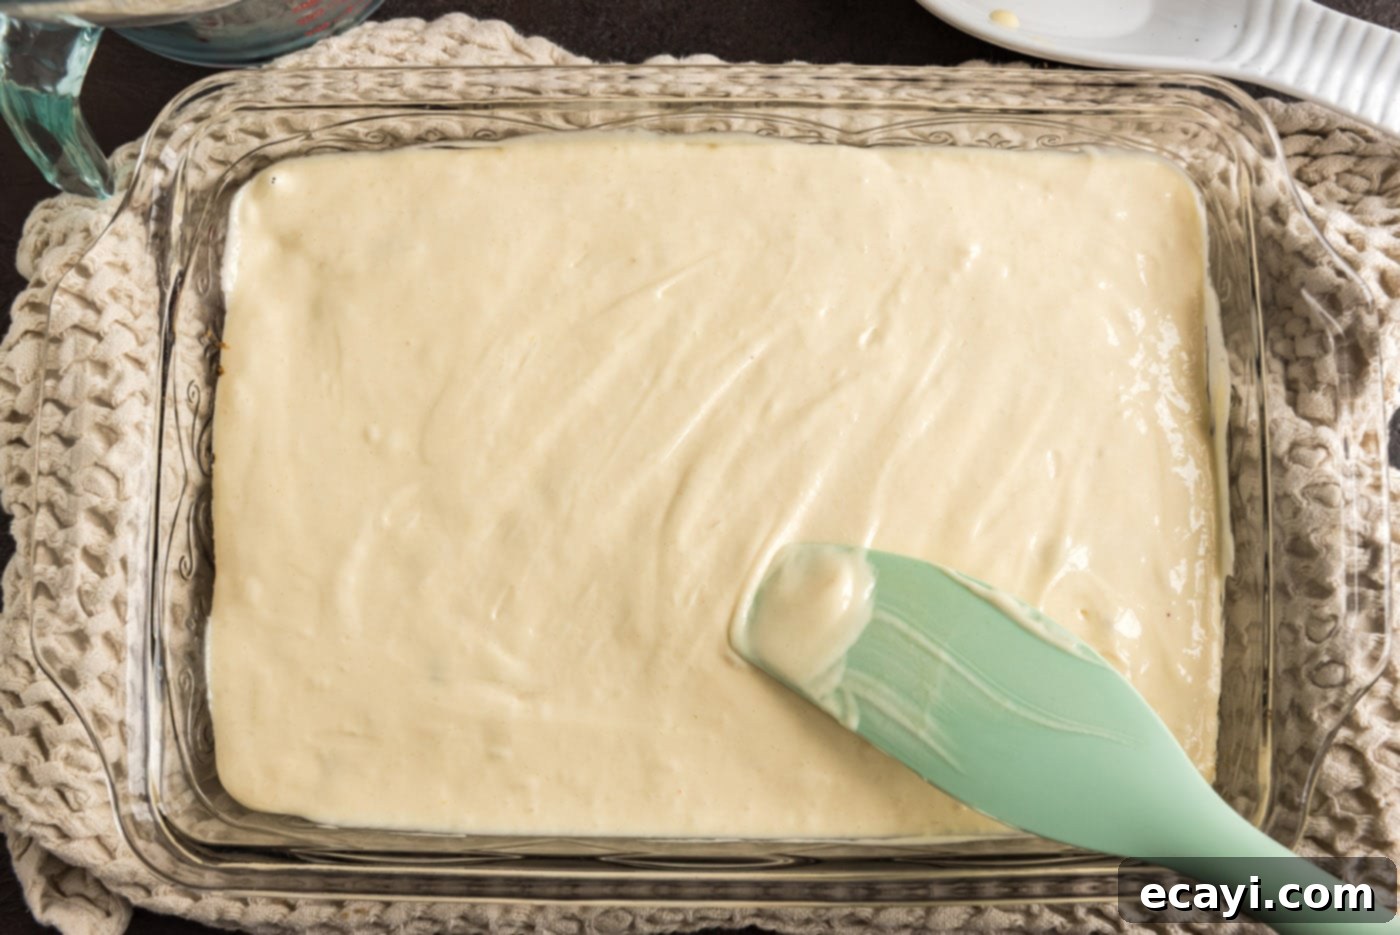
- Pour and Spread the Batter: Carefully pour the prepared cake batter directly over the layer of raspberries and brown sugar. Use an offset spatula or the back of a spoon to gently and evenly spread the batter across the entire surface of the pan, making sure all the raspberries are covered. Be gentle to avoid disturbing the beautifully arranged berry layer underneath.

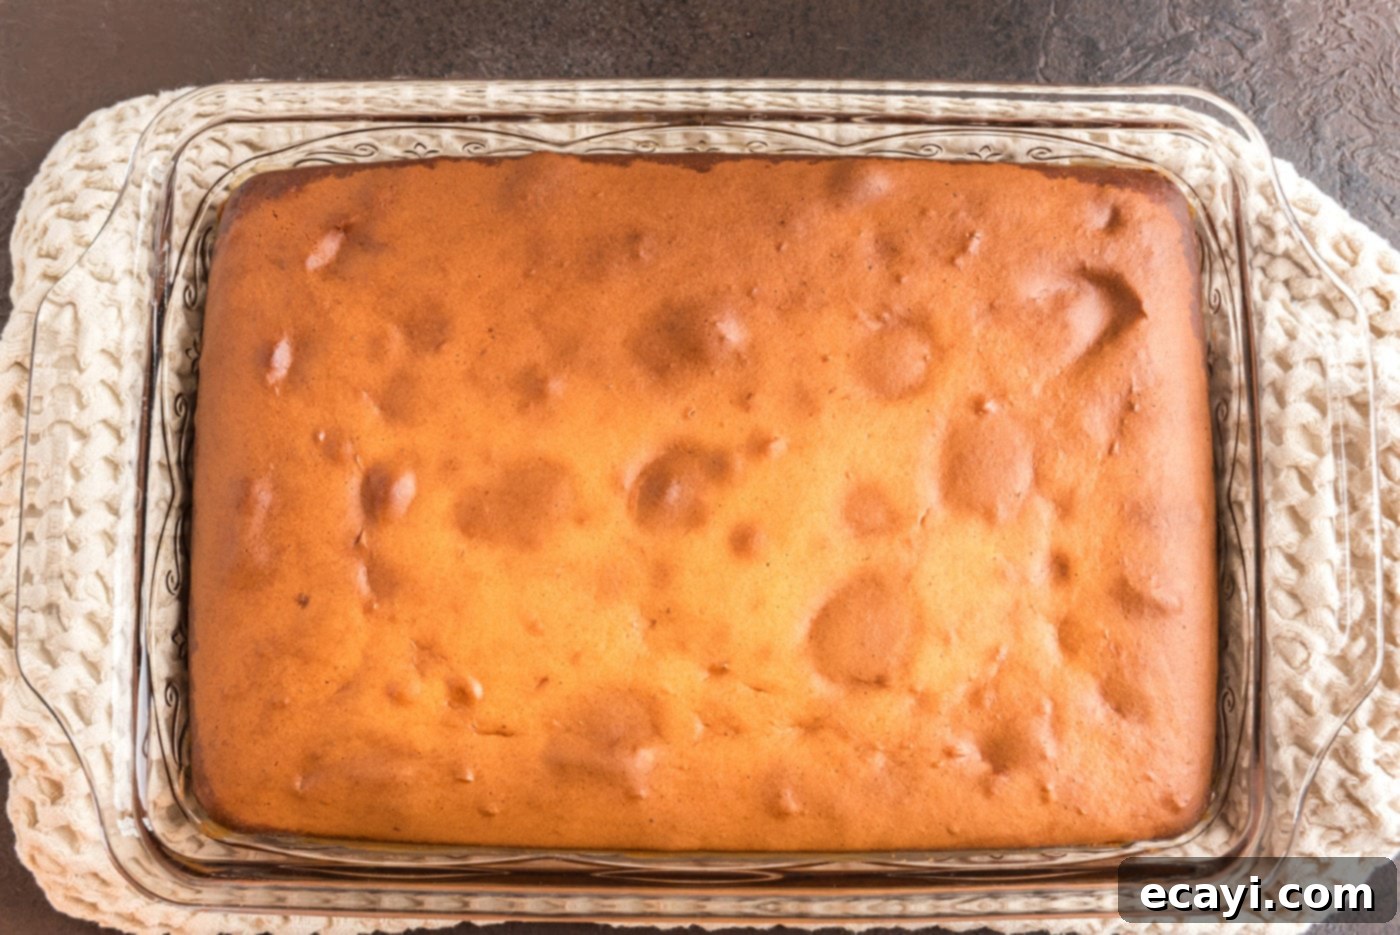
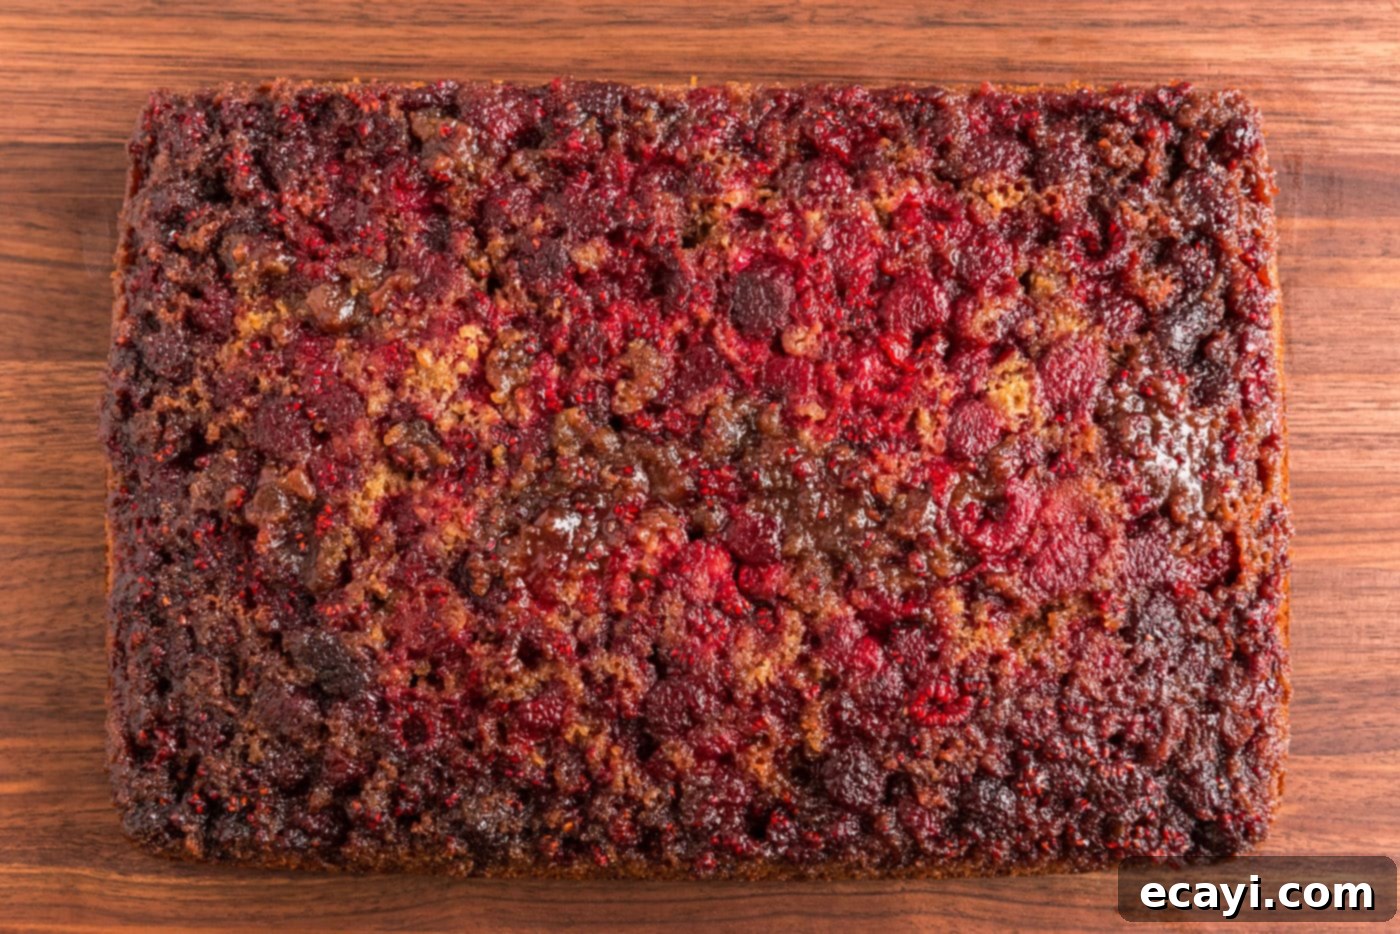
- Bake and Reveal Your Masterpiece: Place the baking dish (still on its cookie sheet) back into your 350°F (175°C) preheated oven and bake for 45 to 50 minutes. The cake is done when a toothpick inserted into the center comes out clean, with no wet batter attached. Once baked, remove the cake from the oven and let it cool in the pan for exactly 10 minutes. This crucial cooling time allows the caramelized topping to set just enough to hold its shape but remain fluid enough to release cleanly from the pan. After 10 minutes, carefully place a large, flat serving plate or cutting board over the top of the baking dish. Using oven mitts for safety, swiftly and confidently invert the cake onto the plate. Gently lift the baking dish to reveal your stunning Raspberry Upside Down Cake! If any fruit or caramel sticks to the bottom of the pan, simply carefully scrape it off with a spatula and place it back onto the cake.


Frequently Asked Questions & Expert Baking Tips
Once your raspberry upside down cake has completely cooled to room temperature, store it in an airtight container. It will stay wonderfully fresh at room temperature for up to 2 days. To extend its freshness, you can store it in the refrigerator for up to 5 days. It is crucial *not* to cover the cake while it is still warm, as the condensation will trap moisture, causing the cake to “sweat” and become soggy, thereby ruining that delicious, tender texture.
Yes, this cake freezes beautifully, making it perfect for planning ahead or enjoying a piece whenever a craving strikes! Once the cake is completely baked and thoroughly cooled to room temperature, you can freeze it for up to 2 months. To prevent freezer burn and preserve its quality, wrap the cake tightly first in plastic wrap, ensuring no air gaps around the cake. Follow this with a layer of heavy-duty aluminum foil. When ready to enjoy, simply thaw the cake overnight in the refrigerator or at room temperature for a few hours before serving.
Absolutely! This cake is an excellent make-ahead option, which is incredibly convenient for entertaining. You can prepare, bake, and store the cake at room temperature (covered with an airtight lid) a full day in advance of when you plan to serve it. For ultimate ease in serving at a party, I often like to cut the cake into individual slices once it’s completely cooled. Then, I carefully place these slices into an airtight container or a cake carrier. This method not only keeps each slice fresh but also makes serving a breeze without any last-minute fuss.
One of the most common mistakes is not sufficiently greasing the baking pan. While the butter melts, having a greased pan underneath helps ensure that the caramelized topping doesn’t stick. Another frequent error is inverting the cake too soon or too late. Flipping it too quickly after baking means the caramel might be too liquid, causing it to run off the cake, while waiting too long can make it stick firmly to the pan. The recommended 10-minute cooling time is crucial for a perfect, clean release. Lastly, avoid the temptation to overmix your cake batter; this can develop too much gluten, resulting in a dry, dense, or tough cake.
While raspberries are truly fantastic on their own, you can certainly experiment with other fruits and flavors! For an extra zing, consider adding a sprinkle of lemon zest to the cake batter to brighten the overall flavor profile. For an enjoyable crunch and a hint of nutty flavor, you could sprinkle a handful of sliced almonds or chopped pecans directly over the raspberries before pouring the cake batter. You could also try a delightful mix of raspberries with a few blueberries or blackberries for a colorful and flavorful mixed berry variation.
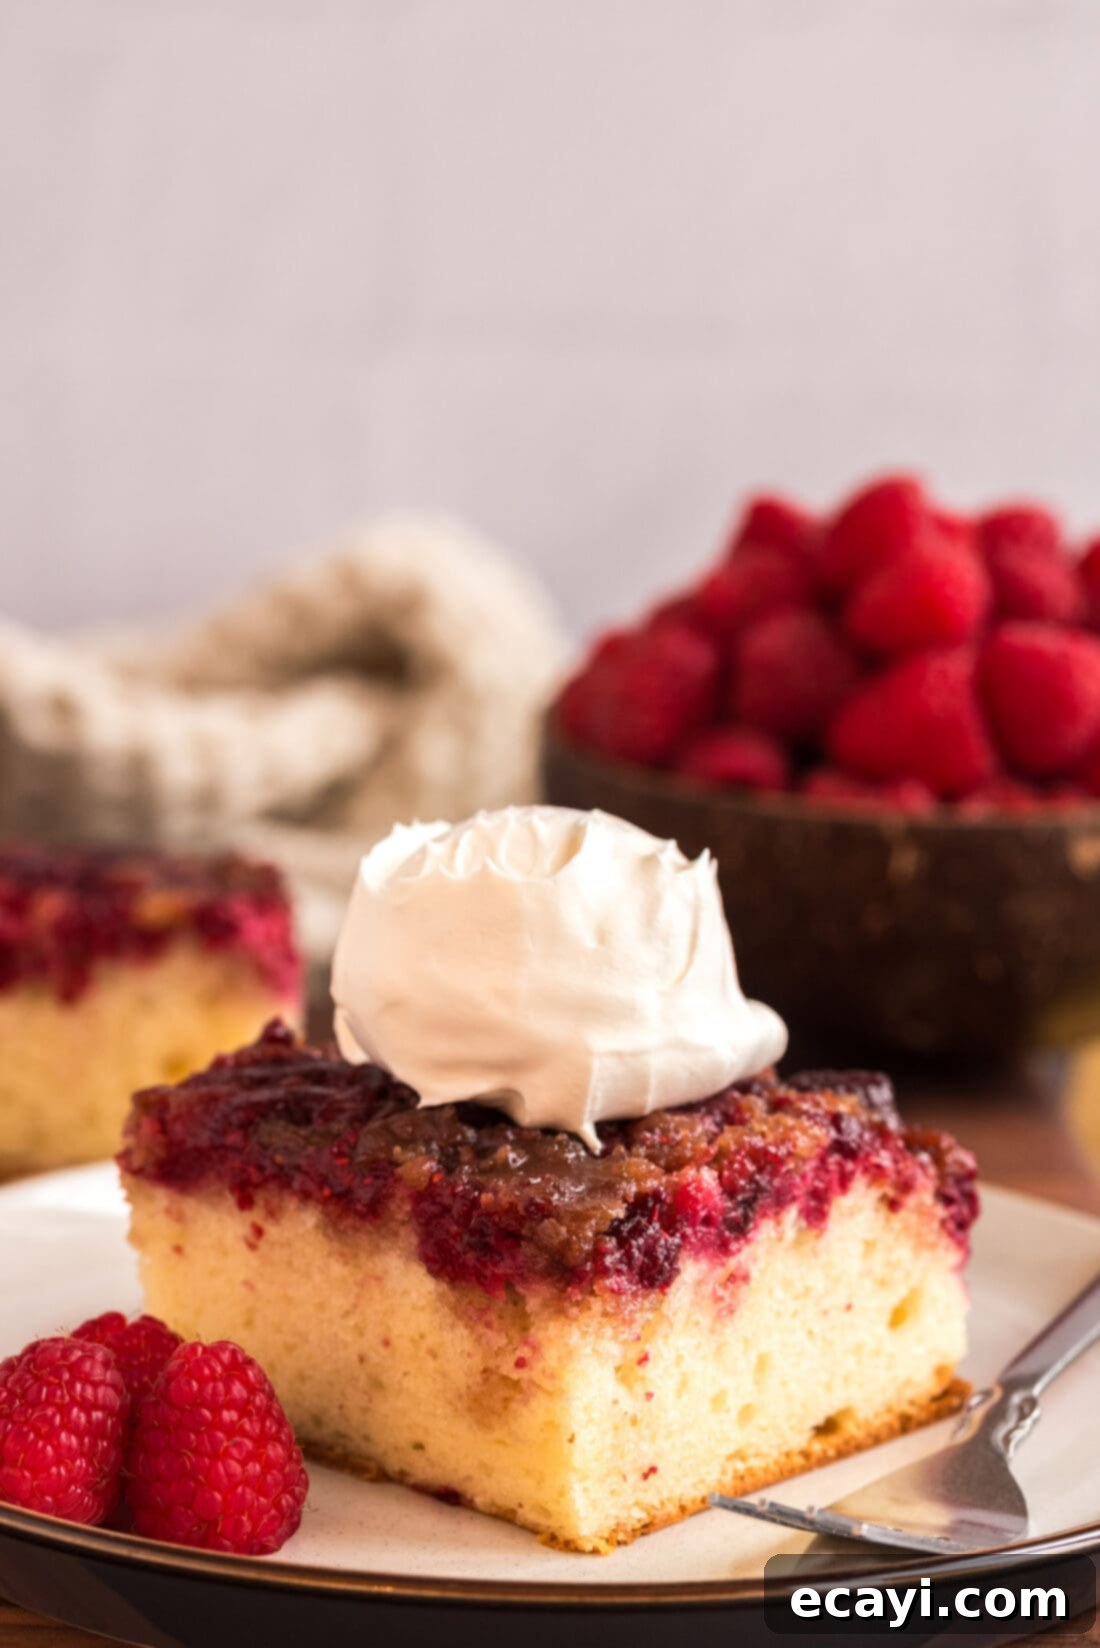
Delightful Serving Suggestions for Your Raspberry Upside Down Cake
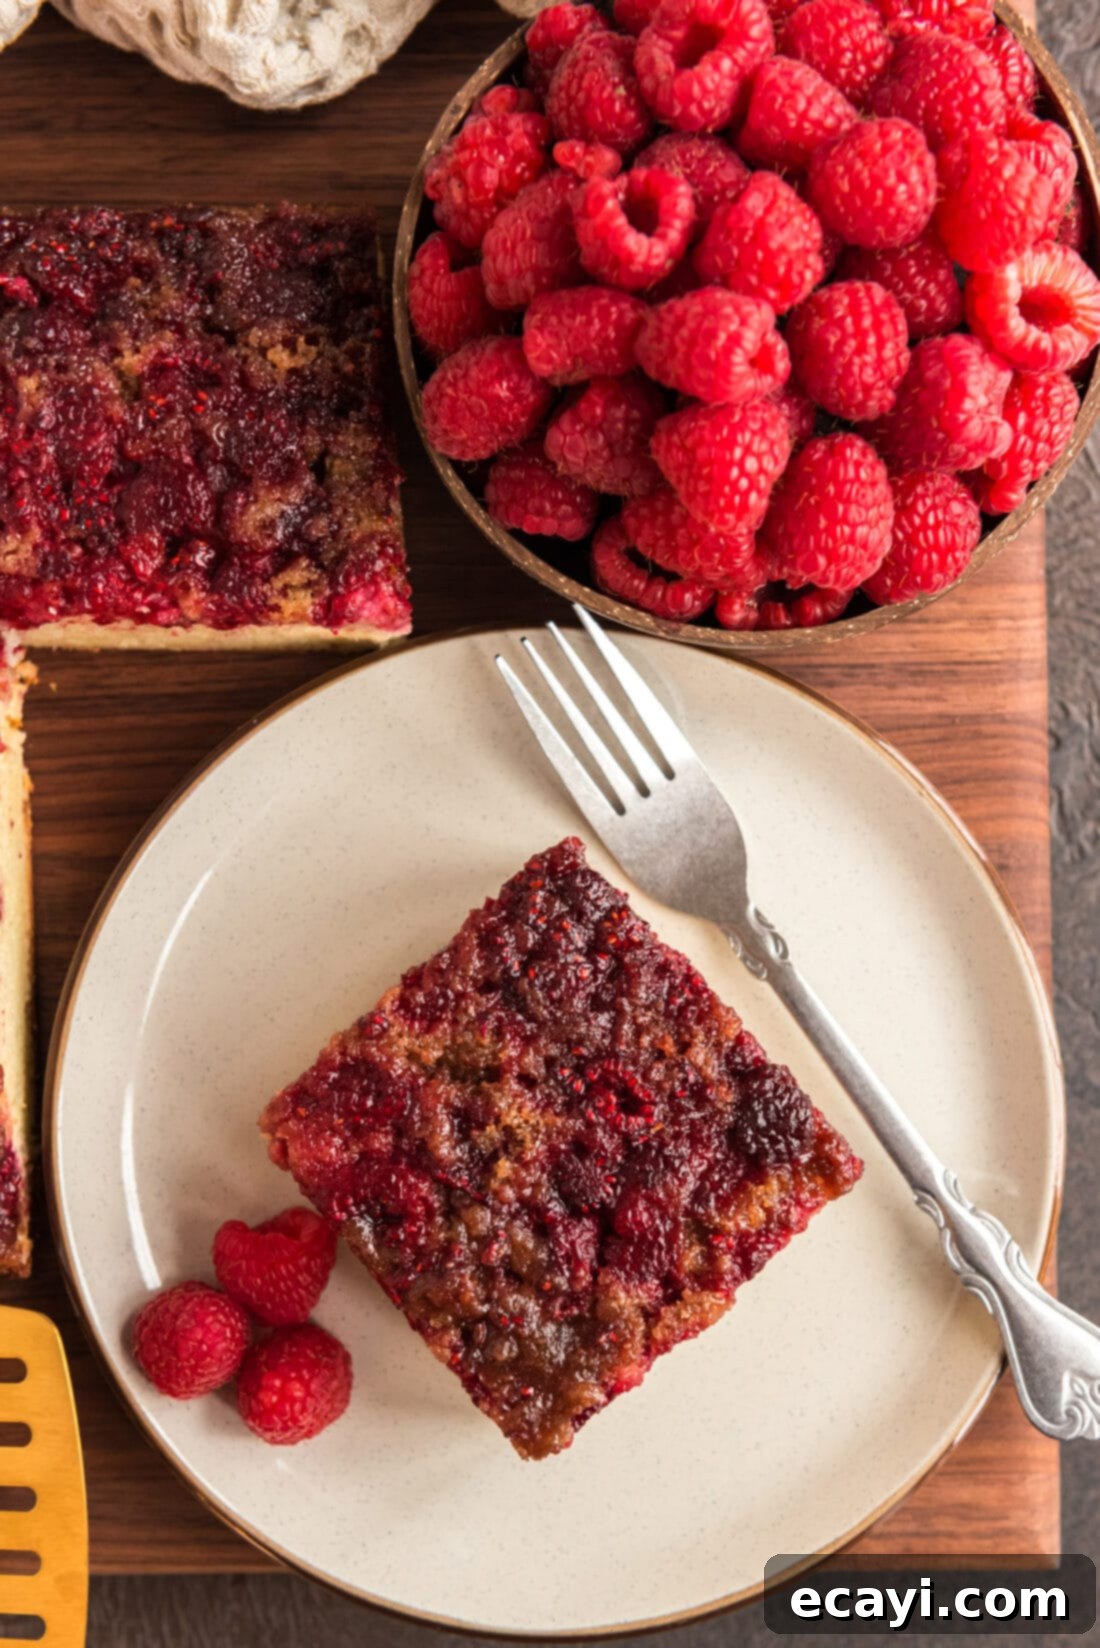
This Raspberry Upside Down Cake is truly versatile when it comes to serving, adapting beautifully to various occasions and preferences. For the ultimate dessert experience, we highly recommend serving it warm. This allows the caramelized fruit topping to remain delightfully gooey and the cake itself to be incredibly tender. A generous dollop of freshly whipped cream provides a light, airy contrast to the rich cake, while a scoop of classic vanilla bean ice cream melting into the warm cake is pure bliss. The delightful coolness of the ice cream against the warm, sweet-tart cake creates a harmonious blend of temperatures and textures that is simply irresistible.
However, don’t underestimate its charm when chilled! Many find the slightly firmer texture of a cold slice equally appealing, especially on a warm day or as a refreshing afternoon treat. It also makes for an unexpectedly luxurious breakfast or brunch cake, pairing wonderfully with a hot cup of coffee, a fragrant tea, or a refreshing glass of iced tea. For an elegant and simple touch, consider a light dusting of powdered sugar just before serving, or a fresh sprig of mint for a pop of color and freshness. Enjoy every sweet, tart, and tender bite!
Explore More Irresistible Upside Down Cake Recipes
If you’ve fallen in love with the ease, stunning presentation, and deliciousness of this raspberry creation, you’ll be thrilled to discover the world of other upside down cake variations. Each offers a unique flavor profile and a chance to turn another beloved fruit into a dessert star:
- Luscious Peach Upside Down Cake
- Sweet Blueberry Upside Down Cake
- Tropical Pineapple Upside Down Bundt Cake
- Charming Mini Pineapple Upside Down Cakes
I absolutely adore spending time in the kitchen, experimenting with new flavors, and perfecting classic recipes to share with all of you! Staying updated with fresh inspiration can be a challenge, which is why I offer a convenient newsletter delivered right to your inbox every time a new recipe is posted. Simply subscribe here and start receiving your free daily recipes to brighten your culinary adventures!

Easy & Delicious Raspberry Upside Down Cake
IMPORTANT – There are often Frequently Asked Questions within the blog post that you may find helpful. Simply scroll back up to read them!
Print It
Pin It
Rate It
Save ItSaved!
Ingredients
- 15.25 ounce vanilla cake mix prepared according to package directions
- ½ cup unsalted butter
- 1 ¾ cups light brown sugar packed
- 1 ½ pints raspberries (approx. 3 cups), fresh or frozen
Things You’ll Need
-
13×9 baking dish
-
Baking sheet
-
Mixing bowls
-
Spatula or spoon for spreading
Before You Begin
- Both fresh and frozen raspberries work wonderfully for this recipe. If using frozen berries, there’s no need to thaw them; simply spread them directly over the brown sugar mixture.
- Feel free to customize your cake mix! Yellow, white, French vanilla, or lemon cake mixes are all excellent choices that will complement the raspberries beautifully. Always follow the specific package instructions for preparing your chosen cake mix, ensuring you have the necessary additional ingredients on hand.
- For added texture and a hint of nutty flavor, consider sprinkling a handful of sliced almonds or chopped pecans evenly over the raspberries before you pour in the cake batter. This adds a lovely crunch to the finished cake.
- For an even richer, more moist cake that tastes more like it’s from scratch, consider swapping out water for milk when preparing your box mix. Additionally, adding an extra egg yolk or a tablespoon of sour cream to the batter can significantly improve its tenderness and flavor.
Instructions
-
Preheat your oven to 350°F (175°C). It’s important to have the oven fully preheated before you begin baking. Place a 13×9 inch baking dish onto a sturdy cookie sheet; this helps to catch any potential drips from the caramel during baking and ensures easier cleanup.
-
Prepare the cake batter according to the specific directions found on your box of cake mix. This usually involves combining the dry mix with liquids like water (or milk, for a richer cake), oil, and eggs. Mix until the batter is smooth and well-combined, but be careful not to overmix, as this can lead to a tougher cake texture. Set the prepared batter aside while you prepare the topping.
-
Cut the ½ cup of unsalted butter into small, even pieces and scatter them across the entire bottom of the 13×9 inch baking dish. This helps the butter melt quickly and evenly. Place the dish (still on its cookie sheet) into your preheated oven for 3 to 4 minutes, or just until the butter has completely melted and is shimmering. Carefully remove the hot dish from the oven using oven mitts.
-
Evenly sprinkle the 1 ¾ cups of packed light brown sugar over the melted butter in the baking dish. Use a fork to gently swirl and distribute the brown sugar, ensuring it forms a uniform, sticky, and caramel-like base. Then, carefully arrange the 1 ½ pints of fresh or frozen raspberries in a single, even layer over the brown sugar mixture. This meticulous layering will become the beautiful, fruit-filled top of your cake.
-
Gently pour the prepared cake batter directly over the raspberry layer. Use an offset spatula or the back of a spoon to carefully spread the batter evenly across the entire surface of the pan, making sure that all the raspberries are covered. Take care not to disturb the berry layer too much during this step to maintain a beautiful presentation.
-
Bake the cake in the 350°F (175°C) oven for approximately 45 to 50 minutes. To check for doneness, insert a clean toothpick into the center of the cake; it should come out clean with no wet batter attached. Once baked, remove the cake from the oven and allow it to cool in the pan for precisely 10 minutes. This crucial cooling period allows the caramelized topping to set properly but still be warm and fluid enough to release cleanly from the pan. After 10 minutes, place a large, flat serving plate or cutting board upside down over the baking dish. Using oven mitts for safety, confidently and swiftly invert the cake. Let it sit for a moment, then gently lift the baking dish to reveal your stunning Raspberry Upside Down Cake! If any fruit or caramel remains stuck to the bottom of the pan, simply carefully scrape it off with a spatula and re-position it onto the cake.
Expert Tips & FAQs for Success
- Proper Storage for Freshness: Always ensure your cake is completely cooled to room temperature before covering it. Store it in an airtight container at room temperature for up to 2 days, or in the refrigerator for up to 5 days to maximize freshness. Covering a warm cake will trap steam and cause it to become soggy.
- Make Ahead Option: This raspberry upside down cake is an excellent choice for making ahead, especially if you’re hosting. You can bake and completely cool the cake a full day before you plan to serve it. Store it covered at room temperature. For easy serving at an event, consider pre-slicing the cooled cake and storing the individual slices in an airtight container or a cake carrier.
- Freezing Instructions: To freeze the cake, ensure it is fully baked and completely cooled. Wrap it securely first in plastic wrap, making sure there are no air gaps, and then follow with a layer of heavy-duty aluminum foil to prevent any freezer burn. The cake can be stored in the freezer for up to 2 months. When you’re ready to enjoy, thaw it overnight in the refrigerator or at room temperature for a few hours before serving.
- The Perfect Flip: The inversion is often the most anticipated moment! After the crucial 10-minute cooling period, place your serving platter or cutting board upside down over the baking pan. With oven mitts for a secure grip, firmly hold both the pan and the platter together, then quickly and confidently flip them over. Let the pan sit on the platter for a minute before gently lifting it to reveal your perfectly topped cake.
- Elevating Your Cake Mix: To make your box mix taste more like a scratch-baked cake, consider these simple upgrades: use whole milk instead of water, add an extra egg yolk for richness, incorporate a teaspoon of pure vanilla extract or almond extract, and a pinch of salt to balance the sweetness.
- Fruit Selection and Variations: While fresh raspberries offer the best bright flavor and texture, frozen raspberries work just as well and are convenient. If using frozen, there’s no need to thaw them; simply spread them directly over the brown sugar. For a delicious twist, try combining raspberries with a few blueberries or sliced strawberries.
- Thorough Pan Preparation: Always ensure your baking dish is well-greased before you even add the butter for the topping. This extra layer of non-stick protection, in addition to the butter-caramel, is key to a clean and easy release of your beautiful upside down cake.
Nutrition Information (Approximate)
The recipes on this blog are tested with a conventional gas oven and gas stovetop. It’s important to note that some ovens, especially as they age, can cook and bake inconsistently. Using an inexpensive oven thermometer can assure you that your oven is truly heating to the proper temperature. If you use a toaster oven or countertop oven, please keep in mind that they may not distribute heat the same as a conventional full sized oven and you may need to adjust your cooking/baking times. In the case of recipes made with a pressure cooker, air fryer, slow cooker, or other appliance, a link to the appliances we use is listed within each respective recipe. For baking recipes where measurements are given by weight, please note that results may not be the same if cups are used instead, and we can’t guarantee success with that method.
This post originally appeared here on November 1, 2008 and has since been updated with new photos and expert tips, ensuring you have the best possible baking experience with this beloved recipe.
