Fluffy & Flavorful Rice Pilaf Recipe: The Ultimate Guide to a Perfect Side Dish with Celery and Onion
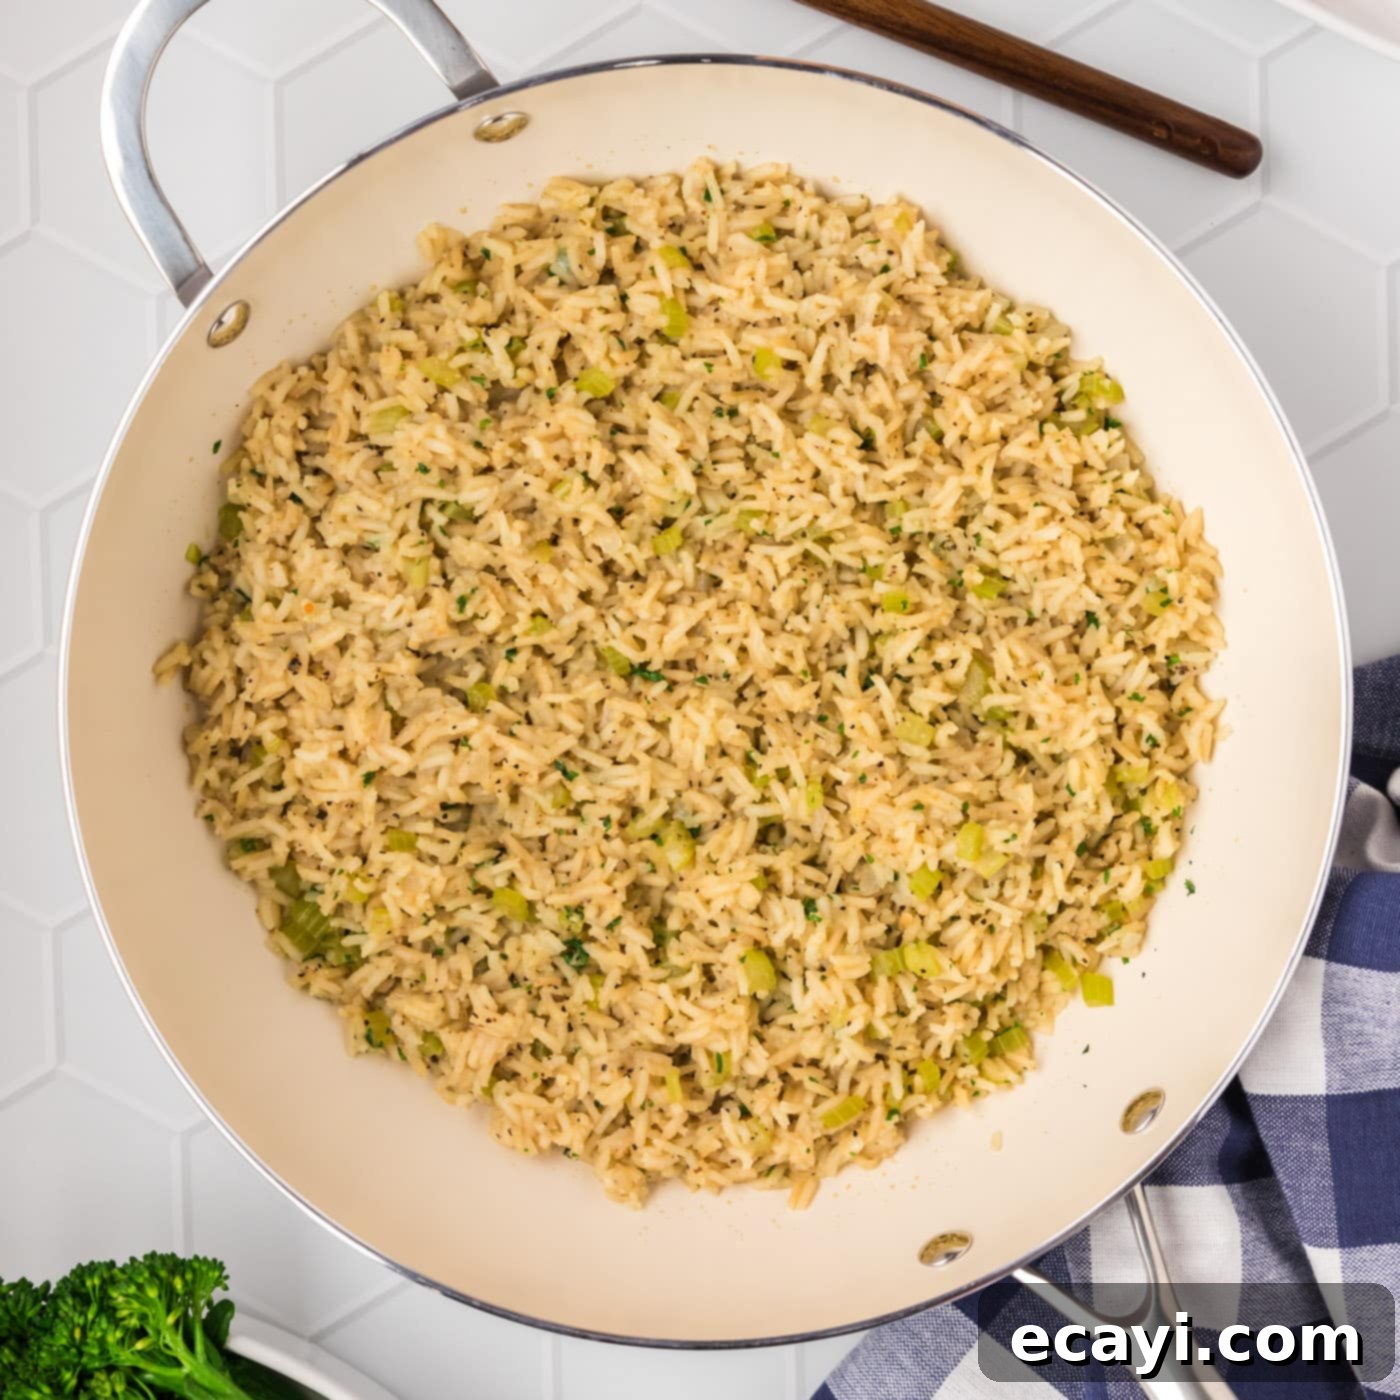
Elevate your dinner table with this exquisite rice pilaf recipe, transforming an ordinary side of rice into a culinary delight. Infused with the aromatic essence of sautéed celery and onion, and enriched with savory broth, this pilaf promises a taste and aroma that is simply irresistible. Forget bland, sticky rice – prepare to experience perfectly fluffy, separate grains that complement any main course beautifully.
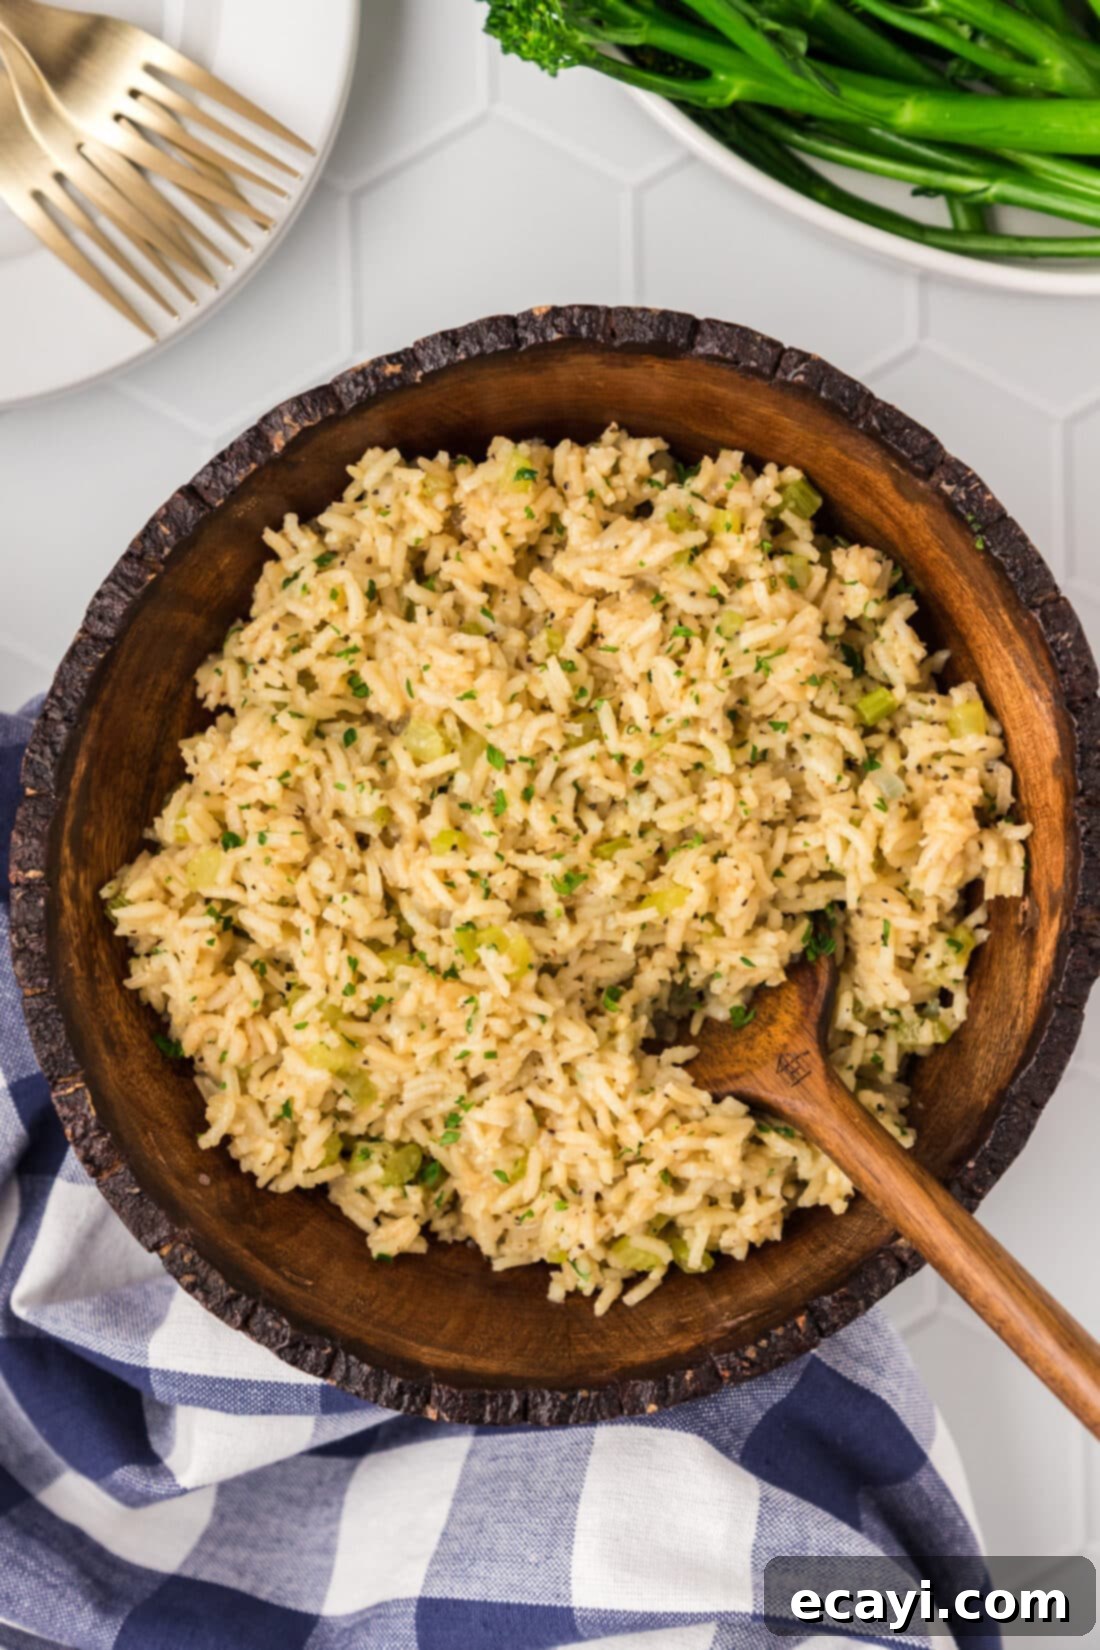
Why This Rice Pilaf Recipe Works Wonders
This homemade rice pilaf isn’t just a side dish; it’s a game-changer for your weeknight meals and special occasions alike. Here’s why this recipe stands out and quickly becomes a family favorite:
- Unbeatable Flavor Profile: Unlike mundane plain rice or generic box mixes, our rice pilaf builds layers of flavor from the ground up. Sautéing the rice in butter until lightly browned imparts a subtle nutty depth. The addition of fresh diced onion and celery creates an aromatic base, caramelizing slightly to release their sweet and savory notes. When combined with rich chicken stock and a touch of garlic salt and pepper, every grain is infused with a complex, comforting taste that is far superior to anything from a package.
- Perfectly Fluffy Texture: The pilaf method involves toasting the rice before adding liquid. This crucial step helps to seal the individual grains, preventing them from clumping together and ensuring a beautifully fluffy, light, and separate texture once cooked. It’s the secret to rice that’s tender, never mushy, and a joy to eat.
- Quick and Easy Preparation: This recipe is designed for efficiency. While your main course is simmering or baking, you can whip up this elegant side dish on the stovetop in under an hour, with minimal active cooking time. It’s an ideal option for busy evenings when you want something impressive without a lot of fuss.
- Incredible Versatility: While delicious on its own, this rice pilaf offers endless possibilities for customization. It serves as a fantastic foundation for various culinary explorations. Want to add protein? Stir in cooked ground turkey, sausage, shredded chicken, or even shrimp during the final stages. Looking for more vegetables? Carrots, peas, mushrooms, or bell peppers can be easily incorporated. Adjusting the spices, adding fresh herbs like thyme or rosemary, or a squeeze of lemon juice can further tailor it to your preference, transforming it to suit different cuisines and palates.
- A Healthier, Fresher Alternative: By making rice pilaf from scratch, you control the ingredients, avoiding the artificial flavors, excessive sodium, and preservatives often found in store-bought mixes. You get the benefit of fresh vegetables, real butter, and wholesome rice, providing a more nutritious and genuinely flavorful experience.
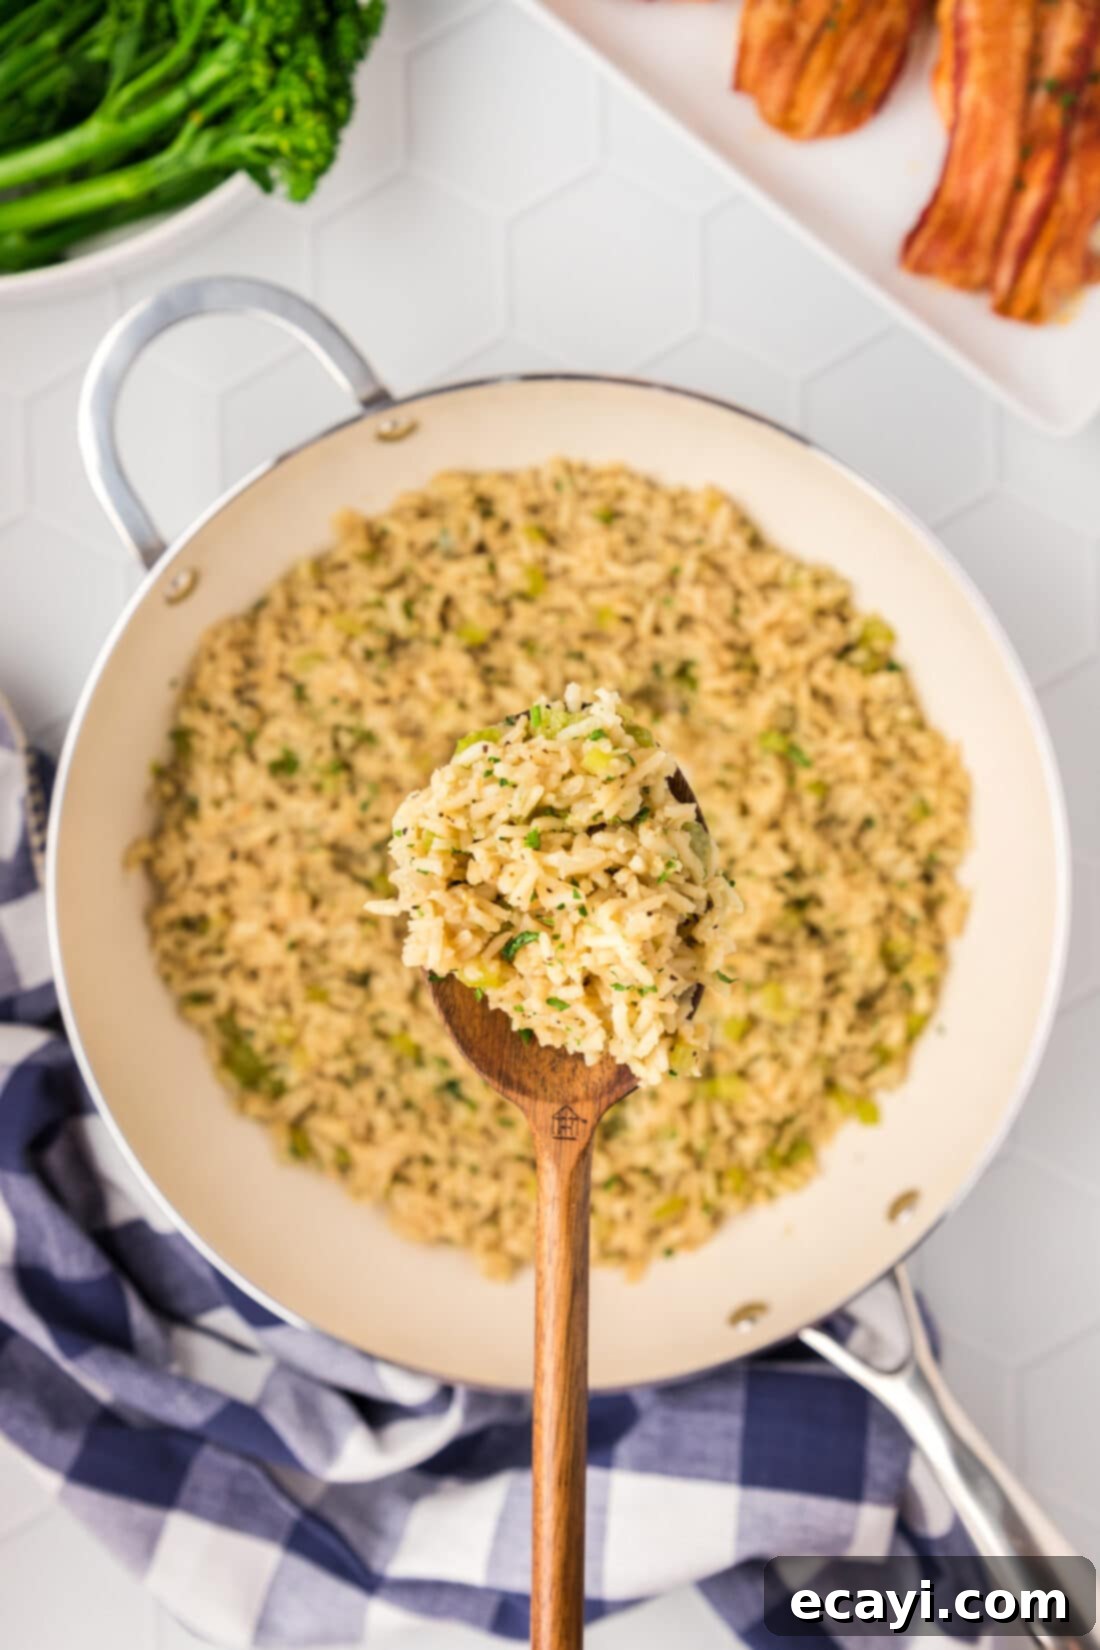
Simple Ingredients for Superior Flavor
Crafting this delightful rice pilaf requires only a handful of readily available, fresh ingredients. The beauty of this recipe lies in how these simple components come together to create a harmonious and rich flavor. You’ll find all exact measurements, detailed ingredients, and step-by-step instructions in the printable recipe card at the very end of this post.
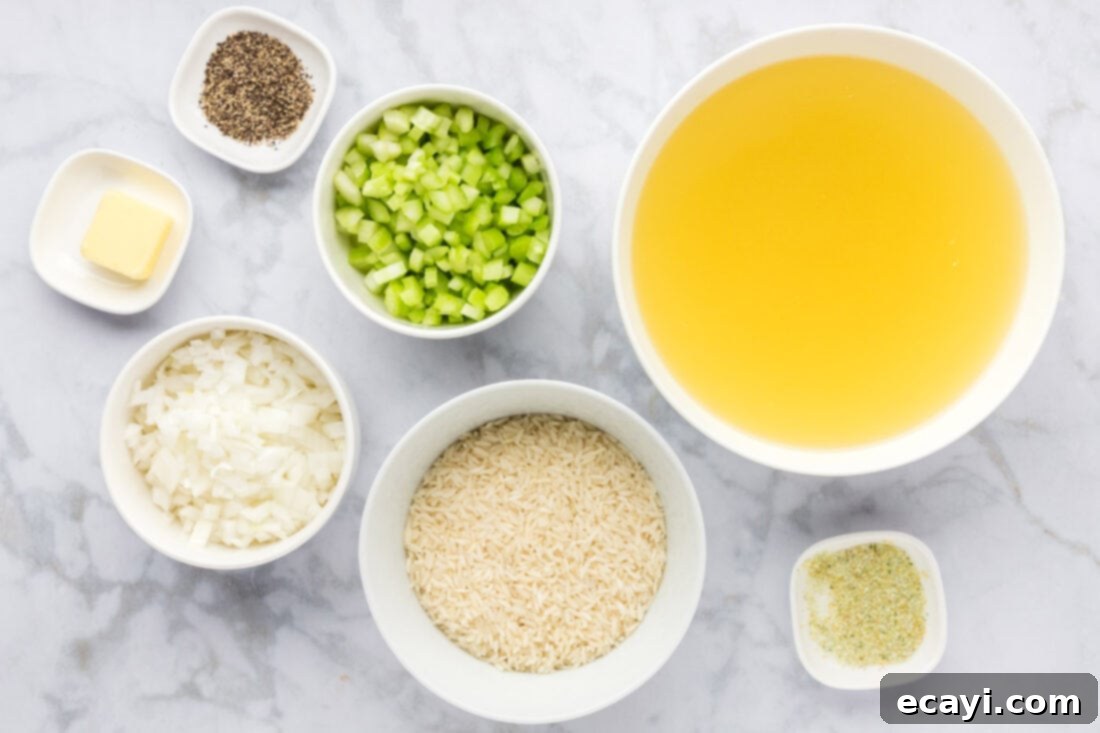
Ingredient Information and Smart Substitutions
Understanding each ingredient’s role and knowing your options for substitutions can help you master this rice pilaf and adapt it to your pantry and preferences:
RICE – For this recipe, we specifically use **long-grain white rice**. Its slender grains cook up fluffy and separate, which is ideal for pilaf. However, you have excellent alternatives:
- Basmati Rice: Known for its fragrant aroma and distinct, long grains that remain separate and fluffy. It’s an excellent choice if you’re looking for an elevated aroma.
- Jasmine Rice: A slightly stickier long-grain rice with a delicate floral aroma. It works well, though it might be a tiny bit less separate than conventional long-grain or Basmati.
- Brown Rice: If you opt for brown rice, be aware that it requires significantly more liquid and a longer cooking time due to its intact bran layer. You will likely need to increase the chicken stock and water by about 50-75% and extend the cooking time by 20-30 minutes, or until tender. Always check the package instructions for brown rice.
- Rinsing Rice: While not strictly necessary for long-grain white rice in this pilaf method (as we’re toasting it in butter), rinsing the rice under cold water until the water runs clear can help remove excess starch, further contributing to a less sticky, fluffier result.
ADDITIONS (Aromatics & Vegetables) – The celery and onion form the aromatic heart of this pilaf.
- Celery: Provides a subtle earthy flavor and a bit of texture.
- Onion: Yellow or white onions work best for their balanced sweetness when sautéed. You could also use shallots for a milder, more refined onion flavor.
- Garlic: While the recipe calls for garlic salt, fresh minced garlic (1-2 cloves) sautéed with the onion and celery will add a vibrant, pungent flavor.
- Other Vegetables: Feel free to get creative! Finely diced carrots, mushrooms, bell peppers, or frozen peas (added during the last 5 minutes of cooking) can enhance flavor, color, and nutritional value.
STOCK – The liquid base is crucial for imparting flavor to the rice.
- Chicken Stock: Our preferred choice for its savory depth. Use a good quality chicken stock or broth for the best results.
- Vegetable Stock: An excellent option for a vegetarian or vegan version of this pilaf.
- Beef Stock: Can be used for a richer, deeper flavor profile, particularly if serving with beef dishes.
- Low Sodium Options: If you’re managing sodium intake, opt for low-sodium stock and adjust the garlic salt and black pepper to taste.
- Water: A portion of water lightens the overall flavor and texture compared to using 100% stock, preventing it from becoming too heavy.
FAT – The butter is essential for flavor and toasting the rice.
- Butter: Adds a rich, creamy flavor and helps the rice toast evenly.
- Olive Oil or Vegetable Oil: Can be used as a dairy-free alternative to sauté the rice and vegetables. While it will still be delicious, the butter adds a distinct depth.
SEASONINGS – Simple yet impactful.
- Garlic Salt: Provides both saltiness and a subtle garlic flavor. If using regular salt and fresh garlic, adjust accordingly.
- Black Pepper: Freshly ground black pepper offers the best aroma and taste. If you prefer a more pronounced peppery kick, you can increase the amount to 2 teaspoons, as suggested in the original notes, or even add a pinch of white pepper for a different kind of warmth.
- Optional Herbs & Spices: For added complexity, consider adding a bay leaf during cooking (remove before serving), a pinch of dried thyme, or even a touch of turmeric for color and earthy notes.
GARNISH – Freshness brightens the dish.
- Fresh Minced Parsley: Stirred in at the end, fresh parsley adds a vibrant color and a fresh, herbaceous note that beautifully balances the richness of the pilaf.
- Other Fresh Herbs: Chives, dill, or cilantro could also be used depending on your desired flavor profile.
How to Prepare the Perfect Rice Pilaf
These step-by-step photos and instructions are here to help you visualize how to make this recipe. You can Jump to Recipe to get the printable version of this recipe, complete with measurements and instructions at the bottom.
Making homemade rice pilaf is a straightforward process that yields incredibly rewarding results. The key is in the initial steps of preparing your aromatics and toasting the rice before allowing it to absorb the flavorful broth. Follow these simple steps for a truly delicious side dish:
- In a medium saucepan over medium-high heat, combine the chicken stock and water. Heat the mixture until it reaches a gentle boil. Keep it warm; this hot liquid will be added to the toasted rice later.
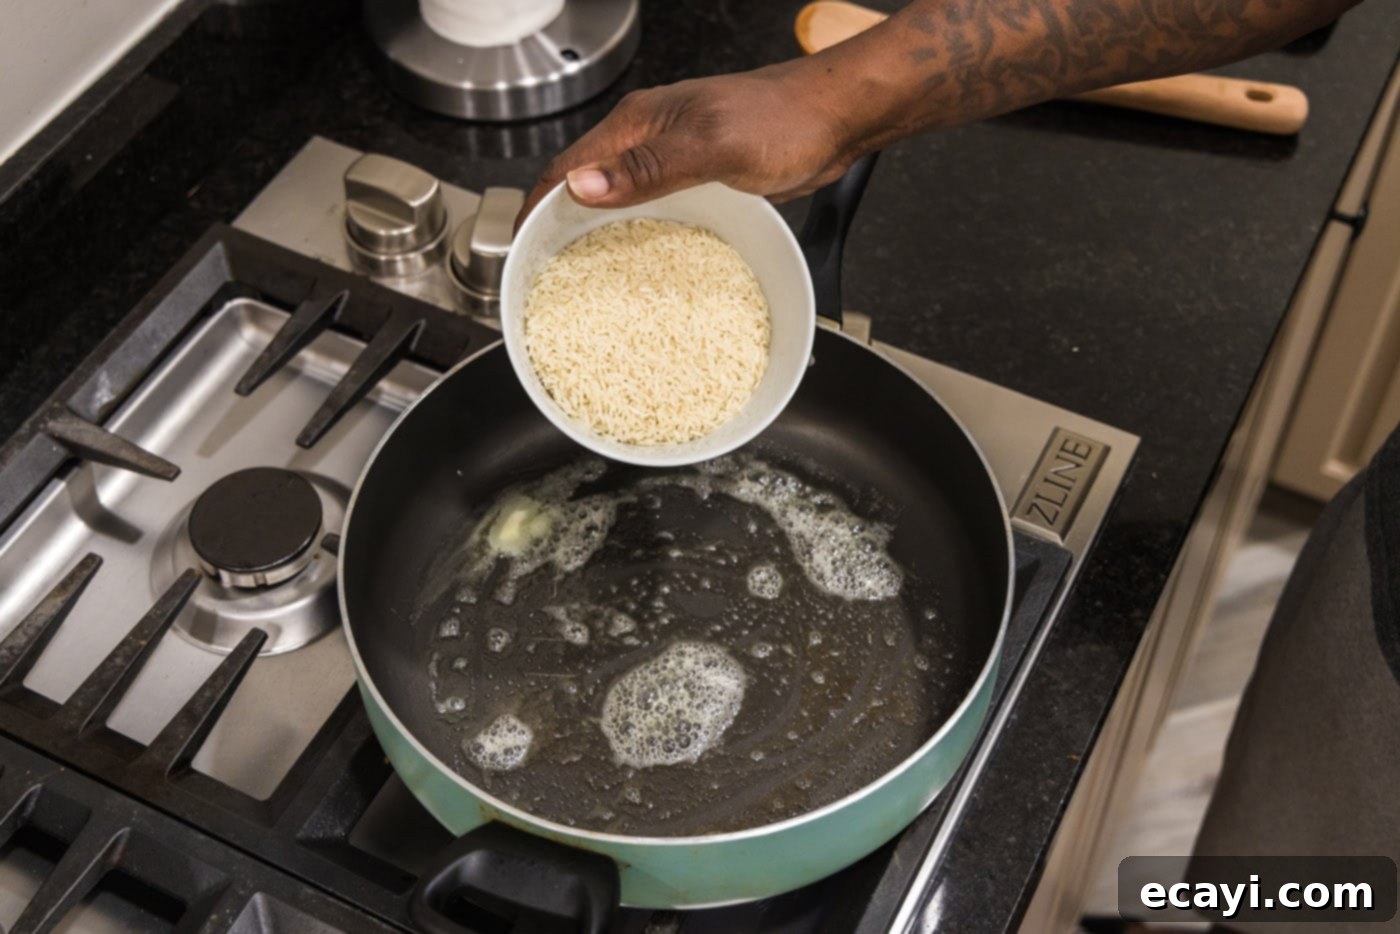
- Melt butter in a large skillet over medium heat. The skillet should be large enough to comfortably hold all the rice and liquid later.
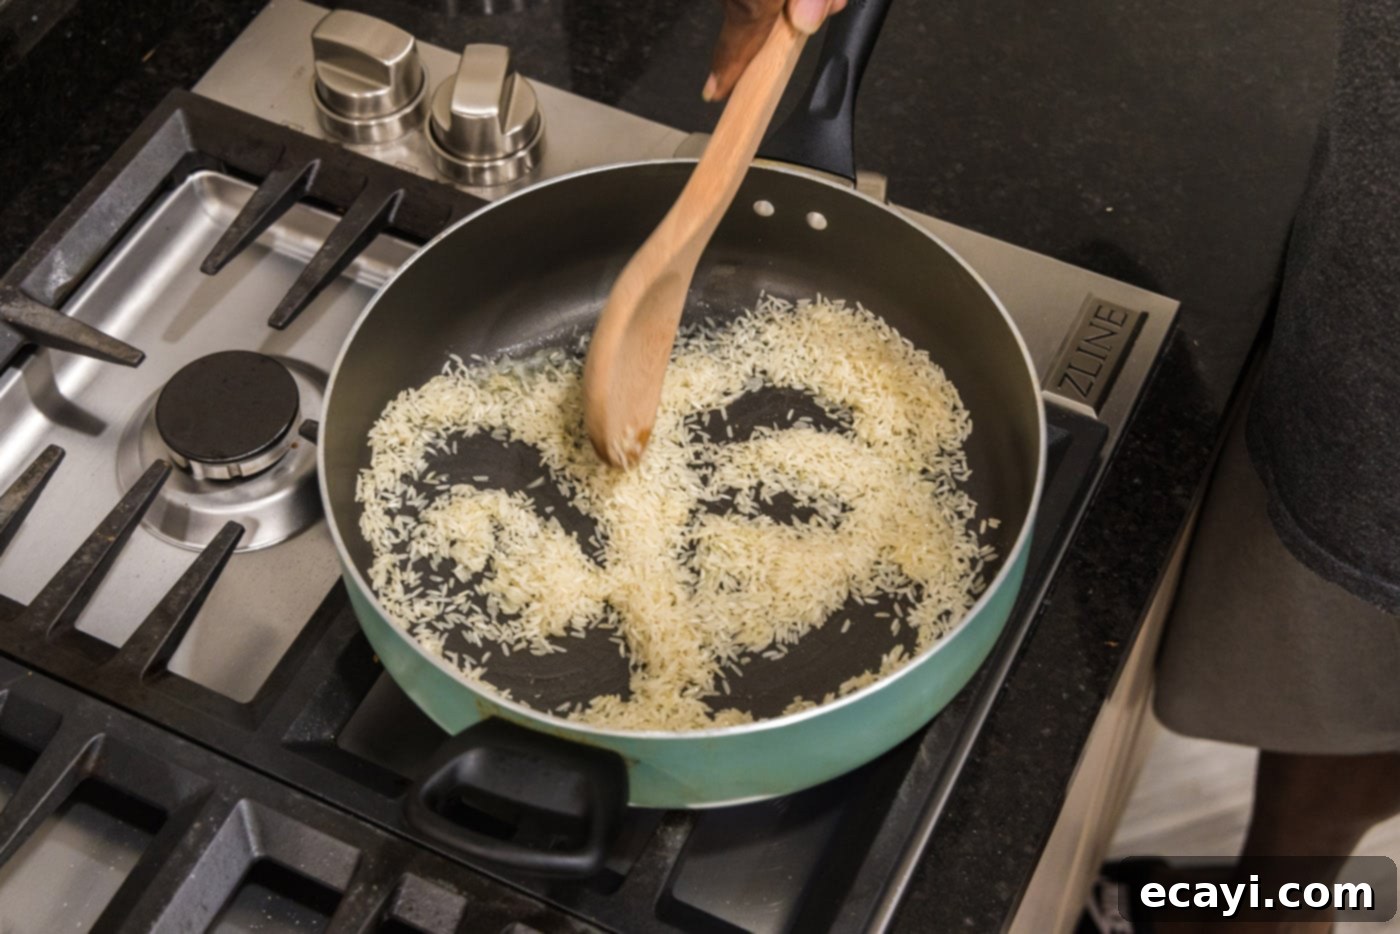
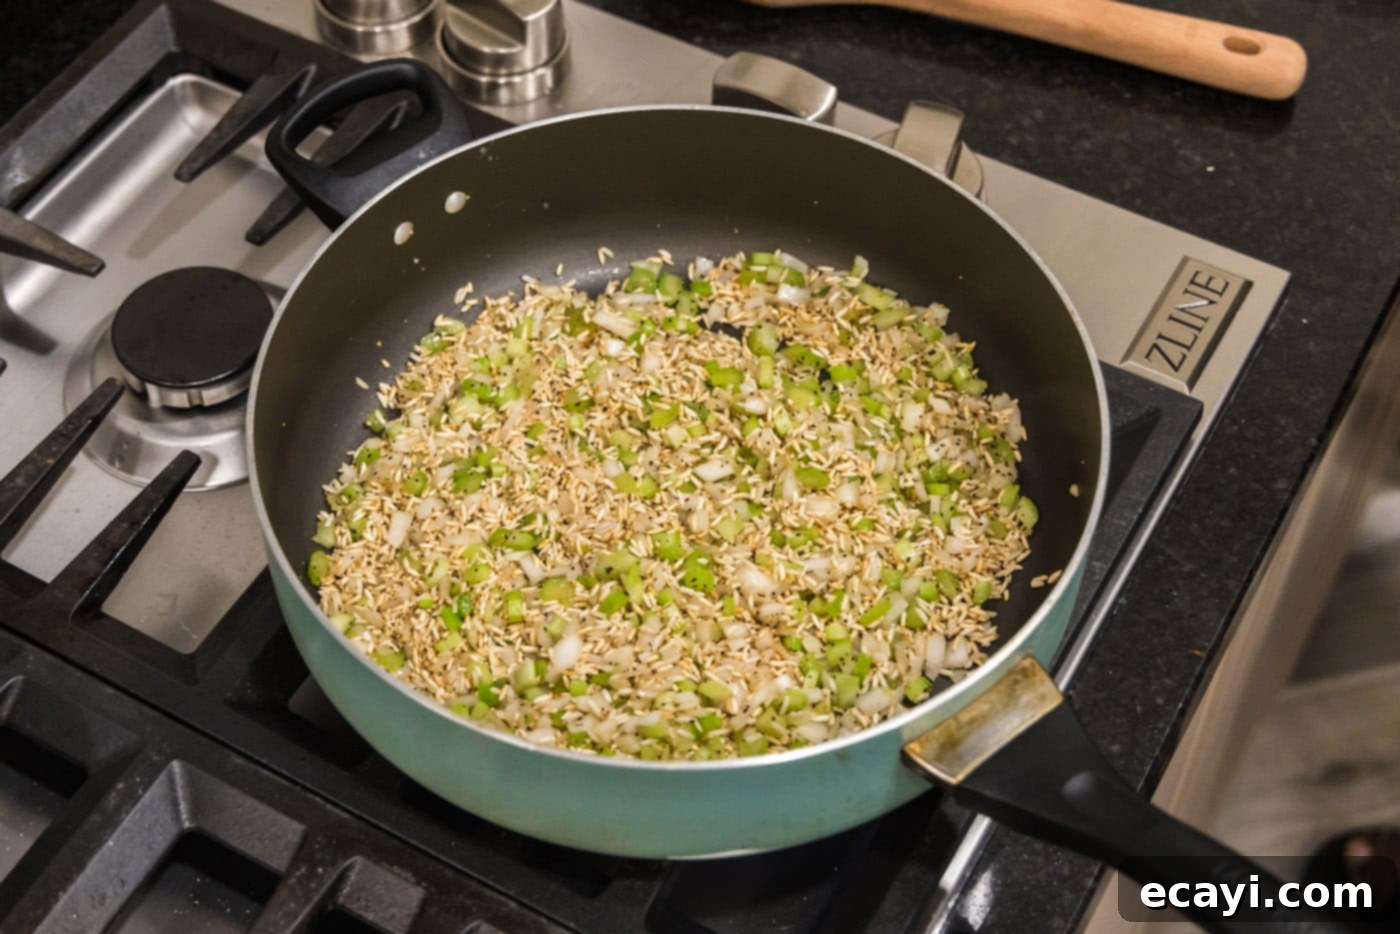
- Add the uncooked rice to the melted butter in the skillet. Stir occasionally, allowing the rice to lightly brown for about 2-3 minutes. This toasting step is crucial for developing flavor and ensuring fluffy, separate grains. You’ll notice a subtle nutty aroma.


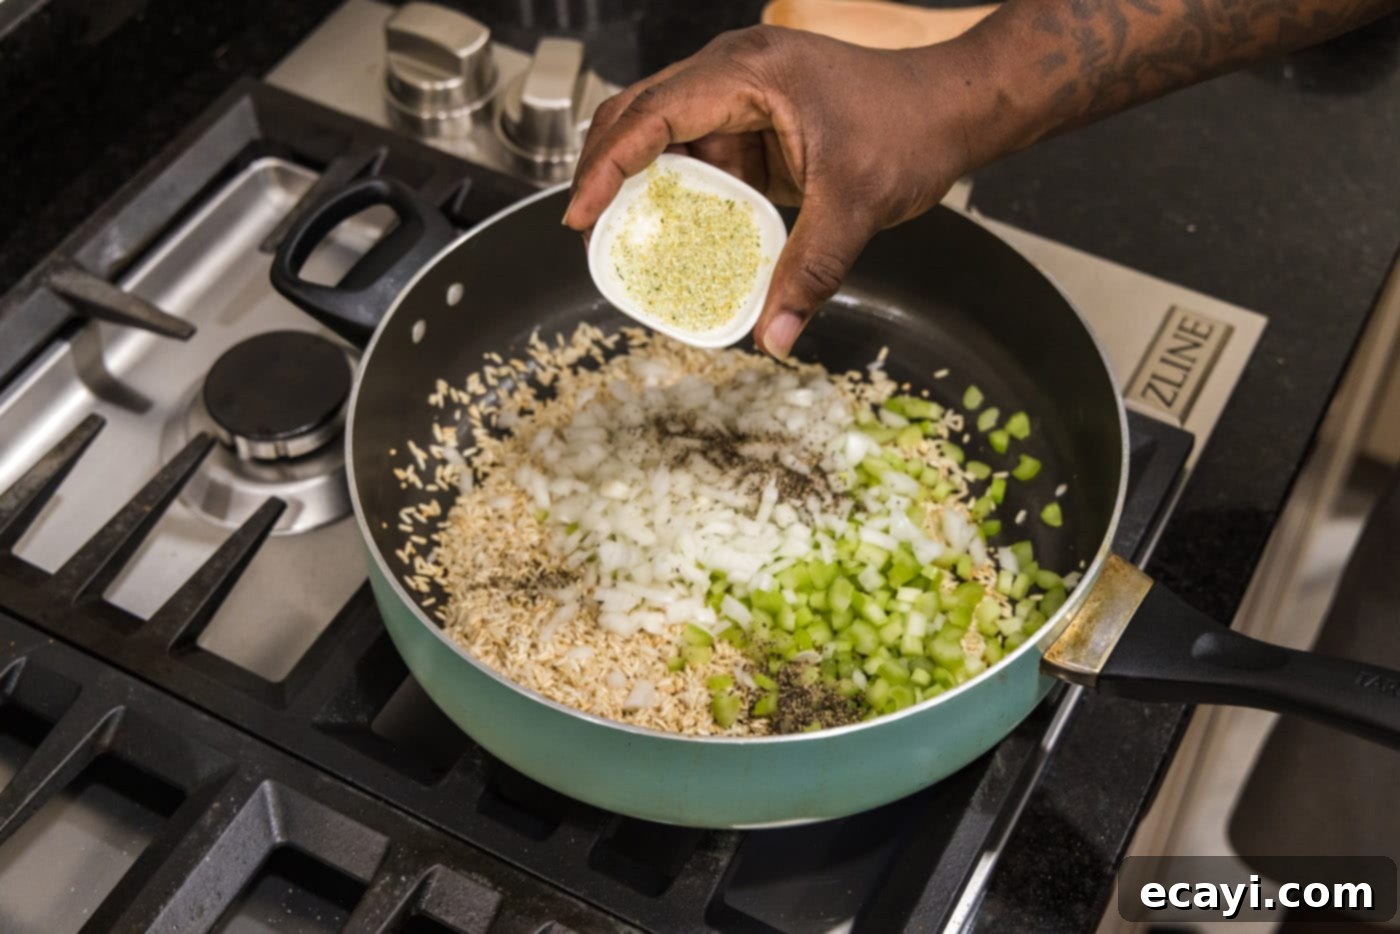
- To the browned rice, add the diced celery, diced onion, garlic salt, and black pepper. Stir well to combine all ingredients. Continue to cook for approximately 4-5 minutes, or until the vegetables have softened slightly and become translucent, releasing their fragrant oils.


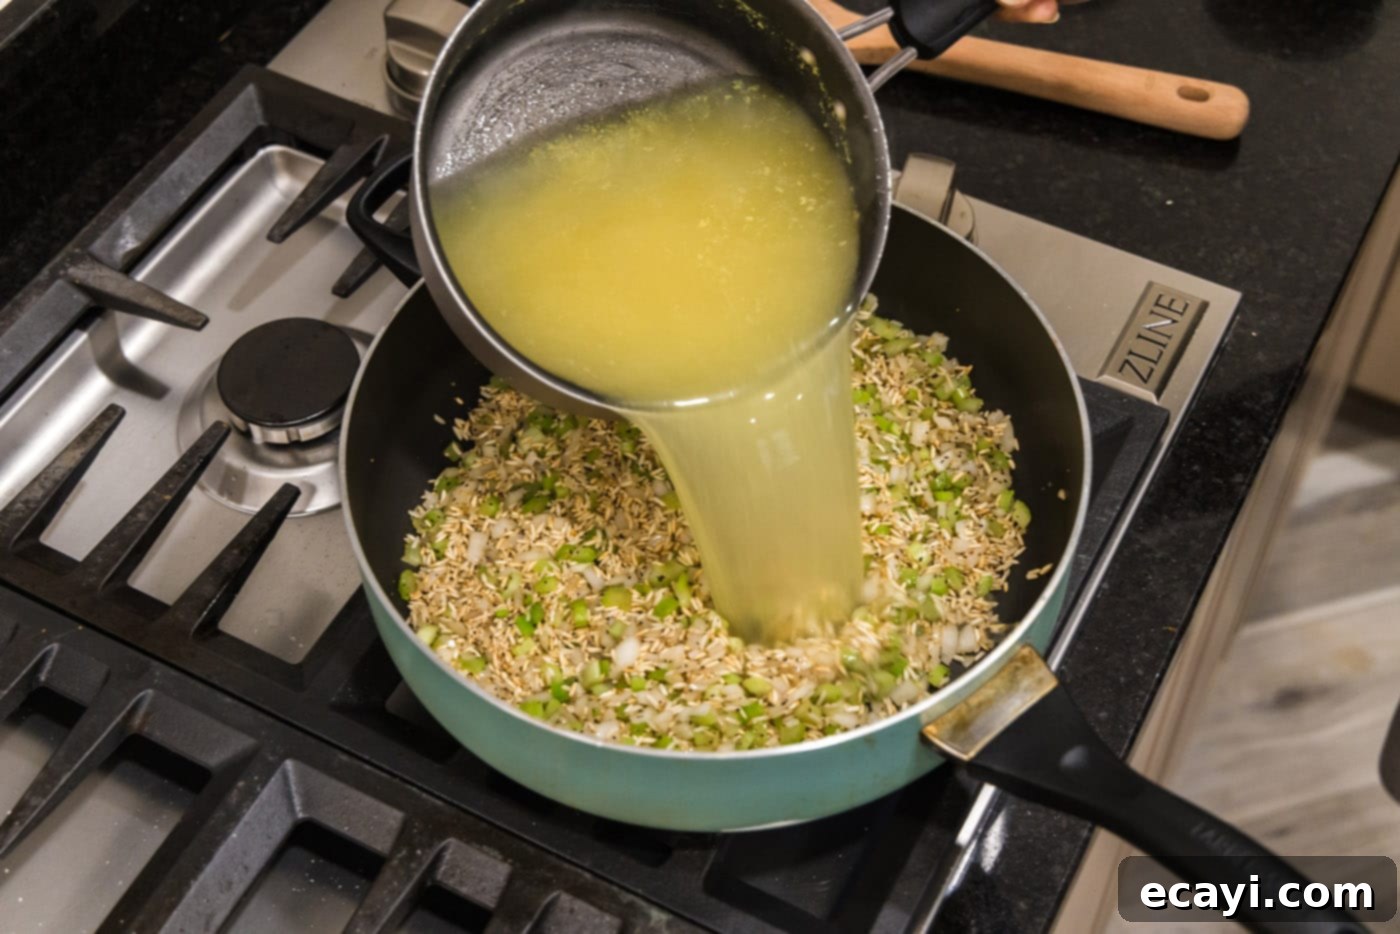
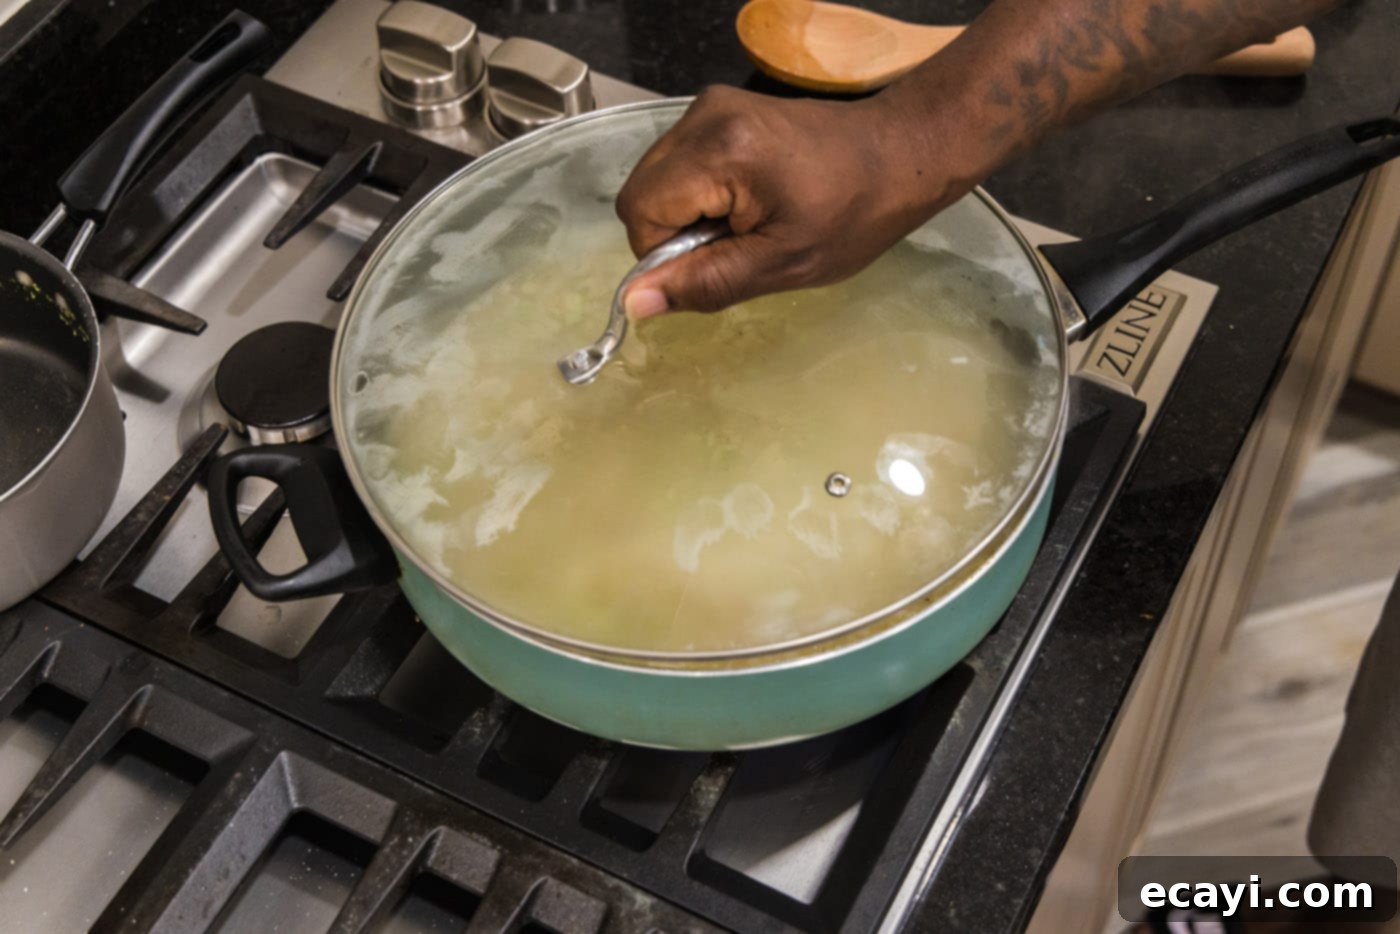
- Carefully pour the hot stock mixture from the saucepan into the skillet with the rice and vegetables. Stir everything gently once to combine. Immediately cover the skillet tightly with a lid. Reduce the heat to low and cook for 15-20 minutes, or until nearly all the liquid has been absorbed and the rice grains are tender and fully cooked. Avoid lifting the lid during this process, as it releases steam crucial for cooking the rice.


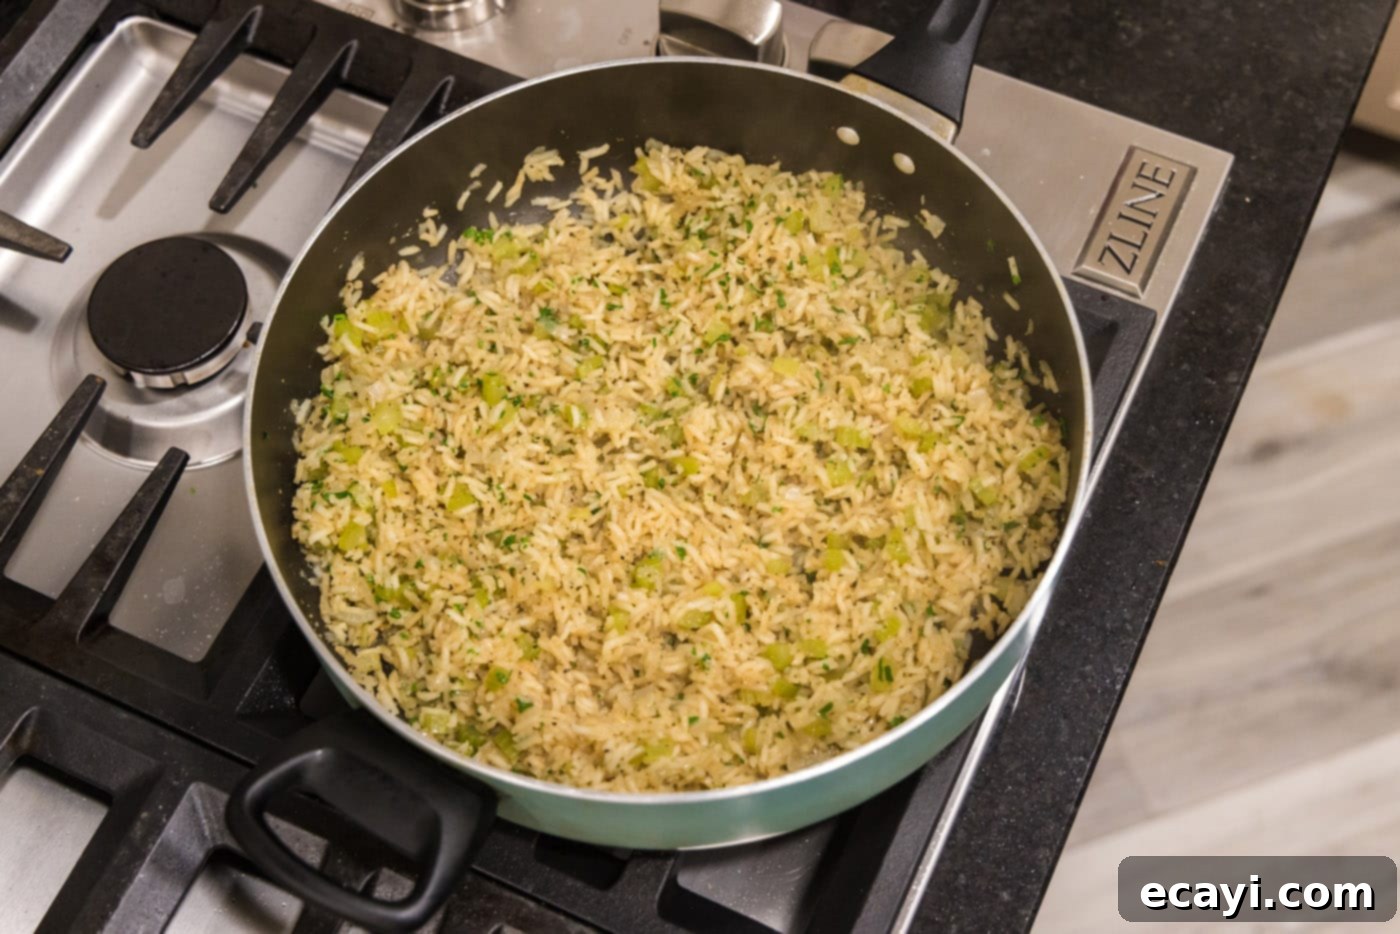
- Once the rice is cooked, remove the skillet from the heat. Take off the lid and gently stir in the fresh minced parsley. Fluff the rice with a fork before serving. Let it rest, covered, for another 5 minutes after fluffing for the best texture.

Frequently Asked Questions & Expert Tips for Perfect Pilaf
Proper storage is key to enjoying your delicious leftovers. Store any leftover rice pilaf in an air-tight container, ensuring it cools completely before sealing. Keep it refrigerated for up to 4-5 days. It’s important to note that rice tends to dry out as it sits in the refrigerator. To restore its moisture and tenderness when reheating, add a small splash (1-2 tablespoons) of water or chicken stock to the rice before microwaving or reheating on the stovetop. This helps to rehydrate the grains and bring back that fresh-cooked feel.
Absolutely! Rice pilaf freezes wonderfully, making it an excellent option for meal prep. To freeze, allow the cooked rice pilaf to cool completely. Then, transfer it to a large, freezer-safe ziptop bag, pressing out as much air as possible, or an air-tight freezer-safe container. Freeze for up to 2 months for optimal freshness. When you’re ready to enjoy it, thaw the frozen pilaf in the refrigerator overnight. Reheat it in the microwave, adding a splash of chicken stock or water to replenish moisture, or reheat it on the stovetop over medium-low heat, stirring occasionally until warmed through.
For a classic, fluffy rice pilaf, long-grain white rice is generally the best choice. This includes regular long-grain white rice, Basmati, or Jasmine rice. These varieties cook up with separate, distinct grains, which is the hallmark of a good pilaf. While brown rice can certainly be used, remember that its higher fiber content means it will require more liquid (typically an extra 50-75% of the original liquid amount) and a longer cooking time. Always refer to package instructions for brown rice adjustments.
Sticky rice pilaf can often be attributed to a few factors: 1. Not toasting the rice sufficiently: The initial browning step helps seal the grains, preventing them from releasing too much starch. 2. Lifting the lid too often: This releases steam, which is essential for the rice to cook properly and absorb the liquid. 3. Too much liquid: Ensure you’re using the correct rice-to-liquid ratio. 4. Not resting the rice: After cooking, let the rice sit, covered, off the heat for 5-10 minutes. This allows the steam to redistribute, resulting in fluffier grains.
Yes, absolutely! Rice pilaf is an excellent make-ahead side dish. Prepare it fully, allow it to cool, and store it in an airtight container in the refrigerator for up to 4-5 days. When reheating, remember to add a splash of extra liquid (water or broth) to help rehydrate the rice and restore its fluffy texture. You can reheat it gently in the microwave or on the stovetop over low heat, stirring occasionally.
There are many ways to boost the flavor! Consider adding a bay leaf or a sprig of fresh thyme to the cooking liquid, removing it before serving. A pinch of saffron threads steeped in a small amount of warm broth can add an elegant color and distinct flavor. Toasted slivered almonds or pine nuts added at the end, along with dried cranberries or golden raisins, can introduce wonderful texture and sweet-savory notes. A squeeze of fresh lemon juice or a sprinkle of fresh dill after cooking can also brighten the flavors significantly.
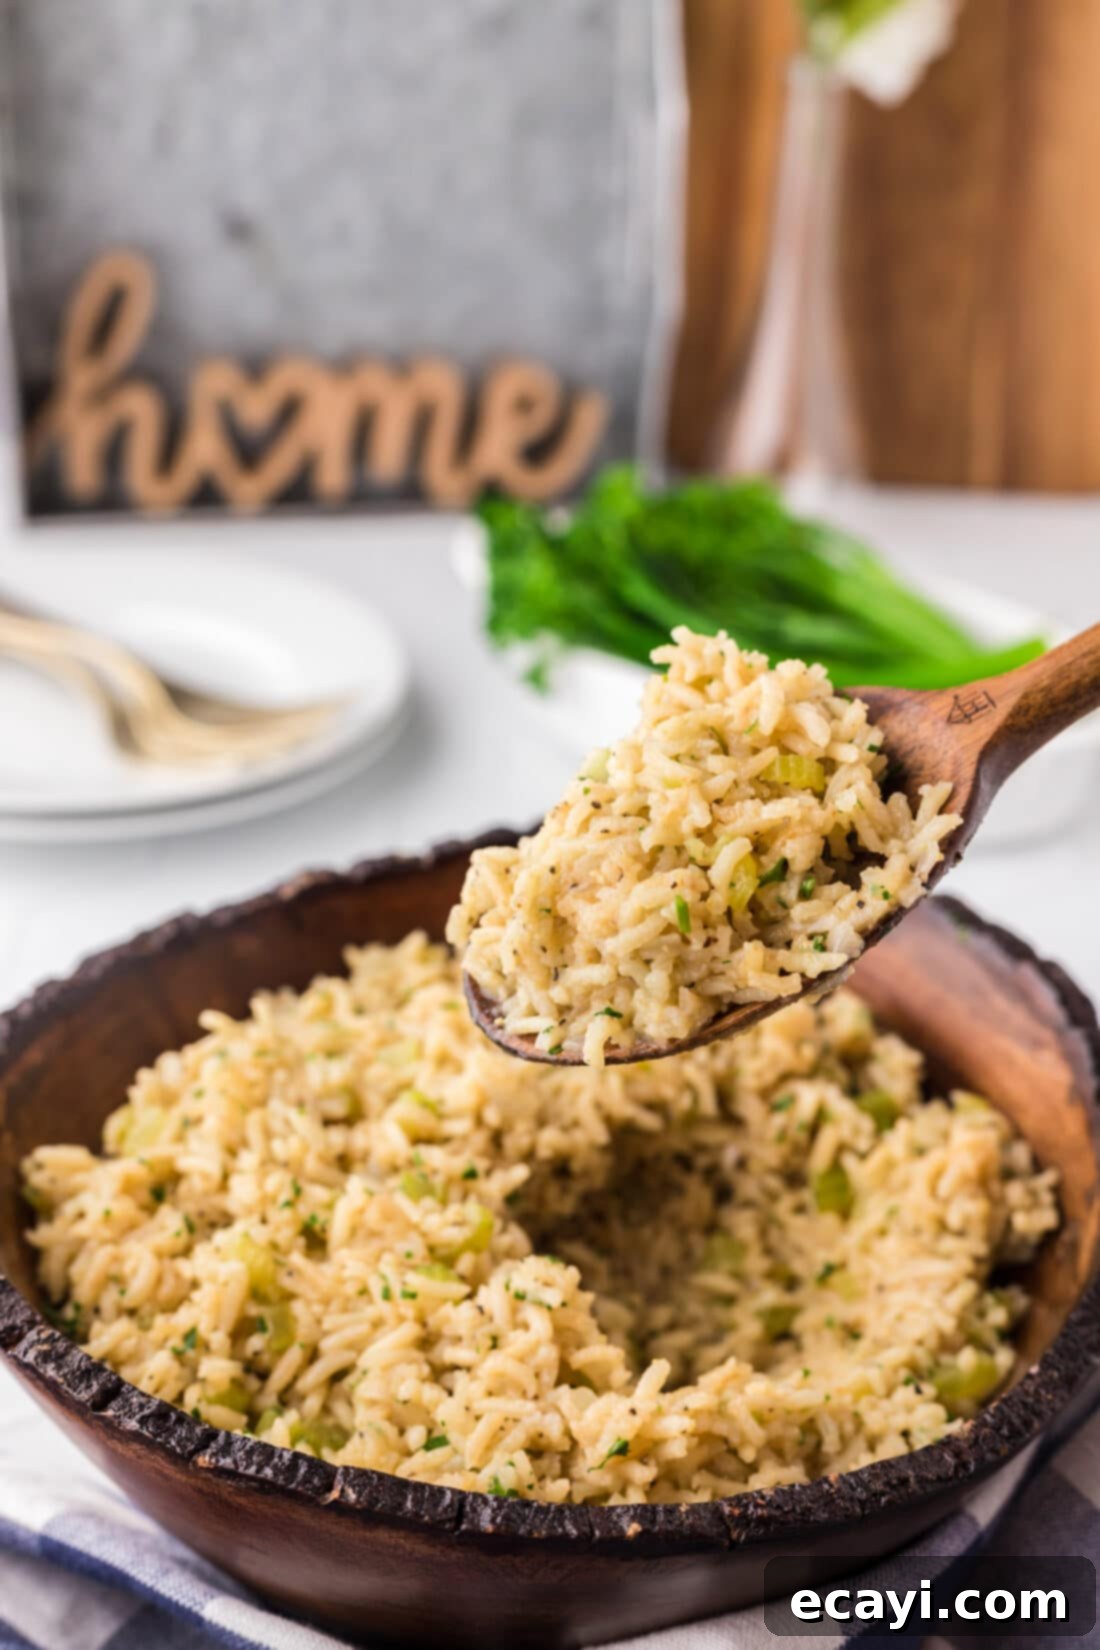
Versatile Serving Suggestions
This savory rice pilaf is incredibly versatile and pairs wonderfully with a wide array of main dishes. Its comforting, aromatic profile makes it an ideal accompaniment for almost any type of meal, from simple weeknight dinners to elegant holiday feasts. Enjoy it warm as a staple side dish, or consider it as a bed for roasted vegetables or a flavorful base for a grain bowl. It perfectly complements:
- Roasted or grilled chicken, turkey, and duck
- Pan-seared or baked fish and seafood
- Hearty beef and pork roasts, chops, or stews
- Vegetarian main courses like lentil loaf or mushroom Wellington
- Stuffed peppers or tomatoes
- As a base for a warm salad with greens and a light vinaigrette
What to Serve with Rice Pilaf
Looking for specific main dishes to pair with this delightful rice pilaf? Here are some fantastic suggestions that will create a balanced and satisfying meal:
- Veal Chops
- Chicken Francesca
- Fried Pork Chops
- Crockpot Sticky Chicken
- Instant Pot Beef Short Ribs
- Lemon Herb Roasted Chicken
- Grilled Salmon with Dill
- Garlic Butter Shrimp
- Braised Lamb Shanks
- Vegetable Skewers
I love to bake and cook and share my kitchen experience with all of you! Remembering to come back each day can be tough, that’s why I offer a convenient newsletter every time a new recipe posts. Simply subscribe and start receiving your free daily recipes!
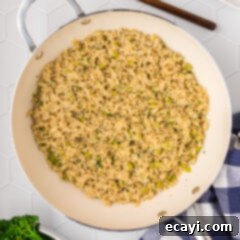
Rice Pilaf
IMPORTANT – There are often Frequently Asked Questions within the blog post that you may find helpful. Simply scroll back up to read them!
Print It
Pin It
Rate It
Save ItSaved!
Ingredients
- 3 cups chicken stock
- 1 cup water
- 1 tablespoon butter
- 2 cups uncooked white rice long grain
- 1 cup diced celery
- 1 cup diced onion
- 1 tablespoon garlic salt
- 1 teaspoon black pepper
- 2 tablespoons fresh minced parsley
Things You’ll Need
-
Saucepan
-
Large skillet
Before You Begin
- For those who enjoy a more robust peppery taste, feel free to increase the black pepper to 2 teaspoons. Freshly ground pepper will offer the best flavor.
- This recipe is wonderfully adaptable to different types of long-grain white rice, including regular long-grain, Basmati, and Jasmine rice, all yielding excellent results. If you prefer to use brown rice, be mindful that it will typically require a greater amount of liquid and a longer cooking duration. Start by increasing the liquid by about 50-75% and be prepared for an extended cooking time.
- The choice of stock can subtly alter the flavor profile. Chicken, beef, or vegetable stock all work beautifully in this recipe, allowing you to tailor it to your dietary preferences or the main course it’s accompanying. Using a high-quality stock will enhance the overall richness.
- To properly store any leftover rice pilaf, transfer it to an airtight container and refrigerate it promptly. It will remain fresh for 4-5 days. As rice can dry out in the refrigerator, we recommend adding a small splash of water or a touch of chicken stock when reheating to help restore its original moisture and fluffy texture.
- This pilaf is freezer-friendly! To freeze, ensure the rice is completely cooled, then pack it into a large resealable freezer bag or an airtight container. It can be frozen for up to 2 months. Thaw it overnight in the refrigerator, and then reheat it in the microwave with a little added liquid, or gently on the stovetop over medium-low heat, stirring until thoroughly warmed through.
Instructions
-
In a medium saucepan over medium-high heat, heat the chicken stock and water until it boils gently.
-
Melt butter in a large skillet over medium heat.
-
Add rice to the skillet and stir occasionally until rice is lightly browned, 2-3 minutes.
-
Add celery, onion, garlic salt, and pepper. Stir to combine. Allow to cook for about 4-5 minutes, or until the vegetables are slightly tender.
-
Add hot stock mixture to the skillet and stir to combine. Cover the skillet and cook covered for 15-20 minutes, or until most of the liquid is absorbed and the rice is tender.
-
Remove lid and stir in minced parsley.
Nutrition
The recipes on this blog are tested with a conventional gas oven and gas stovetop. It’s important to note that some ovens, especially as they age, can cook and bake inconsistently. Using an inexpensive oven thermometer can assure you that your oven is truly heating to the proper temperature. If you use a toaster oven or countertop oven, please keep in mind that they may not distribute heat the same as a conventional full sized oven and you may need to adjust your cooking/baking times. In the case of recipes made with a pressure cooker, air fryer, slow cooker, or other appliance, a link to the appliances we use is listed within each respective recipe. For baking recipes where measurements are given by weight, please note that results may not be the same if cups are used instead, and we can’t guarantee success with that method.
