Easy 4-Ingredient Bisquick Sausage Balls: Your Ultimate Party Appetizer
Whether you’re hosting a lively football game watch party, a cozy holiday gathering, or simply looking for a quick and satisfying snack, these 4-ingredient sausage balls are an absolute showstopper. These delightful, bite-sized savory morsels are incredibly simple to prepare, relying on a magical combination of hearty ground sausage, rich cheddar cheese, versatile Bisquick mix, and a touch of milk. They offer a comforting, cheesy, and meaty flavor that appeals to everyone, making them a consistently popular choice for any occasion where delicious, no-fuss appetizers are a must.

Why This Simple Sausage Ball Recipe is a Must-Try
Cheesy sausage balls have earned their place as a beloved staple, especially around the bustling holiday season and for casual get-togethers. Their enduring popularity isn’t just a coincidence; this recipe truly shines for several compelling reasons, making it a go-to choice for home cooks everywhere.
Firstly, they are the epitome of an individual appetizer. In a world where shared platters can sometimes feel cumbersome, these neatly portioned, bite-sized treats are perfect for guests to grab and enjoy without needing extra utensils. This makes them ideal for large gatherings, allowing everyone to mingle and snack with ease before a big meal or throughout a party. Secondly, the simplicity of this recipe is unparalleled. With just four core ingredients, the preparation process is straightforward and requires minimal effort, even for novice cooks. From start to finish, you’ll have a batch of delicious sausage balls ready in approximately 25 minutes, freeing you up to focus on other aspects of your event or simply relax.
Beyond their ease and convenience, these sausage balls deliver on flavor. The combination of savory ground sausage, sharp cheddar cheese, and the fluffy texture provided by Bisquick creates a harmonious blend that’s incredibly satisfying. They’re hearty enough to curb appetites but light enough not to spoil dinner. Plus, they’re incredibly versatile; while perfect for holidays, they also make a fantastic addition to breakfast spreads, brunch buffets, or game day snacks. Their ability to be prepped ahead of time and even frozen makes them an invaluable asset for stress-free entertaining. You’ll quickly find yourself returning to this recipe time and time again for its reliability, deliciousness, and sheer convenience.

Essential Ingredients for Your Sausage Balls
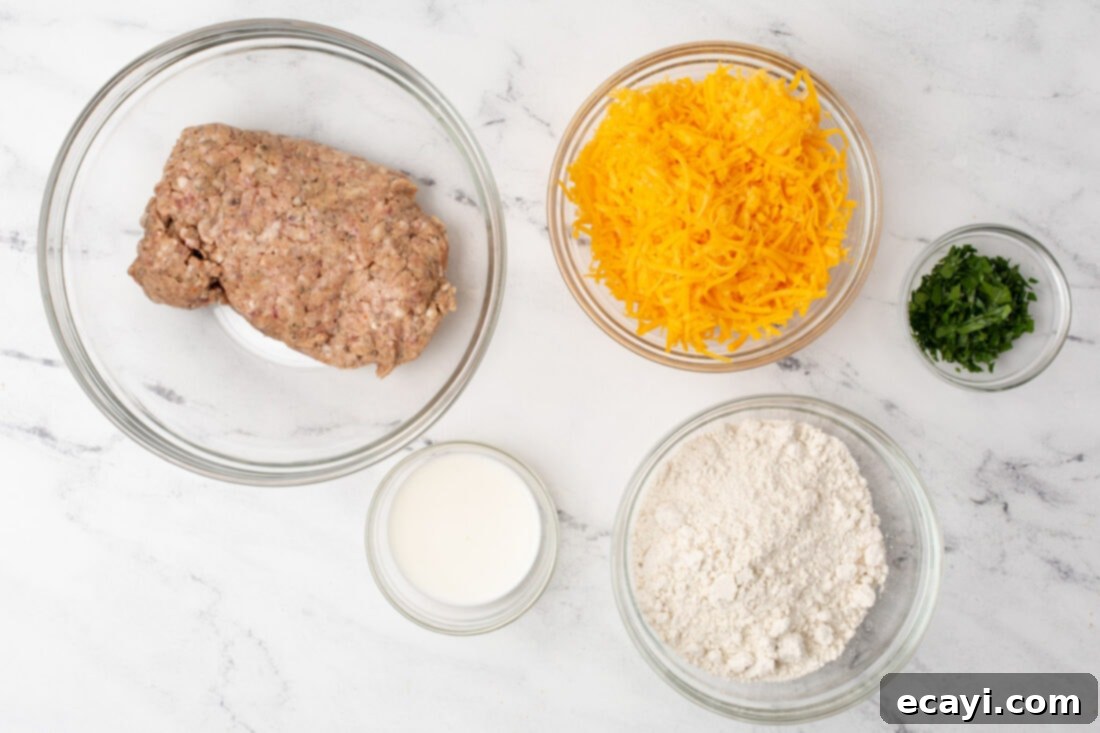
Crafting these delectable sausage balls requires only a handful of readily available ingredients, making this recipe incredibly accessible. You’ll find all the precise measurements, detailed ingredients, and comprehensive instructions in the printable recipe version conveniently located at the end of this post. However, for a quick overview, here are the simple components you’ll need to gather to bring these savory bites to life.

Ingredient Spotlight: Tips for Perfect Sausage Balls
While this recipe is straightforward, understanding the role of each ingredient and exploring potential substitutions can elevate your sausage balls from great to extraordinary. Here’s a closer look at the key components:
SAUSAGE – The star of the show! For this recipe, we highly recommend using ground pork sausage. You have a couple of fantastic options here: classic breakfast sausage or flavorful Italian sausage. Breakfast sausage typically comes in mild or hot varieties, allowing you to control the level of spice. If you opt for Italian sausage, both mild and spicy versions work wonderfully, with spicy Italian sausage adding a delicious kick that can really awaken the palate. Whichever type you choose, ensure it is ground sausage, as this texture is crucial for combining easily with the other ingredients and forming cohesive balls. Avoid pre-cooked sausage crumbles, as they won’t bind as effectively. For a slightly healthier alternative, you could try ground turkey or chicken sausage, though keep in mind they may be leaner and require a tiny bit more milk or moisture to achieve the perfect consistency.
CHEESE – The right cheese makes all the difference for both flavor and texture. Our top recommendation is to shred your own cheese from a block. This step is critical because freshly shredded cheese contains more moisture and lacks the anti-caking agents (like cellulose or potato starch) found in pre-shredded varieties. These agents can prevent the cheese from melting smoothly and binding effectively, often leading to drier, crumbly sausage balls. Freshly shredded cheese will melt beautifully, adding essential moisture and acting as a wonderful binder, resulting in a more tender and flavorful product. While cheddar cheese is our first choice for its sharp, familiar flavor and excellent melt, don’t hesitate to experiment! You can use a sharp or mild cheddar, or even introduce other cheeses like Monterey Jack, Colby, or a blend. For an extra layer of savory depth, adding a touch of grated Parmesan cheese to your cheddar is a delightful twist, or you could swap out the cheddar entirely for something like Pepper Jack if you desire a spicier kick. The key is fresh shredding for optimal results.
BISQUICK – This incredible baking mix serves as both a flour base and a leavening agent, making these sausage balls incredibly easy to prepare. You’ll need 2 cups of Bisquick for the base recipe. The amount of Bisquick can be slightly adjusted based on your desired texture; if you prefer a denser ball, you can slightly increase it, or if they feel too dry, a little extra milk will help. Conversely, if you want a slightly softer, more crumbly texture, you might reduce the Bisquick slightly. We also have a fantastic homemade Bisquick recipe that’s super easy to whip up if you prefer to make your own mix from scratch. This allows for even greater control over the ingredients and can be a great option for those who bake frequently.
MILK – Milk is added incrementally to achieve the perfect dough-like consistency for your sausage balls. Its primary role is to provide moisture, helping all the dry ingredients and the sausage bind together into a workable mixture. The amount needed can vary slightly depending on the fat content of your sausage and cheese, as well as the humidity in your kitchen. We recommend adding it a tablespoon at a time until the mixture just comes together and can be easily rolled into balls. Whole milk tends to add a bit more richness and moisture, but 2% or even skim milk will also work, with only a marginal difference in the final product’s texture. The key is to add just enough to make the mixture cohesive without making it overly sticky or wet.
Mastering the Art of Making Sausage Balls
These step-by-step photos and detailed instructions are designed to help you visualize each stage of making this simple yet delicious recipe. For a printer-friendly version with exact measurements and complete instructions, you can Jump to Recipe at the bottom of this post.
- First things first, preheat your oven to a consistent 350°F (175°C). This ensures your oven is at the optimal temperature when your sausage balls are ready to bake, leading to even cooking and a perfectly golden exterior.
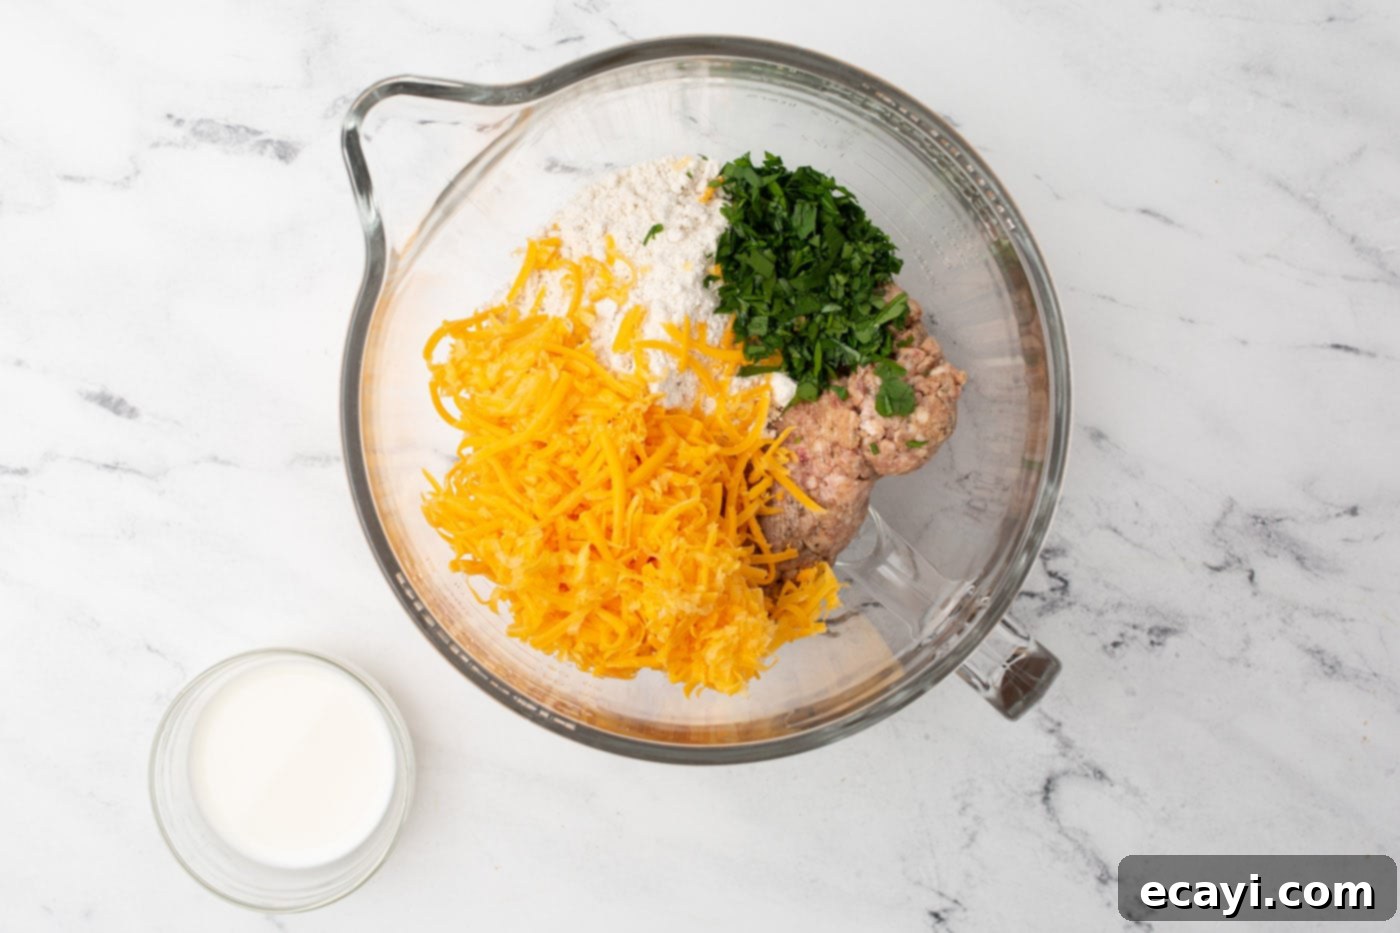
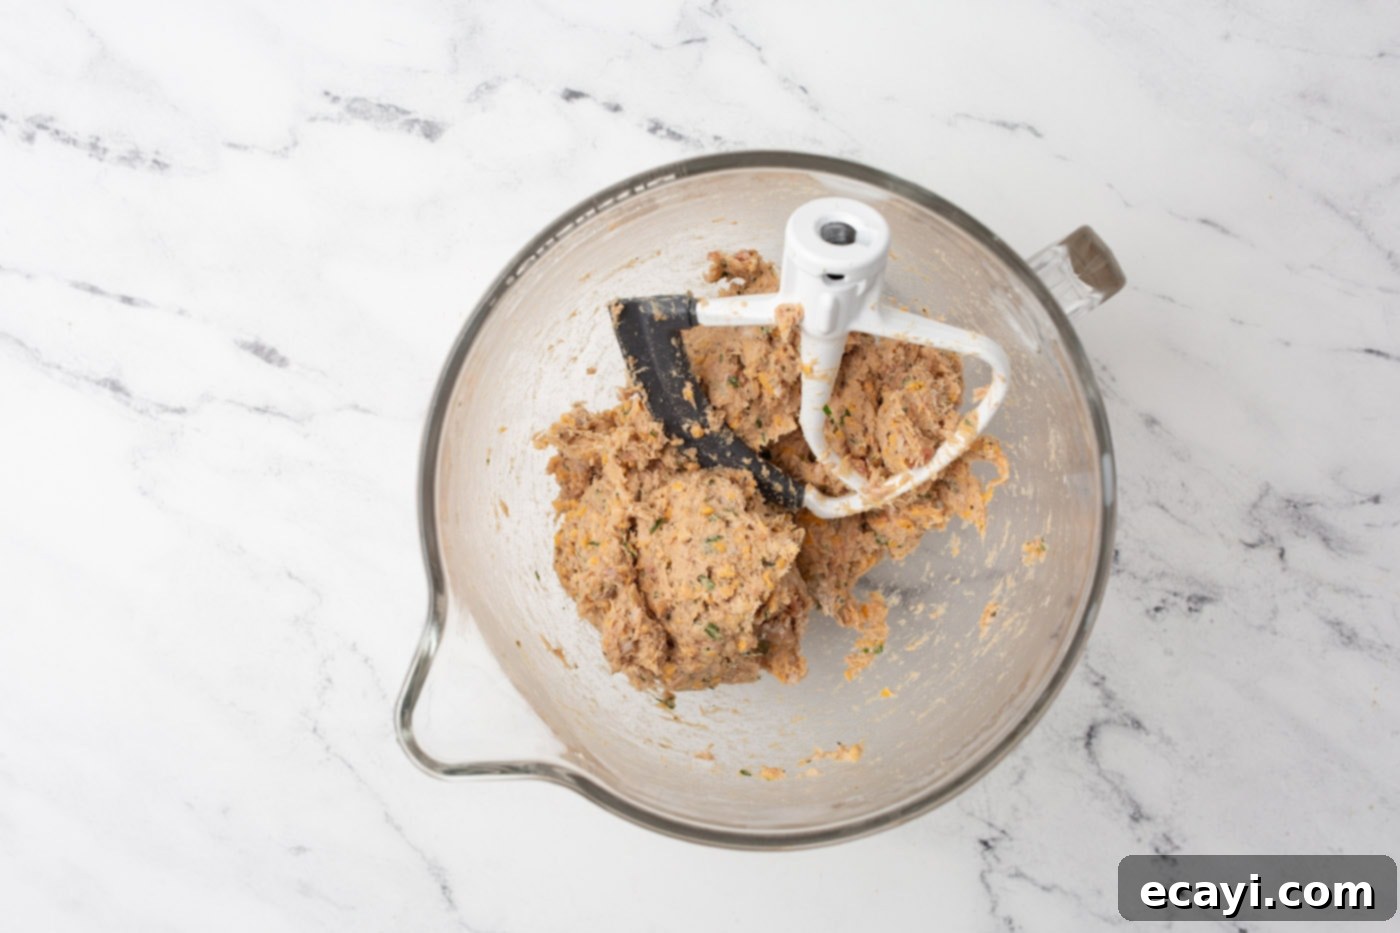
- In a generously sized mixing bowl, combine all your primary ingredients: the ground sausage, freshly shredded cheddar cheese, and Bisquick mix. For ease and efficiency, we highly recommend using a stand mixer fitted with a paddle attachment. This will ensure all ingredients are thoroughly and evenly combined without overworking the mixture. If mixing by hand, use sturdy hands or a heavy-duty spoon, ensuring everything is well incorporated. Begin adding milk, just one tablespoon at a time, kneading or mixing until the mixture comes together and is pliable enough to form into balls. The goal is a cohesive, slightly firm dough that isn’t too sticky. You’ll know it’s ready when the mixture starts to pull away cleanly from the sides of the bowl.


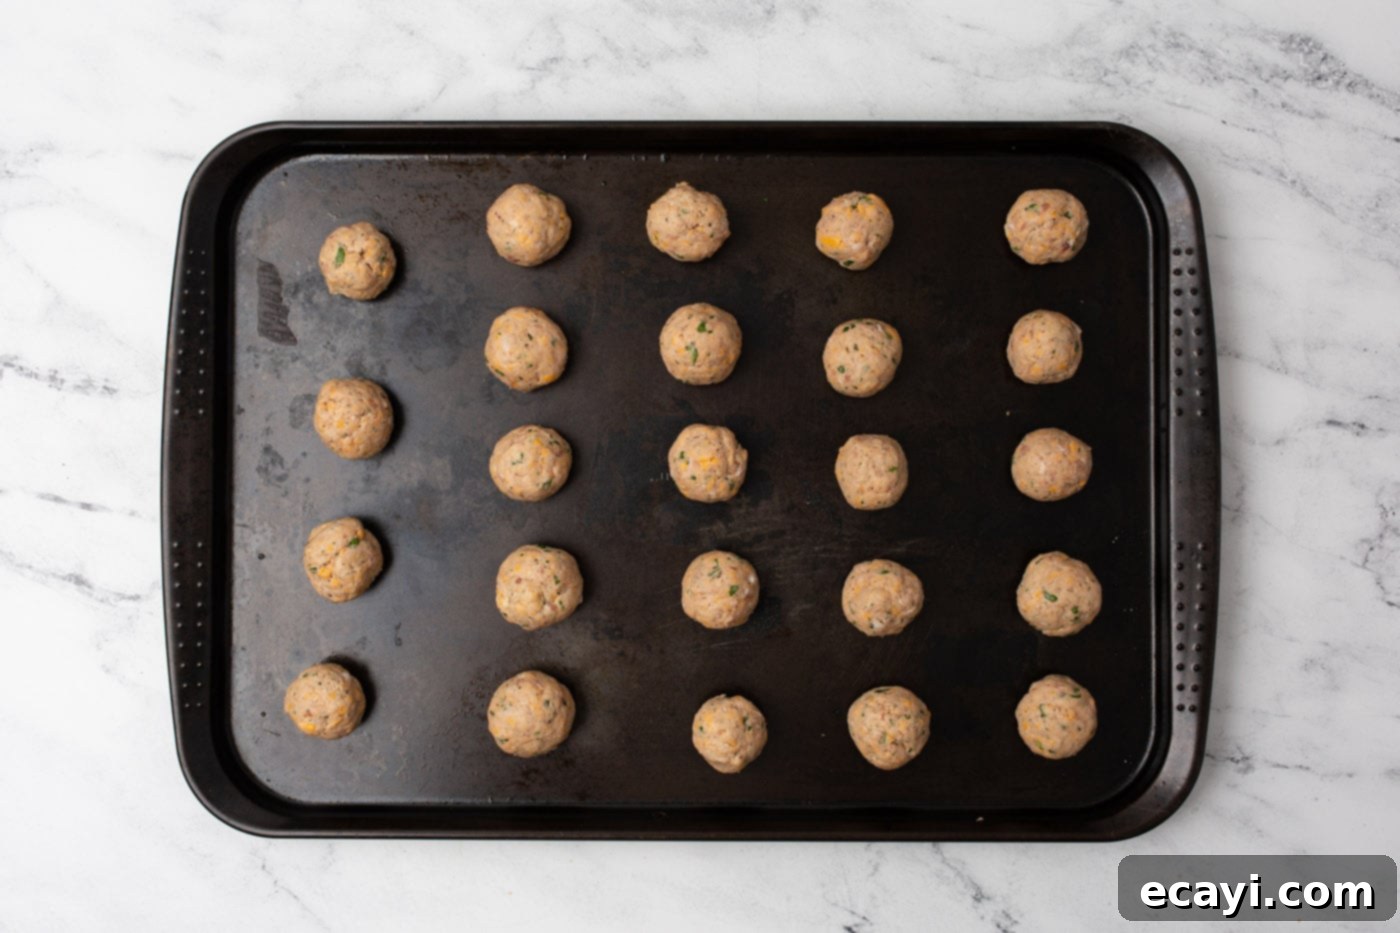
- Once your mixture has reached the ideal consistency, use a 1-1/2 Tablespoon scoop to measure out uniform portions. This ensures all your sausage balls are roughly the same size, promoting even baking. Gently roll each portion between your palms to form neat, round meatballs. Arrange them on an unlined baking sheet, leaving a small space between each ball to allow for air circulation during baking.

- Place the baking sheet into your preheated oven and bake for approximately 15-18 minutes. The exact baking time may vary slightly depending on your oven and the size of your sausage balls. Look for them to be golden brown on the outside and cooked through in the center. A meat thermometer should register an internal temperature of 160°F (71°C) for pork sausage.
- Once baked to perfection, remove the sausage balls from the oven. For easy serving and a classic appetizer presentation, serve them warm with toothpicks. Don’t forget to offer a selection of delicious dipping sauces to complement their savory flavor. See our serving suggestions below for some irresistible ideas!
Frequently Asked Questions & Expert Tips for Sausage Balls
To ensure your sausage balls are always a success, we’ve gathered some common questions and essential expert tips:
Absolutely! Sausage balls are incredibly freezer-friendly, making them perfect for meal prep or future party planning. You have two main options: freezing them cooked or uncooked.
- For uncooked sausage balls: We highly recommend flash freezing them first. Arrange the formed, uncooked sausage balls in a single layer on a baking sheet and place them in the freezer for about an hour. This prevents them from sticking together. Once firm, transfer them to a large zip-top freezer bag or an airtight freezer-safe container. They can be stored in the freezer for 3-4 months. When ready to bake, you can bake them from frozen, adding an additional 5-10 minutes to the baking time, or thaw them in the refrigerator overnight before baking as directed.
- For cooked sausage balls: Allow them to cool completely after baking. Then, arrange them in a single layer on a baking sheet and flash freeze for an hour. Transfer to an airtight container or freezer bag. Reheat from frozen in the oven at 300°F (150°C) until warmed through, or microwave in short bursts.
Storing leftover cooked sausage balls is simple. Once they have cooled completely to room temperature, place them in an airtight container. They will keep well in the refrigerator for up to 4 days. To reheat, you can use a microwave for a quick warm-up, or place them on a baking sheet in a preheated oven (around 300-325°F or 150-160°C) until they are heated through, which will help them regain some crispness.
If you’re looking to prep ahead, you can also assemble the sausage mixture and form the balls, then store them unbaked in an airtight container in the refrigerator for up to 2 days before baking. This makes party day preparation even easier.

Expert Tips for the Best Sausage Balls:
- Room Temperature Ingredients: For easier mixing and better incorporation, allow your ground sausage and shredded cheese to come to room temperature for about 15-30 minutes before mixing. This helps everything combine more smoothly.
- Don’t Overmix: Mix until just combined. Overmixing can lead to tougher sausage balls. The goal is to bind the ingredients, not to develop gluten.
- Adjusting Consistency: The amount of milk can vary slightly. Start with the suggested amount and add more, a tablespoon at a time, until the mixture is firm but pliable. It should hold its shape when rolled but not be overly sticky or crumbly.
- Spice it Up: Feel free to customize the flavor. Add a pinch of garlic powder, onion powder, a dash of cayenne pepper for heat, or even some dried Italian herbs directly into the mixture before baking.
- Cheese Variations: While cheddar is classic, don’t be afraid to try other cheeses or a blend, such as sharp provolone, smoked gouda, or even a spicy pepper jack for an extra kick.
- Even Baking: Using a cookie scoop (like a 1.5 tablespoon one) is key for uniform size, which ensures all your sausage balls bake evenly.
- Serve Warm: These taste best when served warm, straight from the oven, or reheated. The cheese is meltier, and the flavors are more vibrant.
Creative Serving Suggestions for Sausage Balls
Sausage balls are incredibly versatile and can adapt to many different meal occasions beyond just appetizers. Their savory, cheesy profile makes them a fantastic addition to various spreads. For breakfast or brunch, serve them alongside scrambled eggs, a fresh fruit platter, and a hot cup of coffee for a hearty and satisfying meal. Their individual size makes them perfect for a buffet-style spread.
As an appetizer, their role truly shines. Present them warm on an elegant platter, providing toothpicks for easy grabbing. Don’t shy away from experimenting with different flavors and seasonings directly within the sausage mixture before baking. You can easily divide the recipe in half and create two distinct batches by swapping out the type of cheese (e.g., one with sharp cheddar, one with pepper jack) or incorporating different seasonings (e.g., adding smoked paprika and a touch of liquid smoke to one batch for a smoky flavor, or extra red pepper flakes for heat to another). This allows you to cater to various taste preferences among your guests.
No plate of sausage balls is complete without a selection of tantalizing dipping sauces. Offering a variety allows guests to customize their experience and find their perfect flavor pairing. Some excellent options include:
- Spicy Mayo: A simple mix of mayonnaise and sriracha or hot sauce provides a creamy, zesty kick.
- Ranch Dressing: A classic, cool, and tangy favorite that complements the savory sausage beautifully.
- Barbeque Sauce: Sweet and smoky, barbecue sauce adds a robust flavor dimension.
- Sweet Chili Sauce: Offers a delightful balance of sweet and spicy, with a hint of tang.
- Honey Mustard: For a sweet and tangy contrast that’s always a crowd-pleaser.
- Grape Jelly Meatball Sauce: While typically for meatballs, a warmed mixture of grape jelly and chili sauce can be surprisingly delicious with these savory bites, especially for a holiday twist.
- Cream Cheese Dip: A simple seasoned cream cheese dip can add a rich, decadent touch.
No matter how you choose to serve them, these cheesy Bisquick sausage balls are guaranteed to be a hit!
More Irresistible Appetizer Recipes You’ll Love
If you’re a fan of easy, crowd-pleasing appetizers, you’re in the right place! Here are some other fantastic recipes that are perfect for parties, game days, or simply enjoyable snacking:
- Grape Jelly Meatballs
- Spinach Artichoke Dip
- Bacon Cheeseburger Meatballs
- Bacon Wrapped Little Smokies
- Mozzarella Parmesan Stuffed Mushrooms
- Antipasto Wreath
I love to bake and cook and share my kitchen experience with all of you! Remembering to come back each day can be tough, that’s why I offer a convenient newsletter every time a new recipe posts. Simply subscribe and start receiving your free daily recipes!

Sausage Balls
IMPORTANT – There are often Frequently Asked Questions within the blog post that you may find helpful. Simply scroll back up to read them!
Print It
Pin It
Rate It
Save ItSaved!
Ingredients
- 1 lb ground pork sausage (choose breakfast sausage for mild flavor or Italian sausage for a richer, seasoned taste)
- 8 oz cheddar cheese (freshly shredded from a block for best texture and melt)
- 2 cups Bisquick (or your favorite homemade baking mix)
- milk (start with 1-2 tablespoons and add more, 1 tablespoon at a time, until mixture is pliable)
Optional Spices (for added flavor)
- parsley (1-2 teaspoons dried, or 1 tablespoon fresh, chopped)
- chives (1-2 teaspoons dried, or 1 tablespoon fresh, chopped)
- dried Italian herbs (1 teaspoon, or a pinch of garlic powder, onion powder, or cayenne pepper for heat)
Things You’ll Need
-
Baking sheet
-
Stand mixer (optional, but highly recommended for easy mixing)
-
Cheese grater (for fresh shredding)
-
1.5 Tablespoon Cookie Scoop (for uniform size)
Before You Begin: Key Considerations for Success
- Cheese Matters: For the best binding, melting, and overall flavor, always shred your own cheese from a block. Pre-shredded cheeses contain anti-caking agents that can hinder moisture and result in drier, less cohesive sausage balls. Freshly shredded cheese will integrate much better into the mixture.
- Mixing Method: While you can certainly mix this recipe by hand, a stand mixer equipped with a paddle attachment makes the process much quicker and more efficient. The mixer ensures all ingredients are thoroughly combined without overworking the meat. When using a stand mixer, slowly add the milk one tablespoon at a time until the sausage mixture starts to “clear the bowl” and comes together as a cohesive dough. If mixing by hand, use strong hands and a sturdy spoon to ensure even distribution.
- Milk for Consistency: The amount of milk required can vary slightly based on the moisture content of your specific sausage and cheese. Add milk gradually, a tablespoon at a time, until the mixture is firm enough to roll into balls but not crumbly or overly sticky. It should be pliable and hold its shape.
- Embrace the Texture: Please note that these sausage balls will inherently be a bit drier and denser than a traditional, saucy meatball. This is their intended characteristic and part of what makes them perfect finger food. Don’t expect them to be moist like meatballs cooked in sauce; their drier nature is what allows them to be held and eaten easily as an appetizer.
- Optional Flavor Enhancers: Don’t hesitate to personalize your sausage balls. Incorporate optional spices like a teaspoon of dried Italian herbs, a pinch of garlic powder, or a dash of cayenne pepper for a subtle warmth directly into the mixture when combining ingredients. These additions can significantly enhance the overall flavor profile.
- Room Temperature Ingredients: Bringing your ground sausage and cheese to room temperature for about 15-30 minutes before mixing can make the ingredients much easier to combine and ensures a smoother, more uniform mixture.
Instructions
-
Prepare Your Oven: Begin by preheating your oven to 350°F (175°C). Ensure it reaches this temperature before placing the sausage balls inside for optimal baking.
-
Combine Ingredients: In a large mixing bowl, or the bowl of a stand mixer fitted with a paddle attachment, combine the ground pork sausage, freshly shredded cheddar cheese, and Bisquick mix. If using optional spices, add them now. Begin mixing all ingredients until they are mostly combined. Gradually add milk, starting with 1 tablespoon, and mix until the dough comes together and is pliable enough to form into balls. You may need to add a second or third tablespoon of milk. The mixture should pull away from the sides of the bowl or your hands easily.
-
Form the Sausage Balls: Using a 1-1/2 Tablespoon scoop (or simply your hands), measure out and roll the mixture into uniform, bite-sized meatballs. This ensures even cooking. Place them on an unlined baking sheet, leaving a little space between each one.
-
Bake to Perfection: Bake the sausage balls in your preheated oven for 15-18 minutes. They are ready when they are golden brown on the outside and cooked through. An instant-read thermometer inserted into the center of a sausage ball should read 160°F (71°C).
-
Serve and Enjoy: Remove from the oven and serve immediately while warm. Offer a selection of your favorite dipping sauces (like spicy mayo, ranch, or sweet chili sauce) and toothpicks for easy serving to your guests.
Nutrition
The recipes on this blog are tested with a conventional gas oven and gas stovetop. It’s important to note that some ovens, especially as they age, can cook and bake inconsistently. Using an inexpensive oven thermometer can assure you that your oven is truly heating to the proper temperature. If you use a toaster oven or countertop oven, please keep in mind that they may not distribute heat the same as a conventional full sized oven and you may need to adjust your cooking/baking times. In the case of recipes made with a pressure cooker, air fryer, slow cooker, or other appliance, a link to the appliances we use is listed within each respective recipe. For baking recipes where measurements are given by weight, please note that results may not be the same if cups are used instead, and we can’t guarantee success with that method.


