The Ultimate Crispy Buffalo Chicken Tenders: A Homemade Spicy Delight
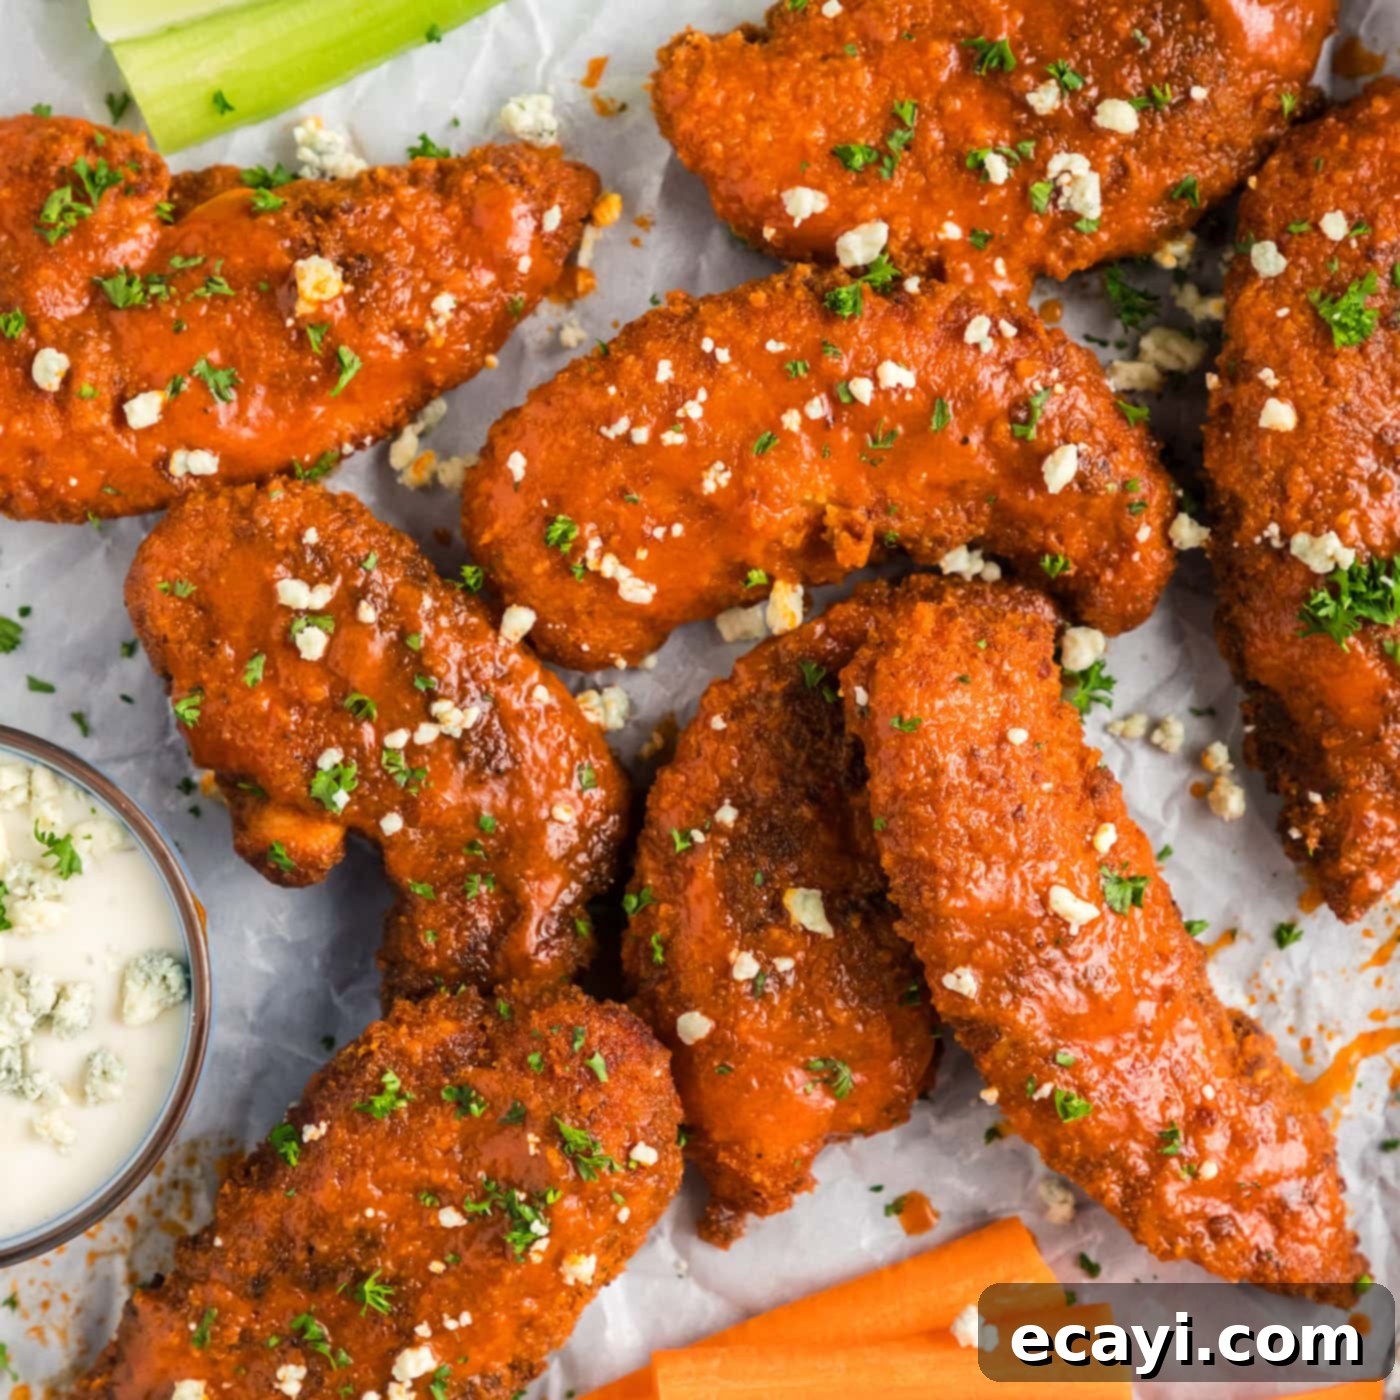
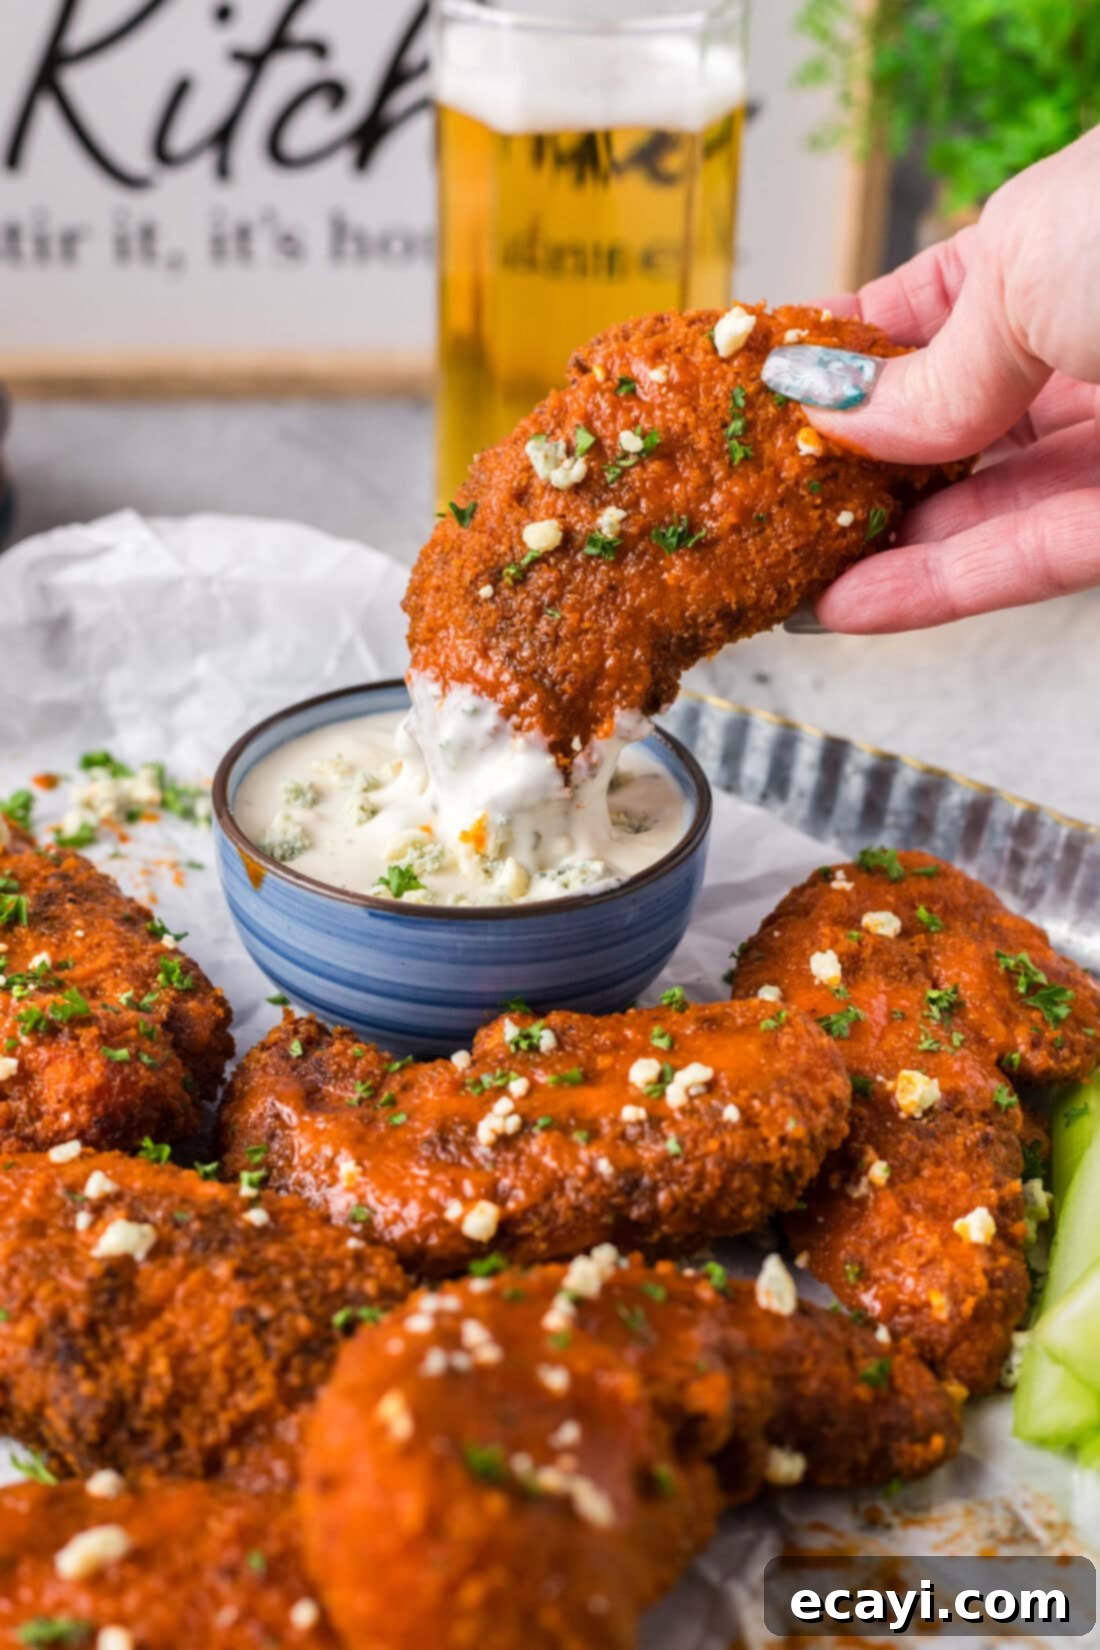
There’s nothing quite like the irresistible allure of perfectly cooked chicken tenders. But when those golden, crispy strips are drenched in a tangy, spicy homemade buffalo sauce, they transcend into a category of their own. This ultimate buffalo chicken tenders recipe delivers an explosion of flavor and texture that will have you reaching for more. Each bite offers a satisfying crunch followed by tender, juicy chicken, all enveloped in that iconic, fiery sauce. Forget bland chicken – these tenders are a game-changer for appetizers, game day snacks, or a fun family dinner.
Why This Buffalo Chicken Tenders Recipe Is a Must-Try
What makes a buffalo chicken tender truly exceptional? It’s the harmonious balance of textures and flavors. This recipe perfectly marries a robust, crunchy exterior with succulent, tender chicken on the inside. But the real magic happens when these perfectly fried tenders meet our homemade buffalo sauce. This isn’t just any sauce; it’s a vibrant, piquant concoction that offers just the right amount of heat without overwhelming your palate. It’s a flavor profile that keeps you coming back, a sensation we’ve seen proven time and again with the immense popularity of our Buffalo Chicken Dip.
The breading on these buffalo chicken strips is designed to be exceptional. Using Panko breadcrumbs creates a light, airy, and incredibly crispy crust that forms numerous nooks and crannies. These tiny grooves are essential for holding onto that delicious buffalo sauce, ensuring every inch of your tender is coated in spicy, buttery goodness. The addition of cayenne pepper and garlic salt to the breading even before the sauce step builds layers of flavor from the very beginning, elevating these tenders far beyond your average fried chicken. It’s a recipe crafted for maximum flavor, ultimate crispiness, and an unforgettable eating experience.
Essential Ingredients for Perfect Buffalo Chicken Tenders
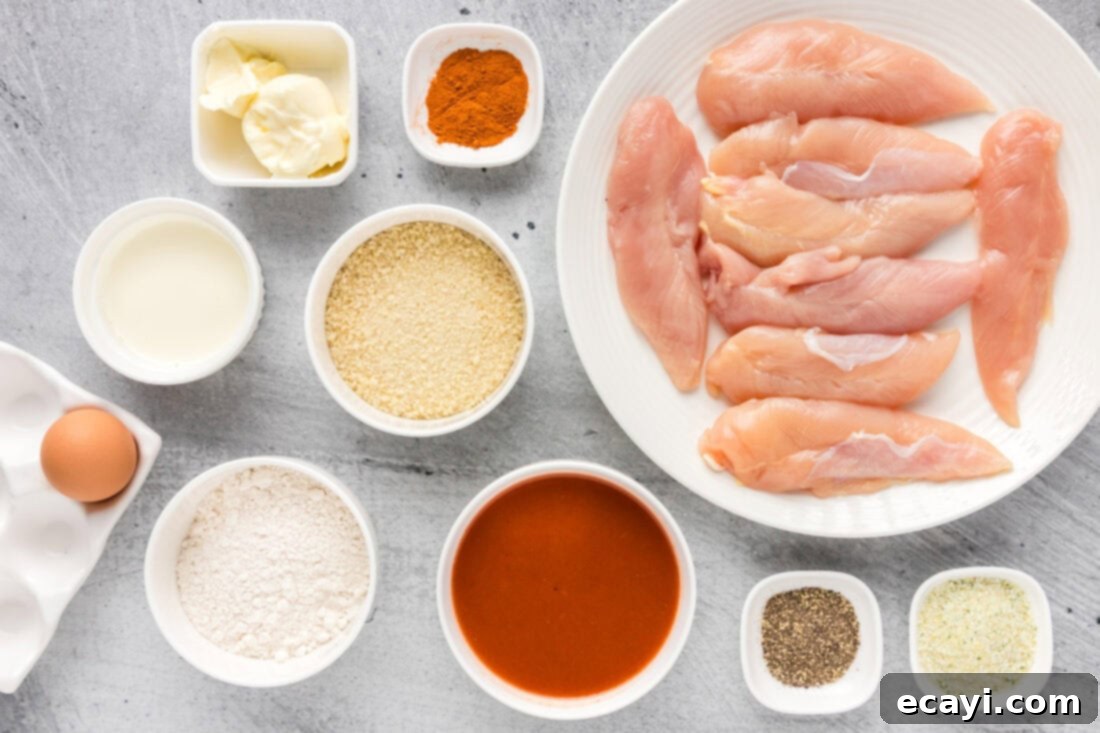
Crafting these delectable buffalo chicken tenders requires a careful selection of ingredients that contribute to their signature taste and texture. All precise measurements, ingredients, and detailed instructions can be found in the printable recipe card at the conclusion of this post.
Ingredient Information and Smart Substitution Suggestions
- For the Crispy Breading: The journey to a perfectly crispy tender begins with a classic three-step breading process. First, a light dredge in all-purpose flour ensures a base layer for adhesion. This is followed by a dip in a seasoned wet mixture of buttermilk, hot sauce, and egg – the buttermilk not only helps the breading stick but also tenderizes the chicken, while a hint of hot sauce in this layer infuses flavor from within. Finally, Panko breadcrumbs, renowned for their superior crunch, are mixed with cayenne pepper, garlic salt, and black pepper. This seasoned Panko crust fries up to a gorgeous golden brown, delivering that essential crispy texture and a delightful spice kick. If Panko isn’t available, regular breadcrumbs can be used, but Panko offers a distinctly lighter and crispier result.
- Choosing Your Chicken: While the recipe calls for chicken tenderloins, which are naturally tender and perfectly sized, boneless, skinless chicken breasts are an excellent substitute. Simply slice the chicken breasts lengthwise into strips, about 1-inch thick, to mimic the shape and cooking consistency of tenders. Ensure all pieces are of similar size for even cooking.
- The Iconic Buffalo Sauce: The magic of buffalo sauce lies in its simplicity: a perfect emulsion of hot sauce and melted butter. For an authentic and widely beloved flavor, we highly recommend Frank’s Red Hot Original Sauce. Its balanced heat and vinegary tang are the foundation of classic buffalo flavor. However, feel free to use your favorite brand of cayenne pepper-based hot sauce if you have a preferred alternative. The butter is crucial, as it mellows the hot sauce’s acidity, adds a rich, glossy texture, and helps the sauce adhere beautifully to the crispy tenders.
Crafting Your Own Buffalo Chicken Tenders: A Step-by-Step Guide
These detailed step-by-step photos and instructions are provided to help you visualize each stage of making this delicious recipe. For a convenient printable version, complete with precise measurements and instructions, you can effortlessly Jump to Recipe at the bottom of this post.
- Prepare the Dry Breading: Begin by setting up your breading station. In one of your breading trays, combine the Panko breadcrumbs with garlic salt, cayenne pepper, and black pepper. Whisk or stir these ingredients thoroughly to ensure the spices are evenly distributed throughout the breadcrumbs. This creates a flavorful and crispy coating that’s ready for your chicken.
- Mix the Wet Breading: In a separate breading tray, prepare the wet mixture. Whisk together the buttermilk, one large egg, and 2 tablespoons of your chosen hot sauce until well combined. This mixture will help the breadcrumbs adhere to the chicken and add another layer of flavor and moisture.
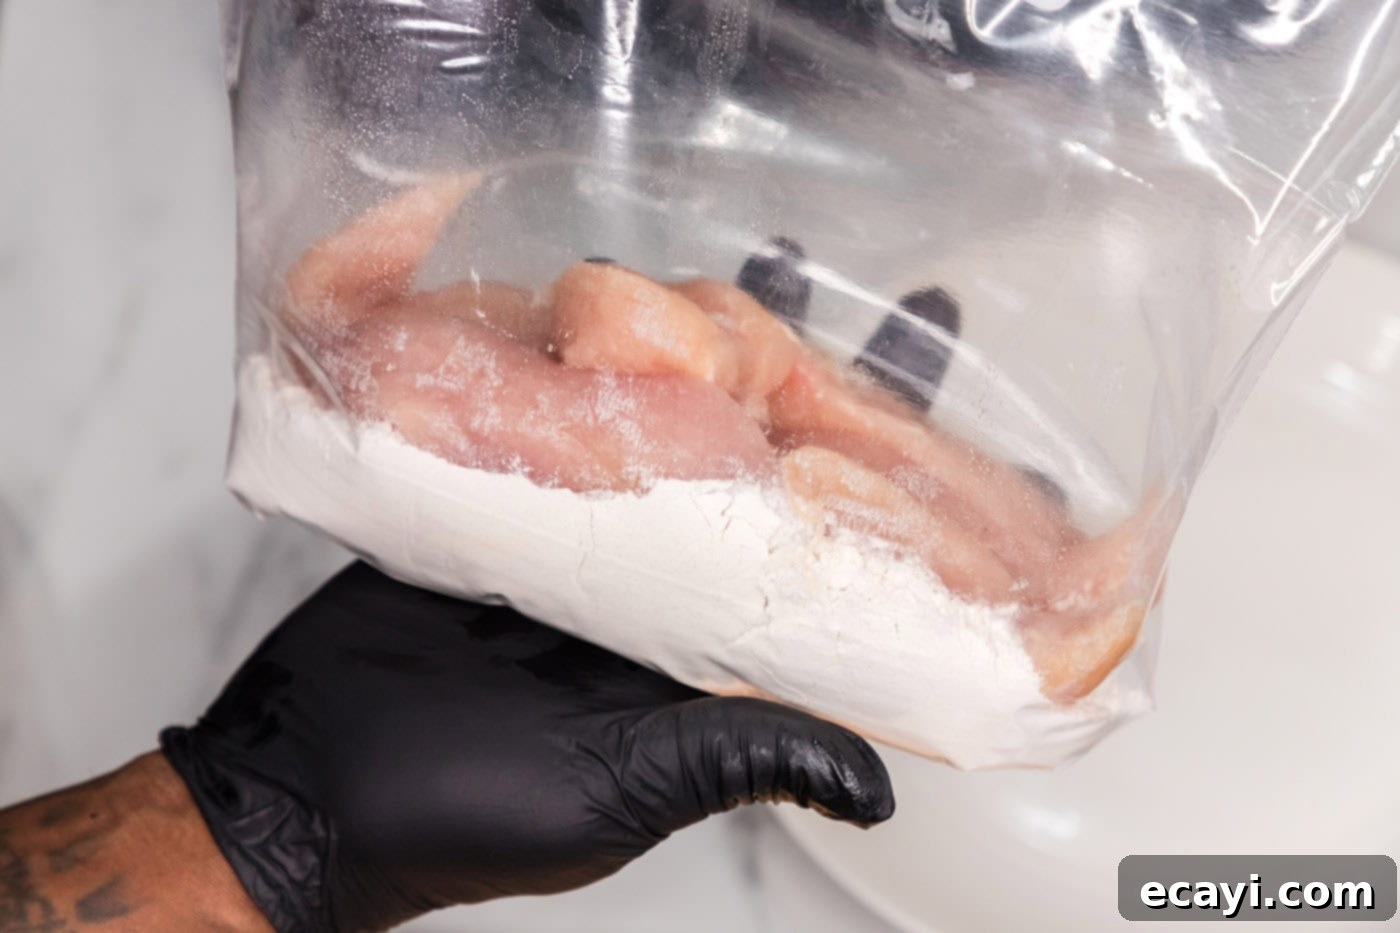
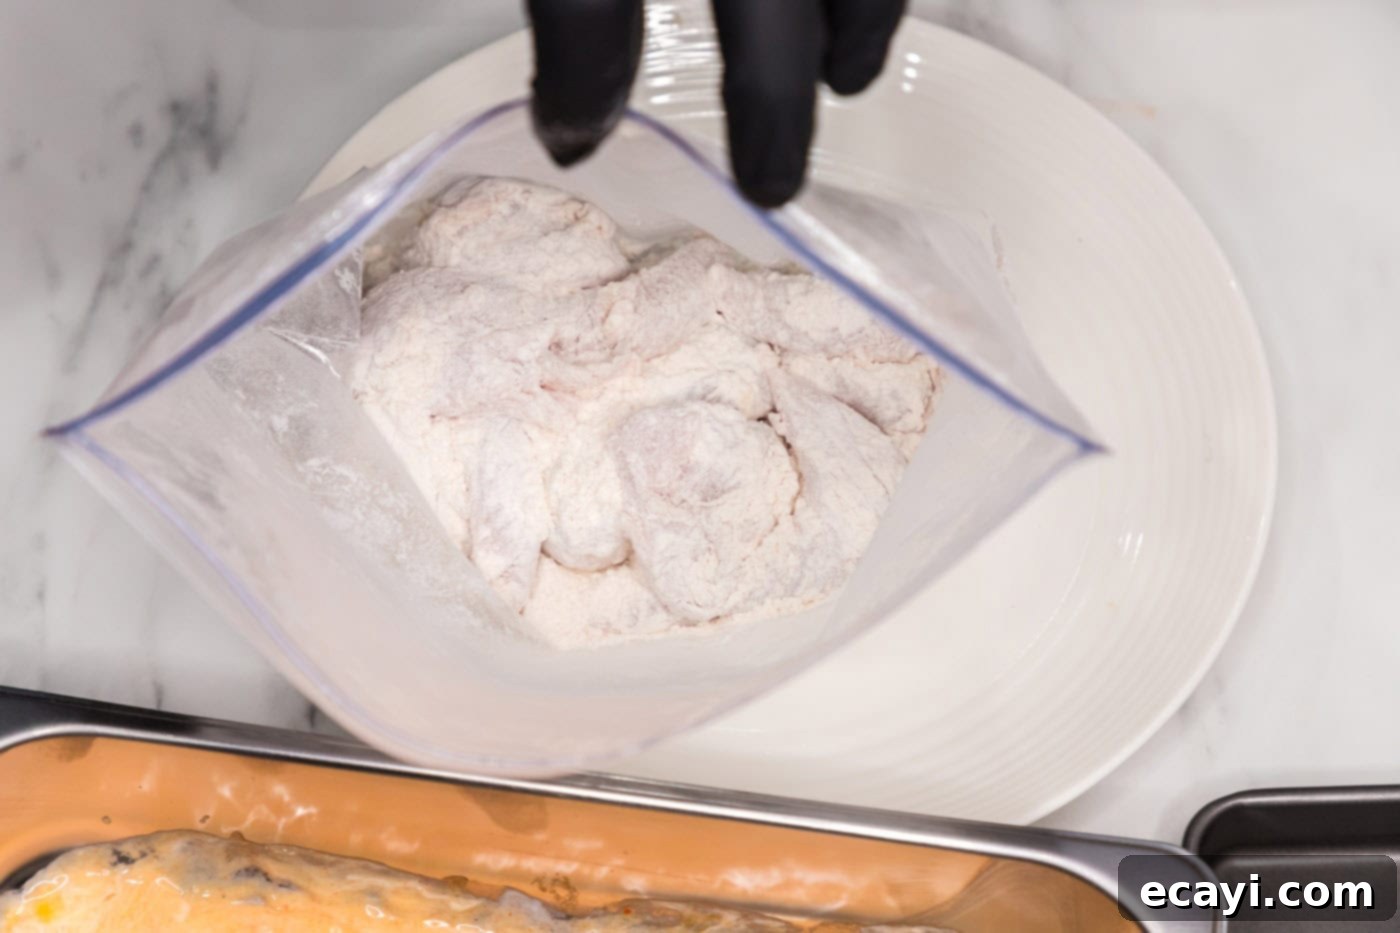
- Flour the Chicken: Take a gallon-sized zipper bag and add the all-purpose flour. Place the chicken tenderloins into the bag, seal it tightly, and shake vigorously until all the tenderloins are evenly coated in flour. This initial flour dredge is essential for creating a surface that the wet batter can cling to, ensuring a uniform and crispy crust.


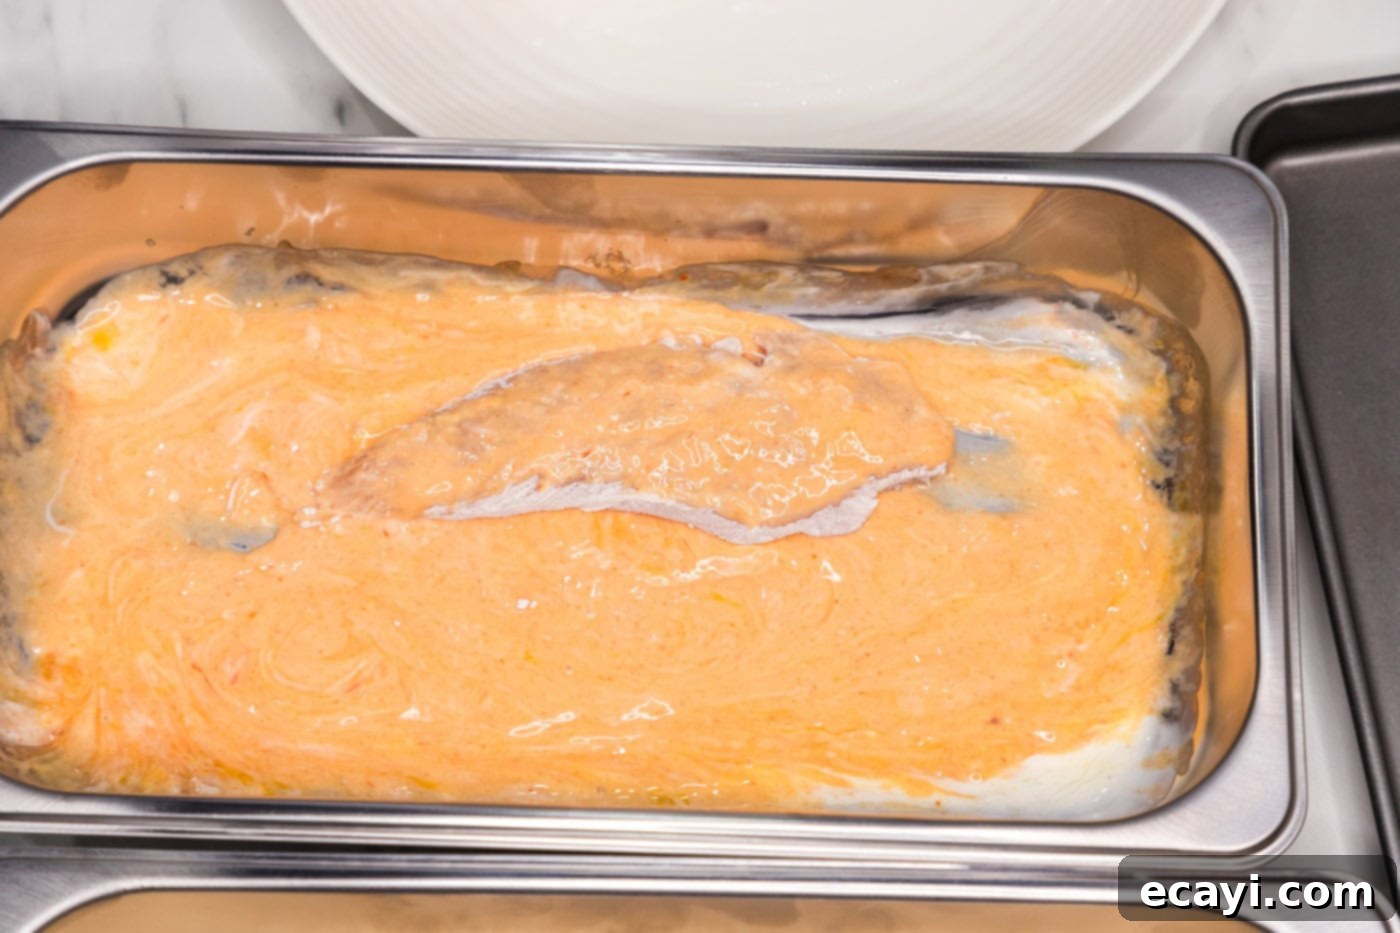
- Dip in Wet Mixture: Working with one floured tenderloin at a time, dip it completely into the buttermilk, egg, and hot sauce mixture. Ensure it’s fully coated on all sides. This liquid layer acts as the glue for the Panko breading.

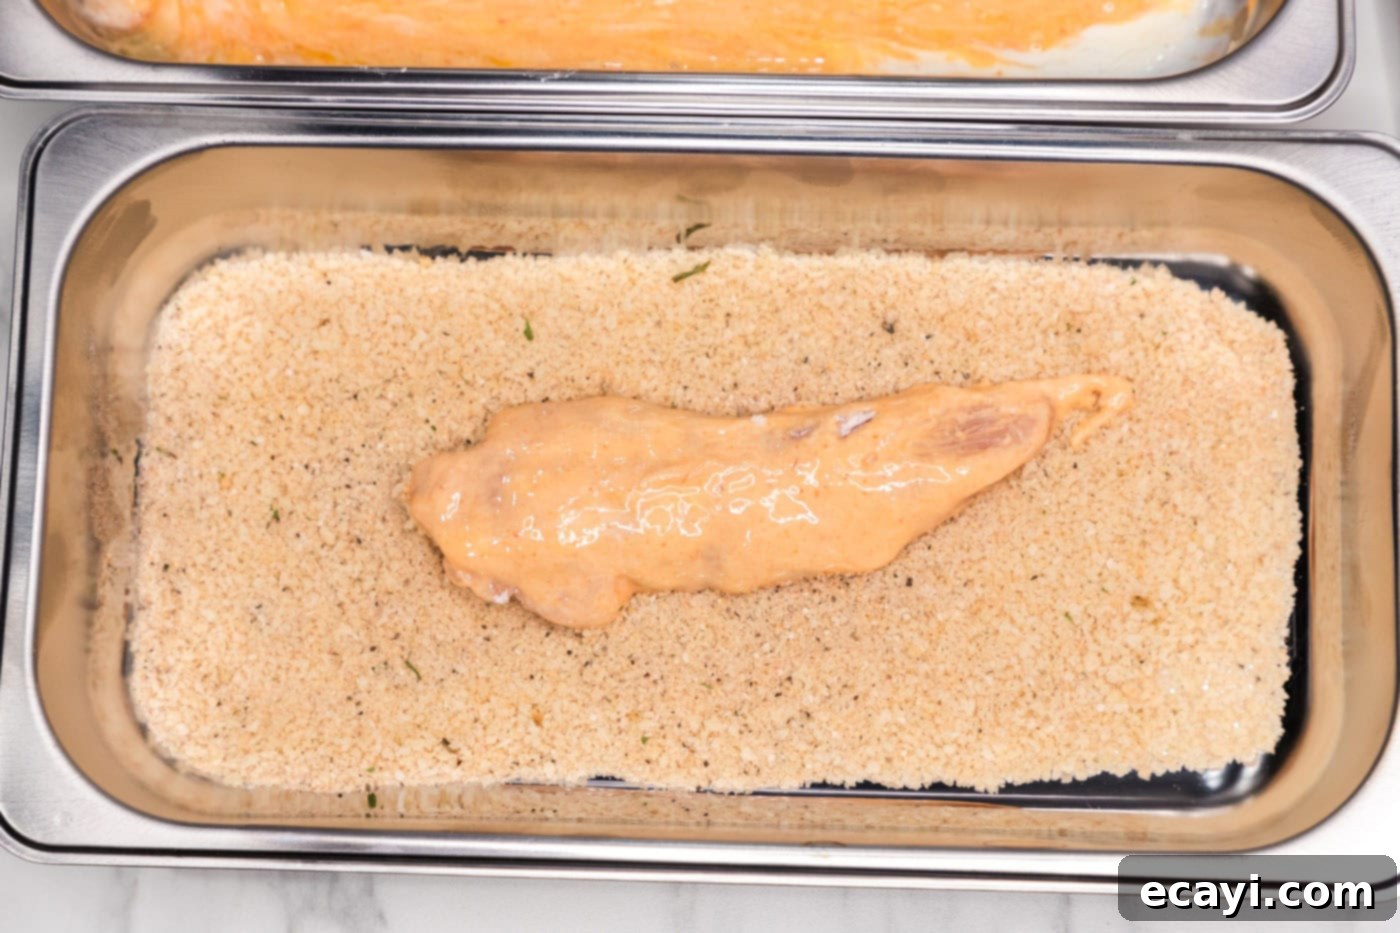
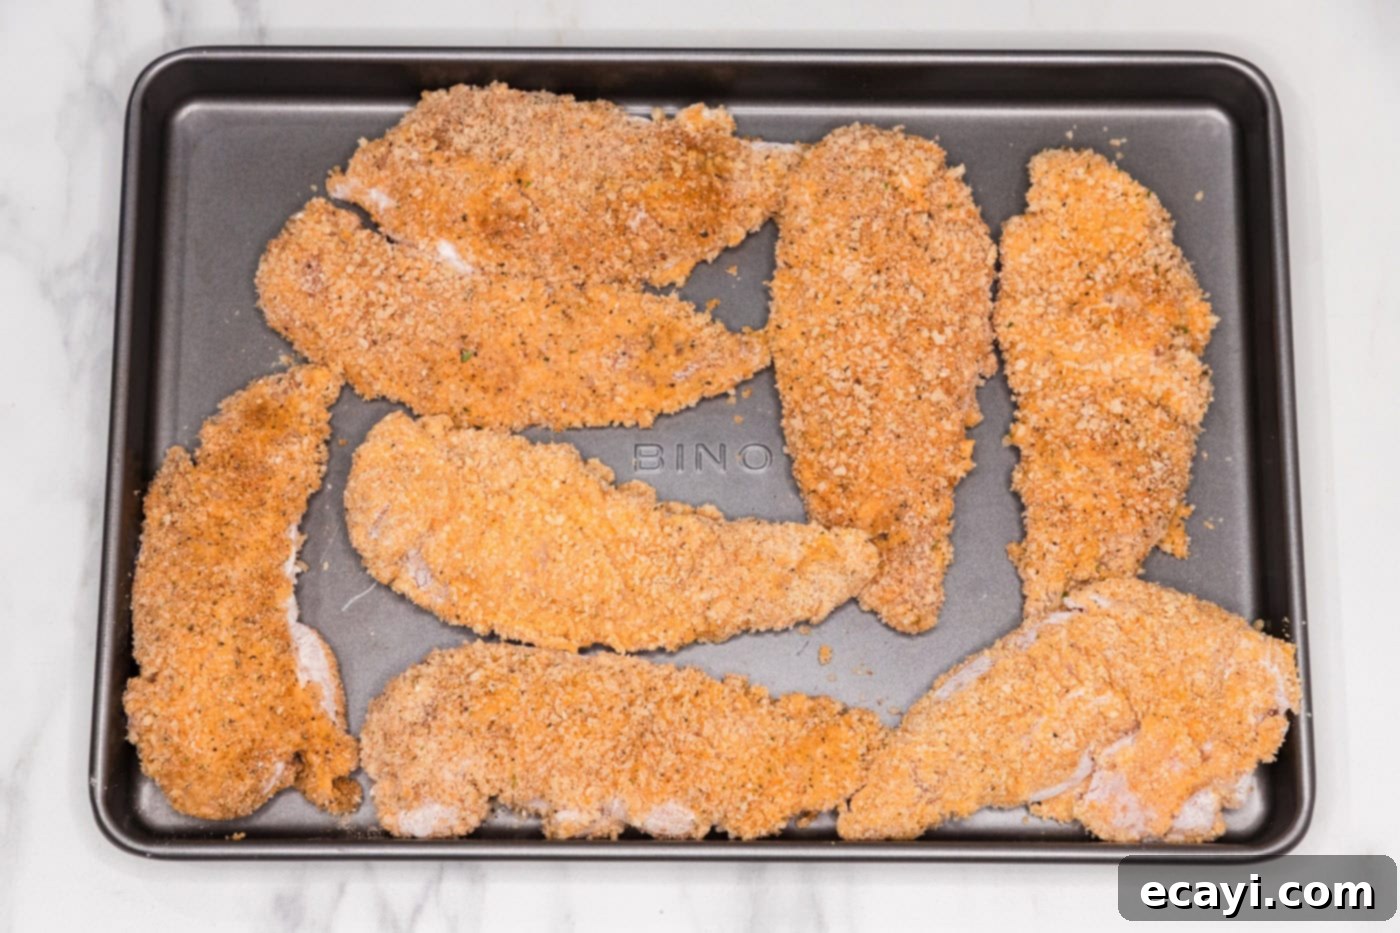
- Coat with Panko Breading: Immediately transfer the wet-coated tenderloin to the breadcrumb mixture. Turn it over several times, gently pressing both sides to ensure the Panko breadcrumbs adhere firmly. A good coating here is key to maximum crispiness. Place the coated tenderloin on a clean tray or plate to rest while you repeat the process with the remaining chicken pieces. Allowing them to rest for a few minutes can help the breading set, reducing the chance of it falling off during frying.


- Heat the Frying Oil: In a large, heavy-bottomed skillet with deep sides, add enough cooking oil (such as vegetable, canola, or peanut oil) to come about an inch up the sides of the pan. Heat the oil over medium-high heat until it reaches a temperature of 350°F (175°C).
EXPERT TIP for Frying: Maintaining the correct oil temperature is paramount for crispy, non-greasy fried chicken. The temperature will naturally drop when you add cold chicken, so it’s crucial to monitor it closely. If the oil is too cold, the breading will absorb excessive oil, resulting in soggy tenders. If it’s too hot, the exterior will burn before the chicken is cooked through. Your best tool for success is an instant-read thermometer with a clip, which can be attached to the side of the pan for continuous temperature monitoring. Adjust heat as needed to keep it as close to 350°F as possible.
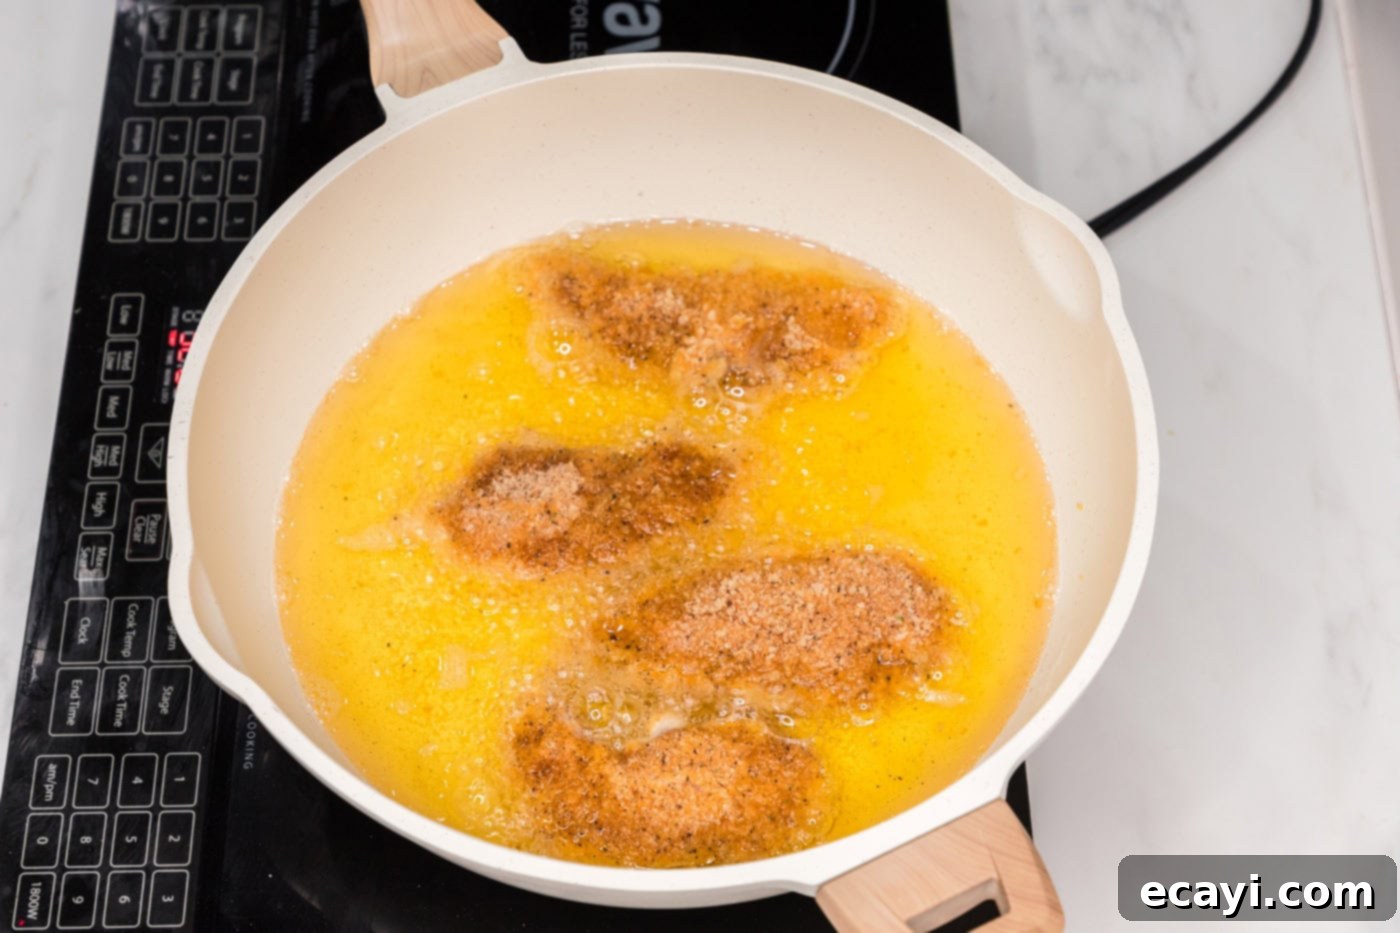
- Fry the Chicken Tenders: Once the oil is at the desired temperature, carefully add the breaded tenderloins to the skillet, one at a time. Be sure not to overcrowd the pan, as this will significantly lower the oil temperature and prevent even cooking and crisping. You will likely need to work in batches to achieve the best results.

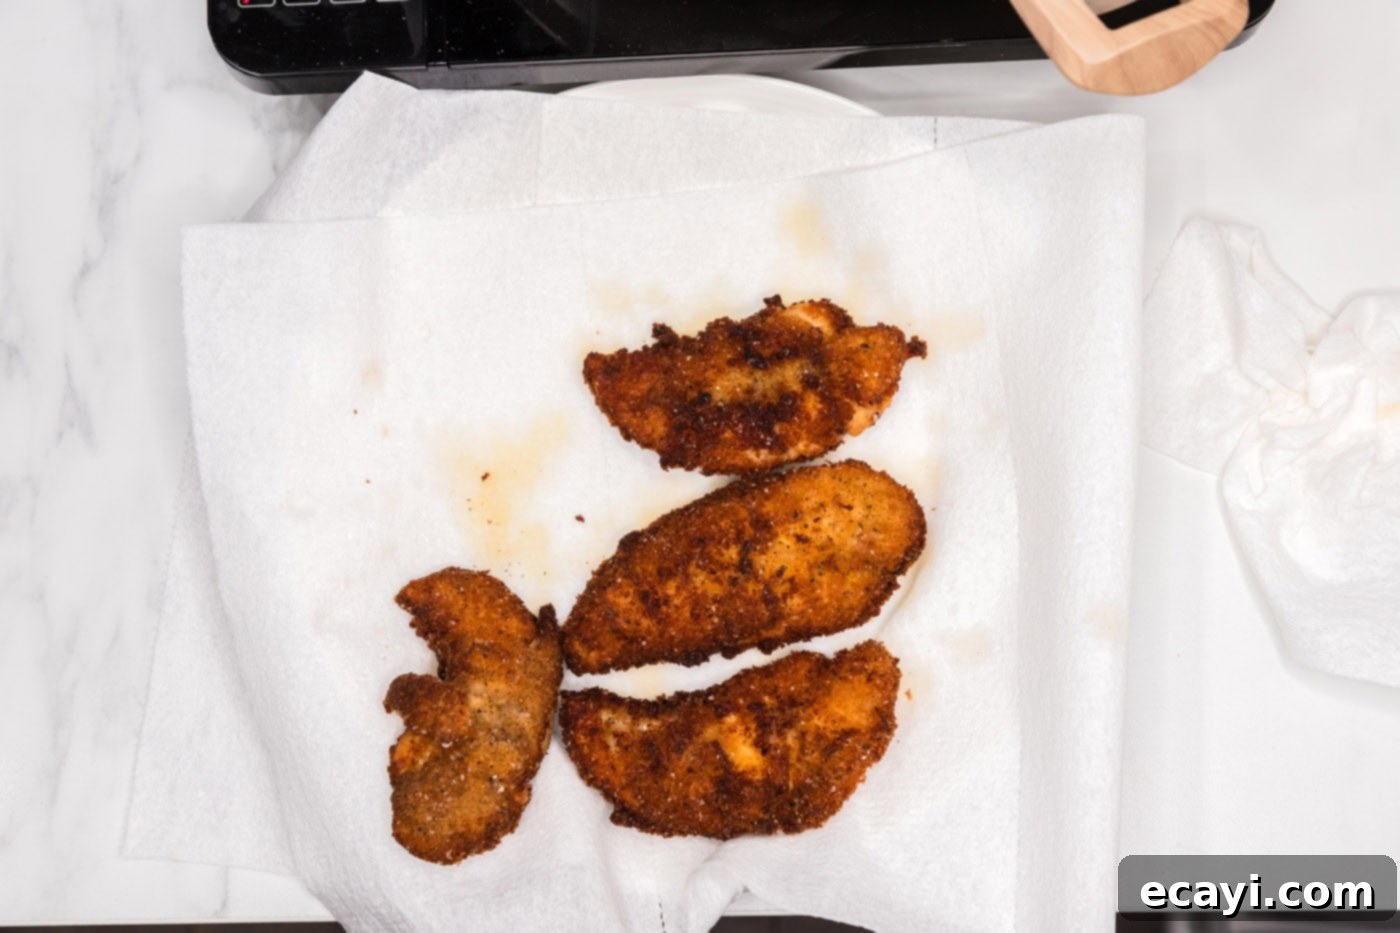
- Cook Until Golden and Done: Fry the tenders for approximately 3-4 minutes per side, turning them once or twice to ensure even browning. They should develop a beautiful golden-brown color and be wonderfully crispy. To ensure the chicken is safely cooked, the internal temperature should reach 165°F (74°C) when measured with an instant-read thermometer inserted into the thickest part of the meat. Remove the cooked tenders from the oil and place them on a plate lined with paper towels to drain any excess oil. This step helps maintain their crispiness.

How to Make the Signature Buffalo Sauce
The homemade buffalo sauce is what truly elevates these chicken tenders. It’s quick, easy, and incredibly flavorful.
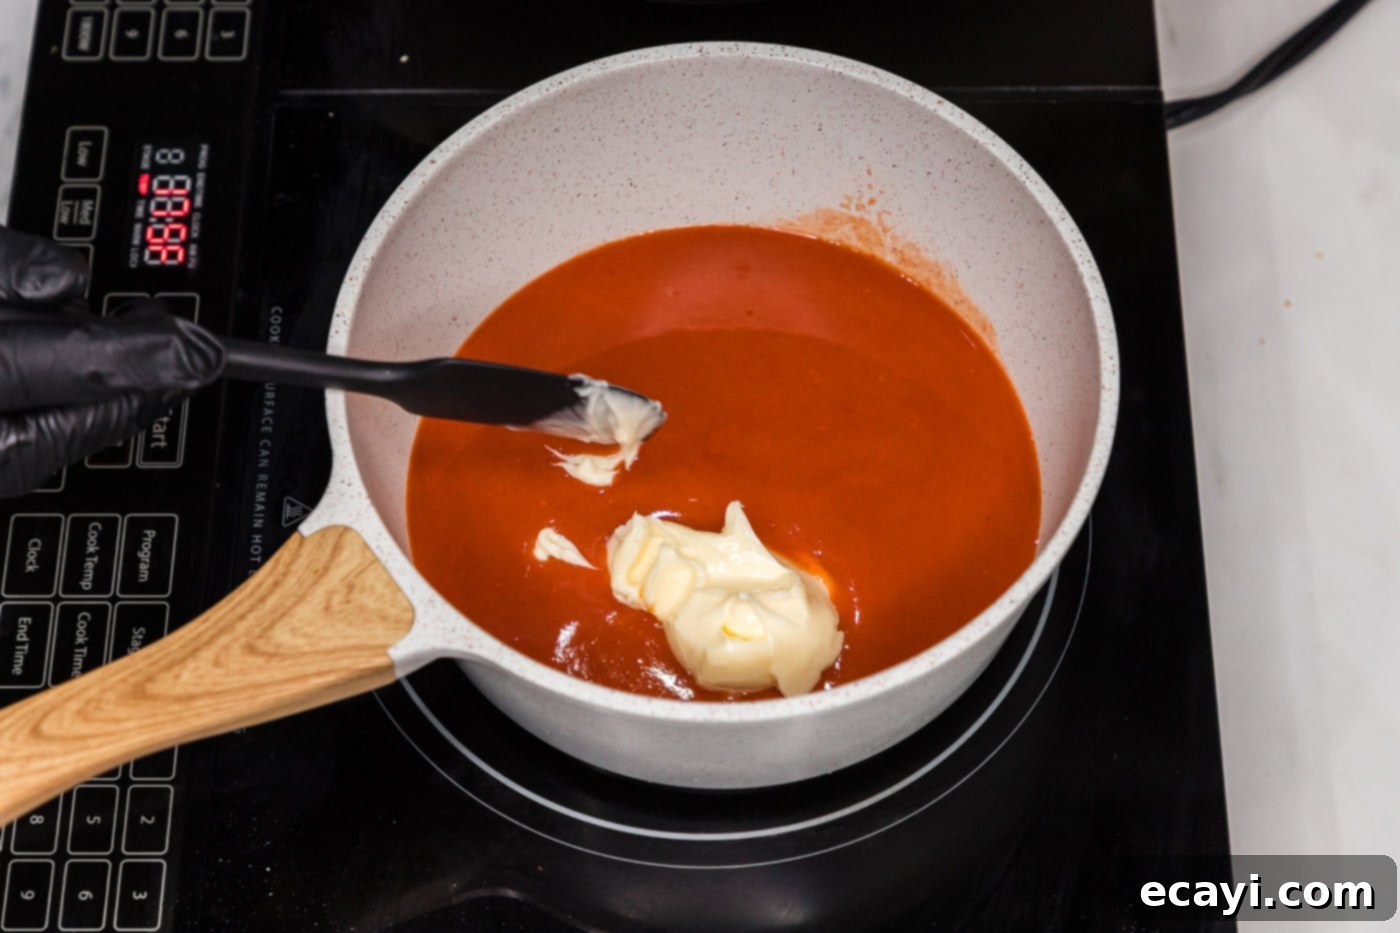
- Melt Butter and Hot Sauce: In a small saucepan, combine the remaining hot sauce (as specified in the full recipe) and the butter. Heat this mixture over medium-high heat, stirring occasionally, just until the butter has fully melted and the ingredients are well combined. It’s important not to boil the sauce; you simply want to melt the butter into the hot sauce. Once melted, remove the saucepan from the heat.

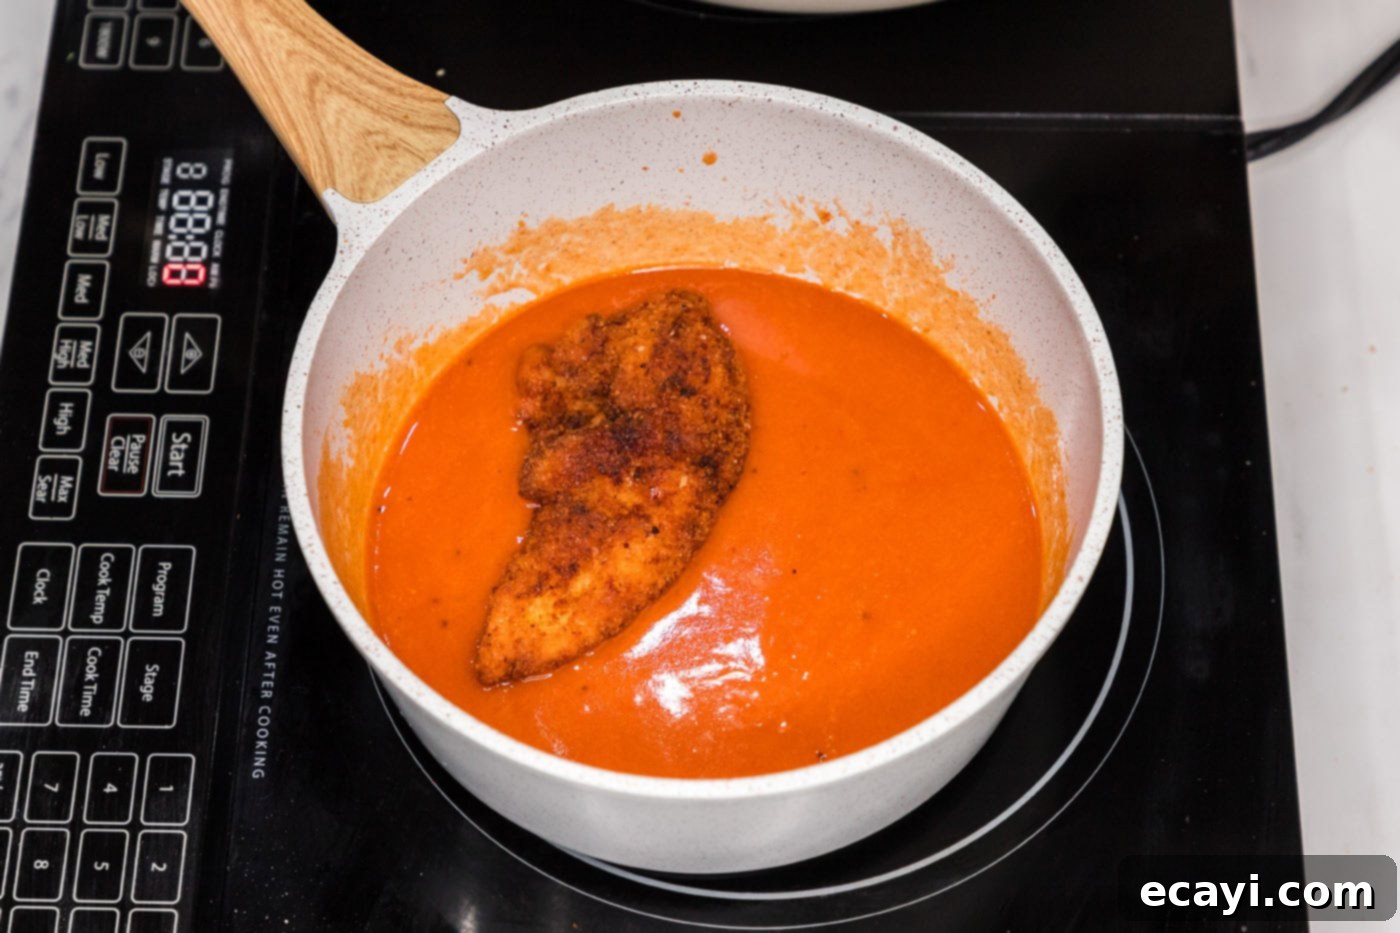
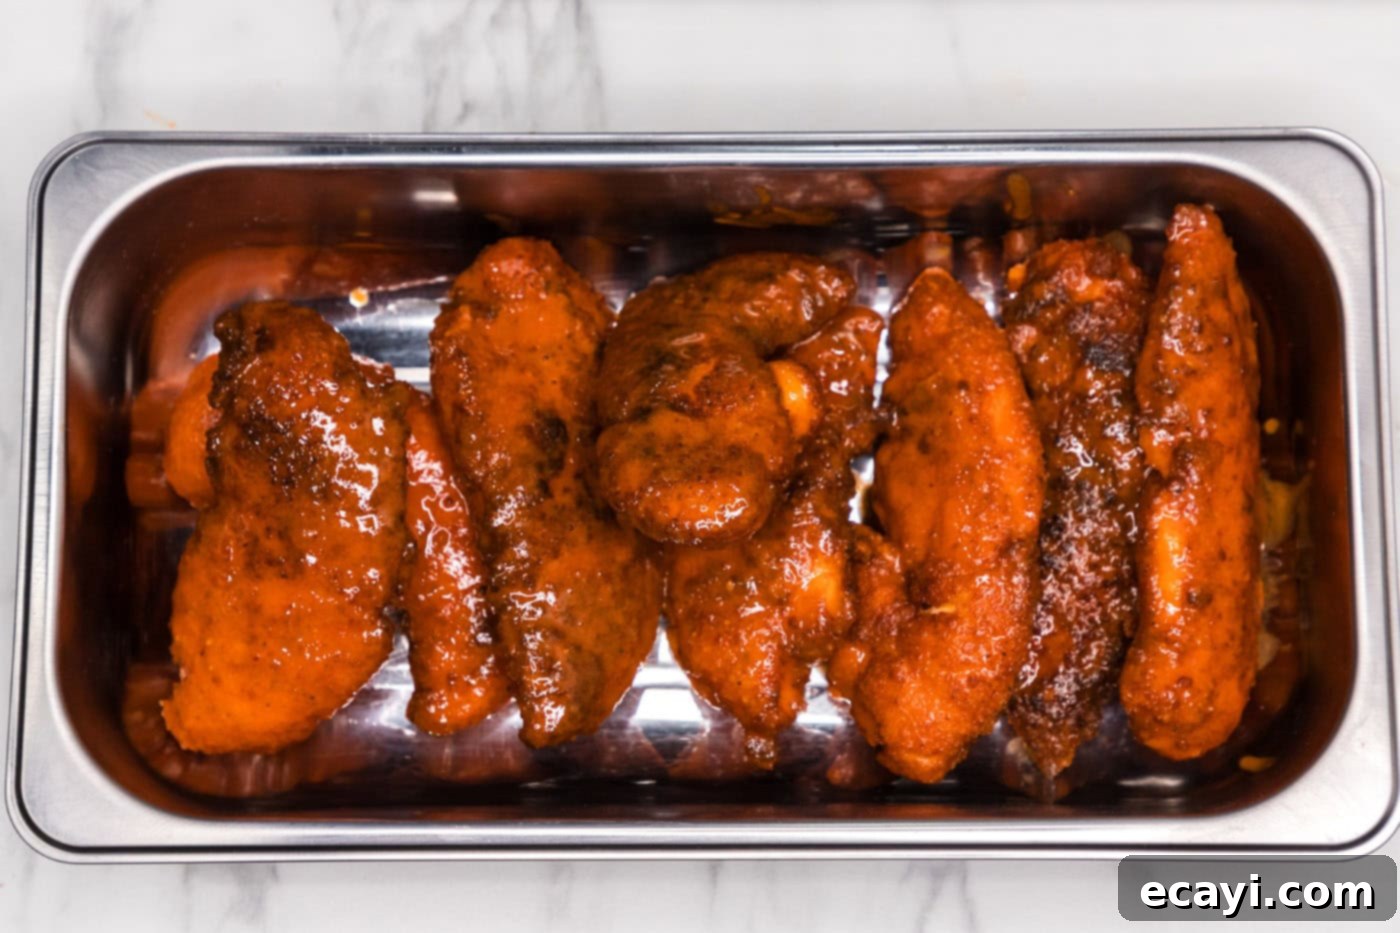
- Toss the Tenders in Sauce: One at a time, or a few at a time if your pan is large enough, place the hot, cooked chicken tenders directly into the warm buffalo sauce. Use tongs to turn each tenderloin, ensuring it is completely coated in the glorious sauce. The warmth of the sauce helps it cling beautifully to the crispy breading.


- Serve with Extra Sauce: Arrange your freshly sauced buffalo chicken tenders on a serving platter. If you have any buffalo sauce remaining in the saucepan, don’t let it go to waste! Pour it into a small bowl and offer it on the side for extra dipping.
Frequently Asked Questions & Expert Tips for Success
To maintain their best quality, store any leftover buffalo chicken tenders in an air-tight container in the refrigerator for up to 3-4 days. For reheating, skip the microwave to avoid a soggy result. Instead, use an air fryer or preheat your oven to 350°F (175°C). Reheat the tenders for 5-10 minutes (or until warmed through and crisp again) in the air fryer, or 10-15 minutes in the oven, flipping halfway. The goal is to restore that desired crispiness. And remember, if you have any leftover buffalo sauce, a quick dip can help revive the flavor and moisture of reheated tenders, making them taste almost as fresh as when they were first made.
For food safety, chicken is considered fully cooked and safe to consume when it reaches an internal temperature of 165°F (74°C). This temperature should be measured by inserting an instant-read thermometer into the thickest portion of the meat, ensuring it doesn’t touch any bone. Always err on the side of caution and use a thermometer to guarantee perfectly cooked and safe chicken.
While this recipe is optimized for frying to achieve maximum crispiness, you can bake them. After coating the tenders, place them on a wire rack set over a baking sheet. Lightly spray them with cooking oil. Bake in a preheated oven at 400°F (200°C) for 20-25 minutes, flipping halfway, until golden brown and cooked through (internal temperature 165°F). They won’t be as deeply crispy as fried, but they will still be delicious. An air fryer is another excellent alternative for a crispier, healthier option, typically cooking at 375°F (190°C) for 12-18 minutes.
The spice level of your buffalo sauce is easily customizable. For a milder sauce, you can slightly increase the amount of butter relative to the hot sauce, or use a milder hot sauce brand. For those who crave more heat, consider adding a pinch of cayenne pepper directly to the sauce mixture while it’s heating, or even a dash of ghost pepper powder for the truly adventurous. Always taste and adjust to your preference!
Serving Suggestions for Your Delicious Buffalo Chicken Tenders
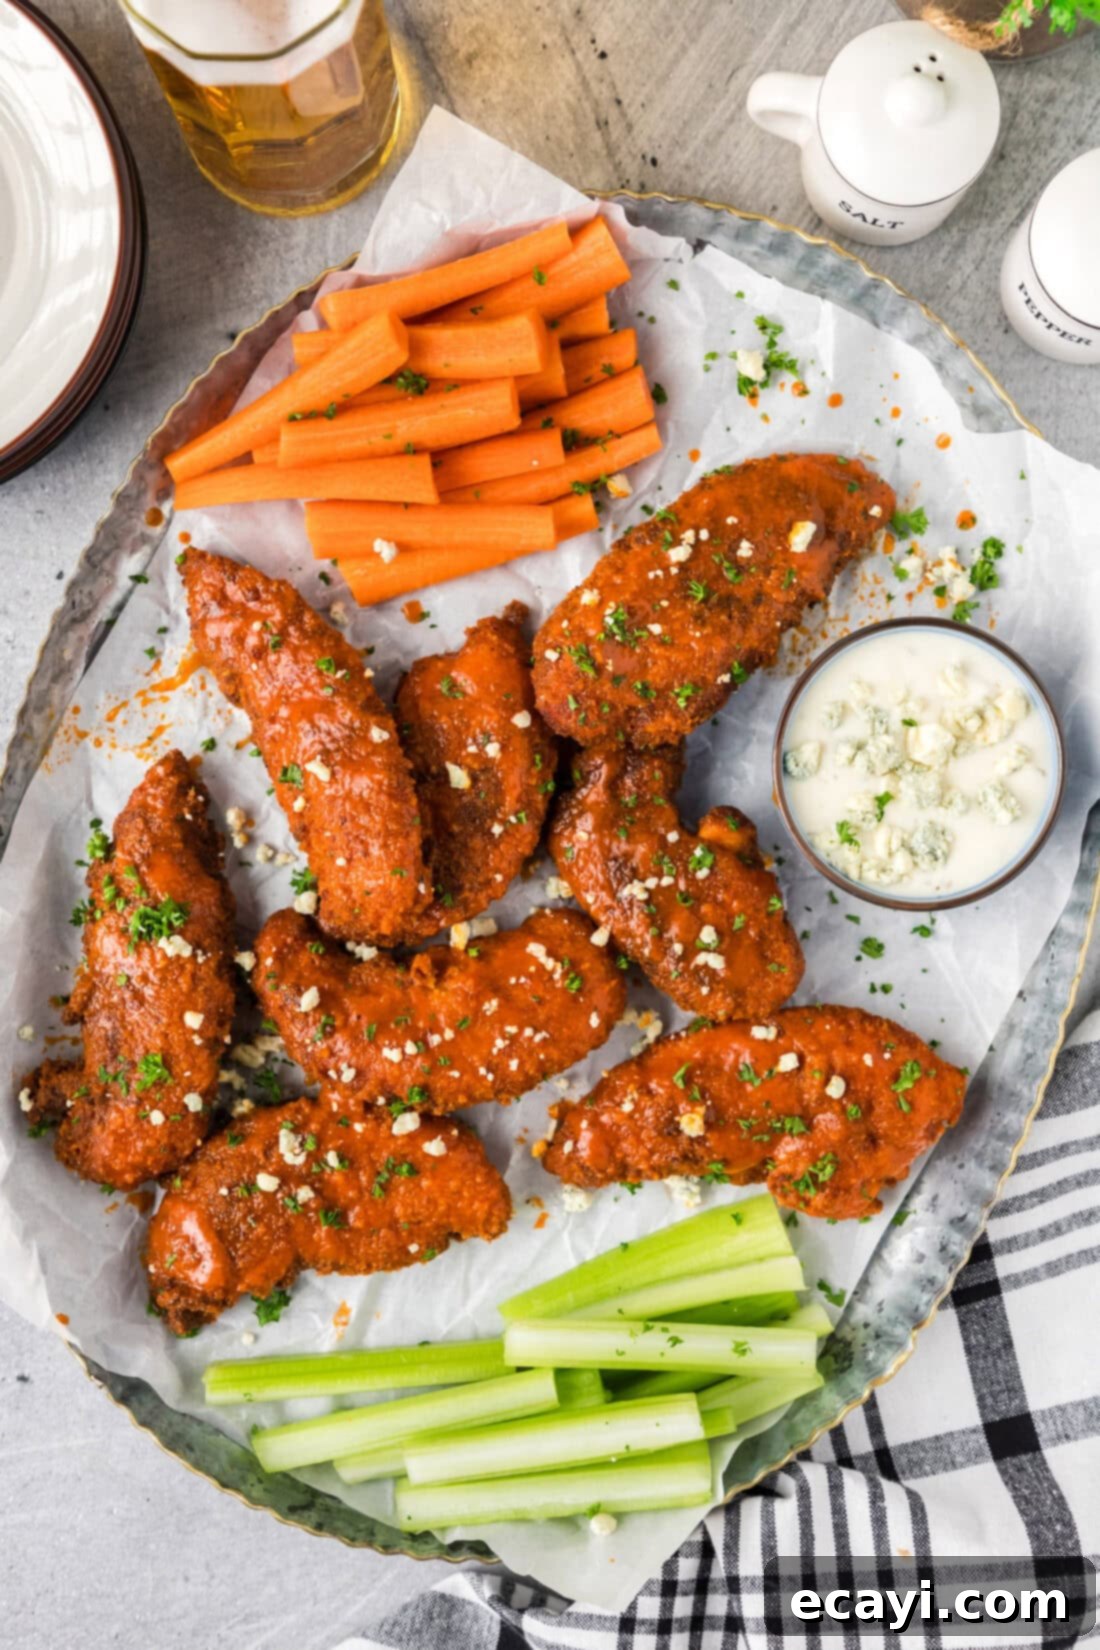
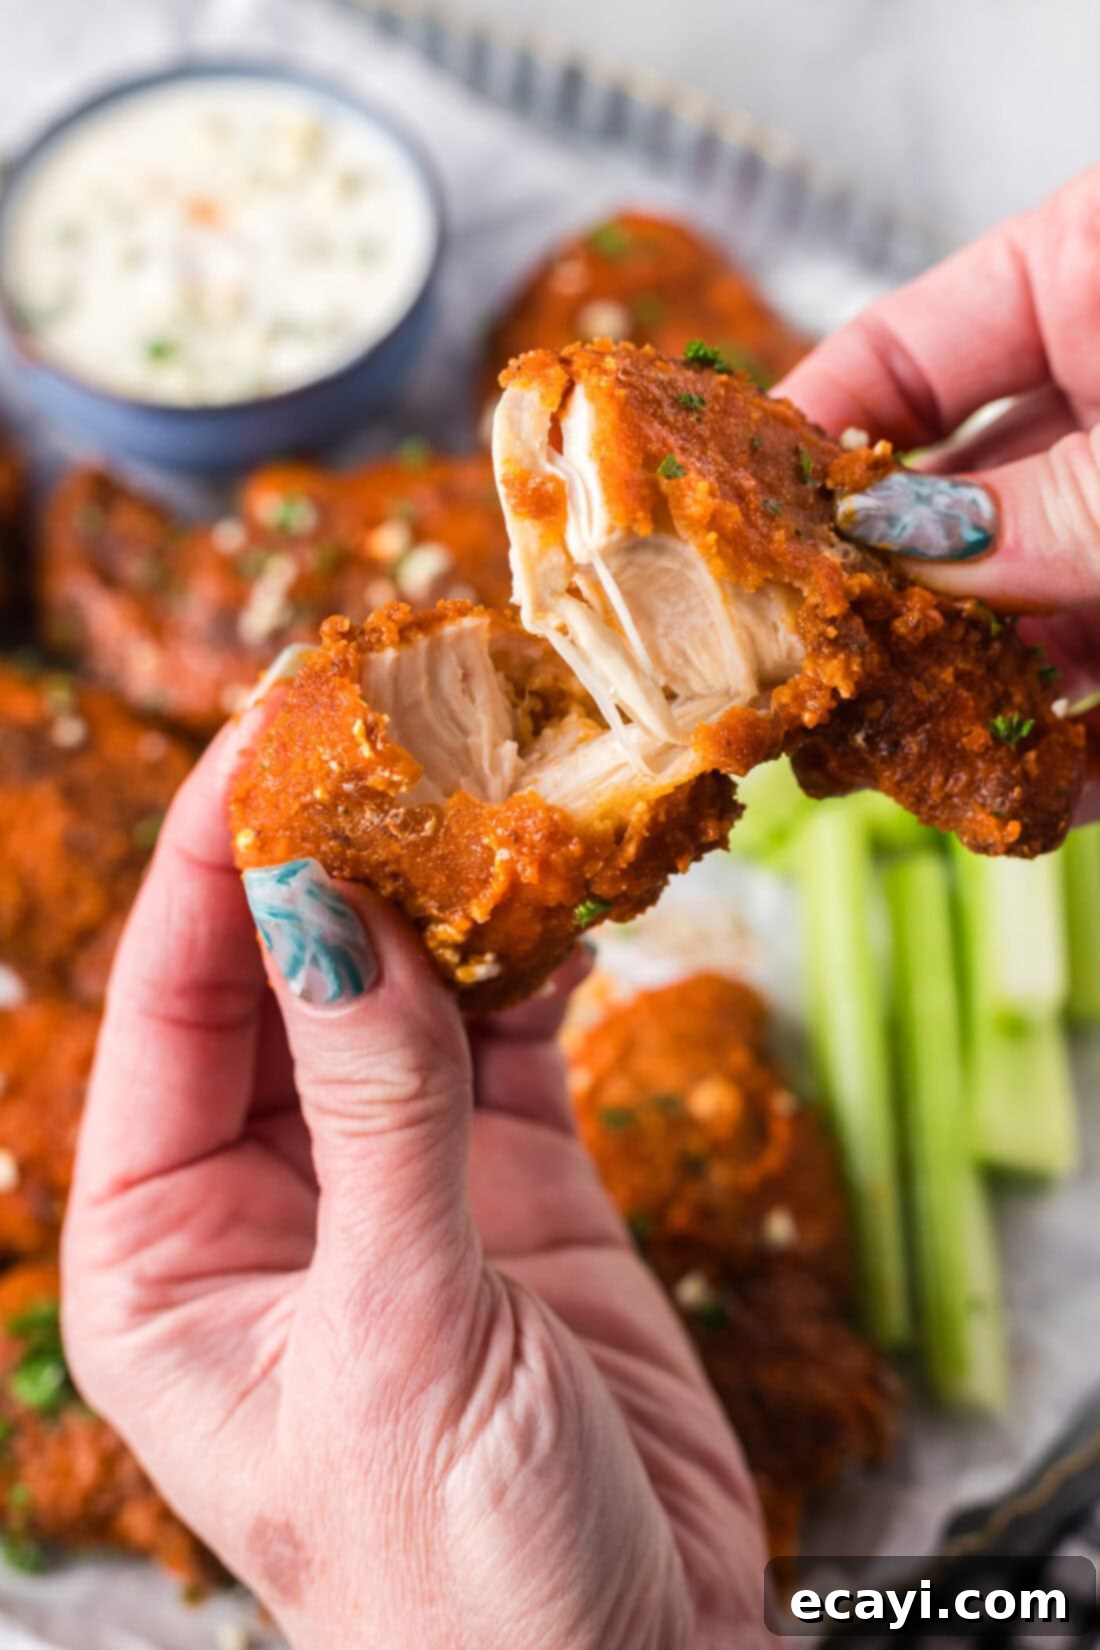
These versatile buffalo chicken tenders are fantastic on their own, but they truly shine when paired with complementary sides and dips. For dipping, offer creamy ranch dressing, bold blue cheese dressing, or a generous bowl of extra homemade buffalo sauce. These cooling dips provide a delightful contrast to the tenders’ heat.
Beyond dips, consider serving them alongside classic comfort foods like crispy French fries, a refreshing coleslaw, or a side of crunchy celery and carrot sticks – traditional accompaniments for buffalo wings that work perfectly here. They’re also surprisingly delicious when sliced and served over a fresh, leafy green salad for a lighter meal, or tucked into warm buns for spicy chicken sandwiches. For a heartier spread, these tenders are ideal for game day gatherings, casual weeknight dinners, or as an exciting appetizer when entertaining. Remember, buffalo chicken tenders are best savored immediately after saucing, while the breading is at its crispiest and before it has too much time to absorb the sauce, though they remain tasty even after a bit of resting.
Explore More Related Recipes
If you’ve fallen in love with these buffalo chicken tenders, you’ll surely enjoy exploring other recipes that feature the bold and beloved buffalo flavor profile or offer similar crispy chicken delights. Dive into these fantastic options:
- Creamy Buffalo Chicken Pasta
- Hearty Buffalo Chicken Casserole
- Healthier Air Fryer Chicken Tenders
- Flavorful Crispy Baked Chicken Wings
- Unique Buffalo Chicken Egg Rolls
I genuinely love to bake and cook, and it brings me immense joy to share my kitchen experiences and successful recipes with all of you! Remembering to come back each day for new culinary inspiration can be tough, which is why I offer a convenient newsletter every time a fresh recipe is posted. Simply subscribe today and start receiving your free daily recipes directly in your inbox!

Buffalo Chicken Tenders
IMPORTANT – There are often Frequently Asked Questions within the blog post that you may find helpful. Simply scroll back up to read them!
Print It
Pin It
Rate It
Save ItSaved!
Course: Dinner, Lunch, Appetizer, Snack
Cuisine: American, Bar Food
Ingredients
- ½ cup panko breadcrumbs
- 2 teaspoons garlic salt
- 1 teaspoon cayenne pepper
- 1 teaspoon black pepper
- ¼ cup buttermilk
- 1 large egg
- ¾ cup hot sauce divided
- ½ cup all purpose flour
- 1 pound chicken tenderloins
- oil for frying
- 2 ½ Tablespoons butter
Things You’ll Need
-
Breading trays
-
Whisk
-
Gallon sized zipper bag
-
Large heavy bottomed skillet with deep sides
-
Tongs
-
Saucepan
Before You Begin
- It’s incredibly important to maintain the ideal temperature of the oil while frying for best results. The temperature will naturally fluctuate as you add and remove chicken tenders from the pan. If the oil temperature drops too low, the chicken breading will absorb more oil, potentially leading to soggy tenders instead of crispy ones. Your best approach is to attach a reliable cooking thermometer with a clip to the side of the pan, allowing you to constantly monitor and adjust the heat as needed.
- For convenience, you can easily substitute chicken tenderloins with boneless, skinless chicken breast. Simply slice the breasts into uniform strips to closely resemble tenders in size and thickness, ensuring even cooking.
- For an authentic and balanced buffalo flavor, I highly recommend using Frank’s Red Hot Original as your hot sauce of choice. However, feel free to substitute with your personal favorite brand of cayenne pepper-based hot sauce if you prefer.
Instructions
-
In one of your breading trays, combine the panko breadcrumbs, garlic salt, cayenne pepper, and black pepper. Whisk or stir thoroughly to combine all the ingredients evenly.
-
In another breading tray, add the buttermilk, egg, and 2 tablespoons of the hot sauce. Whisk until the mixture is well combined and smooth.
-
Place the all-purpose flour into a gallon-sized zipper bag. Add the chicken tenderloins to the bag, seal it securely, and shake vigorously until all the tenderloins are completely and evenly coated with flour.
-
Working with one floured tenderloin at a time, dip it fully into the buttermilk mixture, ensuring it is completely coated on all sides.
-
Transfer the wet-coated tenderloin into the breadcrumb mixture and turn to coat thoroughly. Gently press on both sides to help the breadcrumbs adhere well. Place the coated tenderloin on a clean tray to rest while you coat the remaining pieces.
-
Add sufficient cooking oil to a large skillet with deep sides, so it comes about an inch up the pan. Heat the oil over medium-high heat until its temperature reaches 350°F (175°C).
-
Once the oil is ready, carefully add the tenderloins, one at a time, to the skillet, taking care not to overcrowd the pan. You may need to fry them in multiple batches to maintain optimal oil temperature and ensure even cooking.
-
Cook the tenders for 3-4 minutes per side, turning them once or twice, until they are beautifully browned and cooked through. An instant-read thermometer should register 165°F (74°C) in the thickest part. Remove the fried tenders to a paper towel-lined plate to drain excess oil.
-
To prepare the buffalo sauce, add the remaining hot sauce and butter to a saucepan. Heat over medium-high heat just long enough for the butter to fully melt and combine with the hot sauce. Turn off the heat immediately once melted.
-
Working one at a time, place the freshly cooked tenderloins into the warm buffalo sauce, turning them to coat completely. Remove them and arrange on a serving platter.
-
Any remaining buffalo sauce in the saucepan can be poured into a small bowl and served on the side as an extra dipping sauce.
Expert Tips & FAQs
- Store leftovers in an air-tight container in the refrigerator for 3-4 days. Reheat in the air fryer or a 350°F (175°C) oven until warmed through to help them regain their crispiness. Don’t forget to save any leftover buffalo sauce to help revive the reheated chicken tenders and add extra flavor.
- Always use a thermometer to check the internal temperature of chicken to ensure it’s cooked to a safe 165°F (74°C).
- To ensure the crispiest tenders, don’t overcrowd your frying pan. Fry in batches if necessary, and allow the tenders to rest on a wire rack after breading to help the coating adhere better.
Nutrition
Tried this Recipe? Pin it for Later!Follow on Pinterest @AmandasCookin or tag #AmandasCookin!
The recipes on this blog are tested with a conventional gas oven and gas stovetop. It’s important to note that some ovens, especially as they age, can cook and bake inconsistently. Using an inexpensive oven thermometer can assure you that your oven is truly heating to the proper temperature. If you use a toaster oven or countertop oven, please keep in mind that they may not distribute heat the same as a conventional full sized oven and you may need to adjust your cooking/baking times. In the case of recipes made with a pressure cooker, air fryer, slow cooker, or other appliance, a link to the appliances we use is listed within each respective recipe. For baking recipes where measurements are given by weight, please note that results may not be the same if cups are used instead, and we can’t guarantee success with that method.
