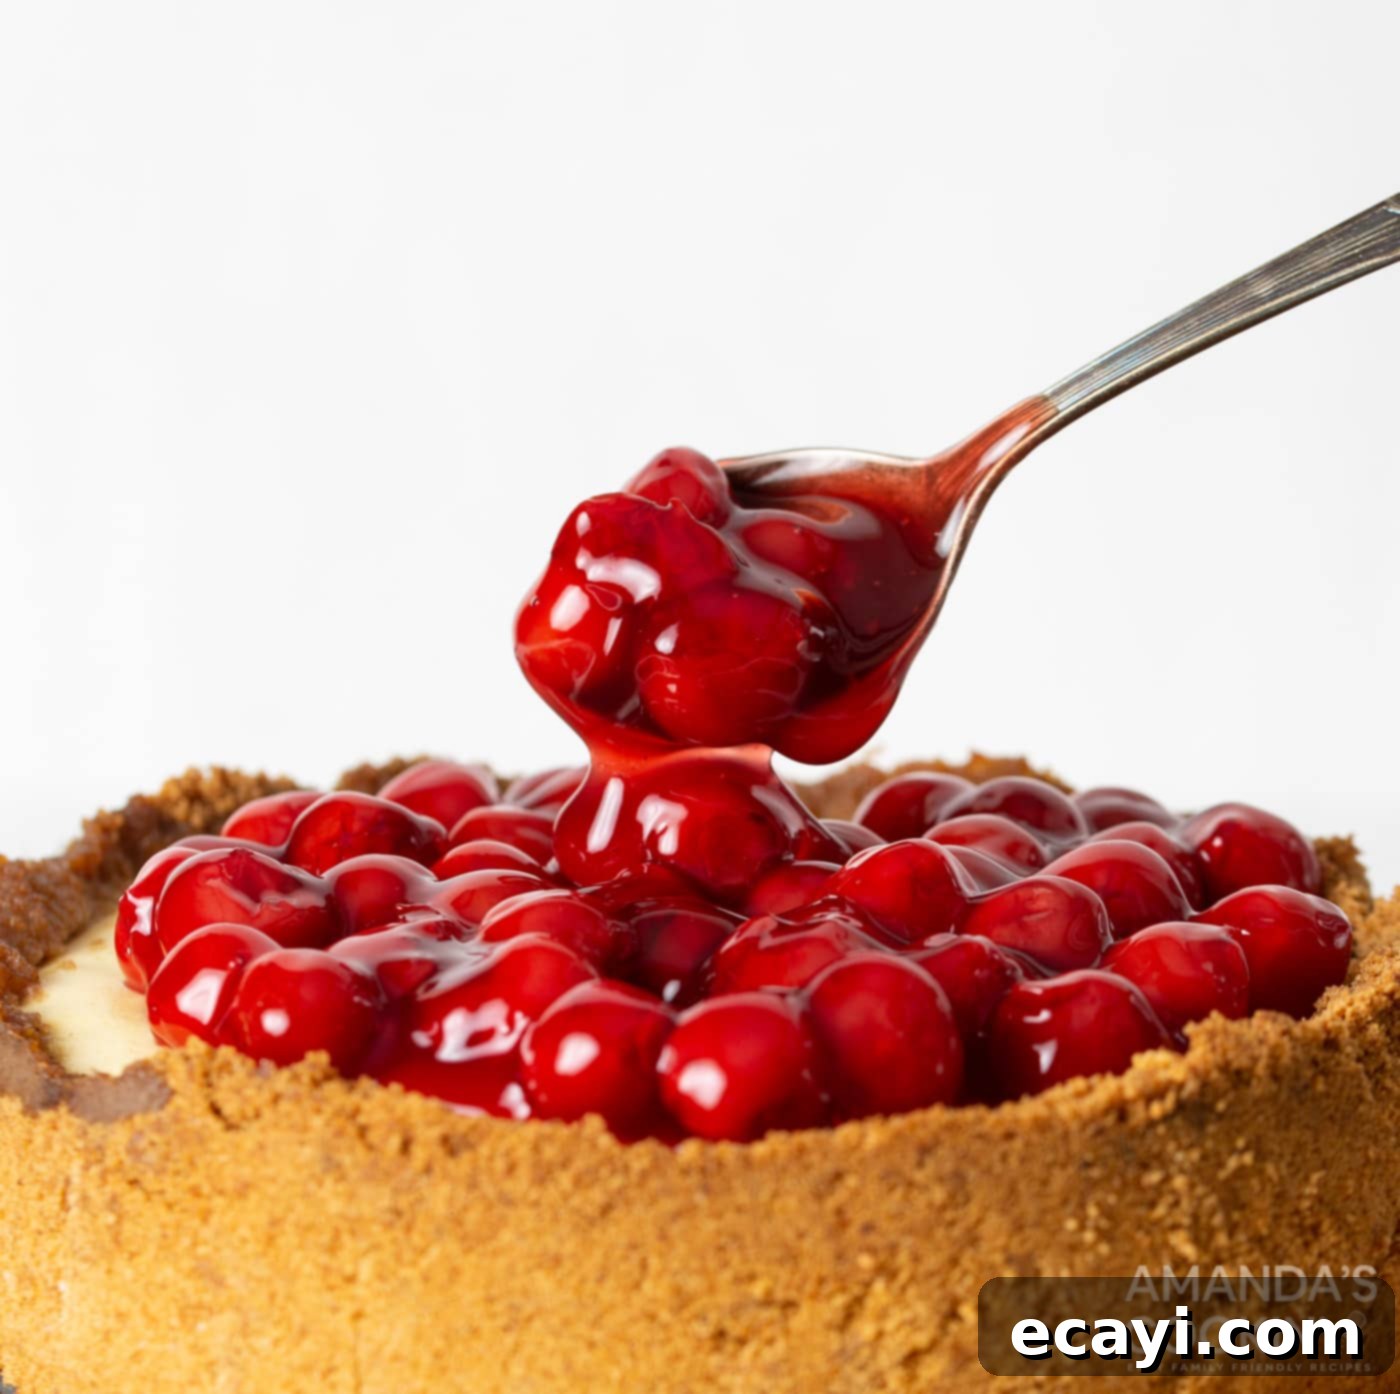
Decadent Instant Pot Cherry Cheesecake: Your Easiest Route to a Creamy Dessert
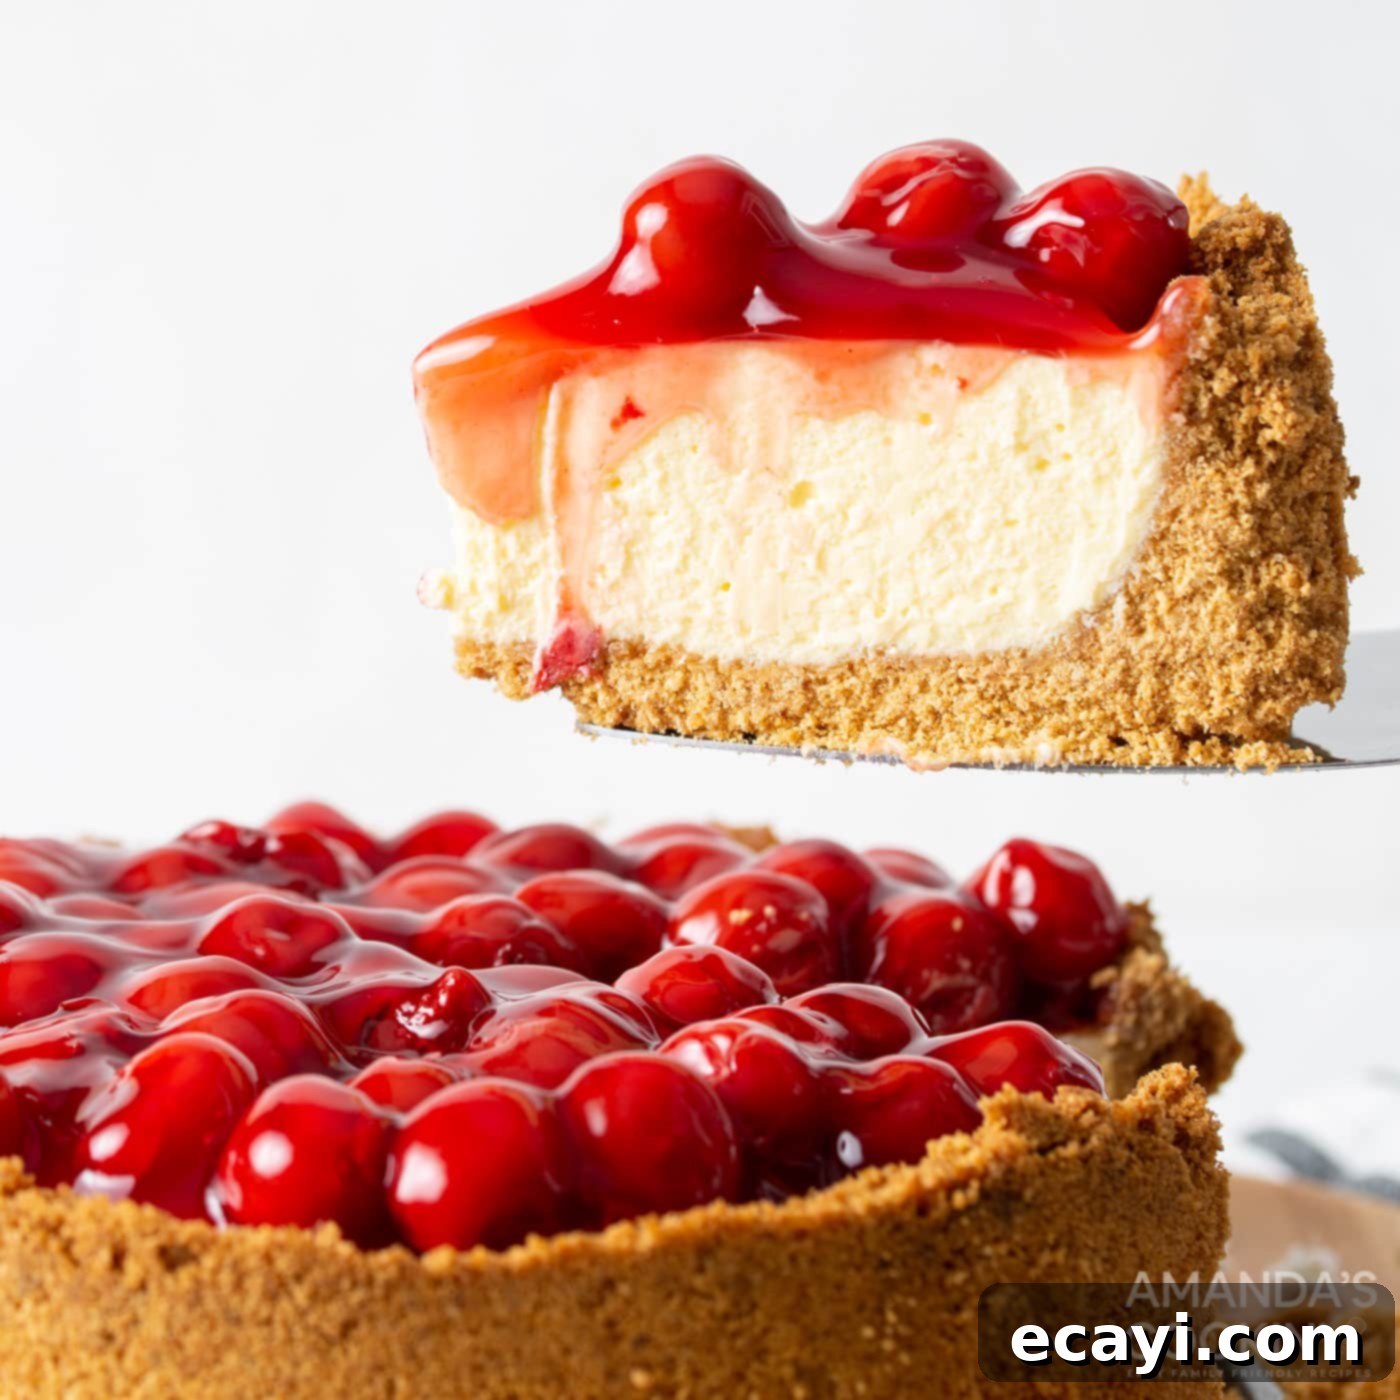
Prepare to be the culinary sensation of your next gathering with this incredibly smooth, rich, and utterly irresistible Instant Pot Cherry Cheesecake! This dreamy dessert boasts a perfectly baked, luxuriously creamy cheesecake filling, nestled upon a classic buttery graham cracker crust, and crowned with a vibrant, sweet cherry pie topping. Achieving cheesecake perfection has never been simpler, thanks to the magic of pressure cooking. Say goodbye to water bath woes and cracked tops, and hello to a flawless dessert that will have everyone asking for the recipe.
Making homemade cheesecake can often feel intimidating, but our Instant Pot method simplifies the process dramatically, delivering professional-quality results right in your own kitchen. The pressure cooker creates an ideal steamy environment that bakes the cheesecake gently and evenly, resulting in a silken texture that practically melts in your mouth. Whether you’re a seasoned baker or new to the world of cheesecakes, this recipe is designed for success, promising a show-stopping dessert with minimal fuss.
This instant pot cheesecake is not just delicious; it’s a convenient solution for anyone craving a spectacular dessert without spending hours in the kitchen. It’s perfect for holiday meals, special occasions, or simply satisfying that cheesecake craving any night of the week. Get ready to impress your friends and family with this easy, creamy, and undeniably decadent cherry cheesecake.
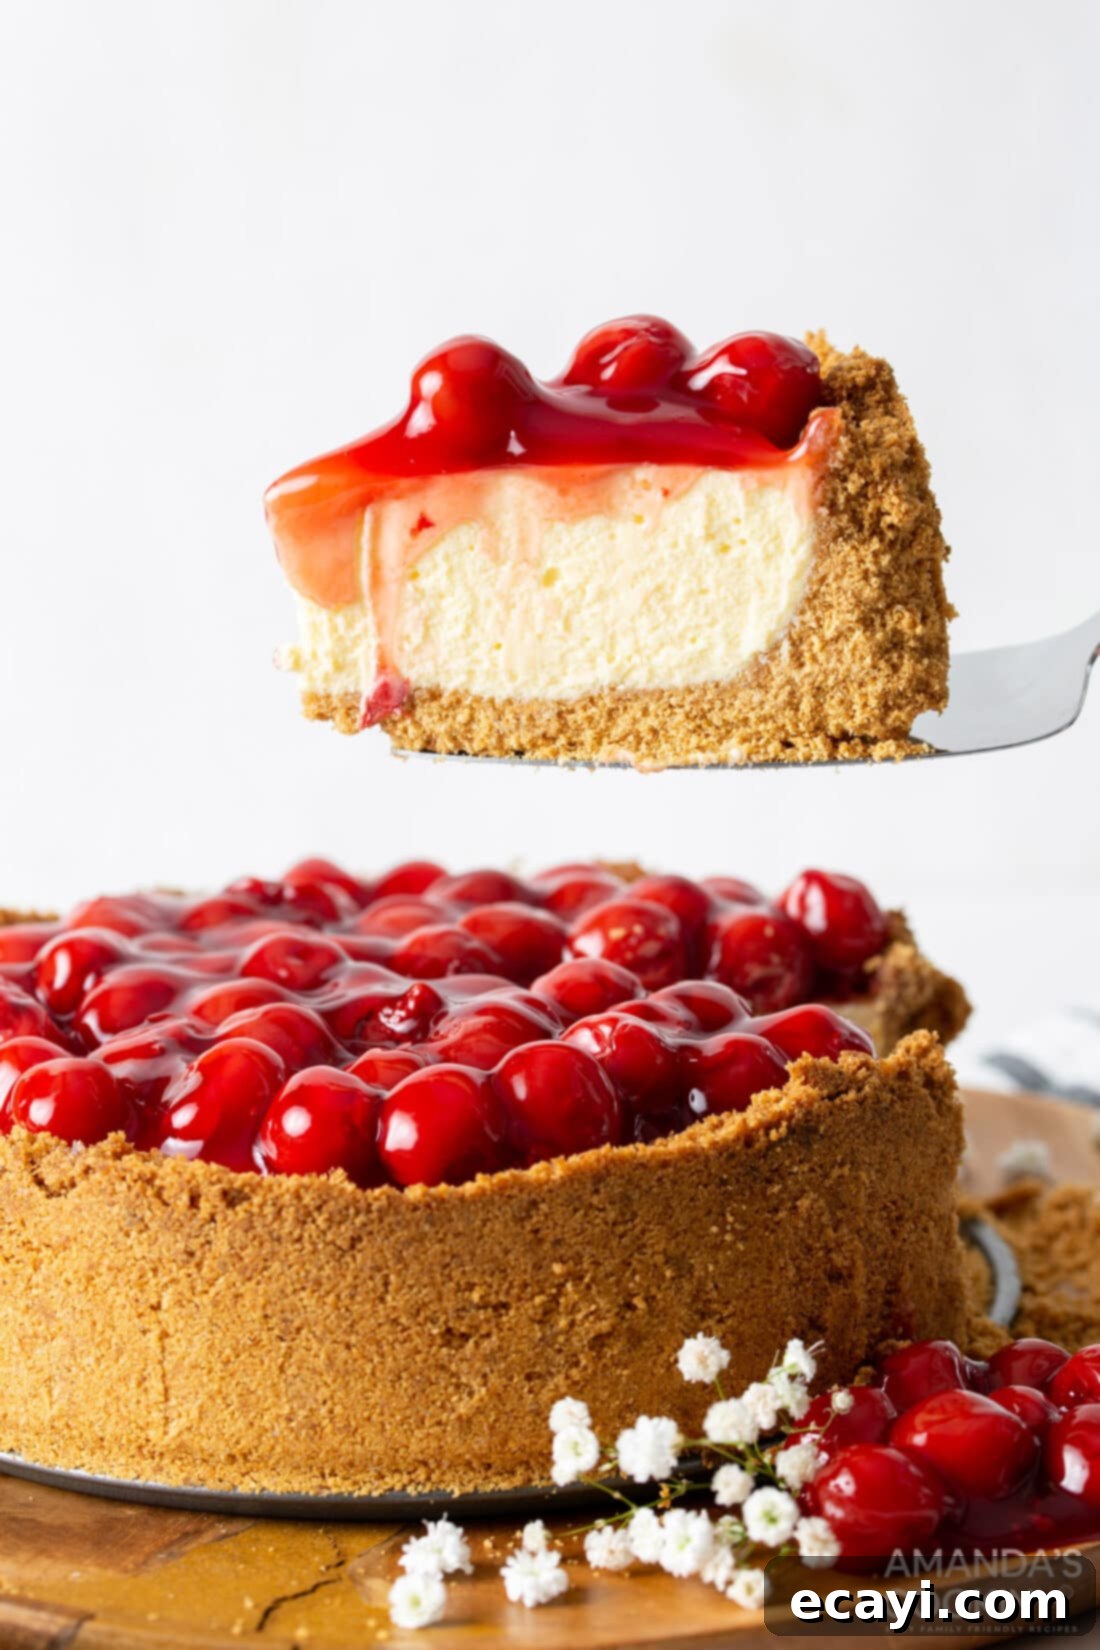
Why This Instant Pot Cheesecake Recipe Works So Brilliantly
There are numerous reasons why baking a cherry cheesecake in your Instant Pot is a game-changer, and why this particular recipe stands out. First and foremost, the speed is unmatched: your creamy cheesecake is cooked to perfection in just 35 minutes! Traditional oven-baked cheesecakes often require a meticulous water bath and extended baking times, but the Instant Pot streamlines the entire process without compromising on quality.
The secret lies in the pressure cooker’s ability to create a consistently moist, steamy environment. This gentle steaming method prevents the top of the cheesecake from drying out and cracking, a common frustration for many bakers. Instead, you’re left with an incredibly smooth, even surface and a perfectly dense, yet remarkably creamy texture. This recipe ensures that every bite is “creamy, dreamy, and extra decadent,” especially when paired with a generous topping of sweet cherry pie filling.
Beyond cheesecake, pressure cookers are celebrated for their versatility in quickly baking, cooking, and even steaming a wide array of dishes. We particularly adore using them for hearty meals like our Instant Pot Mississippi Pot Roast and comforting sides such as Instant Pot Mac and Cheese! This Instant Pot cheesecake recipe takes advantage of these benefits, transforming a classic dessert into an accessible, quick, and reliably delicious treat for any home cook.
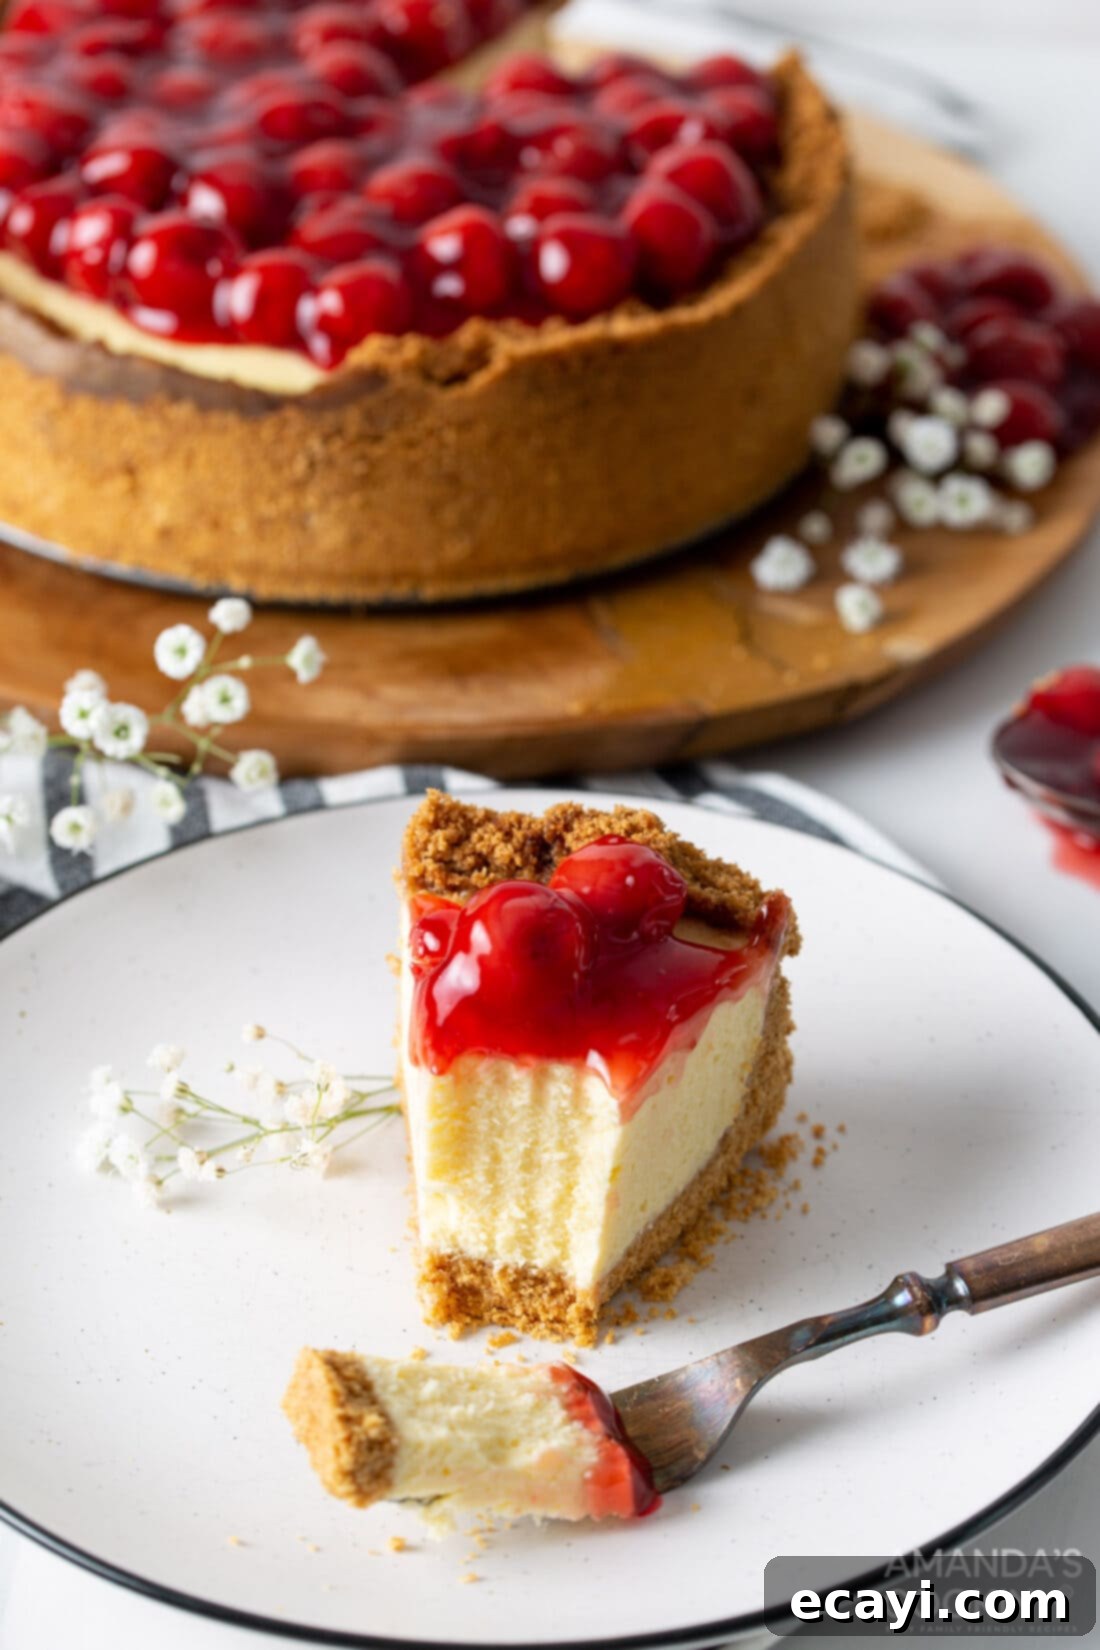
Essential Ingredients for Your Instant Pot Cheesecake
Crafting the perfect Instant Pot Cherry Cheesecake requires a few key ingredients, and understanding their roles will ensure your success. You can find all precise measurements, ingredient lists, and detailed instructions in the printable recipe card located at the end of this post.
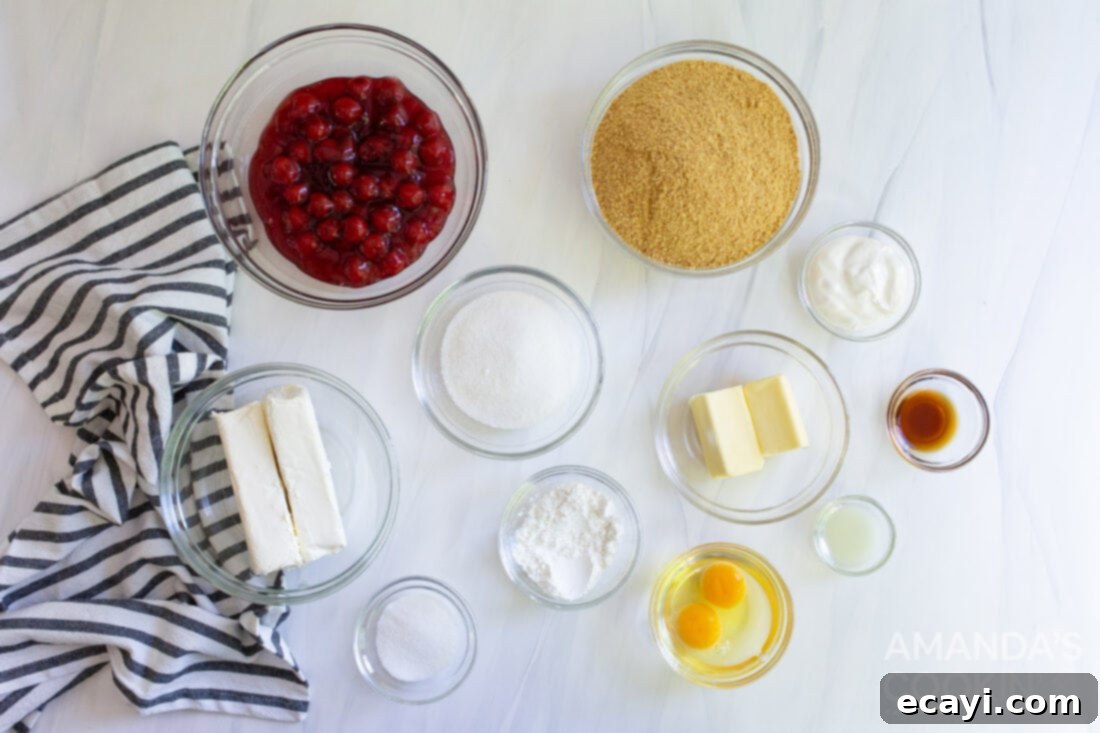
TOPPING – For this Instant Pot cheesecake, we’ve chosen a simple, luscious cherry pie filling to crown our creation. This classic choice provides a beautiful contrast in flavor and texture to the creamy cheesecake. However, this recipe is incredibly versatile, allowing you to customize your topping to your heart’s desire. Feel free to use any type of fruit pie filling you prefer – whether it’s a homemade cherry pie filling, or store-bought blueberry, blackberry, or strawberry options. Homemade strawberry jam or a fresh berry compote would also be absolutely delicious. For those who appreciate the pure, unadorned flavor of cheesecake, you can certainly leave it plain and enjoy its creamy simplicity.
CRUST – The foundation of any great cheesecake is a solid, flavorful crust. For our Instant Pot Cherry Cheesecake, you’ll combine finely crushed graham crackers, rich melted butter, and a touch of granulated sugar. This mixture forms a perfect, crumbly base that crisps up beautifully. To add a twist, consider using chocolate graham crackers for a richer flavor, or cinnamon graham crackers for a spiced note. If graham crackers aren’t readily available in your region, vanilla wafers or other crumbled cookies (like shortbread or even Oreos) make excellent substitutes. For our friends in the UK and Australia, digestive biscuits are a fantastic alternative that works wonderfully.
CHEESECAKE FILLING – The filling is where the magic truly happens, and using room temperature ingredients is paramount for achieving that signature ultra-creamy, lump-free texture. To bring your cream cheese to room temperature efficiently, remove it from its packaging, cut it into 1-inch cubes, and spread them out on a plate. Allow them to sit at room temperature for approximately 30 minutes. This simple step ensures smooth incorporation with other ingredients, preventing lumps and overmixing. Full-fat cream cheese is recommended for the richest flavor and best texture.
Don’t even think about skipping or substituting the flour in this recipe; it plays a crucial role in firming up the cheesecake and preventing cracks during the cooling process. Similarly, eggs are essential as your primary bonding agent, providing structure and richness. Always opt for large eggs, not jumbo, as larger eggs can alter the delicate balance and “science” of the recipe, potentially leading to a less stable or desired outcome. Sour cream adds a lovely tang and contributes significantly to the cheesecake’s moist, smooth consistency, while vanilla extract enhances the overall sweetness and aroma. A hint of lemon juice brightens all the flavors, balancing the richness of the cream cheese.
How to Master Instant Pot Cheesecake: Step-by-Step Guide
These step-by-step photos and detailed instructions are provided to help you visualize each stage of making this incredible recipe. For a convenient printable version of this recipe, complete with precise measurements and instructions, you can Jump to Recipe at the bottom of this page.
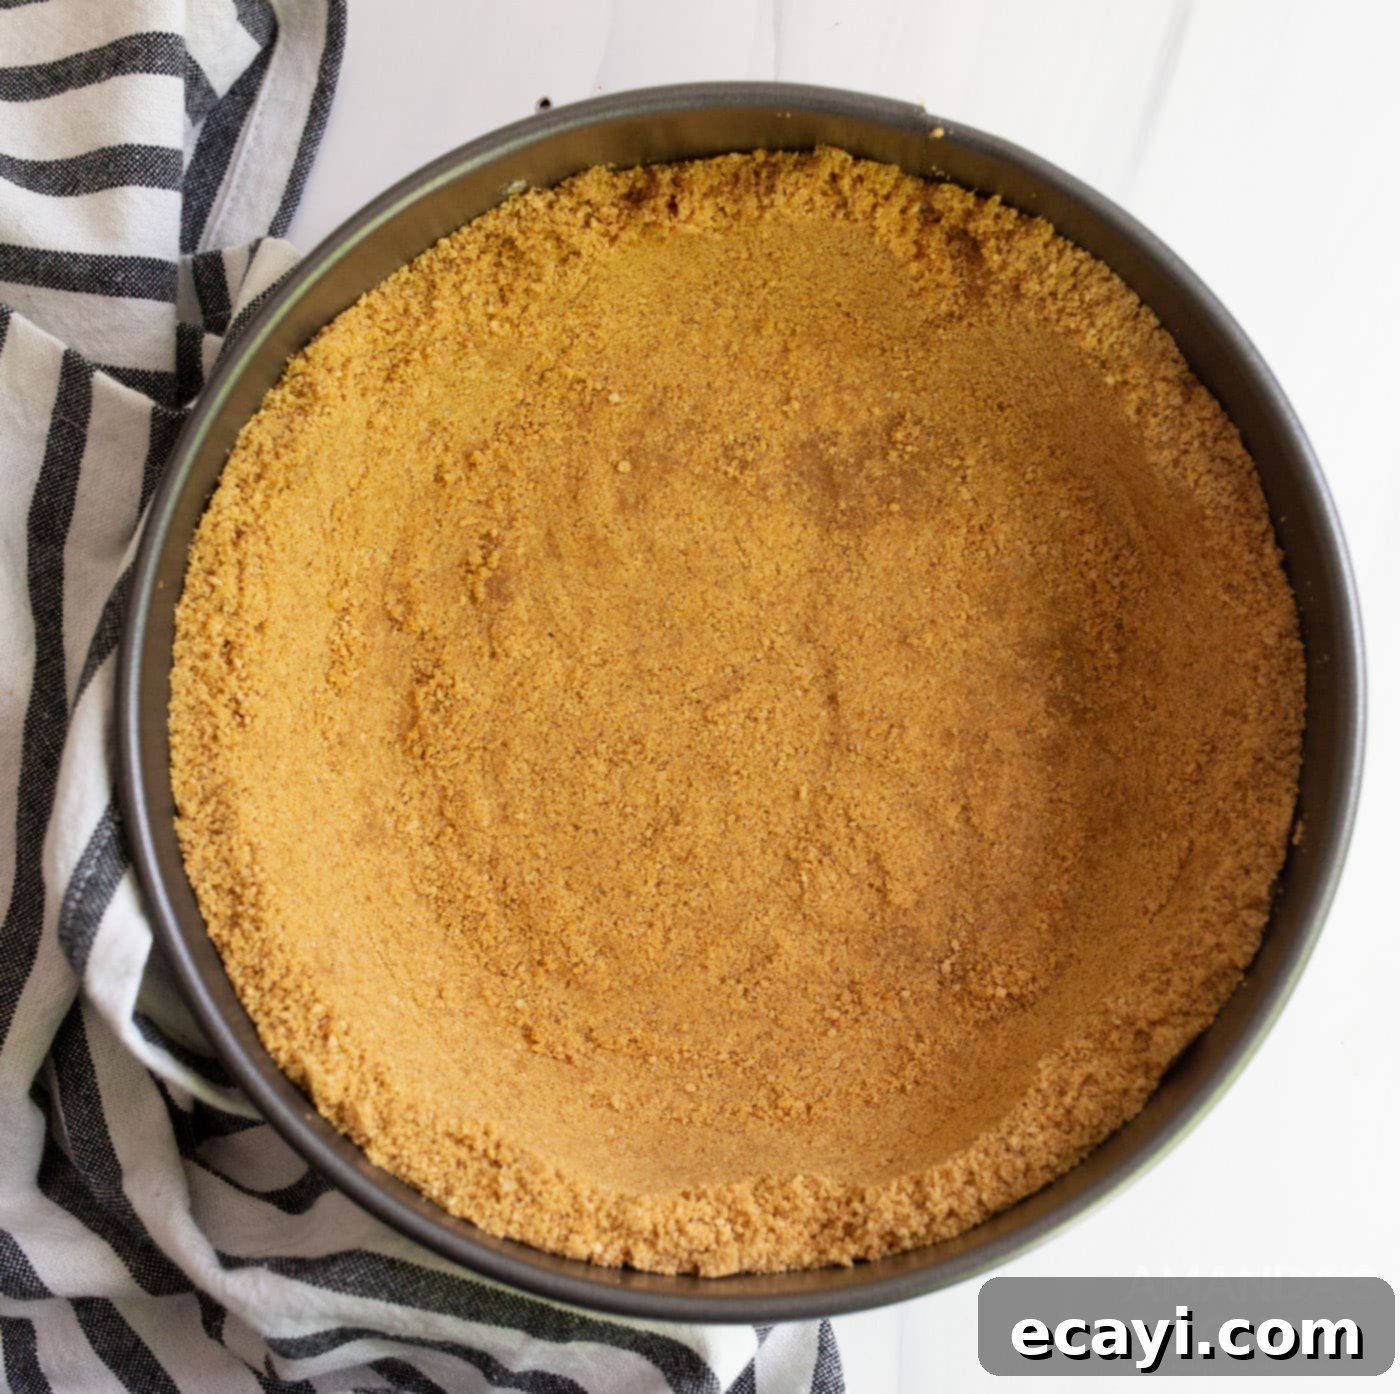
- In a large mixing bowl, combine your finely crushed graham cracker crumbs, granulated sugar, and melted unsalted butter. Use a fork or your fingertips to ensure the mixture is evenly moistened and resembles wet sand. Once combined, firmly press these crumbs into an 8-inch springform pan. Make sure to create an even layer across the bottom and slightly up the sides of the pan. This provides a sturdy and delicious base for your cheesecake. Place the crust in the freezer for at least 15 minutes, or until you’re ready to bake, which helps it firm up and prevents crumbling.

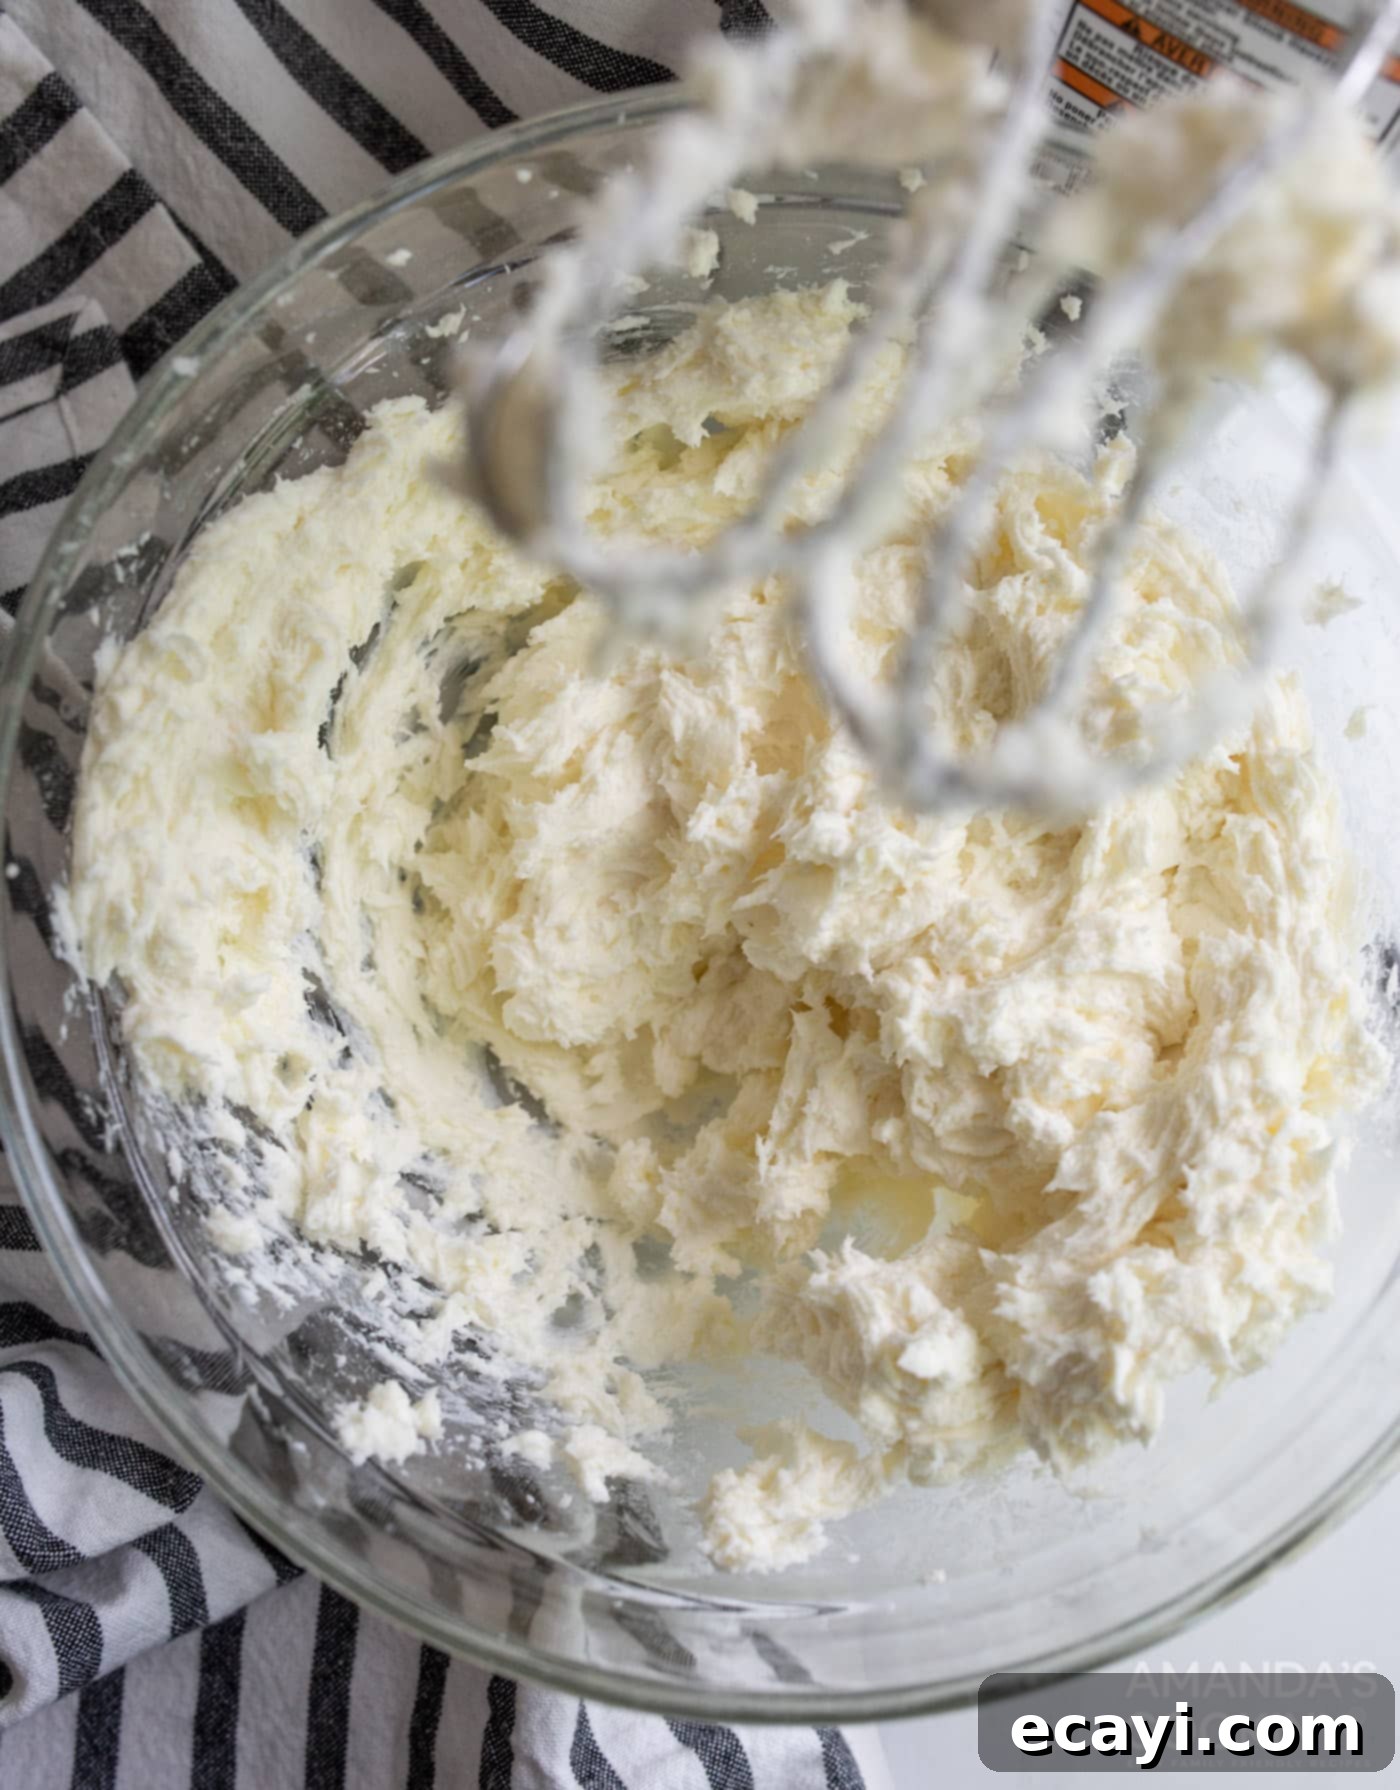
- In a separate, large mixing bowl, begin preparing the luxurious cheesecake filling. Add the room temperature cream cheese, granulated sugar, and all-purpose flour. Using a hand mixer on medium-low speed, beat these ingredients together until the mixture is smooth and just combined. Be careful not to overmix, as incorporating too much air can lead to cracks in your baked cheesecake.

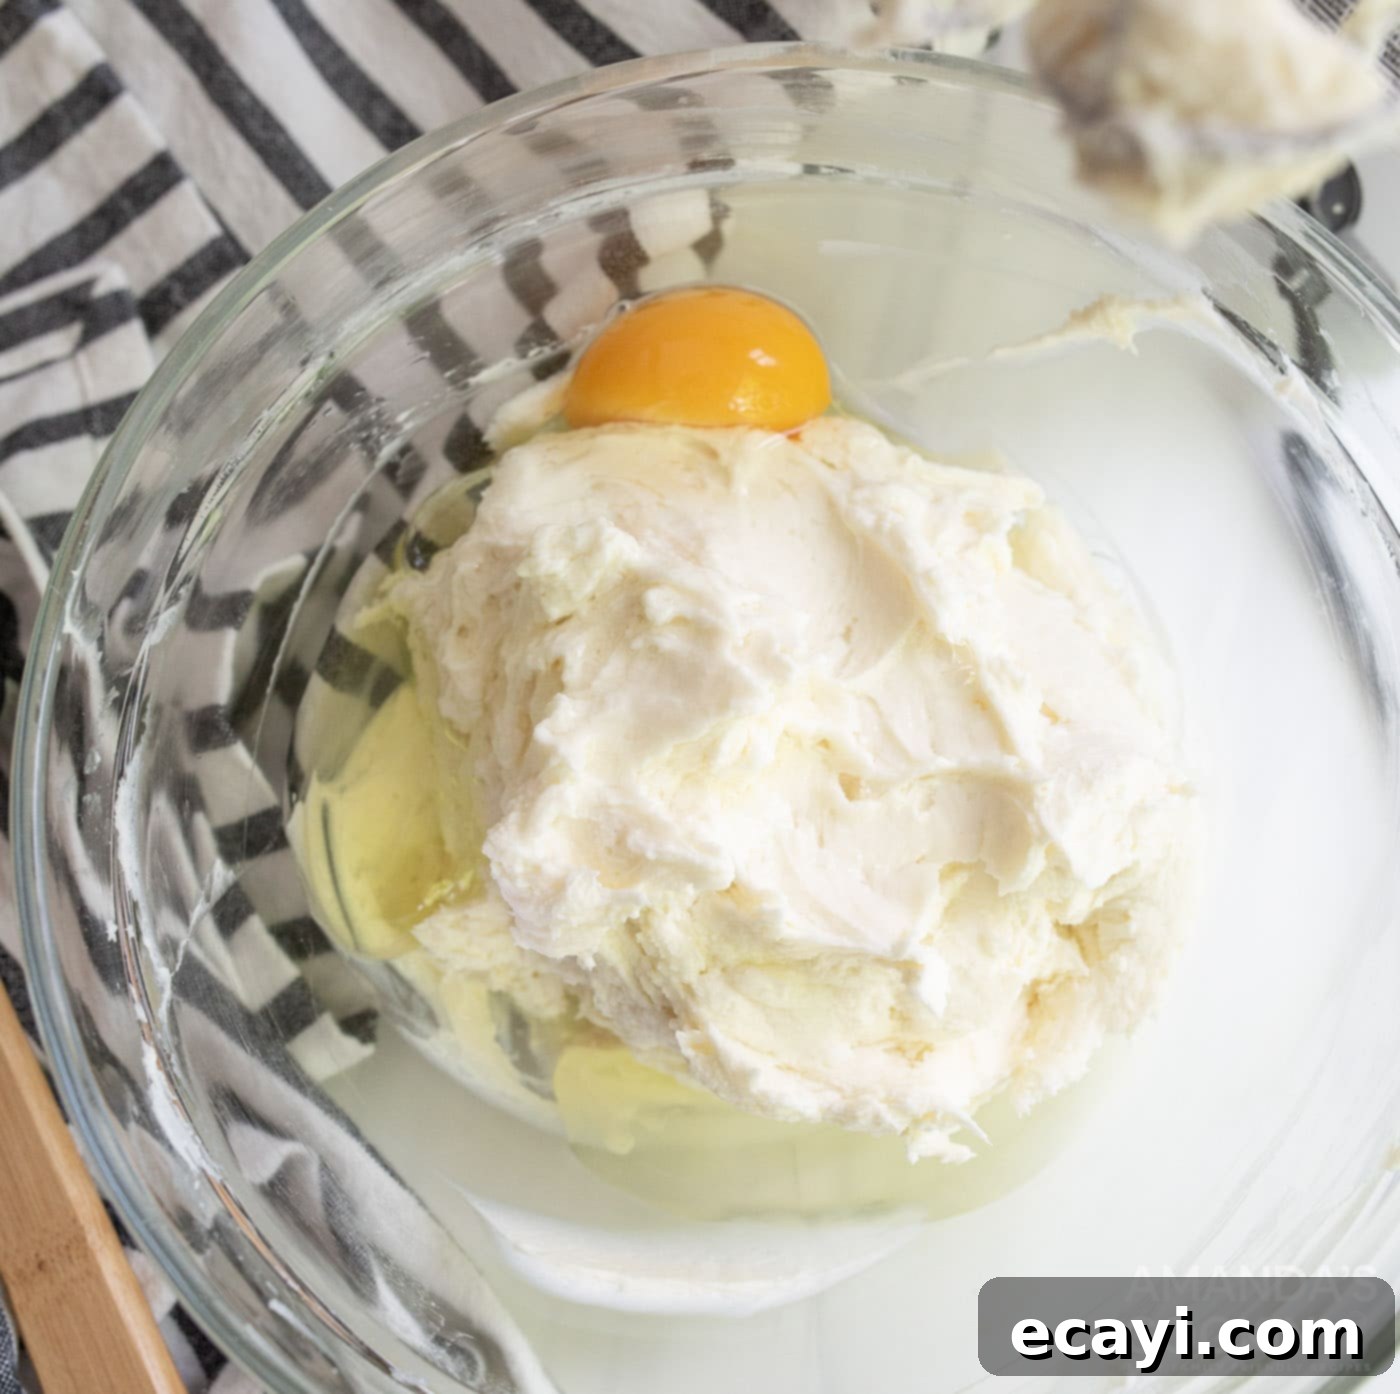
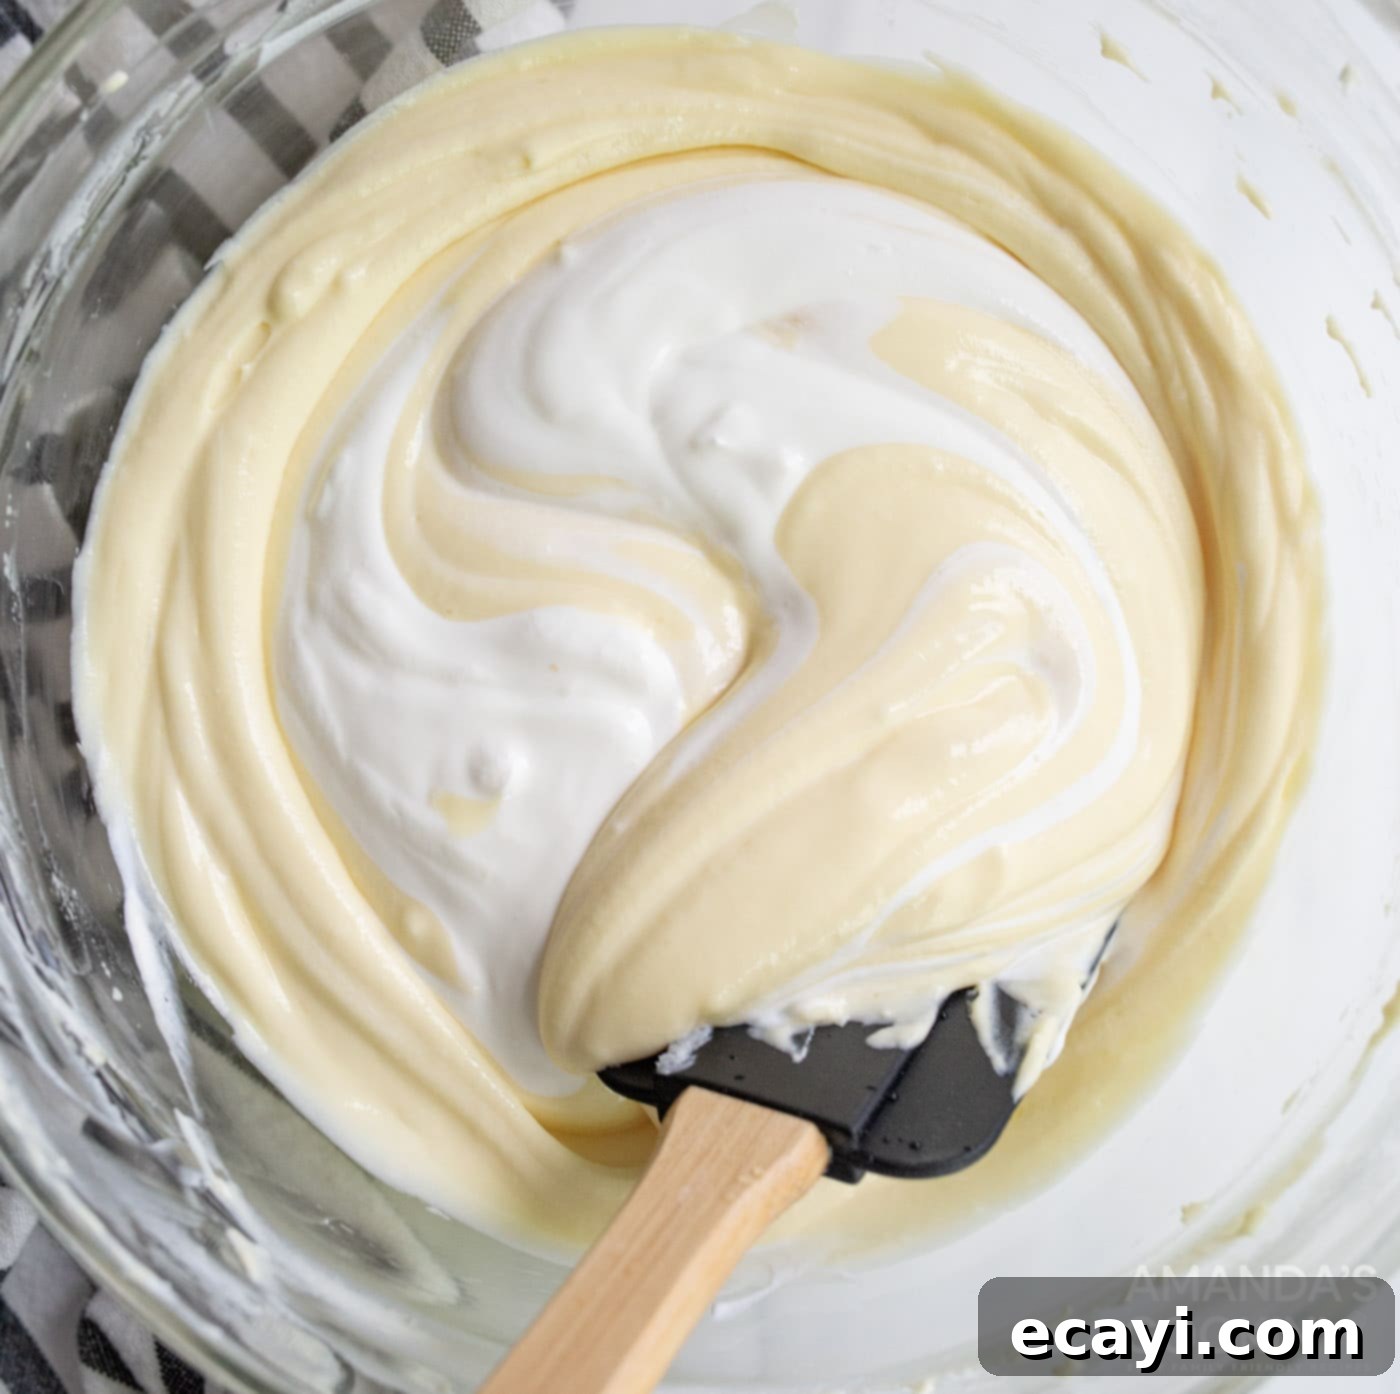
- Next, gradually incorporate the remaining wet ingredients. Add the lemon juice and vanilla extract to the cream cheese mixture. Then, add one egg at a time, mixing on medium speed with your hand mixer after each addition until just combined. Again, avoid overmixing. Finally, gently fold in the sour cream with a spatula until no streaks remain. This ensures a rich, smooth, and lump-free batter.

- After incorporating all ingredients for the filling, take a moment to gently fold in the sour cream. This adds a crucial tang and helps create that signature creamy texture. Ensure it’s fully combined but avoid vigorous mixing.

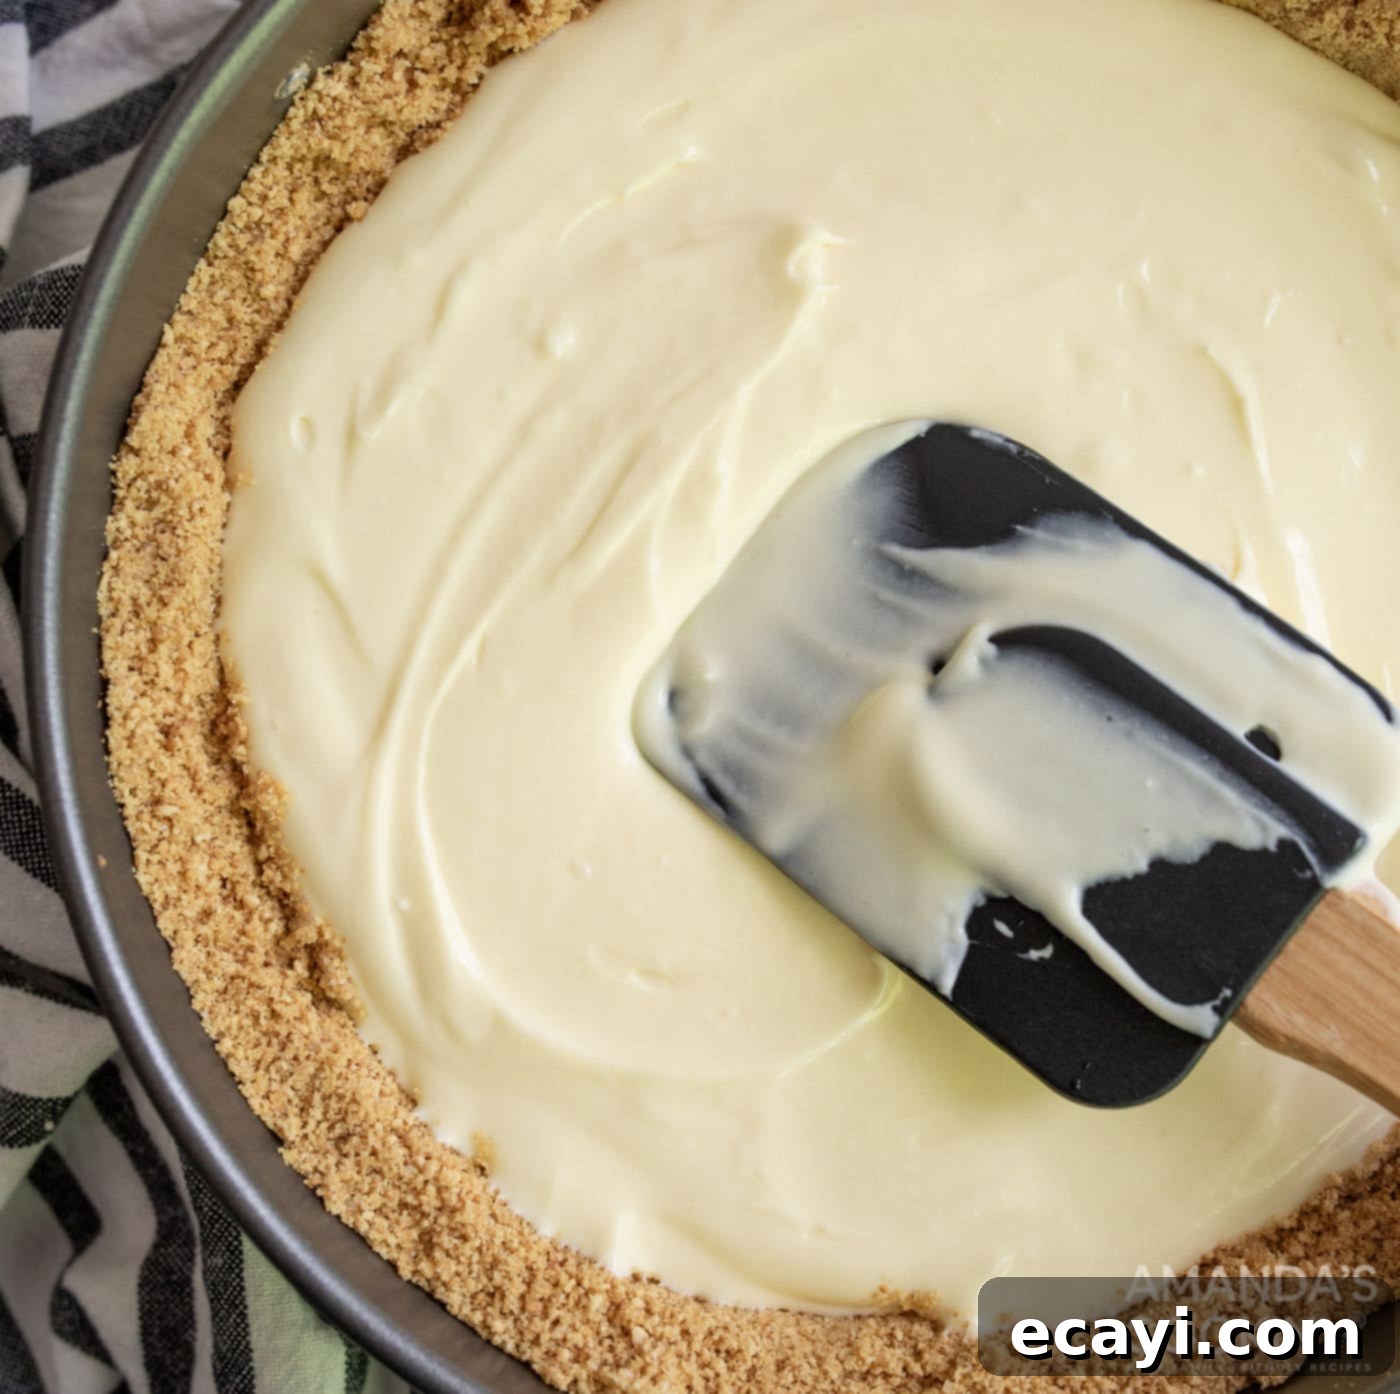
- Carefully pour the prepared cream cheese mixture into your chilled springform pan, smoothing the top with a rubber spatula to ensure an even surface. Gently tap the pan on your countertop a few times to release any trapped air bubbles, which helps prevent holes in the finished cheesecake.

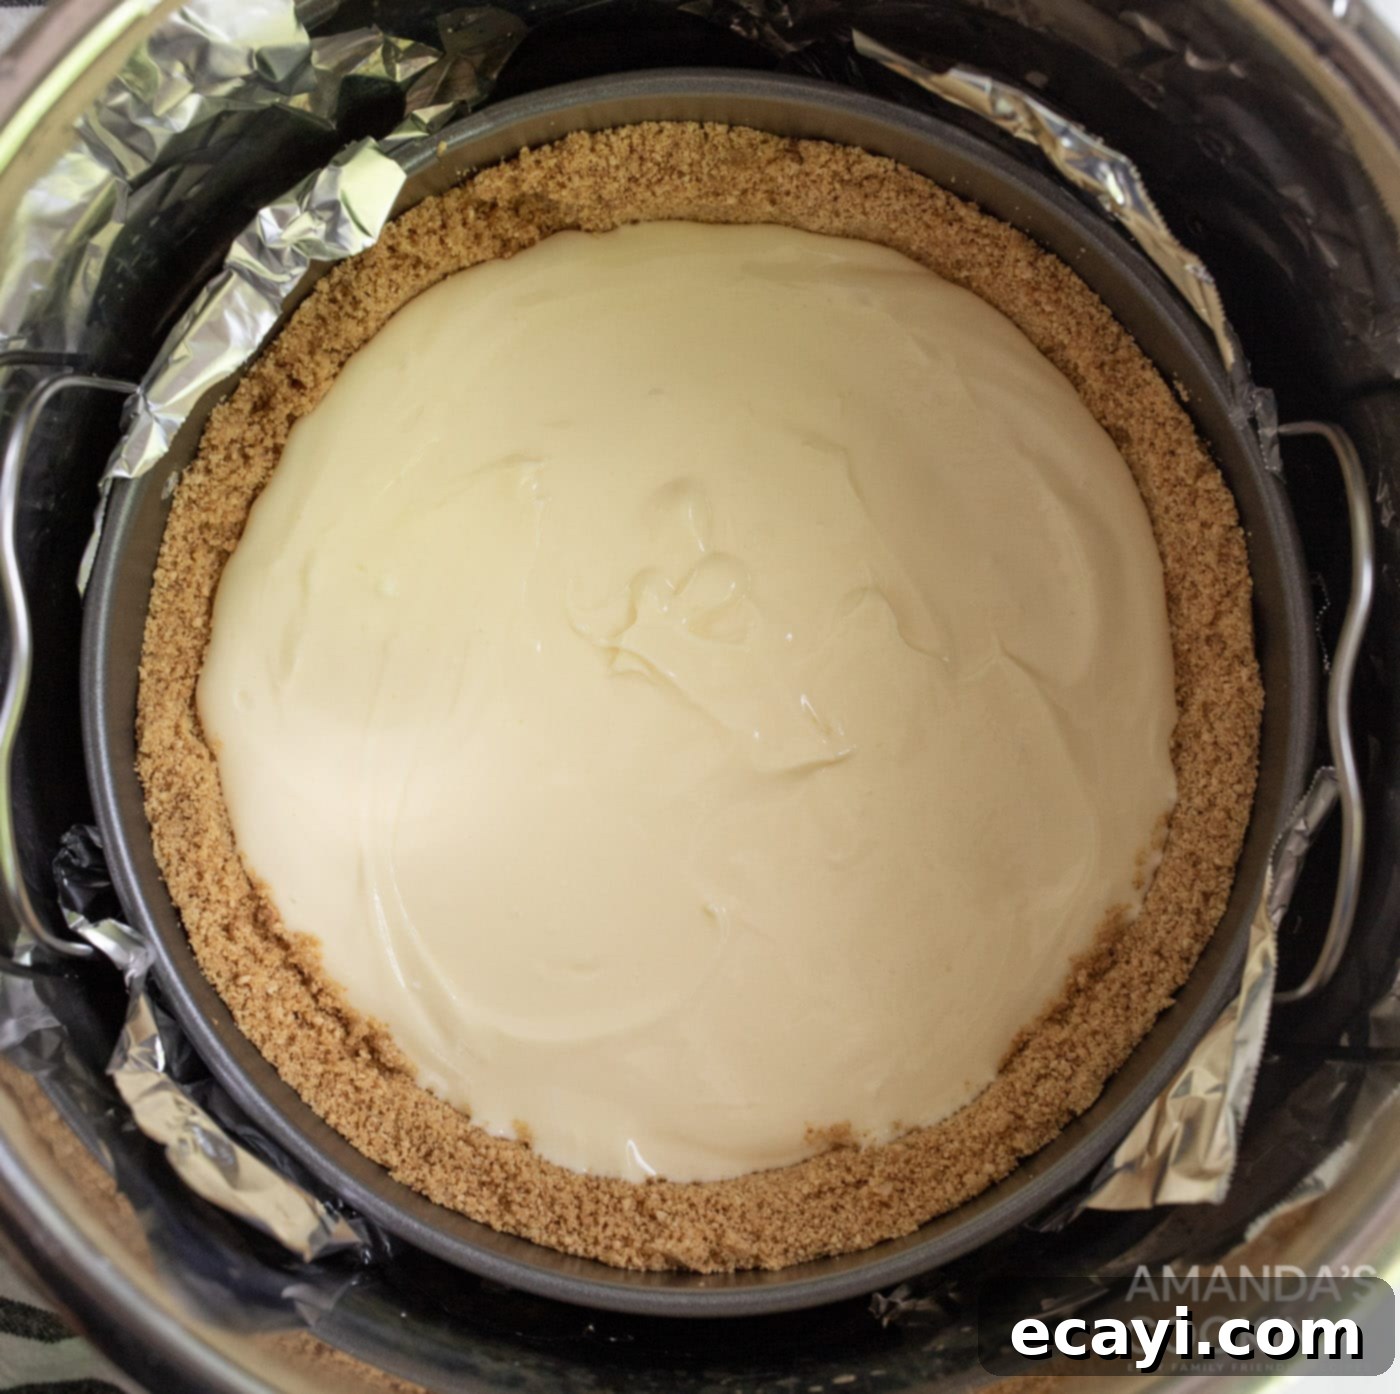
- Prepare your Instant Pot by adding the metal trivet to the bottom of the inner pot. Pour 1.5 cups of water into the Instant Pot. Carefully place the springform pan onto the trivet. To prevent any water from seeping in or condensation from gathering on the surface, cover the bottom edge of the springform pan with aluminum foil, creating a protective seal. Some bakers also loosely tent the top of the cheesecake with foil to minimize condensation, though it’s not strictly necessary if you blot it later.

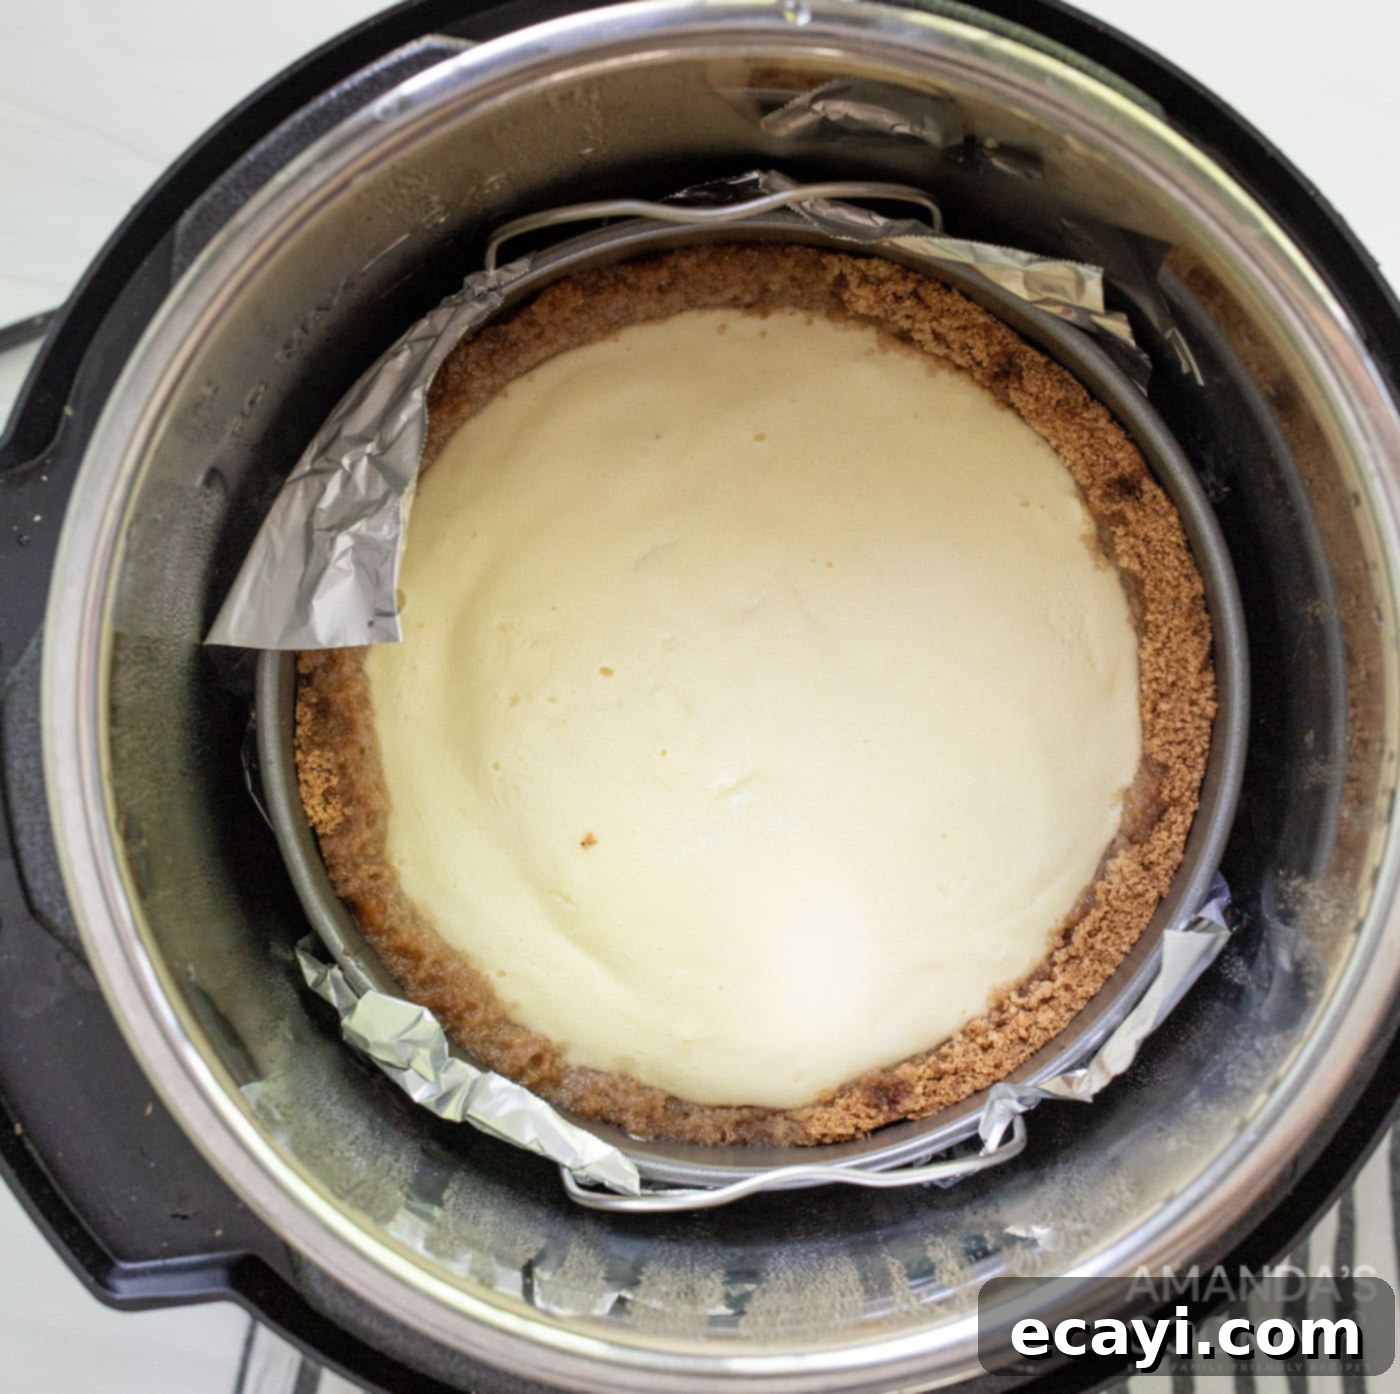
- Secure the Instant Pot lid and make sure the vent is sealed. Select the Manual (or Pressure Cook) setting and set it to High pressure for 35 minutes. Once the cooking cycle is complete, allow a natural pressure release for 10 minutes. This gradual release helps prevent the cheesecake from collapsing or cracking due to a sudden temperature change. After 10 minutes, manually release any remaining pressure. Carefully remove the springform pan from the Instant Pot using oven mitts. Allow the cheesecake to cool completely on a wire rack at room temperature before transferring it to the refrigerator. Chill for a minimum of 4 hours, but preferably overnight, to allow it to fully set and develop its exquisite flavor and firm texture.

- Just before you’re ready to serve, carefully remove the sides of the springform pan. Generously spoon the cherry pie filling over the top of the chilled cheesecake. Spread it evenly for a beautiful presentation and a burst of fruity flavor with every slice. Slice, serve, and enjoy the delightful compliments!

Frequently Asked Questions & Expert Tips for Instant Pot Cheesecake
Absolutely! If you prefer a more subtle crust that doesn’t extend up the sides of the pan, you can adjust the proportions. For a delicious base-only crust, use 1 cup of graham cracker crumbs, 1 Tablespoon of granulated sugar, and 4 Tablespoons of melted butter. Press this mixture firmly only into the bottom of the springform pan. This option allows the creamy cheesecake filling to be the primary focus, offering a delightful texture contrast without overwhelming the palate.
It’s common to find condensation on the top of your cheesecake when using a pressure cooker. This happens because the Instant Pot creates a steamy, moist environment, and as the steam cools, it condenses. Don’t fret, this is normal! You can gently blot up any excess moisture with a clean paper towel after removing the cheesecake from the Instant Pot. Alternatively, to minimize condensation during cooking, you can loosely place a piece of aluminum foil over the top of the springform pan before placing it in the Instant Pot. This acts as a barrier, diverting the condensation to the foil instead of the cheesecake surface.
Yes, absolutely! In fact, making this cheesecake ahead of time is highly recommended and actually yields the best results. Instant Pot cheesecake needs to fully cool down at room temperature before it goes into the refrigerator to chill and set properly. Allowing it to chill for a minimum of 4 hours, but preferably overnight, is crucial for achieving its perfect firm texture, sliceable consistency, and fully developed flavors. This also makes it a fantastic dessert for entertaining, as you can prepare it a day in advance.
Yes, you can certainly freeze this Instant Pot cheesecake! This is a great option for meal prepping desserts or for enjoying a slice later. We strongly recommend holding off on adding the cherry pie filling if you plan on freezing your cheesecake, as fruit toppings can become watery upon thawing. To freeze, ensure the cheesecake is completely cooled and fully set. Wrap the cheesecake (without the topping) tightly first in plastic wrap, then again in aluminum foil or freezer paper to prevent freezer burn. It can be kept in the freezer for about 4-5 months. When you’re ready to serve, allow it to thaw completely in the refrigerator, and then add your fresh cherry pie filling or any other desired topping.
To maintain its freshness and creamy texture, you should store your cherry cheesecake in an airtight container in the refrigerator. If you don’t have an airtight container large enough, cover it tightly with plastic wrap. Properly stored, it will remain delicious for 3-4 days. Always keep it refrigerated, especially with the fruit topping, to ensure food safety and quality.
The Instant Pot naturally helps prevent cracks due to its steamy environment. However, a few tips ensure a flawless finish: ensure all ingredients are at room temperature for smooth mixing, avoid overmixing the batter (which incorporates too much air), and allow for the full 10-minute natural pressure release before venting. Sudden temperature changes and too much air are the main culprits for cracks, both of which the Instant Pot helps mitigate.
Once your cheesecake is fully chilled and set, gently run a thin knife or offset spatula around the edge of the pan before unclipping the springform. This ensures a clean release and prevents the cheesecake from sticking to the sides, resulting in a perfectly smooth exterior.
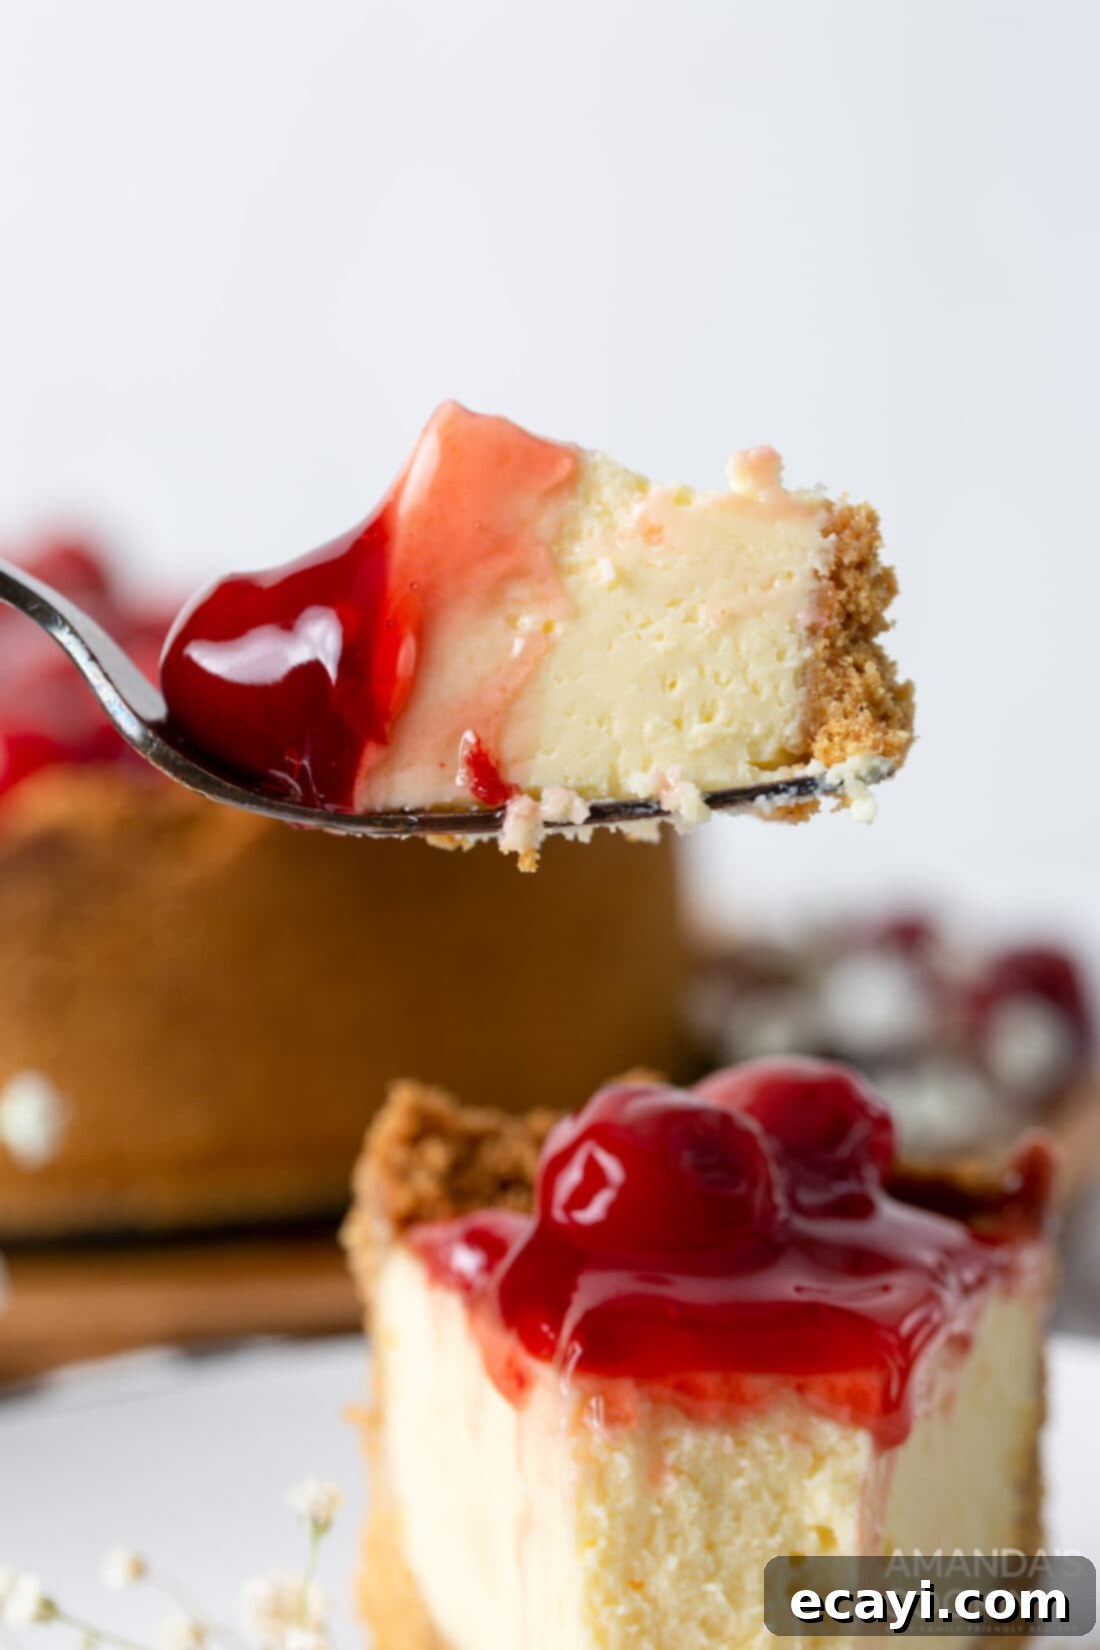
Delightful Serving Suggestions for Your Cherry Cheesecake
This Instant Pot Cherry Cheesecake is a dessert designed to impress, and how you serve it can elevate the experience even further. As a rich and decadent treat, it pairs wonderfully as the grand finale to a lighter dinner. Consider serving it after a meal of chicken dishes or flavorful grilled meats accompanied by simple, fresh side dishes. Since cheesecake itself is quite filling, it’s best enjoyed after a lighter main course to allow your guests to fully savor its creamy goodness without feeling overly stuffed.
While the classic cherry pie filling is a stellar choice, the versatility of this cheesecake allows for endless customization with toppings. Explore a spectrum of berry pie fillings like juicy blueberry, tangy raspberry, or sweet strawberry for different flavor profiles. Beyond fruit, consider a luxurious drizzle of warm caramel sauce, a rich chocolate ganache, or a dollop of freshly whipped cream. For added texture and crunch, toasted nuts (like pecans or walnuts) or a sprinkle of chocolate shavings can make a significant difference. You could even create a beautiful design with a contrasting fruit compote or a vibrant lemon curd. The possibilities are truly endless when it comes to dressing up this regular cheesecake into something extraordinary!
For an extra touch of elegance, garnish each slice with a few fresh cherries (if in season) and a sprig of mint. A light dusting of powdered sugar can also add a sophisticated finish. Serve slices slightly chilled for the best texture and flavor. This cherry cheesecake is not just a dessert; it’s a canvas for your culinary creativity.
Explore More Irresistible Cheesecake Recipes
If you’ve fallen in love with the ease and deliciousness of this Instant Pot Cherry Cheesecake, you’ll be thrilled to discover our other fantastic cheesecake creations. From no-bake wonders to more Instant Pot favorites and classic oven-baked delights, there’s a cheesecake for every craving and occasion. Expand your dessert repertoire with these beloved recipes:
- No Bake Mini Cheesecakes
- Instant Pot Strawberry Cheesecake
- Classic Cherry Cheesecake
- Tiramisu Cheesecake
- Strawberry Swirl Cheesecake
- Chocolate Cheesecake Brownies
- No Bake Blueberry Cheesecake
- No Bake Pumpkin Cheesecake
- No Bake Strawberry Cheesecake Bars
- No Bake Cheesecake Bars
- Oreo Cheesecake
- Instant Pot Lemon Curd Cheesecake
- Instant Pot Oreo Cheesecake
- Salted Caramel Cheesecake
I love to bake and cook and share my kitchen experience with all of you! Remembering to come back each day can be tough, that’s why I offer a convenient newsletter every time a new recipe posts. Simply subscribe and start receiving your free daily recipes!
Instant Pot Cheesecake
IMPORTANT – There are often Frequently Asked Questions within the blog post that you may find helpful. Simply scroll back up to read them!
Print It
Pin It
Rate It
Save It
Saved!
Prevent your screen from going dark
Course:
Dessert
Cuisine:
American
12
slices
1 hour
389
Amanda Davis
Ingredients
Crust
-
2
cups
graham cracker crumbs
13.5 ounces -
2
Tbsp
granulated sugar -
½
cup
unsalted butter
melted
FILLING
-
16
oz
cream cheese
room temperature -
½
cup
granulated sugar -
2
eggs -
3
Tbsp
all purpose flour -
½
cup
sour cream -
2
tsp
vanilla extract -
1
tsp
lemon juice
Topping
-
20
oz
Cherry pie filling
1 can
Things You’ll Need
-
Instant pot -
8 inch springform pan
Before You Begin
- You can use 1 cup graham cracker crumbs, 1 Tablespoon sugar, and 4 Tablespoons butter for a base only crust if you prefer a thinner crust.
- To minimize condensation during baking, you can loosely tent the cheesecake with aluminum foil. However, a paper towel can also be used to gently blot dry any wet spots after baking if desired.
- Using room temperature ingredients is crucial for achieving the creamiest texture and avoiding lumps in your cheesecake filling. To quickly bring cream cheese to room temperature, remove it from its packaging, cut it into 1-inch cubes, and spread them on a plate for about 30 minutes. Do not omit or substitute the all-purpose flour, as it is vital for firming up the cheesecake and preventing cracks. Similarly, eggs act as the primary binding agent, providing structure. Always use large eggs, not jumbo, as the larger size can alter the recipe’s delicate balance and consistency.
Instructions
-
In a large bowl, combine the graham cracker crumbs, granulated sugar, and melted butter. Press the crumb mixture firmly into an 8-inch springform pan, creating an even layer on the bottom and slightly up the sides. Place the prepared crust in the freezer to chill until you are ready to use it for baking.
-
In a separate large mixing bowl, using a hand mixer, beat together the room temperature cream cheese, granulated sugar, and all-purpose flour until the mixture is smooth and well combined. Ensure there are no lumps of cream cheese remaining.
-
Add the lemon juice and vanilla extract to the cream cheese mixture. Then, crack and add one egg at a time, mixing on medium speed with the hand mixer just until each egg is incorporated. After the eggs, gently fold in the sour cream until completely blended.
-
Carefully pour the smooth cream cheese mixture into the prepared and chilled springform pan, spreading it evenly with a rubber spatula. Gently tap the pan on your counter a few times to release any air bubbles.
-
Place the trivet into the bottom of your Instant Pot and add 1.5 cups of water. Position the springform pan onto the trivet. To prevent water seepage and condensation, wrap the bottom edge of the springform pan with aluminum foil.
-
Close the Instant Pot lid and set the vent to the sealing position. Cook on Manual (or Pressure Cook) at High pressure for 35 minutes. Once cooking is complete, allow the pressure to naturally release for 10 minutes, then carefully quick release any remaining pressure. Remove the cheesecake from the Instant Pot and let it cool completely on a wire rack at room temperature. Transfer to the refrigerator and chill for a minimum of 4 hours, or ideally overnight, for best results.
-
Just before serving, gently spoon the cherry pie filling over the top of the chilled cheesecake, spreading it evenly. Remove the sides of the springform pan, slice, and serve your exquisite Instant Pot Cherry Cheesecake.
Nutrition
Serving:
1
slice
|
Calories:
389
cal
|
Carbohydrates:
38
g
|
Protein:
5
g
|
Fat:
25
g
|
Saturated Fat:
14
g
|
Trans Fat:
1
g
|
Cholesterol:
94
mg
|
Sodium:
241
mg
|
Potassium:
156
mg
|
Fiber:
1
g
|
Sugar:
15
g
|
Vitamin A:
940
IU
|
Vitamin C:
2
mg
|
Calcium:
71
mg
|
Iron:
1
mg
Tried this Recipe? Pin it for Later!
Follow on Pinterest @AmandasCookin or tag #AmandasCookin!
The recipes on this blog are tested with a conventional gas oven and gas stovetop. It’s important to note that some ovens, especially as they age, can cook and bake inconsistently. Using an inexpensive oven thermometer can assure you that your oven is truly heating to the proper temperature. If you use a toaster oven or countertop oven, please keep in mind that they may not distribute heat the same as a conventional full sized oven and you may need to adjust your cooking/baking times. In the case of recipes made with a pressure cooker, air fryer, slow cooker, or other appliance, a link to the appliances we use is listed within each respective recipe. For baking recipes where measurements are given by weight, please note that results may not be the same if cups are used instead, and we can’t guarantee success with that method.
