Effortlessly Delicious: Master Homemade Buttery Hibachi Shrimp in Under 15 Minutes
Transport your taste buds straight to your favorite Japanese steakhouse with this incredibly easy and unbelievably flavorful hibachi shrimp recipe, all from the comfort of your own kitchen! In less than 15 minutes, you can pan-sear succulent, buttery shrimp infused with a savory blend of sesame oil, rich oyster sauce, aromatic garlic, and classic soy sauce. This quick-cooking dish delivers restaurant-quality flavor with minimal effort, making it a perfect choice for busy weeknights or when you’re craving something special.
Why This Homemade Hibachi Shrimp Recipe Works Wonders
There’s a certain magic to the sizzling griddle and theatrical flair of a hibachi grill, but recreating those iconic flavors at home is surprisingly straightforward and incredibly rewarding. This particular hibachi shrimp recipe stands out because it perfectly captures that authentic, savory taste profile you adore, without requiring any fancy equipment or a trip to a specialty store. It’s designed for simplicity and speed, making it an ideal candidate for anyone looking for a delicious and quick meal solution.
The secret lies in the masterful combination of a few key ingredients that work in harmony to elevate humble shrimp into a culinary delight. The butter provides a rich, luxurious base for searing, while fresh garlic adds an irresistible aromatic punch. Sesame oil contributes a nutty depth, oyster sauce brings a unique umami sweetness, and low-sodium soy sauce rounds out the savory profile. With just a handful of raw shrimp and these pantry staples, you’ll achieve a dish that tastes like it just came off the professional chef’s grill.
Beyond its incredible flavor, this recipe is a true weeknight hero. The entire cooking process, from prep to plate, can be completed in under 15 minutes. This means you can enjoy a wholesome, satisfying, and utterly delicious meal even on your busiest evenings. Plus, it’s easily customizable with your favorite vegetables and pairs perfectly with a side of homemade yum yum sauce for dipping, dunking, or drizzling – adding that quintessential hibachi finishing touch.
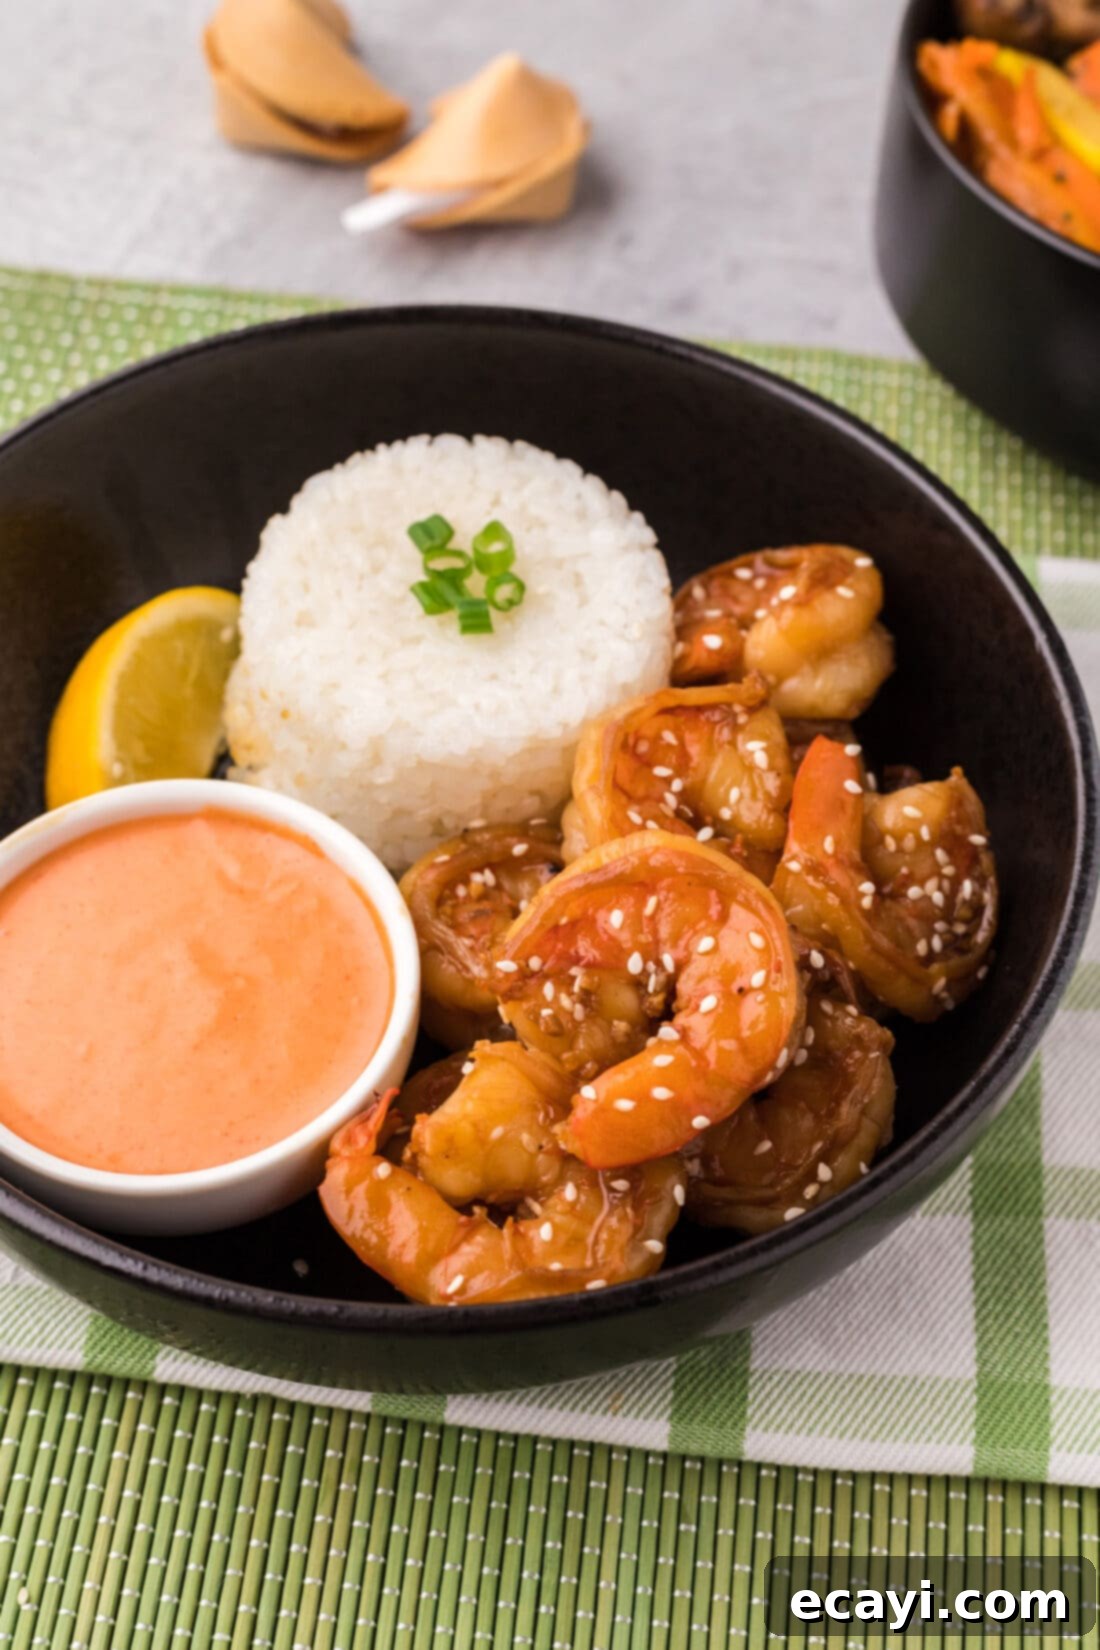
Essential Ingredients for Your Homemade Hibachi Shrimp
To embark on this quick and tasty culinary adventure, you’ll need a selection of fresh ingredients and a few Asian pantry staples. The full measurements, ingredient list, and detailed instructions are conveniently available in the printable recipe card at the bottom of this post. However, let’s dive into what makes each component crucial for achieving that authentic hibachi flavor.
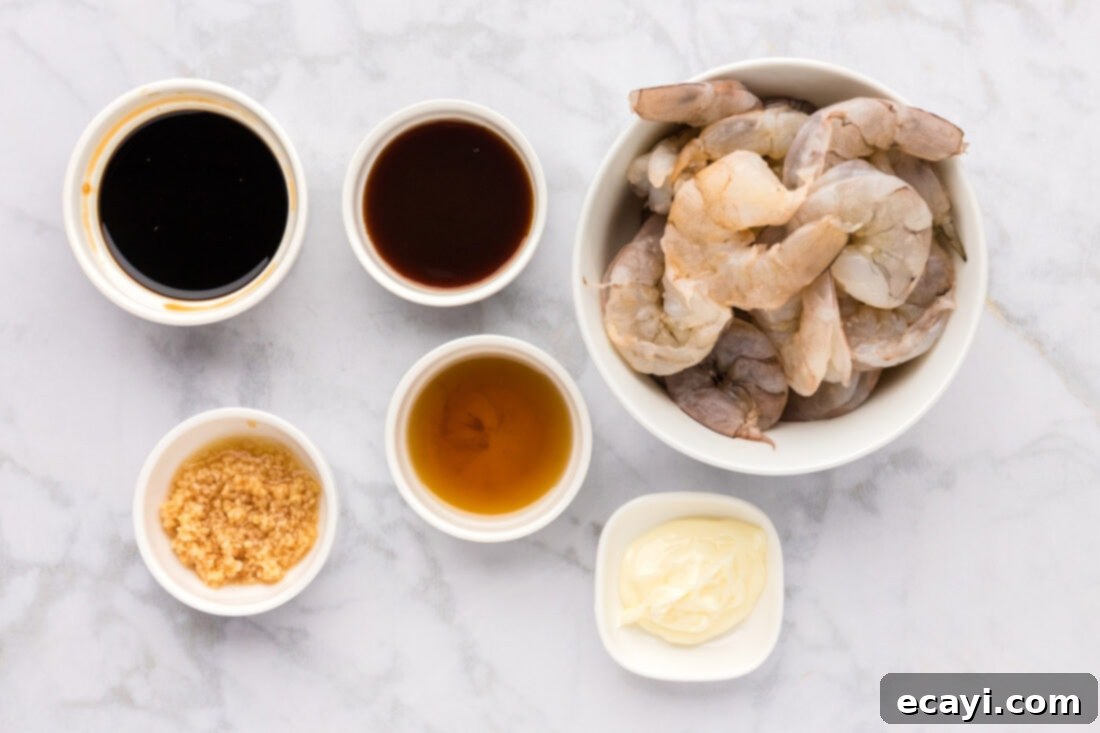
Ingredient Spotlight: Tips for Best Flavor & Substitutions
Understanding each ingredient’s role and knowing how to select the best quality can truly elevate your homemade hibachi shrimp. Here’s a breakdown:
SHRIMP: The star of our dish! We typically opt for “grilling shrimp” found at the seafood counter in our local grocery store. These are usually large to extra-large raw shrimp, already peeled and deveined, sometimes with the tail on or off. If you can’t find grilling shrimp specifically, any extra large (21/25 count per pound) raw shrimp will work wonderfully. Look for shrimp that are firm, translucent, and have a mild, fresh scent – avoid any with a strong “fishy” odor. For best results, ensure your shrimp are fully thawed if frozen, and most importantly, pat them thoroughly dry with paper towels before cooking. This crucial step helps achieve a beautiful sear and prevents them from steaming in the pan, ensuring a tender, not rubbery, texture.
UNSALTED BUTTER: Butter is fundamental to hibachi cooking, imparting a rich, luxurious flavor and helping to create that signature golden-brown crust on the shrimp. We recommend unsalted butter so you can control the overall sodium content of the dish, especially since soy sauce is already salty. If you only have salted butter, you may want to slightly reduce the amount of soy sauce you add.
MINCED GARLIC: Fresh garlic is non-negotiable for that irresistible aromatic kick. Minced garlic, whether hand-chopped or from a jar, provides a pungent, savory base that infuses the butter and shrimp with incredible flavor. If using fresh cloves, aim for a fine mince to allow its flavors to quickly release without burning. Be careful not to burn the garlic during the initial sauté, as it can turn bitter very quickly.
SESAME OIL: Toasted sesame oil is what you’re looking for here. It has a distinct, rich, nutty aroma and flavor that is characteristic of many Asian dishes, including hibachi. A little goes a long way, so use it sparingly. It’s often used more as a finishing oil or for flavor rather than a primary cooking oil due to its low smoke point. For this recipe, it’s blended with other sauces, making it perfect for imparting its unique taste.
OYSTER SAUCE: This thick, dark sauce is a powerhouse of umami. It adds a complex savory flavor with a hint of sweetness, contributing significantly to the depth of the hibachi sauce. Despite its name, it doesn’t taste overtly like oysters; rather, it’s a rich, savory condiment that complements seafood beautifully. If you have dietary restrictions or cannot find oyster sauce, a good substitute can be a combination of soy sauce, a pinch of sugar, and a dash of fish sauce, or even hoisin sauce (which is sweeter, so adjust accordingly).
LOW SODIUM SOY SAUCE: We recommend low sodium soy sauce to prevent the dish from becoming overly salty, especially when combined with oyster sauce. Soy sauce provides the fundamental savory, salty, and umami base of many Asian cuisines. If you prefer, you can use regular soy sauce and adjust to taste, or opt for Tamari for a gluten-free alternative, ensuring the same great flavor profile.
Step-by-Step Guide: Crafting Your Perfect Hibachi Shrimp
These step-by-step photos and detailed instructions are here to guide you visually through the process of making this delectable recipe. For a convenient, printable version of this recipe, complete with precise measurements and comprehensive instructions, simply Jump to Recipe at the bottom of this post.
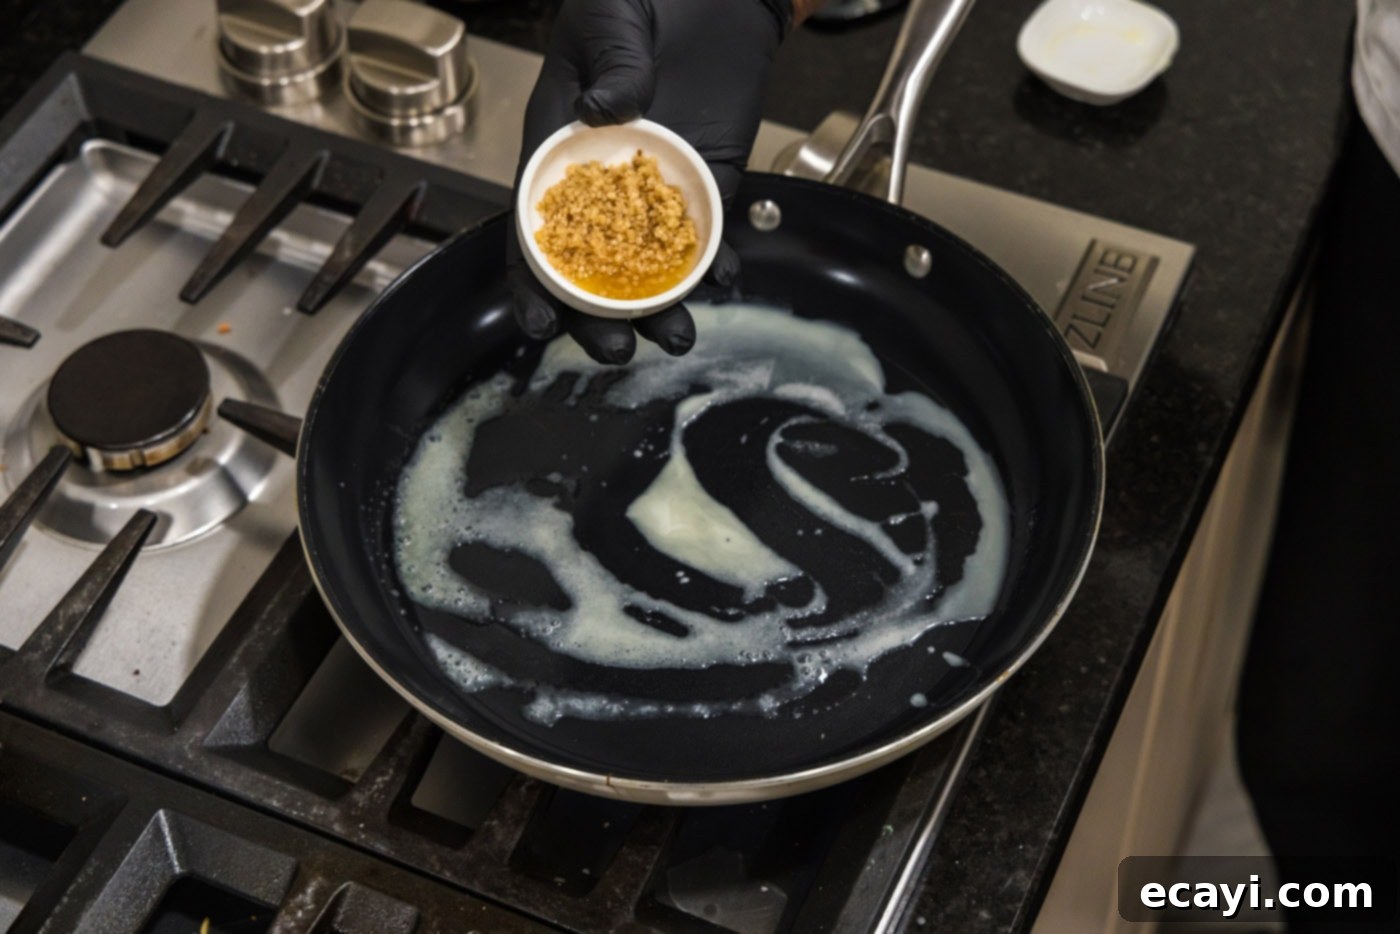
- **Prepare Your Sizzling Skillet:** Begin by melting the unsalted butter in a large, heavy-bottomed skillet (a cast-iron or stainless steel skillet works best for a good sear) over medium-high heat. Once the butter is fully melted and slightly shimmering, add the minced garlic. Sauté the garlic for just about 1 minute, or until it becomes fragrant. Be mindful not to let it brown, as burnt garlic can impart a bitter taste to your dish. The goal is to release its wonderful aroma.

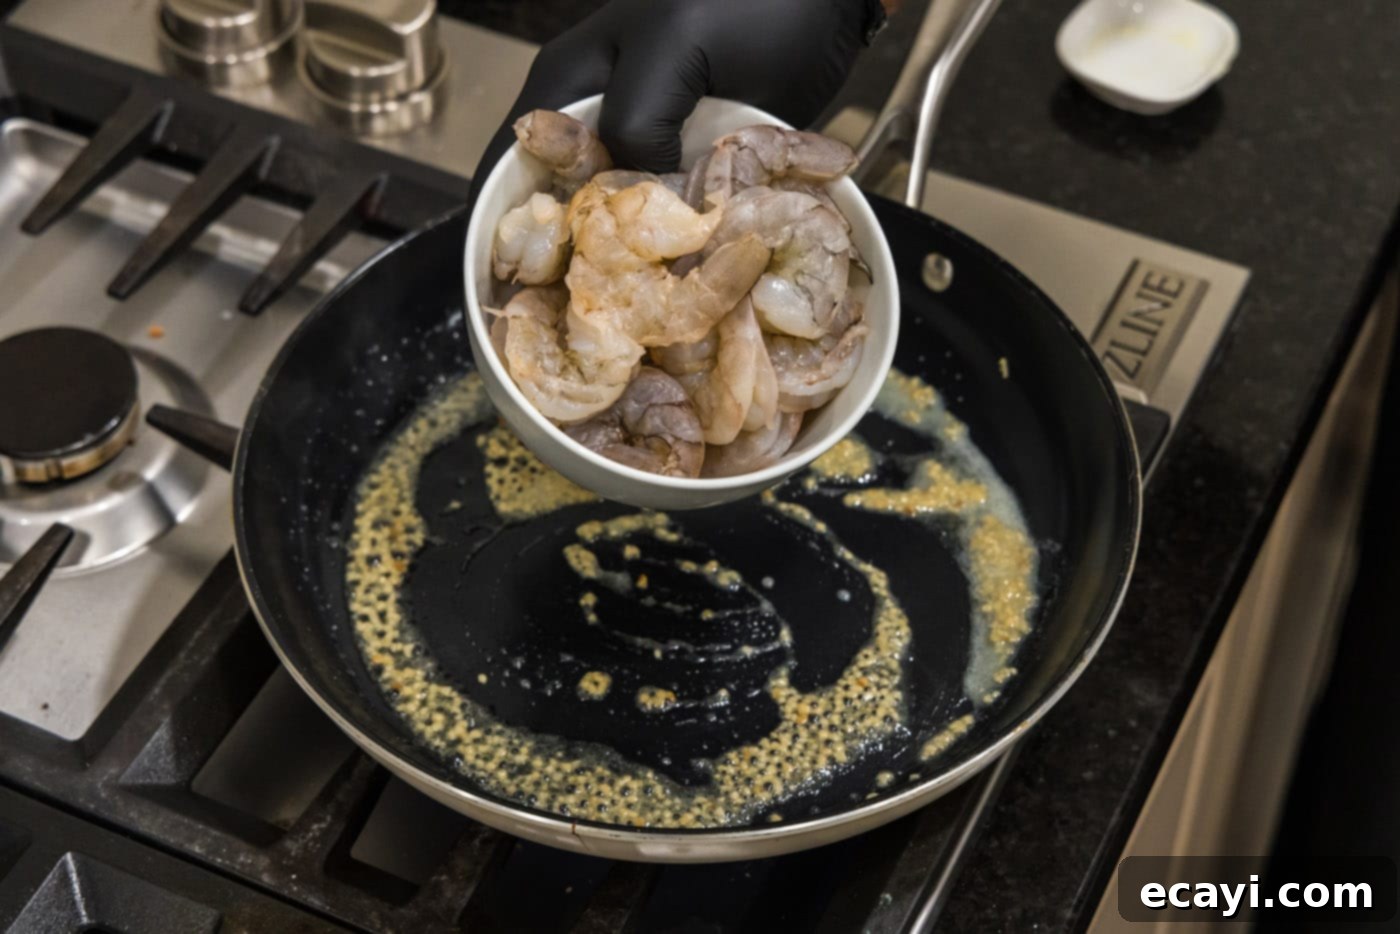
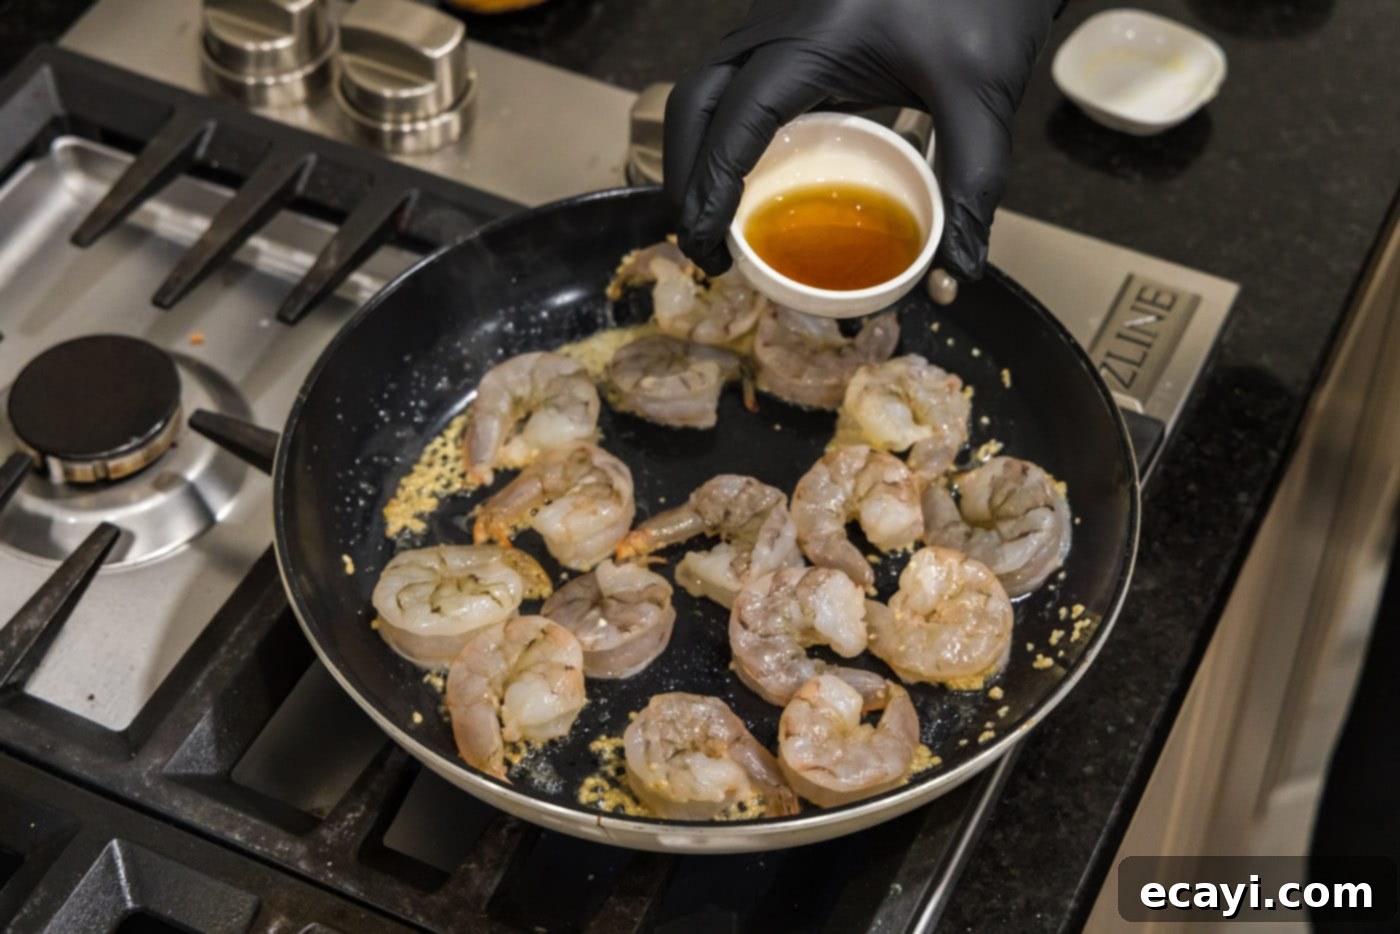
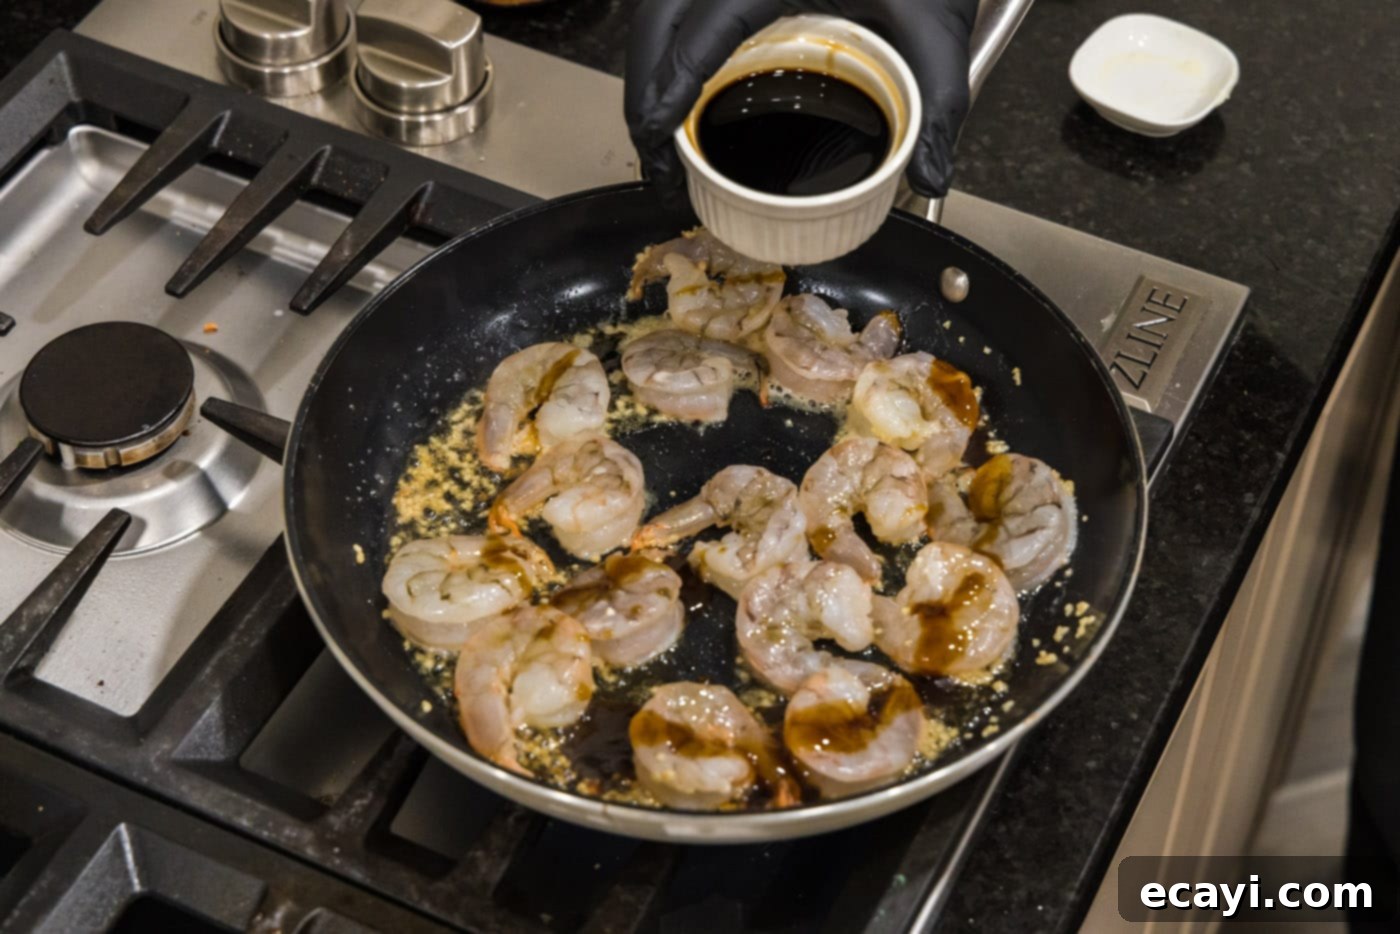
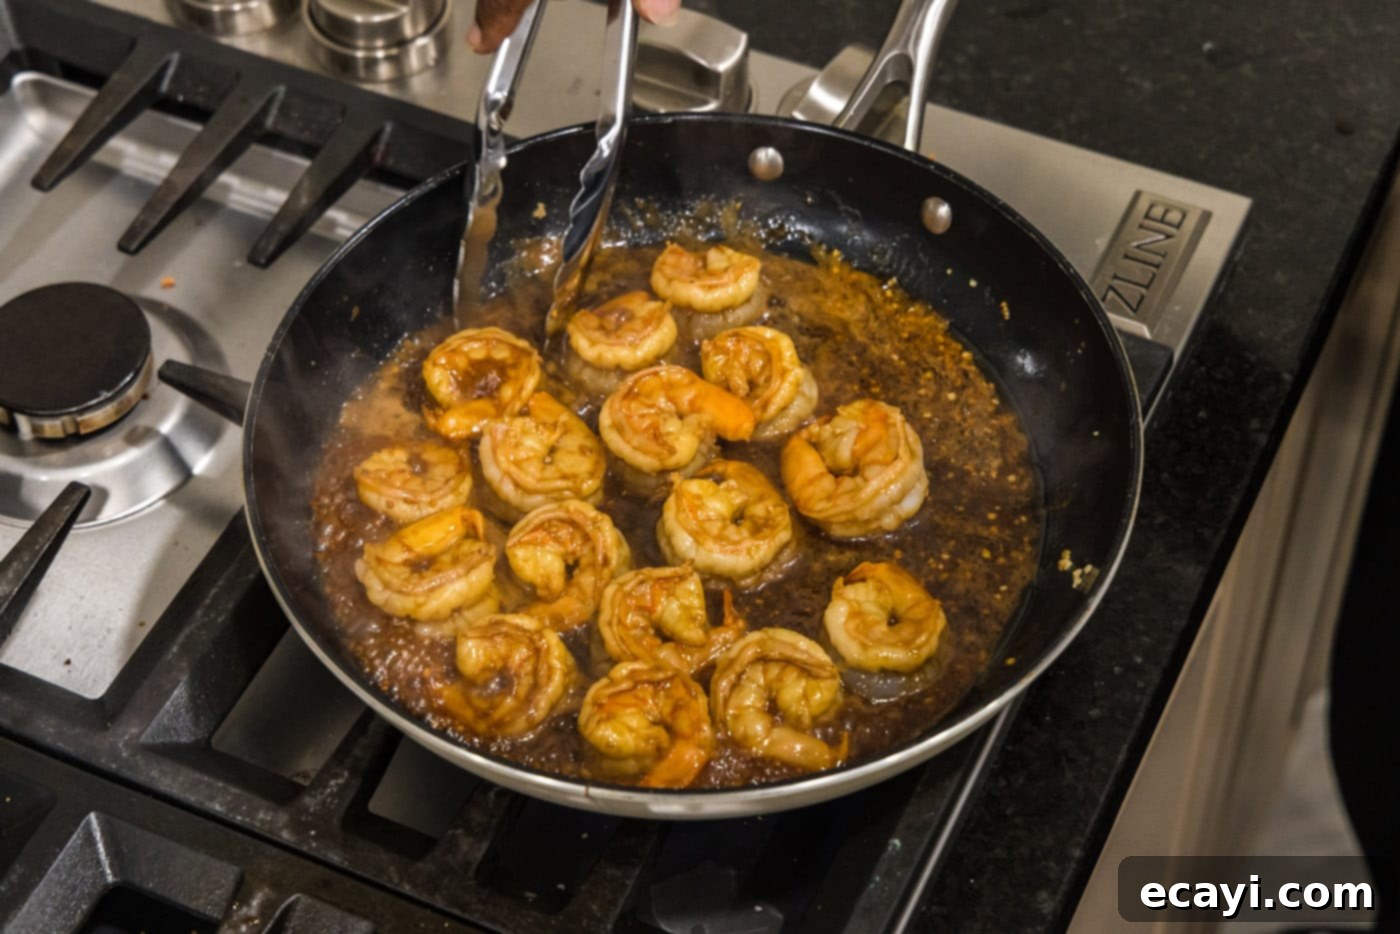
- **Sear the Shrimp with Flavorful Sauces:** Next, add the prepped shrimp (ensure they are patted dry!) to the skillet. Immediately follow by drizzling in the sesame oil, oyster sauce, and low sodium soy sauce over the shrimp. Stir gently to ensure the shrimp are evenly coated with the rich sauce mixture. Cook for 2-3 minutes on one side until they begin to turn pink and opaque. Then, using tongs, turn each shrimp over and cook for an additional 2-3 minutes on the other side. The shrimp should be firm, fully pink, and curled into a “C” shape when perfectly cooked. Avoid overcooking, as this can lead to a rubbery texture.


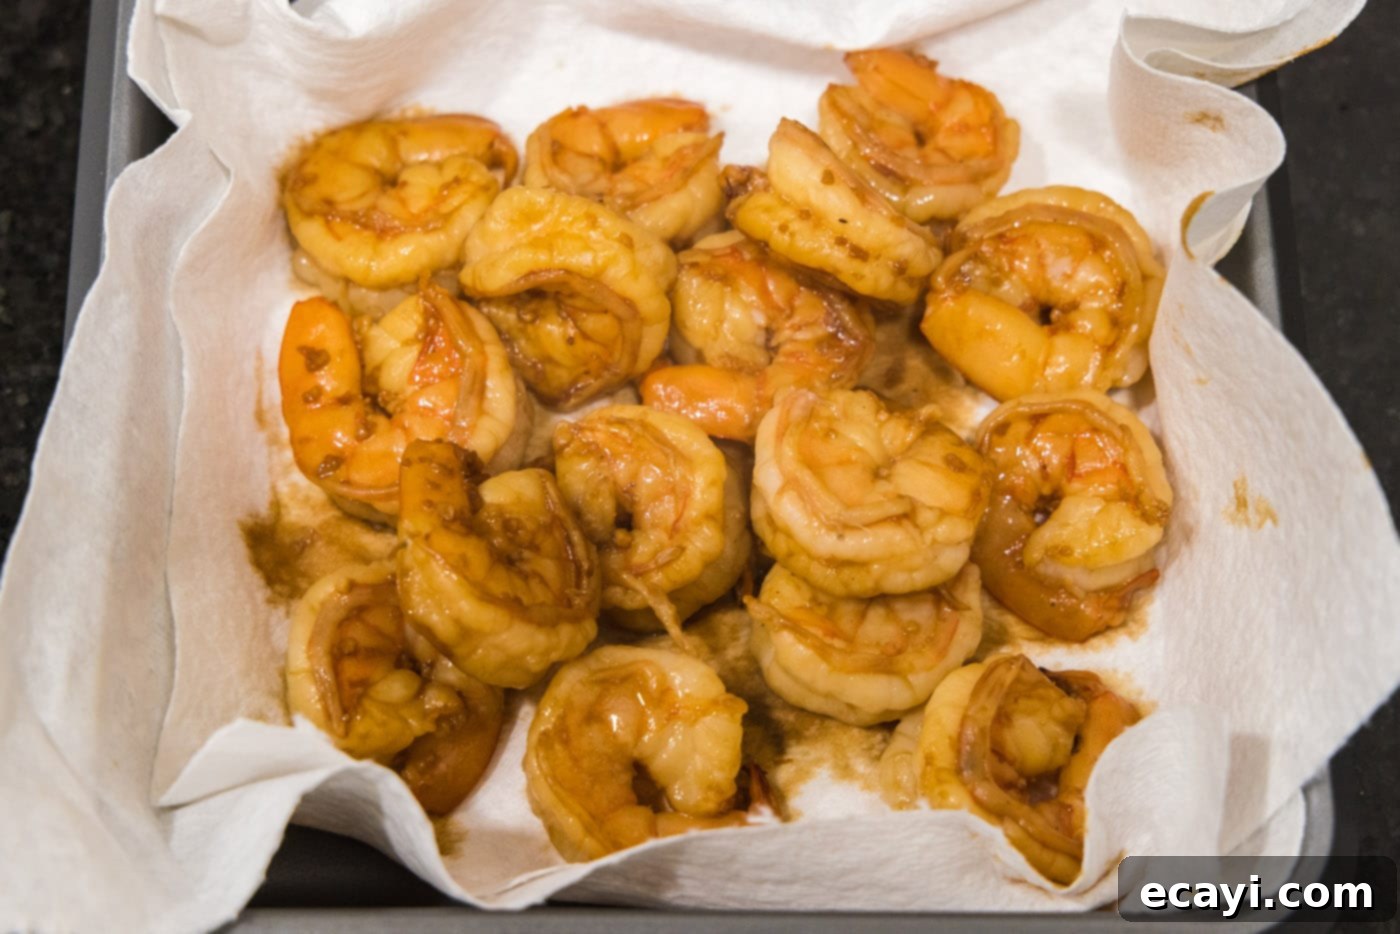
- **Serve Immediately for Best Enjoyment:** Once the shrimp are cooked through and beautifully caramelized, remove them from the skillet and transfer them to a plate lined with paper towels to absorb any excess moisture or oil. This step helps maintain their texture. Serve your homemade hibachi shrimp immediately while they are hot and fresh, ready to be enjoyed with your favorite sides and dipping sauces.


Frequently Asked Questions & Expert Tips for Perfect Hibachi Shrimp
Absolutely! While I always recommend starting with raw shrimp for the best flavor and texture, both frozen and precooked shrimp can be used. If using frozen shrimp, it’s crucial to thaw them completely first. You can do this by placing them in the refrigerator overnight or by submerging the sealed package in cold water for about 20-30 minutes. After thawing, pat them very dry with paper towels to ensure a good sear. Precooked shrimp will need significantly less time in the skillet – just enough to heat them through and allow them to absorb the sauce, usually 1-2 minutes per side. Overcooking precooked shrimp will make them rubbery, so watch them closely!
Hibachi shrimp is undoubtedly best enjoyed fresh, straight from the pan. However, if you do have leftovers, you can store them in an airtight container in the refrigerator for 2-3 days. To reheat, gently warm them in a skillet over medium-low heat with a tiny splash of water or broth, just until warmed through. Be very careful not to overcook them, as shrimp can become rubbery quickly when reheated. Avoid microwaving if possible, as it can drastically alter the texture.
For achieving that perfect restaurant-style sear, a large, heavy-bottomed skillet is ideal. Cast iron skillets or stainless steel pans are excellent choices as they retain heat very well and distribute it evenly. A non-stick pan can also work, especially if you’re concerned about sticking, but a well-seasoned cast iron or stainless steel will give you the best golden-brown crust and flavor development.
Absolutely! Hibachi dishes are often served with stir-fried vegetables. Quick-cooking vegetables like sliced zucchini, mushrooms, bell peppers, onions, or snow peas are great additions. You can either sauté them in the same pan after removing the shrimp (adding a little more butter if needed) or cook them separately. If you want to cook them with the shrimp, add them after the garlic and sauté for a few minutes until slightly tender-crisp before adding the shrimp and sauces.
The key to tender, juicy shrimp is not to overcook them! Shrimp cook very quickly. They are done when they turn opaque and pink and curl into a loose “C” shape. If they form a tight “O” shape, they are likely overcooked. Cook for 2-3 minutes per side, depending on their size. Also, ensure your pan is hot enough before adding the shrimp, as a crowded or cool pan can lead to steaming rather than searing.
While oyster sauce contributes a unique depth, you can create a decent substitute. A mix of equal parts low-sodium soy sauce and hoisin sauce, with a tiny pinch of sugar and a dash of fish sauce (if available), can work. Hoisin sauce is sweeter, so start with less and taste as you go. Alternatively, simply increase the soy sauce slightly and add a pinch of sugar for sweetness and a touch more sesame oil for richness.
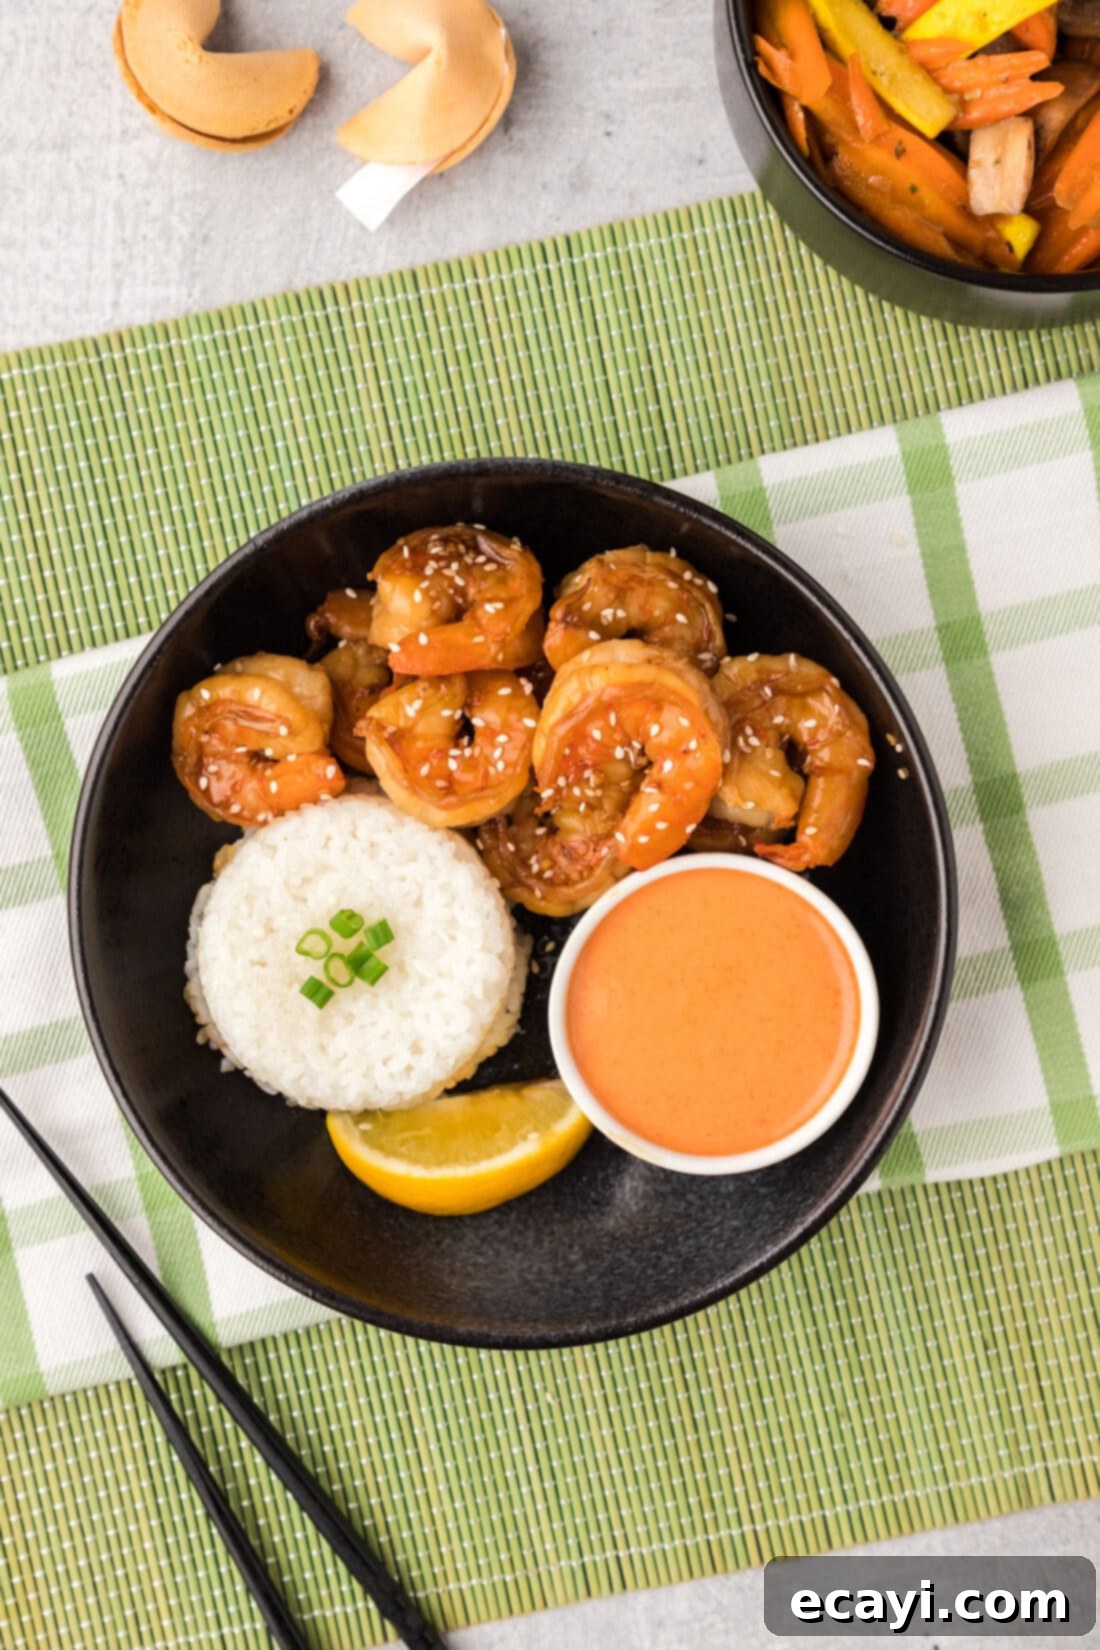
Elevate Your Meal: Delicious Serving Suggestions for Hibachi Shrimp
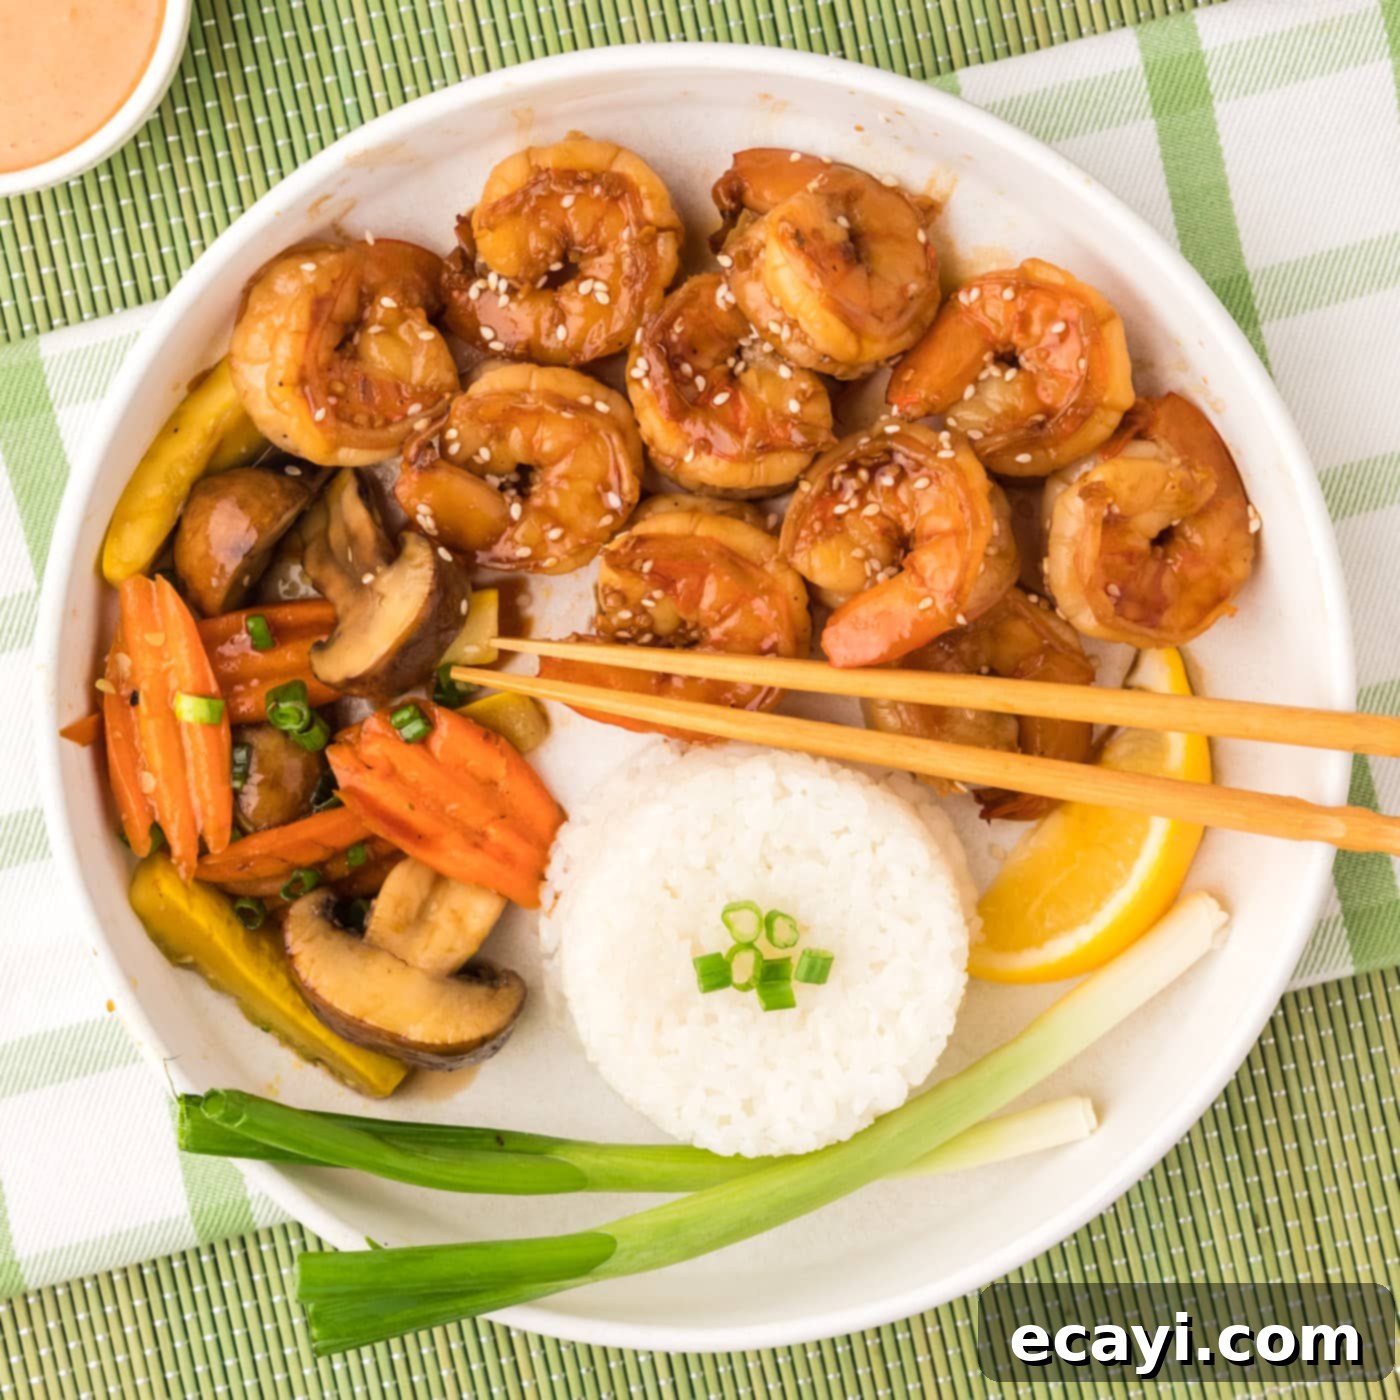
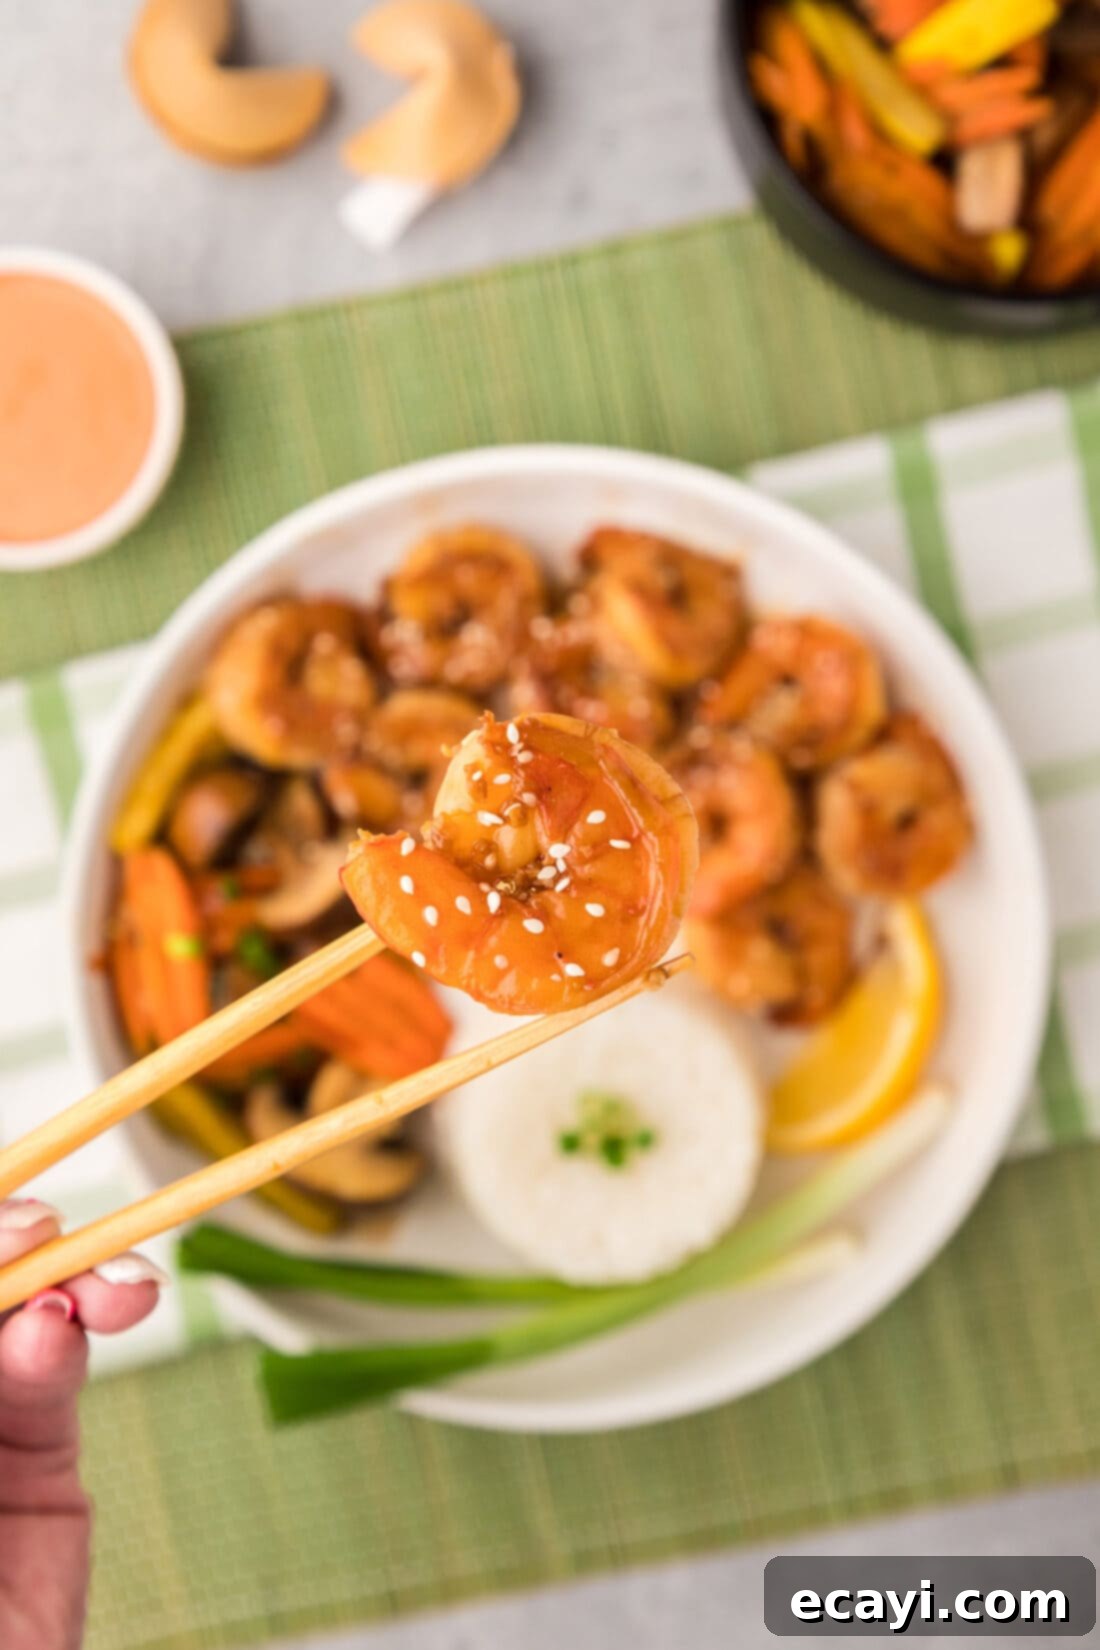
This buttery hibachi shrimp is a versatile dish that can be the star of your meal or a delicious component of a larger spread. For the ultimate hibachi experience, serving it with classic accompaniments is key. The most popular choice is undoubtedly our creamy, tangy, and slightly sweet homemade yum yum sauce, perfect for dipping each succulent piece of shrimp. If you prefer a different flavor profile, a rich and savory homemade teriyaki sauce also makes an excellent dipping or drizzling option.
To complete your meal, pair the shrimp with a side of fluffy white rice, which perfectly soaks up the delicious pan sauce, or opt for a savory fried rice for an extra layer of flavor and texture. For a healthier or heartier option, brown rice is also a fantastic choice. Don’t forget to garnish your dish with a sprinkle of toasted sesame seeds and some freshly chopped green onions for a pop of color and freshness.
Thinking about adding vegetables? This shrimp pairs wonderfully with a variety of stir-fried vegetables. Consider quickly searing thinly sliced zucchini, mushrooms, onions, or bell peppers in the same pan after you’ve cooked the shrimp, allowing them to absorb some of the residual flavors. Broccoli florets or crisp snow peas also make fantastic additions. For a full hibachi-inspired feast, you could even add a side of hibachi noodles (like yakisoba) or a simple miso soup. The possibilities are endless!
Discover More Delicious Shrimp Recipes
If you love shrimp as much as we do, you’re in for a treat! Our kitchen is always buzzing with new and exciting ways to prepare this versatile seafood. Whether you’re looking for something crispy, garlicky, or with a citrusy kick, we’ve got you covered. Be sure to explore some of our other fantastic shrimp creations:
- Crispy Fried Shrimp
- Perfectly Crispy Shrimp
- Irresistible Garlic Butter Shrimp
- Zesty Citrus Pepper Shrimp
- Flavorful Salt and Pepper Shrimp
I absolutely adore spending time in the kitchen, experimenting with new recipes, and sharing my culinary adventures with all of you! Keeping up with new recipes can be a challenge, which is why I offer a convenient newsletter delivered straight to your inbox every time a fresh recipe is posted. Simply subscribe today and start receiving your free daily recipes, ensuring you never miss out on a delicious meal idea!
Hibachi Shrimp
IMPORTANT – Don’t miss the detailed Frequently Asked Questions and Expert Tips section within the blog post! Scroll up to read helpful advice on substitutions, storage, and achieving the best results!
Print It
Pin It
Rate It
Save ItSaved!
Ingredients
- 2 ½ Tablespoons unsalted butter
- 2 ½ Tablespoons minced garlic
- 1 pound raw grilling shrimp peeled, and tail shells removed (or extra large raw shrimp, thawed and patted dry)
- 3 Tablespoons toasted sesame oil
- 3 Tablespoons oyster sauce
- 4 Tablespoons low sodium soy sauce
Things You’ll Need
-
Large heavy bottomed skillet
-
Tongs
Before You Begin
- For the best texture and flavor, always use raw shrimp and ensure they are fully thawed and patted very dry before cooking. This helps achieve a beautiful sear and prevents rubbery shrimp.
- If “grilling shrimp” isn’t available, simply substitute with extra-large (21/25 count) raw shrimp, ensuring they are peeled and deveined.
- To maximize the hibachi experience, consider preparing our homemade yum yum sauce in advance. It’s the perfect creamy complement for dipping!
- Although hibachi shrimp is truly best served fresh and hot, any leftovers can be stored in an airtight container in the refrigerator for 2-3 days. Reheat gently in a skillet over medium-low heat just until warmed through, being cautious not to overcook, as shrimp can become tough very easily.
Instructions
-
Melt butter in a large, heavy-bottomed skillet over medium-high heat. Add minced garlic and sauté for 1 minute until fragrant but not browned.
-
Add the prepped shrimp (patted dry), sesame oil, oyster sauce, and soy sauce to the skillet. Cook for 2-3 minutes, then turn the shrimp over with tongs and cook for an additional 2-3 minutes, until they are pink and opaque. Avoid overcooking.
-
Immediately remove the cooked shrimp from the skillet and transfer to a paper towel-lined plate to drain any excess moisture. Serve hot and fresh with your favorite sides and dipping sauces.
Nutrition
The recipes on this blog are tested with a conventional gas oven and gas stovetop. It’s important to note that some ovens, especially as they age, can cook and bake inconsistently. Using an inexpensive oven thermometer can assure you that your oven is truly heating to the proper temperature. If you use a toaster oven or countertop oven, please keep in mind that they may not distribute heat the same as a conventional full sized oven and you may need to adjust your cooking/baking times. In the case of recipes made with a pressure cooker, air fryer, slow cooker, or other appliance, a link to the appliances we use is listed within each respective recipe. For baking recipes where measurements are given by weight, please note that results may not be the same if cups are used instead, and we can’t guarantee success with that method.
