Ultimate Slow Roasted Sticky Chicken: Achieve Crispy Skin, Juicy Meat & Perfectly Tender Vegetables Every Time
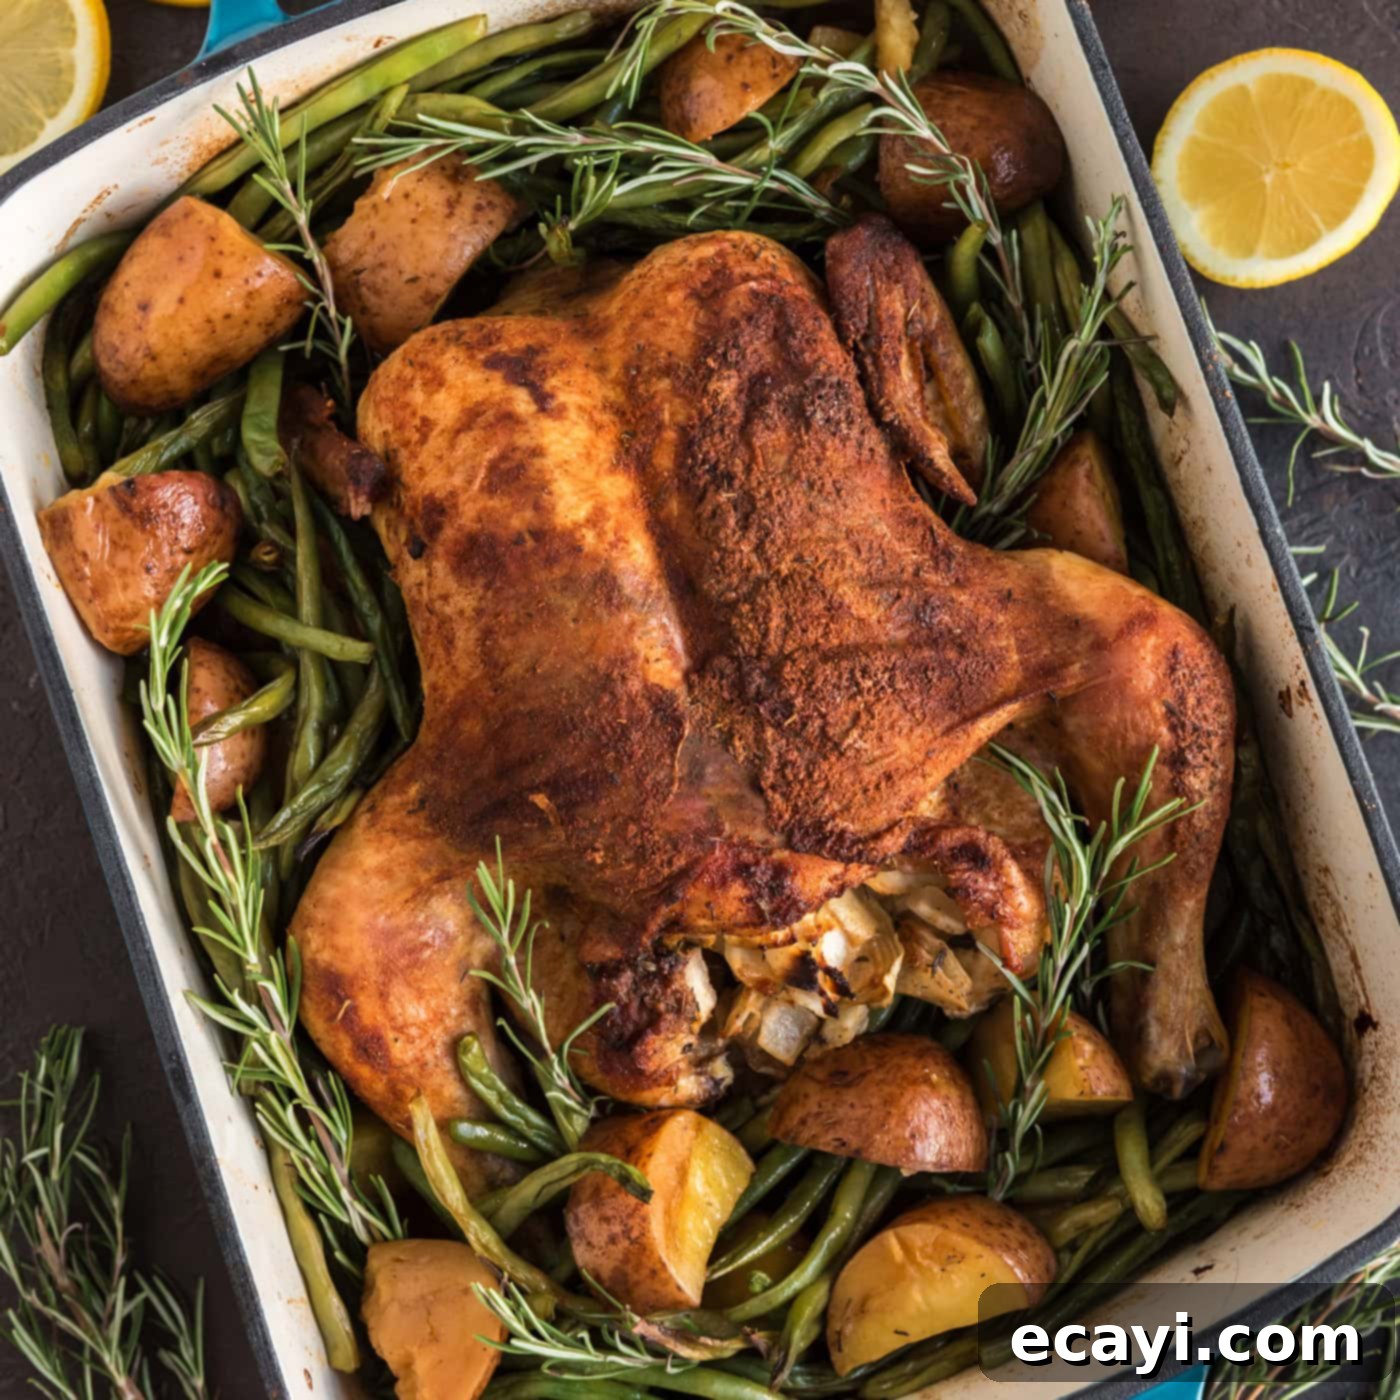
There’s something uniquely comforting and utterly delicious about a perfectly roasted whole chicken, and this slow-roasted sticky chicken recipe is, without a doubt, the quintessential method for achieving poultry perfection in your oven. Imagine succulent, fall-off-the-bone meat encased in a gloriously crisp, golden-brown skin, all while tender, flavorful vegetables bake alongside, absorbing every rich drip and spice-infused aroma. This recipe isn’t just about cooking a meal; it’s about creating a memorable culinary experience, promising a flawless, incredibly flavorful roasted chicken that will become a cherished family favorite and a staple in your cooking repertoire.
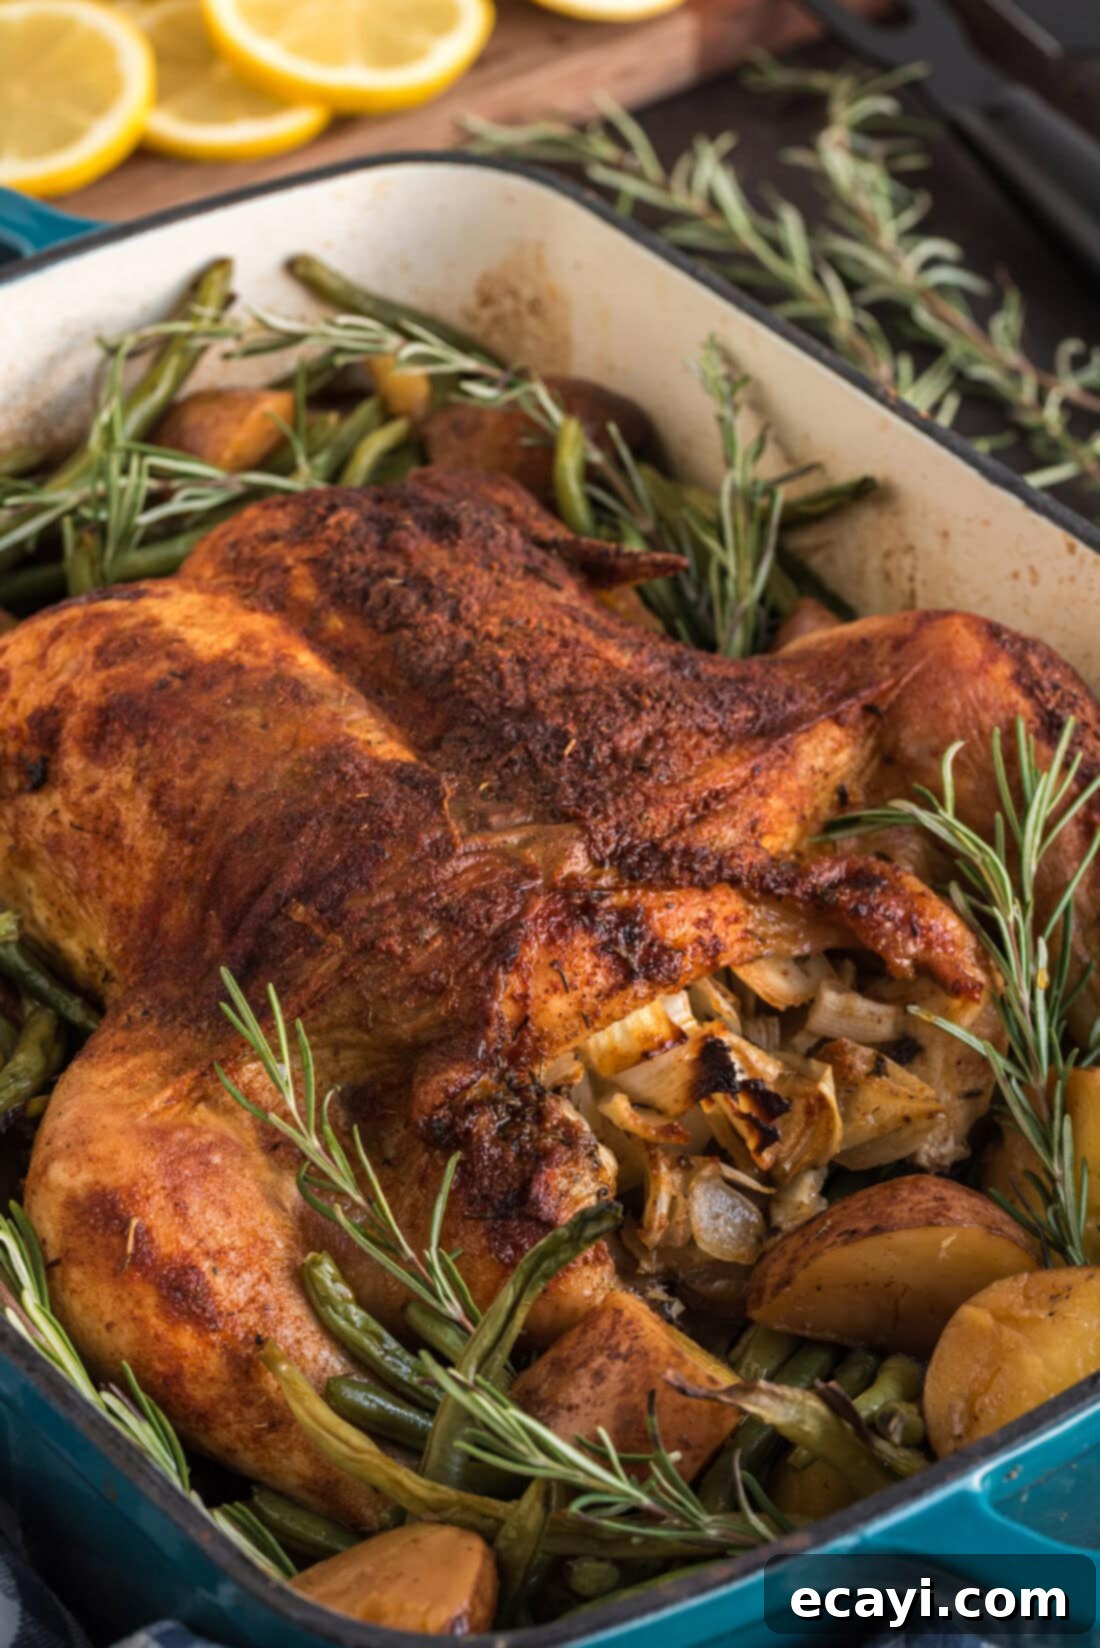
Why This Slow Roasted Chicken Recipe is a Game Changer
This slow-roasted sticky chicken isn’t just another dinner idea; it’s an institution, a true “Sunday Supper” tradition. While it does require a bit of hands-on attention for basting, making it less of a “set it and forget it” than its crockpot counterpart, the effort is undeniably rewarded. The continuous basting process is key to developing that irresistible “sticky” glaze and ensuring every inch of the chicken stays incredibly moist. This particular recipe has been a celebrated staple in my home since its debut on my blog back in 2013, a testament to its enduring appeal and foolproof results. It’s been thoroughly tested, perfected, and proven to deliver an insanely delicious meal using surprisingly minimal ingredients. The deep flavors, tender meat, and crispy skin are truly worth every minute of dedicated cooking time.
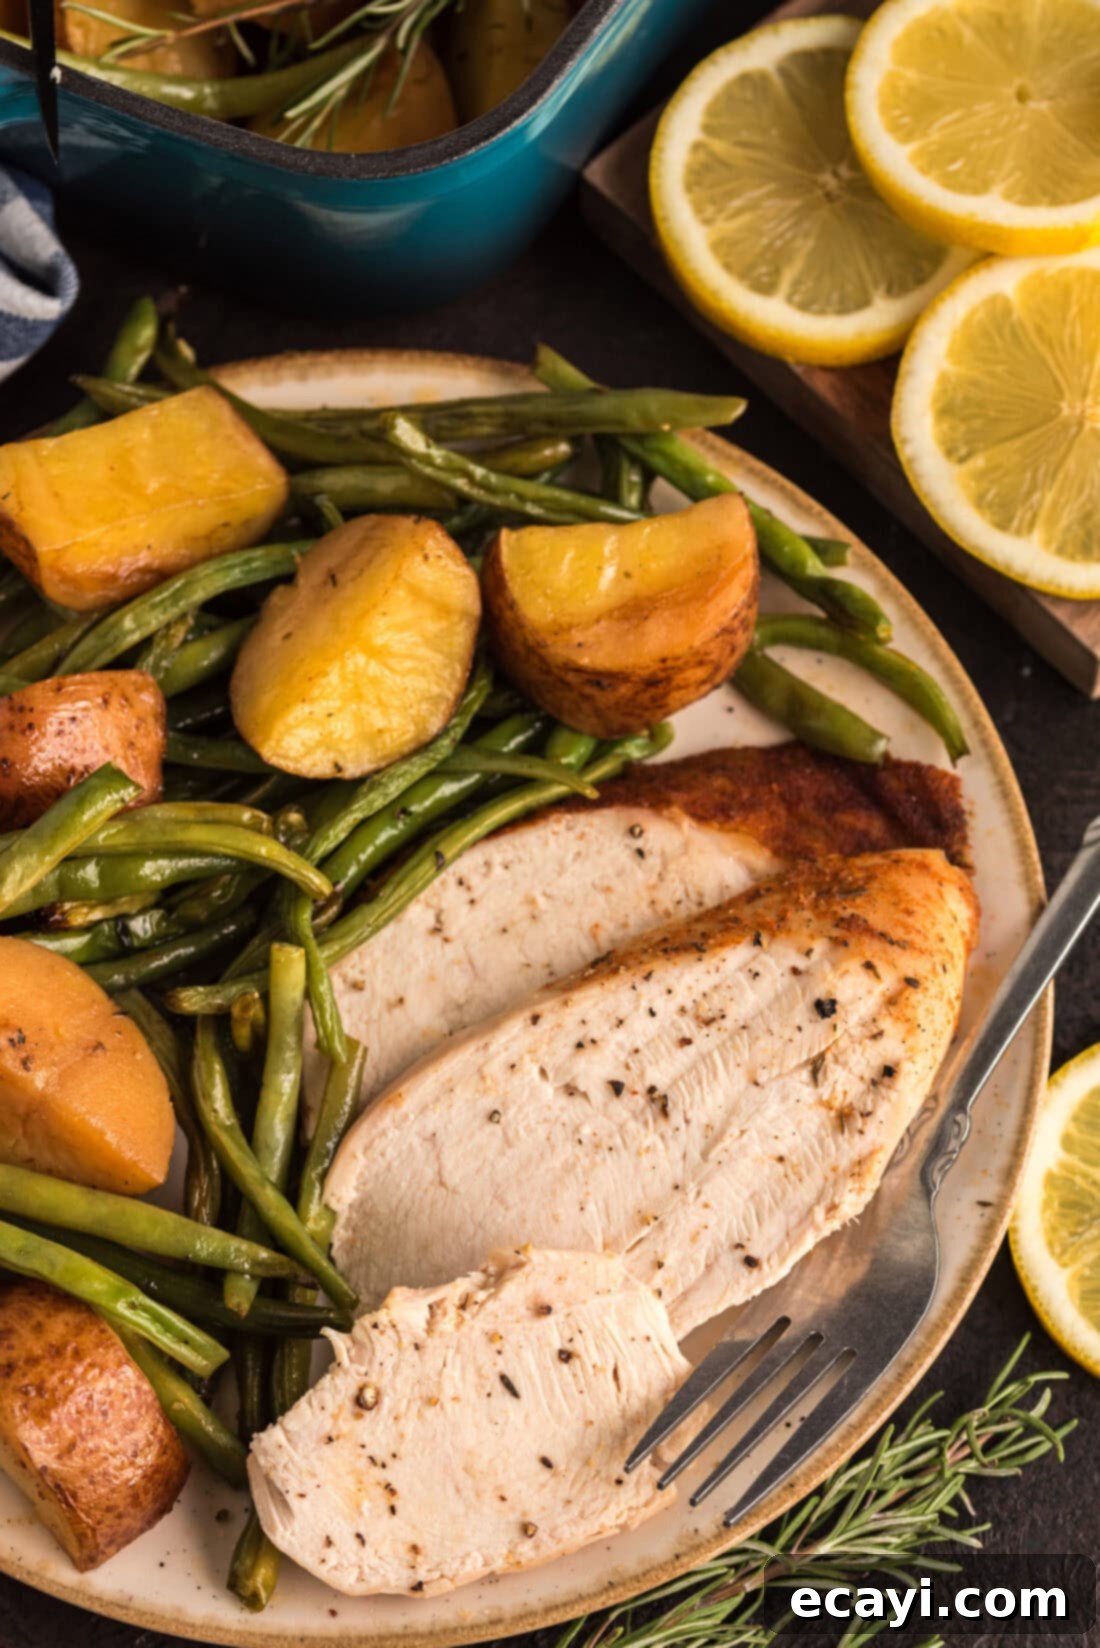
Beyond its incredible taste, this is also my absolute favorite method for roasting a whole chicken because it’s incredibly budget-friendly. Whole chickens are often available at fantastic prices, sometimes as low as 99 cents per pound, making this a smart choice for feeding a family without breaking the bank. But the value doesn’t stop at dinner! The versatility of leftover roasted chicken is immense. Shred the extra meat for mouth-watering sandwiches, flavorful enchiladas, hearty soups, or even a quick chicken salad. And don’t discard that carcass! Simmer it with some aromatic onion and celery tops to create your own rich, savory homemade chicken stock, elevating future meals with a depth of flavor that store-bought stock simply can’t match. This recipe truly offers maximum flavor and utility from a single, affordable ingredient.
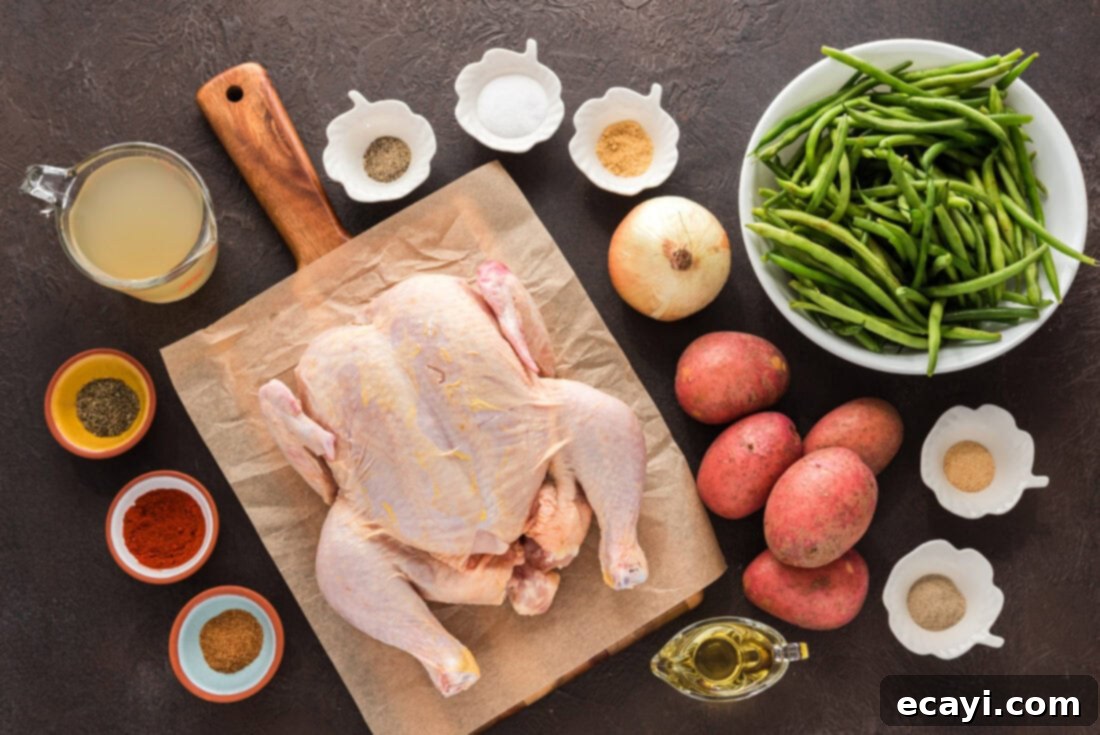
Essential Ingredients for Your Sticky Chicken
Crafting this incredible slow roasted sticky chicken requires a handful of simple, readily available ingredients that, when combined, create a symphony of flavors. For a comprehensive list of all measurements and detailed instructions, please refer to the printable recipe card located at the conclusion of this post. However, let’s delve a little deeper into the key components that make this dish truly shine.
Ingredient Spotlight & Expert Substitution Tips
Understanding each ingredient’s role is crucial for success, and allows for informed substitutions should you need them:
- CHICKEN – This recipe is designed for a 4-pound whole chicken. It is absolutely vital that your chicken is completely thawed before you begin. A frozen or partially frozen bird will not absorb the seasoning rub effectively, causing the flavor to simply slide off during baking. Ensuring your chicken is fully defrosted and patted dry is a foundational step for that coveted crispy skin and deeply flavored meat. While a 4-pound chicken is ideal for cooking consistency with the vegetables, you can adjust cooking times slightly for a bird up to 5-6 pounds.
- RUB – The heart of our “sticky” flavor comes from a beautifully balanced spice rub. We use a straightforward yet potent combination of:
- Salt: Essential for seasoning and drawing out moisture from the skin, aiding crispiness.
- Paprika: Contributes a lovely red hue and a mild, sweet, peppery flavor.
- Cayenne Pepper: Adds a subtle warmth and a gentle kick without overpowering the other flavors. Adjust to your heat preference.
- Onion Powder: Provides a concentrated, savory onion flavor that penetrates the meat.
- Dried Thyme: Offers an earthy, slightly minty, and aromatic note that pairs wonderfully with chicken.
- White Pepper: A milder, more subtle pepper flavor than black pepper, offering a smooth warmth.
- Garlic Powder: Delivers a robust garlic essence that complements the other spices.
- Black Pepper: Classic peppery bite for depth of flavor.
This blend creates a rich, savory profile that adheres beautifully to the chicken, contributing to both color and taste. Of course, you have the flexibility to substitute this blend with a high-quality premade chicken rub you love, or experiment with your own favorite combination of spices and seasonings. Consider adding a touch of brown sugar for extra caramelization and stickiness, or smoked paprika for a deeper, smoky flavor.
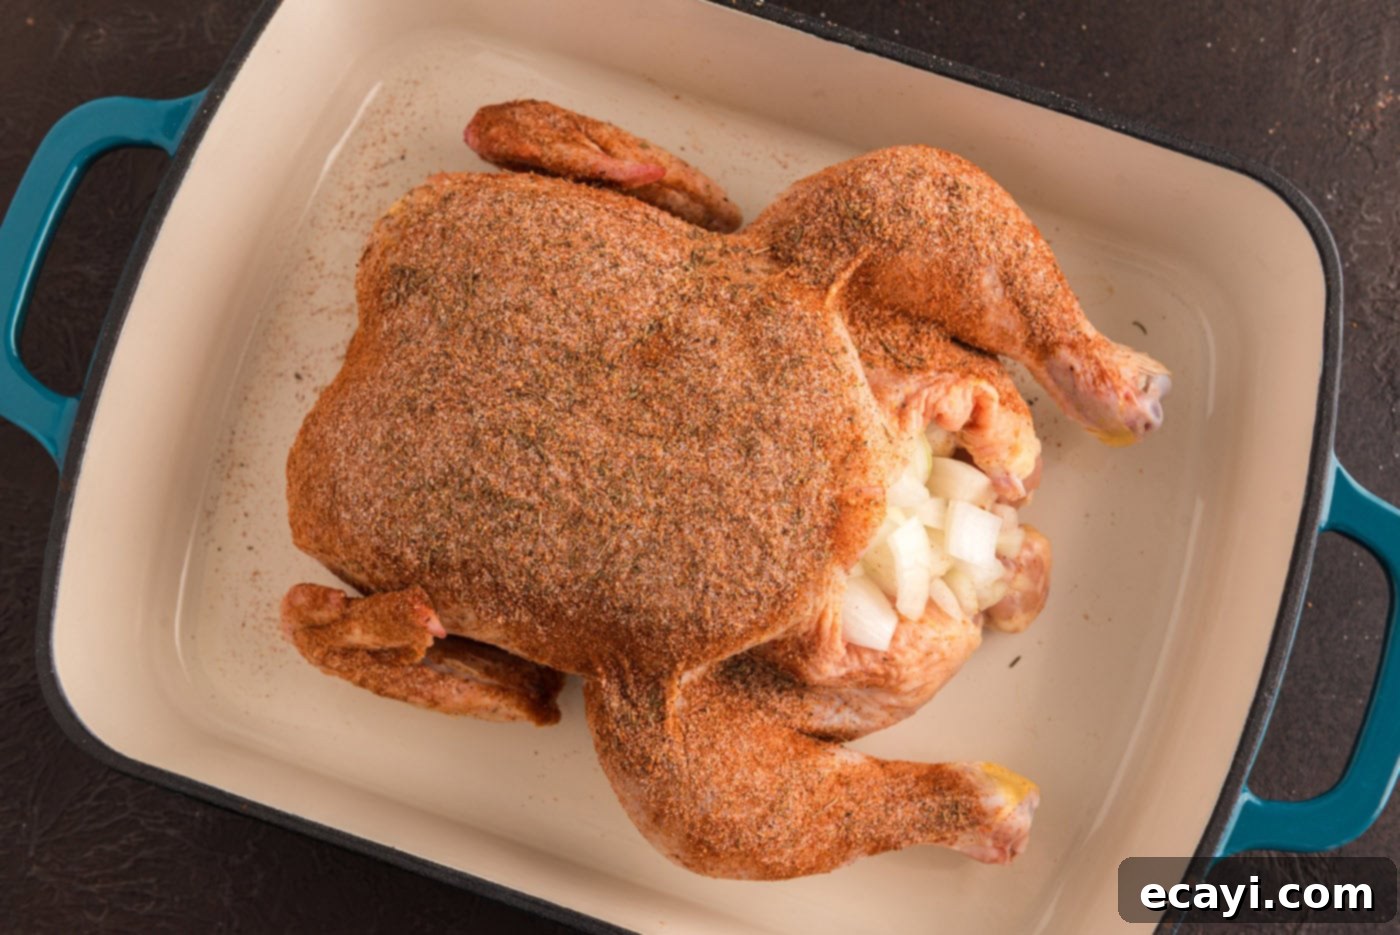
- ONION: Coarsely chopped onion is stuffed into the chicken cavity. This isn’t just for flavor; it helps keep the chicken moist from the inside out and infuses the meat with a gentle sweetness and aroma as it roasts. You can also add lemon halves or fresh herbs like rosemary and thyme to the cavity for additional aromatic complexity.
- RED POTATOES: Quartered red potatoes are added to the pan, transforming this into a complete meal. They roast beautifully, absorbing the chicken’s juices and developing a tender interior with slightly crispy edges. Small Yukon gold potatoes or even sweet potatoes (cut into similar-sized chunks) would also work wonderfully.
- FRESH GREEN BEANS: These vibrant green beans are added towards the end, ensuring they are perfectly tender-crisp. They add color, texture, and a fresh vegetable component. Asparagus, broccoli florets, or carrot chunks could be substituted based on preference or seasonal availability.
- OLIVE OIL: Used to drizzle over the vegetables, helping them crisp and preventing sticking. Any neutral cooking oil will work.
- CHICKEN BROTH: This is crucial for basting, adding moisture, and creating the “sticky” pan sauce that coats the chicken and vegetables. Low-sodium chicken broth is recommended to control salt levels.
How to Master Slow Roasted Sticky Chicken
These step-by-step photos and detailed instructions are provided to help you visualize each stage of making this incredibly delicious recipe. For the printable version, complete with all precise measurements and concise instructions, please feel free to Jump to Recipe at the bottom of this post.
- Prepare Your Oven: Begin by preheating your oven to 300 F (150 C). This lower temperature is essential for the “slow roast” aspect, allowing the chicken to cook gently and develop maximum flavor and tenderness without drying out.
- Chicken Preparation: Carefully remove any giblets or neck from the chicken cavity. Clean the cavity thoroughly and, most importantly, pat the entire chicken, inside and out, exceptionally dry with paper towels. This crucial step is key to achieving that desirable crispy skin.
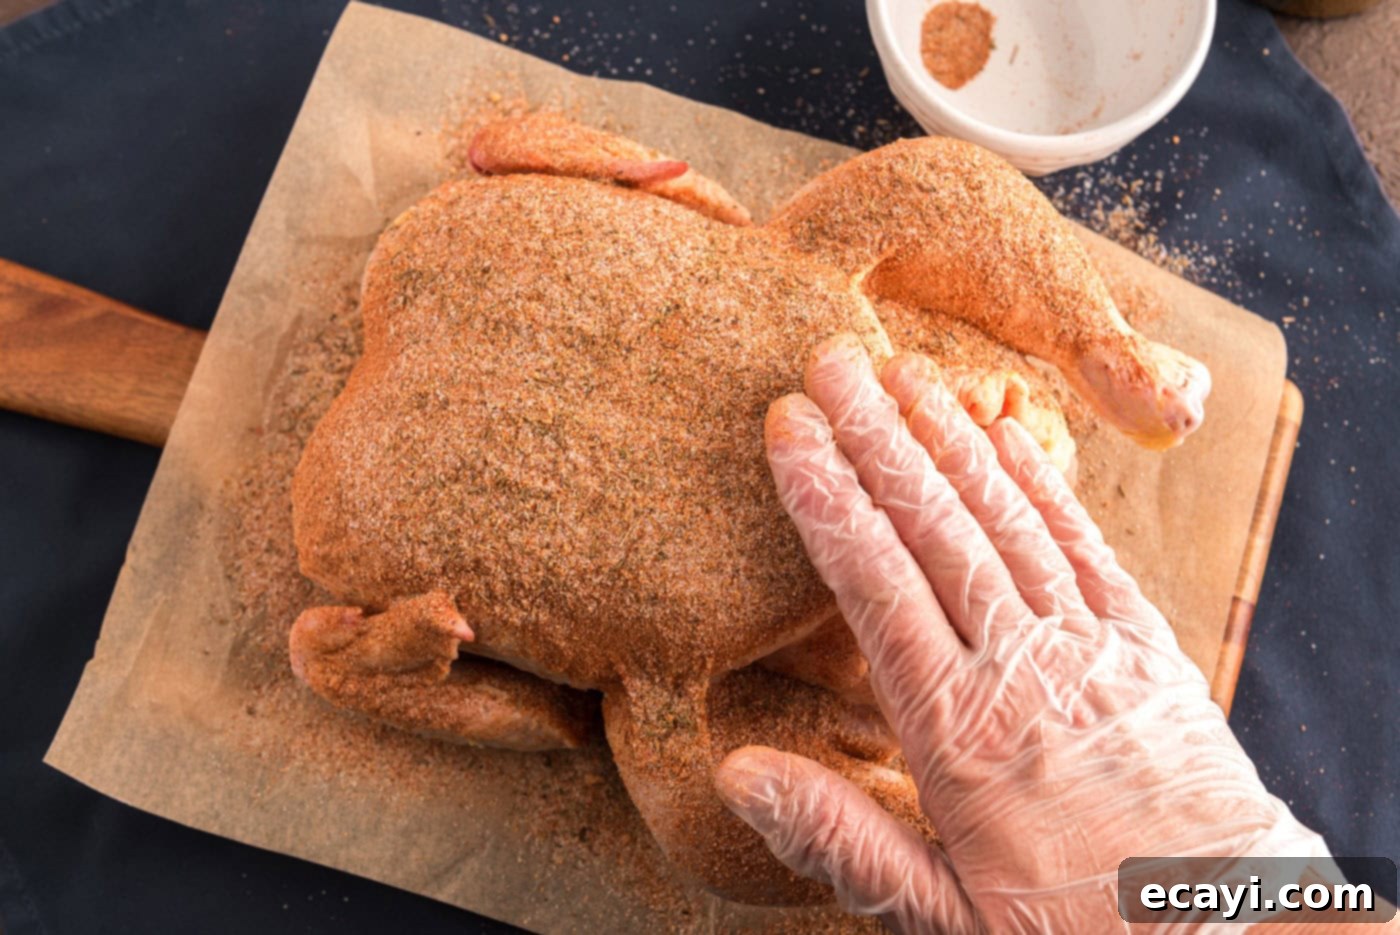
- Apply the Flavorful Rub: In a small bowl, combine all of your chosen spice rub ingredients. This includes salt, paprika, cayenne pepper, onion powder, dried thyme, white pepper, garlic powder, and black pepper. Mix them well until uniformly blended. Generously spread this spice mixture all over the chicken, making sure to work some of it under the breast skin. This ensures the breast meat is seasoned directly, leading to a more flavorful result.
- First Roast – Chicken Only: Stuff the chicken cavity with the coarsely chopped onions. Place the prepared chicken into a sturdy roasting pan. Bake the chicken, undisturbed, for one full hour. During this initial hour, the chicken begins to slowly cook, rendering some fat and starting to build its deep flavor base.


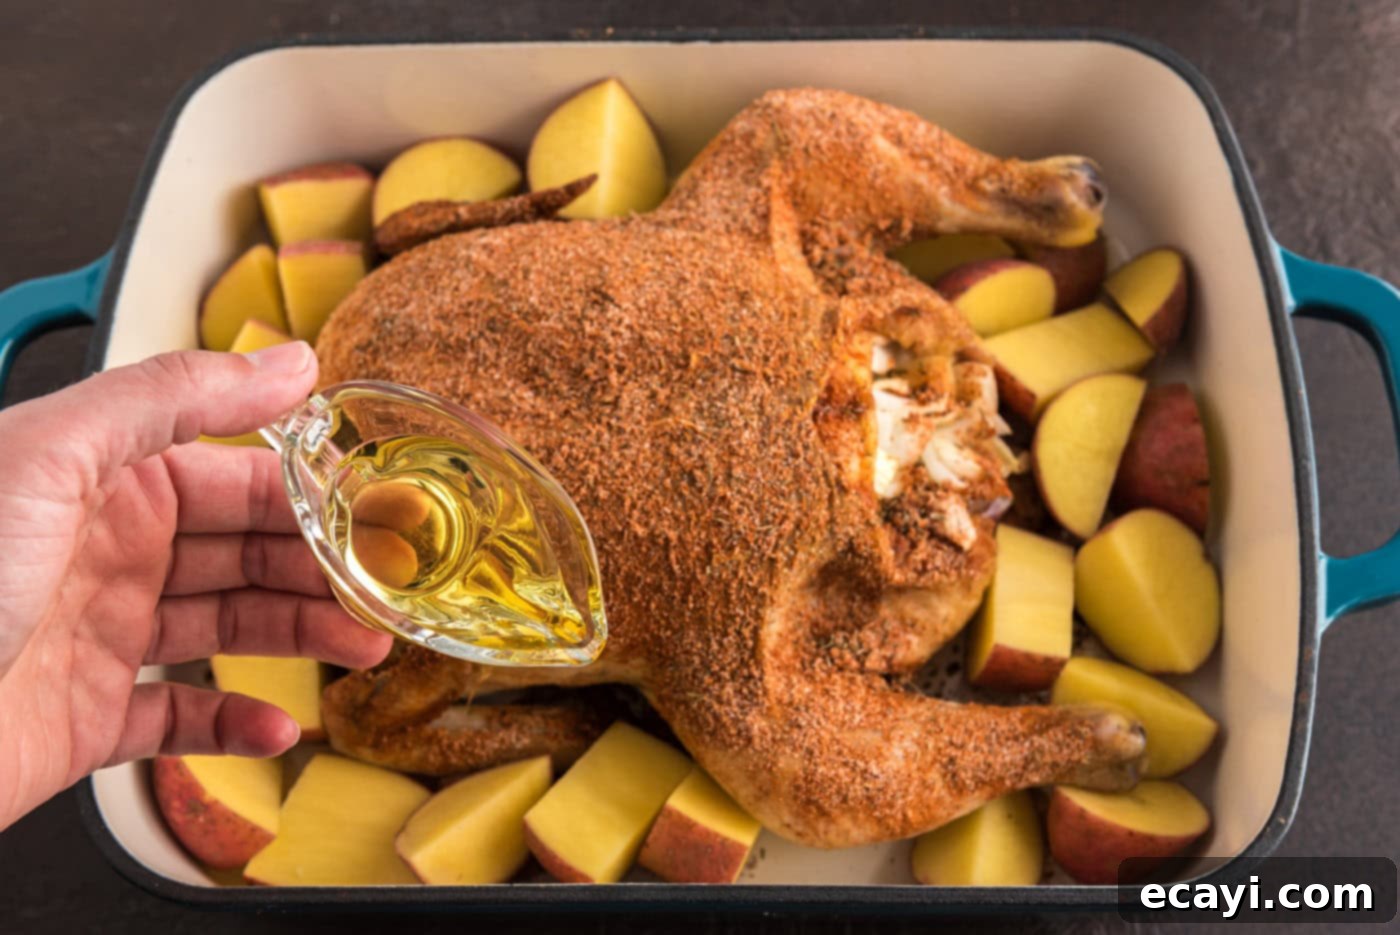
- Add Potatoes & Continue Roasting: After the first hour, take the chicken out of the oven. Add the quartered red potatoes to the roasting pan, scattering them evenly around the chicken so they can absorb the delicious pan drippings. Drizzle the potatoes lightly with olive oil. Return the pan to the oven and bake for another 40 minutes. The potatoes will start to soften and brown during this period.

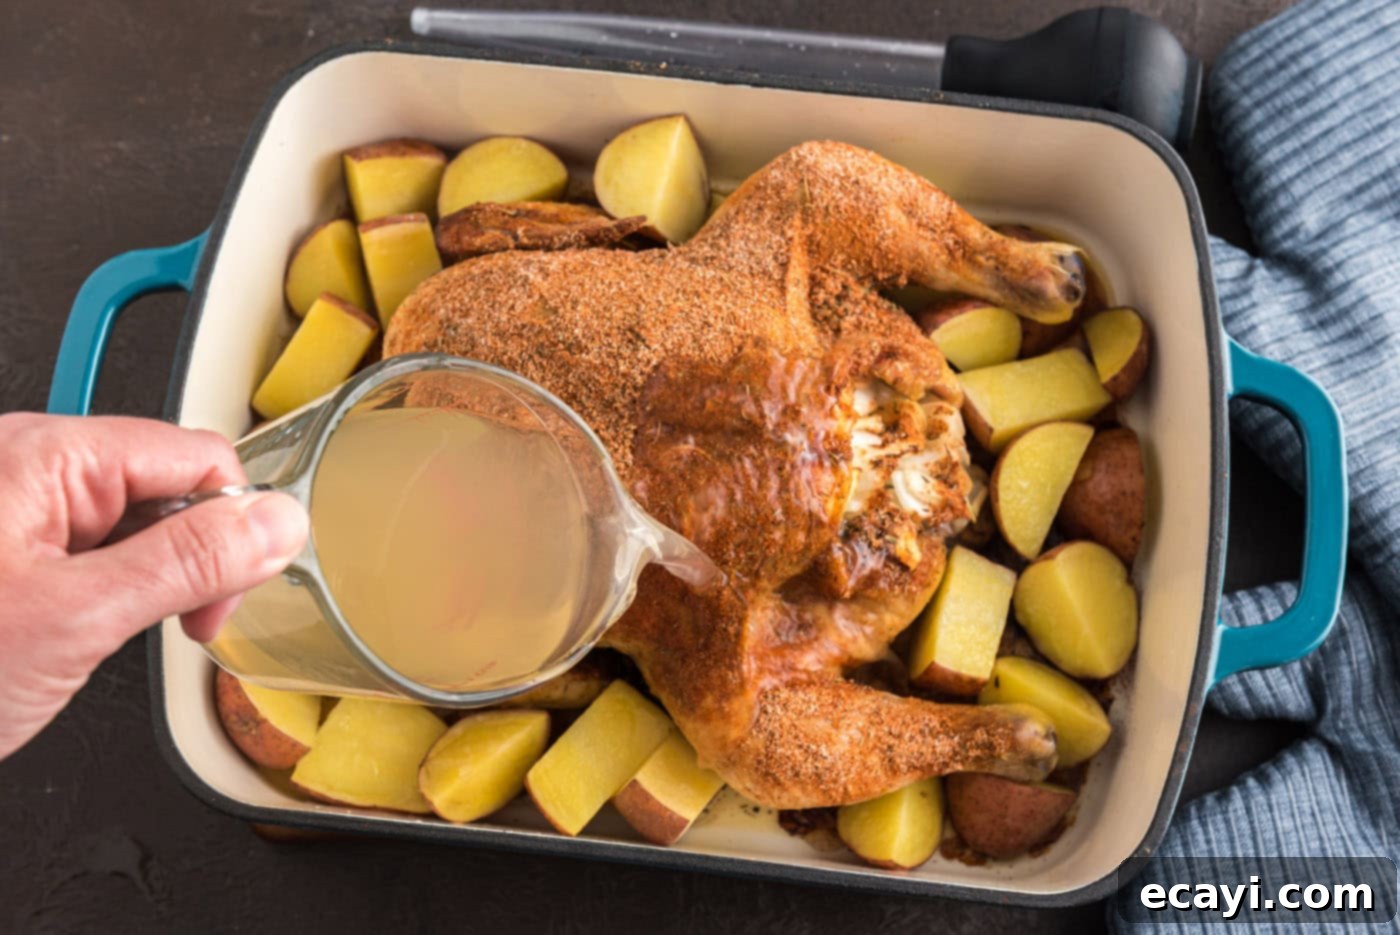
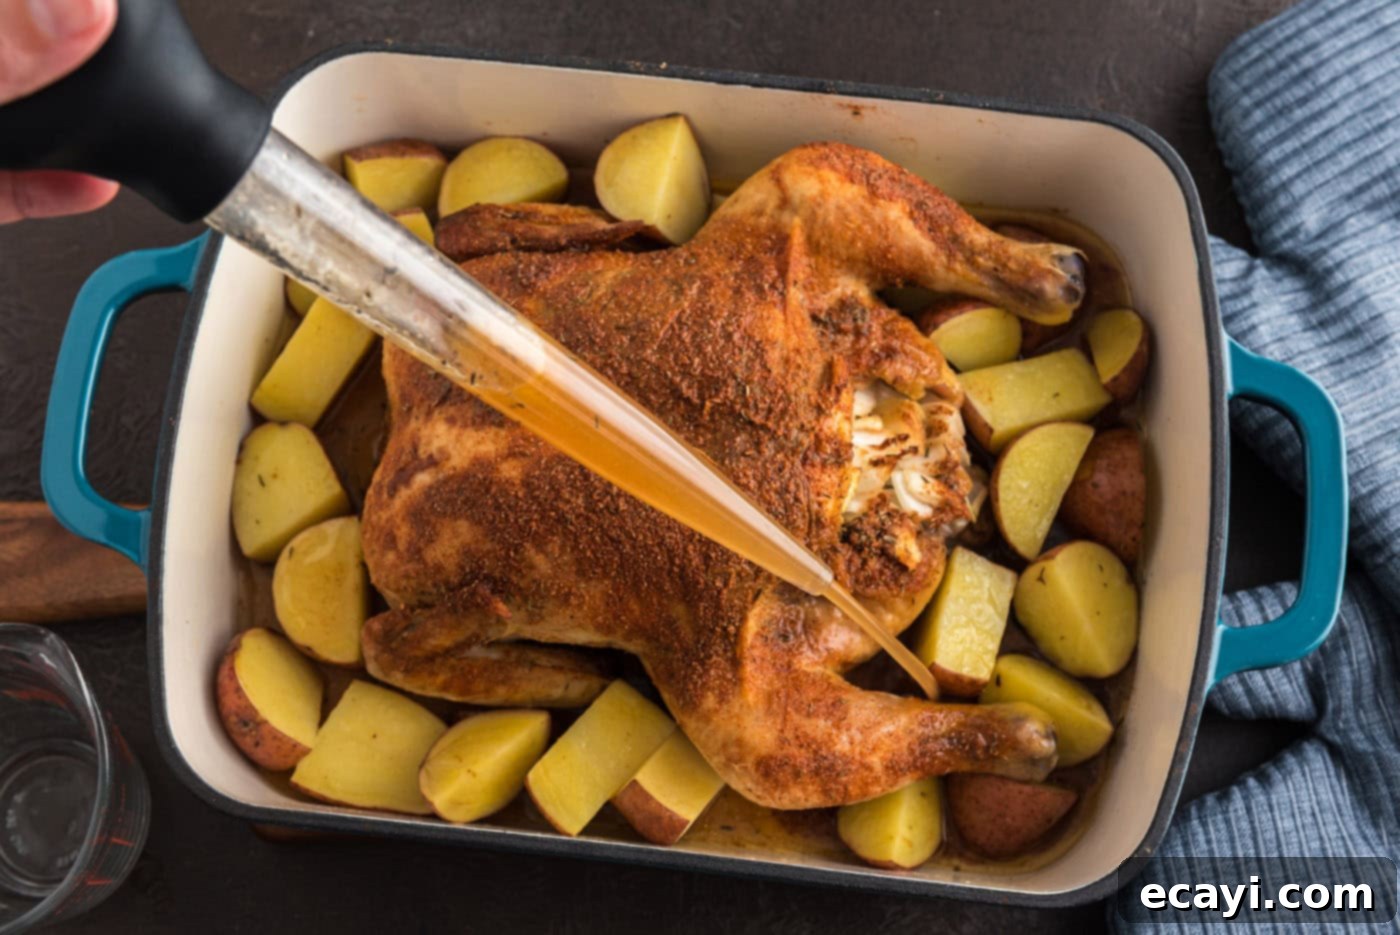
- Basting Begins: Remove the pan from the oven again. Pour the chicken broth into the pan. Using a baster, thoroughly baste both the chicken and the potatoes with the pan juices and broth. This is a critical step for developing the “sticky” glaze and ensuring everything remains moist. Continue baking for another 30 minutes.


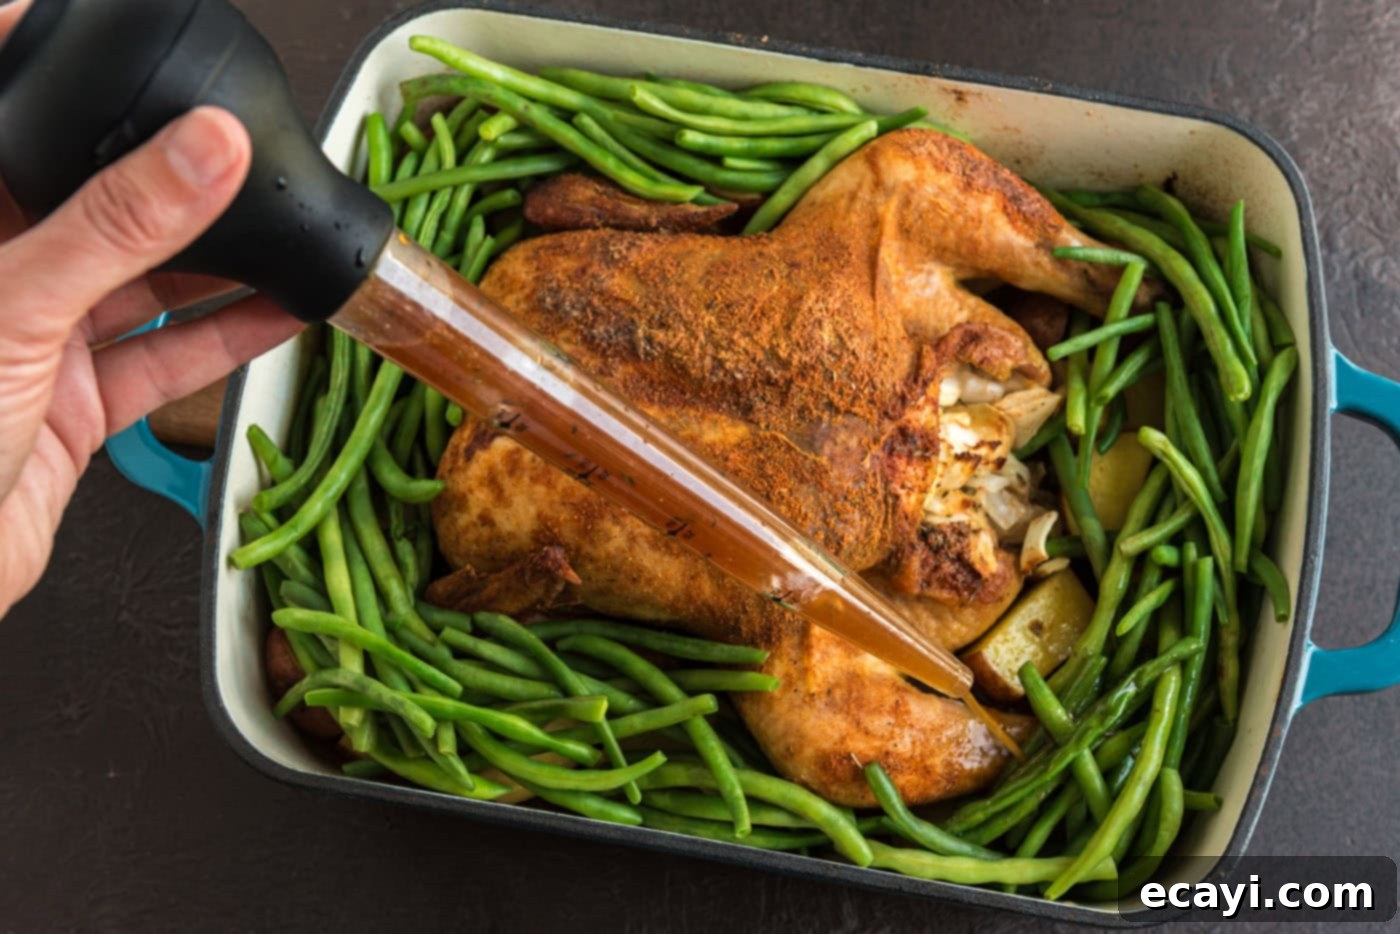
- Add Green Beans & Final Basting: While the chicken and potatoes are roasting, prepare your fresh green beans. Snip off the ends and place them in a microwave-safe bowl with 2 tablespoons of water. Microwave on high for 5 minutes until they are bright green and slightly tender. Drain any excess water. Add the microwaved green beans to the roasting pan with the chicken and potatoes. Baste everything one last time. Return to the oven and bake for another 30 minutes. The green beans will finish cooking and become tender-crisp, infused with the rich flavors of the pan.

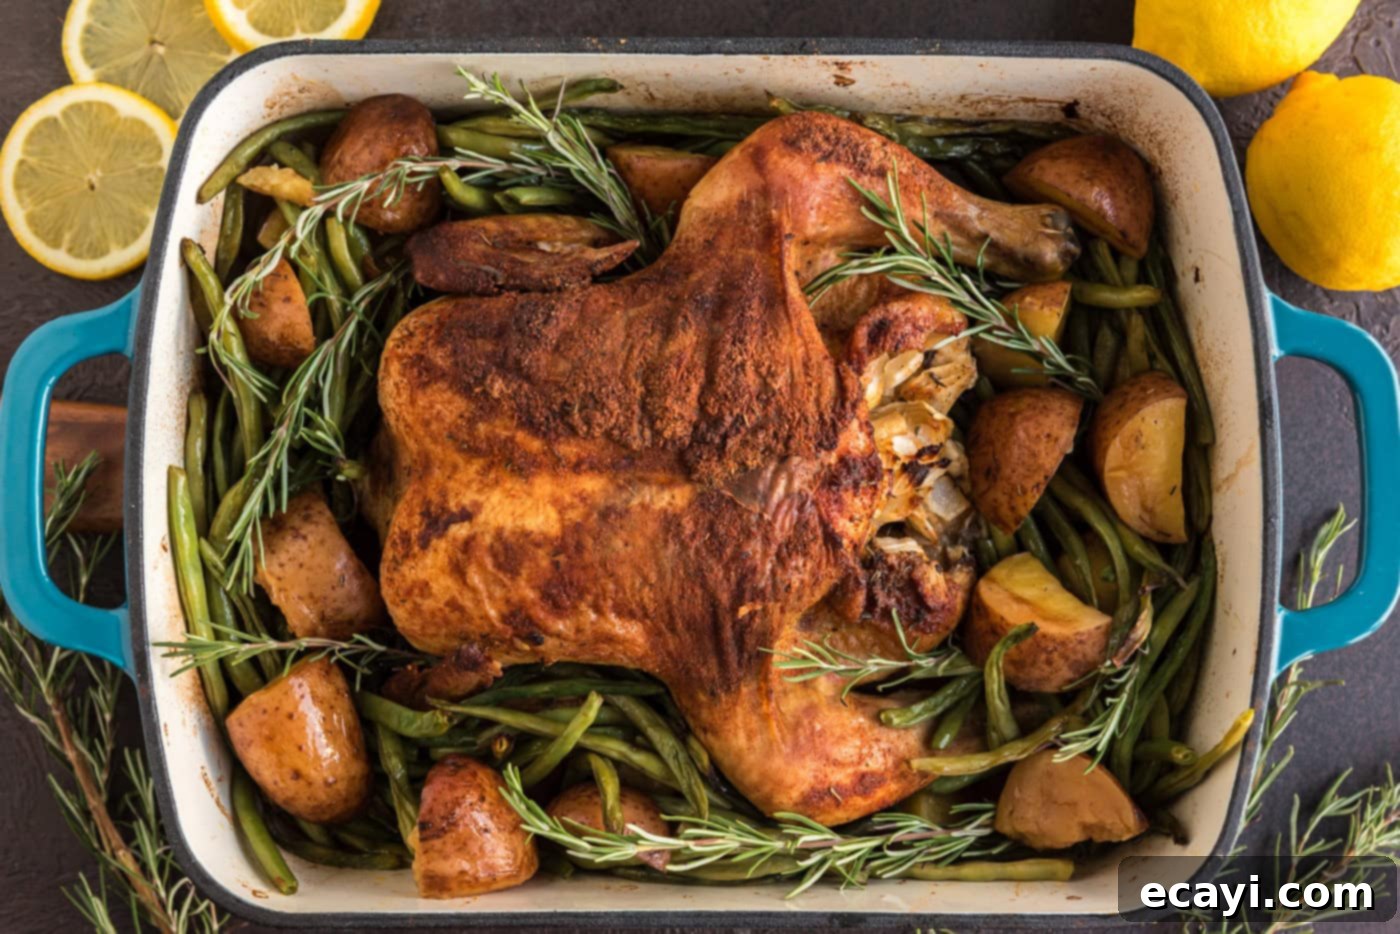
- Crisp Up the Skin and Veggies: To achieve that perfect golden-brown, crispy skin on the chicken and nicely browned edges on your potatoes and beans, increase the oven temperature to 375 F (190 C). Bake for an additional 20 minutes. Keep a close eye on it during this final stage to prevent burning, as ovens can vary. The internal temperature of the thickest part of the chicken thigh should reach 165 F (74 C) at this point.
- Rest & Serve: Once roasted to perfection, remove the pan from the oven. Tent the chicken loosely with aluminum foil and let it rest for 5-7 minutes before carving. Resting allows the juices to redistribute throughout the meat, ensuring every bite is incredibly tender and moist. Carve and serve immediately with the delicious roasted vegetables.

Frequently Asked Questions & Expert Tips for Perfect Roasted Chicken
Once the chicken and vegetables have cooled completely to room temperature, transfer them to an airtight container. Store this in the refrigerator for up to 4-5 days. For best quality and safety, ensure the chicken is not left at room temperature for more than 2 hours.
Reheating roasted chicken can sometimes lead to dry meat, but with a few tricks, you can keep it juicy. The best method is to place the chicken pieces (or whole, if small enough) in a shallow baking dish. Add a small amount of chicken stock or water to the bottom of the dish – just enough to create some steam. Tent the baking dish loosely with aluminum foil to trap moisture. Warm the chicken in a 350°F (175°C) oven until it’s heated through, typically 15-25 minutes depending on the size of the pieces. You can remove the foil for the last few minutes if you want to crisp the skin slightly.
While this particular slow roasted sticky chicken recipe is optimized for oven baking to achieve that signature crispy skin and sticky glaze, I do have a separate crockpot sticky chicken recipe that you might find more convenient for a truly hands-off approach. It’s important to note that the textures will differ significantly; the slow cooker version yields incredibly tender meat but won’t develop the same crispy skin or caramelized “stickiness” that the oven roasting method provides. Both are wonderfully delicious ways to prepare chicken, but they offer distinct culinary experiences!
As mentioned in the ingredients, a fully thawed chicken is critical. Thawing in the refrigerator is the safest and most recommended method, allowing about 24 hours for every 4-5 pounds of chicken. Never thaw at room temperature. If you’re short on time, you can thaw a wrapped chicken in a cold water bath, changing the water every 30 minutes, allowing about 30 minutes per pound.
While the recipe provides baking times, oven temperatures can vary significantly. For food safety and perfect doneness, always use a meat thermometer. Insert it into the thickest part of the chicken thigh, avoiding the bone. The chicken is safely cooked when it reaches an internal temperature of 165°F (74°C). The juices should also run clear when pierced.
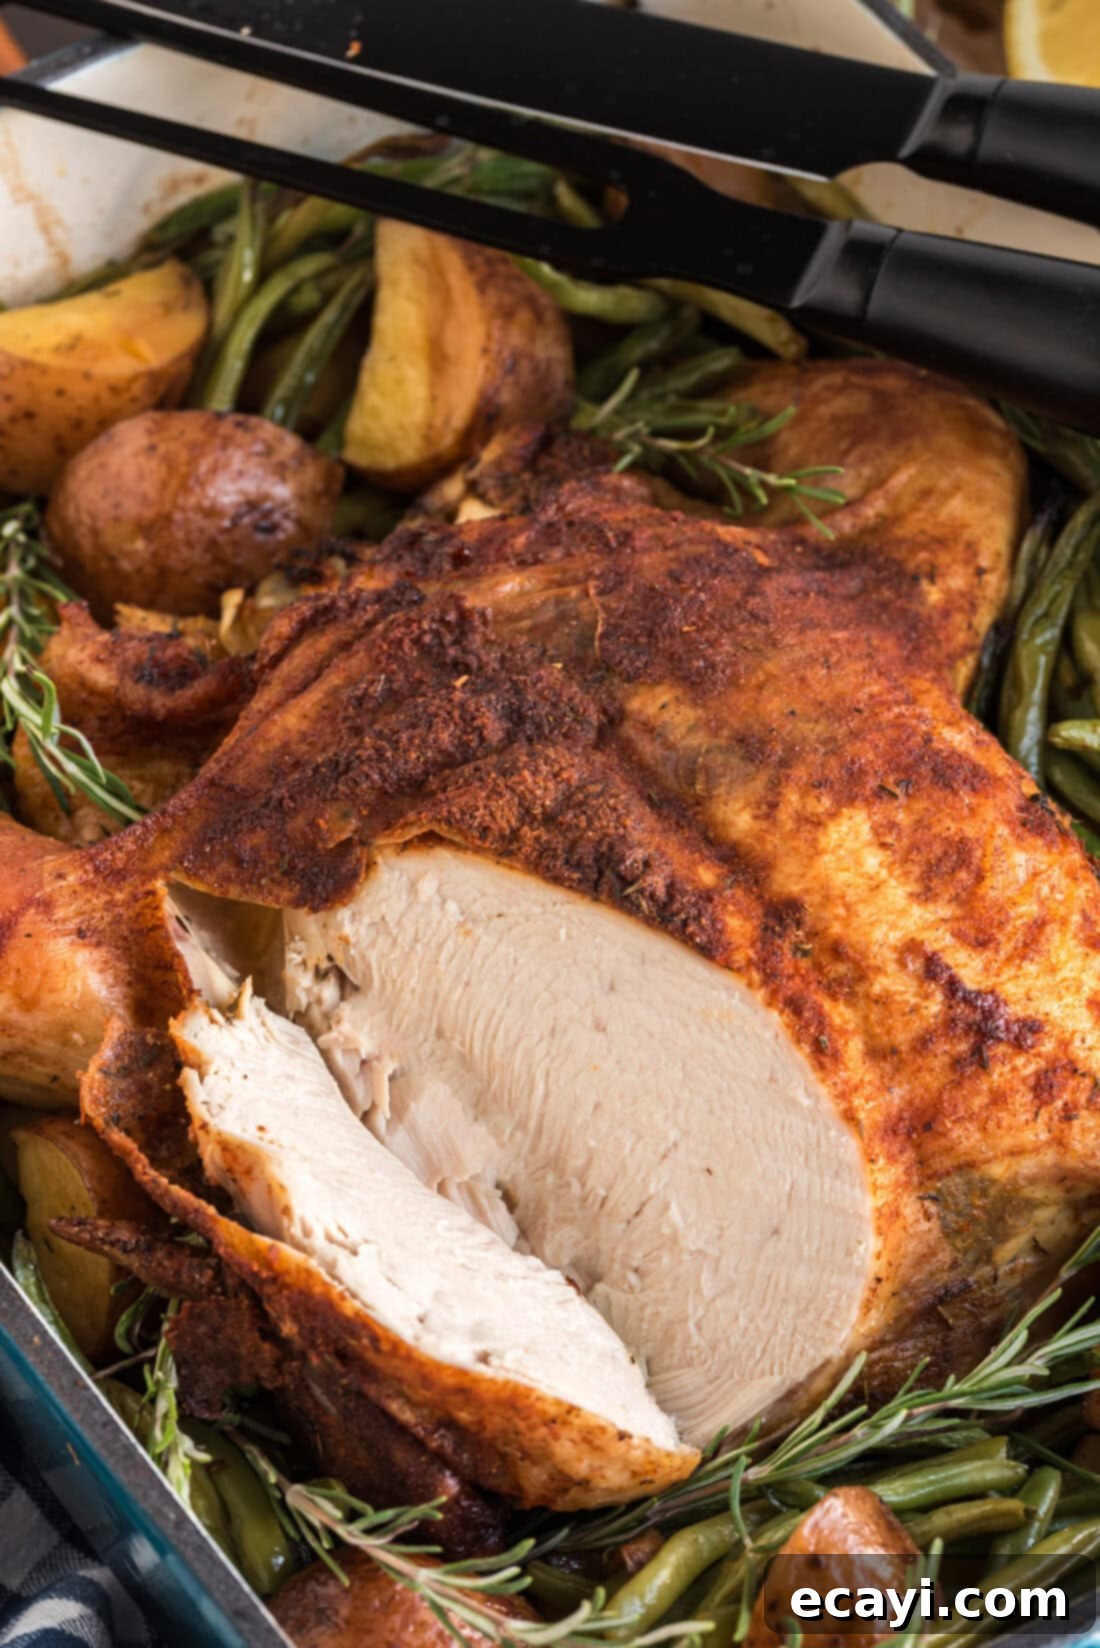
Delightful Serving Suggestions
One of the many beauties of this slow-roasted sticky chicken is its completeness as a meal when baked with potatoes and green beans. It’s a true all-in-one dish, offering protein, starch, and vegetables in a single roasting pan. However, if you prefer, you can easily adapt it to suit your preferences or a different occasion. Feel free to omit the vegetables from the pan and serve this magnificent chicken with a creamy side of mashed potatoes, garlic parmesan roasted asparagus, or a medley of your favorite seasonal roasted root vegetables. For a lighter touch, a crisp garden salad with a tangy vinaigrette makes a fantastic counterpoint to the rich chicken. Don’t forget a basket of warm, crusty dinner rolls or a flavorful cornbread to sop up all the delicious pan juices. A glass of crisp white wine, such as a Sauvignon Blanc or a light-bodied Pinot Noir, would also pair beautifully with the complex flavors of this dish. Enjoy this incredible meal!
Explore More Delicious Roasted Dishes
If you loved this slow roasted sticky chicken, you might enjoy trying these other comforting and impressive roasted recipes:
- Roast Duck – For a truly decadent experience.
- Roasted Turkey – Perfect for holiday feasts or a grand family dinner.
- Classic Roasted Chicken – A timeless favorite.
- The Best Sirloin Pork Roast – A flavorful alternative to poultry.
I absolutely adore spending time in the kitchen, creating and sharing my culinary adventures with all of you! Remembering to check back daily for new recipes can be tricky, which is why I offer a convenient newsletter delivered straight to your inbox every time a new recipe is posted. Simply subscribe here and start receiving your free daily dose of deliciousness!
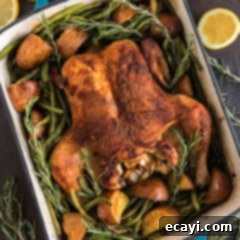
Slow Roasted Sticky Chicken
IMPORTANT – There are often Frequently Asked Questions within the blog post that you may find helpful. Simply scroll back up to read them!
🖨Print It
📌Pin It
💭Rate It
💾 Save It
Saved!
Ingredients
- 4 pound whole chicken
- 1 cup coarsely chopped onion
- 5-6 medium red potatoes quartered
- 2 handfuls fresh green beans
- Olive oil
- 1 cup chicken broth
Spice Rub
- 4 teaspoons salt
- 2 teaspoons paprika
- 1 teaspoon cayenne pepper
- 1 teaspoon onion powder
- 1 teaspoon dried thyme
- 1 teaspoon white pepper
- ½ teaspoon garlic powder
- ½ teaspoon black pepper
Things You’ll Need
-
roasting pan
-
baster
Before You Begin
- This recipe calls for a 4-pound whole chicken that has been thawed. If your chicken is frozen then all the flavor of the seasoning rub will slide right off in the oven.
Instructions
-
Preheat oven to 300 F (150 C).
-
Remove giblets from chicken; clean the cavity well and pat dry with paper towels.
-
Combine all of the rub ingredients and spread the spice mixture all over the chicken and under the breast skin.
-
Stuff the cavity with onions and place the chicken into a roasting pan. Bake chicken for one hour, undisturbed.
-
Add potatoes to the roasting pan, scattering them around the chicken. Drizzle with olive oil. Bake another 40 minutes.
-
Add chicken broth and baste the chicken and potatoes. Bake another 30 minutes.
-
Prepare the green beans by snipping the ends and placing in a microwave bowl with 2 tablespoons of water. Microwave on high for 5 minutes. Drain green beans and add to the roasting pan with the potatoes. Baste chicken and vegetables. Bake another 30 minutes.
-
Turn oven up to 375 F (190 C) and bake an additional 20 minutes to brown the edges of the potatoes and beans.
-
Remove from oven and tent with foil. Let rest for 5-7 minutes before carving.
Expert Tips & FAQs
- Store cooled leftovers in an air-tight container kept in the refrigerator for 4-5 days.
- The best way to reheat roasted chicken is to place it in a shallow baking dish with a bit of chicken broth or water. Tent the baking dish with aluminum foil to trap moisture. Warm the chicken in a 350F (175 C) oven until heated through.
- Always use a meat thermometer to ensure chicken reaches 165°F (74°C) in the thickest part of the thigh.
- Patting the chicken dry thoroughly before applying the rub is crucial for crispy skin.
Nutrition
Calories: 466cal |
Carbohydrates: 34g |
Protein: 32g |
Fat: 22g |
Saturated Fat: 6g |
Polyunsaturated Fat: 5g |
Monounsaturated Fat: 9g |
Trans Fat: 0.1g |
Cholesterol: 110mg |
Sodium: 1833mg |
Potassium: 1223mg |
Fiber: 5g |
Sugar: 5g |
Vitamin A: 757IU |
Vitamin C: 24mg |
Calcium: 62mg |
Iron: 3mg
Tried this Recipe? Pin it for Later!Follow on Pinterest @AmandasCookin or tag #AmandasCookin!
The recipes on this blog are tested with a conventional gas oven and gas stovetop. It’s important to note that some ovens, especially as they age, can cook and bake inconsistently. Using an inexpensive oven thermometer can assure you that your oven is truly heating to the proper temperature. If you use a toaster oven or countertop oven, please keep in mind that they may not distribute heat the same as a conventional full sized oven and you may need to adjust your cooking/baking times. In the case of recipes made with a pressure cooker, air fryer, slow cooker, or other appliance, a link to the appliances we use is listed within each respective recipe. For baking recipes where measurements are given by weight, please note that results may not be the same if cups are used instead, and we can’t guarantee success with that method.
This post originally appeared here on Aug 19, 2013 and has since been updated with new photos and expert tips to enhance your cooking experience.
