Smoky, Tender, and Irresistible: The Ultimate Oven-to-Grill Rib Tips Recipe
Prepare yourself for a culinary journey with this incredible rib tips recipe! We start by cooking these flavorful morsels low and slow in the oven, ensuring they reach an unparalleled level of tenderness. Then, for that perfect smoky finish and irresistible caramelization, they hit the hot grill, transforming into succulent, fall-apart pieces. Finally, they’re generously coated in a tangy, finger-licking barbecue sauce, making every bite a truly unforgettable experience. This method guarantees juicy, deeply flavored rib tips that are sure to become a family favorite.
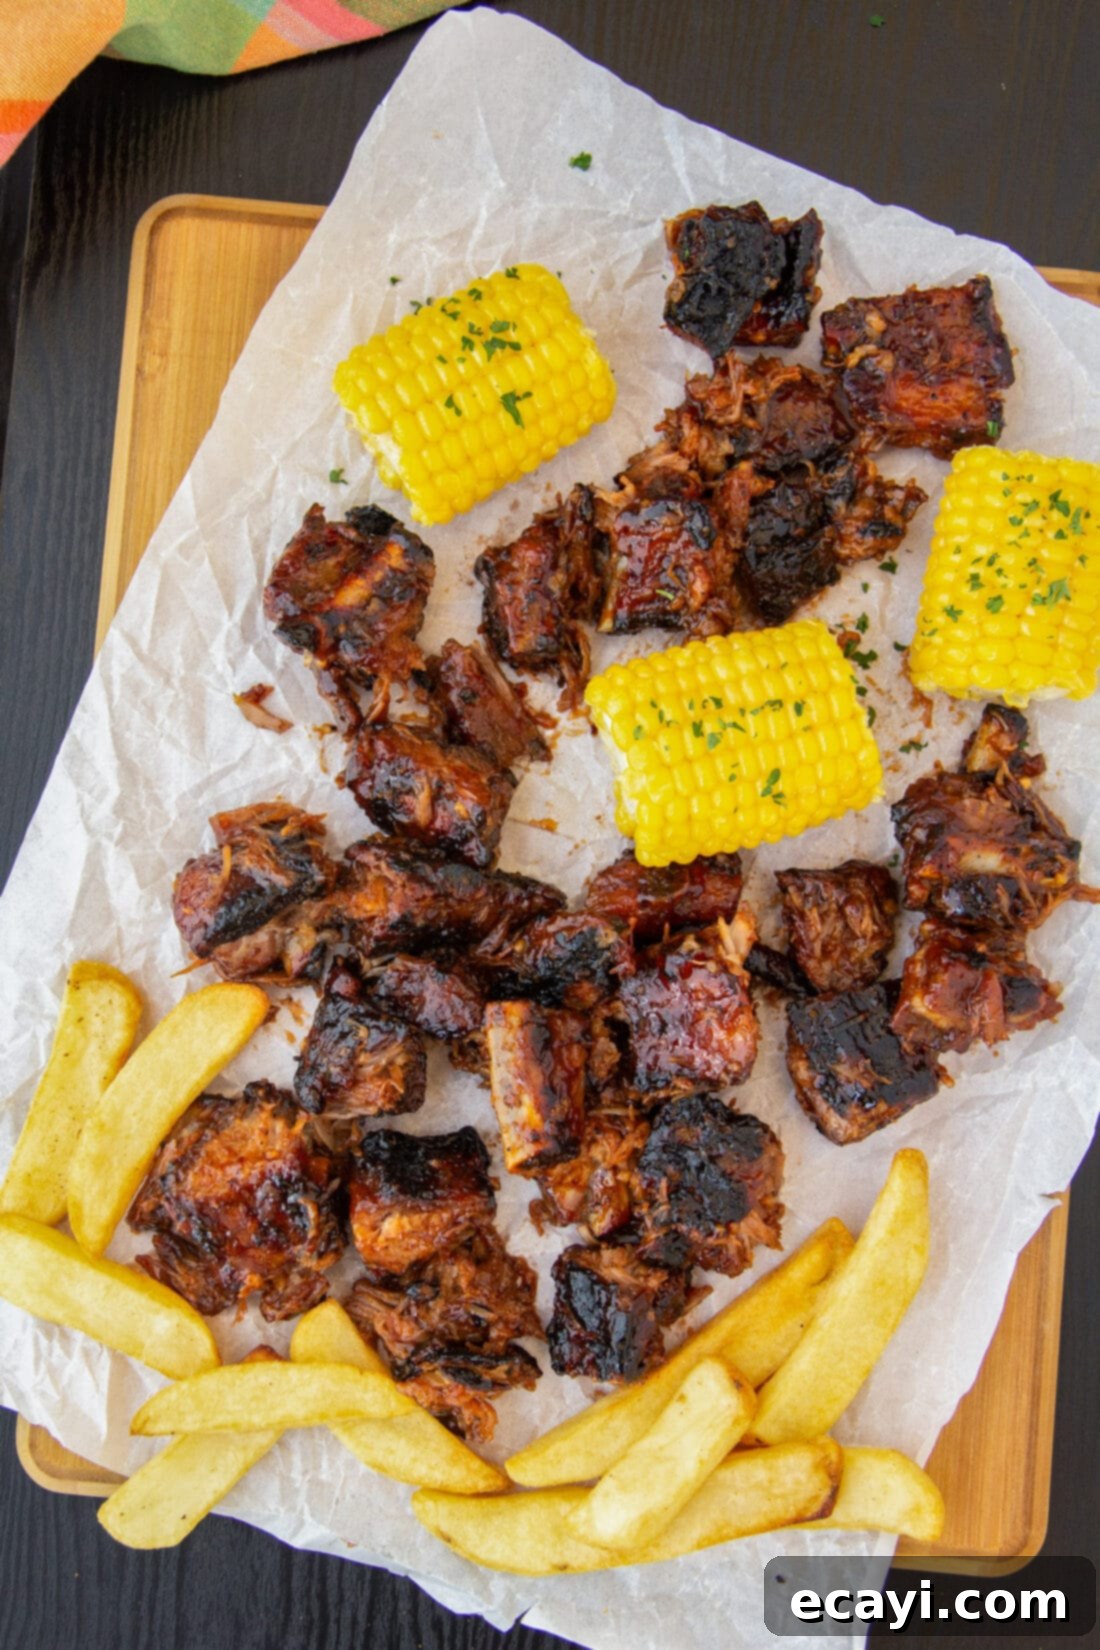
Why This Rib Tips Recipe Stands Out
Rib tips, often overlooked and sometimes considered the “scraps” of a full rack of ribs, are truly a hidden gem in the world of barbecue. They are essentially the bottom portion of spareribs, containing a good amount of flavorful meat interspersed with cartilage. You might also hear them called “pork brisket” or “riblets.” What makes this cut so special, and why does our recipe bring out its absolute best?
The secret lies in the cartilage. When cooked slowly over an extended period, this tough connective tissue breaks down, transforming into gelatin. This process is what yields incredibly succulent, melt-in-your-mouth meaty morsels. Our method capitalizes on this by starting the rib tips in the oven, providing a controlled, moist, and consistent low-temperature environment. This “low and slow” approach is crucial for achieving that desired fall-apart tenderness without drying out the meat.
But the journey doesn’t end there. After achieving peak tenderness in the oven, the rib tips get a glorious finish on the grill. This step is where magic truly happens:
- **Char and Smoke:** The direct heat of the grill adds a smoky flavor profile and develops a beautiful char on the exterior, creating delightful crispy bits.
- **Caramelization:** When tossed in a tangy barbecue sauce, the sugars in the sauce caramelize over the high heat, creating a sticky, glossy, and intensely flavorful coating that’s impossible to resist.
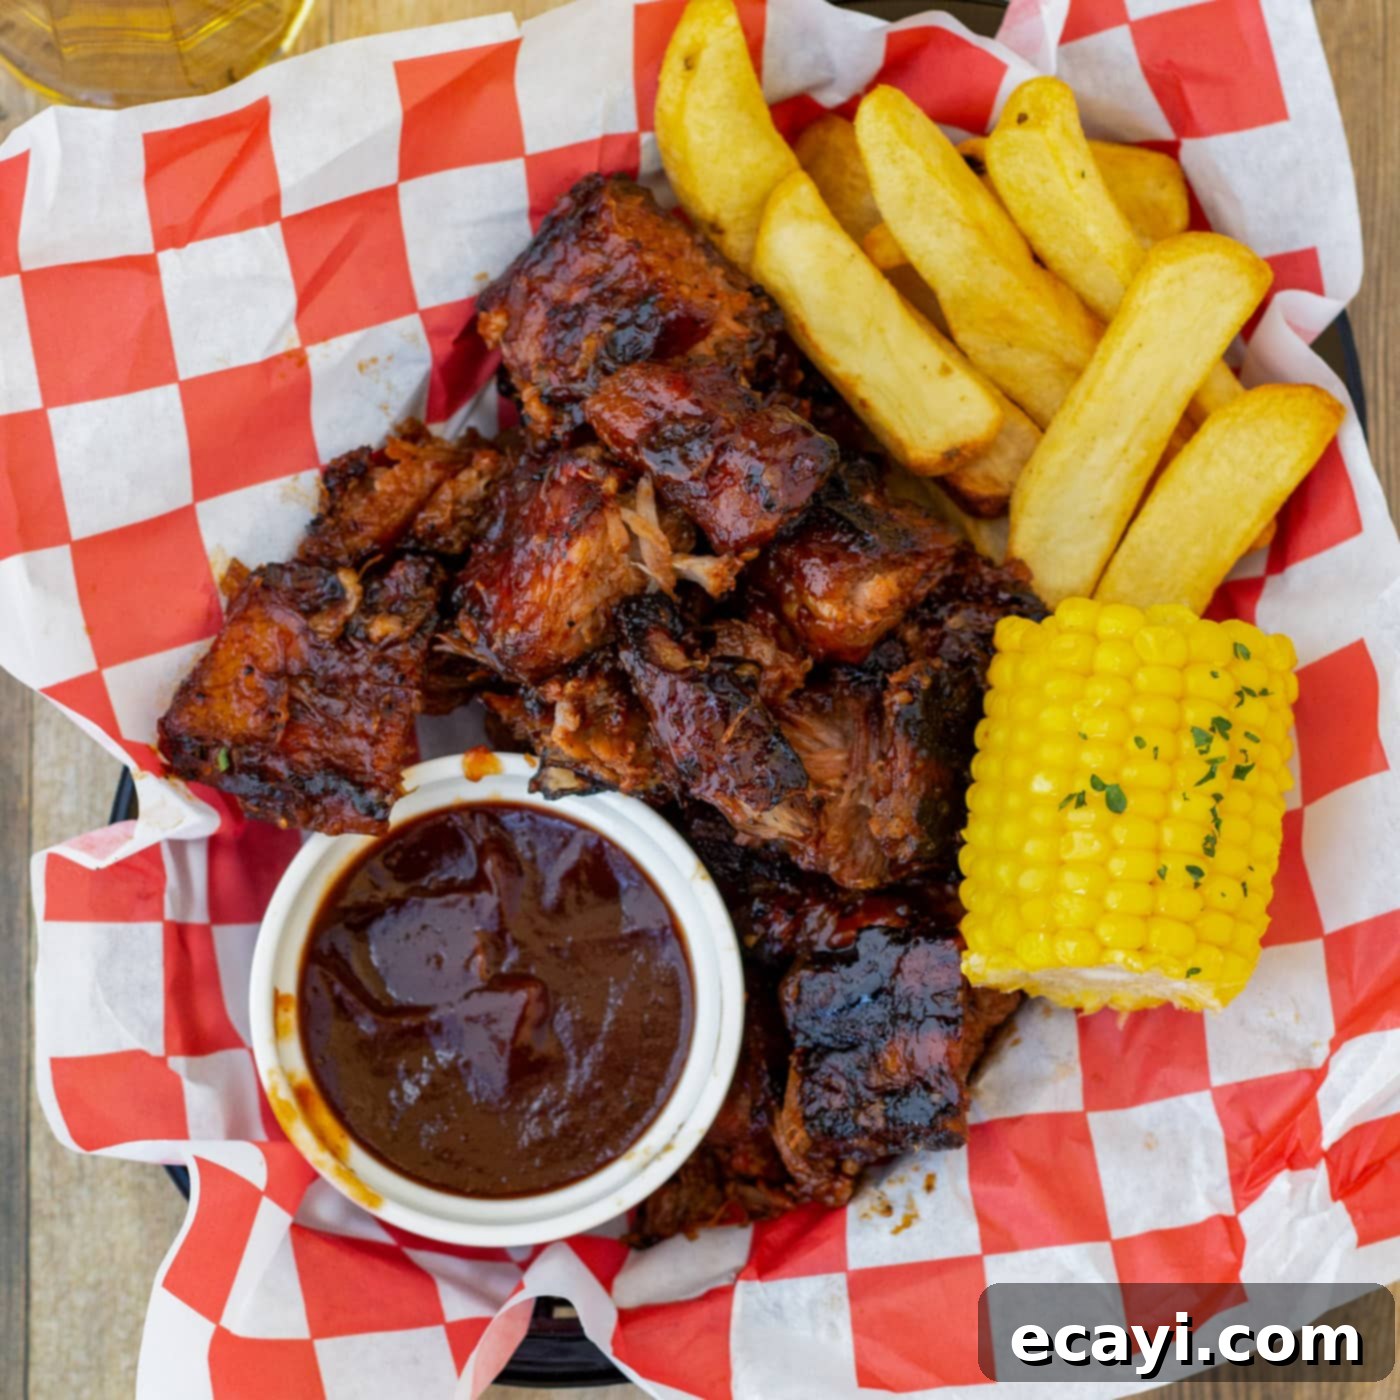
These combined techniques elevate rib tips from mere “scraps” to arguably the most flavorful and satisfying part of the pig. The blend of tender meat, soft gelatinous cartilage, smoky char, and sweet-tangy sauce makes them an utterly addictive treat. It’s no wonder this particular recipe is one of the most requested in my family – my oldest son once devoured enough for three meals in a single night! Whether served as an exciting appetizer or a hearty main course with sides like grilled corn on the cob, these rib tips are guaranteed to impress.
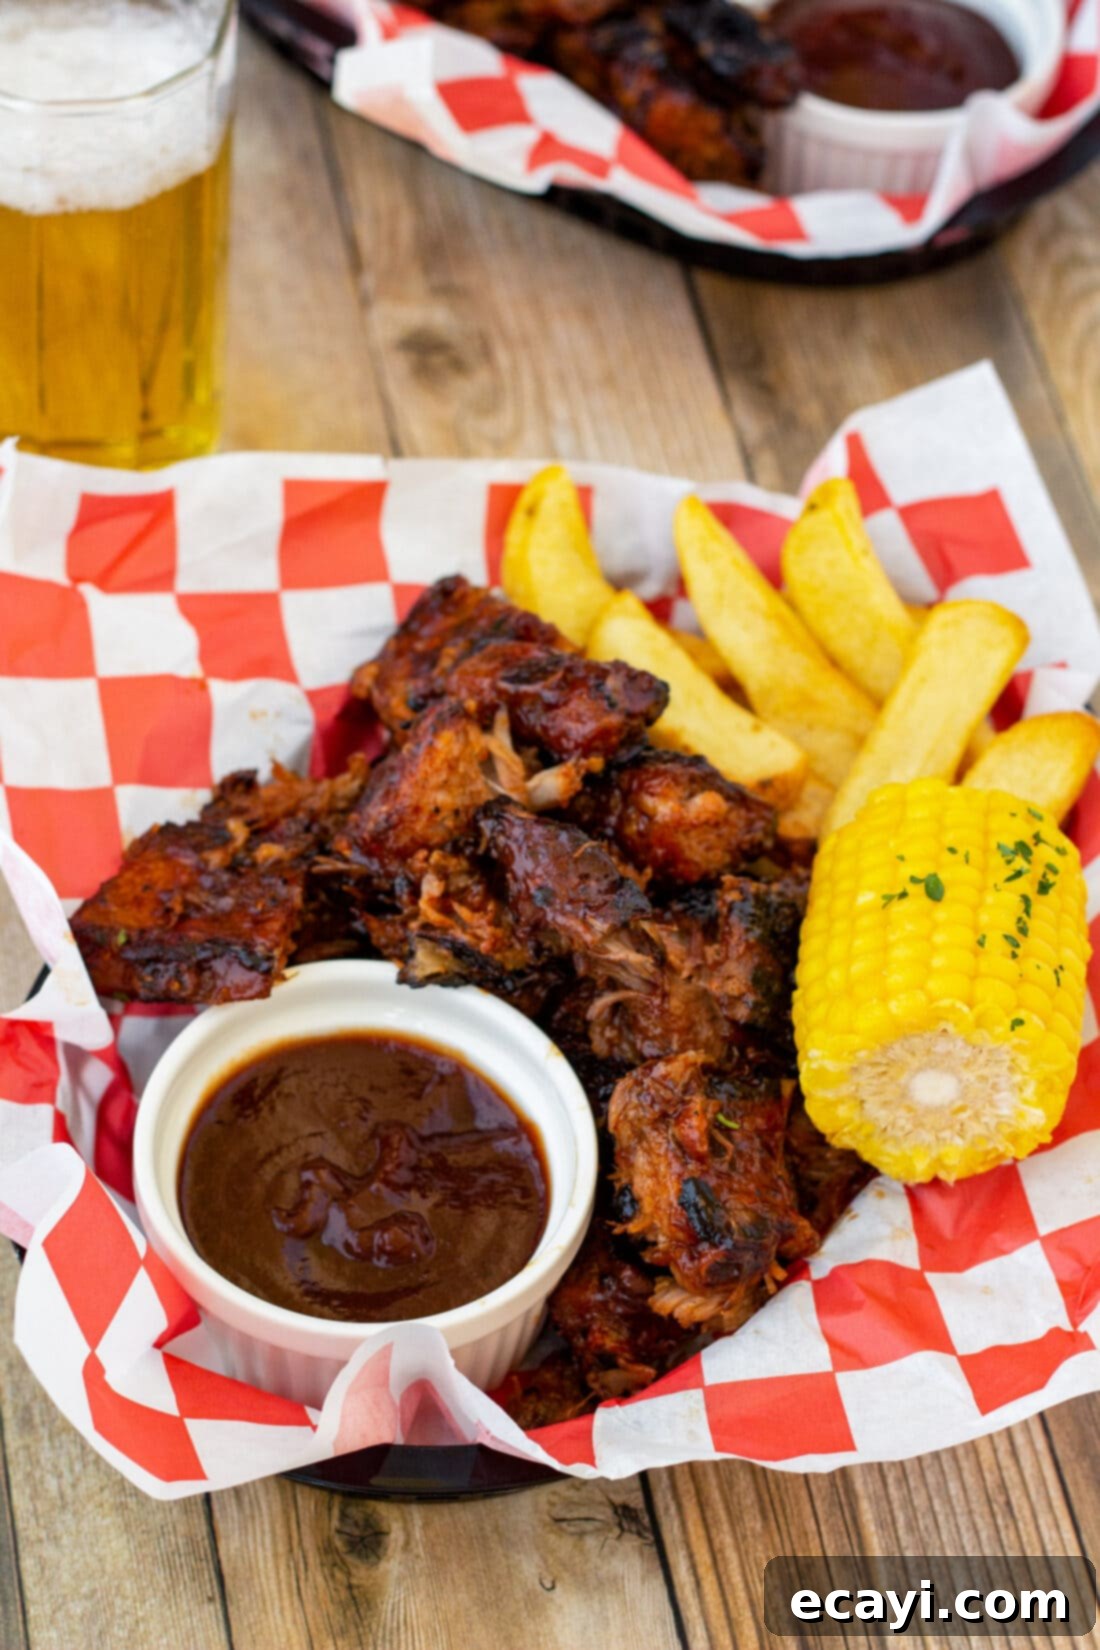
Essential Ingredients for Tender Rib Tips
Crafting the perfect rib tips requires a selection of simple yet powerful ingredients that work in harmony to deliver maximum flavor. You’ll find all precise measurements, specific ingredient details, and comprehensive instructions in the printable recipe card located at the conclusion of this post. However, let’s dive into the core components you’ll need to create this succulent dish.
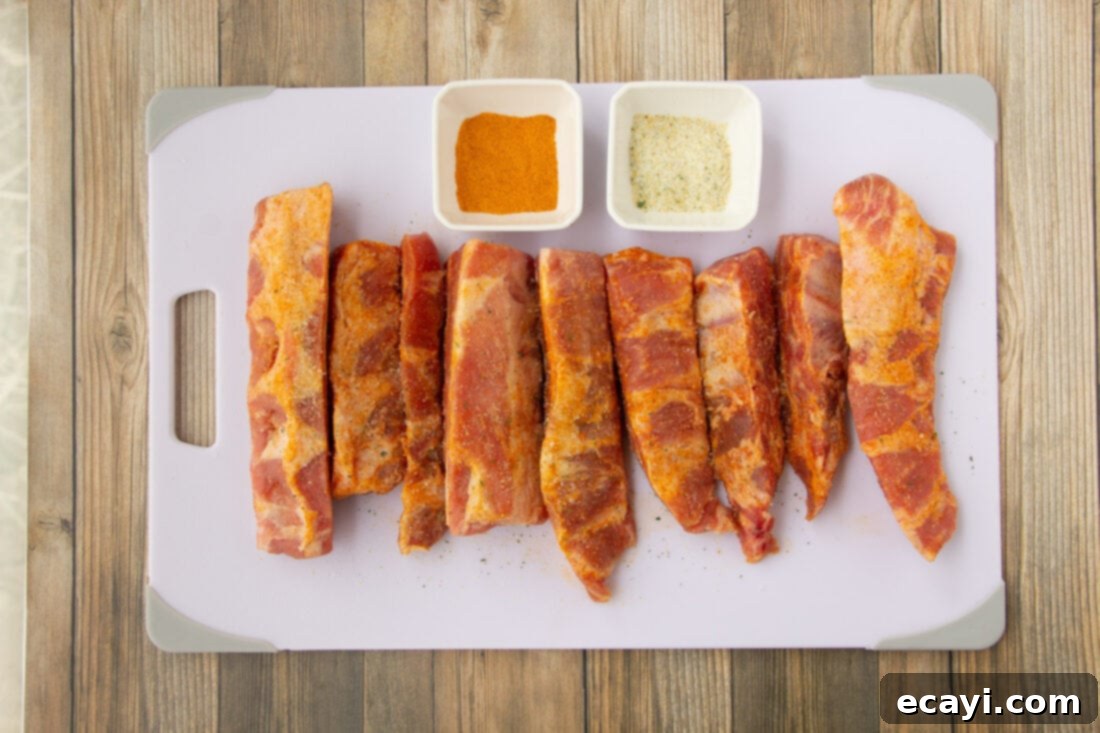
Ingredient Spotlight & Smart Substitutions
Understanding each ingredient’s role and knowing your options can significantly enhance your cooking experience and the final outcome of your rib tips.
PORK RIB TIPS – The star of our show! Rib tips are becoming increasingly popular and are now widely available in the pork section of most major grocery stores. They are essentially the meaty ends of the sparerib, cut off when preparing St. Louis-style ribs. This cut is prized for its balance of tender meat and flavorful cartilage. If you struggle to find them, don’t hesitate to ask your local butcher. They can easily trim rib tips for you from a full rack of spareribs, or even from a larger pork belly cut. Look for pieces with a good amount of meat and some visible cartilage for optimal texture and flavor when slow-cooked.
SEASONING RUB – For this recipe, we opt for a straightforward yet effective combination of seasoned salt (like Lawry’s) and garlic salt. This simple blend truly allows the natural, rich flavor of the pork to shine through, proving that often, “less is more” when it comes to seasoning quality meat. However, the beauty of barbecue is its versatility. Feel free to personalize your rib tips by using your favorite dry rub. Whether you prefer a sweeter, brown sugar-based rub, a spicier cayenne-infused blend, or a smoky paprika-heavy mix, simply substitute our salt mixture with an equal amount of your preferred dry rub. Experimenting with different rubs can dramatically change the flavor profile, allowing you to tailor this recipe to your exact taste preferences.
BARBECUE SAUCE – A good barbecue sauce is critical for finishing these rib tips. The original recipe calls for “your favorite barbecue sauce,” which is excellent advice because personal preference plays a huge role here. There’s a vast world of BBQ sauces to explore, each with its unique characteristics:
- Kansas City Style: Thick, sweet, and tangy, often tomato and molasses-based.
- Carolina Gold: Mustard-based, typically tangy and slightly sweet, with a distinct yellow hue.
- Texas Style: Often savory, spicy, and less sweet, with a strong peppery kick.
- Memphis Style: Can be either dry-rubbed or wet (sauced), with wet sauces typically being sweet and vinegar-tinged.
Choose a sauce that complements your palate. For a classic taste, a sweet and tangy Kansas City-style sauce is usually a crowd-pleaser. If you prefer a bit more heat, look for spicy variations. You can also make your own homemade barbecue sauce for a truly custom flavor. The key is to have enough sauce for basting on the grill and for tossing the finished, bite-sized pieces.
Mastering the Art of Perfect Rib Tips: Step-by-Step Guide
These step-by-step photos and detailed instructions are designed to help you visualize each stage of making this delectable recipe. For a convenient printable version, complete with precise measurements and comprehensive instructions, simply Jump to Recipe at the bottom of this post.
- Prepare the Rib Tips: Begin by thoroughly rinsing your pork rib tips under cold running water. This helps remove any bone fragments or impurities. Once rinsed, it’s crucial to pat them completely dry with paper towels. Drying the meat ensures that your seasoning rub adheres properly and doesn’t create a paste, leading to a much more flavorful crust.
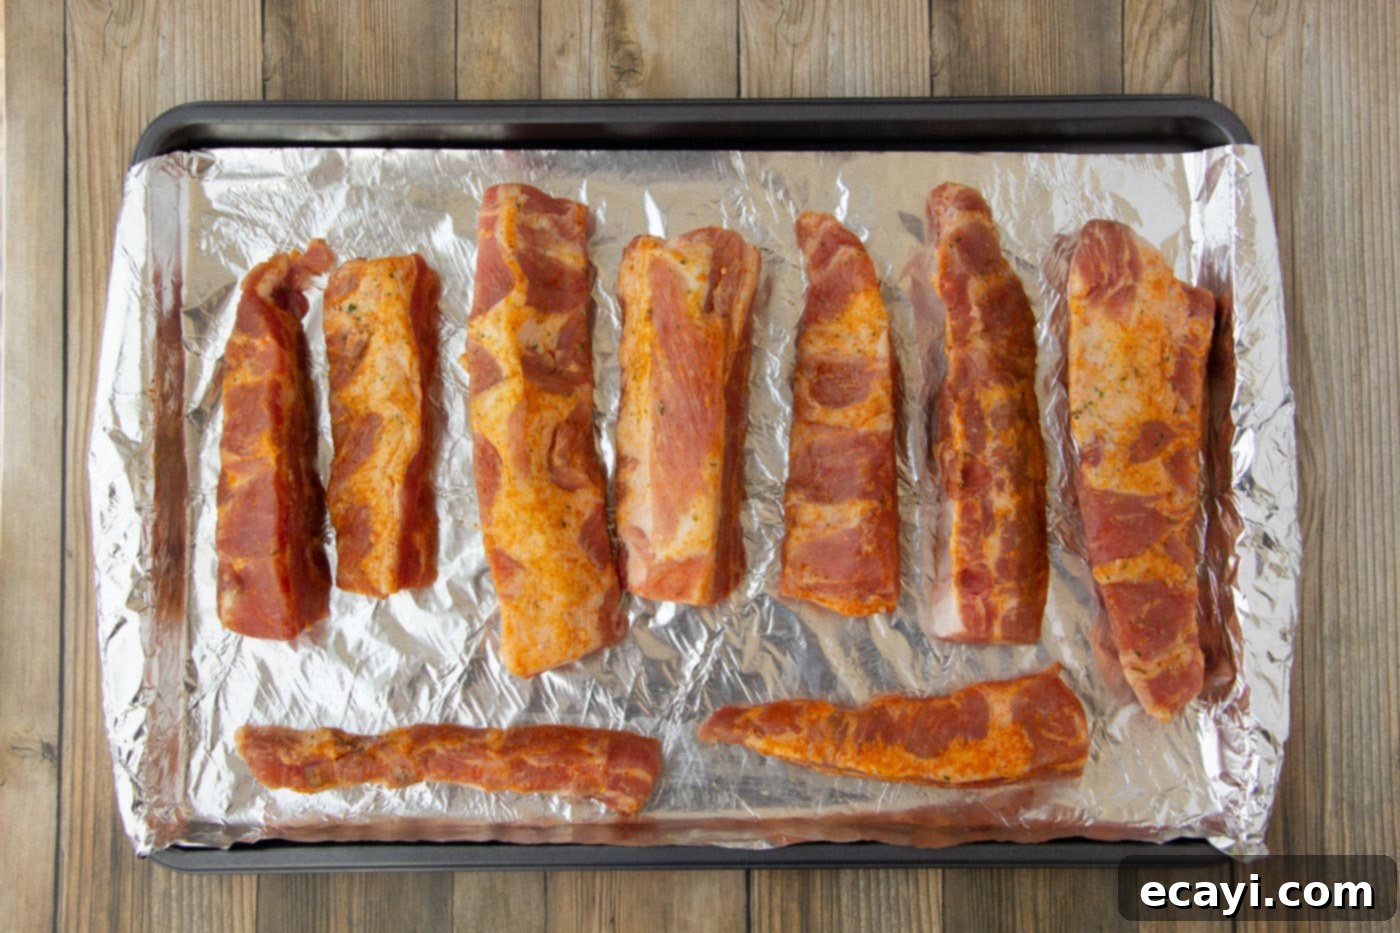
- Season Generously: Evenly sprinkle the seasoning salt and garlic salt (or your preferred dry rub) all over the rib tips. Make sure to cover all surfaces, massaging the rub into the meat for maximum flavor penetration. Don’t be shy; a good rub is essential for depth of taste.
- Marinate for Flavor: Place the seasoned rib tips into a plastic gallon storage bag, pressing out as much air as possible before sealing. Allow them to marinate overnight in the refrigerator. This extended period allows the salt and spices to penetrate deep into the meat, tenderizing it further and infusing it with robust flavor. If you’re short on time, a minimum of 2-4 hours will still make a difference, but overnight is highly recommended for the best results.
- Bring to Room Temperature: Approximately 30 minutes before you plan to put the rib tips into the oven, take them out of the refrigerator. Allowing the meat to come closer to room temperature promotes more even cooking throughout the entire piece.
- Preheat Your Oven: Preheat your oven to a low and slow temperature of 275°F (135°C). This gentle heat is key to tenderizing the rib tips without drying them out.
- Prepare for Baking: Line a sturdy baking sheet with heavy-duty aluminum foil. This makes cleanup significantly easier. Arrange the seasoned rib tips in a single layer on the prepared pan, ensuring they aren’t overly crowded. Cover the pan tightly with another layer of aluminum foil. Creating a tight seal traps steam and moisture, which is vital for achieving exceptionally tender rib tips during the slow baking process.

- Slow Bake to Perfection: Cook the rib tips in the preheated oven for 2 1/2 hours. This long, slow bake will render much of the fat and break down the tough cartilage, resulting in incredibly tender meat.
- Prepare the Grill: Approximately 15 minutes before the oven baking time is complete, preheat your outdoor grill to a medium-high temperature of 350°F (175°C). This ensures the grill is hot and ready for the final charring and caramelization step.
- Check for Tenderness: Carefully remove the pan of rib tips from the oven. Using a fork, gently check the tenderness of the meat. It should yield easily, but not be completely falling apart at this stage.
EXPERT TIP – Tenderness is subjective, and you can certainly customize it. If you prefer your rib tips even more tender, you can continue baking them for up to an additional hour, checking every 30 minutes. However, be mindful that they will also be going on the grill. You want them tender enough to enjoy, but still cohesive enough that the meat doesn’t completely fall off the bone or disintegrate into your grill grates when you turn them! A little resistance is good at this stage; they’ll become even softer after grilling.
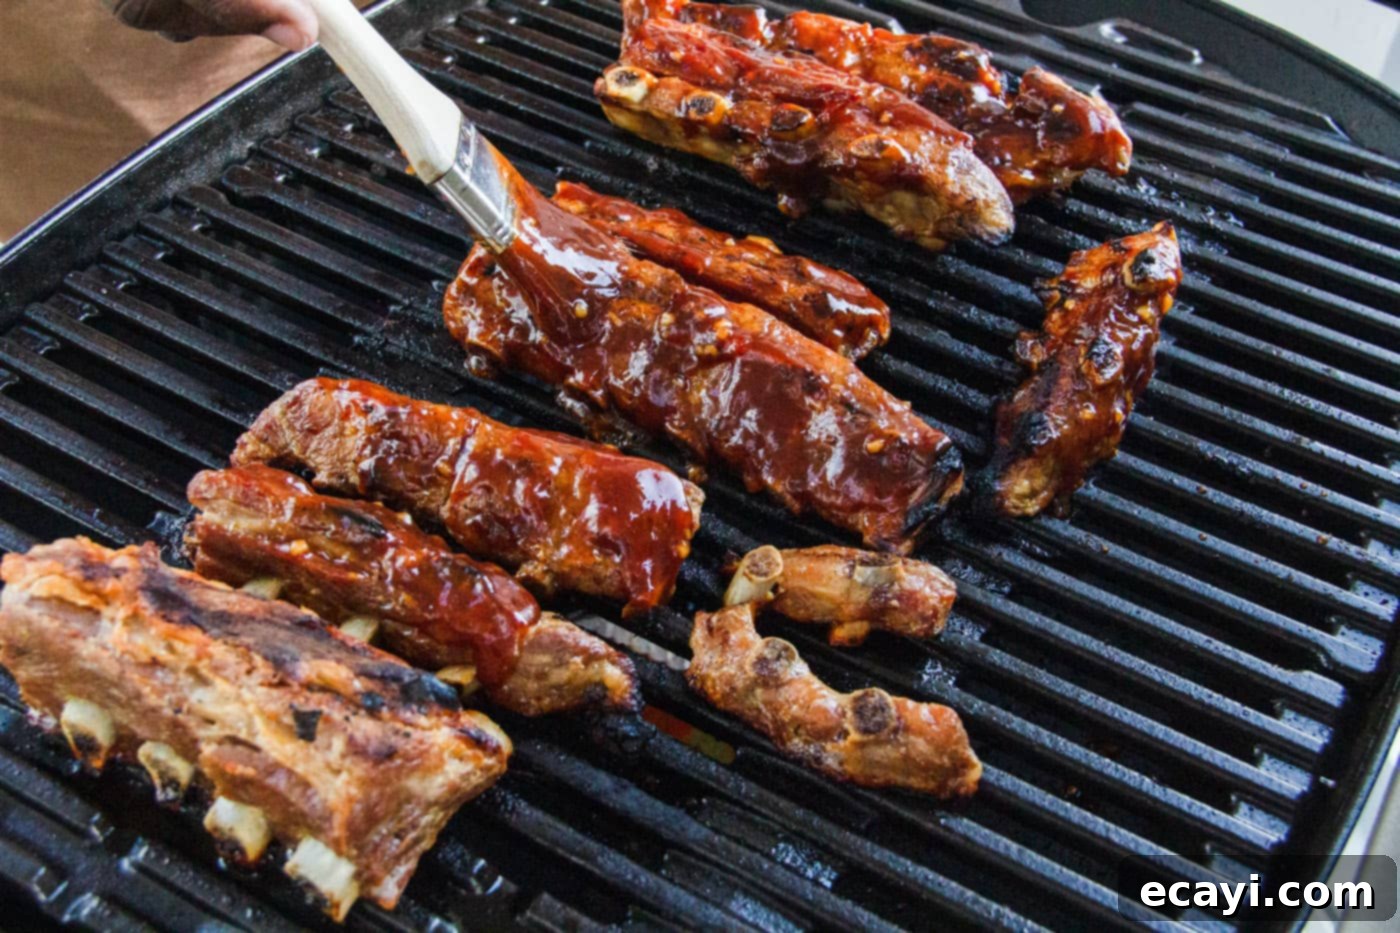
- Sauce It Up: Generously brush the par-cooked rib tips with your favorite barbecue sauce. Ensure all surfaces are coated for maximum flavor and a beautiful glaze.
- Grill for Char and Caramelization: Carefully place the sauced rib tips onto the preheated grill grates. Allow them to cook for about 5 minutes on one side, letting the sauce caramelize and a nice char develop. Then, flip them over, brush with more barbecue sauce, and cook for another 5 minutes. Watch them closely to prevent burning, as barbecue sauce contains sugars that can char quickly. The goal is a sticky, slightly crispy glaze, not burnt offerings.

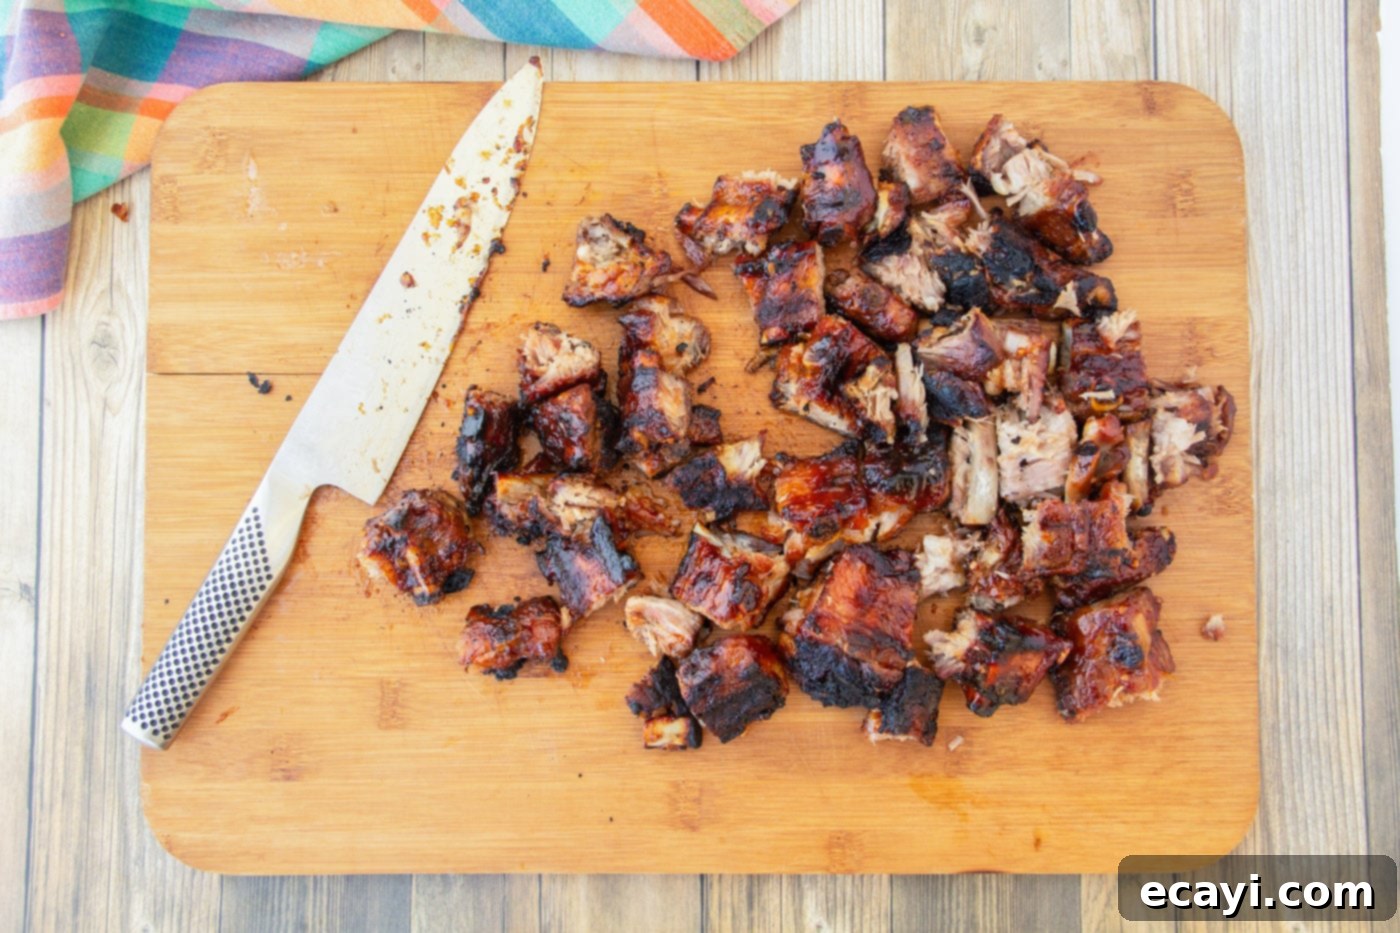
- Rest and Serve: Remove the grilled rib tips to a clean cutting board. Using a sharp knife, cut them into individual, bite-sized pieces. This makes them easier to eat and perfect for sharing. For an extra punch of flavor, toss the cut pieces in additional warm barbecue sauce. Cover the cutting board loosely with aluminum foil and allow the rib tips to rest for about 5 minutes before serving. This resting period allows the juices to redistribute throughout the meat, ensuring every bite is as moist and flavorful as possible.

Frequently Asked Questions & Expert Tips for Rib Tips
While grilling adds an unparalleled smoky flavor and a beautiful char, it’s not strictly mandatory if you don’t have a grill or prefer an indoor method. You can achieve a similar caramelization and slight crispiness using your oven’s broiler. Simply place the sauced rib tips on a foil-lined baking sheet and broil for a few minutes, watching them very carefully. Broilers work extremely fast, so stay by the oven; you’ll likely only need 2-4 minutes total, flipping halfway through, to get that delicious glaze and char without burning.
To maintain their freshness and flavor, store any leftover rib tips in an airtight container. Place the container in the refrigerator, where they will keep well for 2-3 days. For longer storage, you can freeze cooked rib tips. Wrap them tightly in foil and then place them in a freezer-safe bag or container. They will last for up to 2-3 months in the freezer. Thaw them overnight in the refrigerator before reheating in the oven or on the grill until heated through.
Absolutely! A slow cooker is another excellent method for achieving super tender rib tips. After seasoning, place the rib tips in your slow cooker with a small amount of liquid (like apple cider or broth). Cook on low for 6-8 hours or on high for 3-4 hours, until fork-tender. Then, transfer them to a baking sheet or directly to the grill to finish with barbecue sauce, char, and caramelize as directed in the recipe. This is a great hands-off option!
To enhance the crispiness or “bark,” consider this tip: before applying any barbecue sauce, place the oven-baked rib tips directly on a hot grill for 5-10 minutes, flipping once, to create a dry, crispy exterior. This allows the meat to develop a flavorful crust before the sauce goes on. Then, proceed with brushing on the sauce and caramelizing as usual. The initial dry grilling helps render more fat and create a firmer surface for the sauce to cling to.
Yes, you can certainly do some prep work in advance! The seasoning and overnight refrigeration step is already designed for this. You could also cook the rib tips in the oven up to the point of checking for tenderness, then let them cool, store them in the refrigerator for up to a day or two, and finish them on the grill with sauce just before serving. This makes party planning much easier!
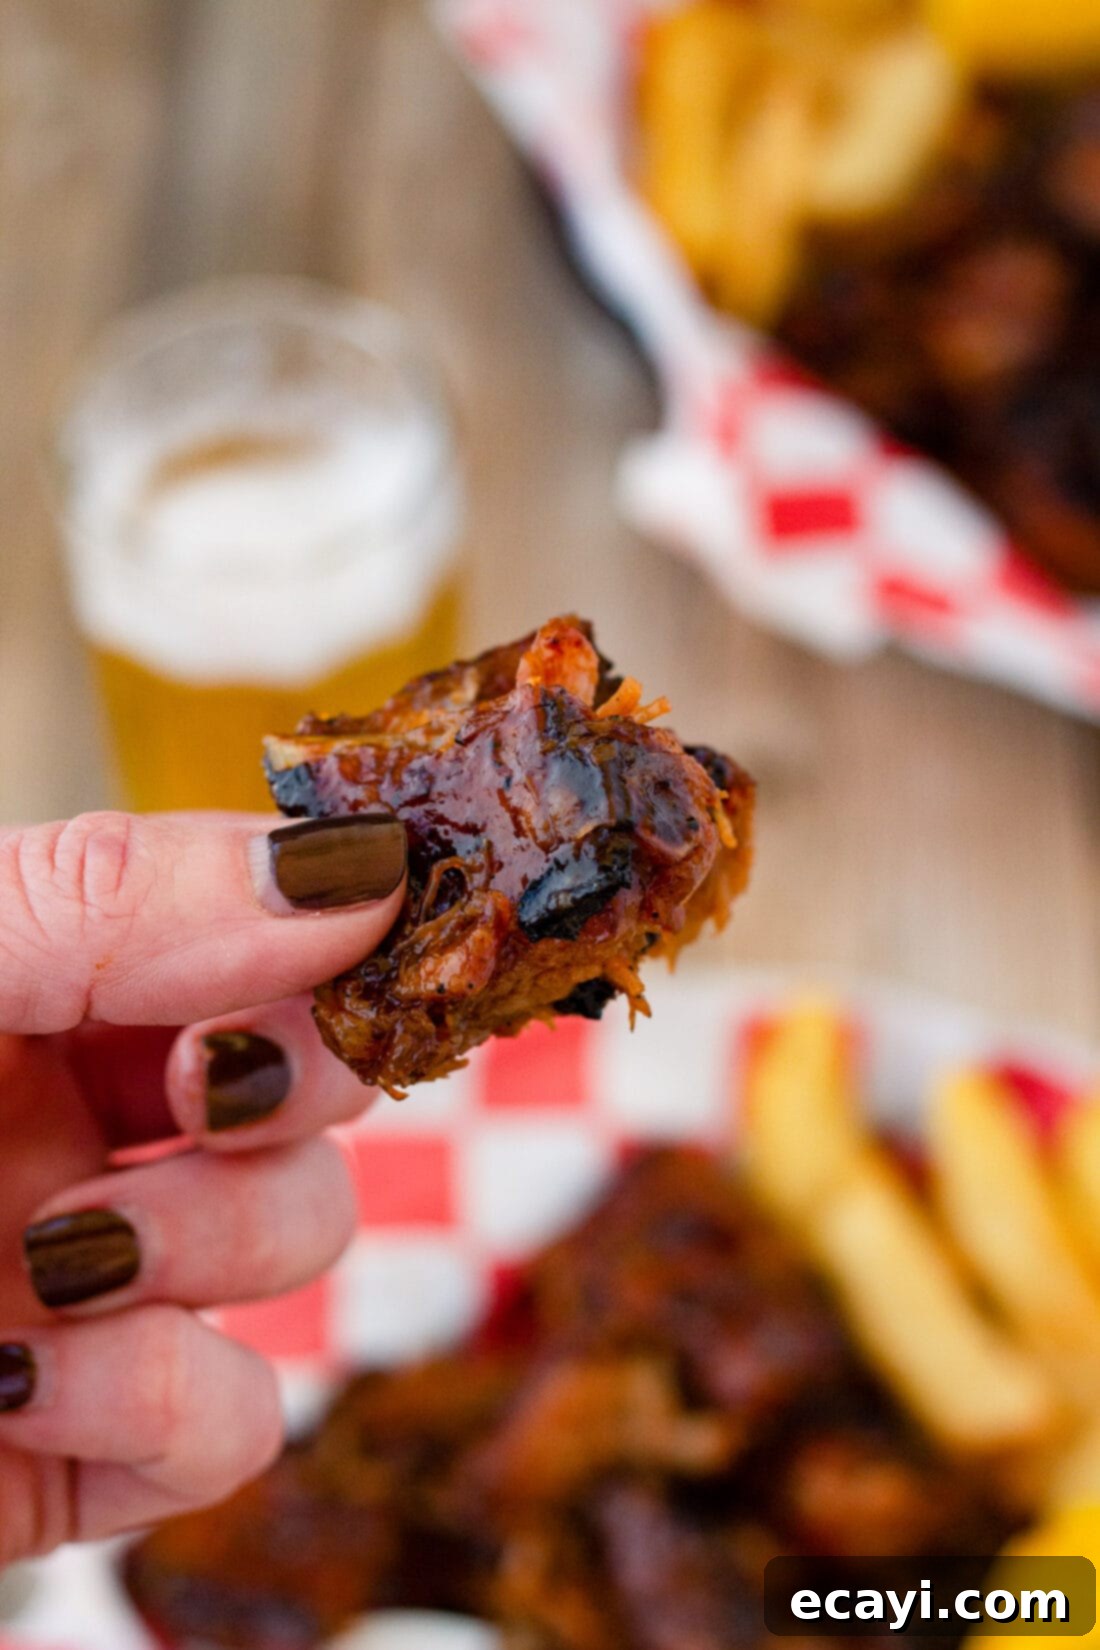
Delectable Serving Suggestions for Rib Tips
These flavorful and tender rib tips are incredibly versatile and can effortlessly transition from a crowd-pleasing appetizer to the star of a full, satisfying meal. When serving them, consider classic barbecue pairings that complement their rich, savory, and tangy profile.
For an authentic barbecue feast, round out your meal with these tried-and-true staples:
- Grilled Corn on the Cob: Sweet, smoky, and a perfect textural contrast. A light char on the grill enhances its natural sweetness.
- French Fries: Crispy, salty fries are an undeniable classic alongside any barbecue meat, perfect for dipping in extra sauce.
- Homemade Baked Beans: Rich, savory, and slightly sweet baked beans are a quintessential BBQ side that pairs wonderfully with pork.
- Creamy Coleslaw: The cool, crisp, and tangy nature of coleslaw provides a refreshing counterpoint to the richness of the rib tips.
- Potato Salad: A hearty, creamy potato salad offers a comforting and traditional side that always satisfies.
- Cornbread: Sweet or savory, cornbread is excellent for soaking up any leftover barbecue sauce and rounding out the meal.
- Macaroni and Cheese: For ultimate comfort, a creamy, cheesy macaroni and cheese is always a welcome addition to any BBQ spread.
No matter how you choose to serve them, these rib tips are guaranteed to be a hit, bringing smiles and satisfied appetites to your table!
More Mouthwatering Pork Recipes to Explore
If you loved these rib tips and are looking for more delicious ways to prepare pork, you’ve come to the right place! Pork is an incredibly versatile meat, offering a wide range of flavors and textures, perfect for everything from quick weeknight dinners to impressive holiday feasts. Here are some of our other favorite pork recipes that we highly recommend:
- Baked Pork Chops: Simple, juicy, and perfect for a comforting family dinner, these baked pork chops are a staple.
- The Best Sirloin Pork Roast: An elegant and flavorful roast that’s surprisingly easy to make, ideal for special occasions or Sunday dinner.
- Slow Cooker Pulled Pork: Achieve melt-in-your-mouth pulled pork with minimal effort, perfect for sandwiches, tacos, or loaded potatoes.
- Air Fryer Pork Tenderloin: A quick and healthy option that delivers tender and perfectly cooked pork tenderloin every time.
- Pork Tenderloin Sandwiches (Schnitzel Style): Crispy, thinly pounded pork tenderloin served in a sandwich, a delightful twist on a classic.
- Instant Pot Ribs: Get incredibly tender ribs in a fraction of the time with this popular pressure cooker method.
Each of these recipes offers a unique way to enjoy pork, providing diverse flavors and cooking techniques to expand your culinary repertoire. We’re confident you’ll find another favorite among them!
I love to bake and cook and share my kitchen experience with all of you! Remembering to come back each day can be tough, that’s why I offer a convenient newsletter every time a new recipe posts. Simply subscribe and start receiving your free daily recipes!
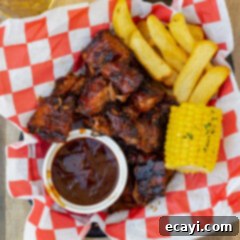
Oven-Baked & Grilled Rib Tips
IMPORTANT – There are often Frequently Asked Questions within the blog post that you may find helpful. Simply scroll back up to read them!
Print It
Pin It
Rate It
Save ItSaved!
Ingredients
- 3 pounds pork rib tips
- 1 Tablespoon seasoned salt we used Lawry’s or your preferred dry rub
- 1 Tablespoon garlic salt
- 1 bottle of barbecue sauce to taste, your favorite brand
Things You’ll Need
-
Grill
-
Baking sheets
-
Chef’s knife
-
Cutting board
-
Basting brush
Before You Begin
- Please note that the nutrition information provided does not include the barbecue sauce, as caloric and nutritional values can vary significantly between brands and homemade recipes.
- Cook the rib tips until they are very tender, but still hold their shape. You want to be able to turn them on the grill without the meat completely falling off the bones and into the grates.
- If you prefer not to use a grill, you can use your oven’s broiler to char and caramelize the rib tips. When broiling, it’s essential to watch them constantly and avoid stepping away, as broilers heat very quickly and can burn food in mere moments. You will only need them under the broiler for a few minutes per side.
- Our recipe utilizes a simple yet effective seasoning salt mixture for the ribs. We find that often, less is more, allowing the natural flavor of the pork to shine. However, if you have a favorite commercial or homemade rib rub or other preferred seasonings, feel free to substitute our salt mixture with yours for a personalized touch.
- For optimal freshness and taste, store any leftover rib tips in an airtight container in the refrigerator for up to 2-3 days.
Instructions
-
Thoroughly rinse the pork rib tips under cold water and then pat them completely dry with paper towels to ensure the seasoning adheres well.
-
Evenly sprinkle the seasoned salt and garlic salt generously over all surfaces of the rib tips.
-
Place the seasoned rib tips into a plastic gallon storage bag, seal it, and refrigerate overnight to allow the flavors to meld and tenderize the meat.
-
About 30 minutes before baking, remove the rib tips from the refrigerator to let them come to room temperature, promoting more even cooking.
-
Preheat your oven to 275°F (135°C).
-
Line a baking sheet with heavy-duty aluminum foil. Arrange the seasoned rib tips on the pan in a single layer and cover tightly with another sheet of foil to create a sealed environment for steaming.
-
Cook the rib tips in the preheated oven for 2 1/2 hours until very tender.
-
Approximately 15 minutes before the oven baking time is finished, preheat your outdoor grill to 350°F (175°C).
-
Carefully remove the rib tips from the oven. Use a fork to check for tenderness; the meat should yield easily.
-
TIP: If you desire even more tender rib tips, you can continue to bake them for up to one additional hour. However, remember they will still be grilled, so ensure they are tender but still intact enough to handle on the grill without falling apart.
-
Generously brush the rib tips with your favorite barbecue sauce, ensuring they are well coated.
-
Place the sauced rib tips on the preheated grill. Cook for 5 minutes to allow the sauce to caramelize and char slightly. Flip them over, brush with more sauce, and grill for another 5 minutes, watching closely to prevent burning.
-
Transfer the grilled rib tips to a cutting board. Cut them into bite-sized pieces. Toss the cut pieces with additional warm barbecue sauce for an extra burst of flavor. Cover loosely with foil and let the ribs rest for 5 minutes before serving to redistribute the juices.
Nutrition
The recipes on this blog are tested with a conventional gas oven and gas stovetop. It’s important to note that some ovens, especially as they age, can cook and bake inconsistently. Using an inexpensive oven thermometer can assure you that your oven is truly heating to the proper temperature. If you use a toaster oven or countertop oven, please keep in mind that they may not distribute heat the same as a conventional full sized oven and you may need to adjust your cooking/baking times. In the case of recipes made with a pressure cooker, air fryer, slow cooker, or other appliance, a link to the appliances we use is listed within each respective recipe. For baking recipes where measurements are given by weight, please note that results may not be the same if cups are used instead, and we can’t guarantee success with that method.
