Mastering Homemade Hamburger Buns: Your Ultimate Guide to Soft, Flavorful Perfection
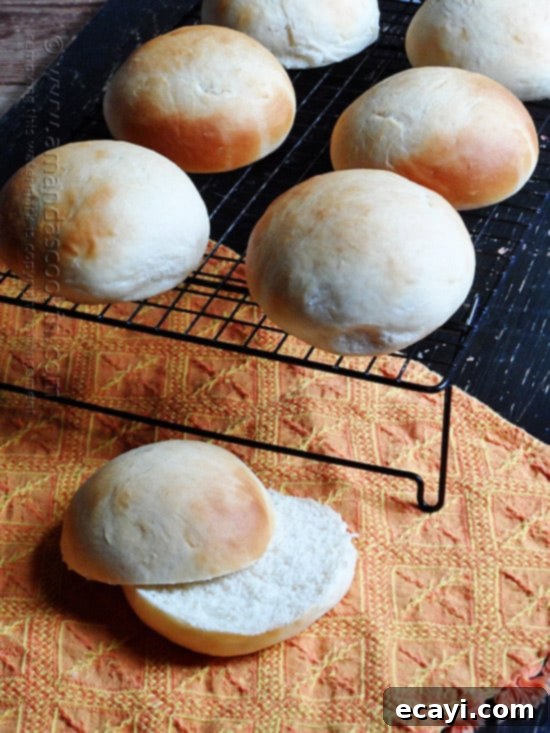
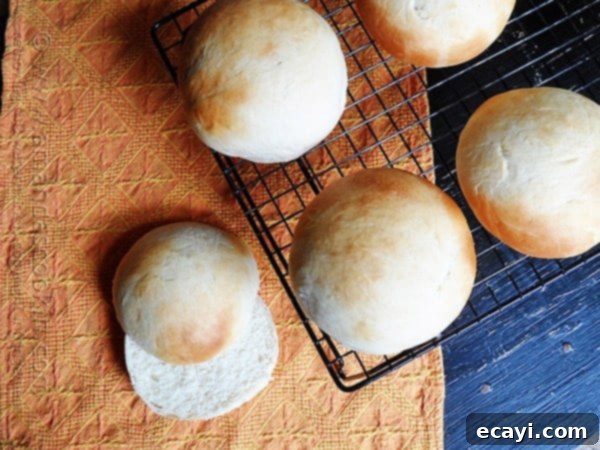
There’s an undeniable magic in baking bread from scratch. The aroma filling your kitchen, the therapeutic process of kneading, and the unparalleled taste of a fresh, warm loaf – it’s an experience that truly nourishes the soul. So, when the idea of crafting my own homemade hamburger buns began circulating through my culinary circles and online feeds, I knew it was a venture I had to embark on. The results were nothing short of spectacular: incredibly soft, perfectly golden, and undeniably delicious buns that transformed our usual hamburger night into a gourmet feast. While I confess that the hustle and bustle of daily life don’t always permit me the luxury of baking buns for every single burger, the effort is profoundly rewarding, making every bite truly special. Perhaps you, with a knack for organization, might make it a weekly ritual, and if so, I applaud you!
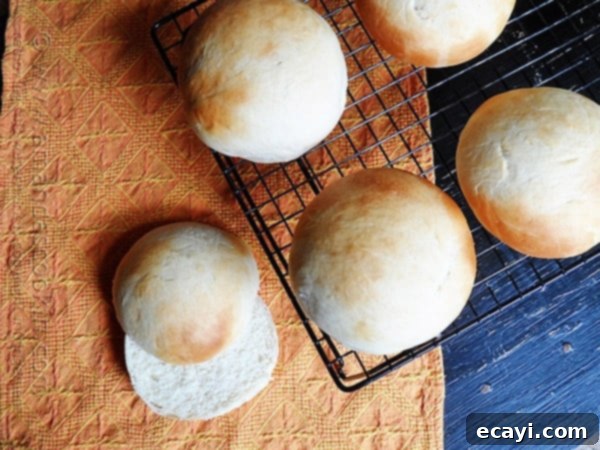
Beyond the simple act of eating, making these buns was a joyous endeavor. It presented a wonderful opportunity to bond with my daughter in the kitchen, teaching her the fundamentals of baking and the satisfaction of creating something wonderful together. Imagine the delight on your guests’ faces when you serve them juicy hamburgers nestled between buns you baked yourself! It’s an impressive feat that not many can claim, elevating a casual meal into a memorable occasion. The taste alone is reason enough – a stark contrast to store-bought varieties, these buns are airy, tender, and possess a subtle richness that complements any burger patty beautifully.
My journey to perfecting these buns began with a recipe from Taste of Home, a trusted source for many home cooks. However, as often happens in the kitchen, I introduced a few modifications to better suit my preferences and schedule. For instance, I opted to omit the egg, simplifying the ingredient list without compromising on texture. My secret weapon for efficiency is SAF instant yeast. Its quick activation eliminates the need for a lengthy proofing period, making the entire process faster – a lifesaver for impatient bakers like myself! And for that irresistible golden-brown crust and extra layer of flavor, I generously brushed the tops with melted butter just before baking. These small tweaks make a big difference, resulting in buns that are both easy to make and incredibly flavorful.
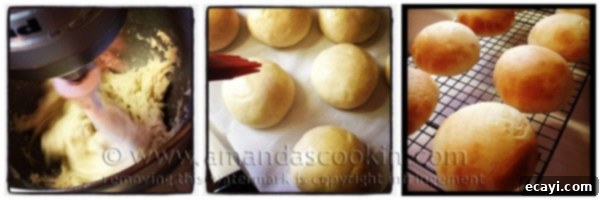
It’s funny how some recipes stick with you. I actually whipped up these delightful buns quite a while ago, and if you follow me on Instagram, you might have even caught a sneak peek of the process or the delicious finished product. The timeless appeal of a perfect hamburger bun means this recipe continues to be a favorite, and one I love sharing with fellow food enthusiasts. The beauty of baking bread, especially something as versatile as hamburger buns, is that it allows for personal touches and adaptations, ensuring the end result is exactly what you crave.
Getting Started: The Key Steps to Perfect Buns
Baking homemade hamburger buns might seem daunting, but with a clear step-by-step approach, it’s surprisingly simple and incredibly rewarding. Let’s break down the process:
1. Activating the Yeast: The Foundation of Fluffy Buns
The first crucial step is to proof your yeast. In a large bowl, combine the instant yeast with warm water (aim for 110° to 115°F, which is warm to the touch but not hot) and a pinch of sugar. The sugar acts as food for the yeast, helping it to activate. Within a few minutes, you should see the mixture become visibly foamy and bubbly, much like the picture above. This effervescent activity is your green light – it means your yeast is alive and ready to make your buns rise beautifully. If you don’t see any activity, your water might have been too hot or too cold, or your yeast may be old, and it’s best to start over with fresh yeast.
2. Mixing the Dough: Creating the Perfect Texture
Once your yeast is active, it’s time to build the dough. Add the vegetable oil, salt, and gradually incorporate the all-purpose flour. The goal is to form a soft, manageable dough. I typically use my trusty KitchenAid mixer fitted with a dough hook for this, as it makes quick work of kneading. However, don’t feel limited if you don’t have one; kneading by hand is an equally effective and quite satisfying method. Just ensure you add enough flour to achieve a dough that is soft but no longer overly sticky. You might find yourself using all the recommended flour, or slightly less/more depending on humidity and flour type.
3. Kneading and Shaping: Developing Gluten for Elasticity
Turn your dough out onto a lightly floured surface and knead it until it’s smooth and elastic. If kneading by hand, this typically takes about 3-5 minutes. The dough should spring back when gently poked. Unlike many bread recipes, these hamburger buns do not require an initial rise after kneading. This “no-rise” feature is one of the reasons they are so quick! Immediately after kneading, divide the dough into 8 equal pieces. For perfect uniformity, which is especially important for hamburger buns, I always weigh my dough using my reliable OXO kitchen scale. It’s truly a kitchen lifesaver for consistent results. Shape each piece into a smooth, tight ball. This helps create a nice, round bun. Place these dough balls about 3 inches apart on a parchment-lined baking sheet to allow for expansion.
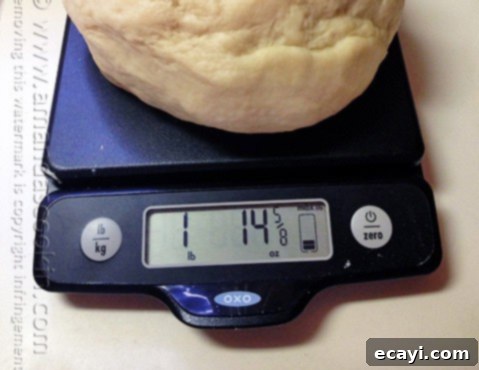
Achieving consistently sized buns is not just about aesthetics; it ensures even baking. By weighing each portion of dough, you guarantee that all your buns will bake at the same rate, preventing some from being underdone while others are overdone. My OXO kitchen scale is an indispensable tool for this, proving its worth time and time again in a variety of recipes, not just bread making. If you’re serious about baking, a good kitchen scale is a worthy investment that pays dividends in accuracy and success.
4. The Short Rest: A Quick Rise to Perfection
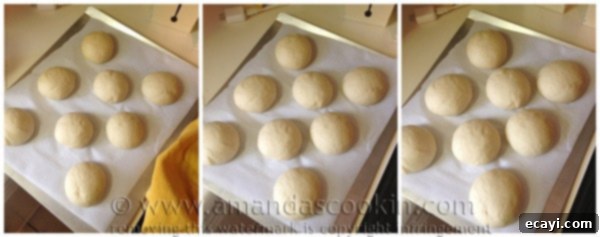
Once your dough balls are neatly arranged on the baking sheet, cover them lightly with a clean kitchen towel. Let them rest for 30 minutes. This short resting period allows the yeast to work its magic, causing the buns to puff up and gain volume. The progression in the picture above beautifully illustrates the rise in ten-minute increments, showcasing how quickly these buns develop their characteristic airy texture. This active rise, despite its brevity, is crucial for achieving that desirable light and fluffy consistency that defines a perfect hamburger bun.
5. The Golden Touch: Butter Wash
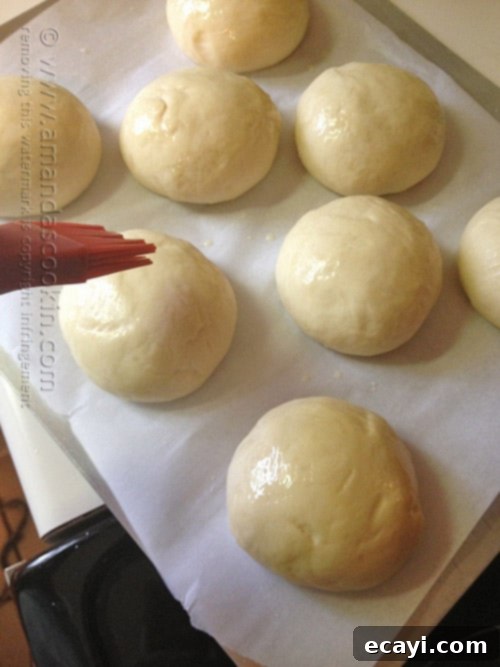
Just before they go into the oven, brush the tops of each bun generously with melted butter. This step is a game-changer! The butter wash not only imparts a beautiful golden color to the baked buns but also adds a rich, savory flavor and contributes to a wonderfully soft crust. It’s a simple addition that elevates the final product from good to absolutely extraordinary.
6. Baking to Perfection: Achieving that Golden Hue
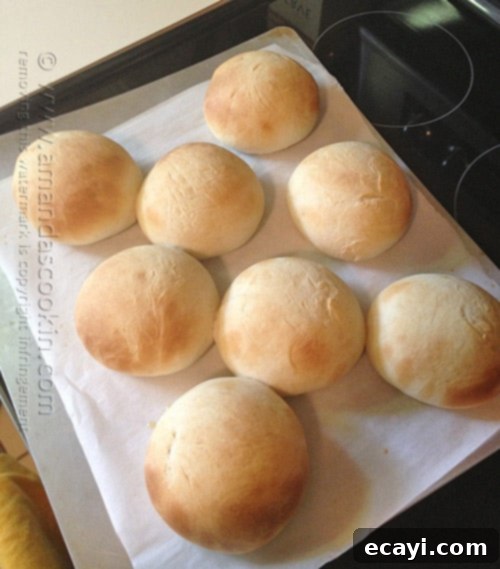
Preheat your oven to a hot 425°F (220°C). The high temperature helps the buns achieve a quick rise and a beautifully browned crust. Carefully transfer the baking sheet to the preheated oven and bake for 8-12 minutes, or until the buns are gloriously golden brown. Keep a close eye on them, as oven temperatures can vary, and they can go from perfectly baked to overdone quite quickly. The sight and smell of these buns baking are truly a reward in themselves, a testament to the simple joys of homemade goodness.
7. Cooling and Serving: The Final Flourish
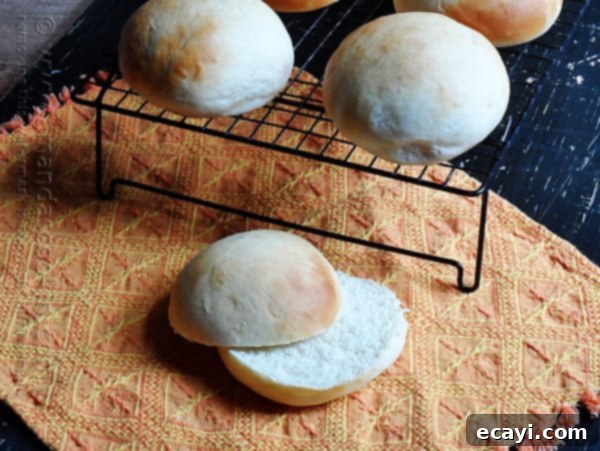
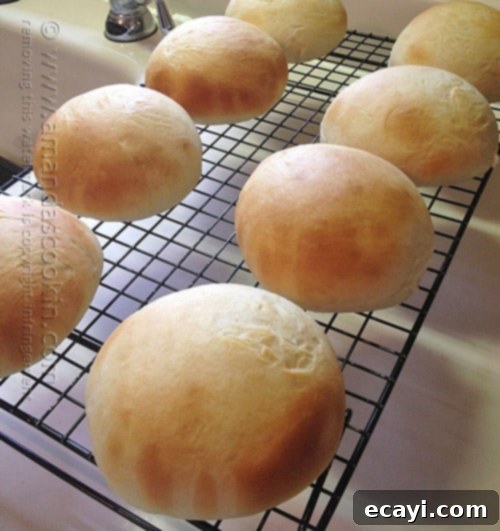
Once baked, immediately remove the buns from the hot pans and transfer them to wire racks to cool completely. Cooling on a wire rack allows air to circulate around all sides of the buns, preventing them from becoming soggy on the bottom. While it’s tempting to tear into them right away, allowing them to cool ensures they set properly and maintain their soft, airy texture. Once cooled, all that’s left is the best part: filling these magnificent creations with your favorite juicy hamburgers, fresh toppings, and delicious sauces. Get ready to experience a burger like never before!
Craving More Bread Recipes?
If the joy of baking these hamburger buns has sparked a newfound passion for bread making, you’re in luck! My extensive bread recipes category is brimming with delightful options to explore. From savory rolls to sweet loaves, there’s a recipe for every mood and occasion. To get you started, I’ve also hand-picked some of my personal favorites below, guaranteed to expand your baking repertoire and fill your home with the irresistible aroma of freshly baked bread!
|
1963 Homemade White Bread
|
Gooey Garlic Cheese Rolls
|
Simple One Hour Homemade Bread
|
Parmesan Garlic Rolls
|
Homemade Hamburger Buns
IMPORTANT – There are often Frequently Asked Questions within the blog post that you may find helpful. Simply scroll back up to read them!
Print It
Pin It
Rate It
Save ItSaved!
Ingredients
- 2 tablespoons SAF instant yeast
- 1 cup plus 2 tablespoons warm water 110° to 115°
- ⅓ cup vegetable oil
- ¼ cup sugar
- 1 teaspoon salt
- 3 to 3-1/2 cups all-purpose flour
- 1 tablespoon butter melted
Instructions
-
Preheat oven to 425 F. Line an insulated baking sheet with parchment paper.
-
In a large bowl, proof the yeast in warm water with the sugar.
-
Add oil, salt and enough flour to form a soft dough. You may use all the flour, I did.
-
Turn onto a floured surface; knead until smooth and elastic, about 3-5 minutes by hand. Do not let rise. Divide into 8 pieces; shape each into a ball. Place 3 inches apart on baking sheet. Cover and let rest for 30 minutes.
-
Brush tops with the melted butter. Bake at 425° for 8-12 minutes or until golden brown. Remove from pans to wire racks to cool.
Nutrition
The recipes on this blog are tested with a conventional gas oven and gas stovetop. It’s important to note that some ovens, especially as they age, can cook and bake inconsistently. Using an inexpensive oven thermometer can assure you that your oven is truly heating to the proper temperature. If you use a toaster oven or countertop oven, please keep in mind that they may not distribute heat the same as a conventional full sized oven and you may need to adjust your cooking/baking times. In the case of recipes made with a pressure cooker, air fryer, slow cooker, or other appliance, a link to the appliances we use is listed within each respective recipe. For baking recipes where measurements are given by weight, please note that results may not be the same if cups are used instead, and we can’t guarantee success with that method.
Disclaimer: There are Amazon affiliate links in this post. If you click through AND purchase something, I will earn a small commission.
