Homemade Lofthouse Cookies: The Ultimate Soft & Frosted Sugar Cookie Recipe
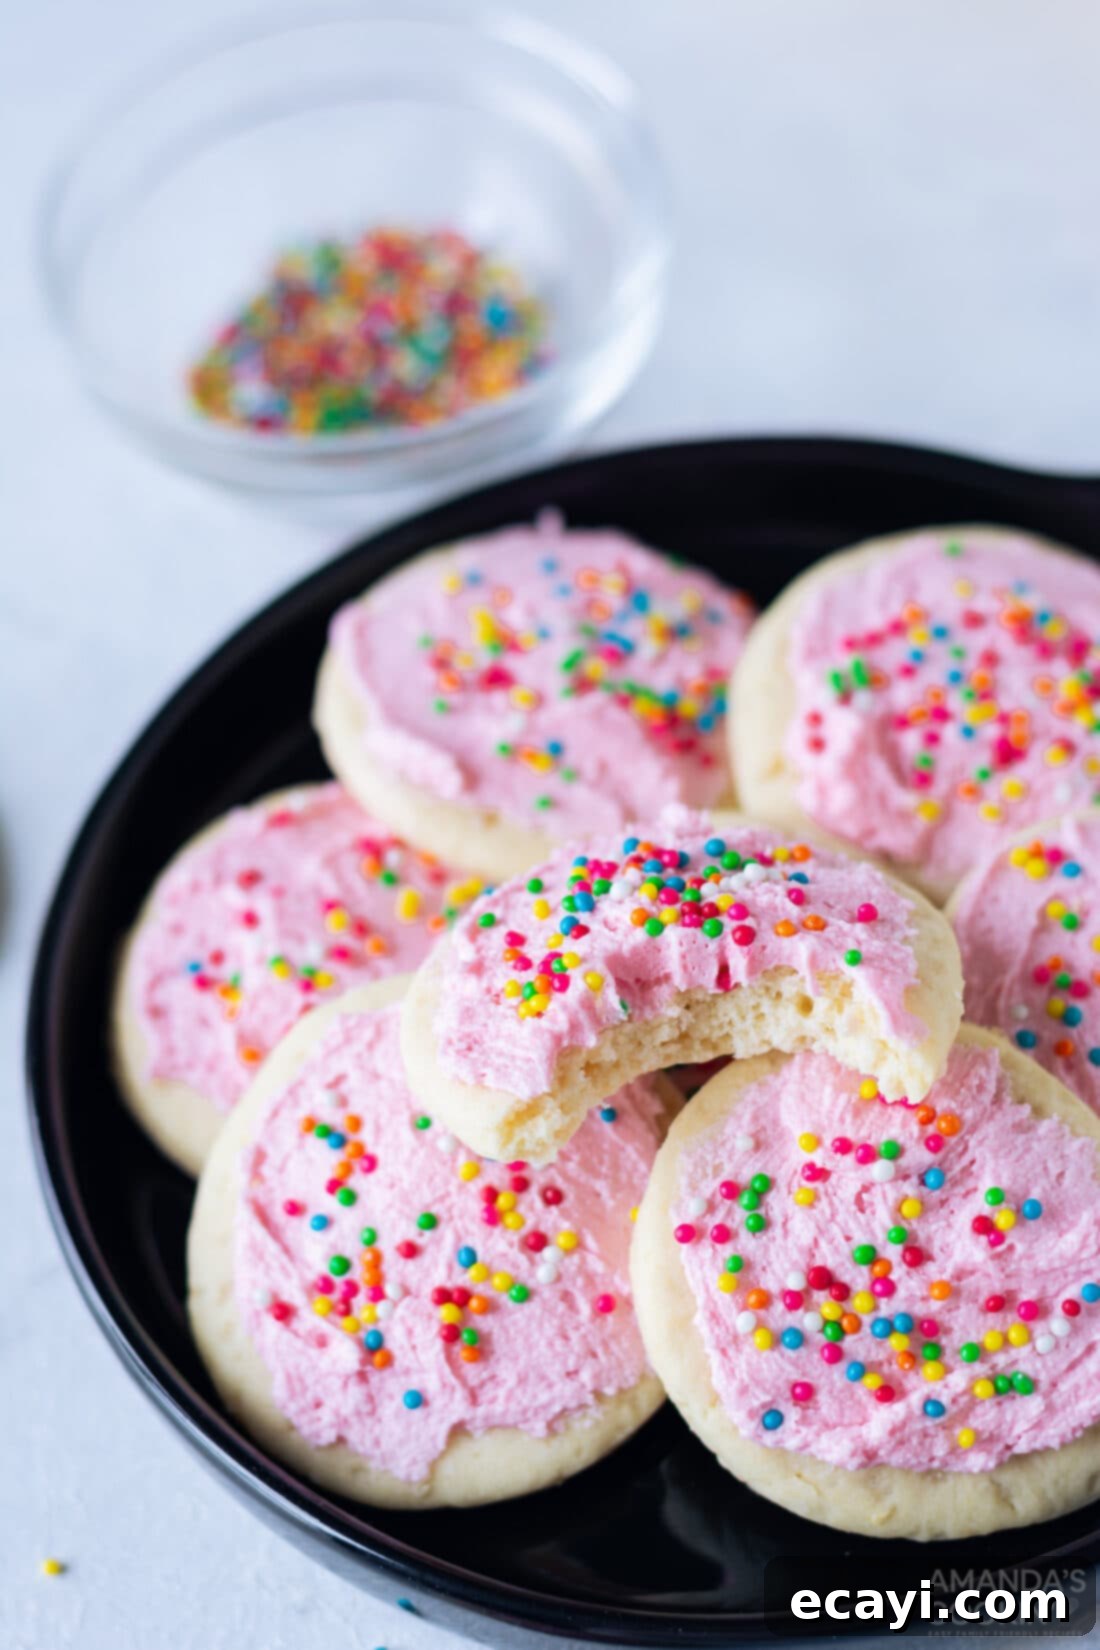
Prepare to fall in love with these homemade Lofthouse cookies! They are truly a revelation – incredibly soft, perfectly sweet, and possess that delightful melt-right-in-your-mouth texture that makes them utterly irresistible. Finishing them off with a smooth, velvety frosting and a generous dash of colorful sprinkles transforms them into a celebratory treat, perfect for any occasion or simply to brighten your day. Forget the store-bought versions; once you try this recipe, you’ll never go back!
Why This Homemade Lofthouse Cookie Recipe Works
This recipe for Lofthouse cookies captures all the magic of the famous store-bought kind, but with the undeniable warmth and superior taste that only comes from baking them from scratch. What truly sets these sugar cookies apart is their lusciously sweet profile, combined with an exceptionally soft and tender texture that’s almost cake-like. This unique consistency is not just a happy accident; it’s a result of carefully balanced ingredients and specific baking techniques that we’ll explore. The satisfaction of crafting your own batch of these iconic cookies is immeasurable, and the flavor far surpasses anything you’ll find on a supermarket shelf.
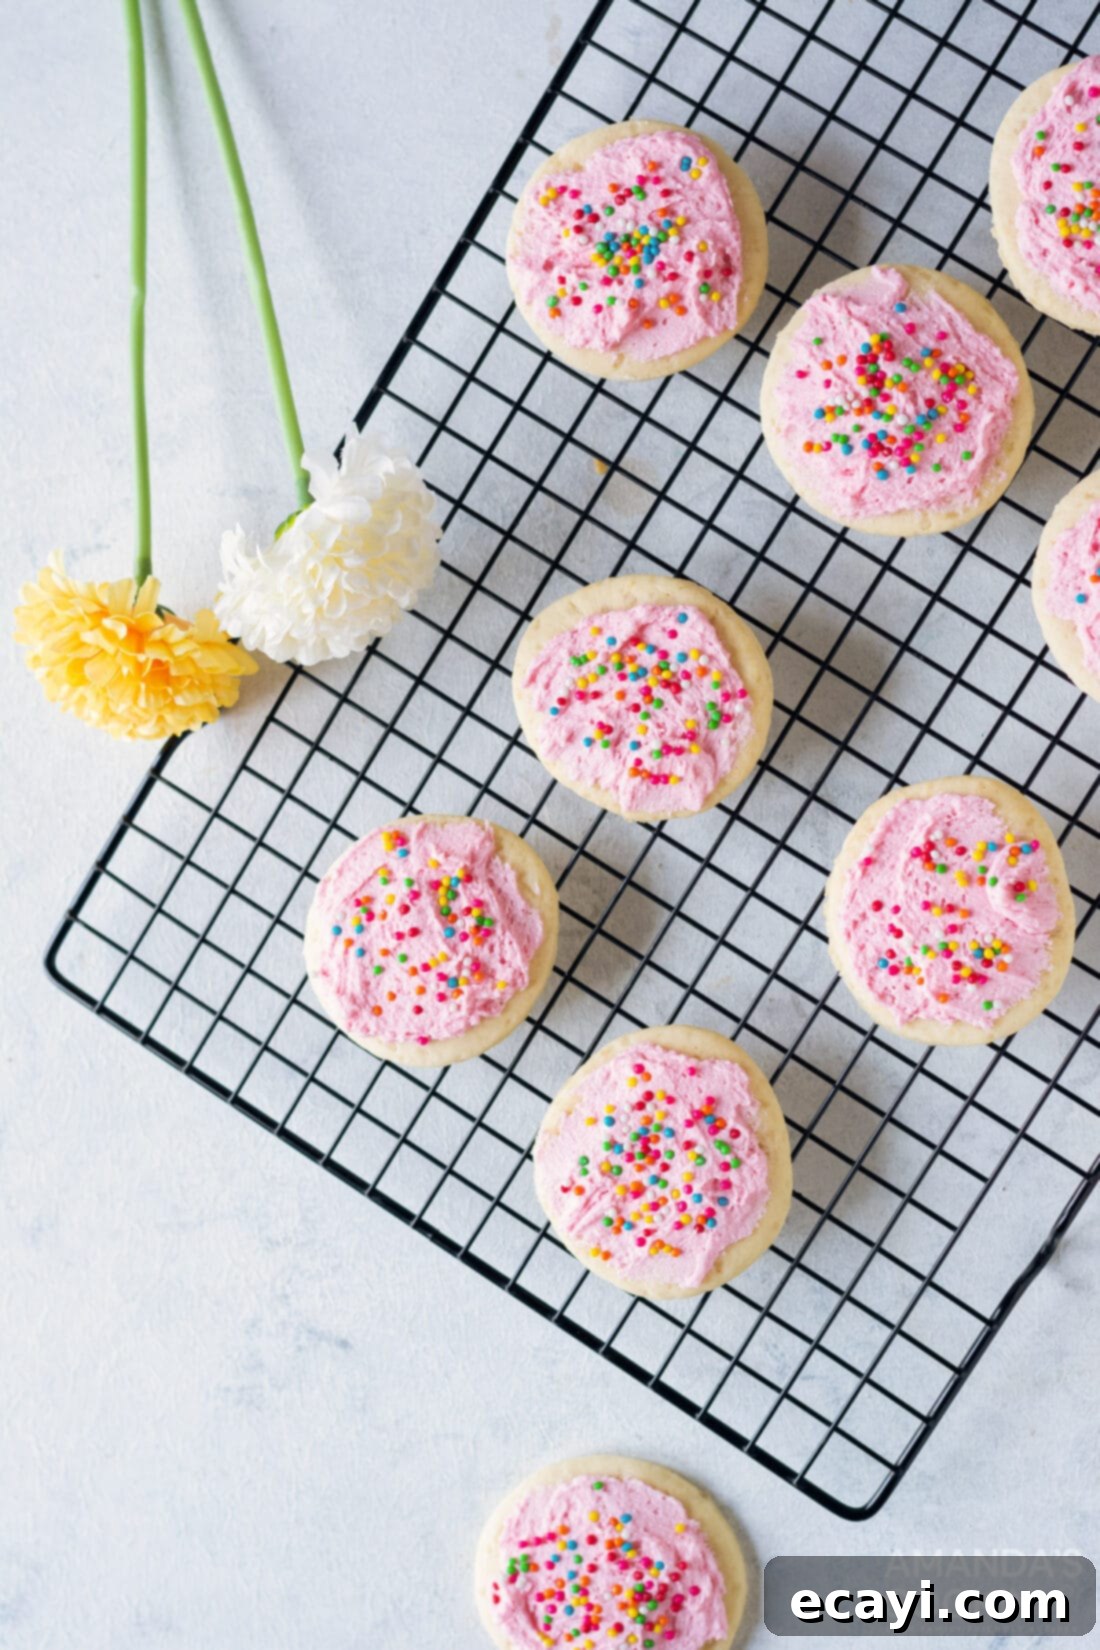
While grabbing a package from the grocery store might seem easier, the joy and accomplishment of baking these copycat Lofthouse cookies are entirely worth the effort. Plus, making them at home gives you complete creative control! You can effortlessly customize them for any holiday, season, or theme by simply switching out the color of frosting and type of sprinkles. This versatility makes them a fantastic staple in your baking repertoire, similar to how adaptable frosted sugar cookie bars can be. Imagine vibrant red and green for Christmas, patriotic red, white, and blue for the Fourth of July, or soft pastels for Easter – the possibilities are endless for creating festive and delicious treats!
Essential Ingredients You Will Need
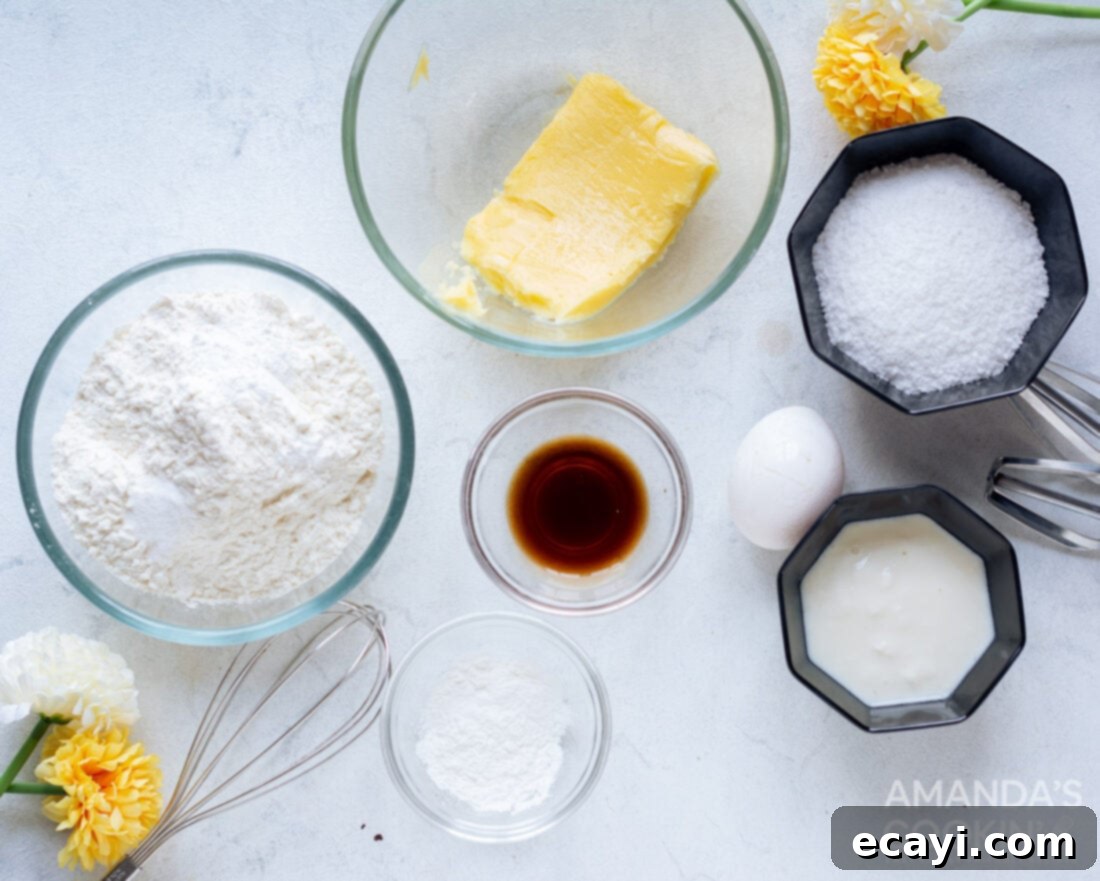
To embark on your Lofthouse cookie baking adventure, gather the following ingredients. You’ll find all precise measurements and detailed instructions in the printable recipe card at the very end of this comprehensive guide. Ensuring your ingredients are prepped and at the correct temperature is key to achieving that signature Lofthouse texture.
2021: 12 DAYS OF CHRISTMAS COOKIES
12 Christmas cookies you will love, PLUS bonus baking tips!
Get the Christmas cookies cookbook! ONLY $9.97!!
Ingredient Info and Substitution Suggestions
Understanding the role of each ingredient is key to mastering these delightful Lofthouse cookies. Here’s a breakdown of what you’ll need and some helpful tips:
- DOUGH Essentials:
- Butter and Egg: Both of these ingredients must be at room temperature. This is crucial for proper emulsion and incorporation into the dough. Room temperature butter creams with sugar more effectively, creating a light and airy base, while a room temperature egg blends smoothly into the mixture, preventing a curdled appearance and ensuring a consistent cookie texture.
- Flour Measurement: Accurate flour measurement is paramount. Do not scoop your measuring cup directly into the bag of flour; this compacts the flour, leading to an excess amount. Instead, gently spoon the flour into the measuring cup until it overflows, then level it off with the flat edge of a butter knife. This method ensures you have precisely the right amount, preventing a dense and dry dough that will yield hard cookies instead of soft ones.
- Leavening Agents & Softness Boosters: This recipe utilizes a combination of baking soda, baking powder, and cornstarch. Each plays a vital role in achieving the signature Lofthouse softness and fluffy, almost cake-like texture.
- Baking Soda and Baking Powder: These leavening agents work together to create the lift and airy structure within the cookies. Baking soda reacts with the sour cream (an acid) to produce carbon dioxide, while baking powder provides additional leavening for a tender crumb.
- Cornstarch: This is a secret weapon for softness! Cornstarch inhibits gluten development, resulting in a more tender, less chewy cookie. It’s what gives these cookies that characteristic melt-in-your-mouth quality, so absolutely do not skip it!
- FROSTING Perfection:
- Food Coloring: While optional, adding food coloring allows for fantastic customization. If you choose to color your frosting, I highly recommend using gel food coloring over liquid. Gel colors are highly concentrated, producing much more vibrant and intense hues with only a tiny amount, without altering the frosting’s consistency. Liquid food coloring can thin out your frosting and may not achieve the desired color intensity.
- Powdered Sugar: Also known as confectioners’ sugar, this fine sugar is essential for a smooth, lump-free frosting. Sifting it before use can help prevent any stubborn clumps.
How to Make Homemade Lofthouse Cookies: Step-by-Step Guide
These step-by-step photos and instructions are designed to help you visualize exactly how to create this delicious recipe. For a convenient printable version, complete with all measurements and instructions, simply Jump to Recipe at the bottom of this post.
- Prepare Your Baking Area: Begin by preheating your oven to 180°C (350°F). While the oven heats up, line your baking tray with parchment paper. This simple step ensures your cookies won’t stick and makes for easy cleanup.
- Combine Dry Ingredients: In a large mixing bowl, whisk together the all-purpose flour, baking powder, baking soda, cornstarch, and salt. Make sure these dry ingredients are thoroughly combined to ensure even leavening throughout your cookies. Set this mixture aside. Remember, the granulated sugar will be added with the wet ingredients.
- Cream Wet Ingredients: In a separate, larger bowl, cream together the room temperature butter, granulated sugar, and vanilla extract until the mixture becomes light, fluffy, and visibly creamy. This process incorporates air, which is vital for the cookies’ soft texture. Once creamed, add in the room temperature egg and sour cream, beating everything until it’s well combined and smooth.
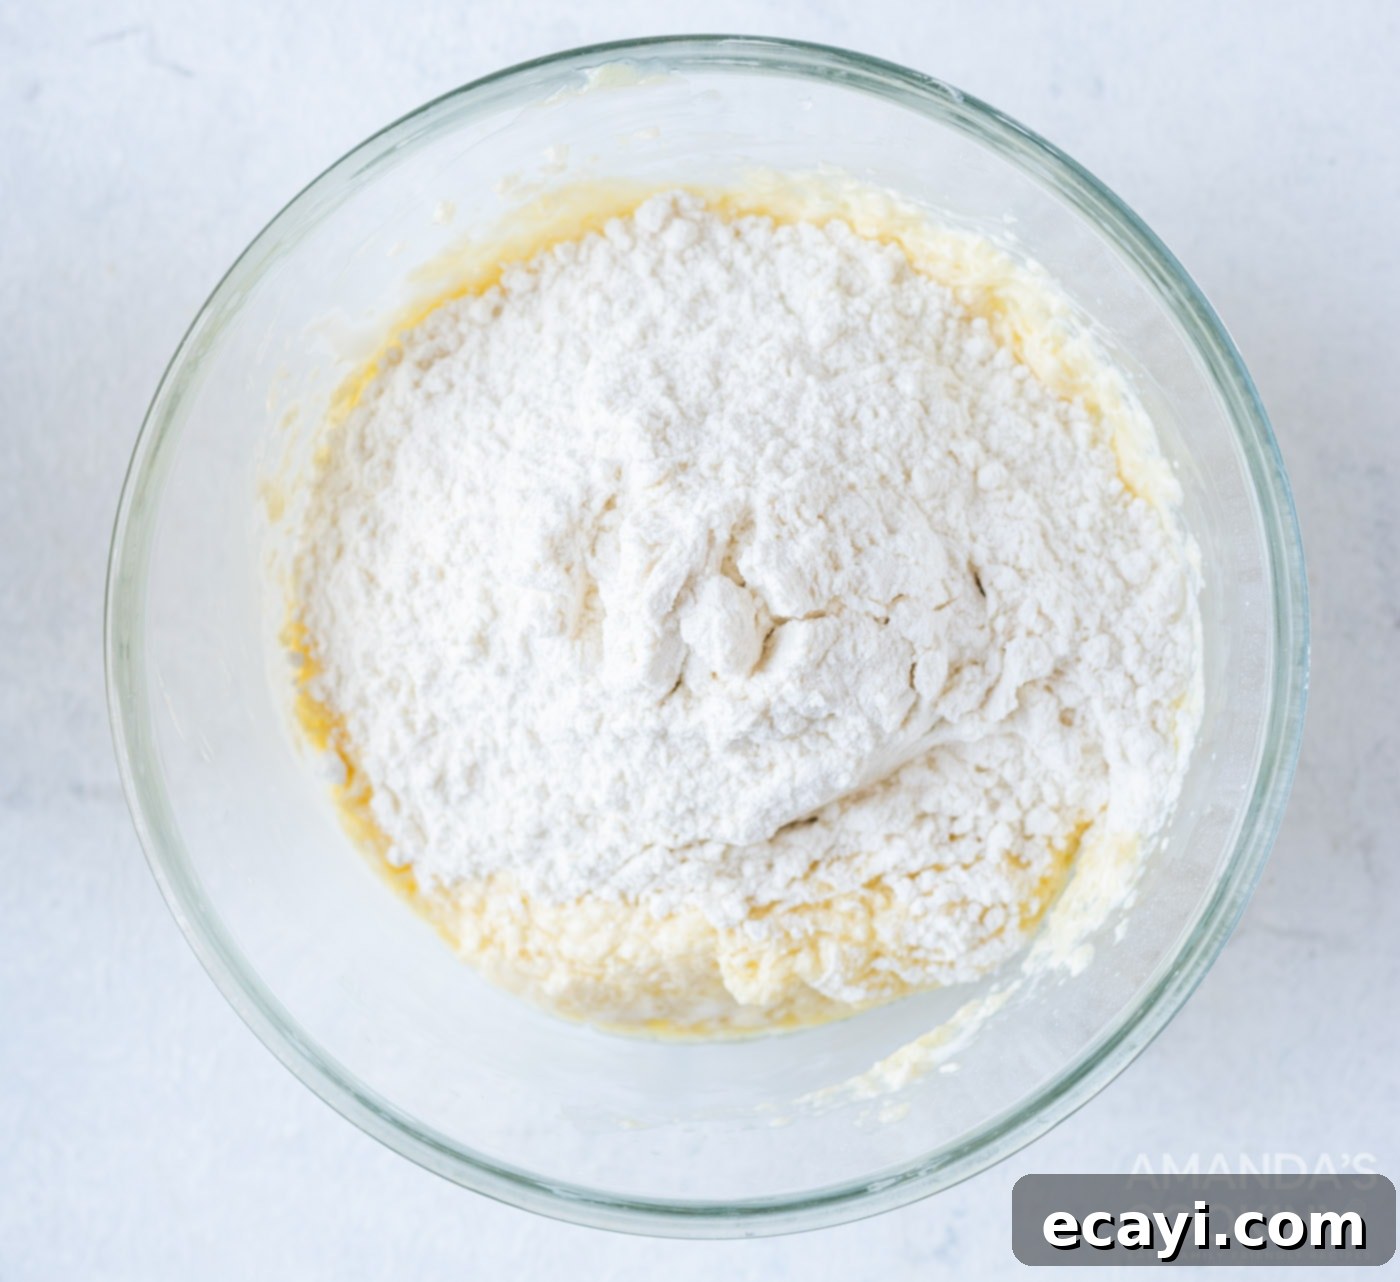
- Gradually Mix Wet and Dry: Slowly add the dry flour mixture to the wet butter mixture in small increments, mixing on low speed after each addition. Continue to mix until just combined. Be careful not to overmix, as this can develop the gluten in the flour too much, leading to tougher cookies. The goal is a cohesive, soft dough.
-

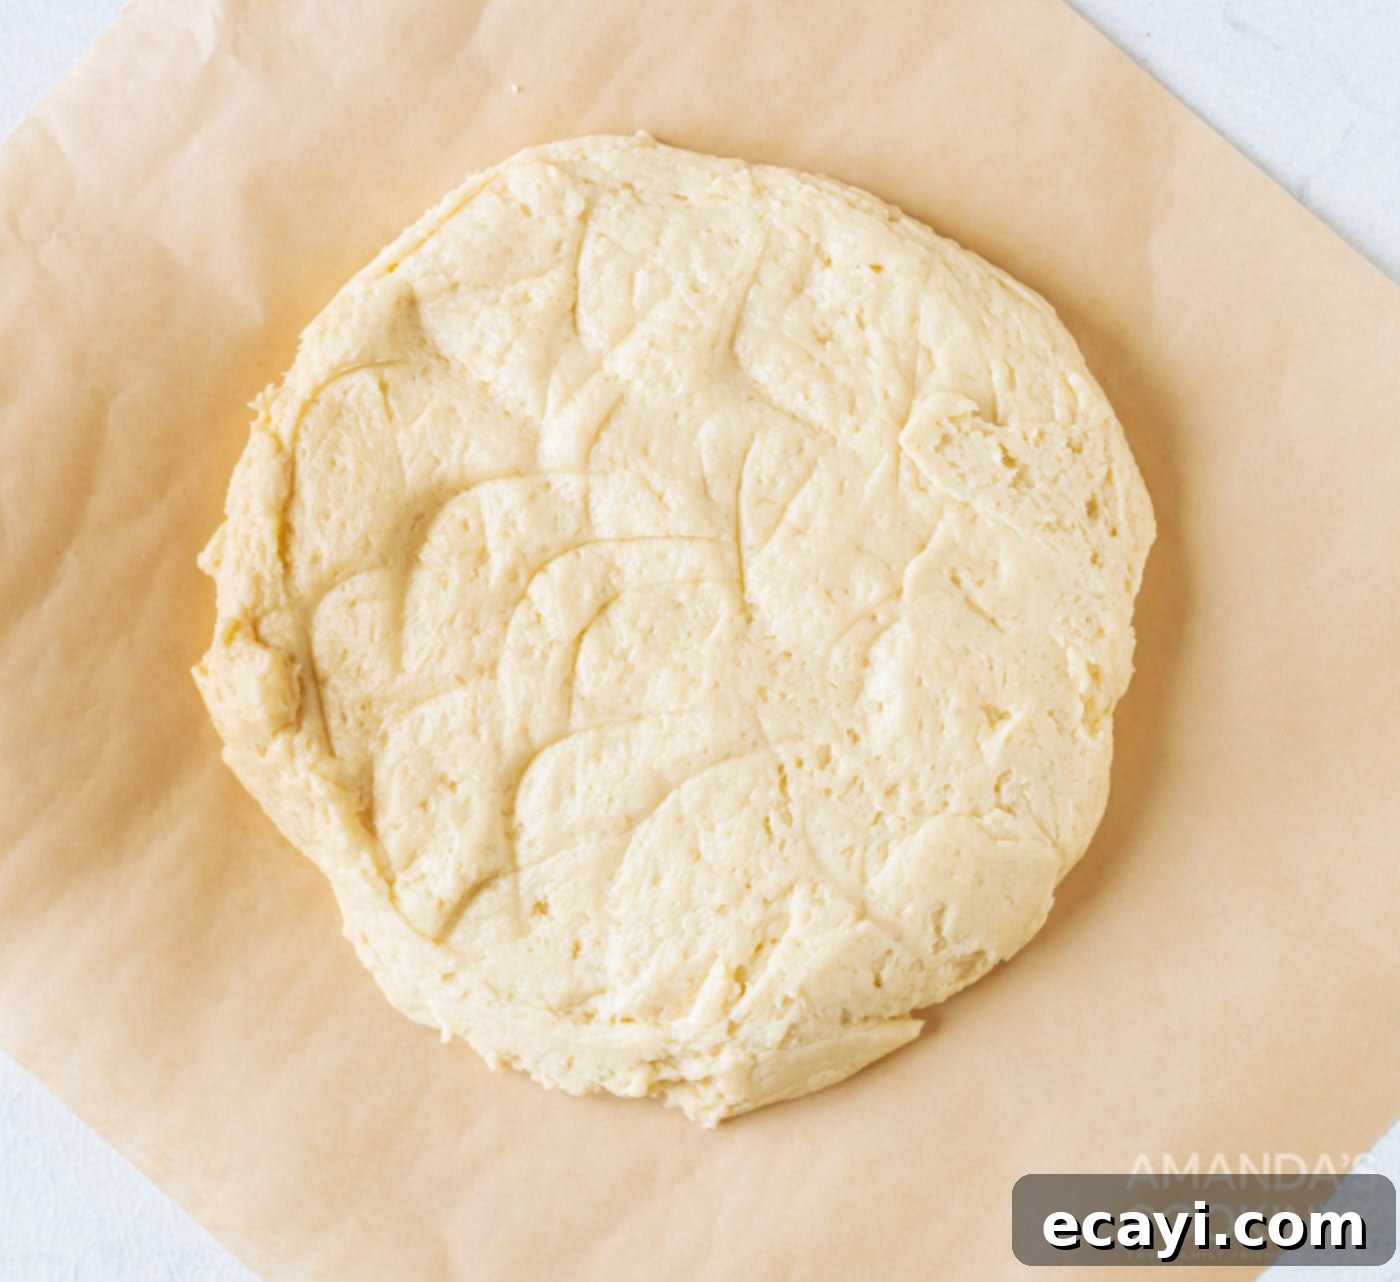
Ensure your dry ingredients are well combined. Chill the Dough: The dough should now be taking shape. Gently form it into a rough, thick disc. Wrap it tightly in parchment paper or plastic wrap and refrigerate it for at least 1 hour. Chilling the dough is a crucial step as it allows the butter to firm up, preventing the cookies from spreading too much during baking, and makes the dough much easier to handle when rolling and cutting.

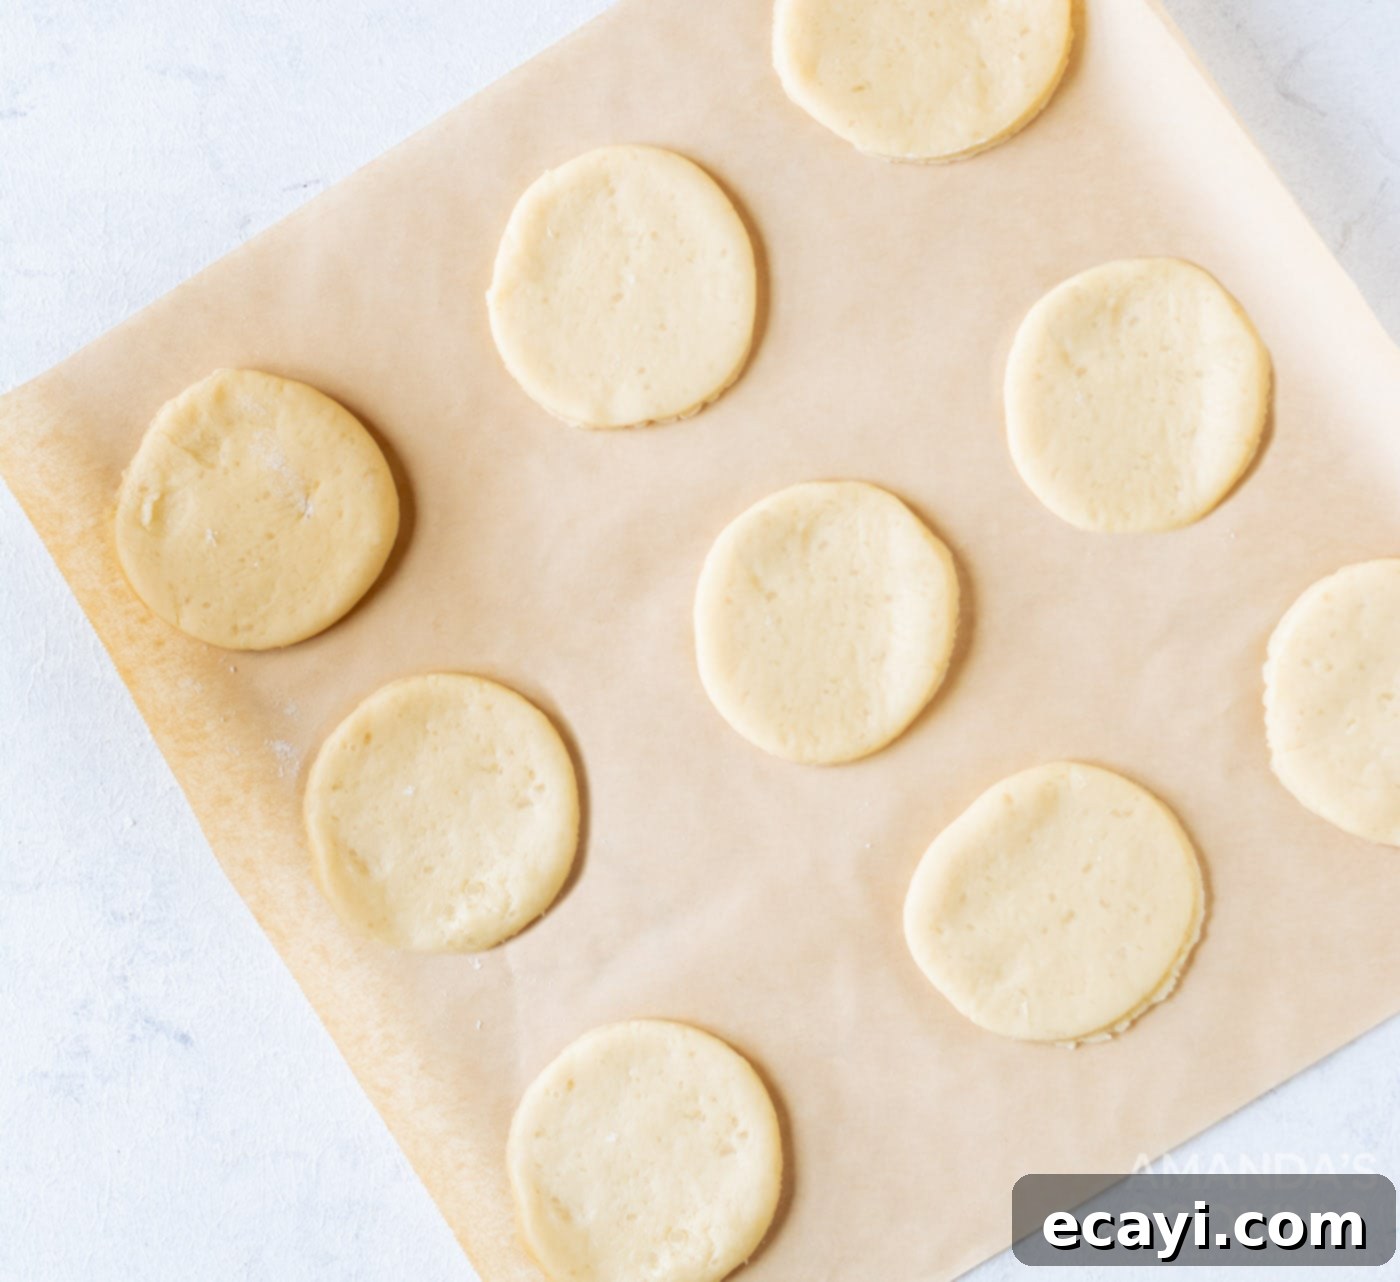
Chilling the dough is essential for texture and ease of handling. - Roll and Cut Cookies: Once the dough has thoroughly chilled, lightly flour your work surface and rolling pin. Roll the dough out evenly to about 1/4 inch thickness. Use a cookie cutter, approximately 2-3 inches in diameter, to cut out your cookie shapes. Place the cutouts onto your prepared baking sheet, leaving a little space between each cookie.
EXPERT TIP – No cookie cutter or biscuit cutter on hand? No problem! A simple, clean glass with a thin rim can be used to cut perfect circular dough discs. Just dip the rim in a little flour between cuts to prevent sticking.

Evenly roll and cut your cookie dough. - Bake to Perfection: Bake the cookies for 9-10 minutes. Watch them carefully – Lofthouse cookies should remain pale and barely golden around the edges. Overbaking will result in a drier, crispier cookie, losing that desirable softness. Once baked, remove them from the oven and let them cool on the baking sheet for a few minutes before transferring them to a wire rack to cool completely. It’s crucial they are fully cooled before icing, otherwise, the frosting will melt.
- Prepare the Icing: While the cookies are cooling, prepare your frosting. In a medium bowl, beat the softened butter using an electric mixer until creamy. Gradually begin adding the powdered sugar, a little at a time, continuing to beat until the mixture is smooth, creamy, and holds its shape. If the frosting is too thick, add a tiny splash of milk or cream; if it’s too thin, add more powdered sugar. Add a bit of gel food coloring as desired for your chosen theme – we used just 1 drop of pink for a delicate hue.
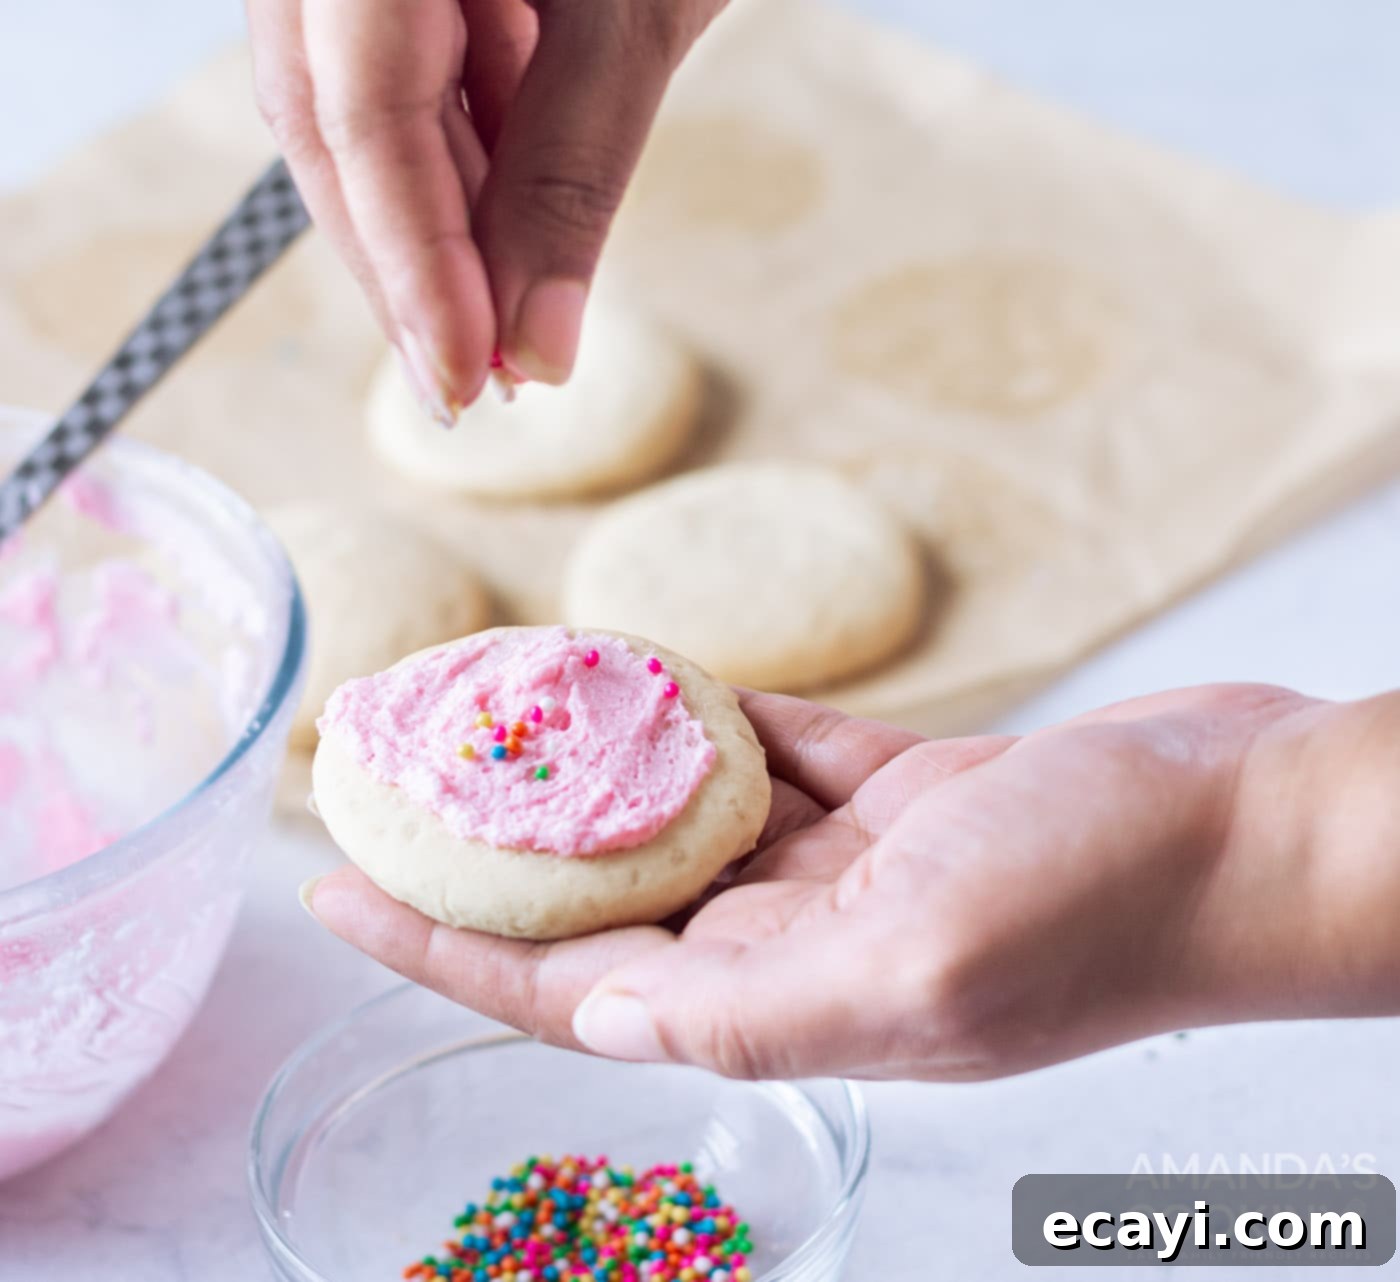
- Frost and Decorate: Once your cookies are completely cool and your frosting is ready, it’s time for the fun part! Using a butter knife or an icing spatula, generously apply a layer of smooth frosting onto each cookie. Immediately after frosting, add your favorite colorful sprinkles for that signature Lofthouse look and extra crunch. For a more polished and professional appearance, you can also pipe the frosting using a piping bag and a large round tip.

Finish with a generous dusting of colorful sprinkles!
Frequently Asked Questions & Expert Tips for Perfect Lofthouse Cookies
To keep your Lofthouse cookies wonderfully soft and fresh, store them in an airtight container. They will last for up to 7 days when kept in the refrigerator. If you prefer them at room temperature, they can be stored in an airtight container for 3-4 days, but refrigeration helps prolong their softness and prevents the frosting from becoming too sticky.
Absolutely! This recipe is great for making ahead. You can freeze the unbaked cookie dough by wrapping it properly with plastic wrap and then placing it inside a large freezer-safe ziptop bag. It will keep well for up to 3 months. When you’re ready to bake, thaw the dough in the refrigerator overnight, then proceed with rolling and cutting as usual.
You may also freeze precut dough circles using the same method, but I would highly recommend flash freezing them first. To do this, place the cut dough circles on a baking sheet in a single layer and freeze for about 30 minutes until firm. Once firm, transfer them to an airtight container or ziptop bag. This prevents them from sticking together. Baked, unfrosted Lofthouse cookies can also be frozen in an airtight container for up to 2 months. Thaw at room temperature and then frost as desired.
The secret to their incredible softness lies in several key ingredients and techniques. Using both baking soda and baking powder provides a significant lift, while the addition of cornstarch helps tenderize the dough by reducing gluten development. Sour cream also contributes moisture and a slight tang, further enhancing the tender crumb. Furthermore, precisely measuring flour using the spoon-and-level method prevents a dense cookie, and avoiding overbaking ensures they remain moist and tender rather than becoming dry and crisp.
If your cookies spread too much, it’s often due to butter being too soft, dough not being chilled enough, or too little flour. Ensure your butter is at room temperature but still slightly firm, and always chill your dough for at least an hour. If your cookies didn’t spread enough and were too thick, it might be due to too much flour (from packing it into the measuring cup) or your oven temperature being too low. An oven thermometer can help ensure accurate baking temperatures.

Serving Suggestions for Your Perfect Lofthouse Cookies
These delightful Lofthouse cookies are truly complete when paired with a tall, cold glass of milk. The creamy sweetness of the cookie and frosting is perfectly complemented by the refreshing beverage. Beyond a simple snack, they make fantastic treats for school lunches, bake sales, potlucks, or as a thoughtful gift. Their soft texture and sweet flavor also make them a comforting companion to a warm cup of coffee or tea, offering a moment of pure bliss. I absolutely adore making them for every holiday, as there are so many creative and fun variations to experiment with!
Festive Holiday Versions & Beyond
The beauty of Lofthouse cookies lies in their adaptability. Their simple base and frosting make them a blank canvas for seasonal and holiday themes:
- Christmas Joy: Decorate with vibrant red, lush green, or pristine white frosting. Finish with festive Christmas-themed sprinkles like tiny trees, stars, snowflakes, or a mix of red and green jimmies.
- Fourth of July Celebration: Go patriotic with bold red, crisp white, or deep blue frosting. Adorn with star-shaped sprinkles or a mix of red, white, and blue jimmies for a festive display.
- Thanksgiving Harvest: Embrace autumn hues with rich brown, warm red, or bright orange frosting. Complement with holiday-themed sprinkles such as tiny pumpkins, maple leaves, or a blend of brown, orange, and gold.
- Easter Pastels: Opt for delicate pastel frosting colors – think light blue, baby pink, pale yellow, or soft lavender. Add tiny egg-shaped sprinkles, bunny sprinkles, or a medley of pastel jimmies for a cheerful Easter treat.
- Halloween Fun: Use orange, black, or purple frosting. Top with spooky sprinkles like bats, ghosts, or classic orange and black.
- Valentine’s Day Love: Frost with pink, red, or white. Decorate with heart-shaped sprinkles or red and pink nonpareils.
- Birthday Bash: Choose bright, fun colors that match the party theme! Go wild with rainbow sprinkles, confetti sprinkles, or personalized designs.
More Irresistible Cookie Recipes You’ll Love
If you enjoyed these Lofthouse cookies, be sure to explore more delicious cookie creations from our kitchen:
- Reeses Pieces Cookies
- Stained Glass Cookies
- Peanut Butter Blossoms
- Grandma’s Sugar Cookies
- Chocolate Crinkle Cookies
- Jello Cookies
- Butterfinger Cookies
- Turtle Thumbprint Cookies
I love to bake and cook and share my kitchen experience with all of you! Remembering to come back each day can be tough, that’s why I offer a convenient newsletter every time a new recipe posts. Simply subscribe and start receiving your free daily recipes!

Lofthouse Cookies
IMPORTANT – There are often Frequently Asked Questions within the blog post that you may find helpful. Simply scroll back up to read them!
Print It
Pin It
Rate It
Save ItSaved!
Ingredients
- 2 ¼ cup all-purpose flour
- ½ tsp baking powder
- ¼ tsp baking soda
- 1 Tbsp cornstarch
- ¼ tsp salt
- ½ cup butter at room temperature
- 1 cup granulated sugar
- ½ tsp vanilla extract
- ¼ cup sour cream
- 1 egg at room temperature
Frosting
- ½ cup butter
- 1 ½ cup powdered sugar
- 1 drop pink gel food coloring
- sprinkles
Things You’ll Need
-
2 inch round cookie cutter
-
Electric mixer
-
Mixing bowls
Before You Begin
- Chill the dough for at least an hour otherwise it’ll be difficult to roll it.
- Don’t overbake the cookies. Using both baking soda and baking powder along with cornstarch will make the cookies soft and fluffy just like the store-bought ones. So, don’t skip any of these ingredients.
Instructions
-
Preheat the oven to 180 C / 350 F and line your baking tray with parchment paper.
-
In a large bowl combine the dry ingredients together – flour, baking powder, baking soda, cornstarch, and salt (except the sugar). Mix well and keep aside.
-
In another bowl cream the butter, sugar, and vanilla extract until it’s nice and creamy. Add in the egg and sour cream and beat until everything is combined well.
-
In small increments, add the dry mixture to the butter mixture. Mix until everything is combined well.
-
The dough should start taking shape. Make a rough thick disc out of it and refrigerate it covered with parchment paper for at least 1 hr.
-
Once the dough has been chilled, roll it to a 1/4 inch thickness and cut out the dough using a cookie cutter of about 2-3 inches in diameter.
-
Bake for 9-10 minutes. Cool completely before icing.
-
For the icing, beat the butter using an electric mixer. Slowly begin adding the sugar a little at a time and keep beating until the mixture holds shape and is creamy in texture. Add a bit of food color as desired, we used 1 drop.
-
Using a butter knife or icing spatula, apply icing onto the cookies and add your favorite sprinkles. You can also pipe the frosting for a neater look.
Nutrition
The recipes on this blog are tested with a conventional gas oven and gas stovetop. It’s important to note that some ovens, especially as they age, can cook and bake inconsistently. Using an inexpensive oven thermometer can assure you that your oven is truly heating to the proper temperature. If you use a toaster oven or countertop oven, please keep in mind that they may not distribute heat the same as a conventional full sized oven and you may need to adjust your cooking/baking times. In the case of recipes made with a pressure cooker, air fryer, slow cooker, or other appliance, a link to the appliances we use is listed within each respective recipe. For baking recipes where measurements are given by weight, please note that results may not be the same if cups are used instead, and we can’t guarantee success with that method.
