Crispy Fried Chicken and Fluffy Waffles: The Ultimate Southern Comfort Recipe
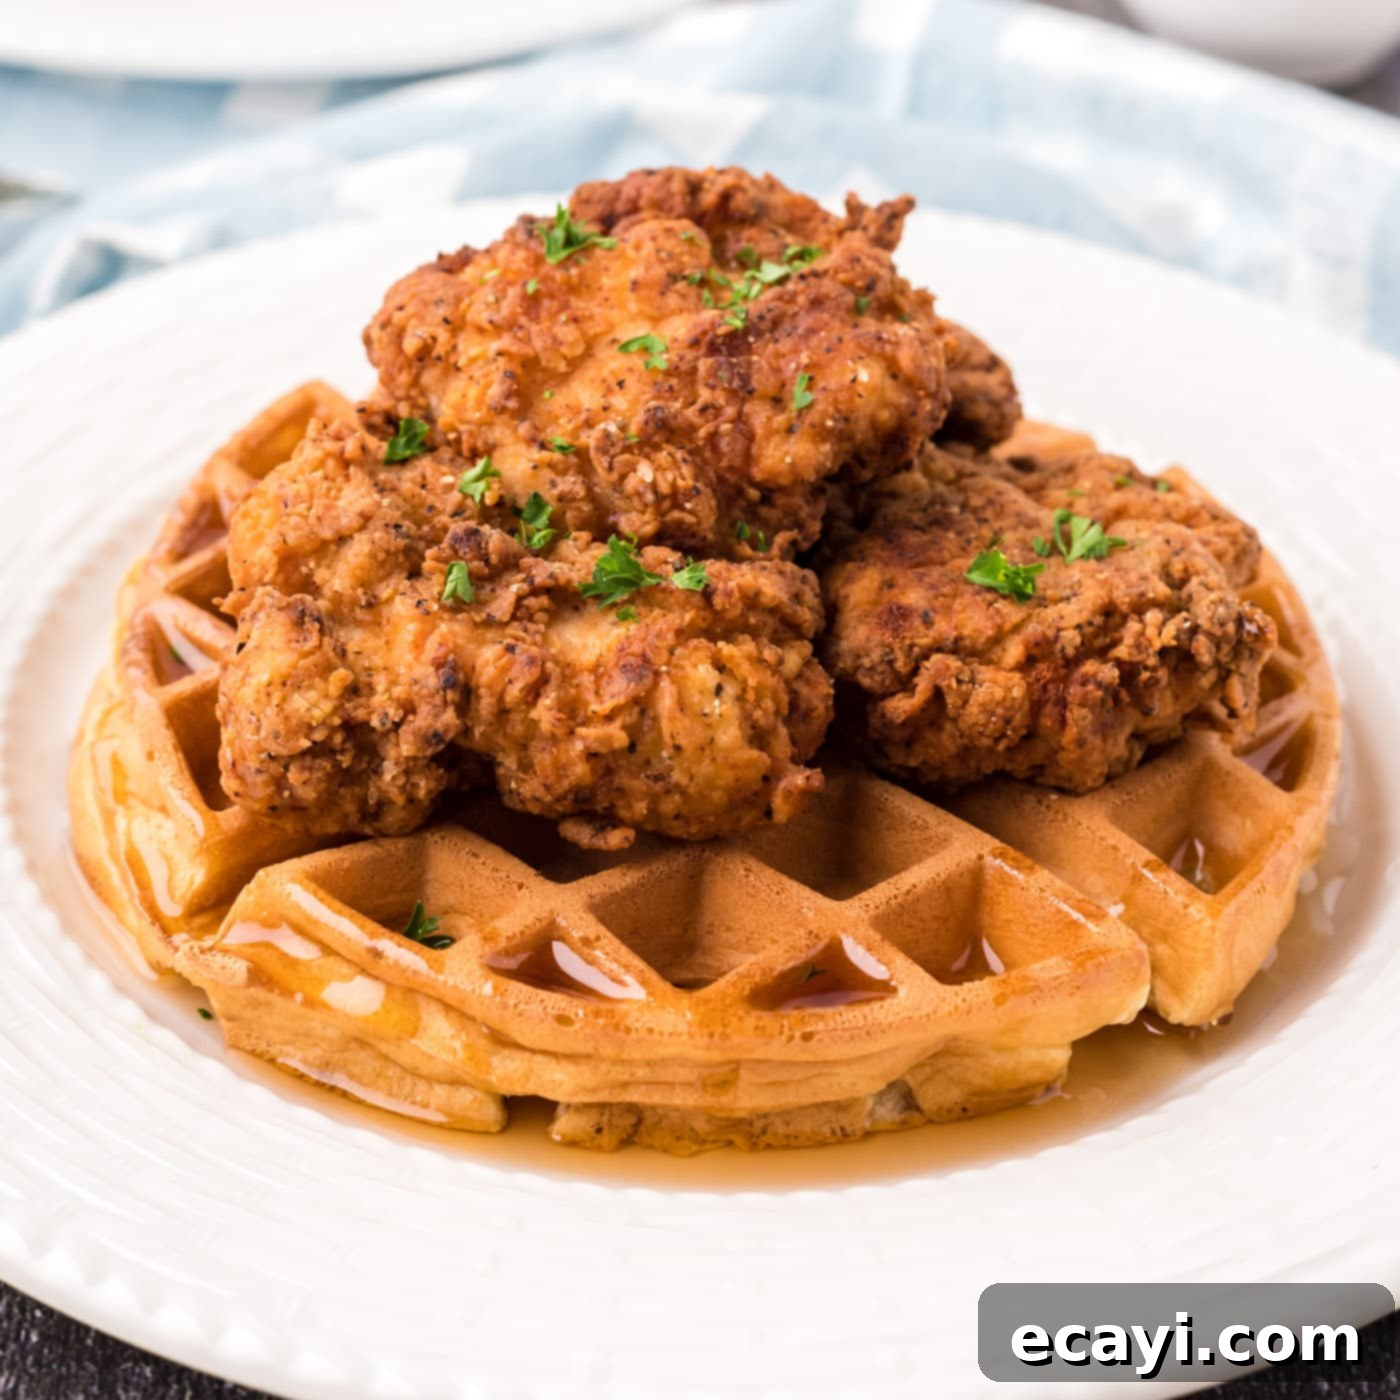
Prepare for an unforgettable culinary experience with this easy chicken and waffles recipe, where succulent, crispy fried chicken thighs are perfectly paired with a bed of light, fluffy, and slightly sweet waffles. This iconic Southern dish strikes an exquisite balance between savory and sweet, offering a symphony of textures and flavors that will tantalize your taste buds and leave you craving more.
Why This Perfect Chicken and Waffles Recipe Works So Well
Chicken and waffles might seem like an unusual combination to some, but don’t let that deter you from trying this legendary Southern comfort food. This dish isn’t just a meal; it’s an experience that perfectly marries two seemingly disparate elements into a harmonious delight. Our recipe is designed to deliver maximum flavor and an ideal texture contrast, making it a true showstopper for brunch, dinner, or any time you desire something truly special.
The Irresistible Sweet and Savory Symphony
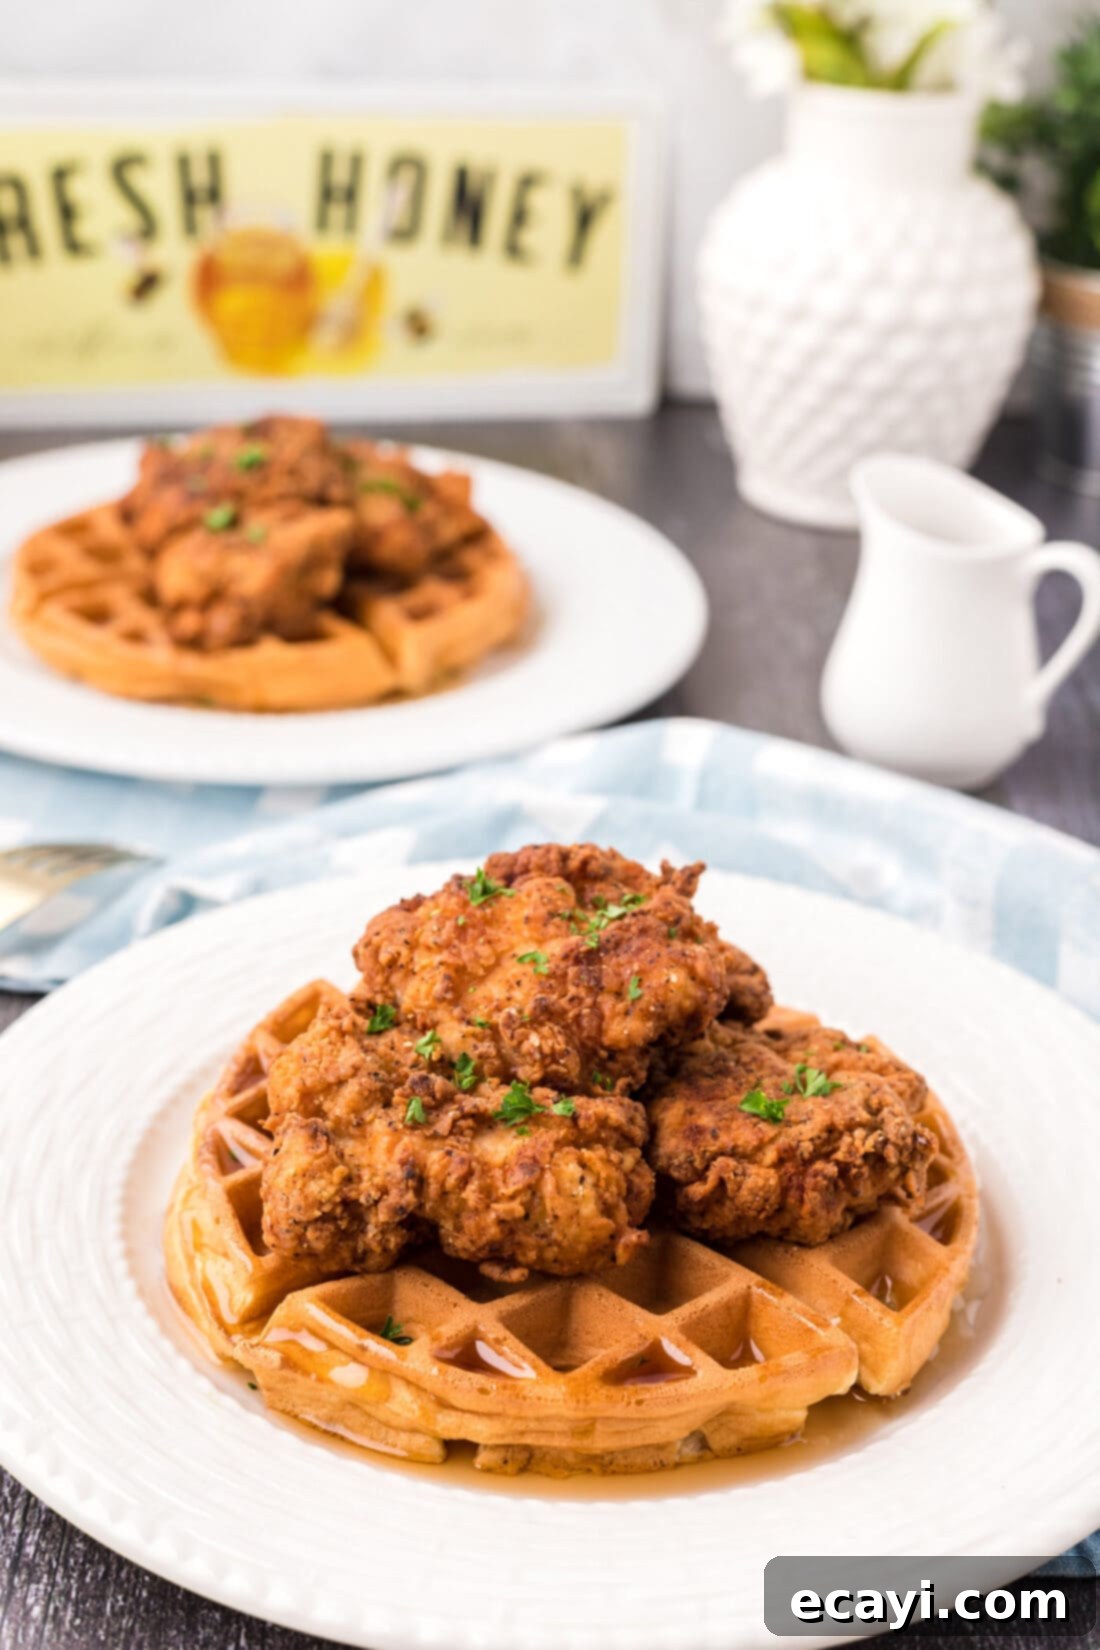
At the heart of this recipe’s success is the magical interplay of sweet and savory. The crunchy, well-seasoned fried chicken, with its subtle spicy kick from the breading, provides a robust, savory anchor. This rich flavor is beautifully complemented by the soft, pillowy, golden-brown waffles, which offer a gentle sweetness. When drizzled with warm maple syrup, the flavors meld into a complex, satisfying profile that is both comforting and exciting. Each bite delivers a delightful contrast – the crisp exterior of the chicken yielding to tender, juicy meat, followed by the airy softness of the waffle, all bathed in sweet syrup.
Achieving Optimal Texture Contrast
Beyond flavor, texture is key. Our recipe focuses on techniques that guarantee an exceptionally crispy fried chicken coating and waffles that are light and airy on the inside with a perfectly crisp exterior. The double-dredging method for the chicken creates a thick, craggy crust that stands up beautifully to the waffle’s tenderness, while careful waffle preparation ensures they are fluffy, not dense. This textural dynamic is what elevates chicken and waffles from a simple pairing to a truly sophisticated and indulgent dish.
A Versatile Dish for Any Occasion
While often considered a brunch staple, this chicken and waffles recipe is incredibly versatile. It makes for an impressive breakfast, a hearty lunch, or a surprisingly satisfying dinner. The components can be prepared in stages, making it manageable even for entertaining. Plus, with our detailed tips and substitution suggestions, you can easily adapt this recipe to fit your preferences, ensuring a delicious outcome every time.
Essential Ingredients for Your Homemade Chicken and Waffles
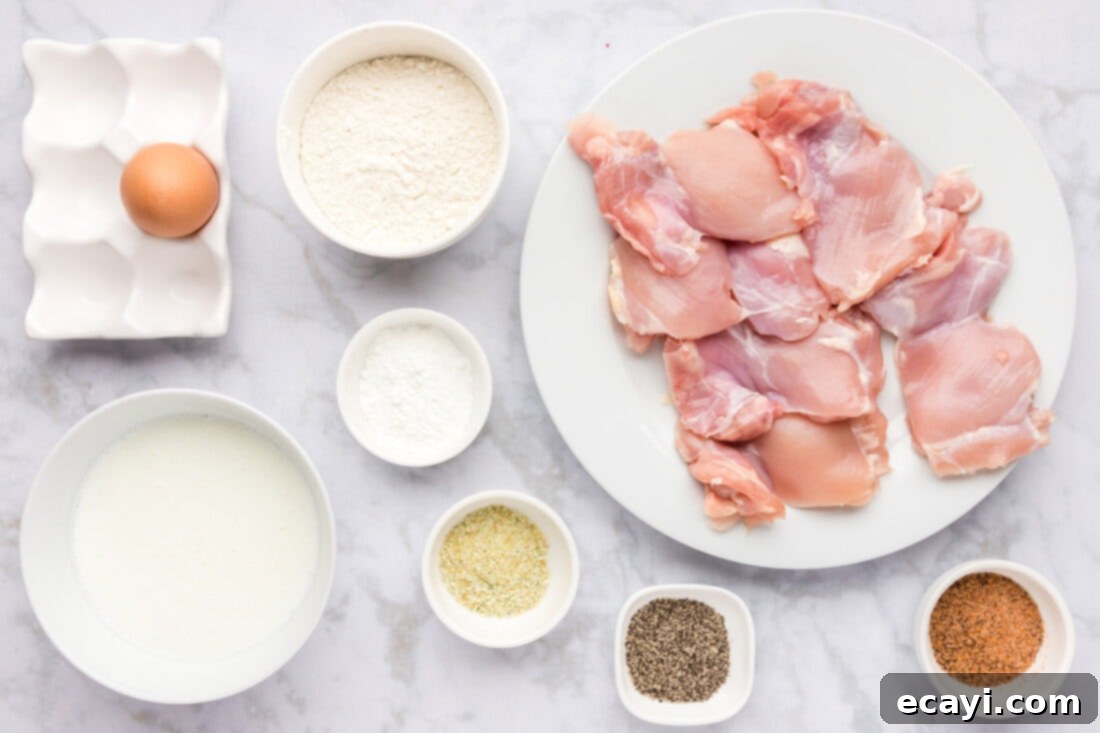
Crafting the perfect chicken and waffles begins with selecting the right ingredients. Below, you’ll find a summary of what you’ll need to create this classic dish. For precise measurements and detailed instructions, refer to the printable recipe card available at the end of this post.
Ingredient Spotlight: Tips for Perfect Chicken & Waffles
Understanding each ingredient’s role and knowing your options can significantly enhance your cooking experience and the final taste of your chicken and waffles. Here’s a deeper dive into the key components:
For the Fluffy Waffles
WAFFLES – While our recipe conveniently uses a box mix for quick and consistent results, feel free to use your absolute favorite homemade waffle recipe. If you opt for a box mix, you can even use a standard boxed pancake mix. The key to turning pancake mix into great waffles is often just one additional egg per 2-waffle batch, which helps create that desirable crispy exterior and tender interior that waffle irons are designed for. When making homemade waffles, remember not to overmix the batter; a few lumps are perfectly fine and actually prevent a tough waffle. Allowing your batter to rest for 5-10 minutes can also improve its texture. Don’t forget to properly preheat your waffle iron and lightly grease it for optimal browning and easy release.
For the Crispy Fried Chicken Breading
SEASONING – We love incorporating “Slap Ya Mama seasoning” into our chicken breading. This popular Cajun seasoning blend adds a fantastic, authentic kick that’s not overly spicy but definitely enhances the savory profile of the chicken. If you prefer more pronounced heat, consider using our homemade Cajun seasoning. Making your own allows you to control the spice level perfectly, whether you want a mild warmth or a fiery punch. Garlic salt and black pepper are also essential for building a robust flavor base in the flour mixture, ensuring every part of the chicken is seasoned.
BUTTERMILK – Buttermilk is a crucial ingredient for tenderizing the chicken and helping the breading adhere properly. Its acidity works to break down tough muscle fibers, resulting in incredibly moist and tender chicken. If you don’t have buttermilk on hand, you can easily make a substitute: simply add one tablespoon of white vinegar or lemon juice to a measuring cup, then fill the rest with regular milk until it reaches ½ cup. Let it sit for 5-10 minutes until it slightly curdles.
FLOUR AND CORNSTARCH – The combination of all-purpose flour and cornstarch in the dry dredging mixture is essential for achieving that ultra-crispy, craggy crust we all crave in fried chicken. The flour provides the main bulk of the coating, while the cornstarch helps absorb moisture and prevents the crust from becoming tough or chewy, resulting in a lighter, crispier texture that holds up well. Ensure these are thoroughly whisked together with the seasonings for even distribution.
For the Juicy Chicken
CHICKEN – Boneless, skinless chicken thighs are the most popular choice for chicken and waffles due to their rich flavor, inherent tenderness, and ability to stay moist even after frying. They are also typically a uniform size, which helps with even cooking. However, you can certainly use other cuts of chicken you prefer, such as boneless chicken breast, chicken tenders, or even bone-in pieces for a more traditional fried chicken experience. Keep in mind that if you use larger or bone-in cuts, the cooking time will vary significantly. Always ensure your chicken reaches an internal temperature of 165°F (74°C) when measured with an instant-read thermometer inserted into the thickest portion of the meat to guarantee it is safely cooked through. For extra juicy chicken, consider brining your thighs in a simple saltwater solution or even a buttermilk bath for a few hours before dredging.
For Frying
VEGETABLE OIL – A neutral oil with a high smoke point is crucial for frying. Vegetable oil, canola oil, peanut oil, or corn oil are all excellent choices. You’ll need enough oil in your skillet to come about ½-inch up the sides of the pan, ensuring the chicken fries evenly. Maintaining the correct oil temperature (around 350°F / 175°C) is vital for achieving a crispy exterior without burning the breading or leaving the inside undercooked. A kitchen thermometer is highly recommended for accuracy.
Step-by-Step: Crafting Your Perfect Chicken and Waffles
These step-by-step photos and detailed instructions are here to guide you visually through the process of making this incredible recipe. For a convenient printable version, complete with precise measurements and full instructions, you can Jump to Recipe at the bottom of this post.
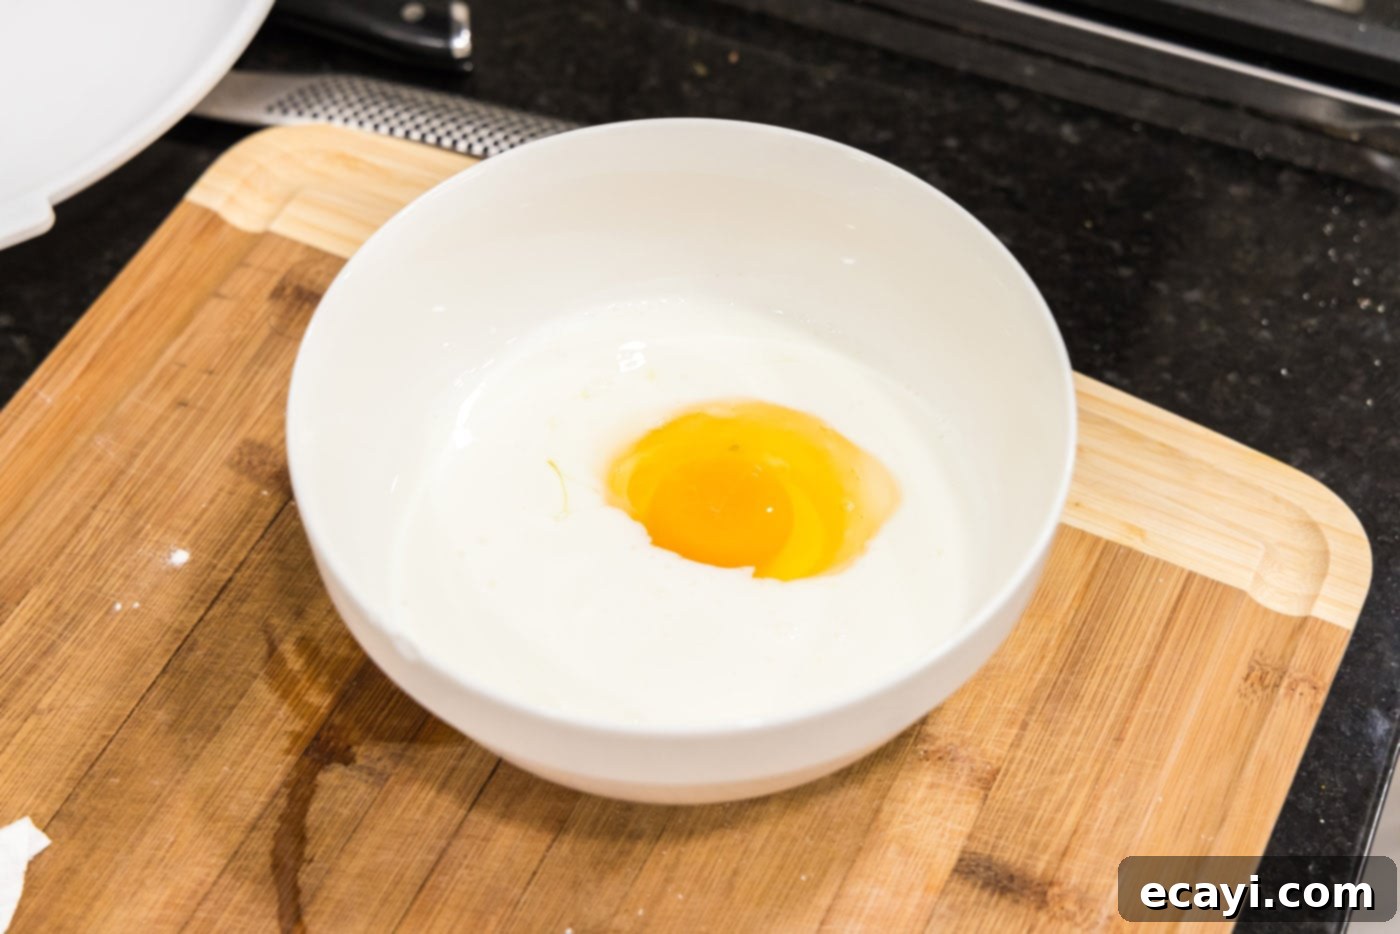
- Prepare the Wet Mixture: In a medium bowl, whisk together the large egg and buttermilk until well combined. This creates the essential “glue” that helps the flour coating adhere to the chicken and contributes to its tender texture. Ensure there are no streaks of egg yolk, as a uniform mixture is key.

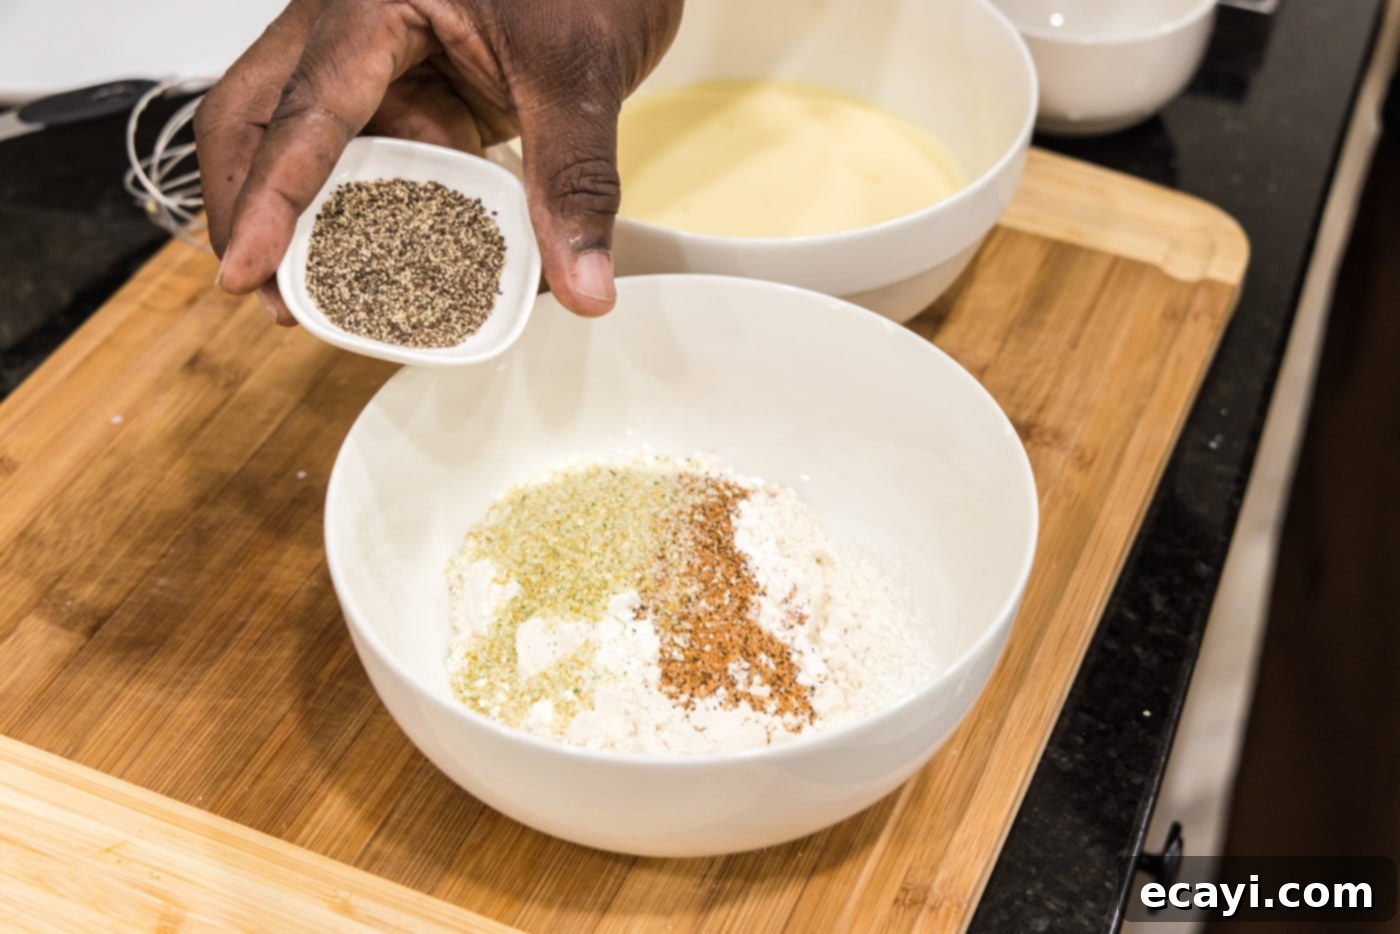
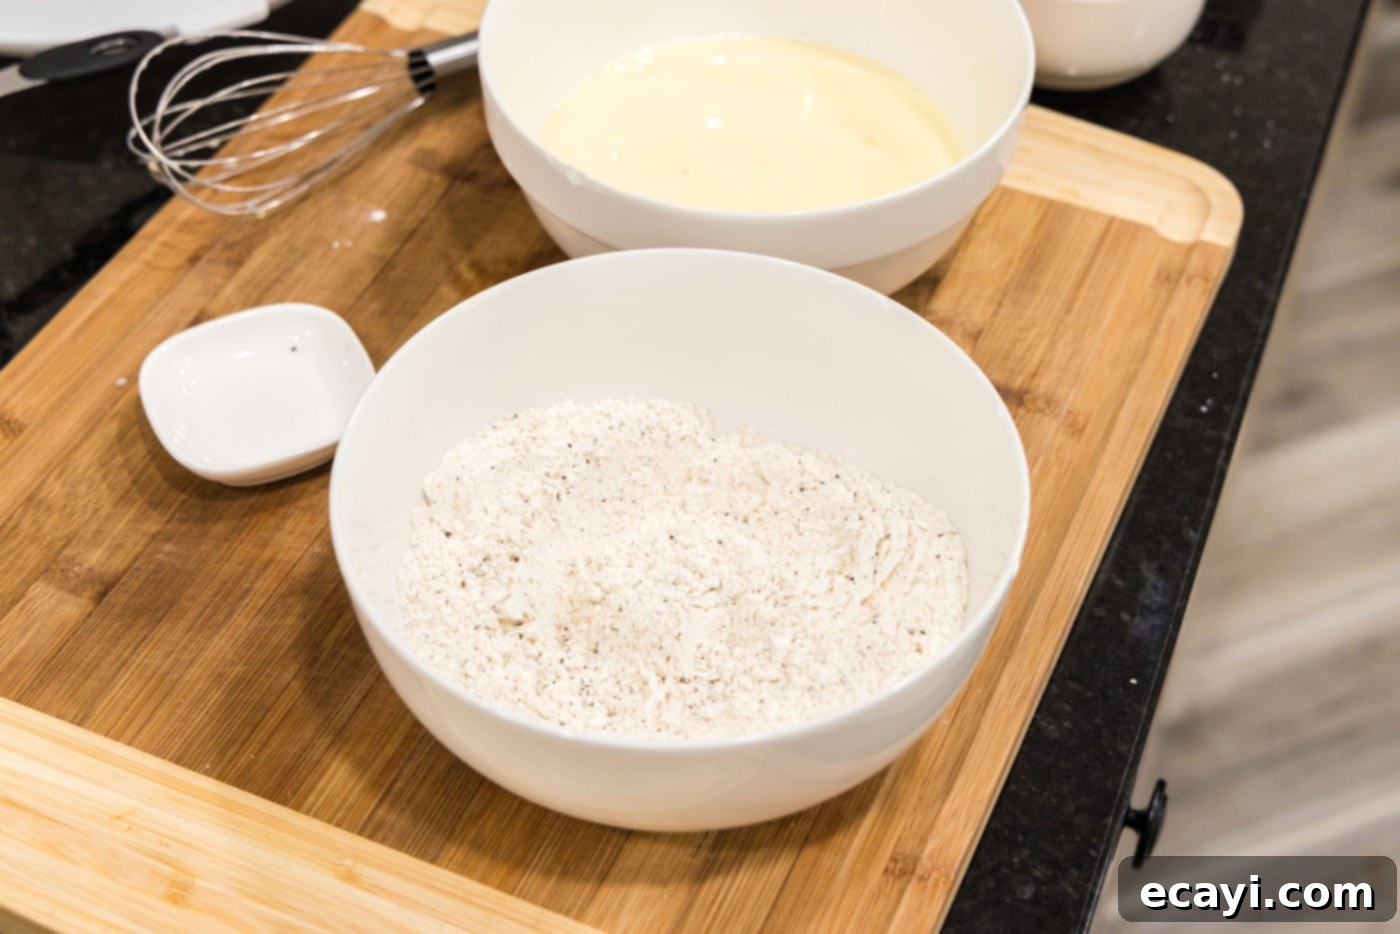
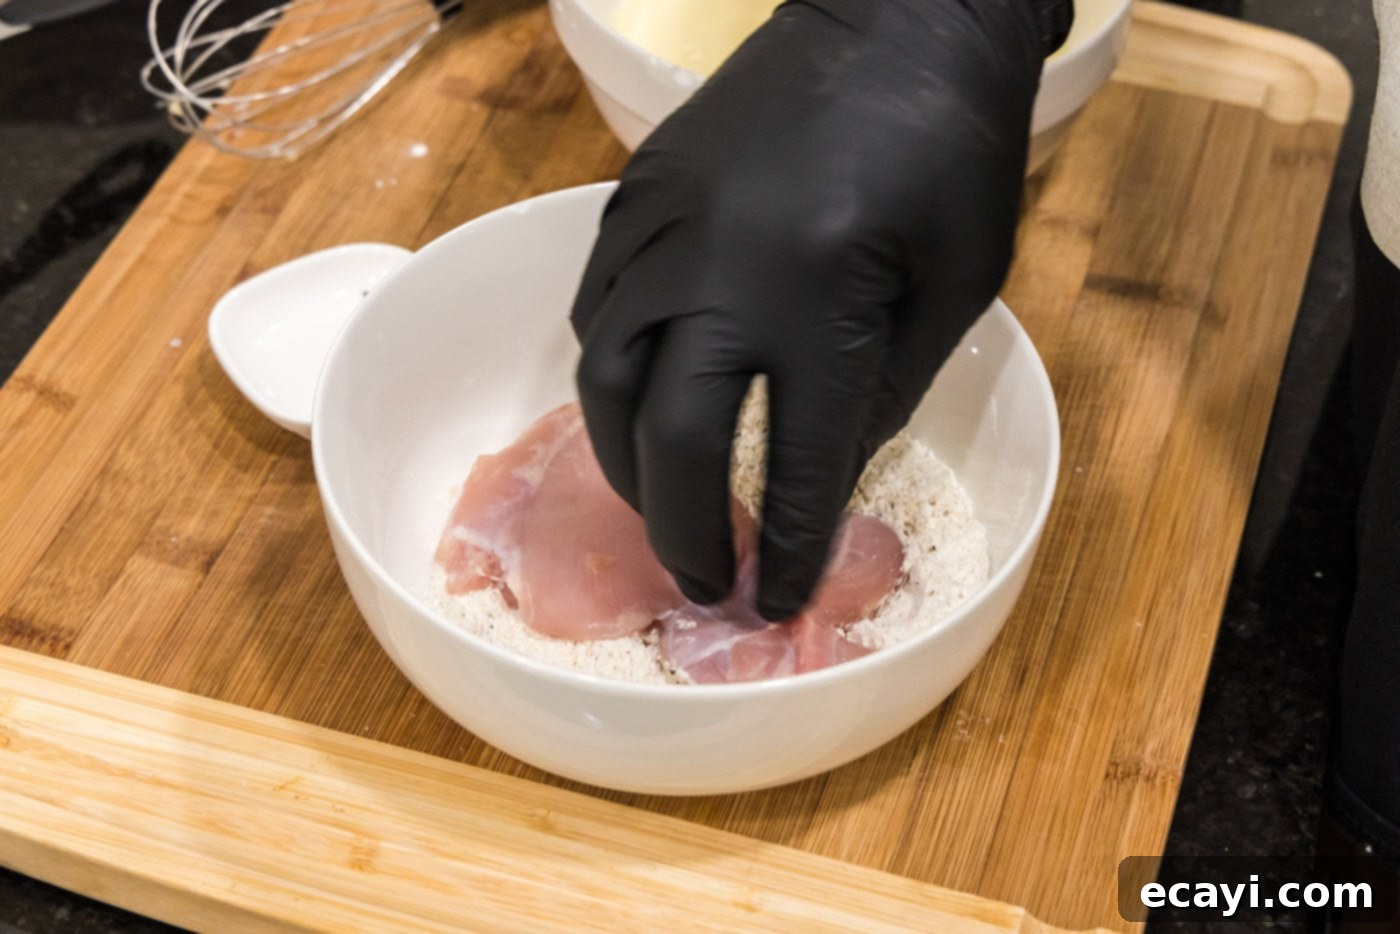
- Combine the Dry Ingredients: In a separate medium bowl, combine the all-purpose flour, cornstarch, Slap Ya Mama seasoning (or your preferred Cajun seasoning), garlic salt, and black pepper. Whisk these ingredients thoroughly to ensure the spices are evenly distributed throughout the flour mixture. This guarantees a consistent flavor profile and crispy texture for your fried chicken.


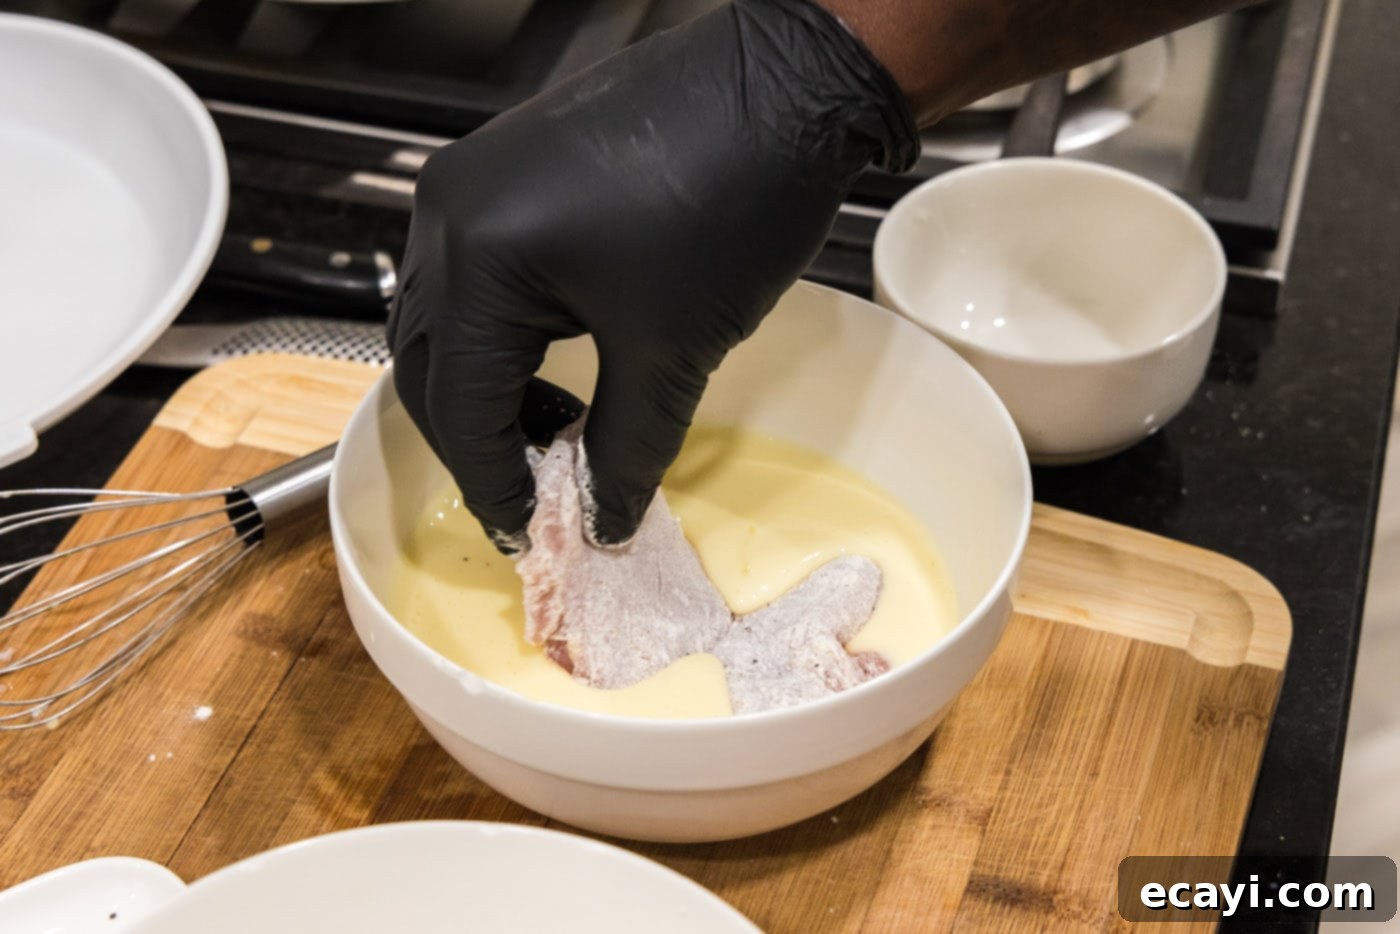
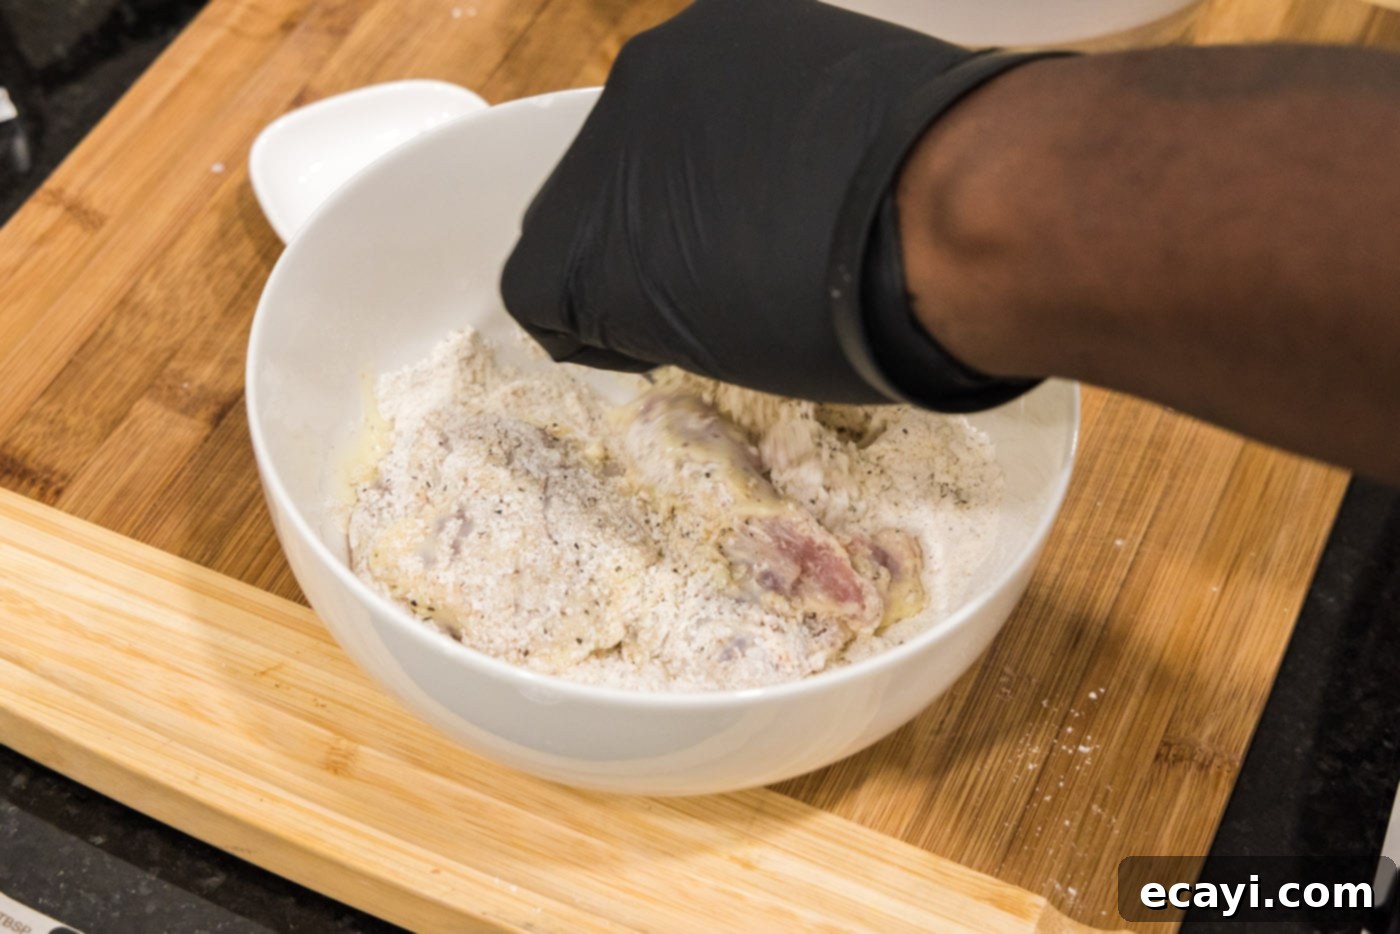
- Dredge the Chicken (Double Coating Method): Take each boneless, skinless chicken thigh and dredge it thoroughly in the dry flour mixture, ensuring it’s completely coated. Gently shake off any excess flour. Next, dip the flour-coated chicken into the egg and buttermilk mixture, making sure it’s fully submerged and coated evenly. Finally, dip the chicken back into the flour mixture, pressing the flour firmly onto the chicken to create a thick, craggy crust. Gently shake off any loose excess. Place the fully coated chicken thighs on a wire rack to rest for at least 10-15 minutes. This resting period helps the coating adhere properly, preventing it from falling off during frying and ensuring maximum crispiness.


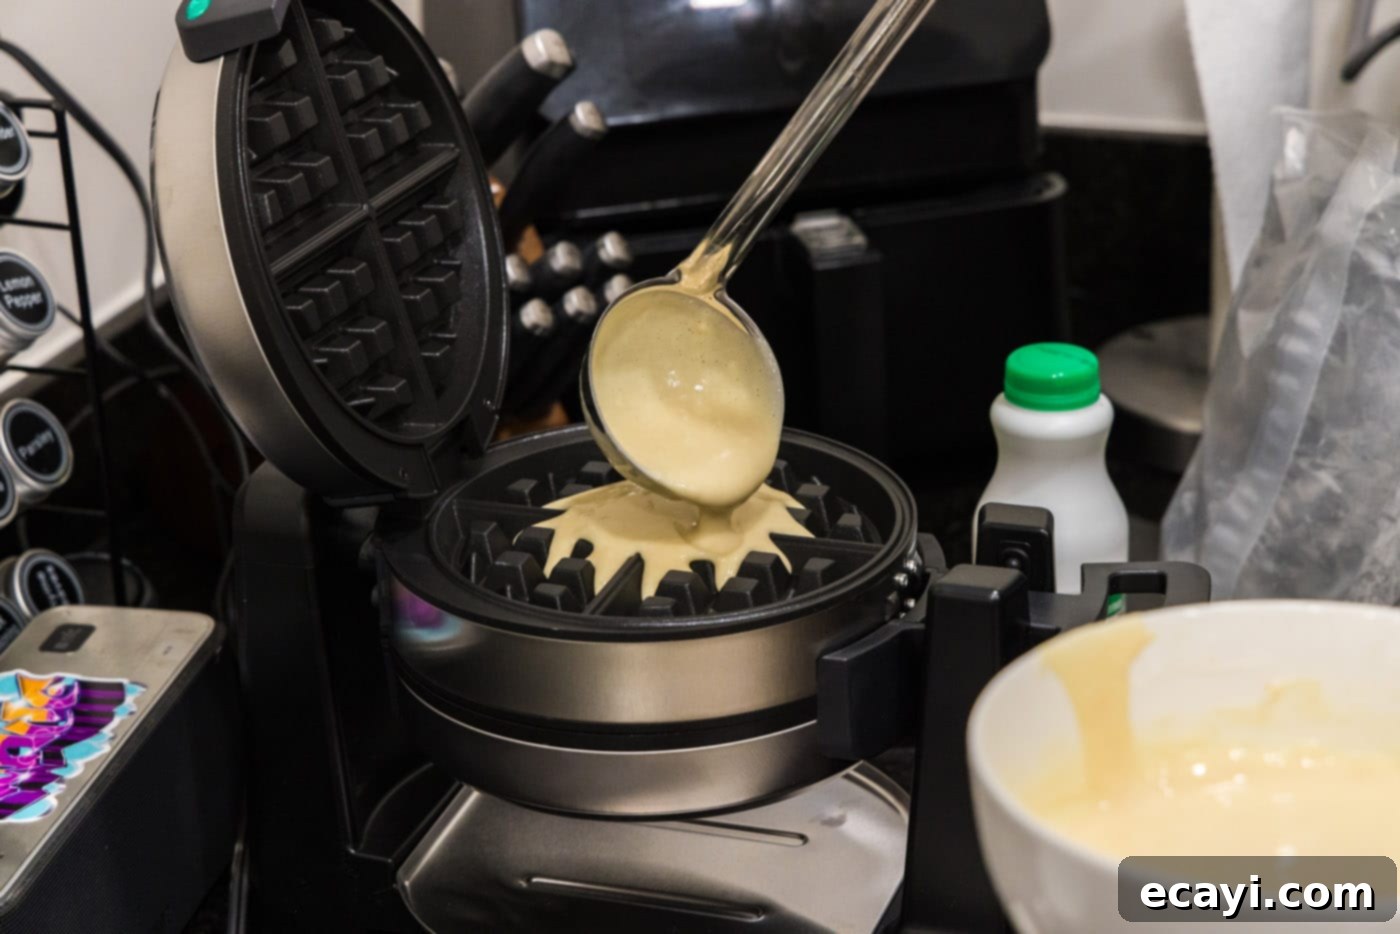
- Prepare the Waffles: While the chicken rests, prepare three large waffles according to your preferred recipe or box mix instructions using your waffle iron. Once cooked and golden brown, immediately remove them from the waffle iron and place them on a separate wire rack. This is a crucial step to prevent them from becoming soggy from trapped steam, ensuring they remain perfectly crisp until serving time.

- Heat the Frying Oil: In a large deep-sided skillet, pour enough vegetable oil to reach about ½-inch up the sides of the pan. Place the skillet over medium-high heat. Allow the oil to heat steadily until it reaches a temperature of 350°F (175°C). Use an instant-read thermometer to monitor the temperature accurately, as maintaining the correct heat is key to perfectly fried chicken.
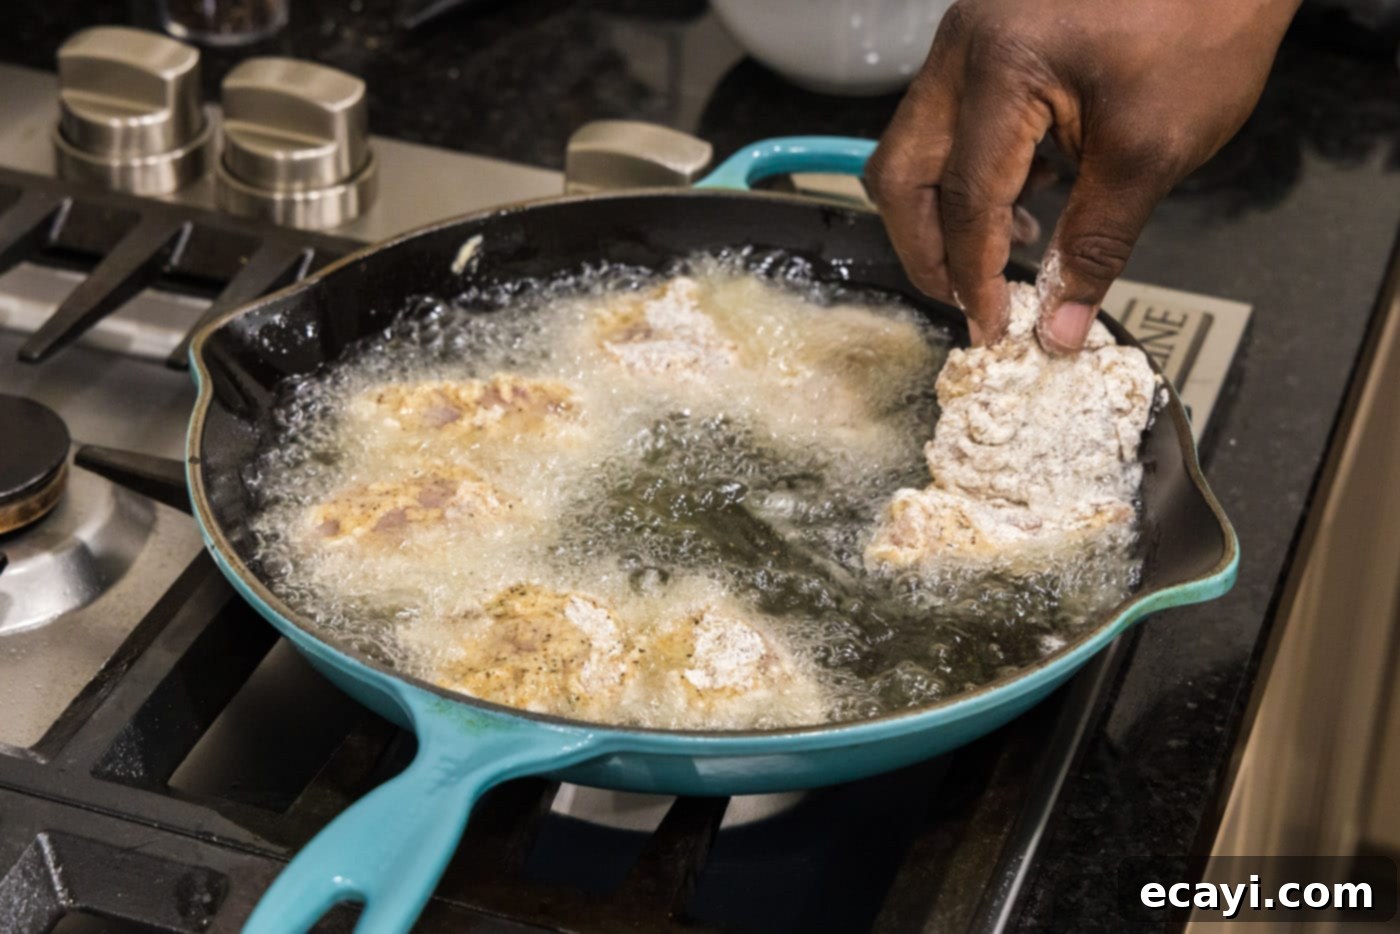
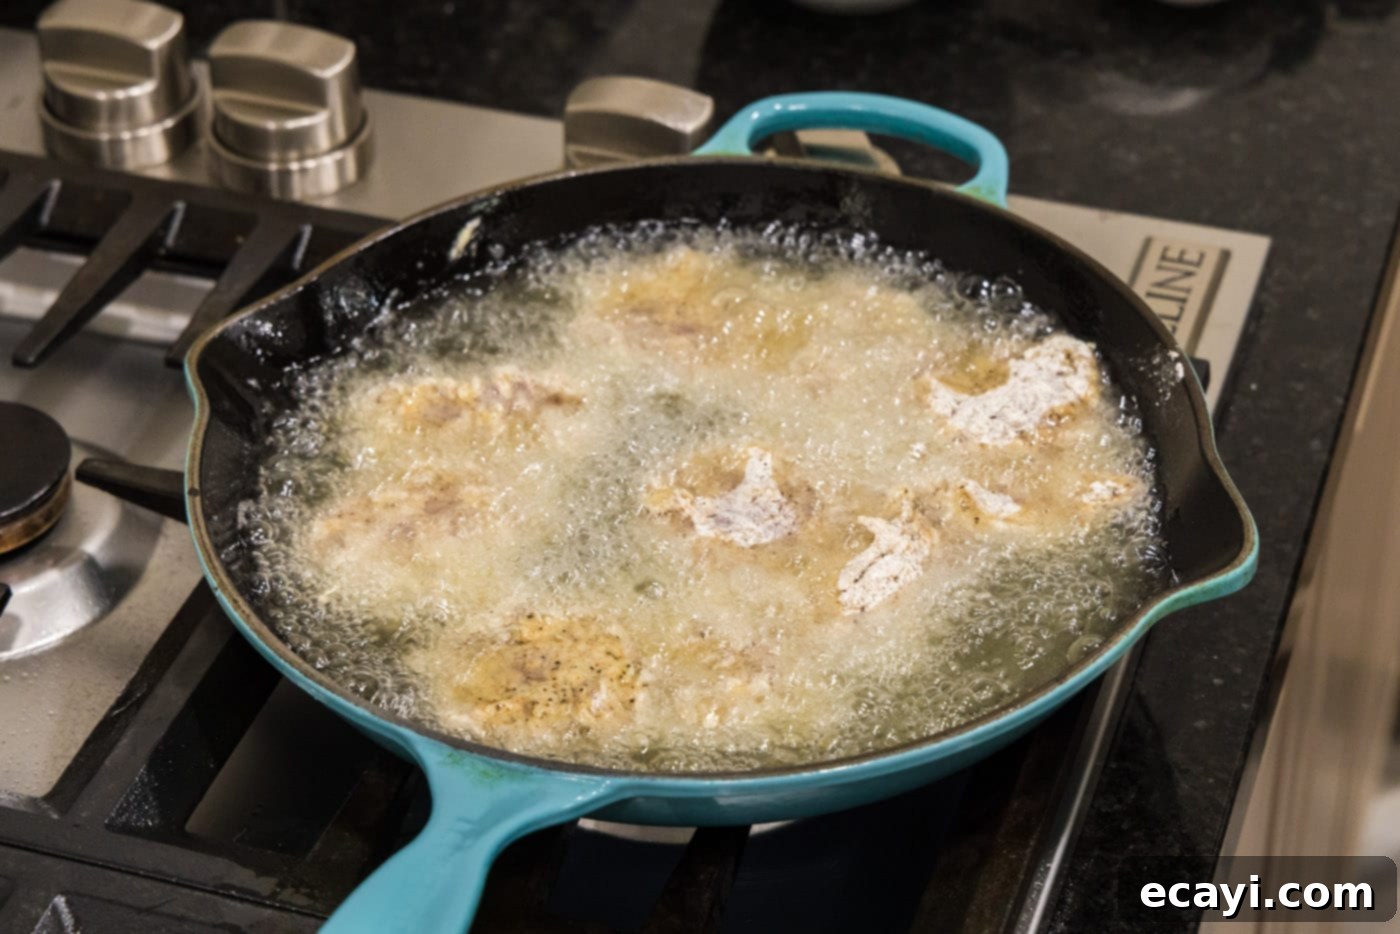
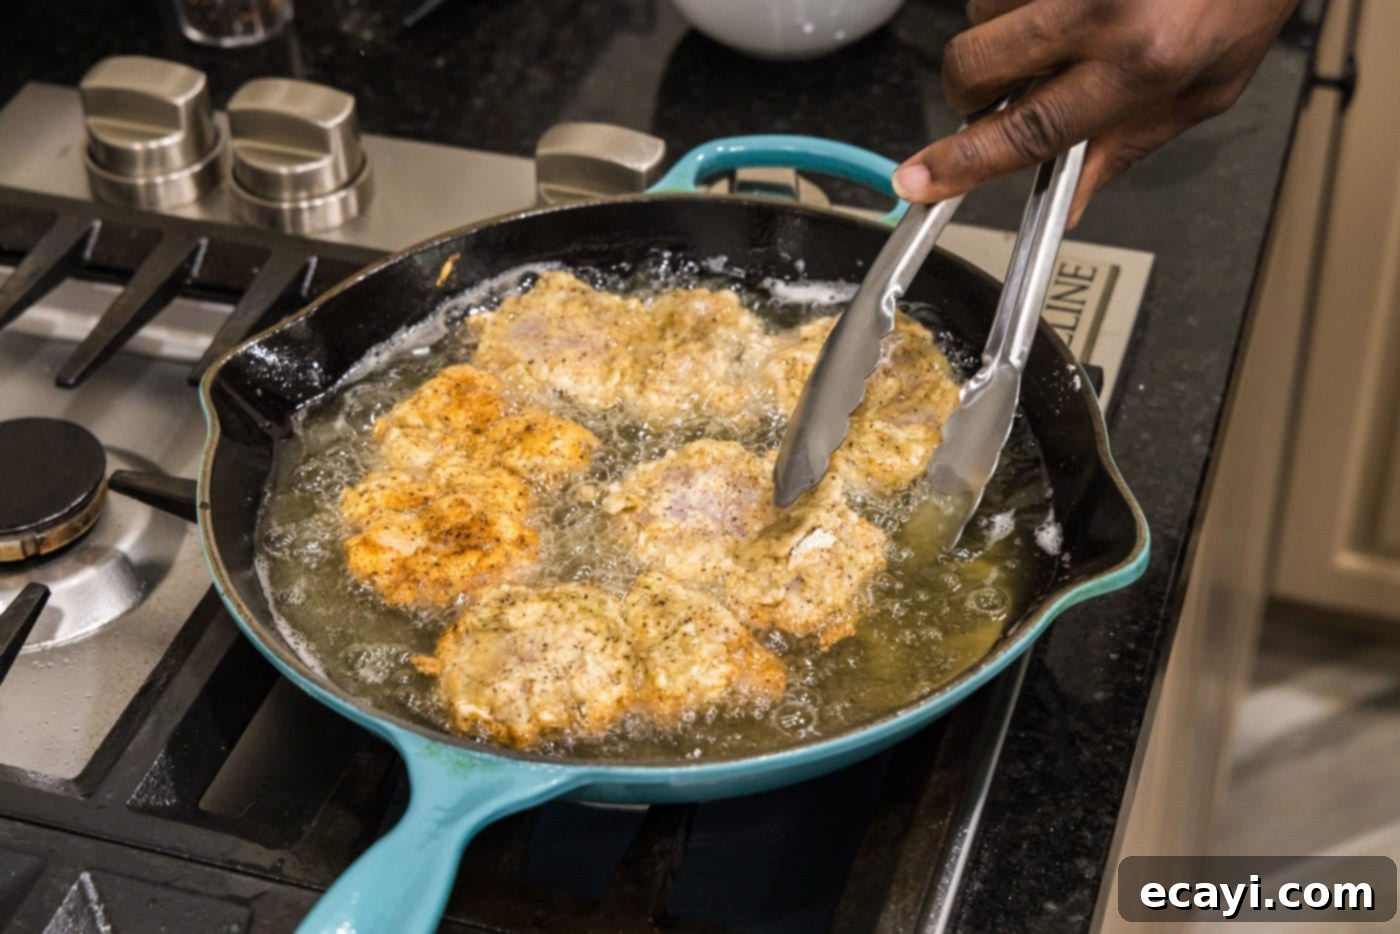
- Fry the Chicken: Carefully and gently place the prepared chicken thighs into the hot oil. Avoid overcrowding the pan, as this will lower the oil temperature and result in less crispy chicken. Cook the chicken undisturbed for 2-3 minutes on one side, or until it achieves a beautiful golden-brown color. Using tongs, carefully turn the chicken over and continue cooking for an additional 1-2 minutes, or until that side is also golden.


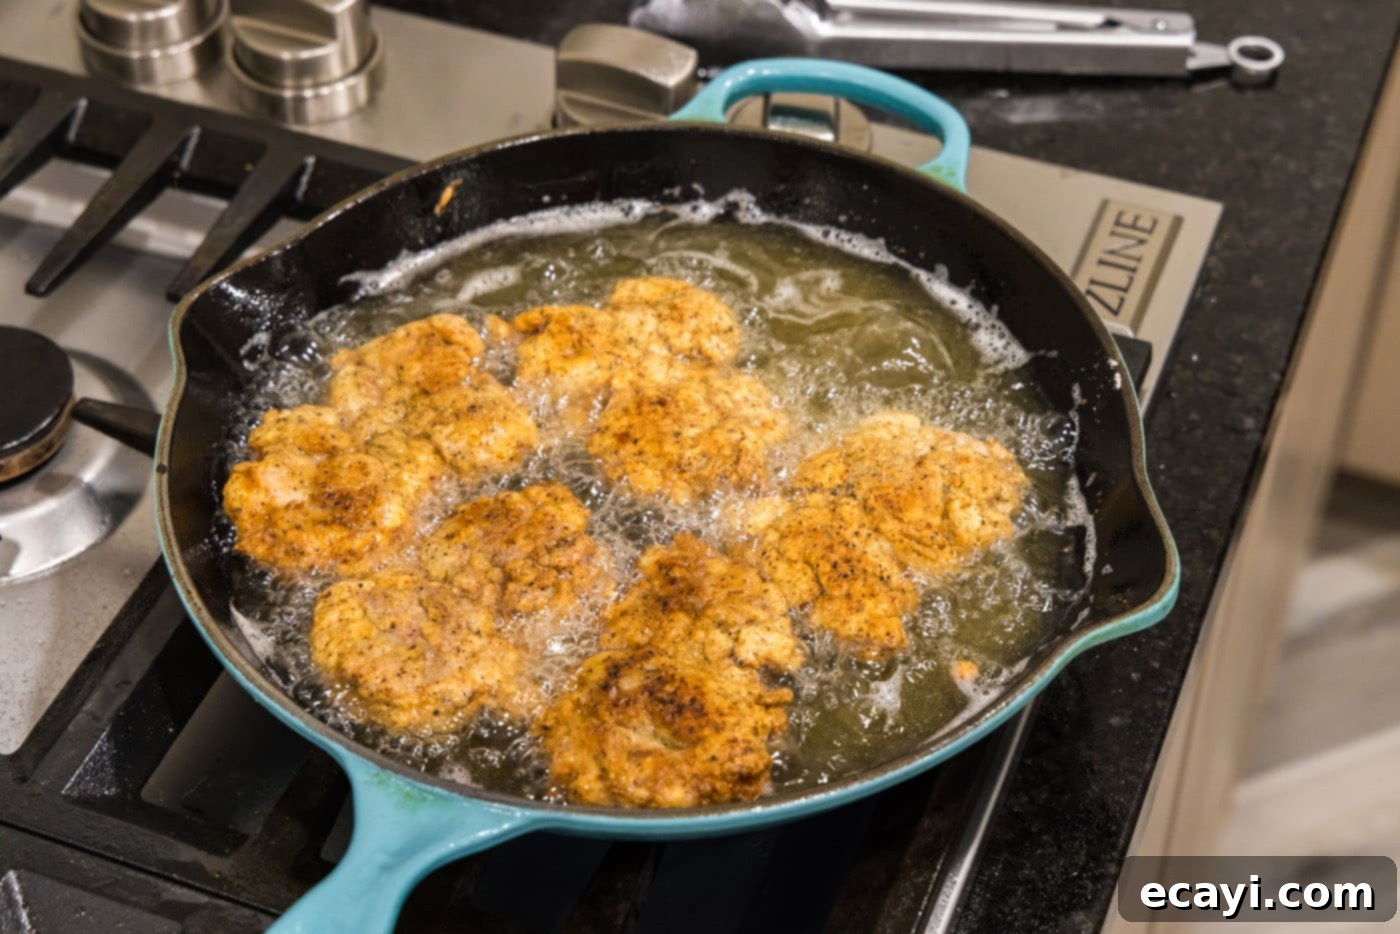
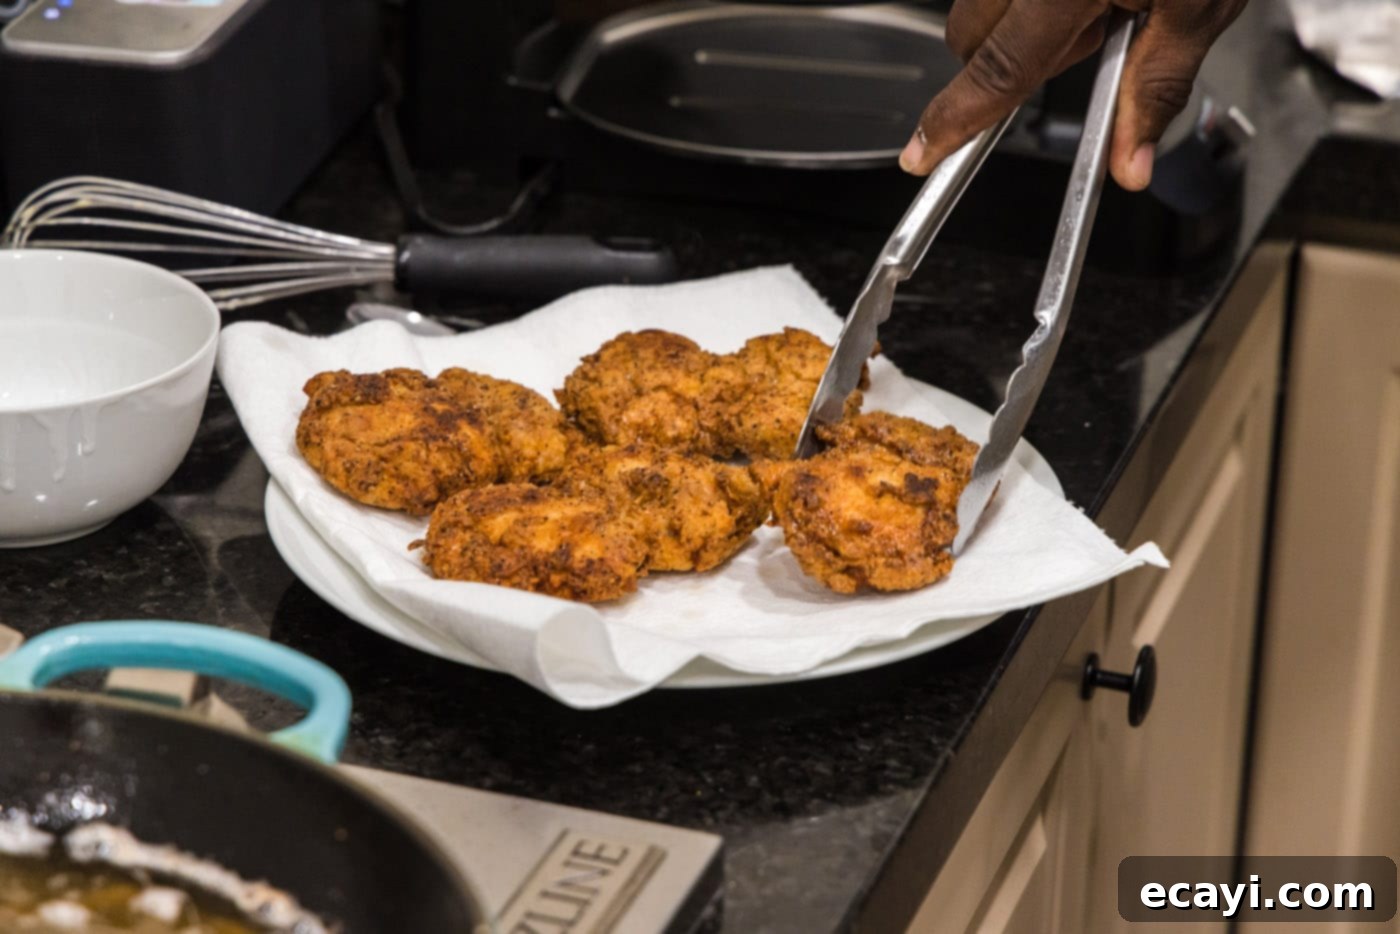
- Continue Frying and Rest: After the initial browning, continue to flip the chicken every few minutes to ensure even cooking and crisping on all sides. Fry for a total of approximately 15 minutes, or until the internal temperature of the chicken reaches 165°F (74°C). Once cooked, remove the chicken thighs from the oil and place them on a plate lined with paper towels to drain any excess oil. This helps maintain their crispiness.


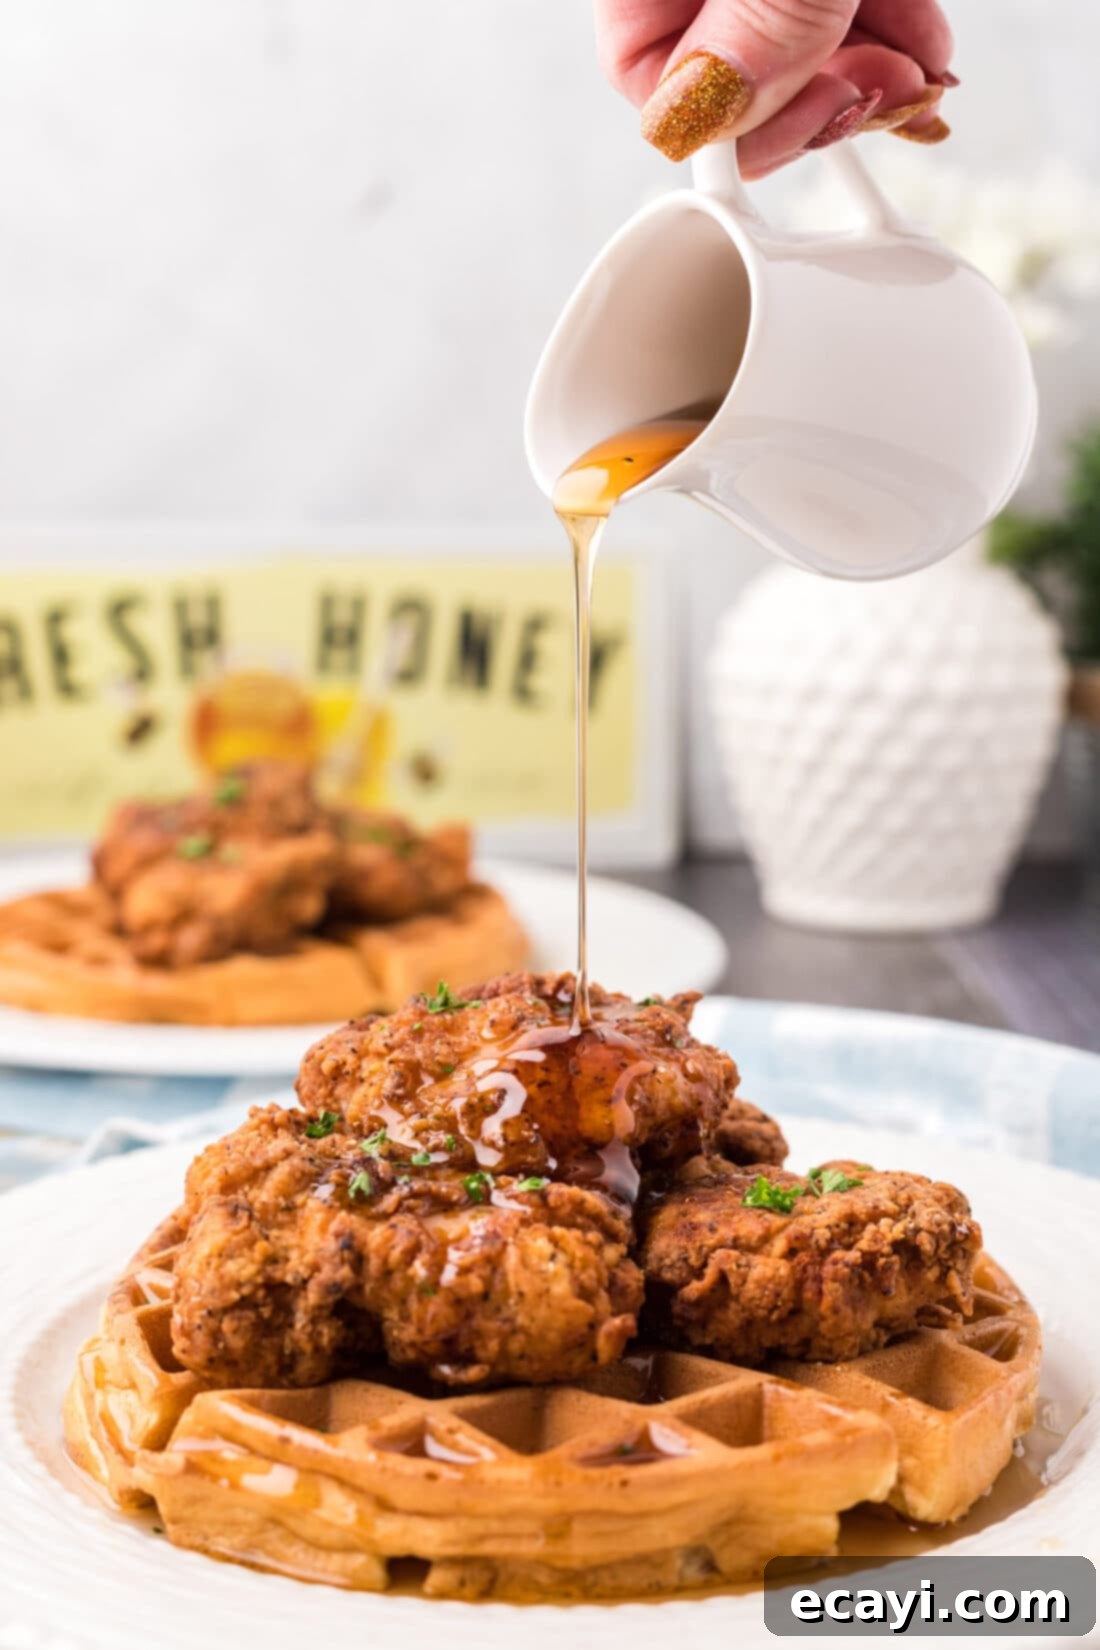
- Assemble and Serve: To serve, place one large fluffy waffle on a plate. Top it generously with two pieces of your perfectly crispy fried chicken. For the ultimate experience, ensure you have plenty of warm maple syrup ready for drizzling. Enjoy this fantastic Southern classic immediately!
Frequently Asked Questions & Expert Tips for Chicken and Waffles
Storing leftovers correctly is key to enjoying them later. For best results, store any leftover fried chicken and waffles in separate airtight containers in the refrigerator. This method prevents the waffles from becoming soggy due to moisture from the chicken. They can be safely stored for up to 4 days. When you’re ready to reheat, place the fried chicken on a baking sheet and warm it in a preheated 350°F (175°C) oven until thoroughly heated through and crispy again (about 10-15 minutes). For the waffles, a toaster or toaster oven works wonders to bring back their crisp texture. Alternatively, you can place them on the same baking sheet as the chicken for oven reheating, though they may not get quite as crispy as in a toaster.
Absolutely! To make this recipe gluten-free, simply substitute the all-purpose flour in the breading mixture with a good quality gluten-free all-purpose flour blend (one that contains xanthan gum works best for texture). For the waffles, choose a gluten-free waffle mix or your favorite homemade gluten-free waffle recipe. Ensure all other ingredients, especially seasonings, are certified gluten-free.
Traditionally, pure maple syrup is the classic choice and highly recommended for its rich, authentic flavor. However, don’t hesitate to experiment! Many people love pairing chicken and waffles with hot honey, a spicy-sweet syrup that adds another layer of intriguing flavor. Regular pancake syrup can also be used, but for the best experience, invest in a good quality maple syrup or a homemade hot honey.
Achieving that perfect crispy fried chicken is all about a few key techniques. First, ensure your oil temperature remains consistently around 350°F (175°C) – too low and the chicken will be greasy, too high and it will burn before cooking through. Don’t overcrowd the pan; fry in batches if necessary to maintain oil temperature. The double-dredging method described in our instructions is crucial for building a thick, craggy crust. Also, allowing the breaded chicken to rest on a wire rack for 10-15 minutes before frying helps the coating adhere better. Finally, always drain freshly fried chicken on a paper towel-lined plate or a wire rack set over paper towels to remove excess oil.
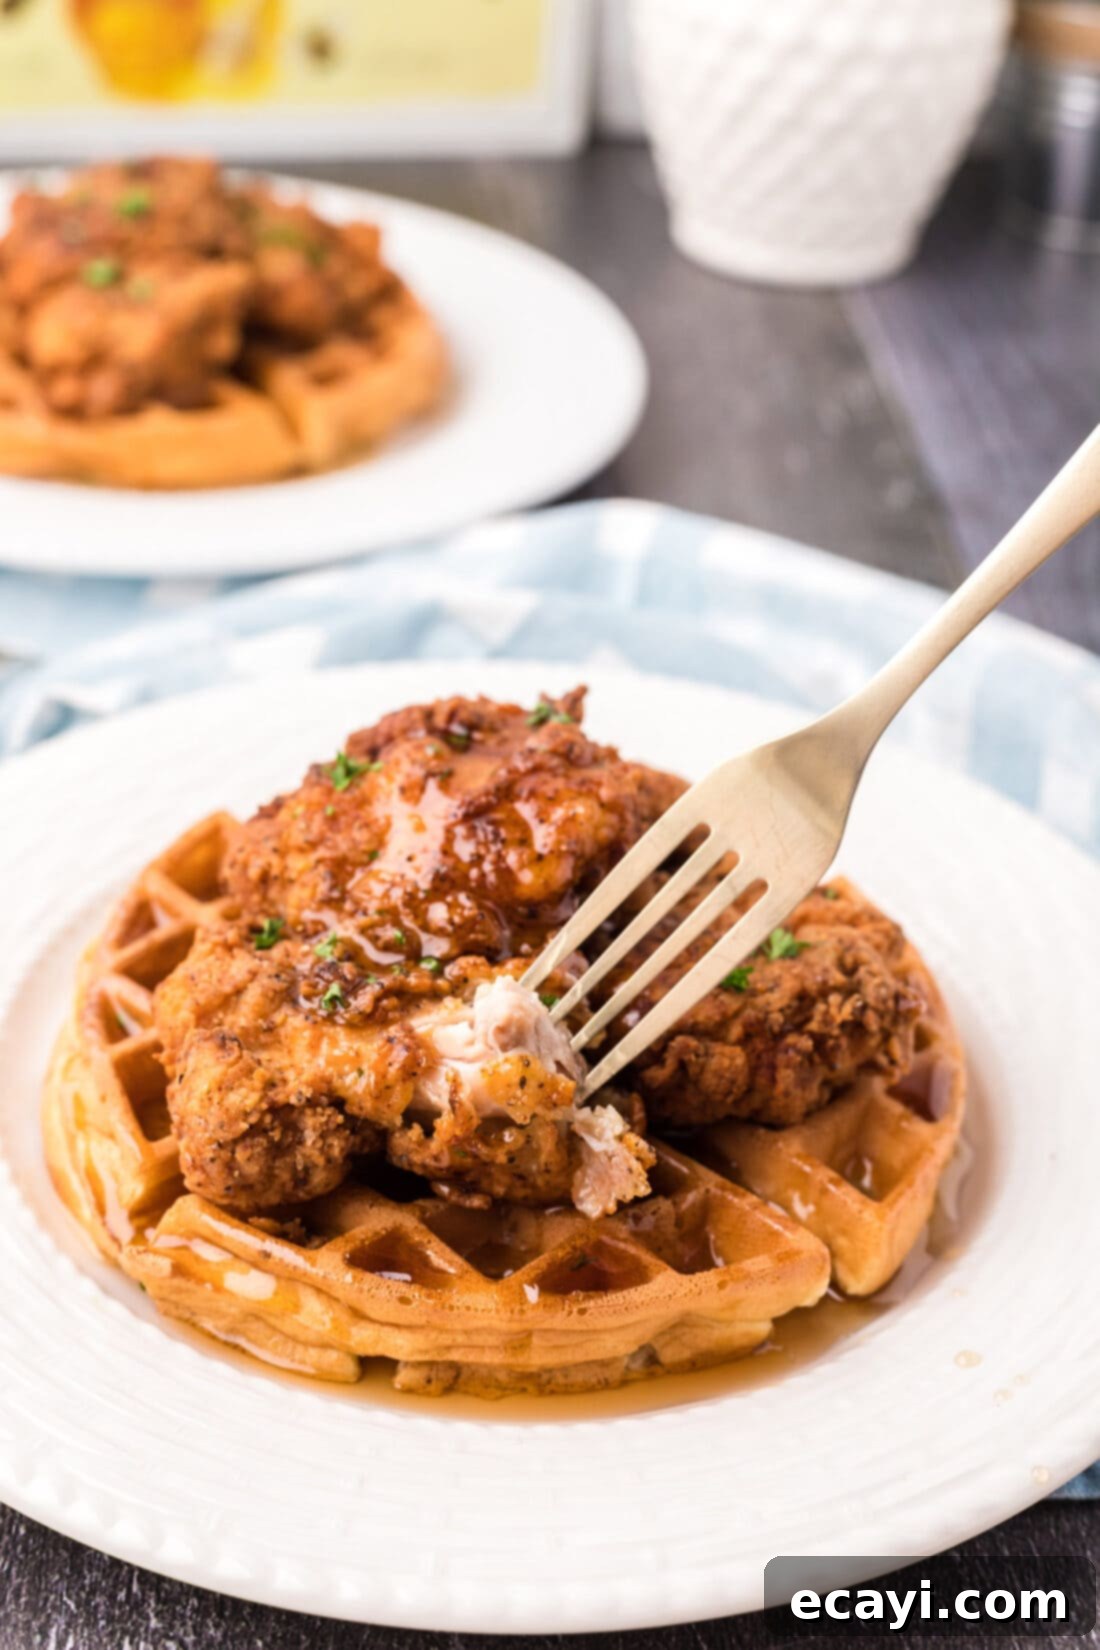
Serving Suggestions: Elevating Your Chicken and Waffles Experience
Chicken and waffles is a remarkably hearty and satisfying meal all on its own, especially with a generous drizzle of warm maple syrup acting as the ultimate finishing touch. The combination of sweet, savory, and spicy elements creates a complex flavor profile that needs little else. However, if you’re looking to turn this Southern classic into an even grander feast or simply complement its rich flavors, here are some delightful serving suggestions:
Classic Condiments & Toppings
- Maple Syrup: This is non-negotiable! Warm pure maple syrup enhances the sweetness of the waffles and provides a beautiful glaze over the fried chicken.
- Hot Honey: For those who love an extra kick, a drizzle of hot honey adds a spicy-sweet dimension that perfectly complements the savory chicken.
- Butter: A dollop of softened butter, especially a compound butter infused with herbs or a touch of cinnamon, can add extra richness to your waffles.
- Hot Sauce: A dash of your favorite hot sauce can intensify the savory and spicy notes of the fried chicken.
Perfect Side Dishes
While often filling enough on its own, you can easily serve chicken and waffles alongside a variety of Southern-inspired side dishes to round out the meal, transforming it into a complete feast:
- Creamy Macaroni and Cheese: The ultimate comfort food pairing, offering a creamy, cheesy contrast to the crispy chicken.
- Grits: Whether creamy, buttery, or cheesy, grits provide a comforting and traditional Southern accompaniment.
- Southern Green Beans: Braised with bacon or ham hock, these tender green beans add a fresh, savory element.
- Collard Greens: Another quintessential Southern side, offering a slightly bitter, savory balance.
- Fresh Fruit Salad: For a lighter, refreshing contrast, a vibrant fruit salad can cut through the richness of the dish.
When to Enjoy
This versatile combo truly knows no bounds when it comes to meal times. Whether you’re planning an indulgent breakfast, a leisurely brunch with friends, a satisfying lunch, or a unique and comforting dinner, chicken and waffles fits the bill. Its crowd-pleasing appeal makes it perfect for family gatherings, holiday meals, or simply a treat on a weekend. No matter the occasion, prepare for an explosion of flavor!
Discover More Southern-Inspired Comfort Food
If you’ve fallen in love with the comforting flavors of our chicken and waffles, you’ll surely enjoy exploring more recipes that celebrate the rich culinary traditions of the South. From hearty main courses to delightful desserts, these dishes are packed with flavor and sure to become new family favorites:
- Shrimp and Grits: A classic lowcountry dish featuring creamy grits and succulent, seasoned shrimp.
- Chicken Fried Steak: Tenderized steak, breaded and fried to crispy perfection, usually smothered in creamy gravy.
- Pineapple Casserole: A surprisingly delicious sweet and savory side dish that pairs wonderfully with many meals.
- Fried Green Tomatoes: A quintessential Southern appetizer, with tangy green tomatoes coated in cornmeal and fried until golden.
- Southern Buttermilk Pie: A simple yet incredibly flavorful custard pie, a true taste of Southern hospitality.
I genuinely love to bake and cook, and sharing my kitchen experiences with all of you is a true joy! It can be tough to remember to check back every day for new recipes, which is why I offer a convenient newsletter. Every time a new recipe is posted, you’ll receive it directly in your inbox. Simply subscribe today and start enjoying your free daily recipes, ensuring you never miss a delicious update!
Chicken and Waffles
IMPORTANT – There are often Frequently Asked Questions within the blog post that you may find helpful. Simply scroll back up to read them!
Print It
Pin It
Rate It
Save ItSaved!
Ingredients
- 1 pound boneless skinless chicken thighs about 6 thighs
- 1 large egg
- ½ cup buttermilk
- ½ cup all purpose flour
- 1 Tablespoon cornstarch
- 1 ½ Tablespoons Slap Ya Mama seasoning
- 2 teaspoons garlic salt
- 2 teaspoons black pepper
- 3 large waffles we used a box mix
- vegetable oil for frying
Things You’ll Need
-
Wire cooling racks
-
Large deep sided skillet
-
Waffle iron
-
Vinyl gloves
-
Instant read thermometer
-
Tongs
Before You Begin
- For your waffles, feel free to use your favorite homemade recipe or a convenient box mix. If using pancake mix, simply add 1 extra egg per 2-waffle serving for better texture.
- Boneless, skinless chicken thighs are recommended for their tenderness and consistent cooking, but you can use your preferred cut of chicken. Adjust cooking times for larger or bone-in pieces, ensuring chicken reaches an internal temperature of 165°F (74°C).
- For maximum crispiness, consider a pre-frying buttermilk brine for the chicken (not included in primary steps but highly recommended).
- To store leftovers, keep the fried chicken and waffles in separate airtight containers in the refrigerator for up to 4 days to prevent sogginess. Reheat chicken in a 350°F oven; waffles can be reheated in a toaster, toaster oven, or the regular oven for best crispness.
- Maintaining the correct oil temperature (around 350°F / 175°C) is crucial for crispy, evenly cooked chicken without being greasy or burnt. Use an instant-read thermometer for accuracy.
Instructions
-
In a medium bowl, whisk together egg and buttermilk until smooth.
-
In another medium bowl, combine flour, cornstarch, Slap Ya Mama seasoning, garlic salt, and black pepper. Whisk well to combine.
-
Dredge chicken thighs in flour mixture, then dip into egg mixture ensuring complete coating. Dip chicken into flour again, pressing the flour mixture into the chicken firmly, then gently shake off excess. Move coated chicken to a wire rack to rest for 10-15 minutes.
-
Prepare three large waffles according to instructions. Remove to a wire rack immediately to keep them crisp.
-
Place enough oil in a large deep-sided skillet to come about 1/2-inch up the side. Heat over medium-high until temperature reaches 350 F (175 C).
-
Gently place prepared chicken thighs into the hot oil. Cook undisturbed for 2-3 minutes, or until golden brown. Use tongs to turn chicken over and cook an additional 1-2 minutes or until golden. Continue to flip every few minutes, cooking for a total of about 15 minutes, or until internal temperature reaches 165F (74 C). Remove to a paper towel lined plate to drain.
-
Serve two crispy chicken thighs on top of one large fluffy waffle. Drizzle with maple syrup and enjoy!
Nutrition
The recipes on this blog are tested with a conventional gas oven and gas stovetop. It’s important to note that some ovens, especially as they age, can cook and bake inconsistently. Using an inexpensive oven thermometer can assure you that your oven is truly heating to the proper temperature. If you use a toaster oven or countertop oven, please keep in mind that they may not distribute heat the same as a conventional full sized oven and you may need to adjust your cooking/baking times. In the case of recipes made with a pressure cooker, air fryer, slow cooker, or other appliance, a link to the appliances we use is listed within each respective recipe. For baking recipes where measurements are given by weight, please note that results may not be the same if cups are used instead, and we can’t guarantee success with that method.
