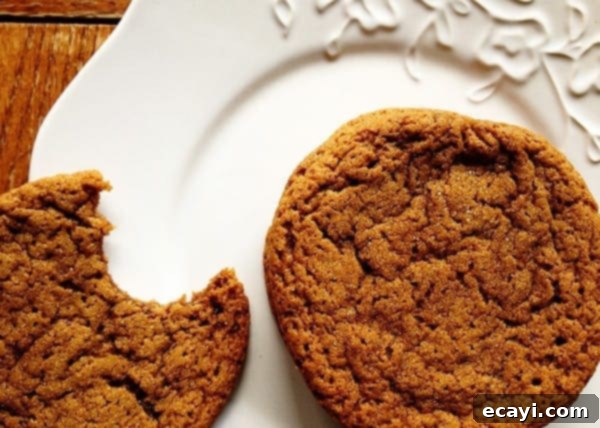
Irresistibly Soft & Chewy Sugar-Topped Molasses Spice Cookies: Your New Holiday Tradition
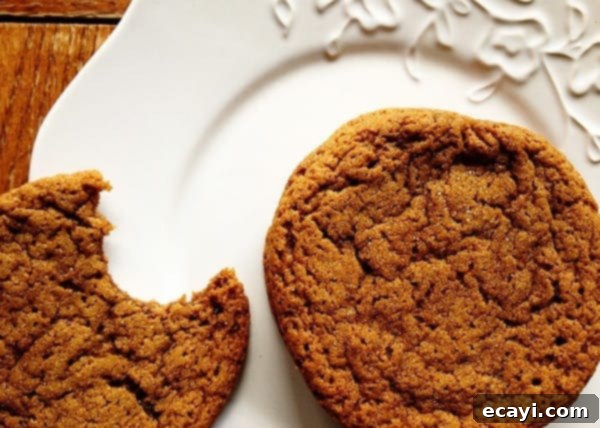
For many years, the distinct, robust flavors of molasses and gingerbread were simply not to my liking. I’d often shy away from anything that carried that deep, earthy sweetness and warm spice profile. However, as my palate matured and I ventured further into the world of baking, I had a revelation. I discovered exactly what I had been missing out on, and it was a delightful surprise. For the past three Thanksgivings, these sugar-topped molasses spice cookies have become an absolute staple in my kitchen, a tradition my family and friends eagerly anticipate. Every single time I bake a batch, they disappear almost instantly, proving to be an undeniable hit. They never fail to bring smiles and warmth to our holiday gatherings.
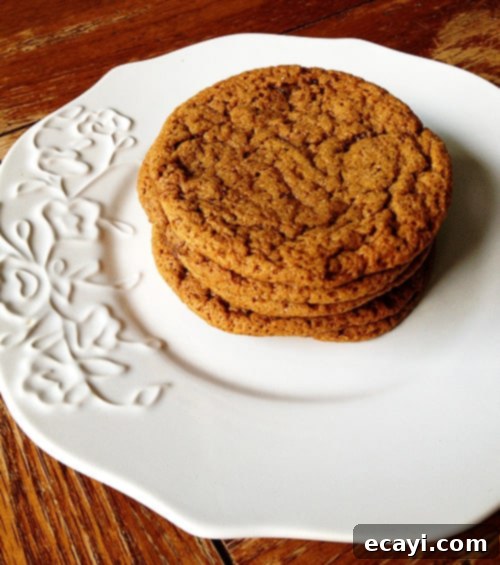
My Culinary Journey: From Aversion to Admiration
My initial encounter with this particular recipe dates back to 2009, when I was an active member of the “Tuesdays with Dorie” baking group. This online community, centered around Dorie Greenspan’s incredible cookbook “Baking From My Home to Yours,” became an invaluable resource during my early days of food blogging. It was a space that consistently encouraged me to push beyond my culinary comfort zone, to experiment with ingredients and techniques I might otherwise have avoided. Baking through Dorie’s book introduced me to a diverse range of flavors and textures, fundamentally shaping my approach to baking. The molasses spice cookie recipe was one such adventurous step, and it completely transformed my perception of molasses.
What truly captivates me about these cookies, and what sets them apart from many traditional gingerbread or molasses cookies, is their perfect texture. They are wonderfully soft and delightfully chewy, a stark contrast to the hard, crunchy varieties often found. This tender chewiness is precisely what makes them so addictive. Beyond the texture, the flavor profile is exquisitely balanced. They are rich with the warmth of spices yet never overwhelming, offering a comforting embrace with every bite.
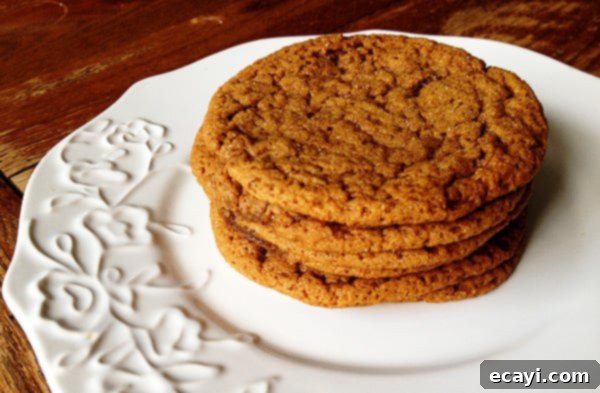
The Secret to Their Irresistible Charm: Texture and Flavor
These molasses spice cookies achieve a delicate balance between a crisp, sugary exterior and a soft, yielding interior that practically melts in your mouth. The simple act of rolling the dough balls in granulated sugar before baking creates a beautiful crackled top, offering a delightful textural contrast with each bite. This sugar crust also adds a touch of extra sweetness that perfectly complements the deep, earthy notes of the molasses.
The spice blend is key to their complex flavor. Ground ginger brings a comforting warmth and a slight zing, while cinnamon adds a sweet, woody aroma. A touch of allspice weaves in hints of cloves, nutmeg, and pepper, enhancing the overall depth. And the secret ingredient? A subtle pinch of cracked or coarsely ground black pepper. This unexpected addition doesn’t make the cookies spicy, but rather elevates the other spices, adding an intriguing layer of warmth and complexity that leaves people wondering what that special “something” is. It’s a small detail that makes a big difference.
The molasses itself is crucial. Using light or regular molasses (not blackstrap, which can be too bitter) provides that characteristic dark sweetness and keeps the cookies incredibly moist and tender. It’s more than just a sweetener; it’s a foundational flavor that anchors the entire cookie. The combination of these thoughtfully chosen ingredients results in a cookie that is both traditional and uniquely delicious, perfect for celebrating the flavors of fall and winter.
Baking in a Rural Setting: Resourcefulness and Community
As regular readers of my blog know, I reside in a rural community. This means that a trip to an affordable, well-stocked grocery store typically involves a minimum 30-minute drive. While we do have a local grocer in town, their prices often reflect the convenience, making it a place I try to avoid for my weekly shopping trips. This logistical challenge has always been a part of my baking routine, requiring careful planning and a bit of ingenuity when it comes to sourcing ingredients.
However, serendipity struck in the past year when a Dollar General store was built right here in town. This addition has been a game-changer, providing our local grocer with some much-needed competition! Now, I can pop over to Dollar General and find many of the baking essentials I would normally pick up at a larger store like Walmart, and often at comparable prices, without the lengthy commute. This has made my baking endeavors, including whipping up these beloved molasses spice cookies, significantly easier and more spontaneous.
This experience isn’t just about saving time or money; it speaks to the resourcefulness often cultivated in rural living. It’s about making the most of what’s available and finding joy in simple pleasures, like baking a batch of comforting cookies with easily accessible ingredients. It reinforces the idea that delicious, high-quality food doesn’t always require a specialty store, but rather a good recipe and a bit of dedication.
Mastering the Molasses Spice Cookie: Essential Tips and Tricks
The recipe for these delectable cookies is surprisingly straightforward, but a few key steps ensure perfect results every time. Here’s a detailed breakdown of the process and why each step is important:
The Dough: Mixing and Chilling
After you’ve combined all the ingredients to form the dough, an essential step is chilling. Dividing the dough in half and wrapping each portion in plastic wrap before chilling is highly recommended. You can choose to freeze it for about 30 minutes for a quicker chill or refrigerate it for at least an hour. The beauty of this dough is its versatility; it can be stored in the refrigerator for up to four days, allowing you to bake fresh batches whenever a craving strikes or unexpected guests arrive. Chilling the dough is crucial for several reasons:
- Prevents Spreading: Cold dough maintains its shape better in the oven, resulting in thicker, chewier cookies.
- Deepens Flavor: Chilling allows the spices and molasses to meld and develop a richer, more complex flavor profile.
- Easier Handling: A firm, cold dough is much less sticky and easier to roll into perfect balls.
Rolling and Flattening for Perfection
Once your dough is perfectly chilled, it’s time for the signature sugar coating. You’ll roll the dough into uniform balls – aim for about 12 pieces per half of the dough for a yield of 24 cookies. The next step is to generously roll these balls in granulated sugar. This isn’t just for aesthetics; the sugar creates that beautiful, sparkling, crackled crust that defines these cookies and adds an extra layer of sweetness.
After coating, place the sugar-rolled balls onto your parchment-lined baking sheets. Then, dip the bottom of a drinking glass into the sugar bowl and use it to gently flatten each cookie. This technique ensures that your cookies are uniformly thick (between 1/4 and 1/2 inch is ideal) and helps them bake evenly, contributing to their soft and chewy texture. This small detail ensures a professional-looking and consistently delicious result.
Baking and Cooling
Bake the cookies one sheet at a time to ensure even heat distribution. The baking time typically ranges from 12 to 14 minutes. You’ll know they’re ready when the tops appear set to the touch, but the centers still look slightly soft. Don’t overbake them if you want to retain that delightful chewiness! As soon as they come out of the oven, if any cookies have spread and touched, use a metal spatula to gently separate them while they are still warm and pliable. This prevents them from sticking together as they cool. Finally, transfer the warm cookies to a wire rack to cool completely to room temperature. This gradual cooling process helps them firm up without becoming hard.
These thoughtful steps ensure that each molasses spice cookie emerges from your oven with the perfect balance of flavor, spice, and that coveted soft and chewy texture. They are truly a treat for the senses!
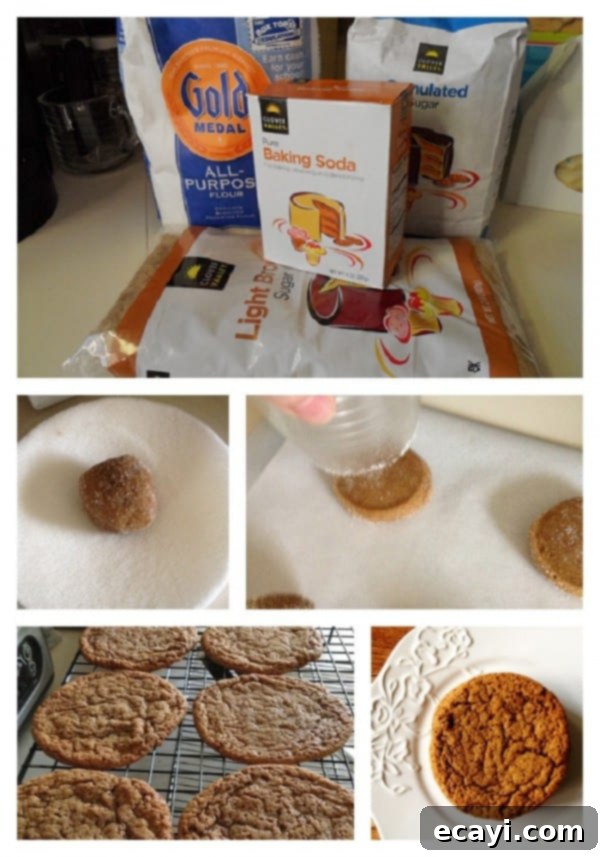
You’ll find the complete recipe for these delicious cookies below. Remember these simple steps: mix the dough, chill it (freezer for 30 minutes or fridge for up to four days), roll into sugar-coated balls, flatten with a glass, and then bake, cool, and enjoy! They are surprisingly easy to make and yield truly exceptional results.
Perfect for the Holidays and Beyond
These sugar-topped molasses spice cookies are not just a Thanksgiving favorite; they are a perfect addition to any fall or winter holiday celebration. Their warm, comforting flavors make them ideal for Christmas cookie platters, cozy evenings by the fire, or as a thoughtful homemade gift. Pair them with a hot cup of coffee, a glass of cold milk, or a festive mug of spiced cider for an unforgettable treat. If you’re looking to expand your holiday baking repertoire, don’t forget to check out my cute Thanksgiving cookies too! They make a wonderful visual complement to these rustic, flavorful spice cookies.

Sugar Topped Molasses Spice Cookies
IMPORTANT – There are often Frequently Asked Questions within the blog post that you may find helpful. Simply scroll back up to read them!
Print It
Pin It
Rate It
Save ItSaved!
Ingredients
- 2 ⅓ cups all-purpose flour
- 2 teaspoons baking soda
- ½ teaspoon salt
- 2 teaspoons ground ginger
- ½ teaspoon ground cinnamon
- ¼ teaspoon ground allspice
- pinch cracked or coarsely ground black pepper
- ¾ cup unsalted butter room temperature
- 1 cup light brown sugar
- ½ cup molasses not blackstrap
- 1 large egg
- ½ cup sugar for rolling
Instructions
-
Whisk together the flour, baking soda, salt, ginger, cinnamon, allspice and pepper.
-
Working with a stand mixer, preferably fitted with a paddle attachment, or with a hand mixer in a large bowl, beat the butter on medium speed until smooth and creamy. Add the brown sugar and molasses and beat for 2 minutes or so to blend, scraping down the sides of the bowl as needed. Add the egg and beat for 1 minute more. Reduce the mixer speed to low and add the dry ingredients, mixing until the flour and spices disappear. If some flour remains in the bottom of the bowl, to avoid over-beating the dough, mix in the last of the dry ingredients by hand with a rubber spatula. You’ll have a smooth, very soft dough.
-
Divide the dough in half and wrap each piece in plastic wrap. Freeze for 30 minutes, or refrigerate for at least 1 hour. (The dough can be kept refrigerated for up to 4 days.)
-
Center a rack in the oven and preheat the oven to 350 degrees F.
-
Line two baking sheets with parchment or silicone mats. Put the sugar in a small bowl.
-
Working with one packet of dough at a time, divide it into 12 pieces, and roll each piece into a smooth ball between your palms. One by one, roll the balls around in the bowl of sugar , then place them on one of the baking sheets. Dip the bottom of a glass into the sugar and use it to press down on the cookies until they are between 1/4 and 1/2 inch thick.
-
Bake the cookies one sheet at a time for 12 to 14 minutes, or until the tops feel set to the touch. Remove the baking sheet from the oven and, if the cookies have spread and are touching, use the edge of a metal spatula to separate them while they are still hot.
-
Transfer the cookies to a rack to cool to room temperature. Repeat with the second batch of dough.
The recipes on this blog are tested with a conventional gas oven and gas stovetop. It’s important to note that some ovens, especially as they age, can cook and bake inconsistently. Using an inexpensive oven thermometer can assure you that your oven is truly heating to the proper temperature. If you use a toaster oven or countertop oven, please keep in mind that they may not distribute heat the same as a conventional full sized oven and you may need to adjust your cooking/baking times. In the case of recipes made with a pressure cooker, air fryer, slow cooker, or other appliance, a link to the appliances we use is listed within each respective recipe. For baking recipes where measurements are given by weight, please note that results may not be the same if cups are used instead, and we can’t guarantee success with that method.
