Ultimate Guide to Baking Soft & Sweet Hot Cross Buns: Your Perfect Easter Tradition
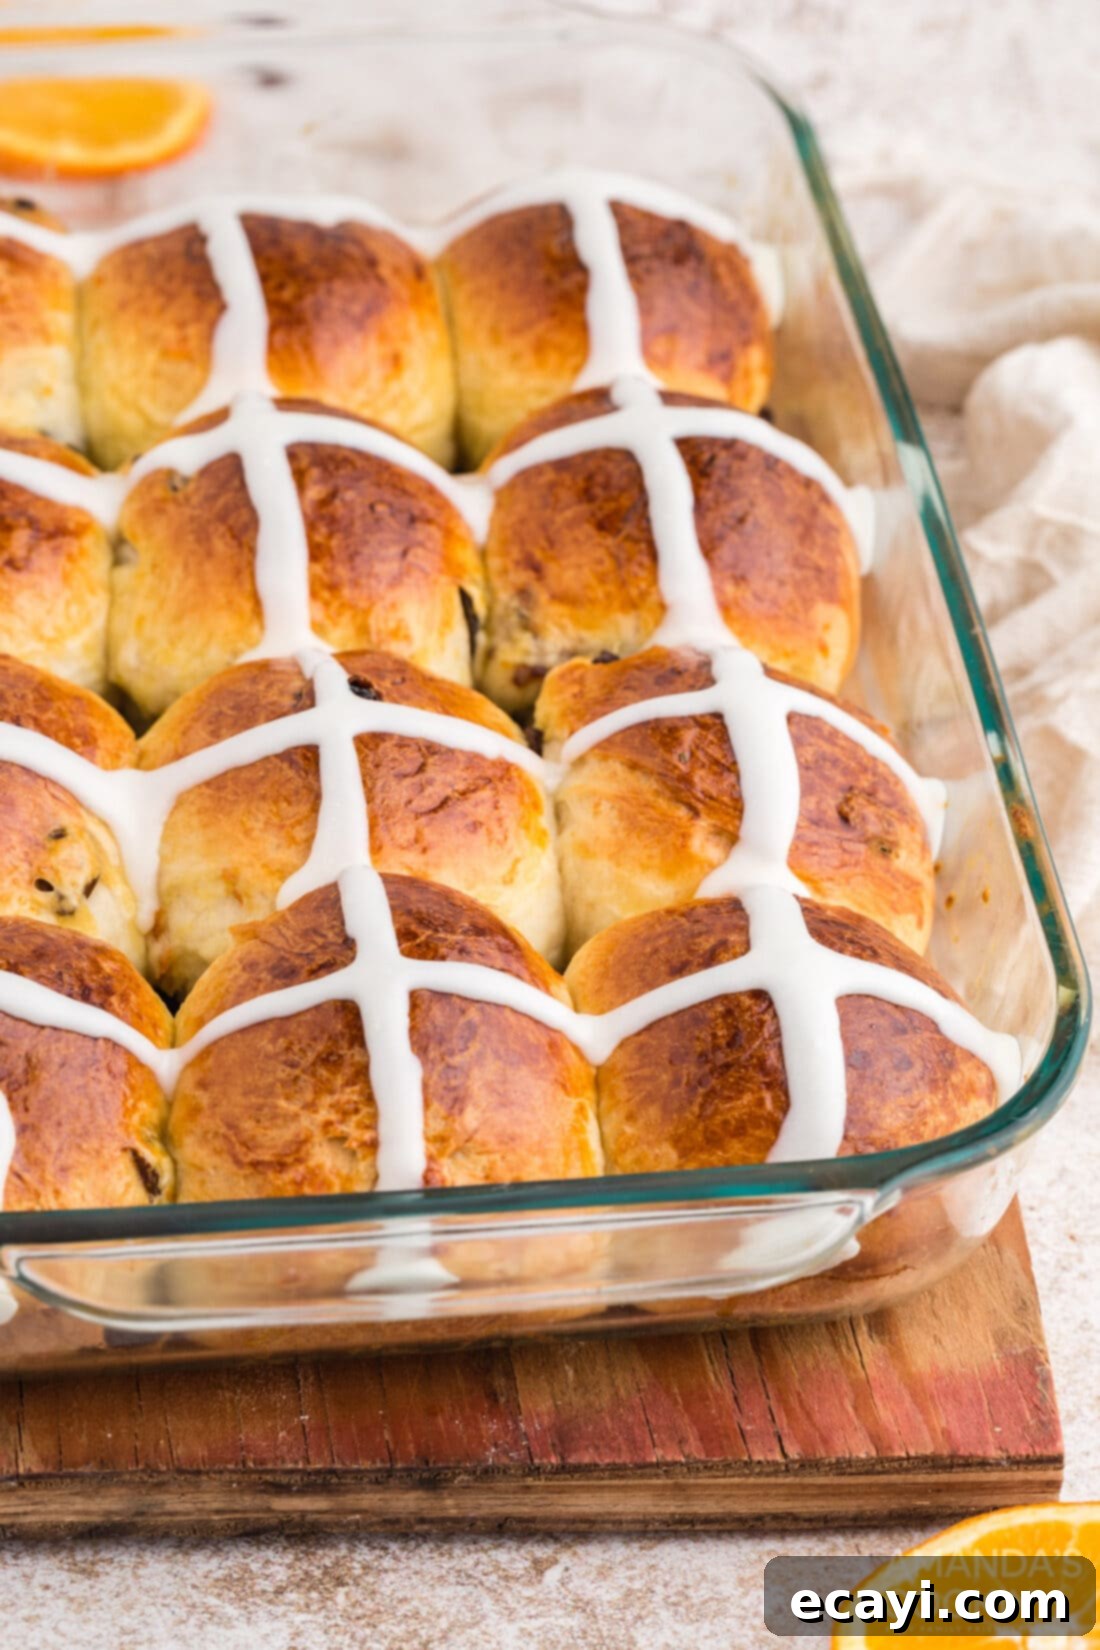
Embrace the delightful spirit of Easter with our ultimate recipe for homemade Hot Cross Buns. These exquisitely soft, pillowy buns are generously studded with succulent raisins and vibrant candied orange peels, then beautifully finished with a classic, sweet icing cross. They are more than just a baked good; they are a timeless symbol of spring and celebration, bringing warmth and joy to any holiday table.

Why This Hot Cross Buns Recipe Is Your New Favorite
Hot Cross Buns are a beloved tradition, especially around Easter and Good Friday. This recipe stands out because it consistently delivers buns that are not just soft and pillowy, but also perfectly balanced in sweetness and rich in flavor. We’ve fine-tuned every step to ensure your baking experience is enjoyable and your results are spectacular.
Our method focuses on creating an incredibly tender dough that rises beautifully, resulting in light-as-air buns. The careful selection of dried fruits – plump raisins and fragrant candied orange peels – provides bursts of sweetness and citrusy notes that complement the subtle spice (which you can enhance if you wish!). The signature icing cross is not merely decorative; it adds a perfect touch of extra sweetness that ties all the flavors together.
Whether you serve these delightful buns as a comforting side to your morning coffee, a special treat for afternoon tea, or as an elegant addition alongside our orange bourbon glazed ham on your festive holiday table, they are guaranteed to impress. Their golden-brown crust, fluffy interior, and iconic icing make them irresistible for any occasion.
Essential Ingredients for Perfect Hot Cross Buns
Creating these heavenly Hot Cross Buns requires a handful of common baking ingredients, all contributing to their incredible texture and flavor. You’ll find all precise measurements and detailed instructions in the printable recipe card located at the very end of this comprehensive guide. Here’s a closer look at the key components:
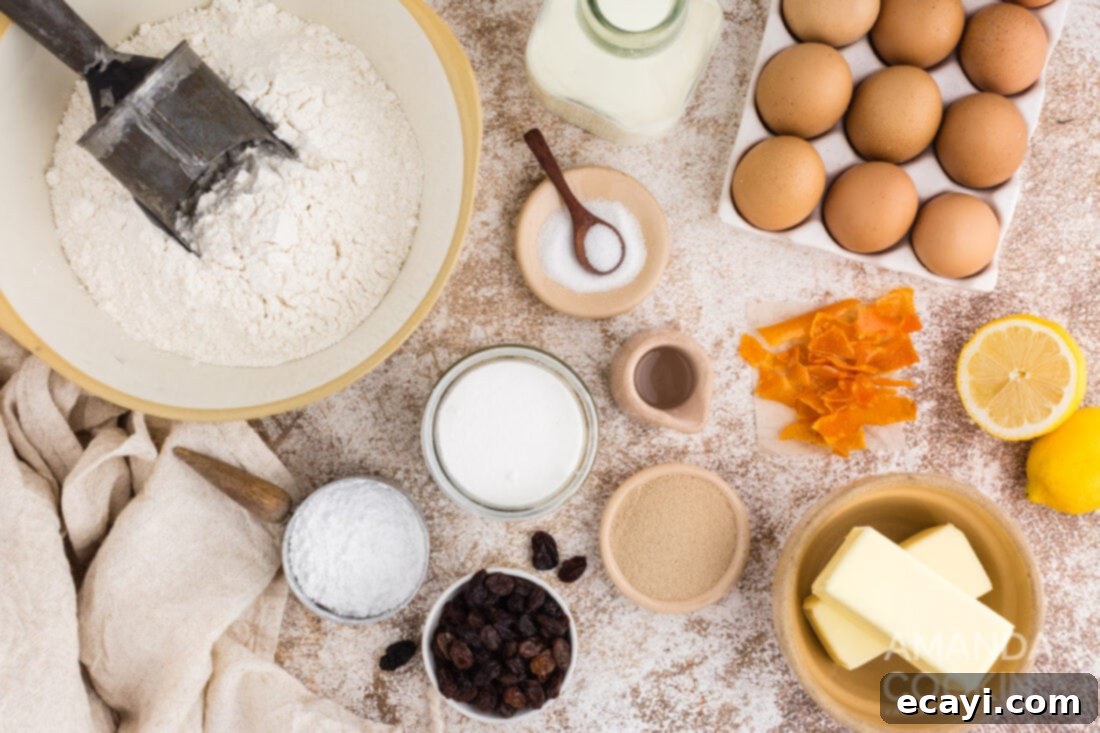
- FLOUR: Our recipe calls for standard all-purpose flour, which provides the ideal structure and tenderness for these buns. For those who prefer to incorporate whole grains, you can substitute up to half of the all-purpose flour with whole wheat flour. However, using 100% whole wheat flour is not recommended, as it can result in a denser, heavier bun due to its higher protein content and lack of gluten development compared to white flour.
- YEAST: We utilize active dry yeast in this recipe. Active dry yeast requires a brief period of activation, often referred to as “proofing,” which ensures it’s alive and ready to make your dough rise beautifully. While some recipes suggest proofing separately, our method integrates it directly with dry ingredients, relying on the warmth of the liquids to activate it. If you’re unsure about the freshness of your yeast or prefer to proof it explicitly, you can always dissolve it in a small portion of the warm milk from the recipe before combining with other ingredients. For a quicker rise, instant yeast or rapid-rise yeast can be swapped directly with the same measurements; it often doesn’t require separate proofing.
- FRUITS: The heart of these sweet buns lies in their dried fruit additions. We use a delightful combination of classic raisins and bright, aromatic candied orange peels. If you’re feeling adventurous or simply want to try making your own, check out our guide on how to make candied citrus peels! Feel free to customize this aspect to your liking by adding other dried fruits such as currants, dried cranberries, dried cherries, or even chopped dried apricots.
- SPICES (Optional): While our base recipe offers a pure, gently sweet flavor profile, you have the wonderful option to infuse your buns with warm, aromatic spices. A pinch of ground cinnamon, nutmeg, cloves, or even a mixed spice blend can transform these into classic spiced hot cross buns, adding another layer of traditional Easter flavor. Simply mix them in with the dry ingredients.
- MILK & BUTTER: These ingredients contribute to the richness and tenderness of the dough. Warming them gently helps activate the yeast and makes for a more pliable dough.
- EGGS: Eggs add richness, color, and structure to the buns, contributing to their soft texture.
- SUGAR & SALT: Granulated sugar provides sweetness and helps with yeast activation. Salt balances the flavors and also plays a crucial role in regulating yeast activity and strengthening the gluten network.
- ICING INGREDIENTS: Confectioners’ sugar (also known as powdered sugar), a touch of milk, softened butter, and a hint of lemon juice come together to form the smooth, sweet glaze for the iconic cross. The lemon juice adds a subtle tang that brightens the overall flavor of the icing.
How to Bake Delicious Hot Cross Buns: Step-by-Step Instructions
These detailed step-by-step photos and instructions are provided to help you visualize each stage of making this delicious recipe. For a convenient printable version of the recipe, complete with precise measurements and full instructions, simply Jump to Recipe at the bottom of this post.
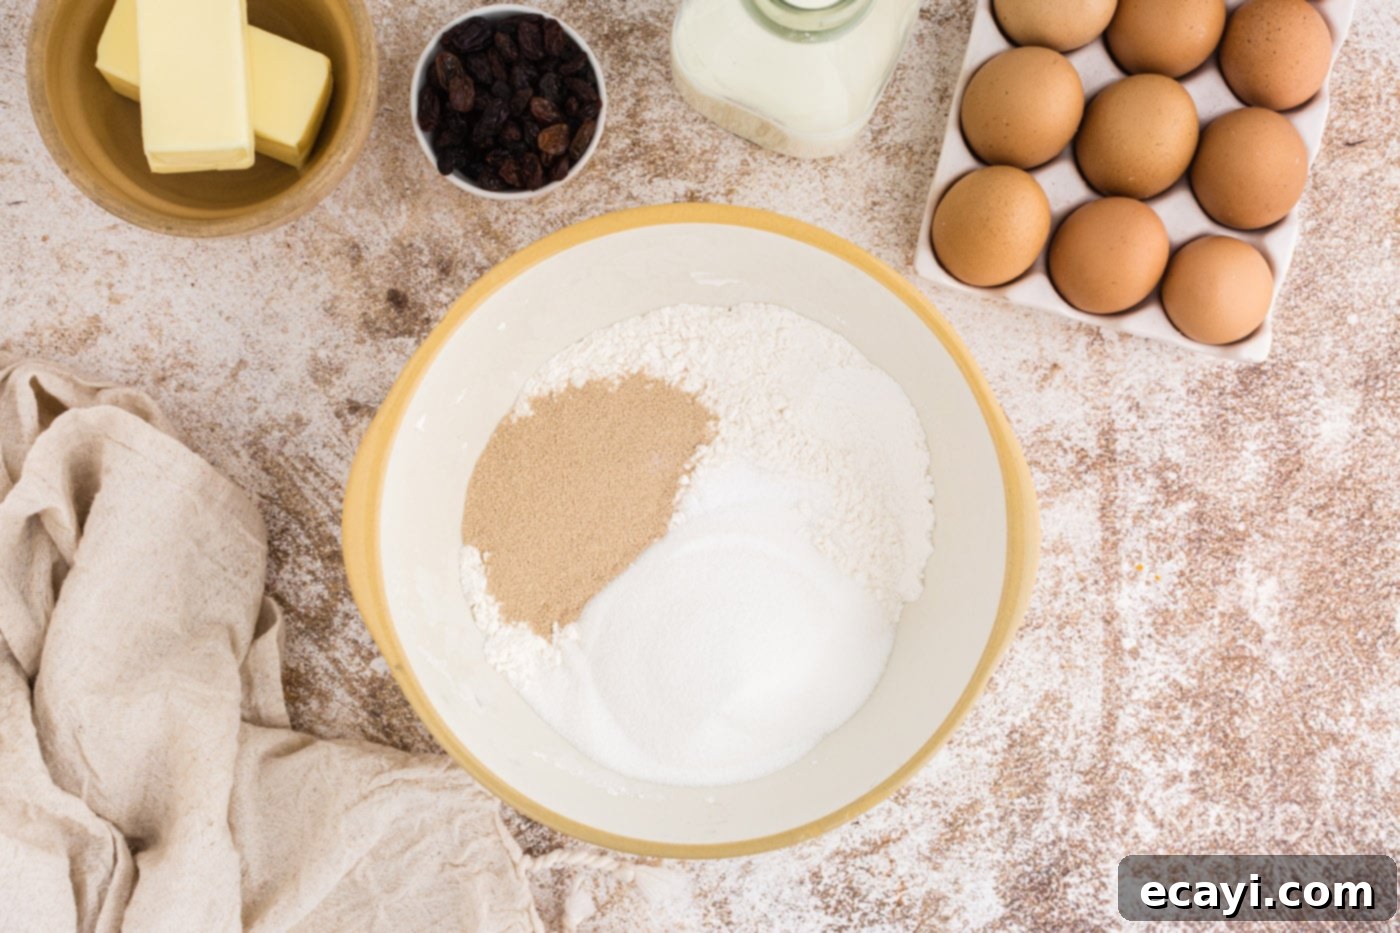
- Combine Dry Ingredients: In a generously sized mixing bowl, combine the granulated sugar, salt, active dry yeast, and the initial 2 cups of all-purpose flour. Stir these dry ingredients together thoroughly to ensure they are well distributed.
EXPERT TIP: In this particular recipe, the active dry yeast is added directly with the dry ingredients. It will fully dissolve and activate later when the warm liquid is introduced. This method works perfectly as long as your yeast is within its expiration date. Therefore, the separate “proofing” step you might be accustomed to (dissolving yeast in warm water first) is not strictly necessary. However, if you are uncertain about the freshness or viability of your yeast, it’s always a good idea to proof it first. You can do this by taking a small amount of the warm milk from the recipe, adding the yeast, and letting it sit for 5-10 minutes until it becomes foamy. This confirms the yeast is active before you proceed.

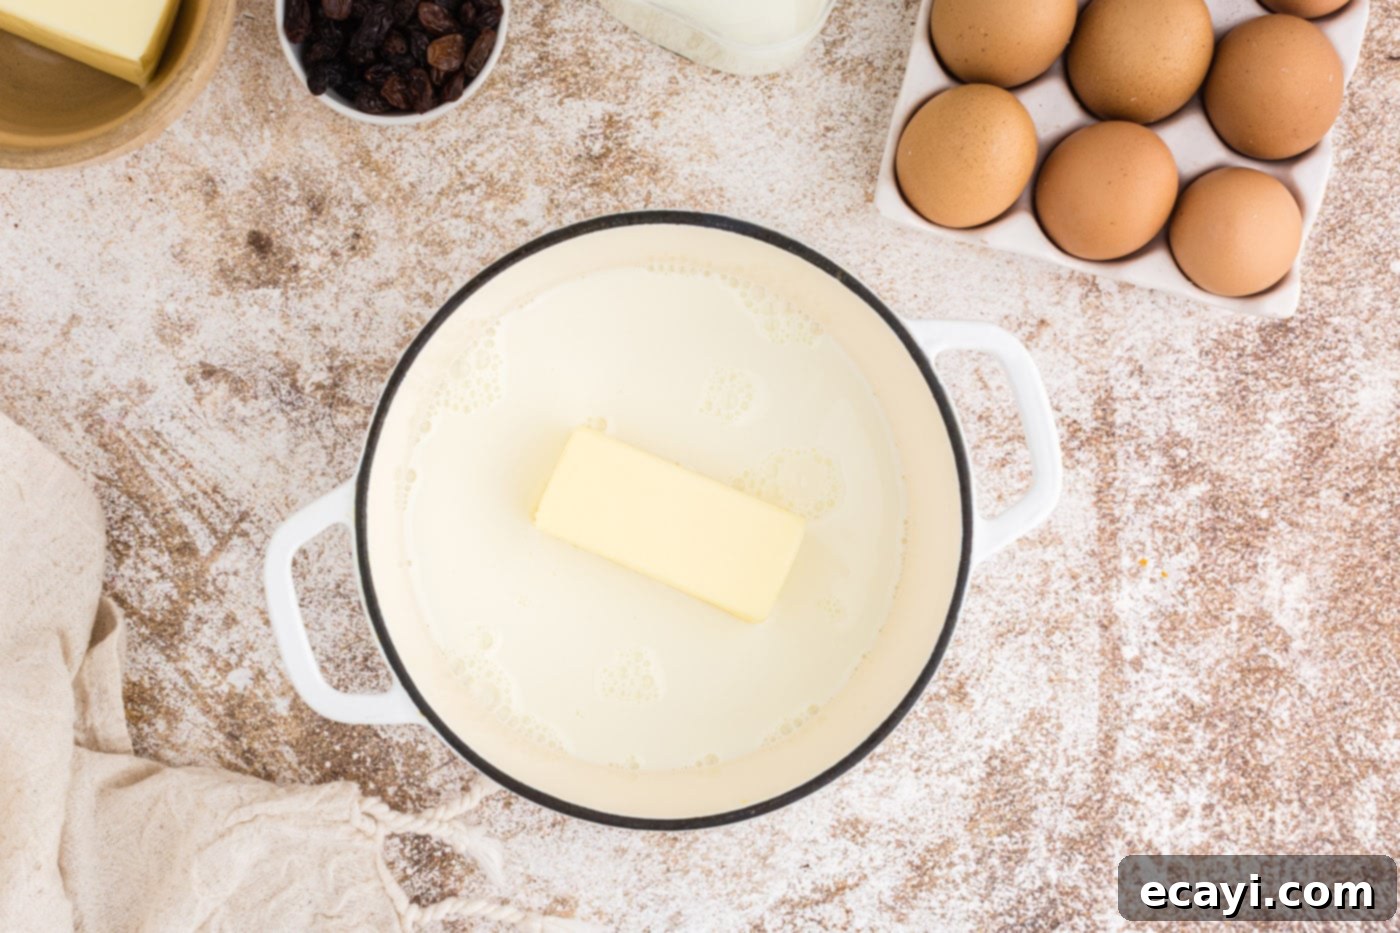
- Warm Milk and Butter: In a small saucepan, gently heat the milk and unsalted butter over low heat. Your goal is to warm the mixture until it’s comfortably warm to the touch (around 105-115°F or 40-46°C), but not scalding hot. The butter does not need to be completely melted; a few small chunks are fine as they will incorporate into the dough as it mixes.

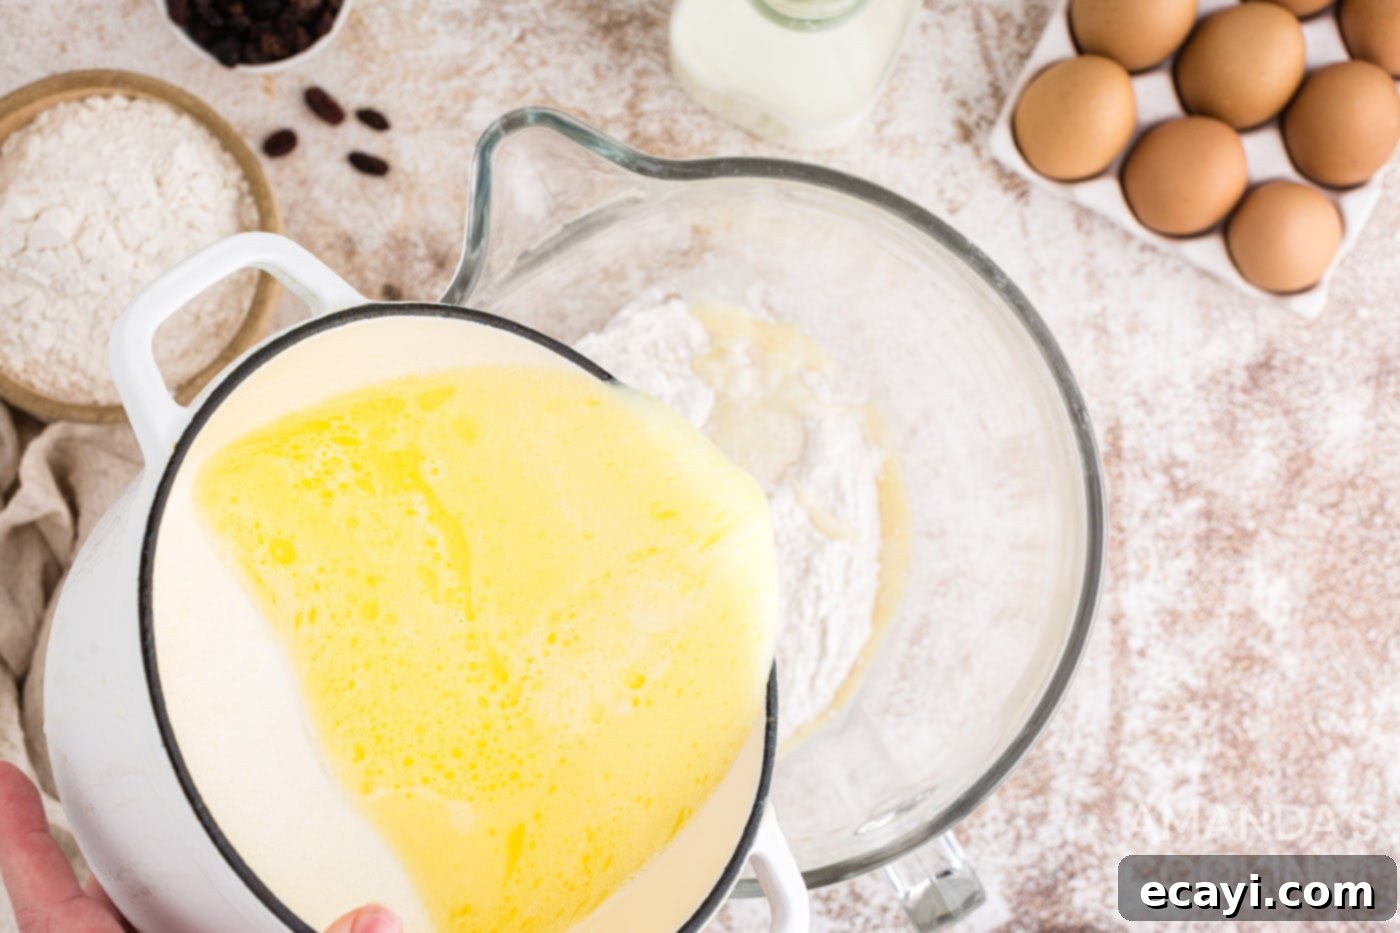
- Combine Wet and Dry Ingredients: Using a stand mixer fitted with a dough hook attachment (or a hand mixer with dough hooks), begin mixing on low speed. Slowly pour the warm milk and butter mixture into the dry ingredients in the bowl. Once the ingredients are lightly combined and a shaggy dough starts to form, increase the mixer speed to medium and continue beating for an additional 2 minutes. Remember to pause occasionally and scrape down the sides of the bowl with a spatula to ensure all ingredients are thoroughly incorporated.

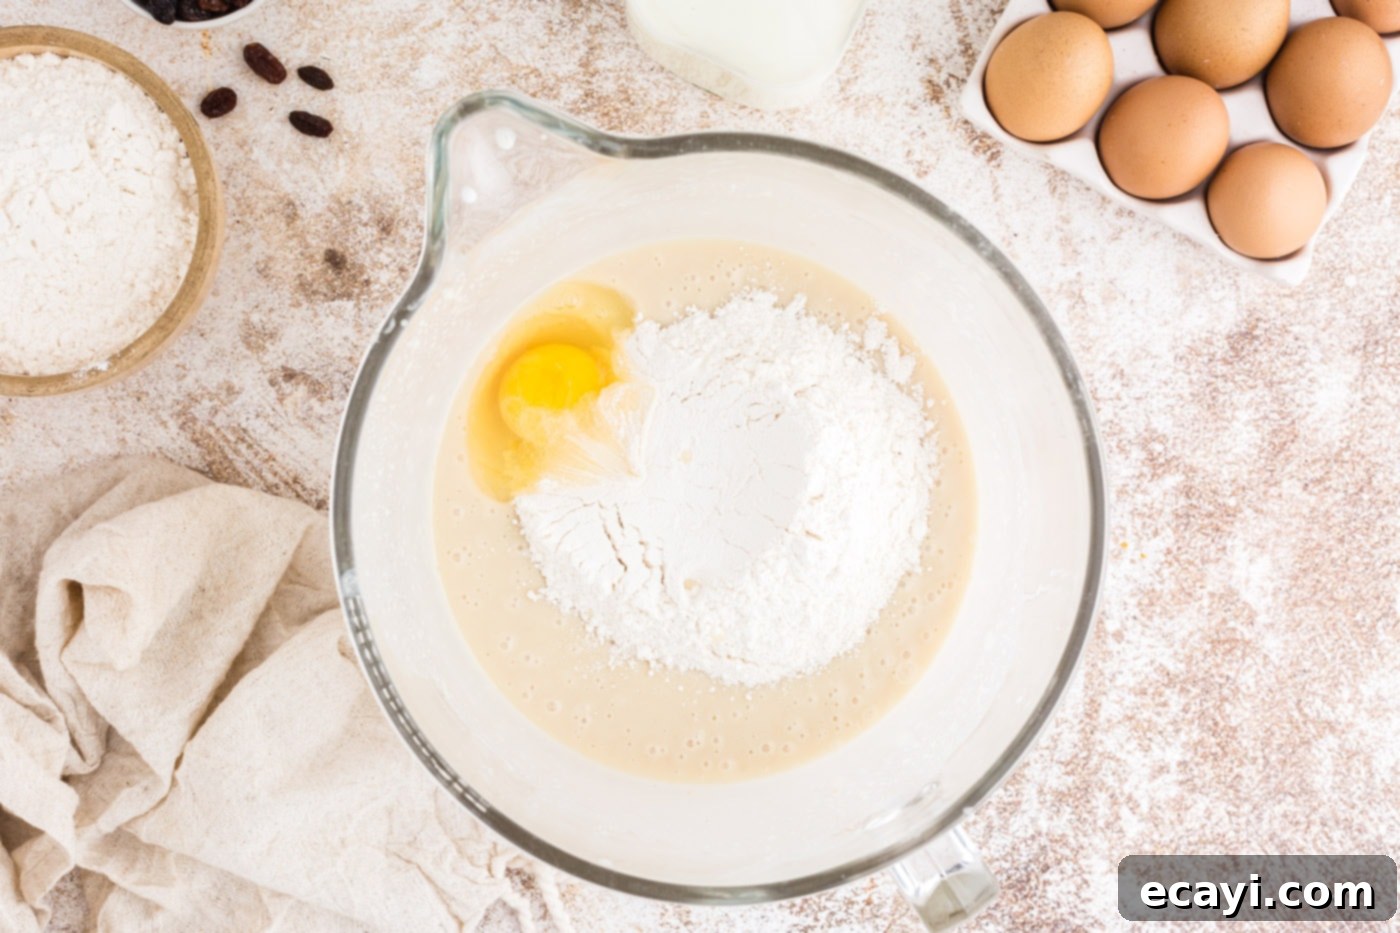
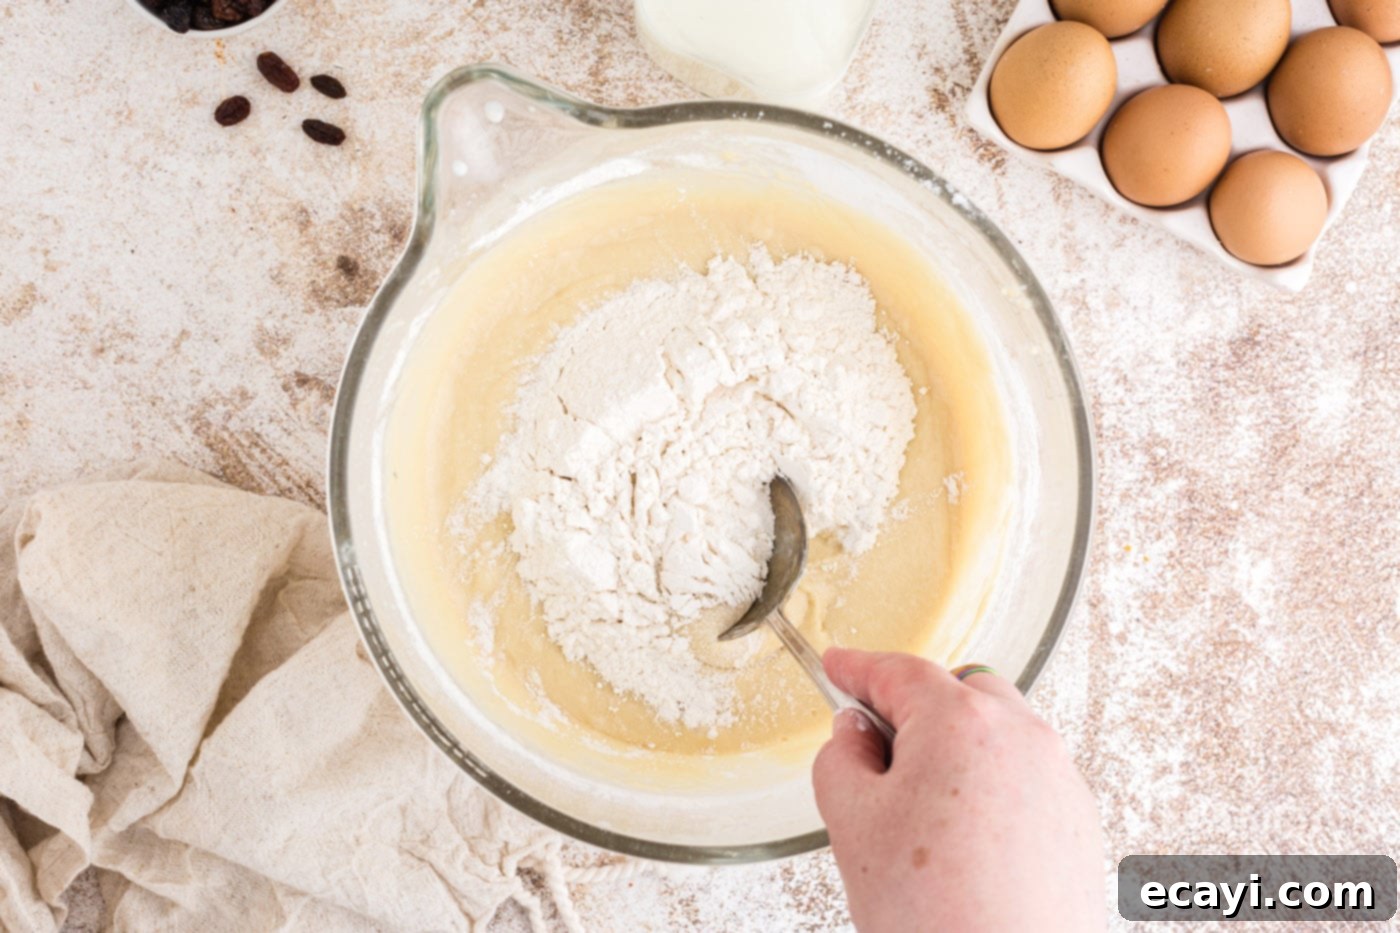
- Add Eggs and More Flour: To the mixing bowl, add the single egg and another 2 cups of all-purpose flour. Continue mixing on medium speed for an additional 2 minutes. This step helps to further develop the gluten and create a smooth, elastic dough.

- Adjust Dough Consistency: At this point, the dough may still be a bit sticky. Gradually stir in a little extra flour, approximately ½ cup or less, until you achieve a soft, manageable dough. The exact amount needed can vary based on humidity and flour type, so add it incrementally until the dough is no longer excessively sticky but remains pliable.

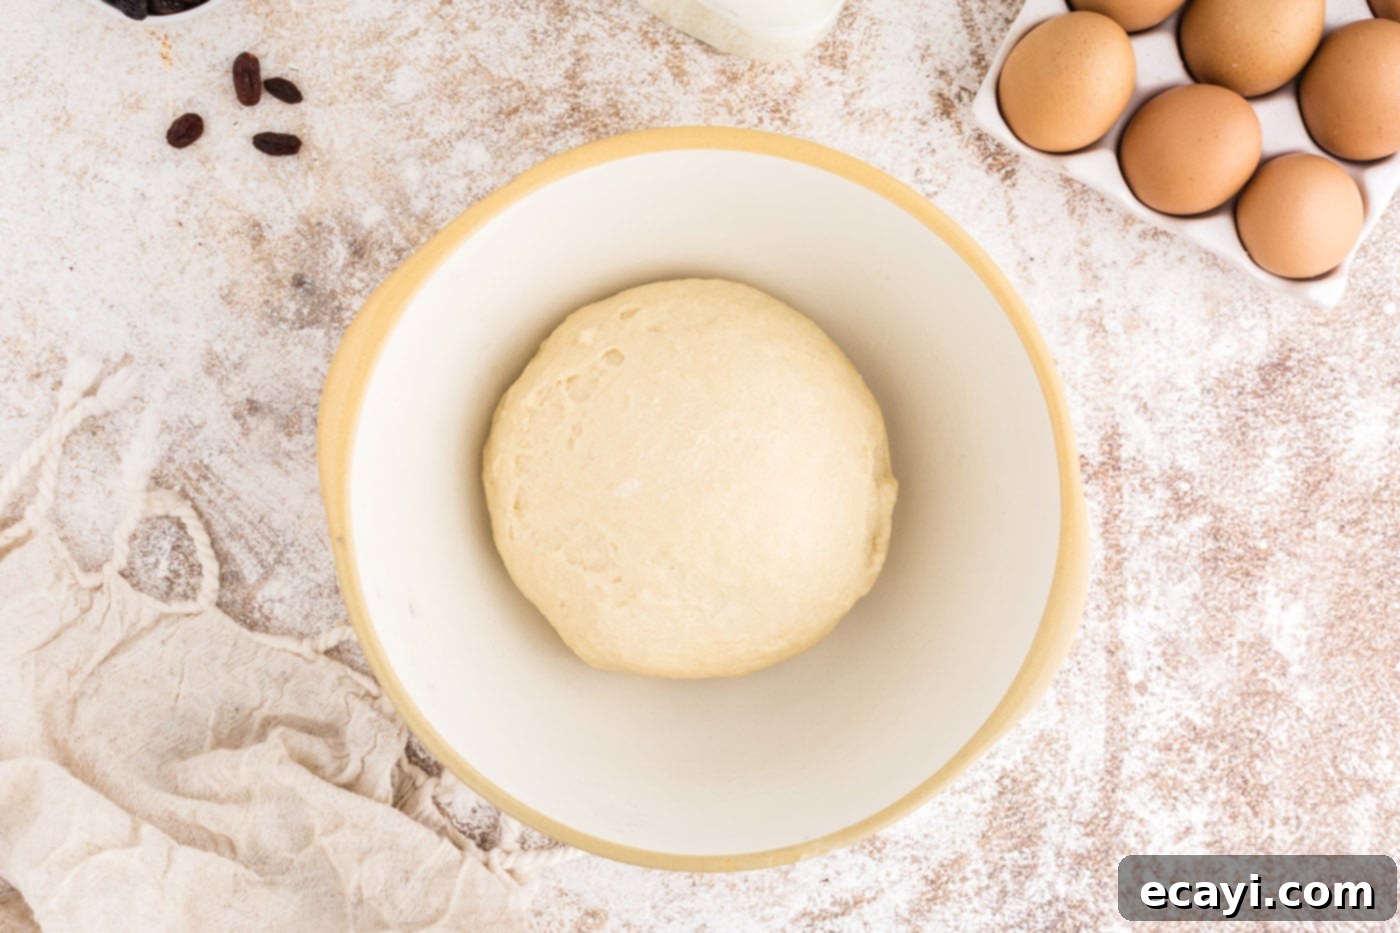
- Knead the Dough: Turn the dough out onto a lightly floured surface. Knead the dough vigorously for about 10 minutes until it becomes smooth, elastic, and no longer sticky. You’ll notice the dough becoming noticeably softer and more cohesive. Once kneaded, form the dough into a smooth ball.
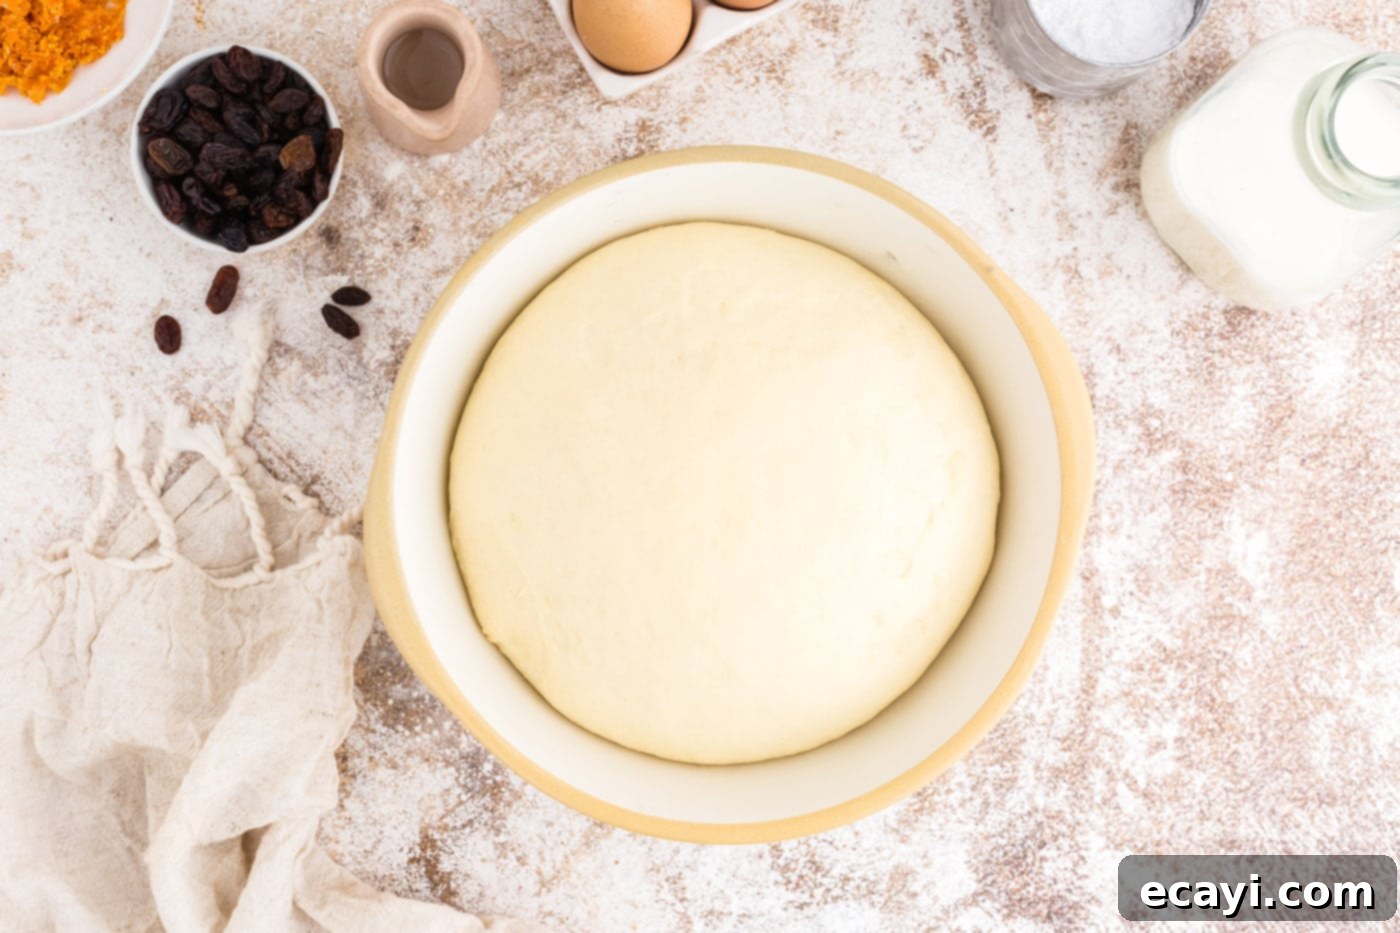
- First Rise (Proofing): Lightly grease a clean large bowl with a little oil or butter. Place the dough ball into the greased bowl, then turn it once to ensure the top of the dough is also lightly greased, preventing it from drying out. Cover the bowl tightly with plastic wrap or a clean kitchen towel. Place the bowl in a warm, draft-free area of your kitchen. Allow the dough to rise until it has visibly doubled in size, which typically takes around 1 hour, depending on the warmth of your environment.


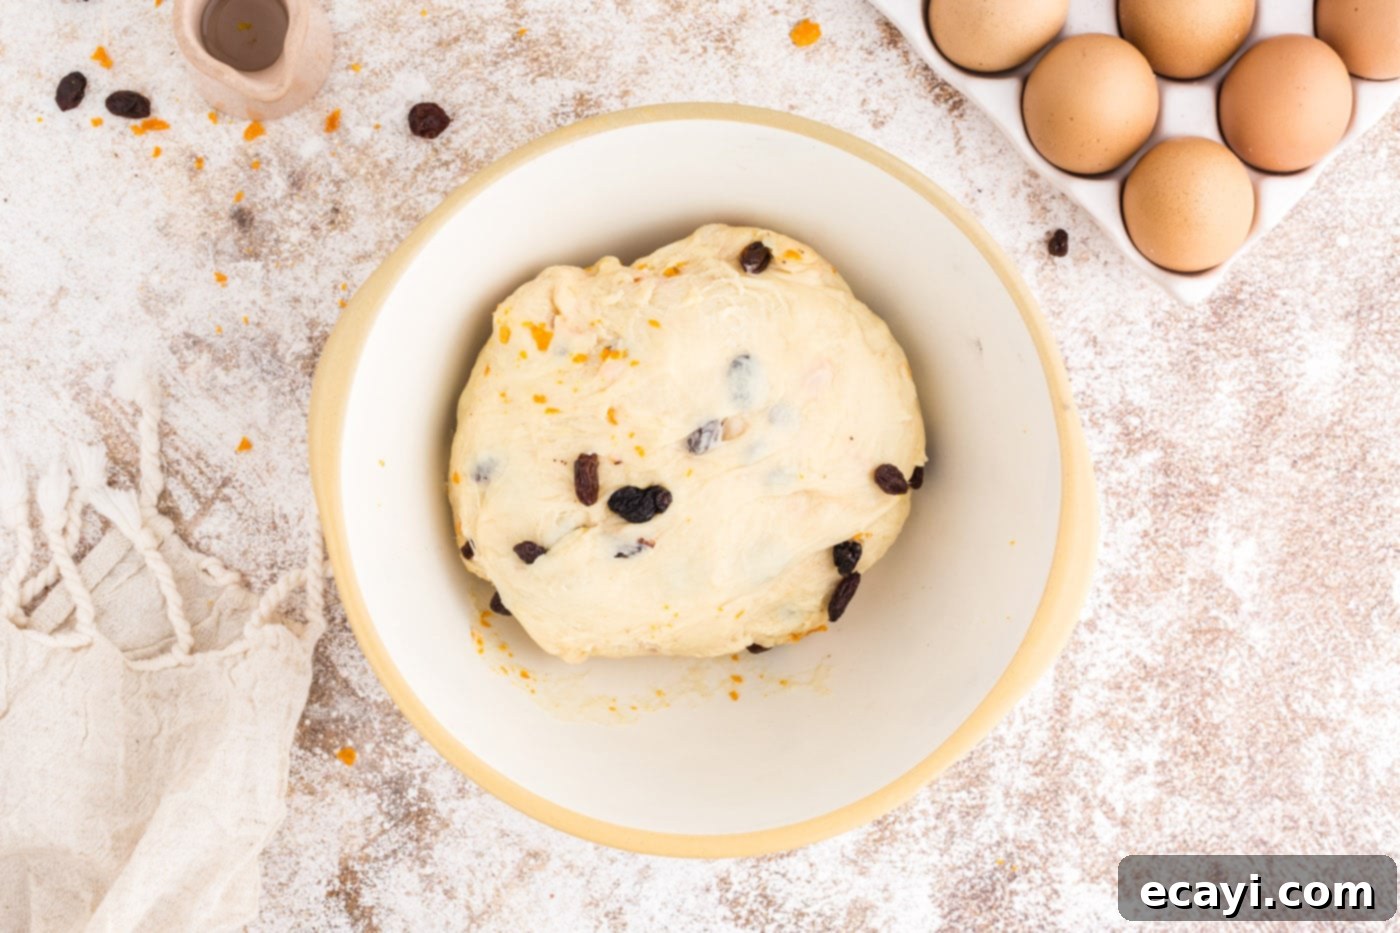
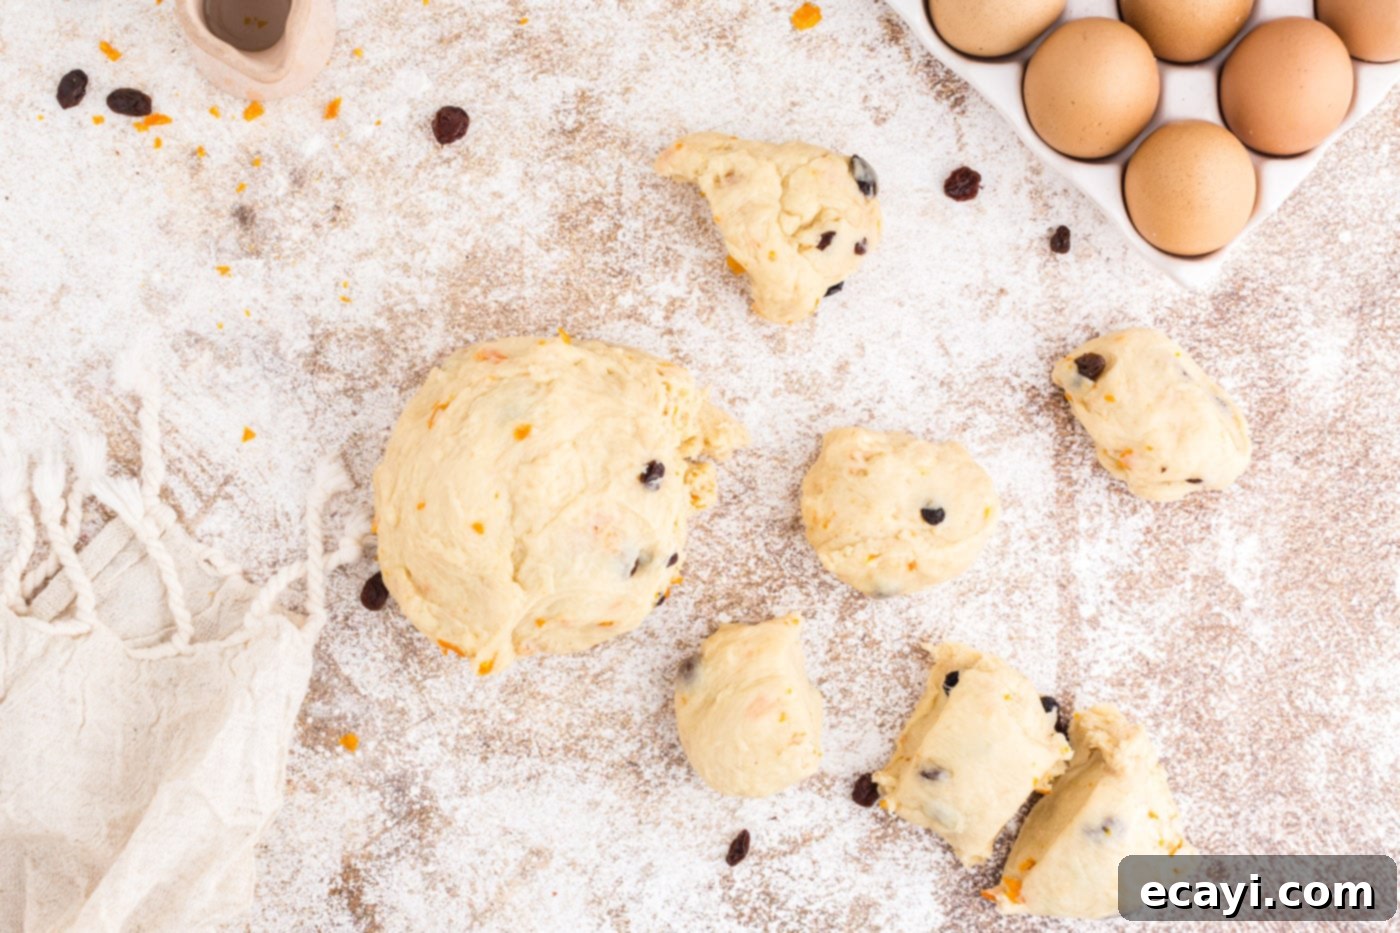
- Incorporate Fruits: Once the dough has doubled, gently punch it down to release the air. Add the dark seedless raisins and the chopped candied orange peels directly to the dough. Knead the dough just long enough for the fruits to be evenly incorporated throughout the mass. Be careful not to over-knead at this stage, as too much handling can break down the gluten structure.

- Divide and Rest: Turn the fruit-laden dough out onto a lightly floured surface. Using a knife or a dough scraper, divide the dough into 12 equal pieces. This will ensure your buns are uniform in size. Cover the pieces with a clean kitchen towel and let them rest for about 15 minutes. This brief resting period, known as bench rest, helps relax the gluten, making the dough easier to shape.

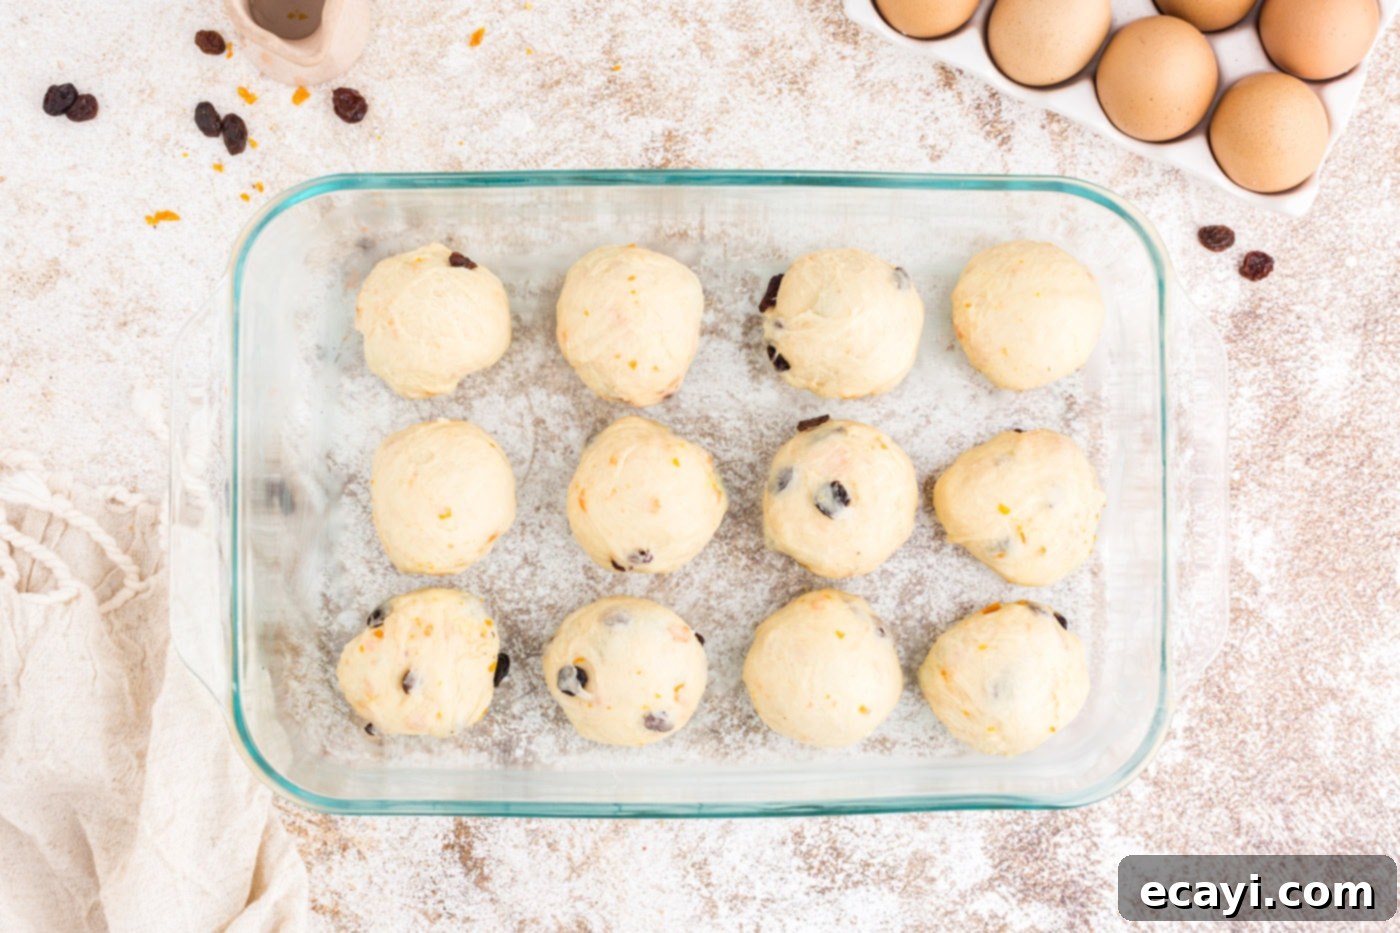
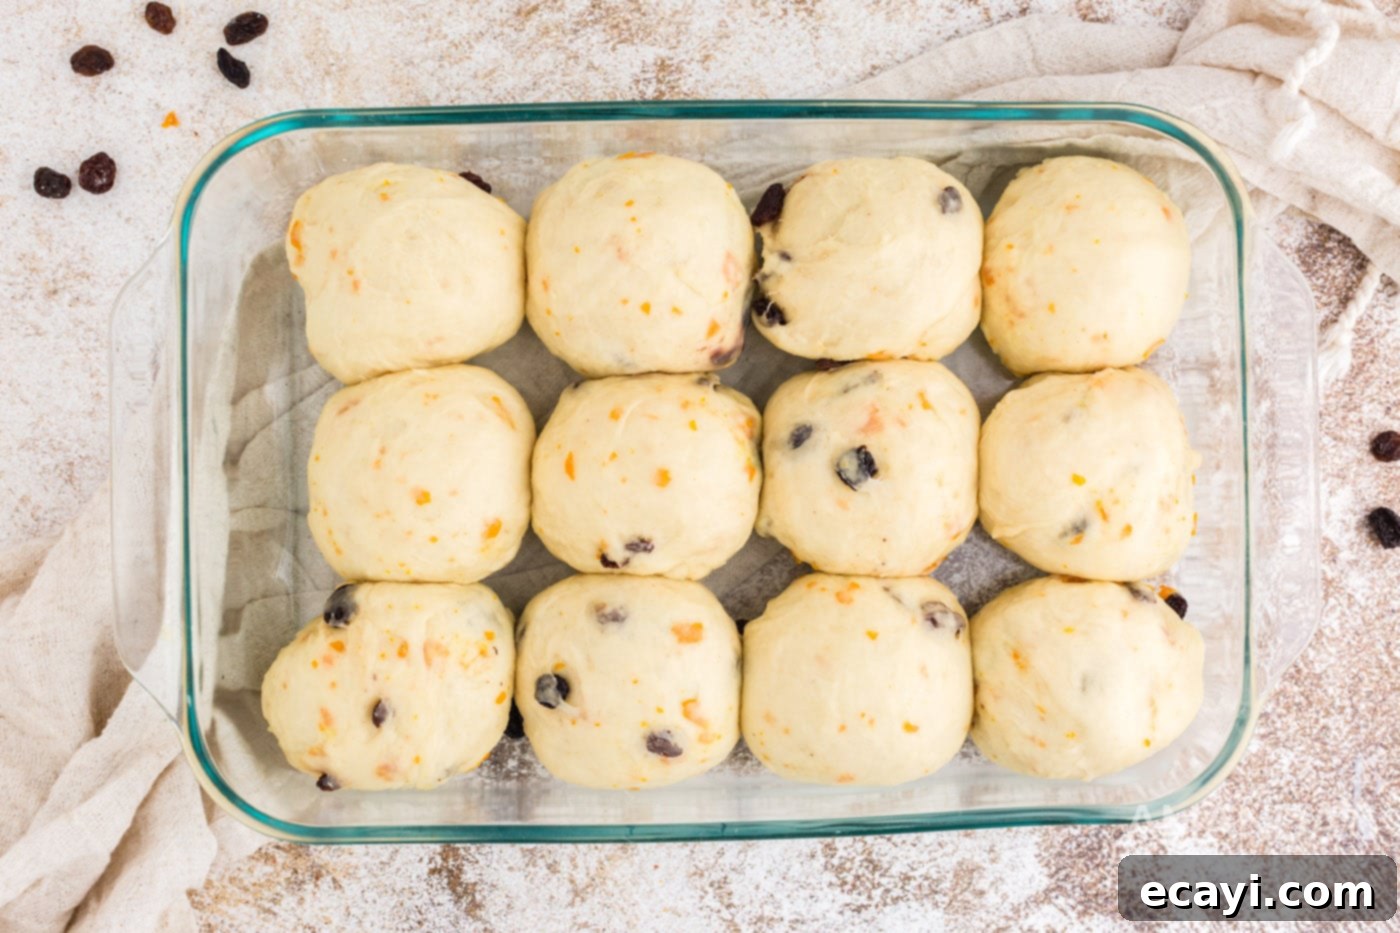
- Shape and Second Rise: Take each dough piece and gently shape it into a smooth, round ball. Arrange these 12 dough balls in a greased 13×9 inch baking dish, leaving a little space between them as they will expand. Cover the baking dish with a clean towel and return it to a warm, draft-free place. Allow the dough balls to undergo their second rise until they have doubled in size and are lightly touching each other, which will take approximately 1 hour.


- Preheat Oven: While the buns are completing their second rise, preheat your oven to 350°F (175°C). Ensure your oven is fully preheated before placing the buns inside for even baking.
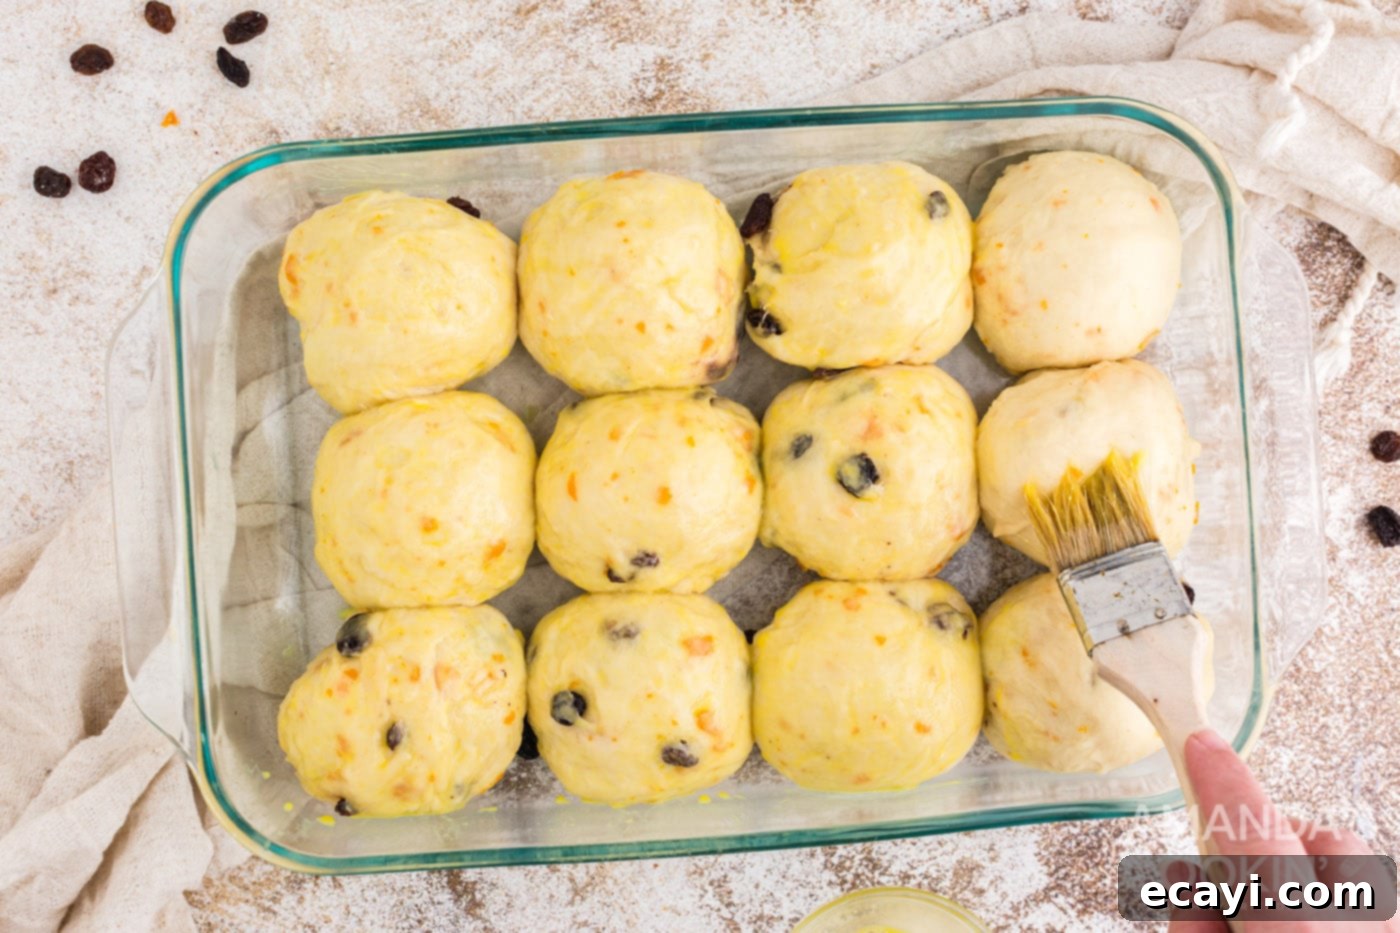
- Egg Wash and Bake: In a small bowl, whisk together the egg yolk with 1 teaspoon of water to create an egg wash. Gently brush the tops of the risen buns with this egg wash. This will give them a beautiful golden-brown color and a lovely sheen. Place the baking dish in the preheated oven and bake for 30 minutes, or until the buns are deeply golden brown and cooked through.

- Prepare the Icing: While the buns are in the oven, it’s the perfect time to prepare the sweet icing for the signature cross. In a medium-sized bowl, combine the confectioners’ sugar, 1 tablespoon of milk, 1 tablespoon of softened butter, and ½ teaspoon of lemon juice. Using a mixer set to low speed, beat all the icing ingredients together until the mixture is completely smooth and free of lumps. The lemon juice adds a lovely subtle tang.
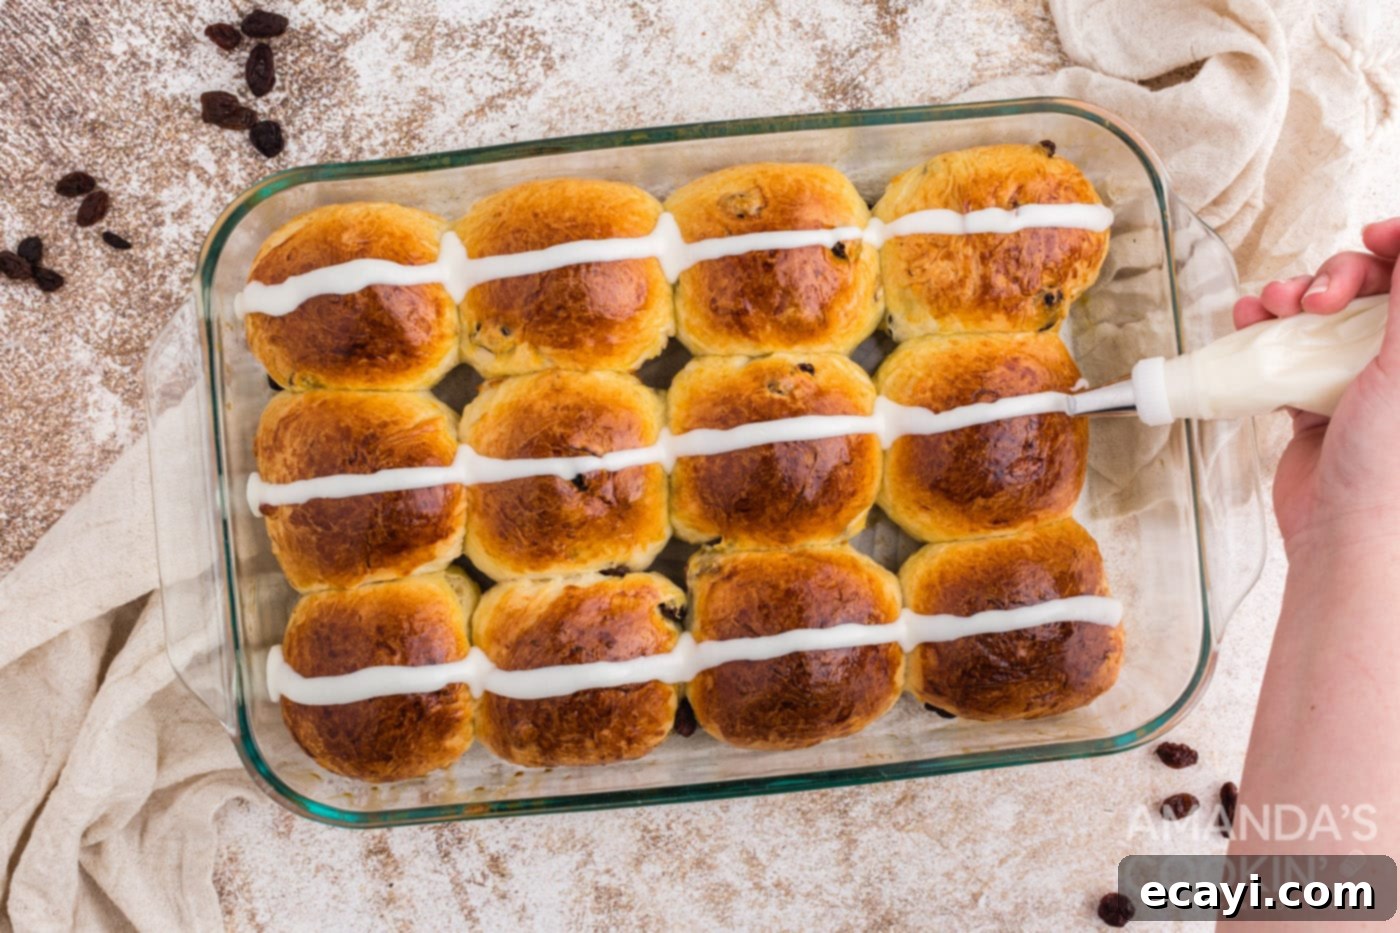
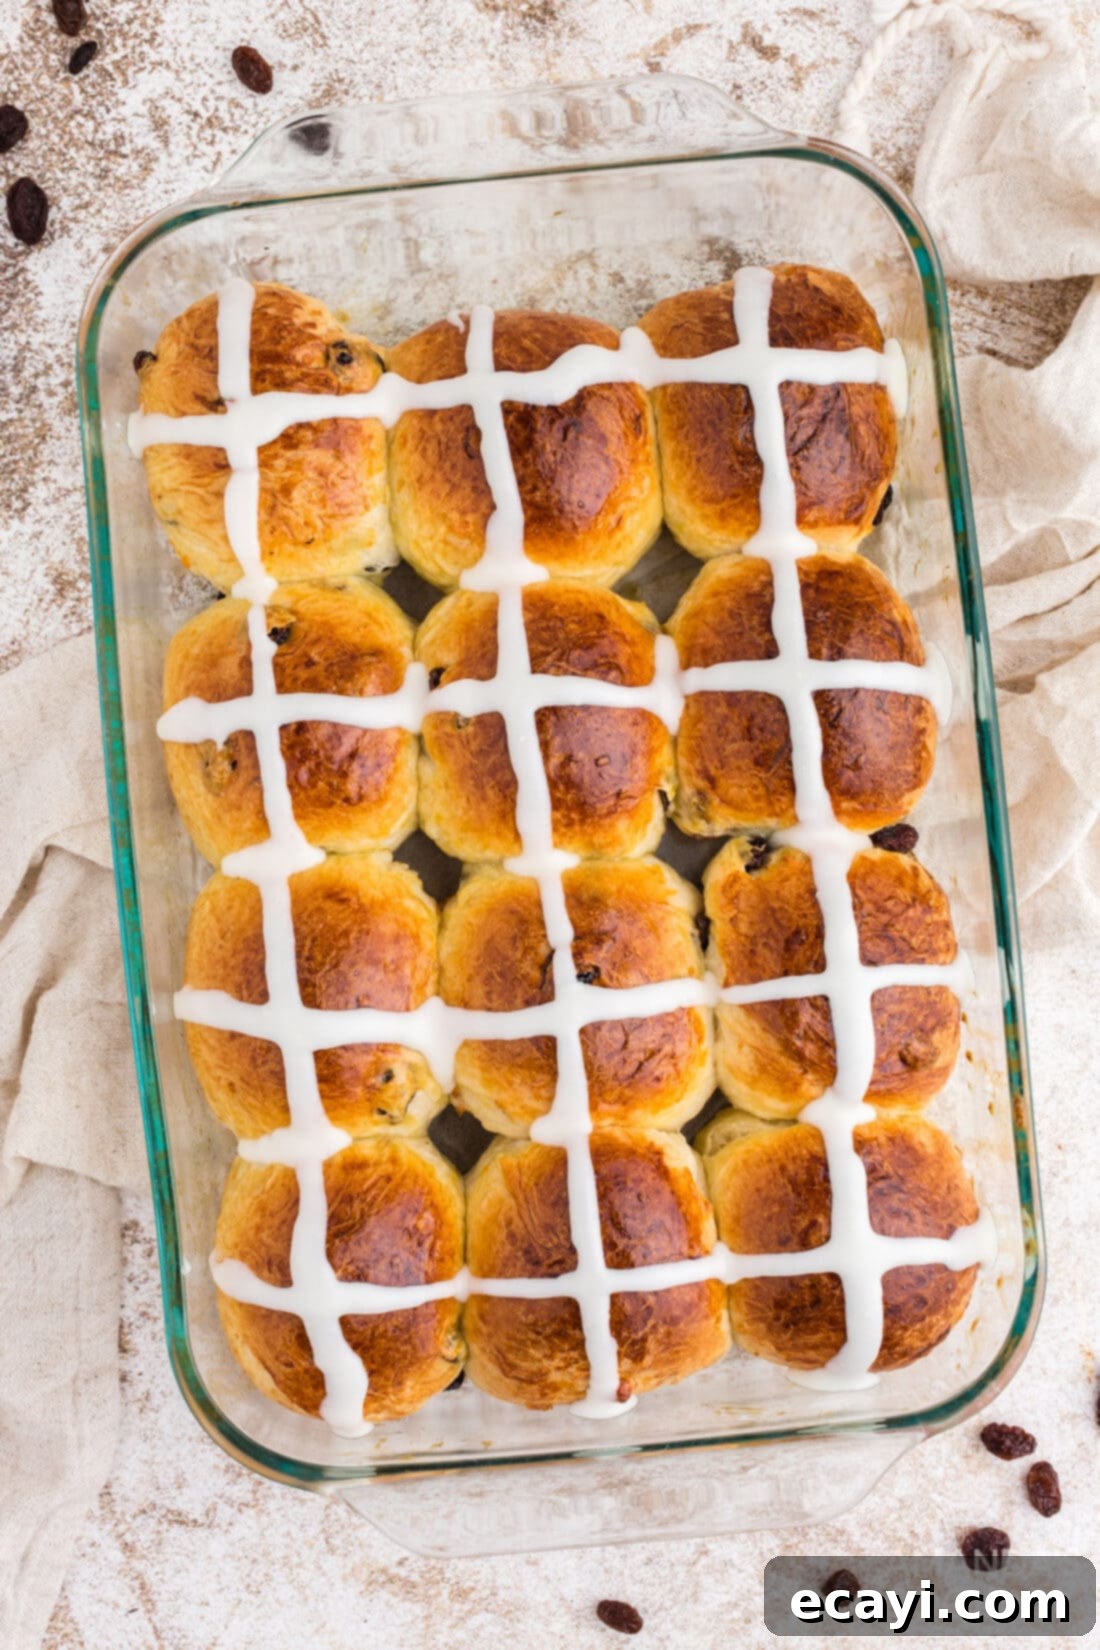
- Apply the Icing Crosses: Once the buns are baked and have cooled slightly (they should still be warm, but not hot from the oven), transfer the prepared icing to a piping bag. If you don’t have a piping bag, a sturdy ziplock bag with a tiny corner snipped off will work just as well. Gently squeeze the icing to create a horizontal strip across the top of each bun, then repeat with a vertical strip to form the iconic cross. The slight warmth of the buns will allow the icing to set beautifully into a delicate glaze.

Frequently Asked Questions About Hot Cross Buns
Absolutely! While our recipe specifies active dry yeast, you can certainly use instant yeast (also known as rapid-rise or quick-rise yeast) as a direct substitute. Instant yeast is designed to be added directly to dry ingredients without prior proofing, and it often results in a slightly faster rise time. You can swap it out with the same measurements for active dry yeast.
The beauty of this recipe is its versatility! You can easily customize the dried fruits to your preference. Instead of raisins, consider using currants, dried cranberries, dried cherries, or even finely chopped dried plums or apricots for a different flavor profile. For the candied orange peels, feel free to substitute with candied lemon peel, candied lime peel, or any other finely chopped dried citrus fruit you enjoy. You can even add a mix of several different types of dried fruit for added complexity.
Yes, you can use bread flour as a substitute for all-purpose flour in this recipe. Bread flour has a higher protein content, which can result in a chewier bun with a slightly more developed gluten structure. Simply swap it out with the same measurements as you would for all-purpose flour in the ingredients list. You might find the dough a little stiffer, so you may need to adjust the final bit of flour added to achieve the desired soft dough consistency.
To maintain their freshness and soft texture, store leftover hot cross buns in an airtight container at room temperature for up to 2-3 days. For longer storage, you can freeze them for up to 2-3 months. To reheat, simply warm them gently in the microwave for 15-30 seconds or in a preheated oven (300°F/150°C) for a few minutes until soft and warm. They are absolutely delicious served warm with a smear of butter!
Absolutely! While our recipe emphasizes the natural sweetness of the fruits, traditional hot cross buns often feature warm spices. You can easily add 1-2 teaspoons of ground cinnamon, ½ teaspoon of ground nutmeg, a pinch of ground cloves, or a teaspoon of mixed spice (a blend of cinnamon, coriander, caraway, nutmeg, ginger, and allspice) to the dry ingredients along with the flour. This will infuse your buns with a delightful, aromatic flavor perfect for the Easter season.
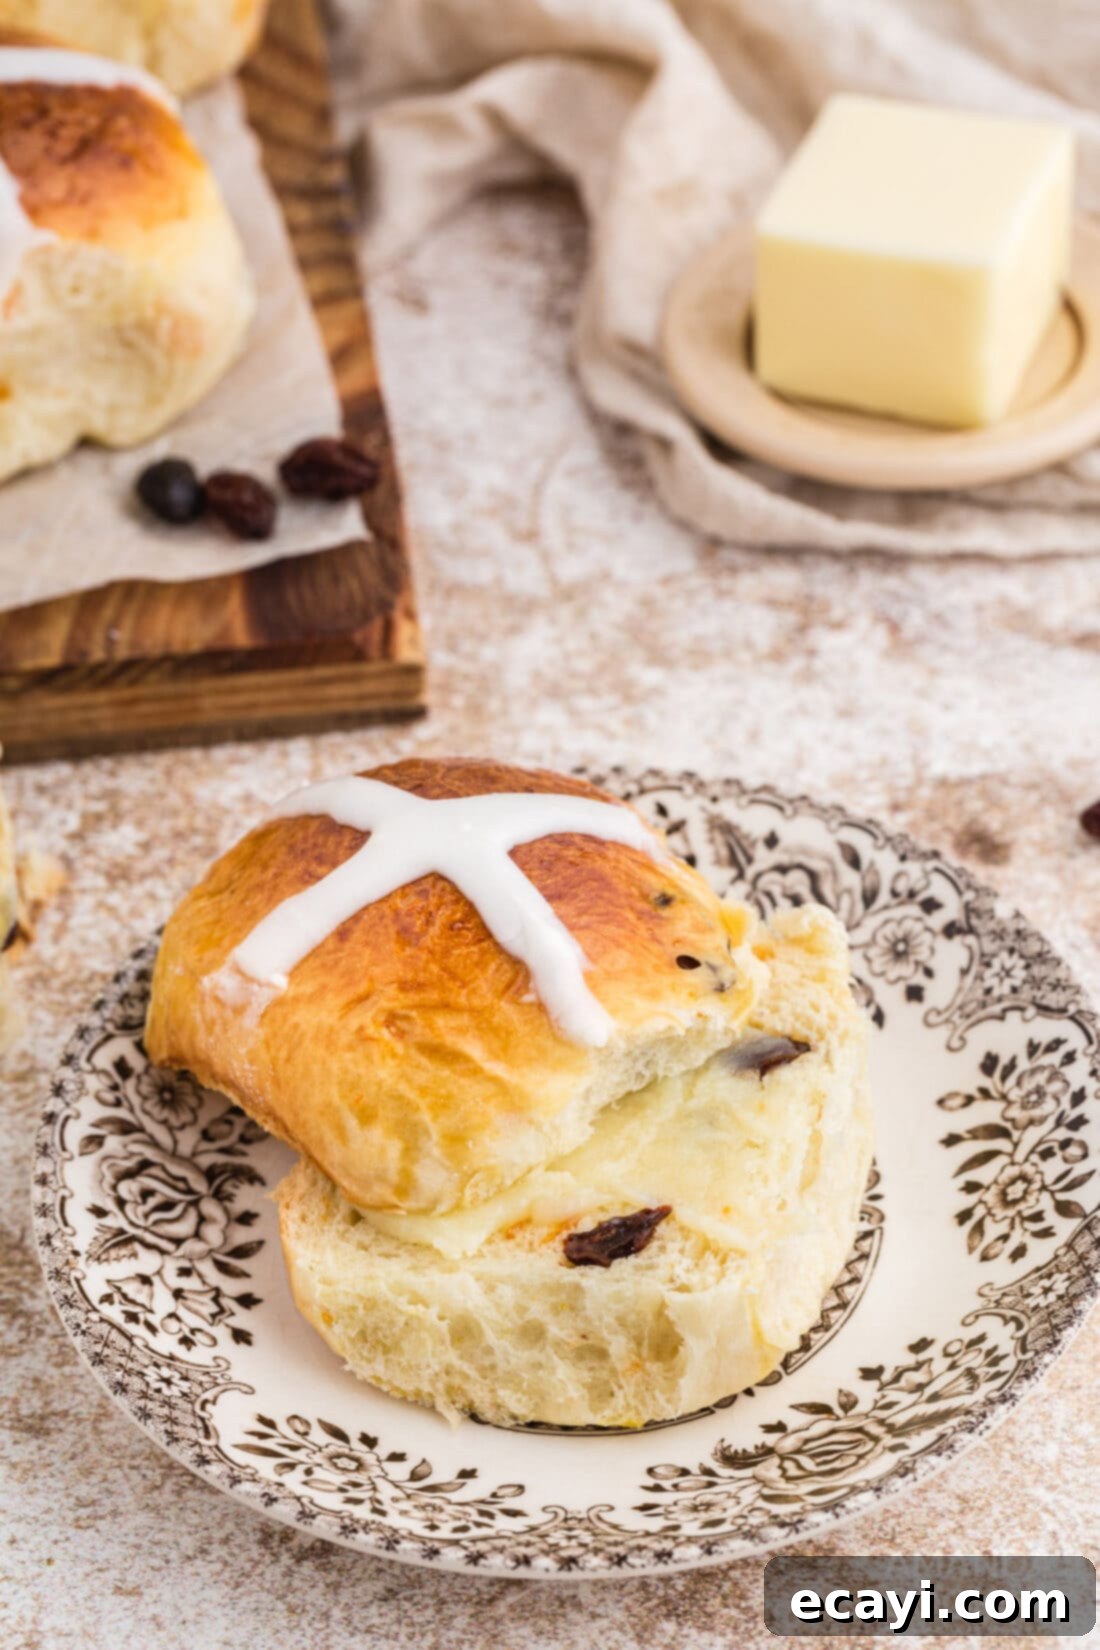
These homemade hot cross buns are truly extra delicious when served warm, perhaps with a generous smear of butter or a dollop of jam. Their soft texture and subtly sweet flavor make them a lovely traditional Easter bread you’ll want to grace your holiday table year after year. The aroma alone will fill your home with the joyful essence of spring!
More Festive Easter Recipes to Explore
Looking for more delicious ways to celebrate Easter? We’ve got you covered with a collection of charming and tasty recipes that are perfect for your holiday feast or spring gatherings:
- Easter Bunny Pull Apart Bread: A fun and adorable centerpiece for your brunch.
- Bunny Butt Cupcakes: Whimsical and incredibly cute cupcakes that kids and adults will adore.
- Classic Deviled Eggs: A timeless appetizer that’s always a crowd-pleaser.
- Bird Nest Cookies: Sweet, crunchy, and perfect for a spring dessert.
- Decadent Carrot Cake Trifle: Layers of carrot cake, cream cheese frosting, and whipped cream for an elegant dessert.
I absolutely love spending time in the kitchen, experimenting with new flavors, and perfecting classic recipes. Sharing my culinary experiences and tips with all of you is a true joy! To make sure you never miss out on a delicious new recipe or helpful kitchen insight, I offer a convenient newsletter delivered straight to your inbox every time a new post goes live. Simply subscribe here and start receiving your free daily recipes!

Hot Cross Buns
IMPORTANT – There are often Frequently Asked Questions within the blog post that you may find helpful. Simply scroll back up to read them!
Print It
Pin It
Rate It
Save ItSaved!
Course:
Breads
12 buns
367
Amanda Davis
Ingredients
- ½ cup granulated sugar
- ½ tsp salt
- 3 ½ Tbsp active dry yeast
- 4 ½ cup all-purpose flour divided
- 1 cup milk
- ½ cup unsalted butter
- 1 egg
Additions
- ½ cup dark seedless raisins
- ⅓ cup candied orange peels chopped
For the Icing
- 1 egg yolk
- 1 tsp water
- ¾ cup confectioners sugar also known as powdered sugar
- 1 Tbsp milk
- 1 Tbsp butter softened
- ½ tsp lemon juice
Things You’ll Need
-
Stand mixer
-
Mixing bowls
Before You Begin
- In this recipe, you will add the yeast with the dry ingredients, it will dissolve later when liquid is added. As long as your yeast is not past its expiration date, the proofing step you are accustomed to seeing is not needed. If you aren’t sure about your yeast, you can proof it by using some of the warm liquid in the recipe prior to adding it in.
- You can substitute active dry yeast with quick rising/instant yeast by simply swapping them out in the ingredients list.
- Pipe the icing on while the buns are warm, but not piping hot, so it creates a slight glaze.
- While we don’t add any spices like cinnamon, nutmeg, or cloves in our dough, you can add these ingredients to make spiced buns.
Instructions
-
In a large mixing bowl, combine the granulated sugar, salt, active dry yeast, and 2 cups of all-purpose flour. Stir well.
-
In a saucepan, gently heat the milk and butter over low heat until warm (105-115°F / 40-46°C). The butter doesn’t need to melt completely.
-
With a mixer on low speed, slowly beat the warm wet ingredients into the dry ingredients until just combined.
-
Increase the mixer speed to medium and beat for an additional 2 minutes, scraping the bowl occasionally.
-
Add the egg and another 2 cups of flour to the mixture. Continue mixing for 2 more minutes.
-
Stir in a little extra flour (about 1/2 cup or less) incrementally until you have a soft, pliable dough that is no longer overly sticky.
-
Transfer the dough to a lightly floured surface and knead until smooth and elastic, about 10 minutes. Form the dough into a ball.
-
Place the dough into a greased bowl, turning once to grease the top. Cover and let rise in a warm, draft-free area until doubled in size, about 1 hour.
-
Gently punch down the risen dough. Add the raisins and chopped candied orange peels, then knead just until the fruits are evenly incorporated.
-
Divide the dough into 12 equal pieces. Cover the pieces and let them rest for 15 minutes to relax the gluten.
-
Shape each dough piece into a smooth ball and place them into a greased 13×9 inch baking dish.
-
Cover the baking dish with a towel and let the dough balls rise again until doubled in size, approximately 1 hour.
-
Preheat your oven to 350°F (175°C).
-
In a small bowl, combine the egg yolk with 1 tsp of water to make an egg wash. Brush the tops of the risen buns with this wash and bake for 30 minutes, or until golden brown.
-
While the buns are baking, prepare the icing. With a mixer on low, combine all icing ingredients (confectioners’ sugar, 1 Tbsp milk, 1 Tbsp softened butter, 1/2 tsp lemon juice) until smooth.
-
To create the icing cross, transfer the icing to a piping bag (or a ziplock bag with a corner snipped off). Gently squeeze icing horizontally, then vertically across each warm bun to form the iconic cross.
Nutrition
Tried this Recipe? Pin it for Later!Follow on Pinterest @AmandasCookin or tag #AmandasCookin!
The recipes on this blog are tested with a conventional gas oven and gas stovetop. It’s important to note that some ovens, especially as they age, can cook and bake inconsistently. Using an inexpensive oven thermometer can assure you that your oven is truly heating to the proper temperature. If you use a toaster oven or countertop oven, please keep in mind that they may not distribute heat the same as a conventional full sized oven and you may need to adjust your cooking/baking times. In the case of recipes made with a pressure cooker, air fryer, slow cooker, or other appliance, a link to the appliances we use is listed within each respective recipe. For baking recipes where measurements are given by weight, please note that results may not be the same if cups are used instead, and we can’t guarantee success with that method.
